
In this blog post, I will give a detailed view of using the remote desktop connection in your Windows 11 Operating System. If you have a home edition for Windows 11, then you cannot remote desktop connection.
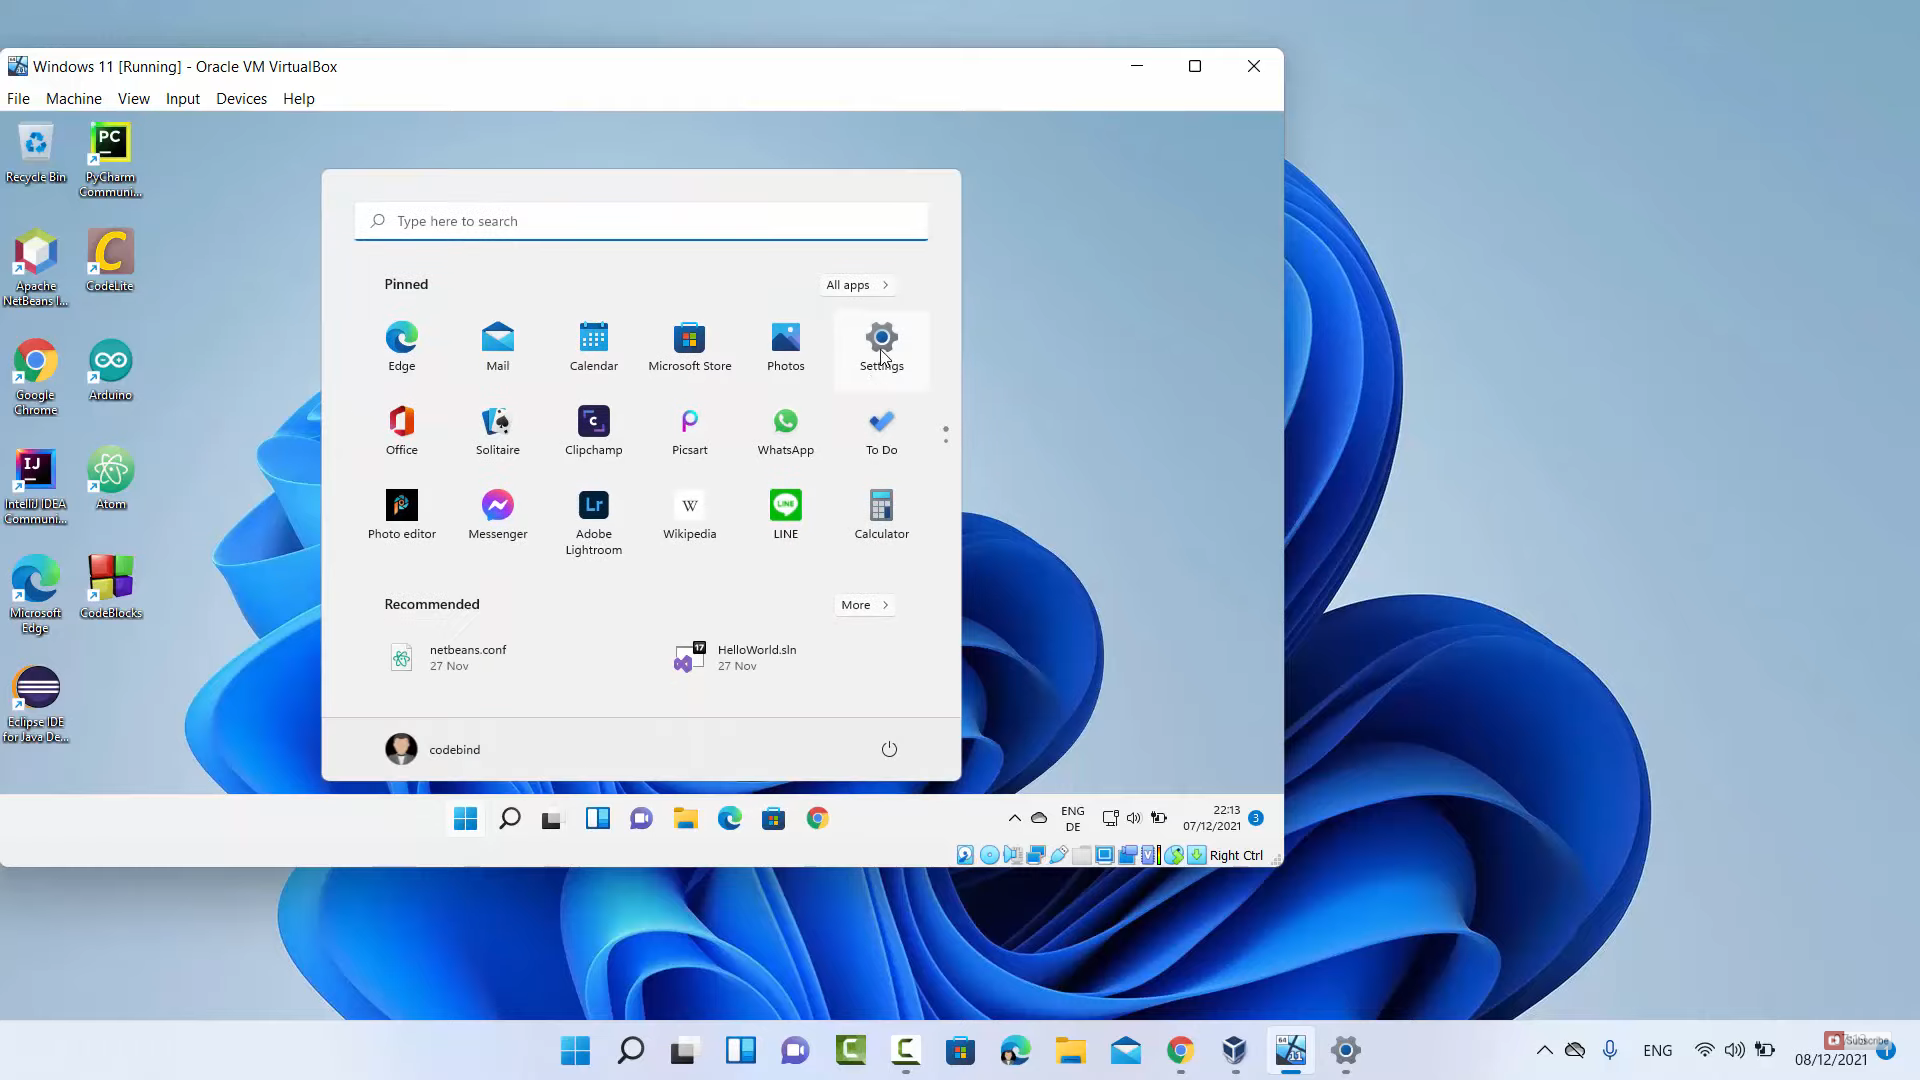
1. As you can see, I have 2 Windows 11 Operating Systems. Choose the desktop that you want to share. On that desktop, click on the Start icon and open the settings app.
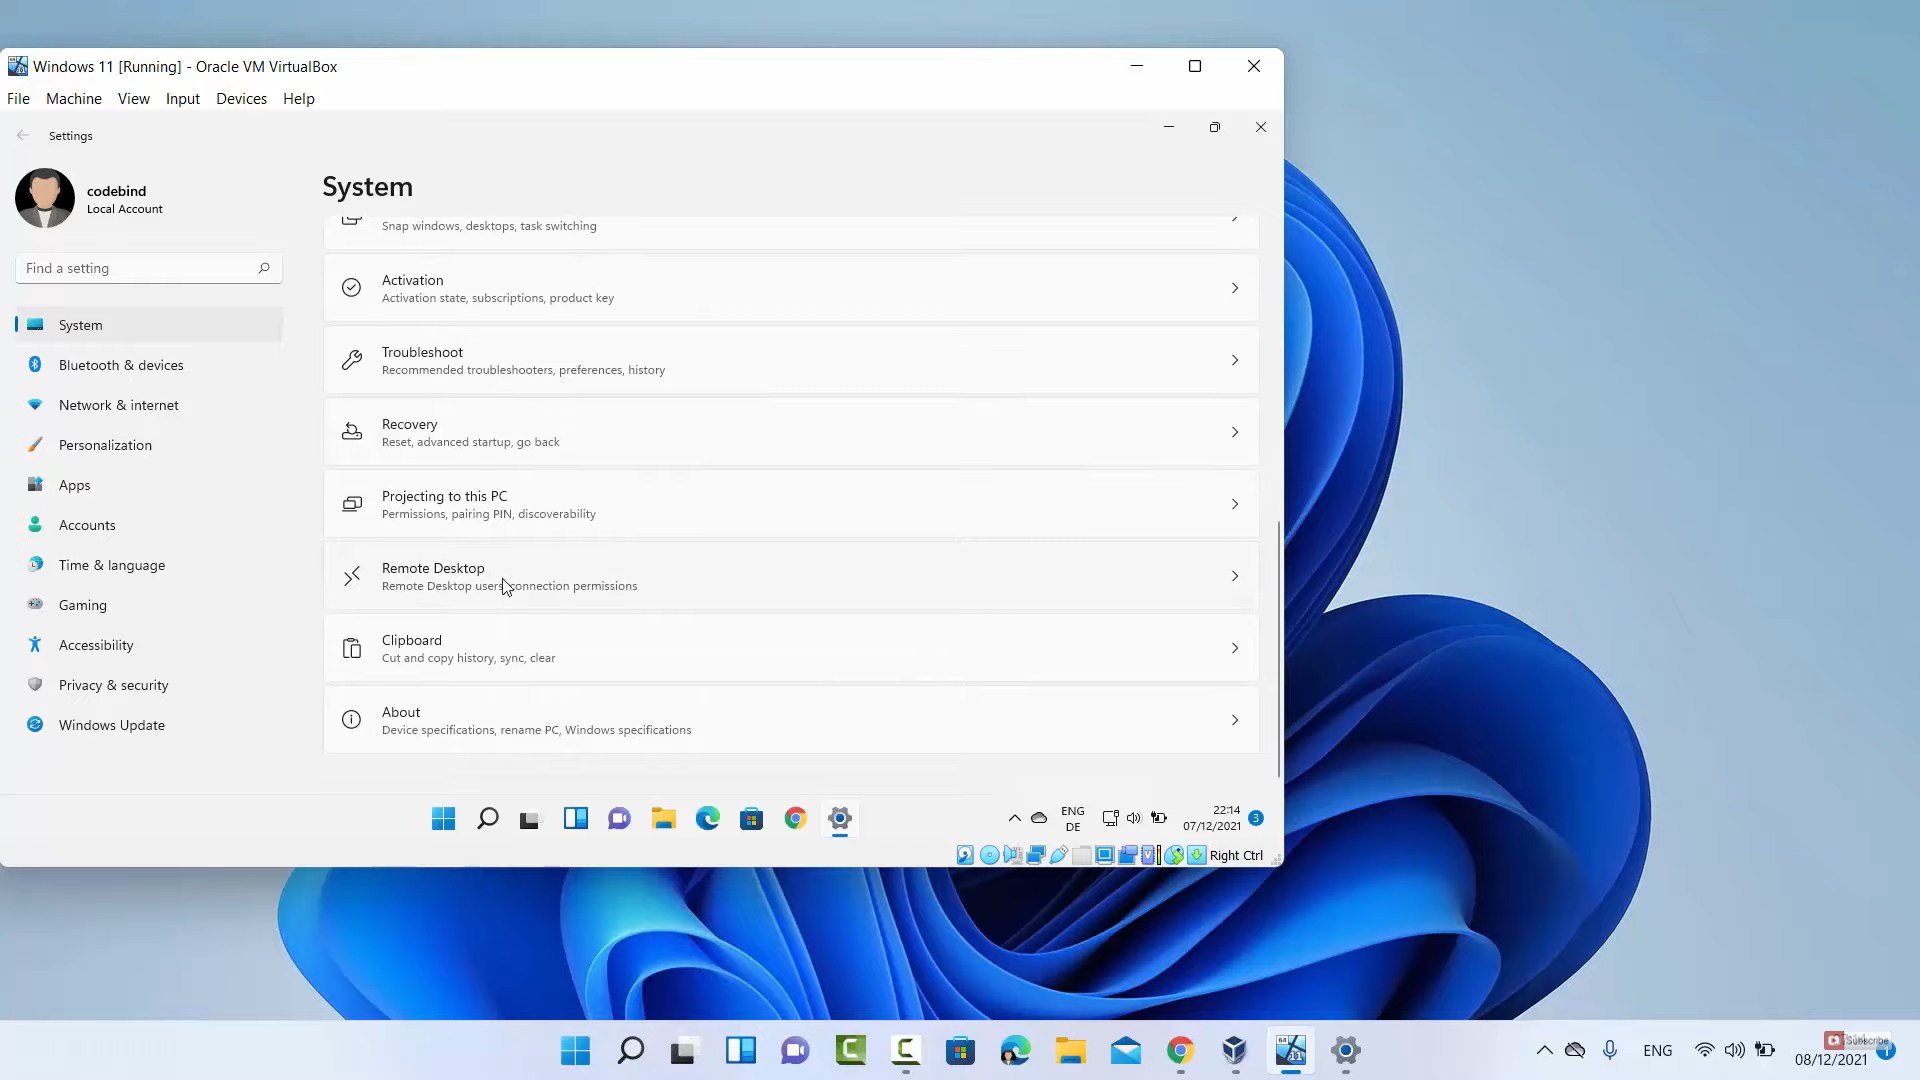
2. Once the settings app opens, select the system on the left-hand side. On the right-hand side, scroll down and click on remote desktop.
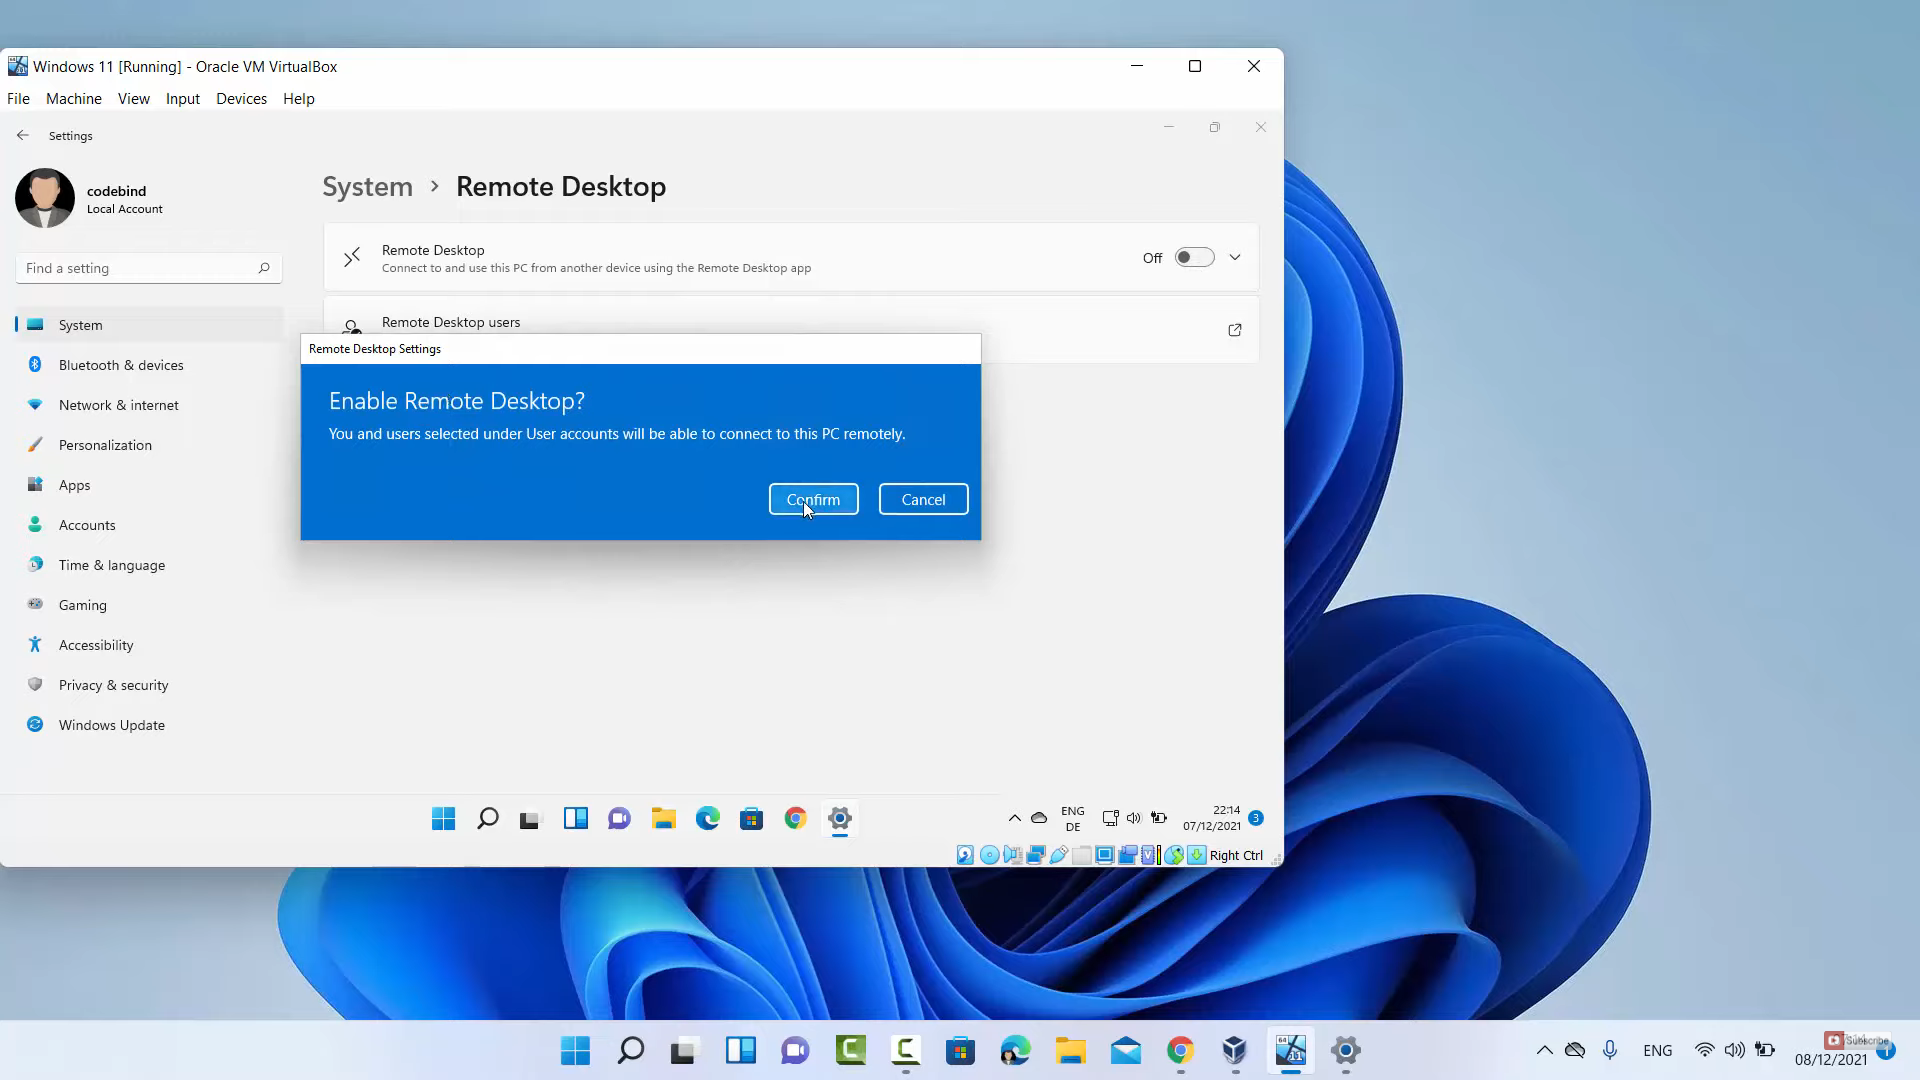
3. By default this option will be disabled. To enable it, you need to toggle the toggle button. It will show you a warning. Click on confirm.
4. Once you click on confirm, your Windows 11 Operating System is ready to share the remote desktop. The PC name will also be displayed. Note down the PC name. When you click on the arrow, it will show you some message with a checkbox on it.

5. You can also see the remote desktop users. Since I have not connected to anything right now, you won’t be able to see any connection. The other setting you need to make is to allow the remote desktop connection on your private or public network.
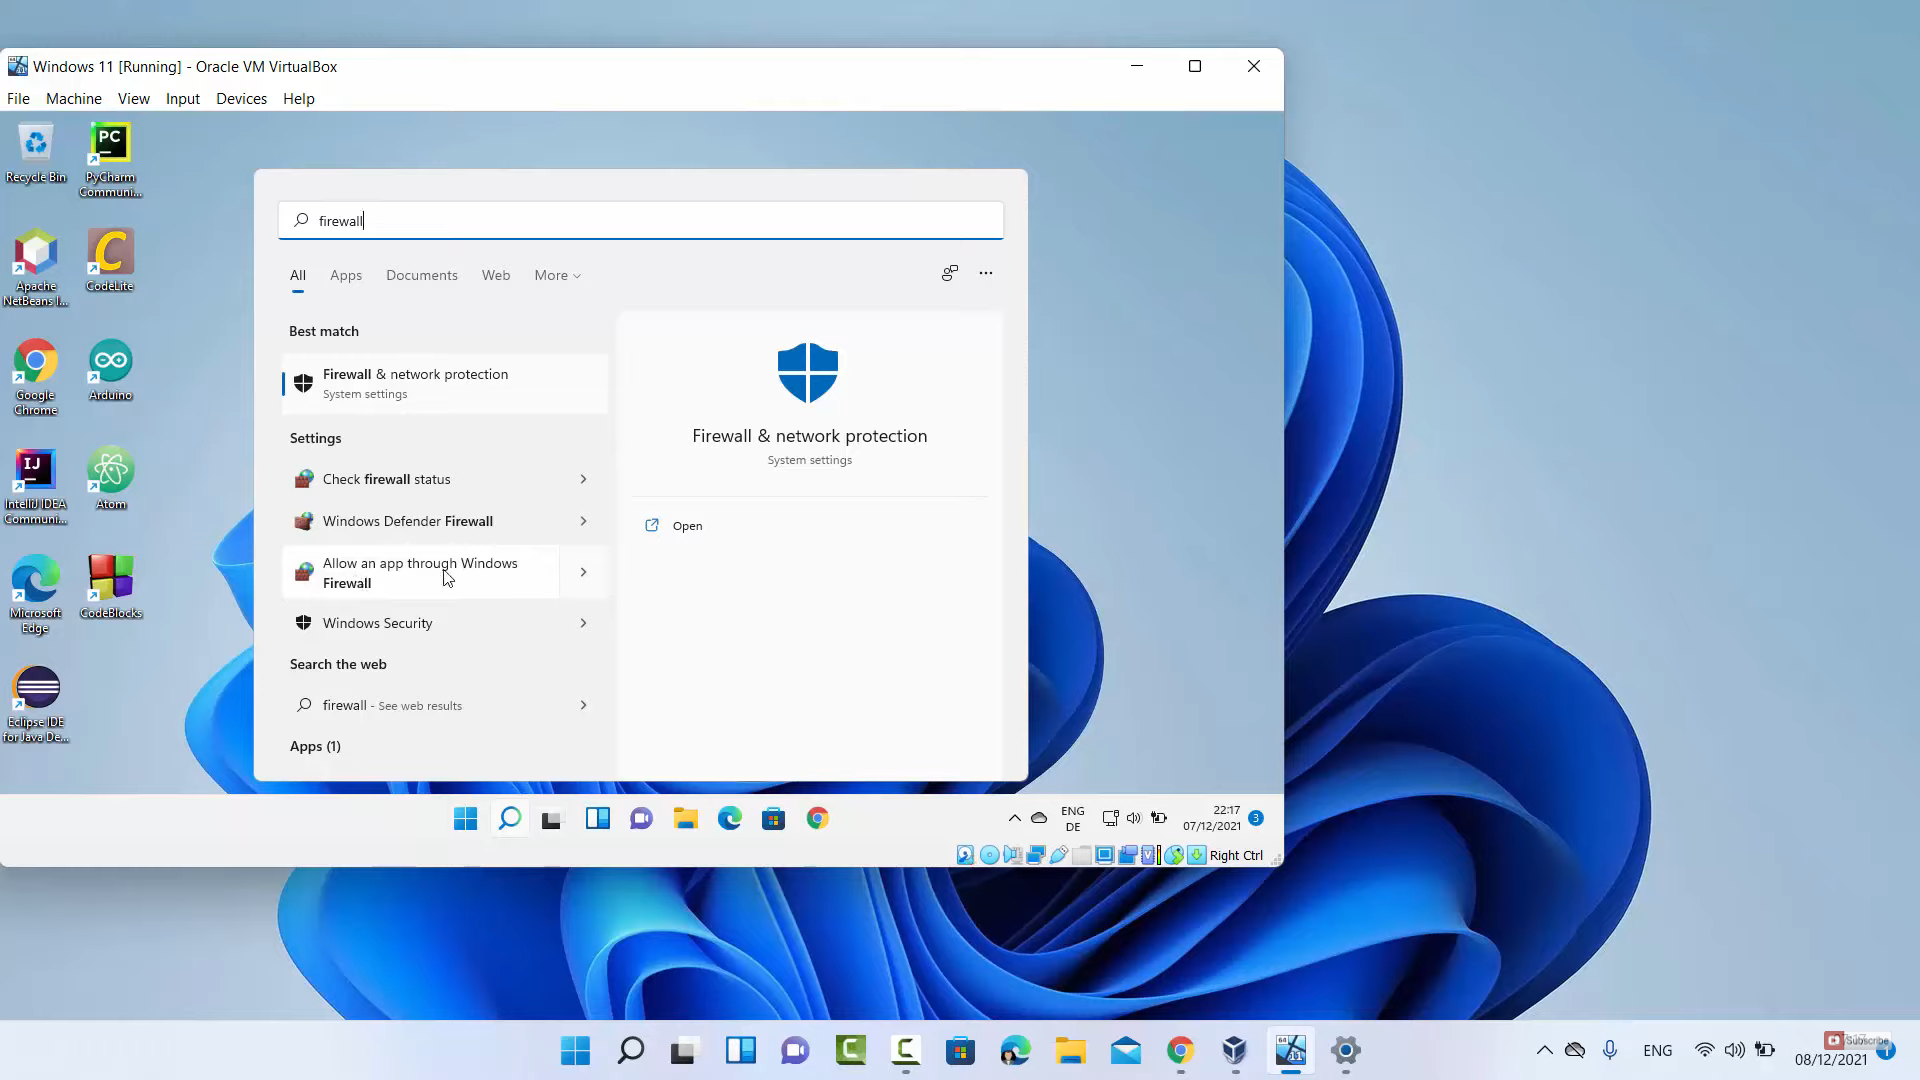
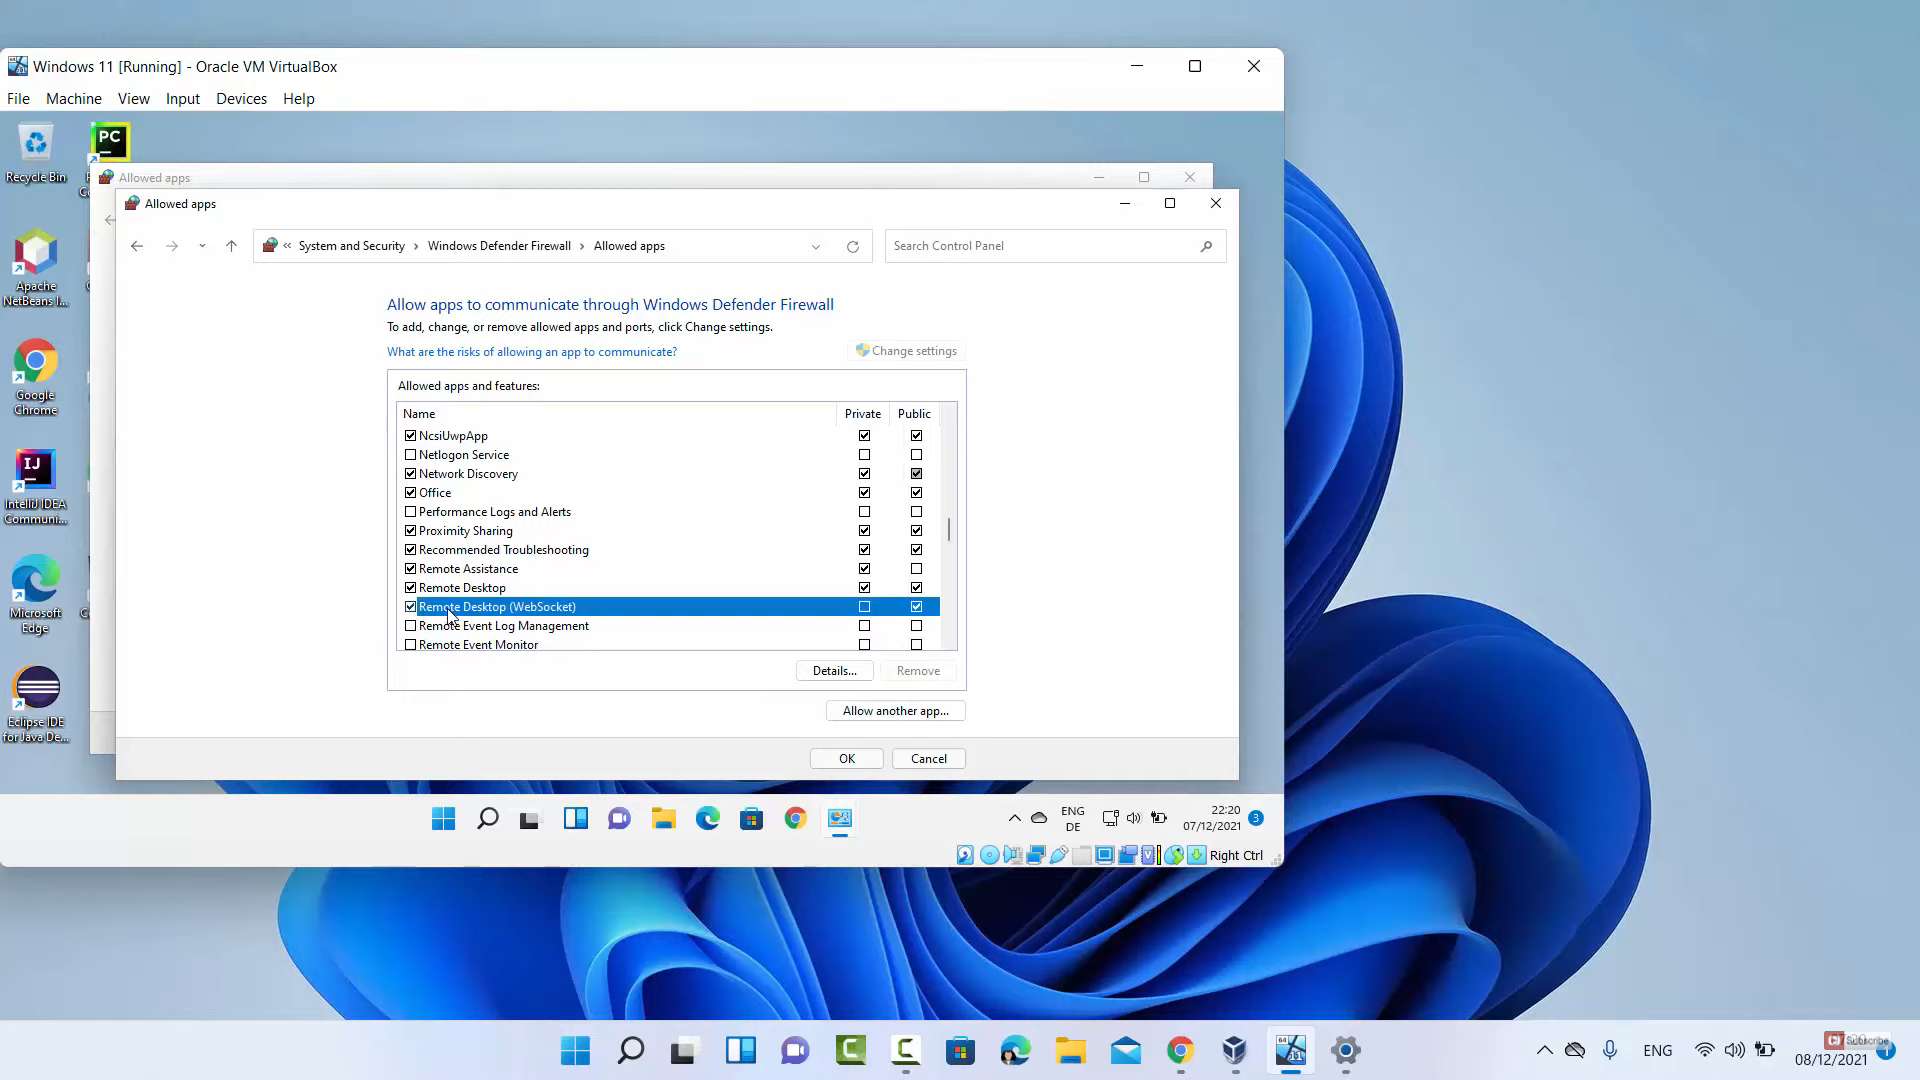
6. Click on the search icon and search for the firewall. Click on the third option to allow an app.
7. It will open a window. To change these settings, click on the change settings option on the top. When you scroll down, you will be able to see the remote desktop option. You need to check both private and public checkboxes. You can also check the WebSocket checkbox for remote desktops. Once you have done everything, click on Ok.
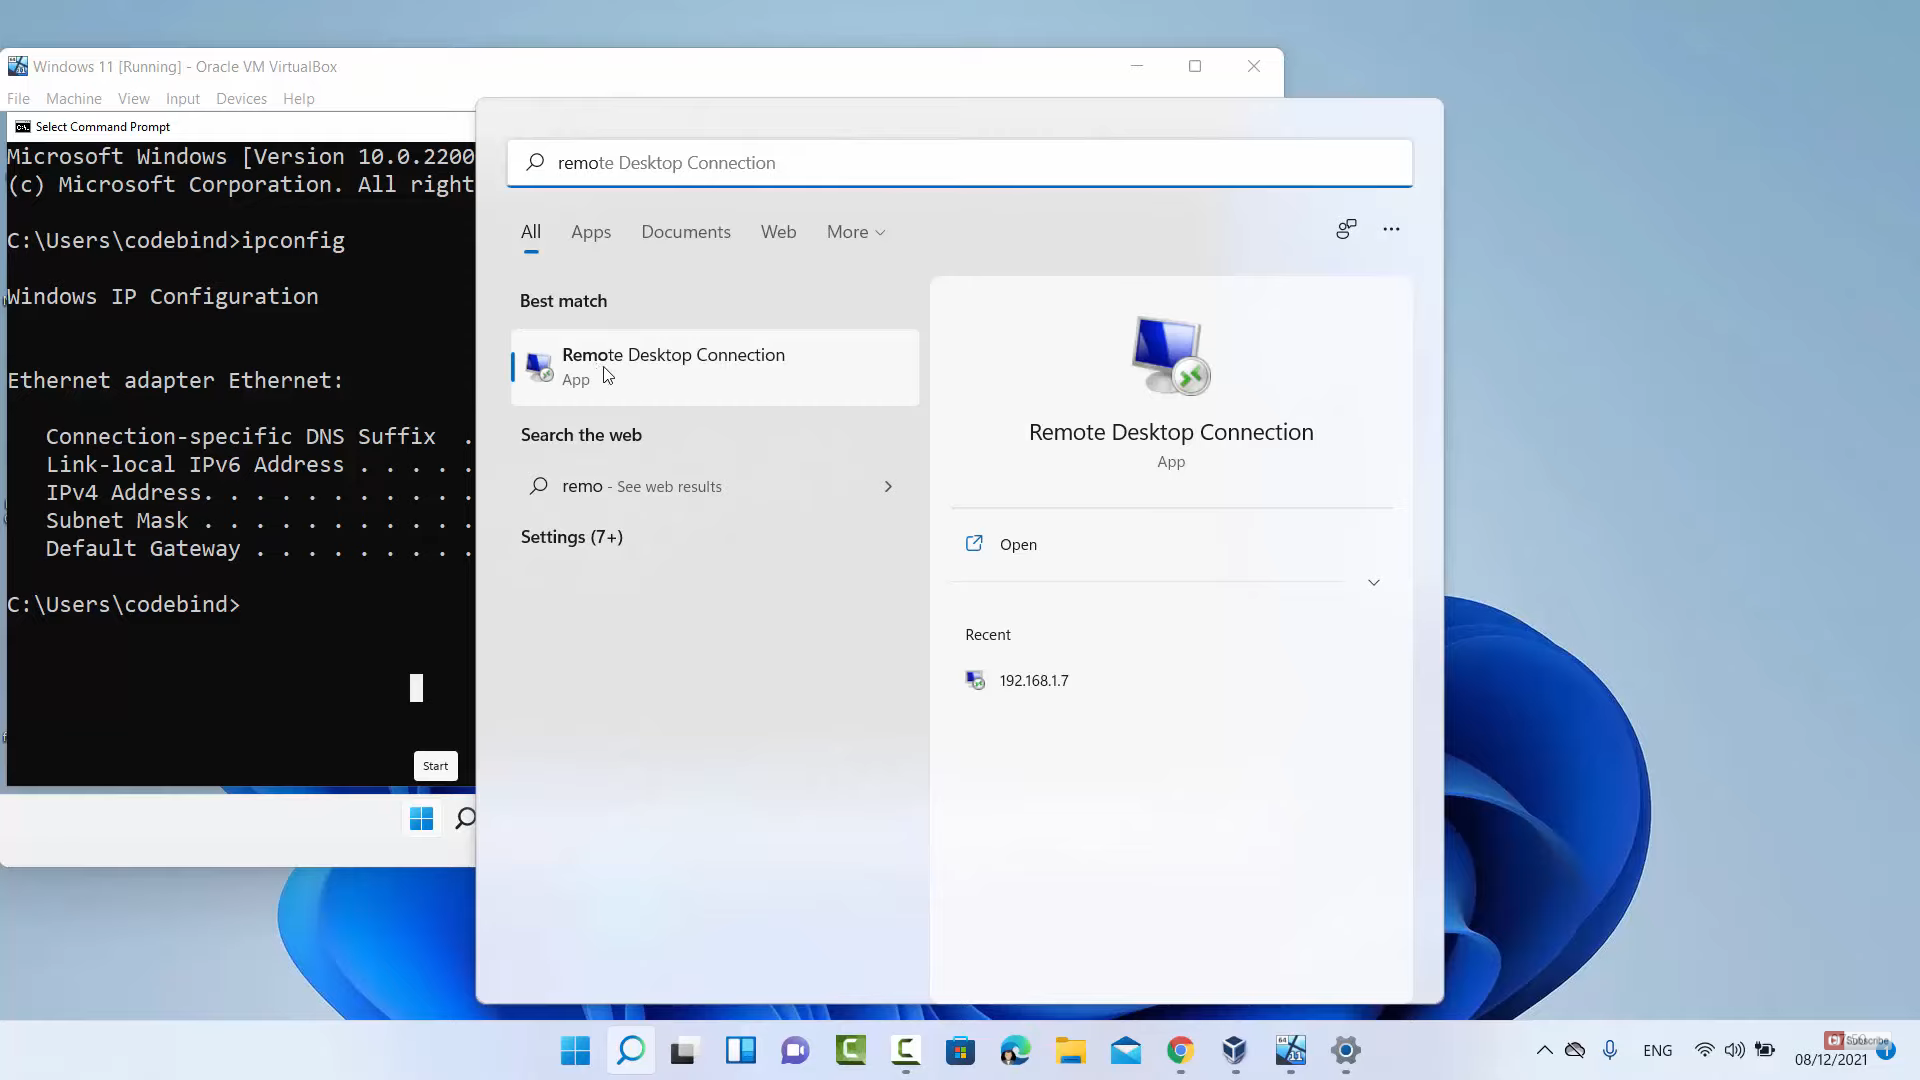
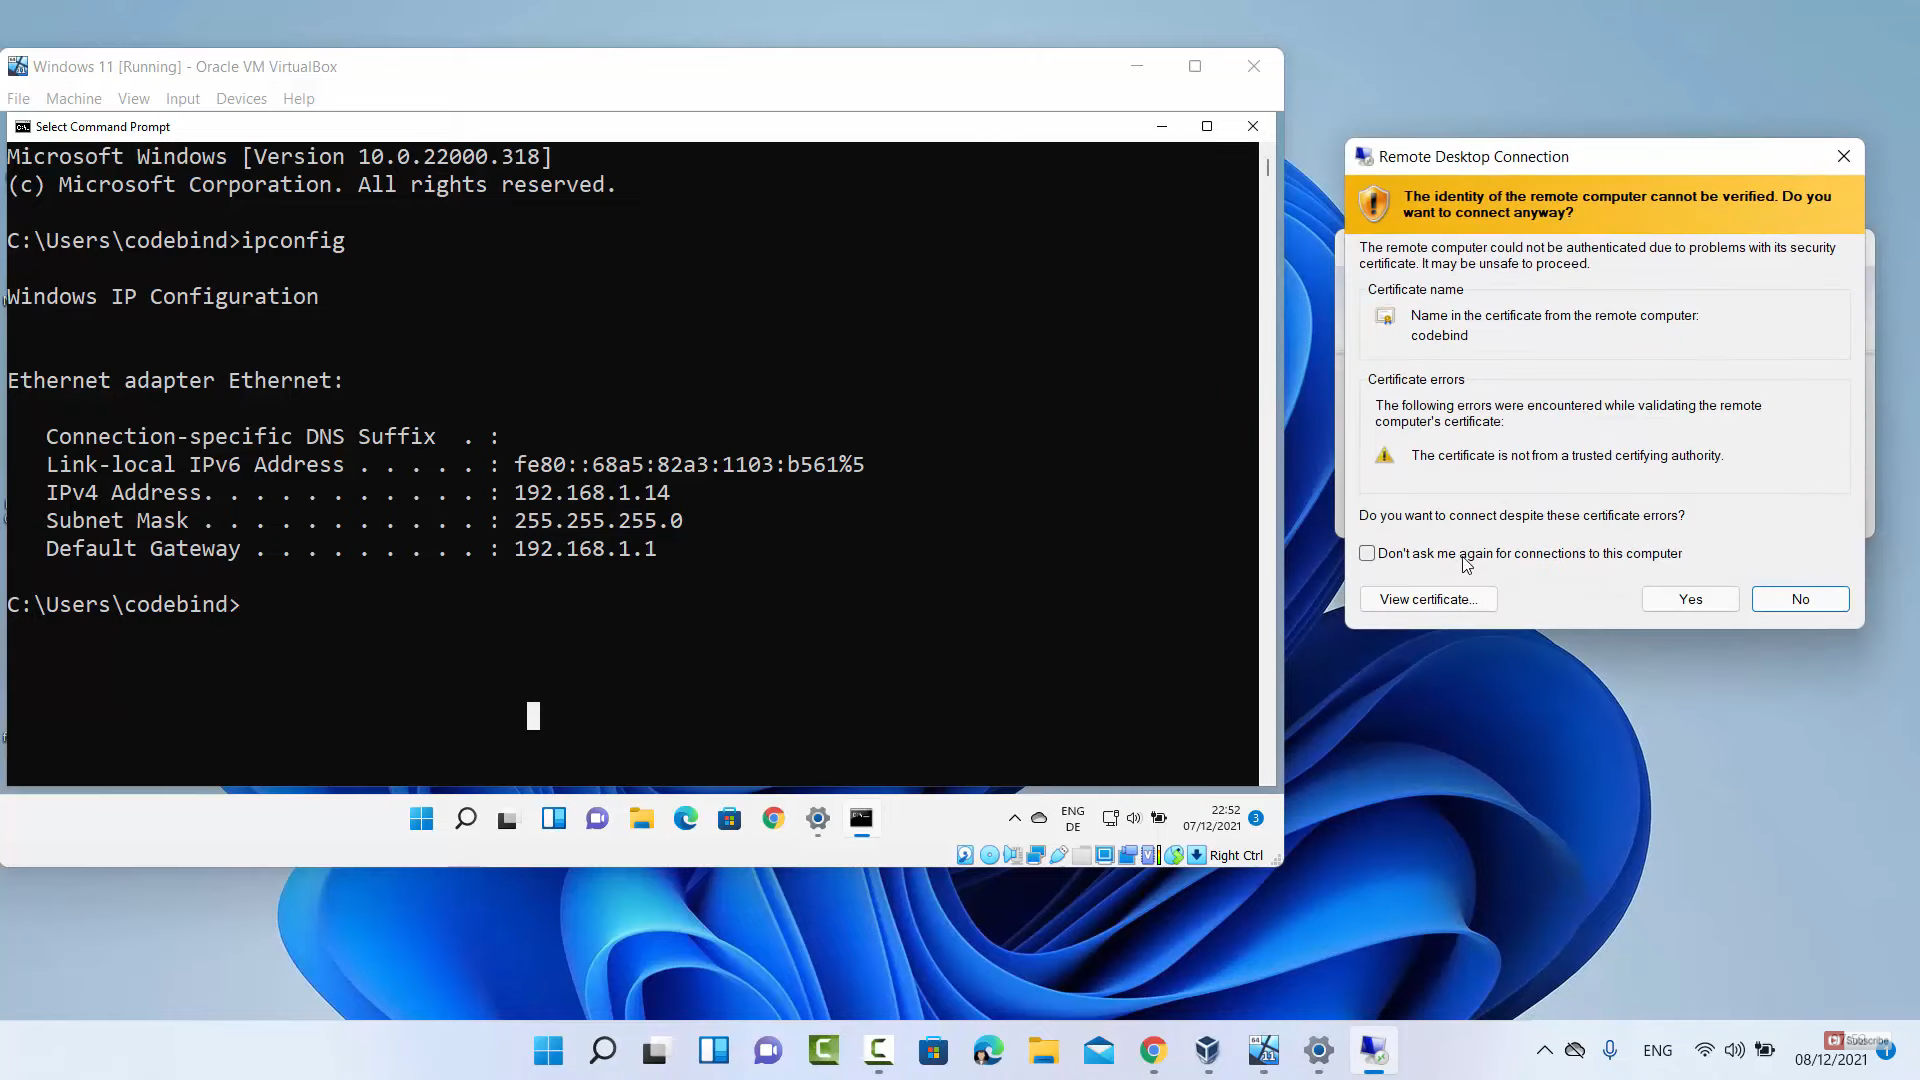
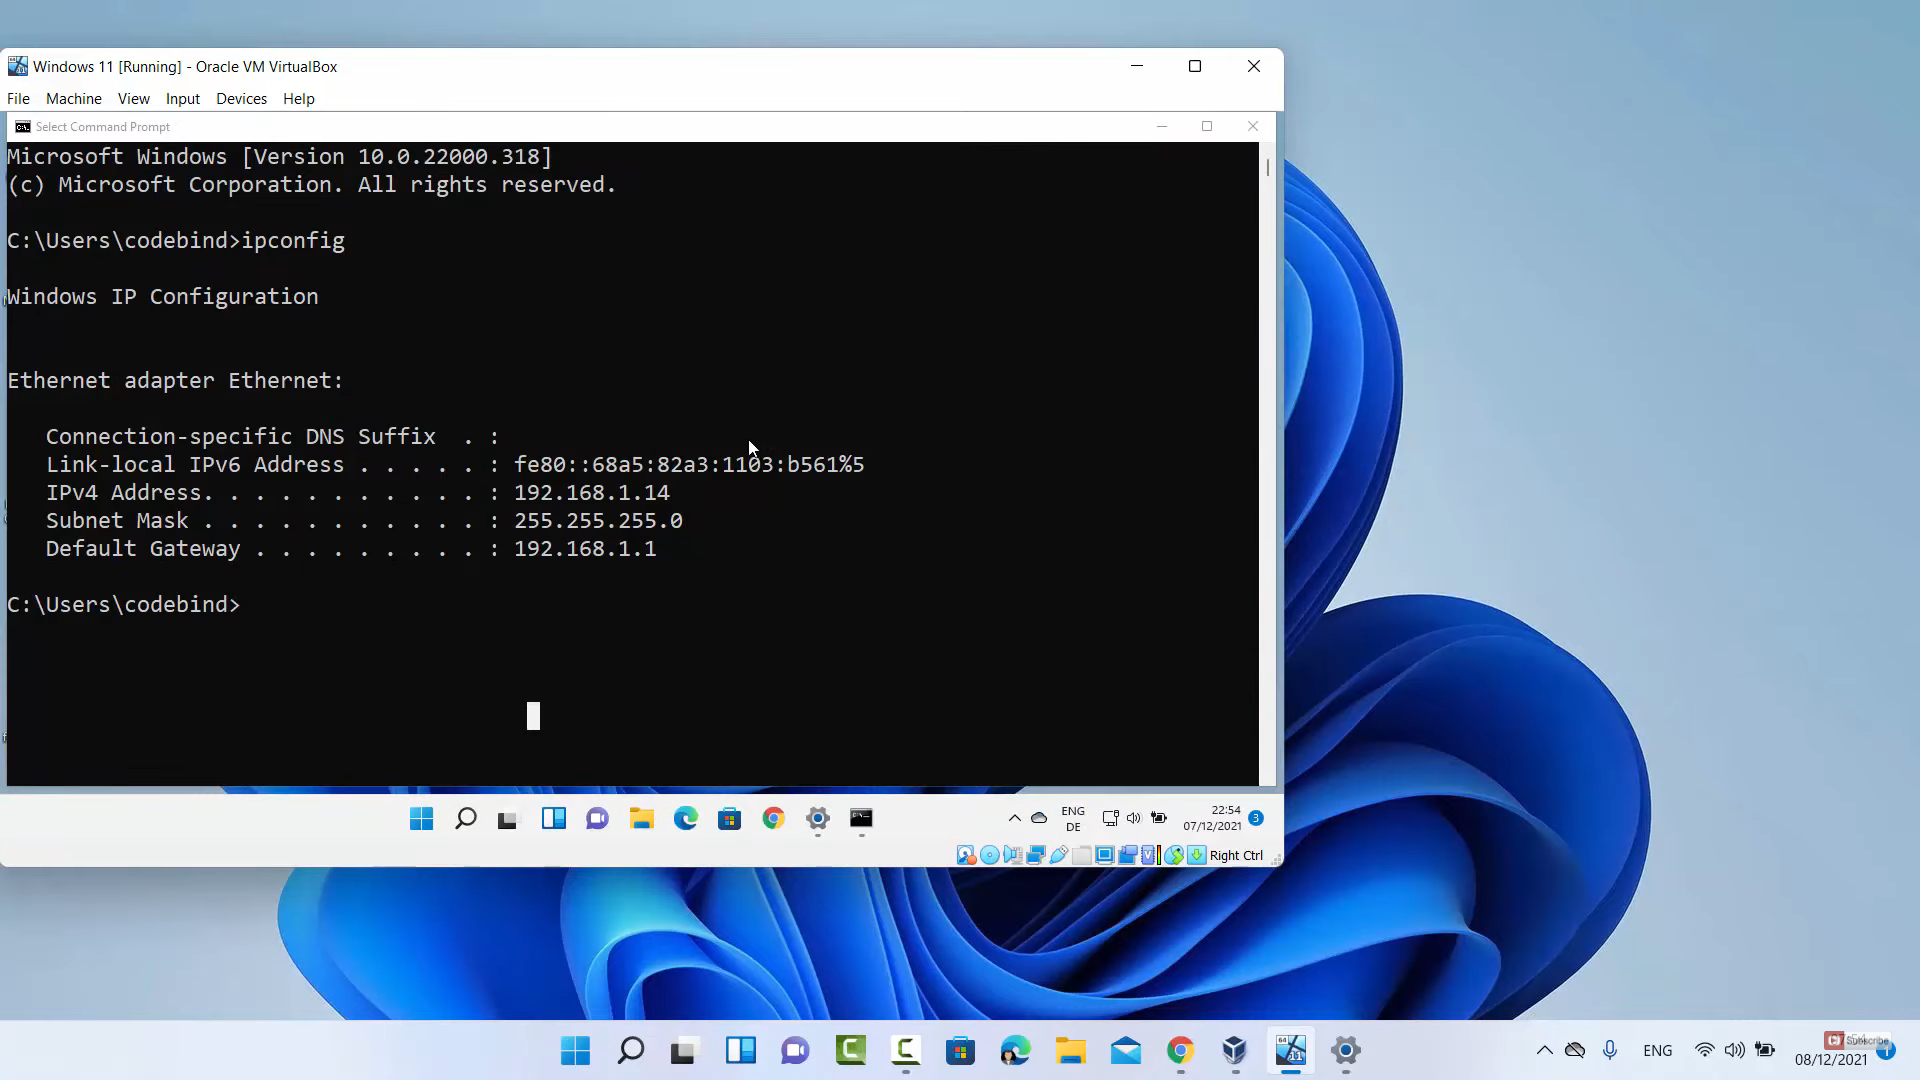
8. For the next step, you need to open the command prompt. Click on the search icon and search for cmd. Once the command prompt window opens, type ipconfig and press enter. It will display some IP addresses. We are interested in an IPv4 address. Once you have noted down this address, go to the other Windows 11 desktop.

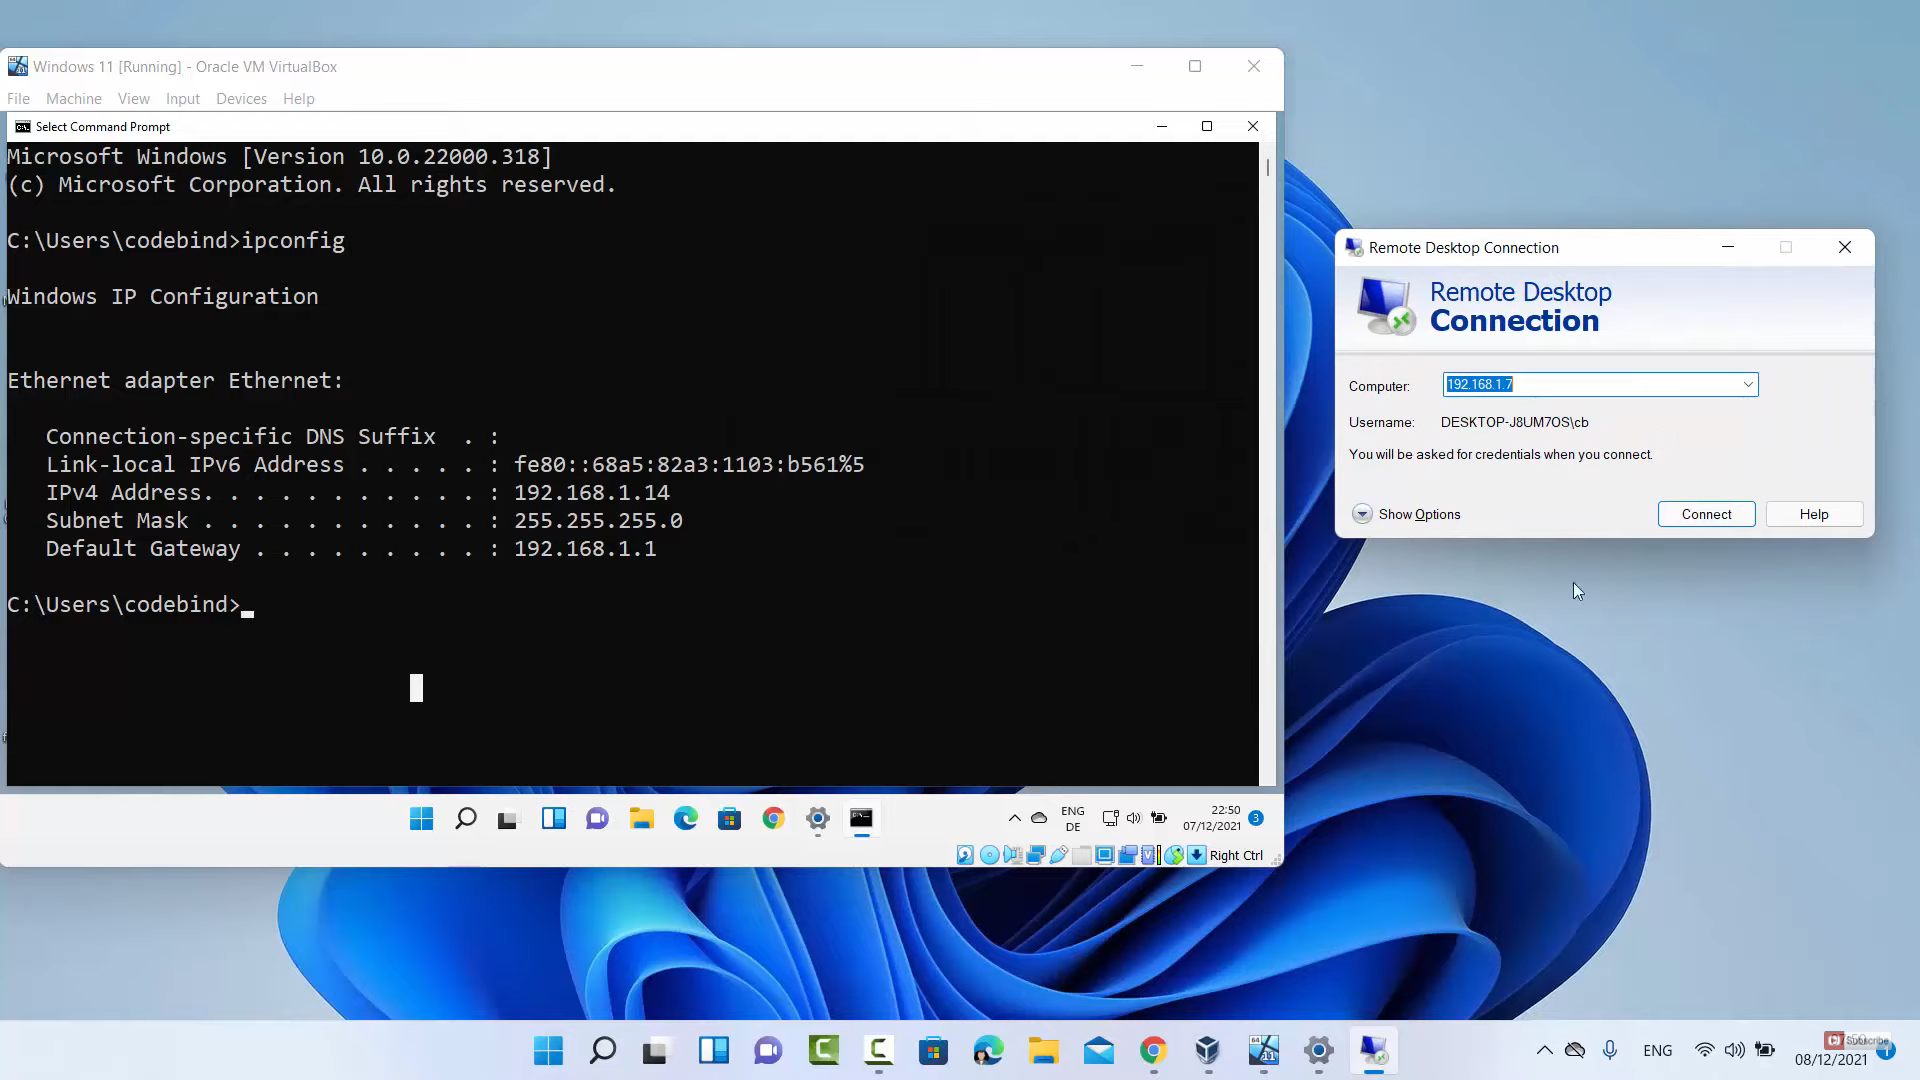
9. On the second desktop, search for a remote desktop connection. Once it opens, you need to type the IPv4 address and click on Connect.
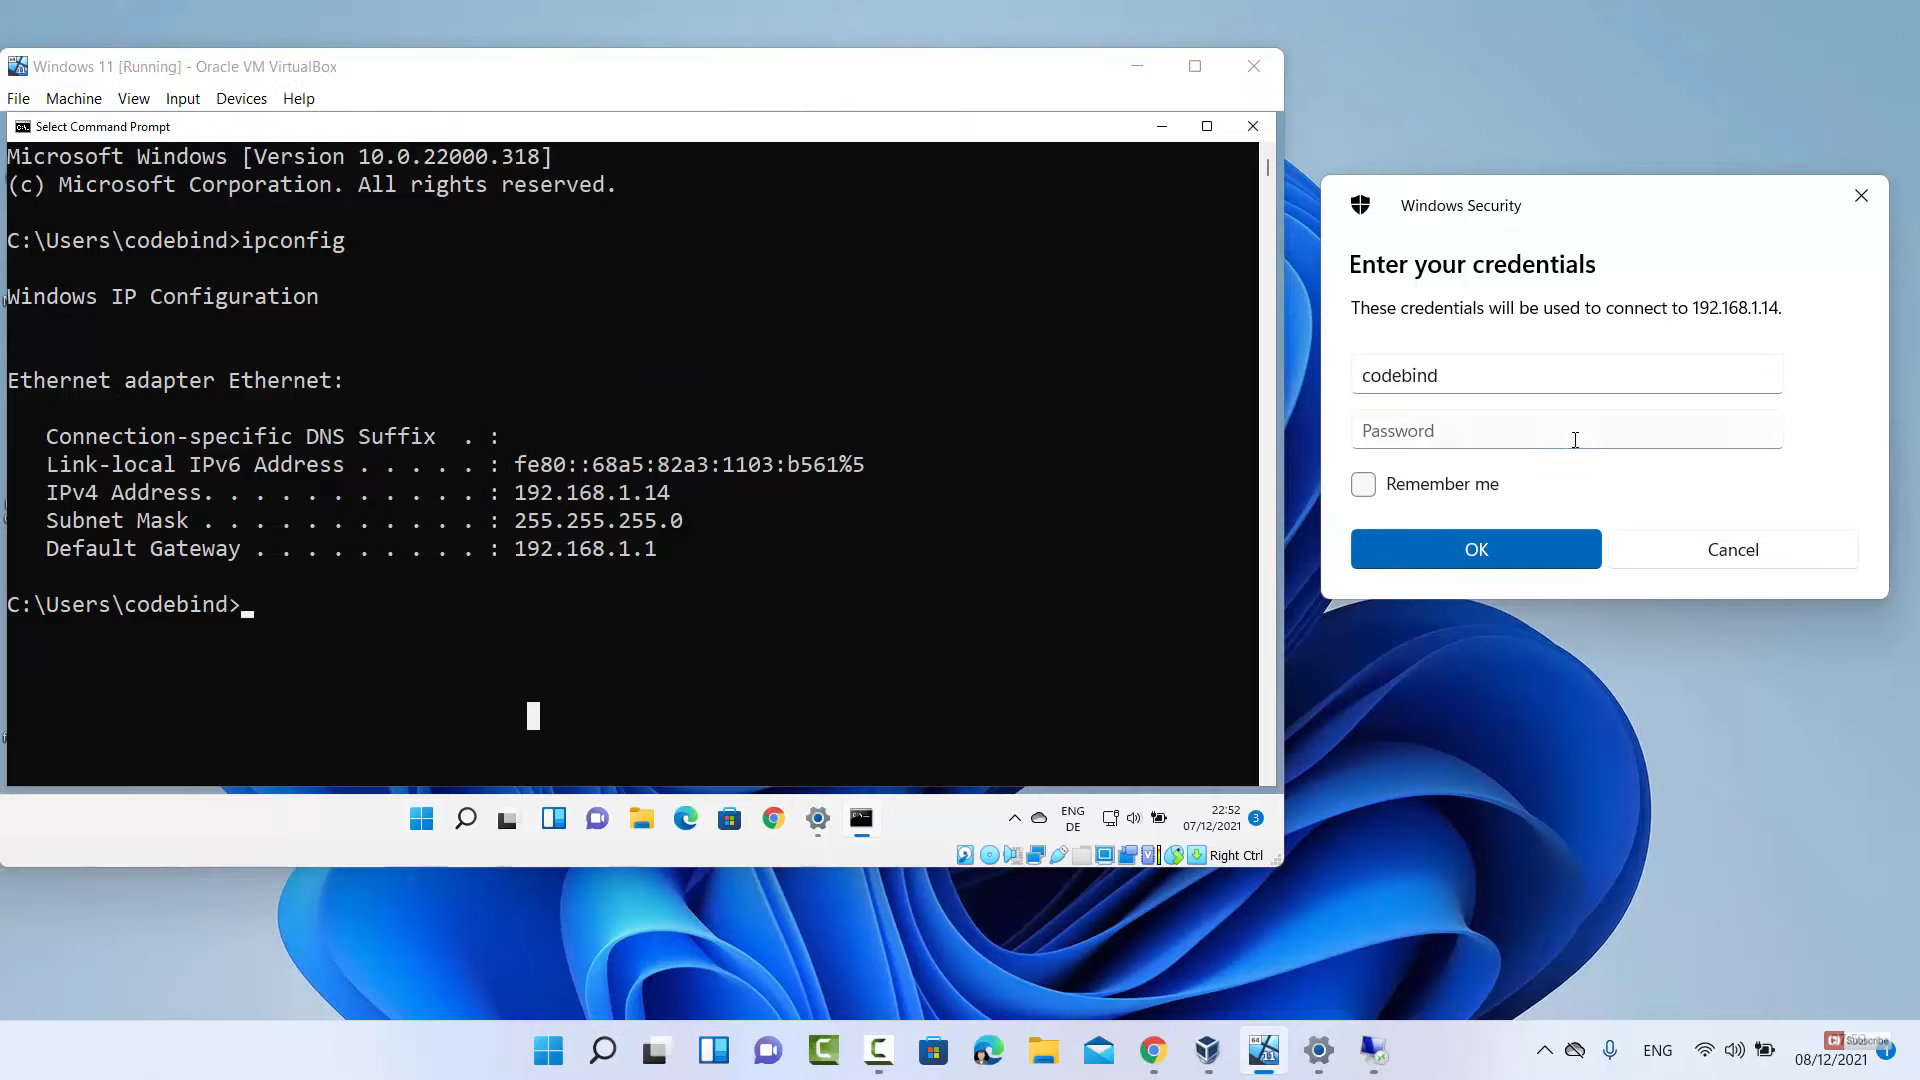
10. It will ask you to provide the username and password. Click on the Microsoft icon in the other Windows 11 Operating system, you will be able to see the username. You need to type that username. The password is the password of your Windows 11 Operating System. Then, click on Ok.
11. It will show a warning. Click on Yes.
12. As soon as you do that, you will be logged out of your virtual machine. Because the remote desktop is shared here. You can view only one desktop at a time. You can minimize and maximize it.
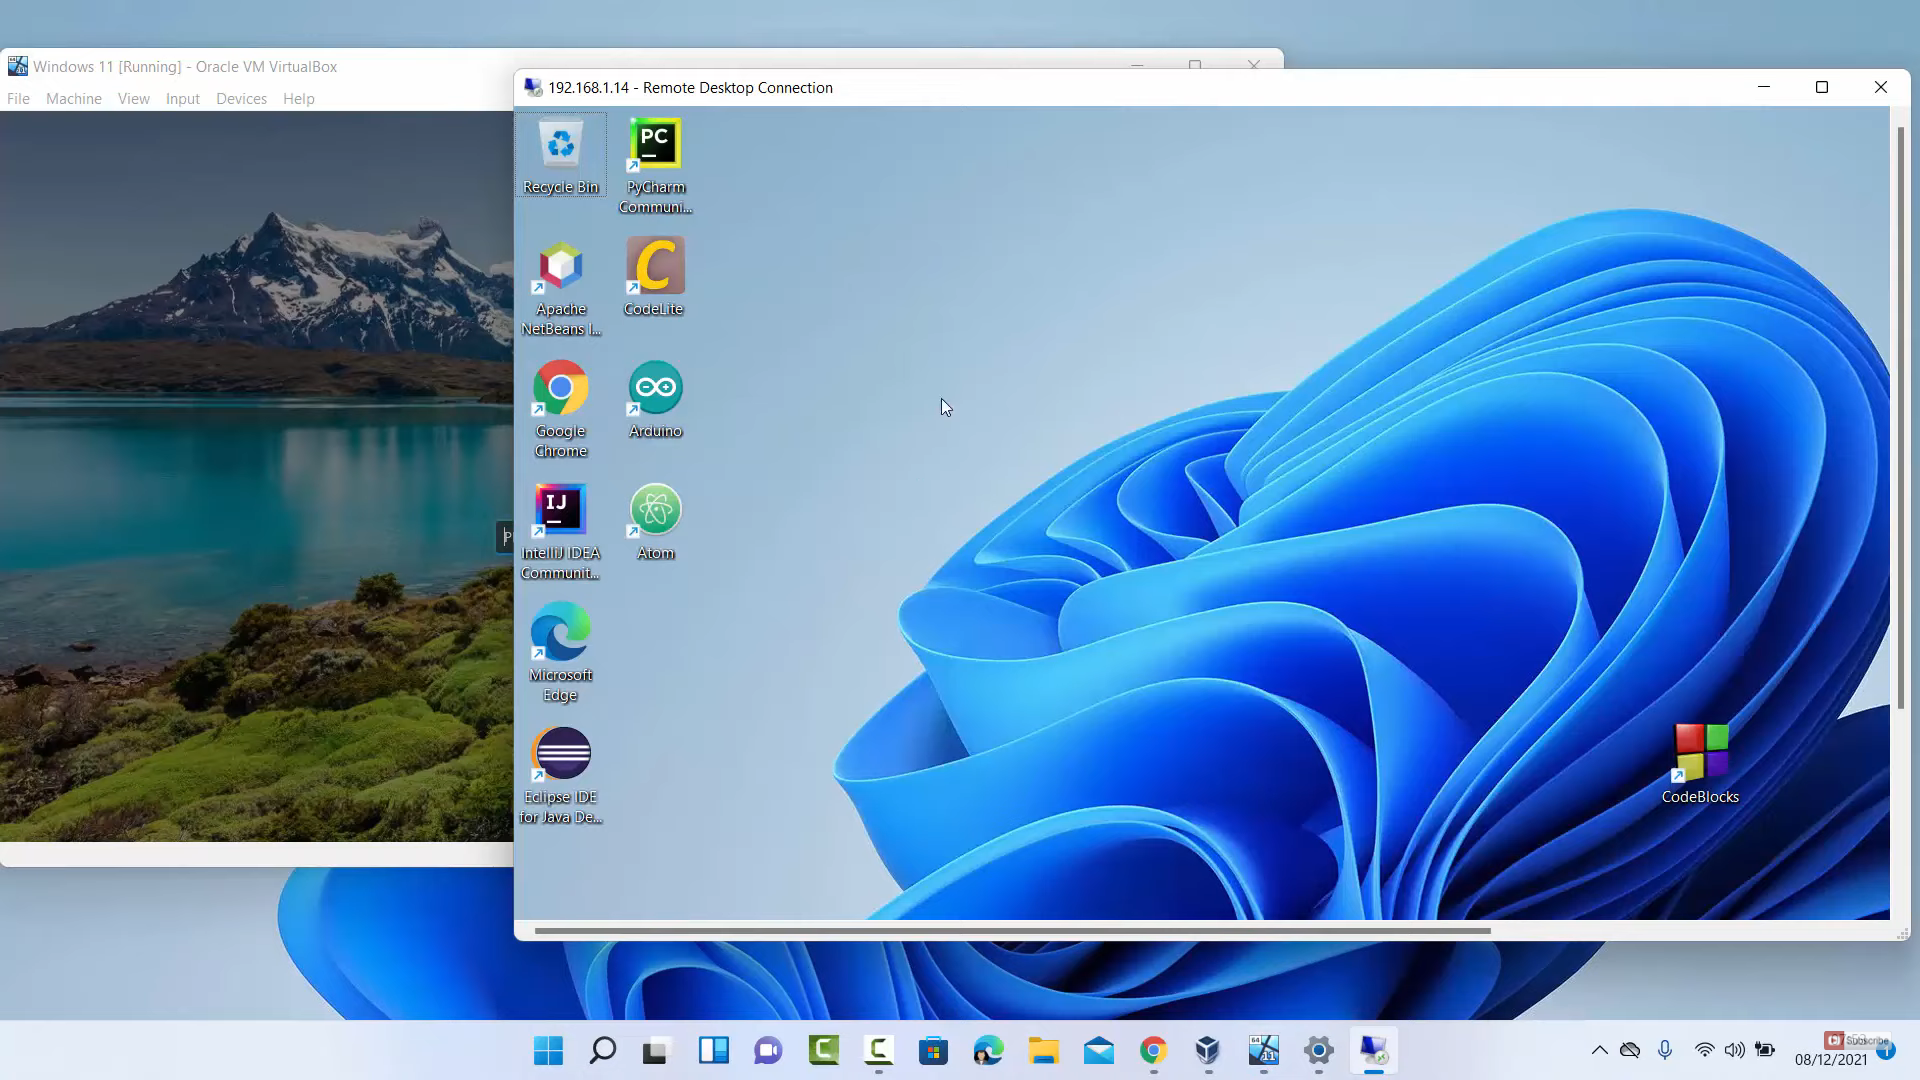
13. Once you are finished with your work, you can close it by clicking on the close icon. It will show a message. Click on Ok. Once it has been close, you can once again log in to your host machine. For logging in, you need to provide your password.
These are the steps for using Remote Desktop Connection in your Windows 11 Operating System.
Leave a Reply