
In this blog post, I am going to give a detailed view of connecting a wireless printer to your Windows 11 Operating System. For connecting the wireless printer, you need to keep two things in mind.
The first thing is your printer should be connected to a power source. The second thing is your Windows 11 Operating System should be connected to the internet network. Once these things are ready, you can connect your wireless printer to your Windows 11 Operating System.
1. You need to plug your printer into a power supply and then you can connect it with a wifi network or you can directly connect it with a LAN cable. My printer is HP ENVY. It has a wireless option.
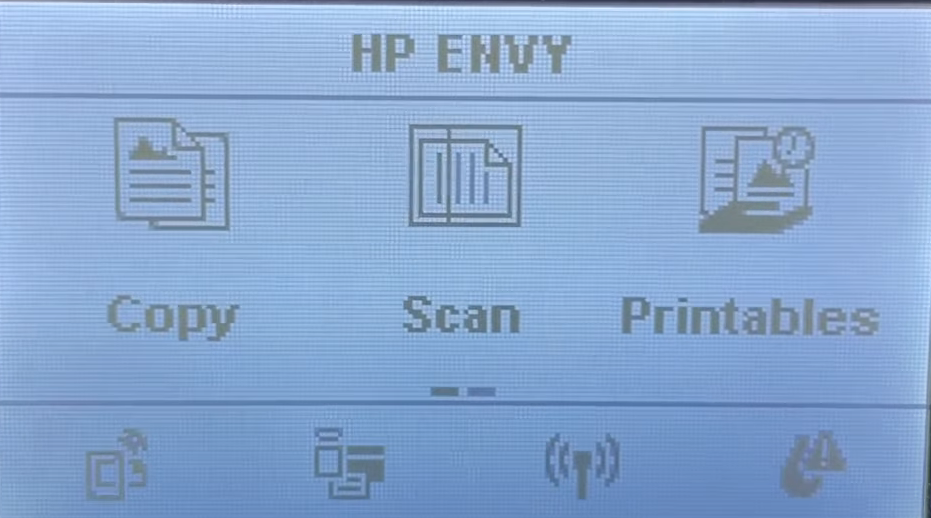
2. When I press on this option, it will connect me to my wifi. This is the name of my wifi network and I have set it up.
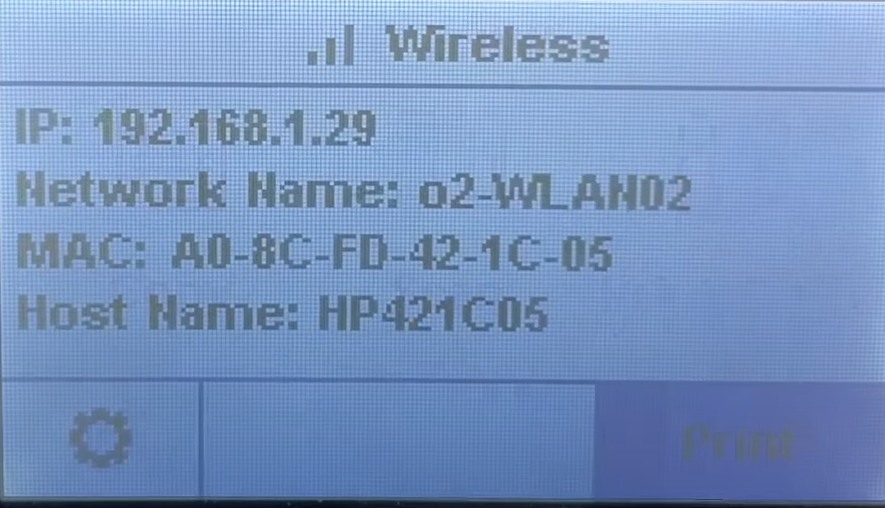
3. To set it up, you need to press on settings and enable the wireless option. If you are not connected to your wifi network or LAN cable, you can connect it with the help of a wireless setup wizard.

4. When you click on it, it will search for all the wifi routers.
5. You can see all the wifi routers by scrolling up and down. You can select the network that you want.
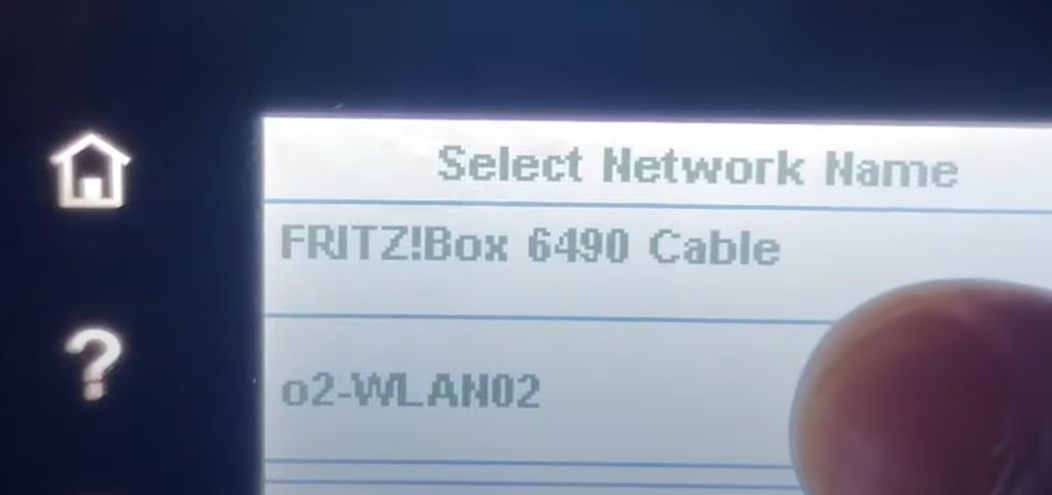
6. After selecting it, you need to provide your wifi password. Then your printer will be connected to the wifi. Once it is connected, you can move to Windows 11 Operating System.

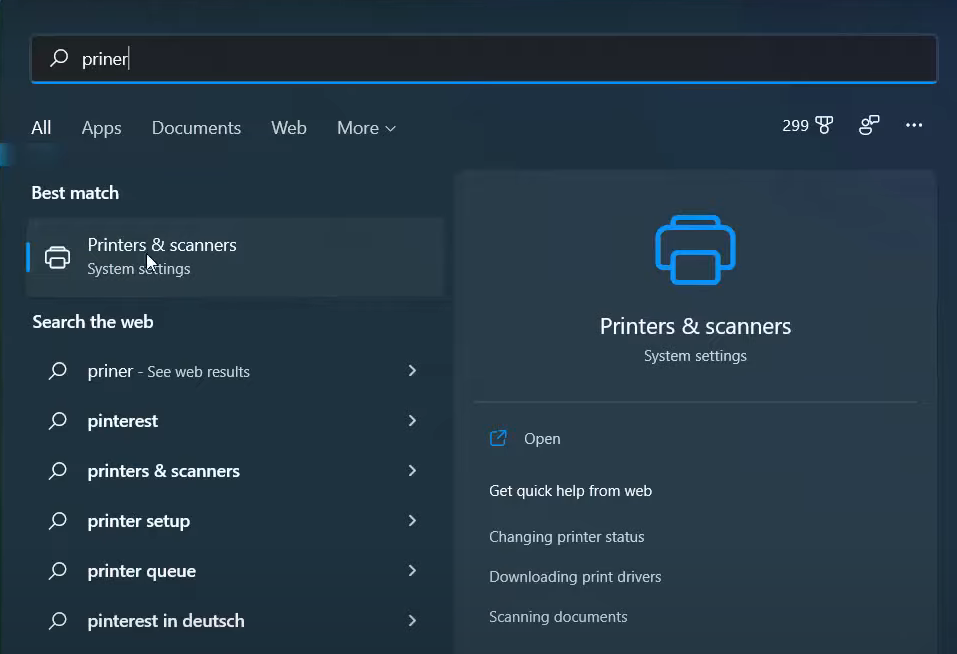
7. Click on the search icon and search for Printers & scanners. It will open this kind of window. You can also reach this window using the Settings app. Right-click on the Windows icon and click on the Settings option. You can also reach there by searching for the Settings app in the search icon.
8. Once you have reached the settings app, click on Bluetooth & devices. Scroll down and click on Printers & scanners. It will also take you to the same window.
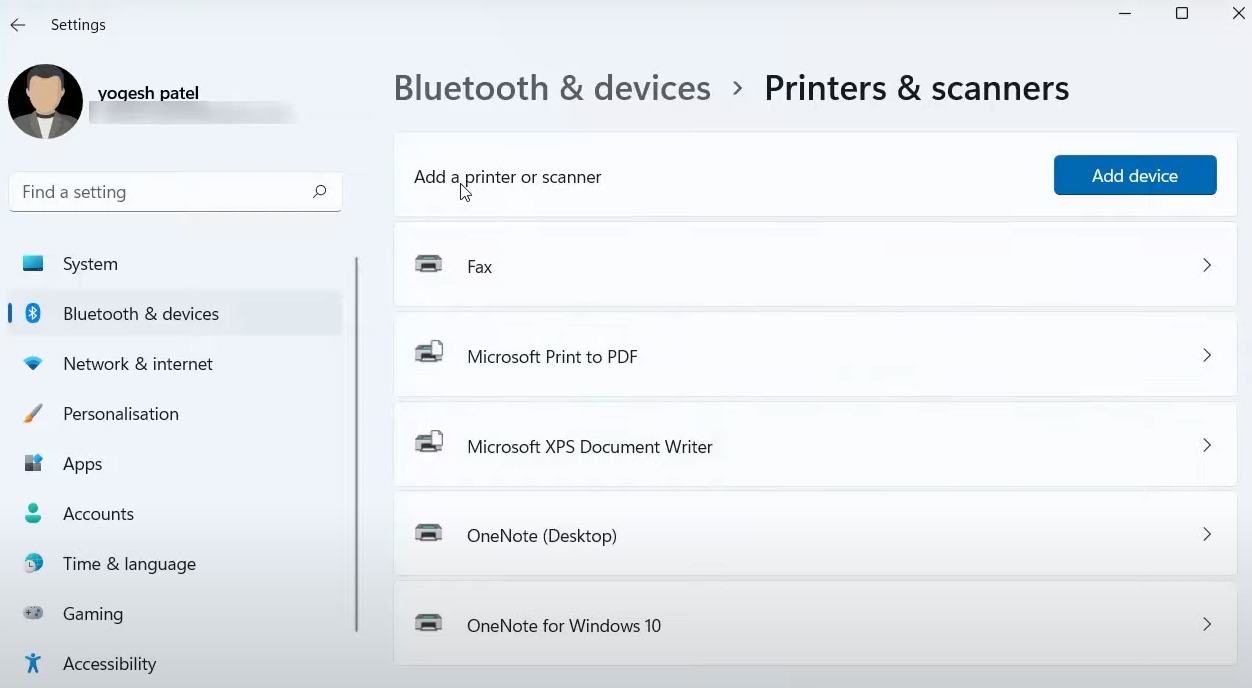
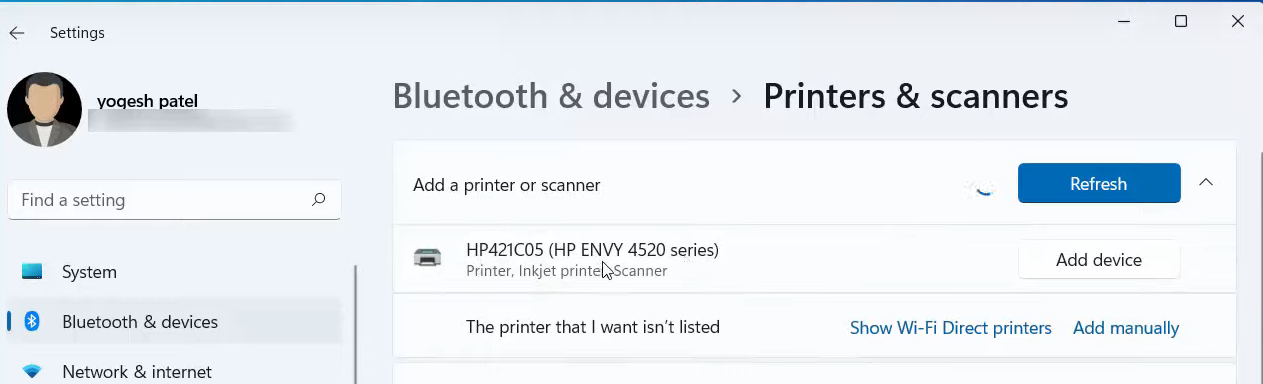
9. You will be able to see an option called Add device. Click on it. It will search for the wireless printer. Now, I am able to see my printer. If your printer is not listed, you can also select the option Show Wi-fi direct printers. It will show you more printers in your network. Once your printer is listed here, you need to add that printer. Click on Add device.
10. It will start connecting. It will install all the drivers related to this printer and then connect the printer with your Windows. If you are able to see the message Ready, then the printer is connected.
11. Once your printer is connected, you can see it in the printers & scanners list.
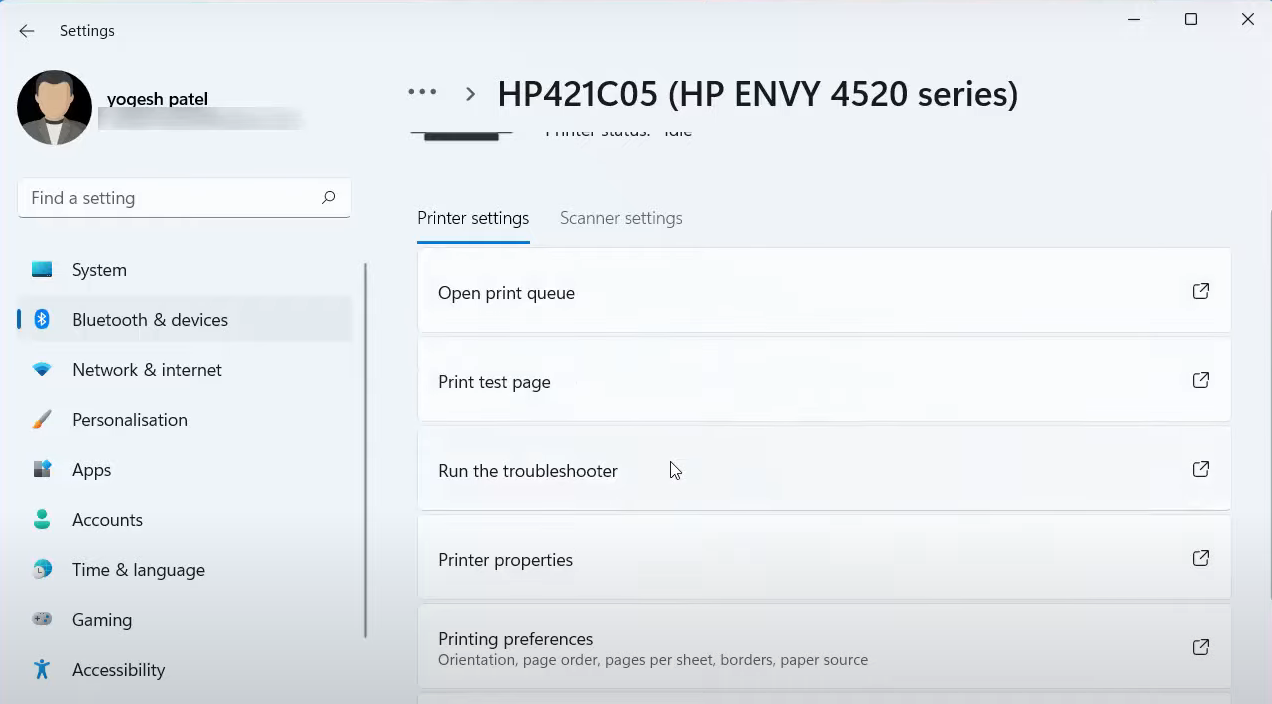
12. When you click on the arrow, it will open the properties of that window. If your printer is also a scanner, then you will be able to see the Scanner settings option as well. You can remove it anytime by clicking on Remove. If you find any problems in connecting, then you can run the troubleshooter. Or you can manually configure your printer, by clicking on Printer Properties.
13. It will take you to this window. Here, click on Ports. It will show you a checkbox. If it is not checked, then you can add it manually by clicking on Add port.

14. Click on Standard TCP/ IP port. Click on New Port.
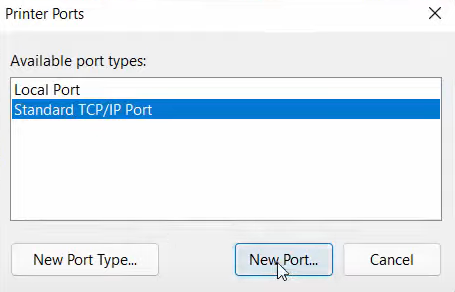
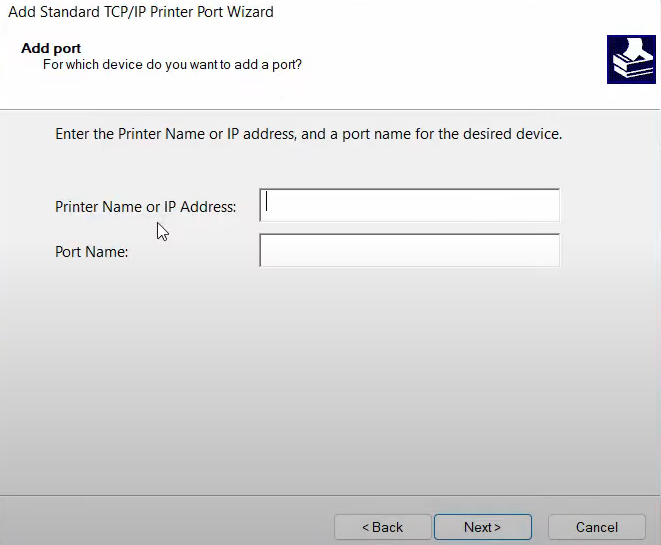
15. Click on Next. Here, you can either give the printer name or IP address for the printer. After giving it, click on Next.
16. It will be connected. Mostly, everything will be automatic. There is no need for you to do these things if your printer is automatically connected. If it is not automatically connected, then you need to do these things.
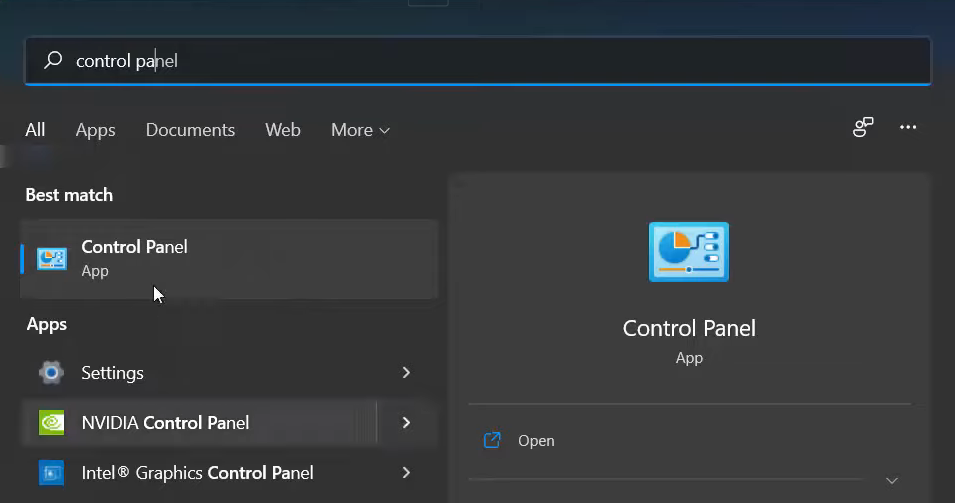
17. One more thing you can do is, search for the Control panel app in the search icon.
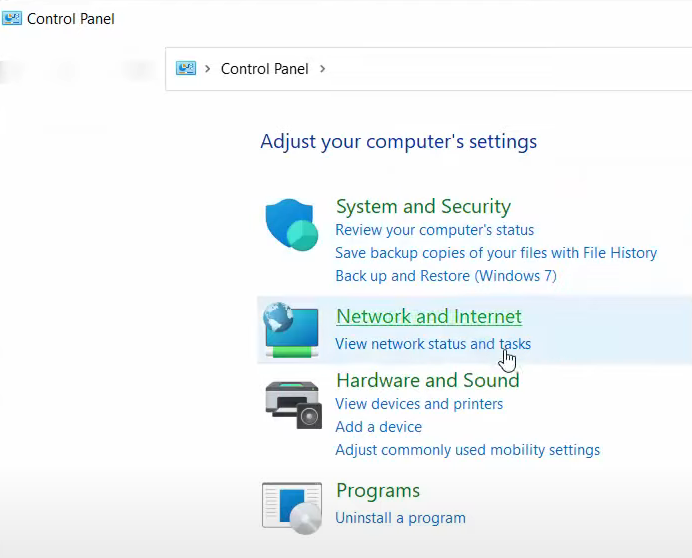
18. Here, you will be able to see an option called Hardware and Sound. Under that, you will be able to see an option called View devices and printers. Click on that option. You have to view this control panel by Category.
19. You can make this printer default, by right-clicking and clicking on Set as default printer. It will display a pop-up message and click on Ok.

20. This green checkmark will indicate that it has made your printer the default printer. Whenever you need to print something, this printer will work as it is the default.
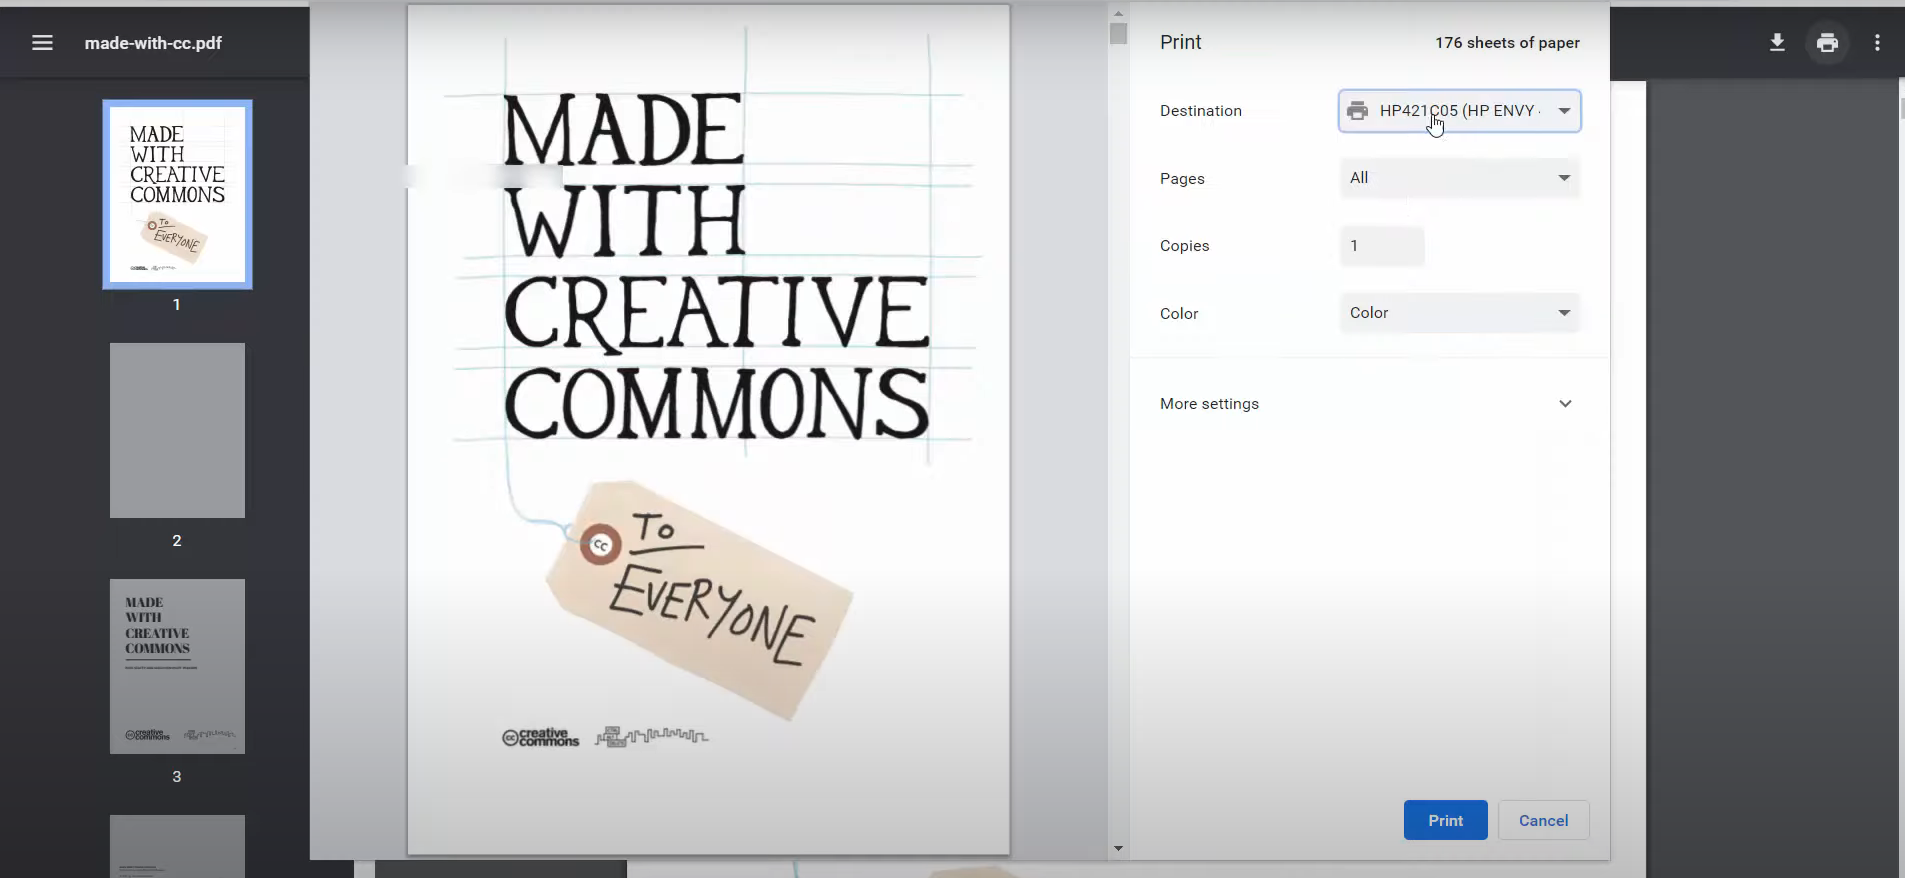
21. I have opened a PDF file in google chrome. You can open it using any PDF viewer. I am going to click on the print option. Since we have set it as the default printer, it will show that device. If you are not able to see it, then click on the dropdown icon and select your printer. You can select the options for printing. And then click on Print.
These are the steps for setting up a wireless network printer in your Windows 11 Operating System.
Leave a Reply