
In this blog post, I will give a detailed view of scanning a document or photo on your Windows 11 Operating System. To make this work, your printer or scanner should be connected to your Windows 11 Operating System.
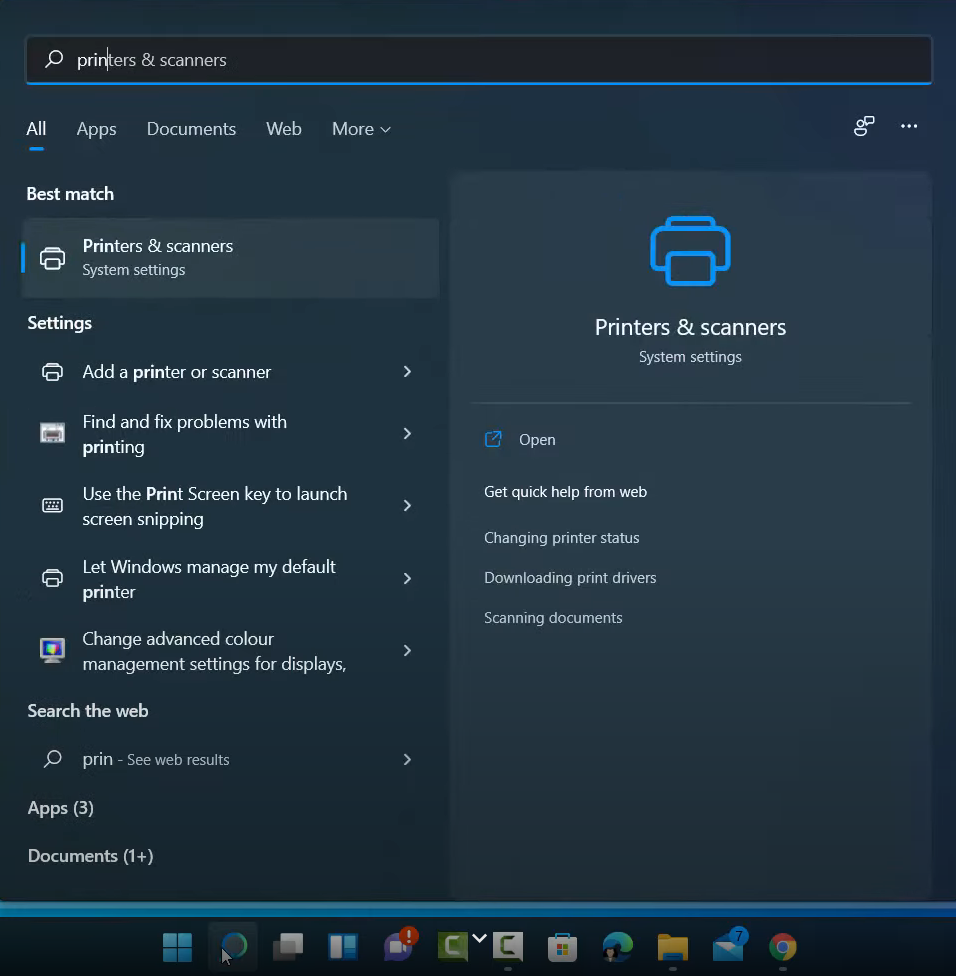
1. Click on the search icon and search for Printers & scanners.
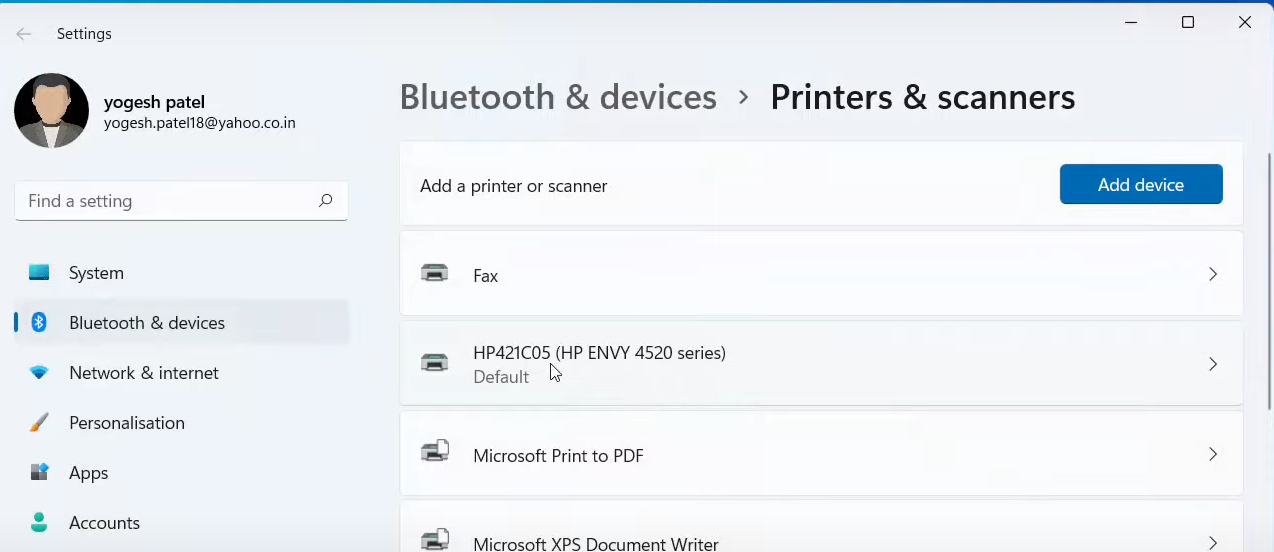
2. Once it opens, you will be able to see your default printer in the list. If your printer is not visible, you can search for that printer using Add device.
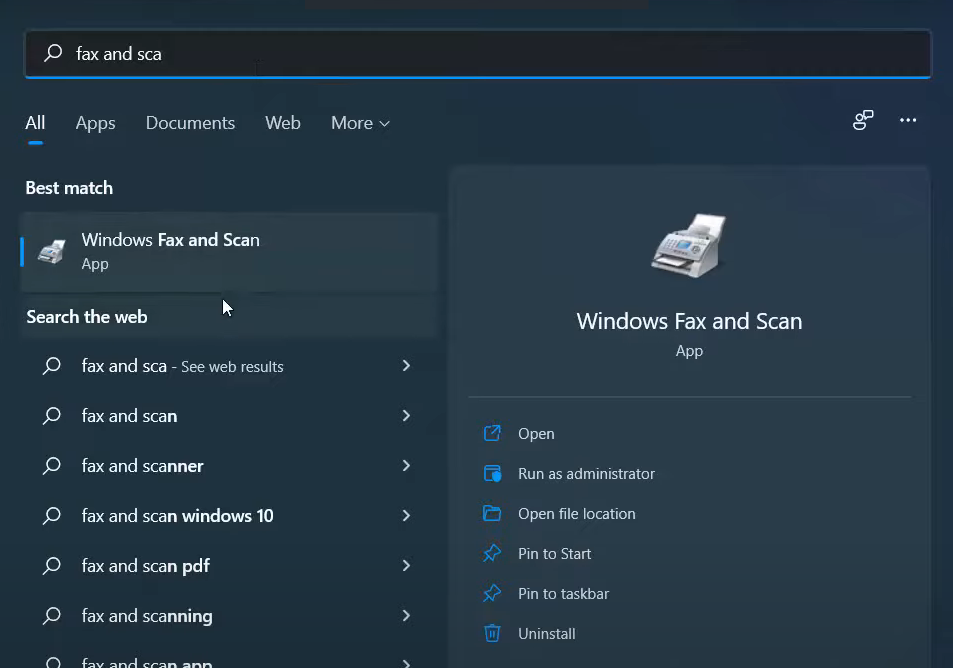
3. Once your printer is connected, click on the search icon once again and search for Fax and scan. Click on that option.
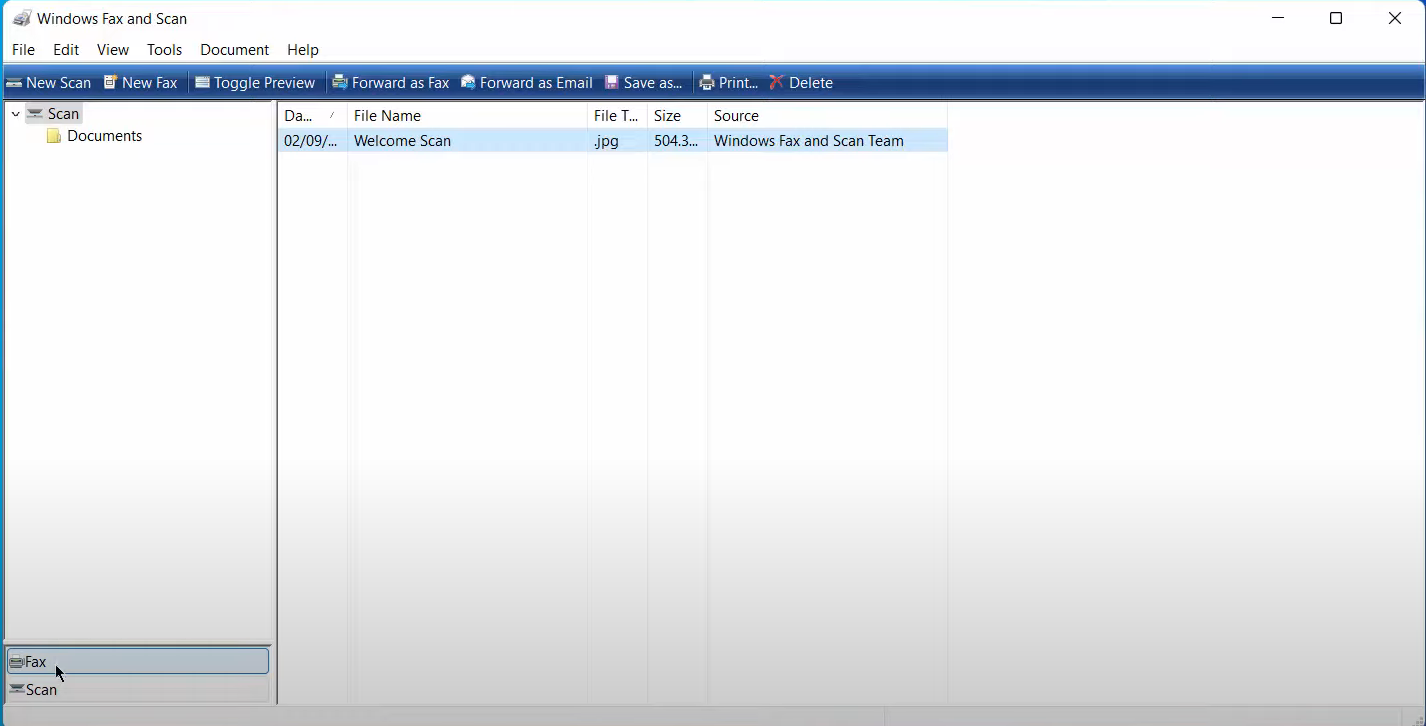
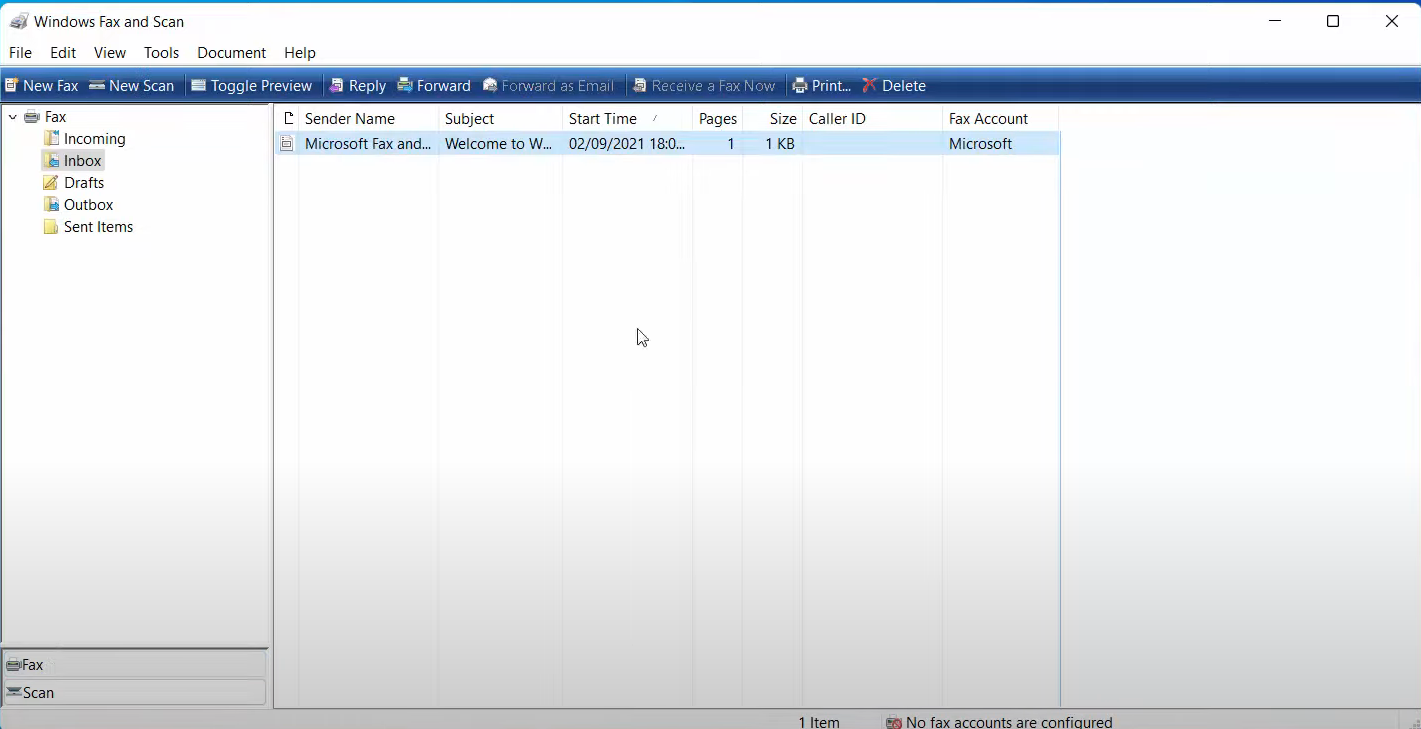
4. It will open this kind of window. At the bottom, you will be able to see the Fax option.
5. When you click on it, it will open this kind of window.
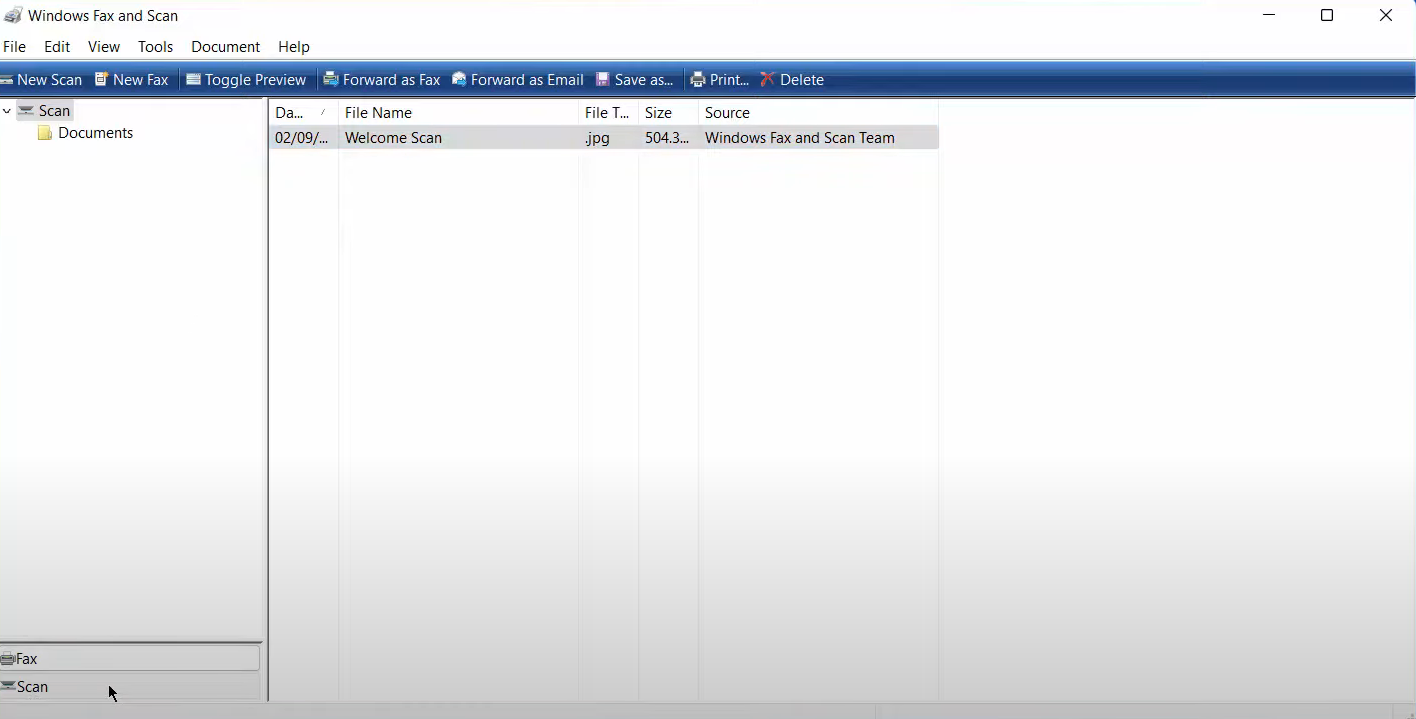
6. When you click on Scan, it will open the scan window. Make sure you select the scan option.
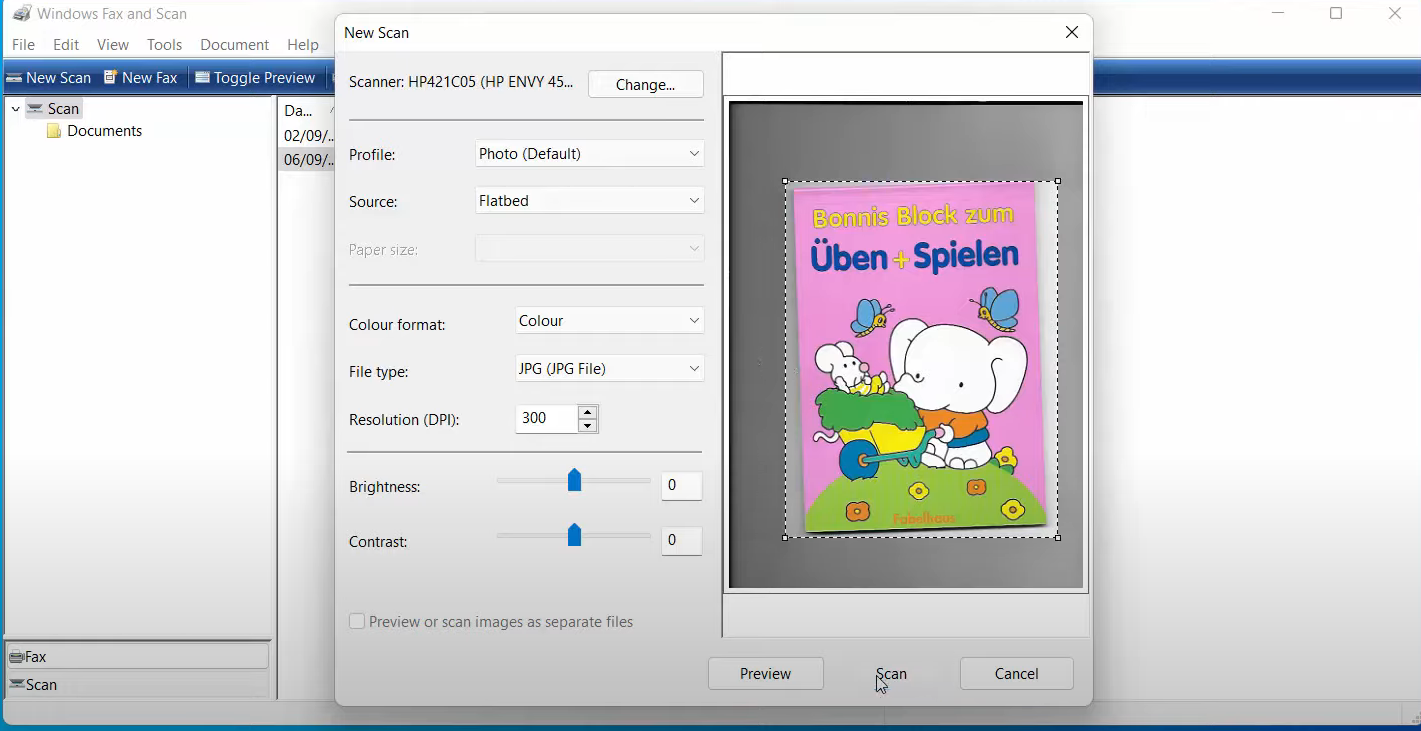
7. Click on the New scan option. You will be able to see your default scanner.
8. Now you have to select the document that you want to scan. Just put any document under the scanner. Then click on Preview.
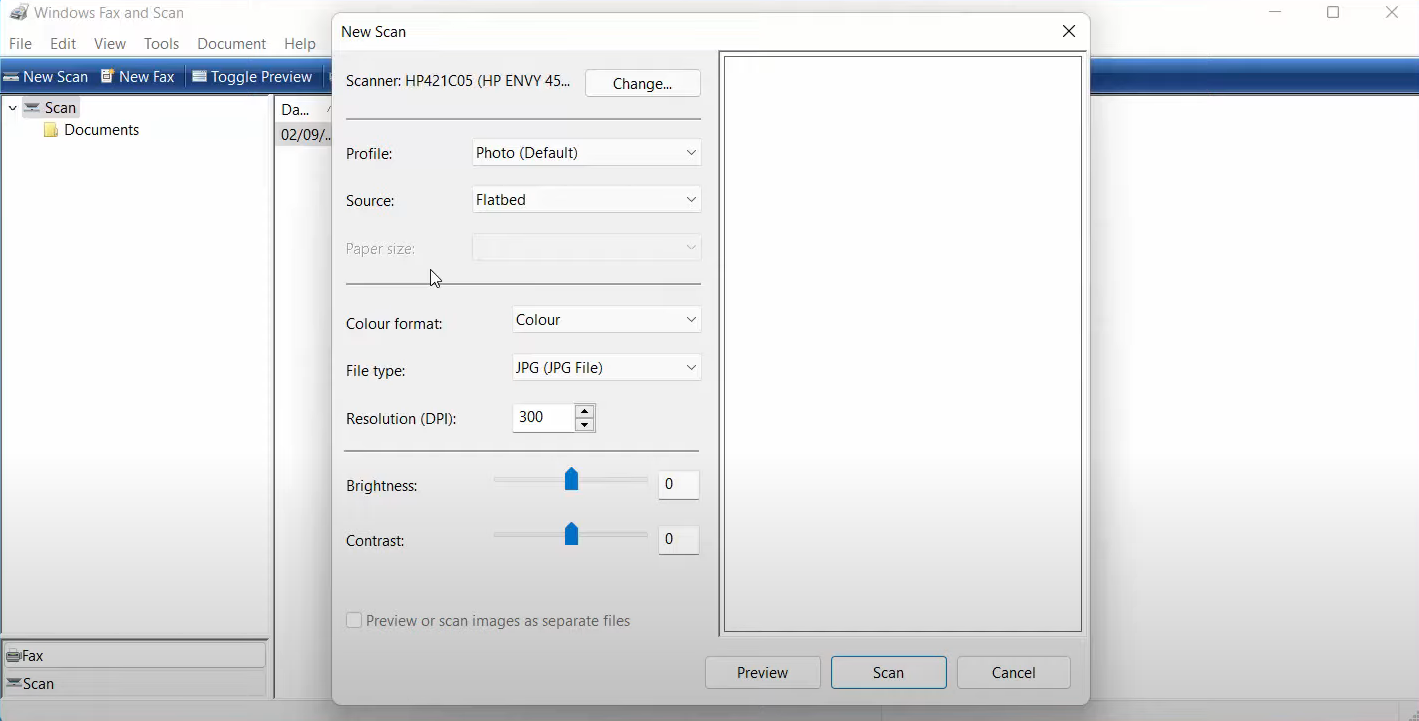
9. The scanner will start to scan the document. The scan has been finished.

10. Now, I can save the scanned document. On the left-hand side, you can choose what kind of document that you want. You can also change the color format, file type, resolution, brightness, and contrast according to your choice.

11. Once you have made all the changes, click on Scan. It will save the document.
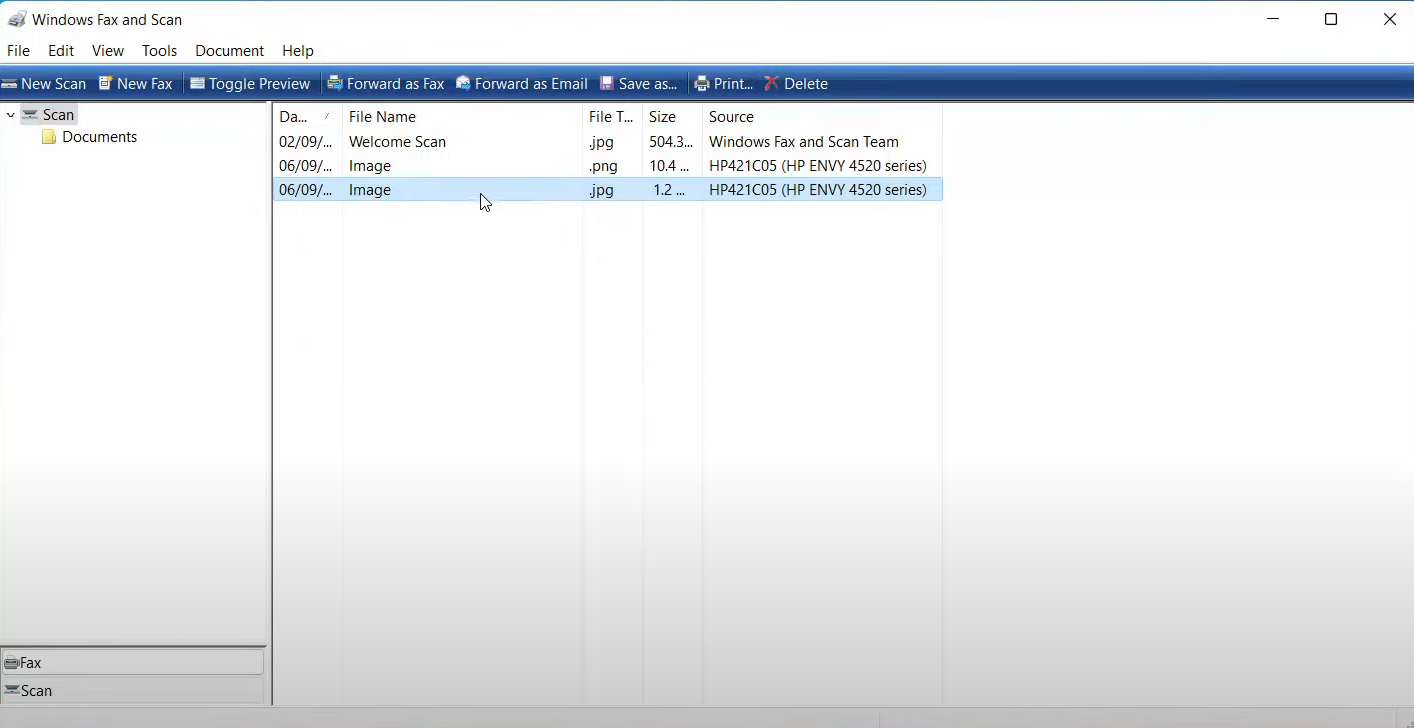
12. After the scan is finished, you can see the scanned document.
13. Click on the search bar and search for Scanned documents. This is the default folder where your scan will be saved.
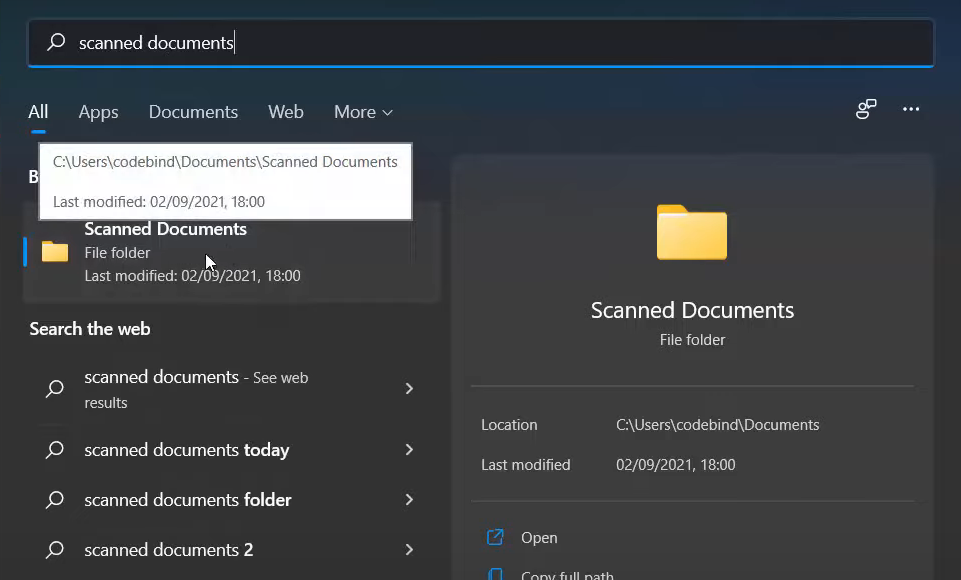
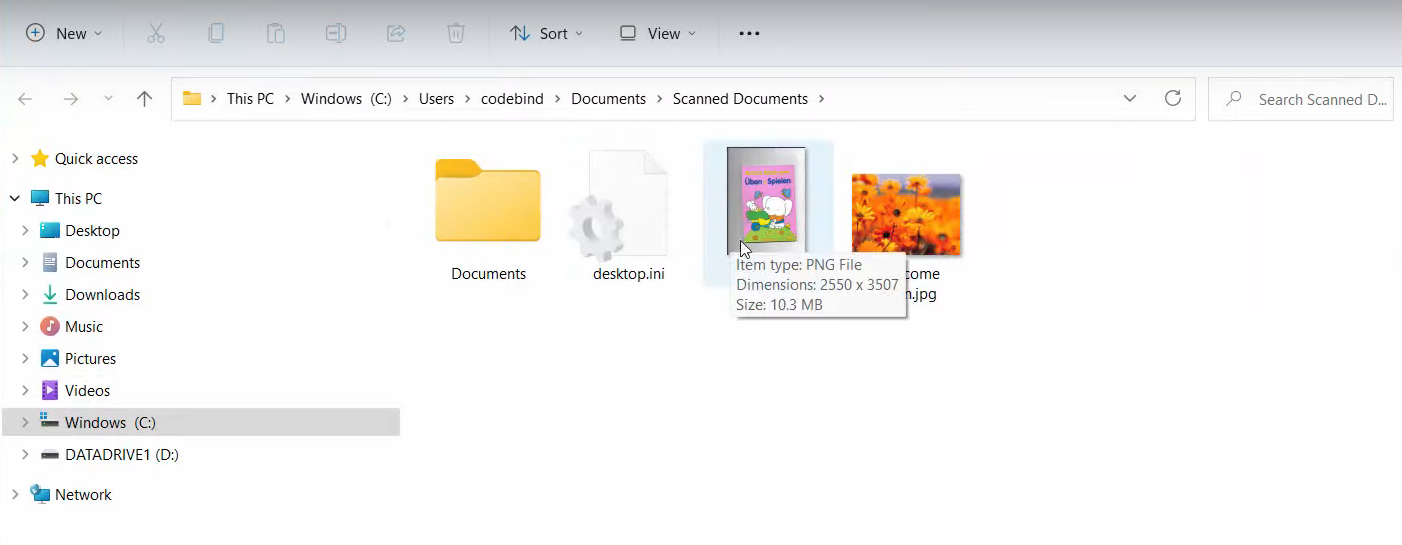
14. Click on that folder. You will be able to see the scanned image.
15. Let’s see how we can resize and change the default location of the scan. Once again click on New scan. I am going to choose the jpg option. Then, click on the Preview option. It will show the preview. You can realize this image by moving the arrow. Then click on Scan.
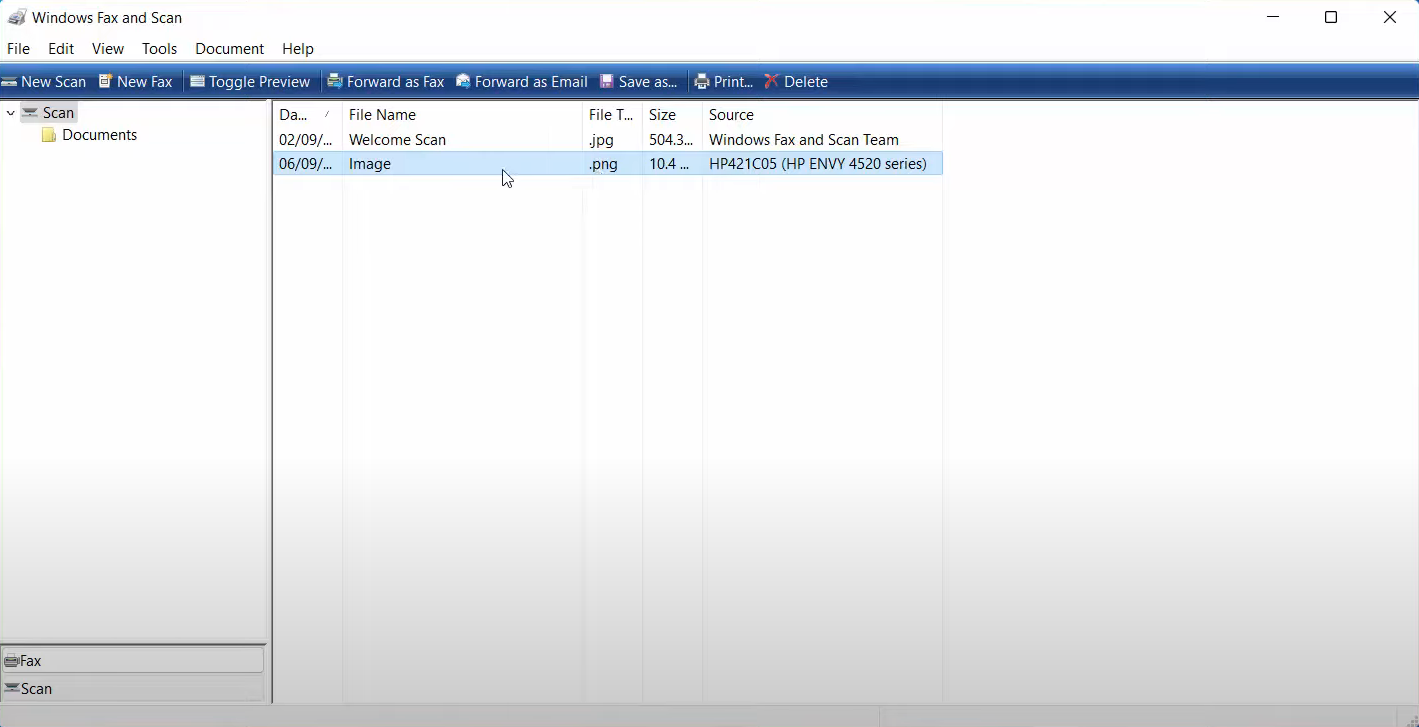
16. Now you can see the scanned document has been added.
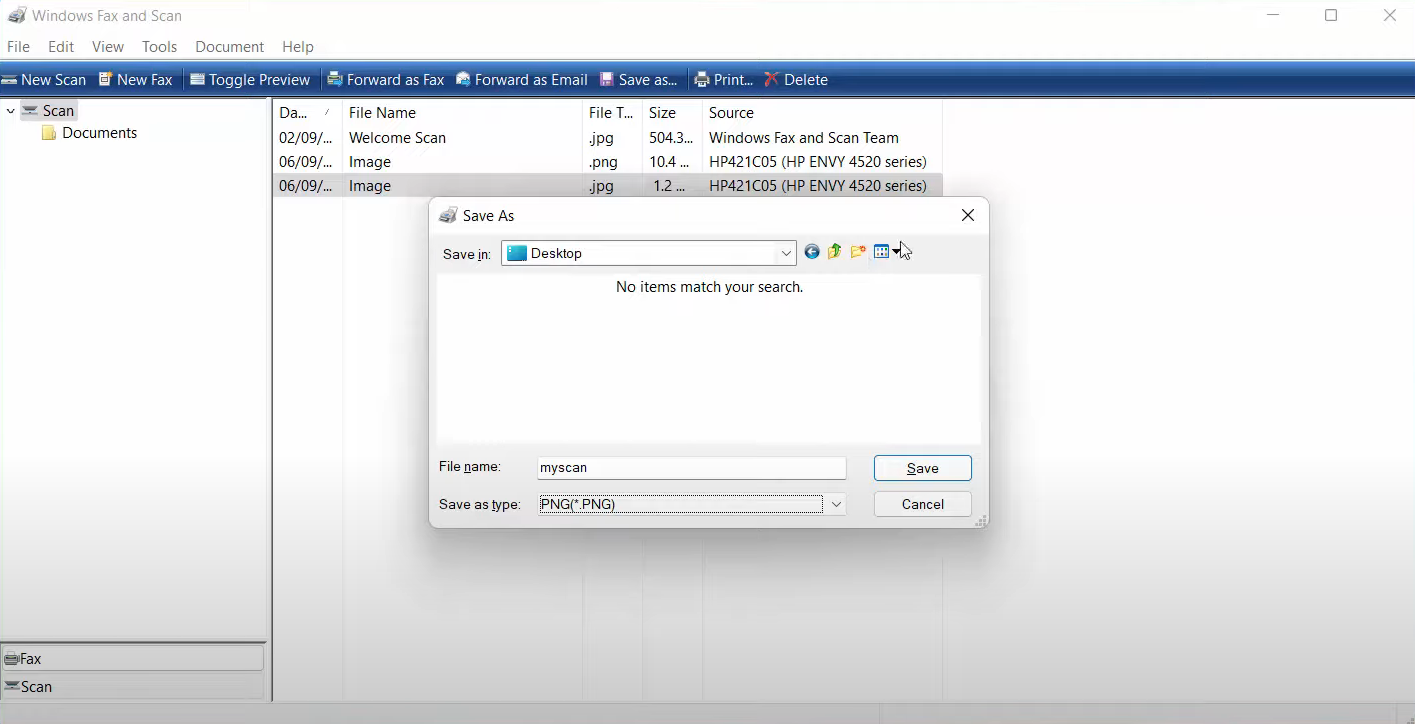
17. You can also save this image. Right-click on this image and click Save as. You can choose this image in the folder of your choice. I am going to select the desktop and going to save it as myscan. You can also choose the file type here. Once you have selected everything, click on Save. It will be saved in the specified location.
These are the steps for scanning a document or photo on your Windows 11 Operating System.
Leave a Reply