
In this blog post, I will give a detailed view of installing a Firefox browser on your Windows 11 Operating System. Every windows operating system comes with a default browser which is Microsoft Edge.
1. Open Microsoft Edge and search for Firefox English download.

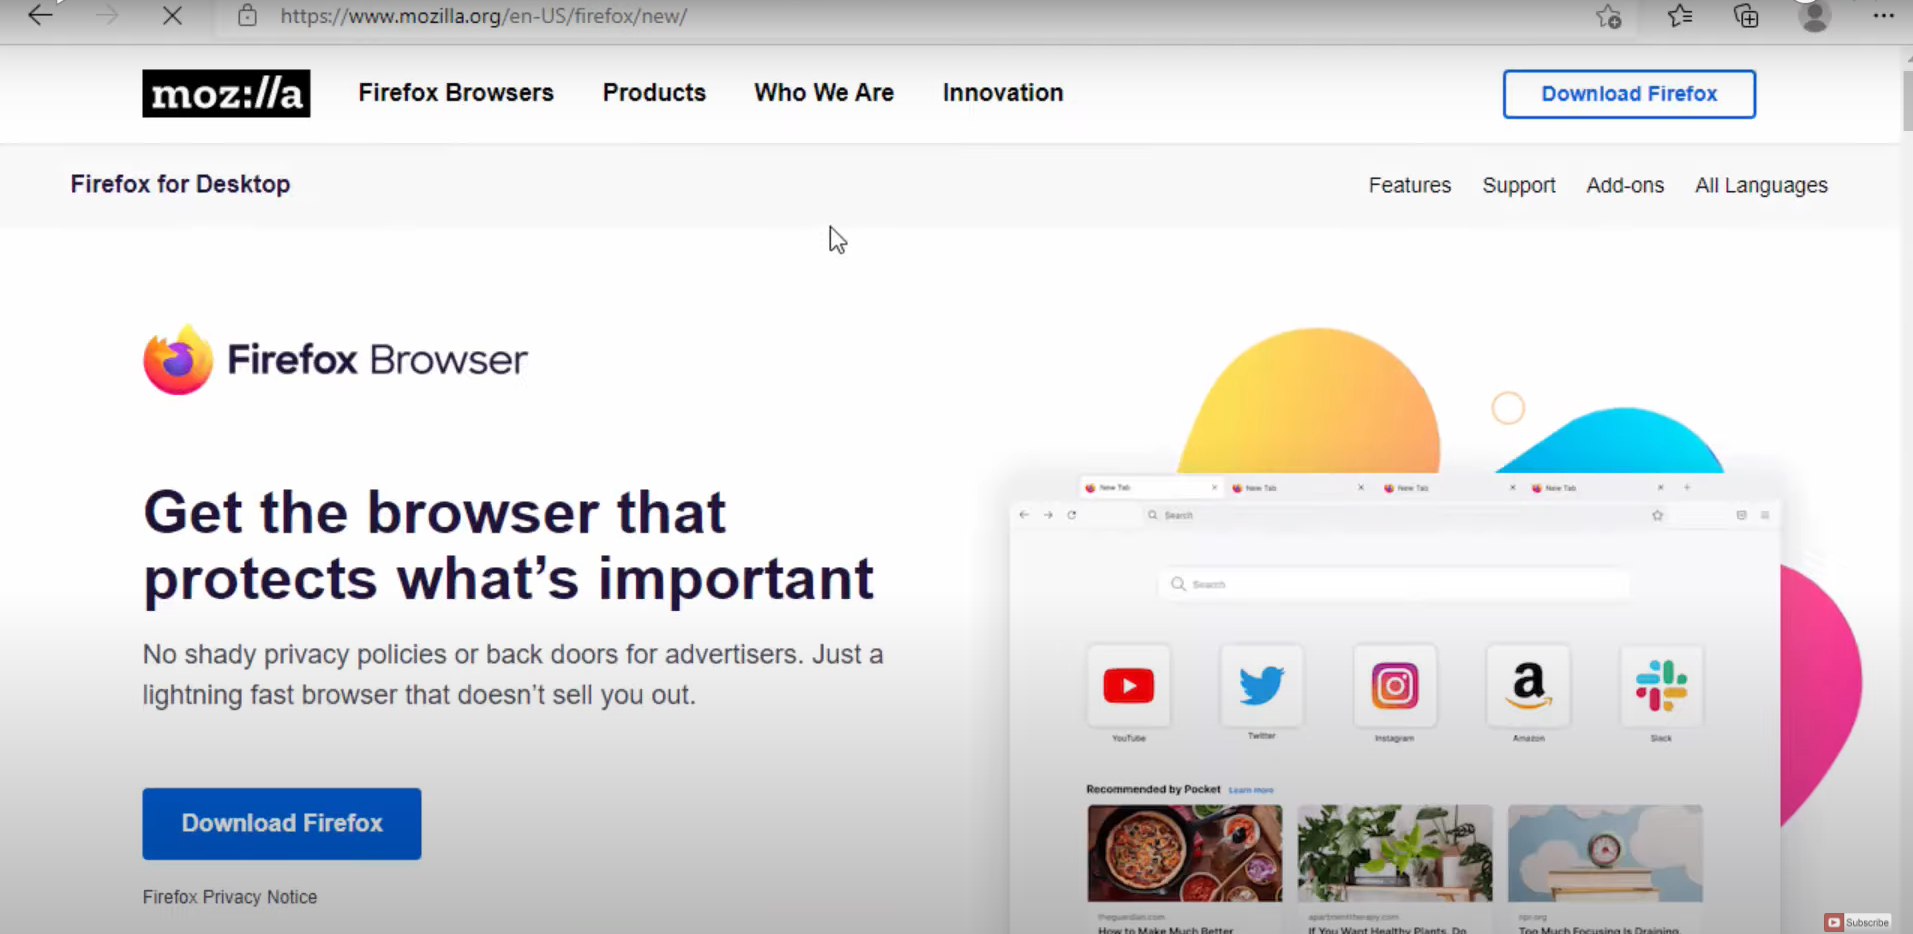
2. Click on this result.

3. It will take you to this tab. Click on the Download Firefox button.
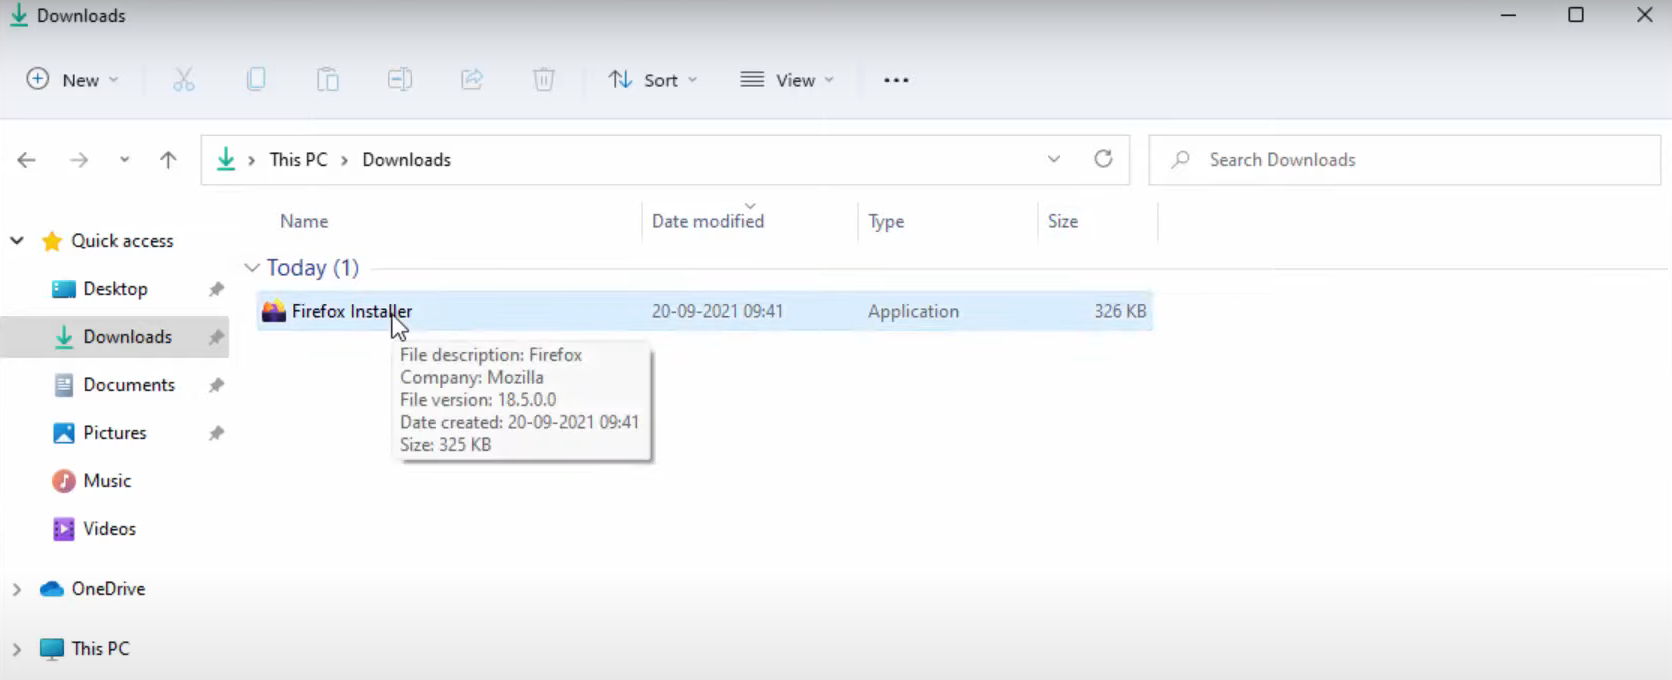
4. It has started to download now. You can either go to the Downloads folder or click on this option.

5. I am going to open it through file explorer. Open it and click on downloads. Click on Firefox installer. Then minimize Microsoft Edge.
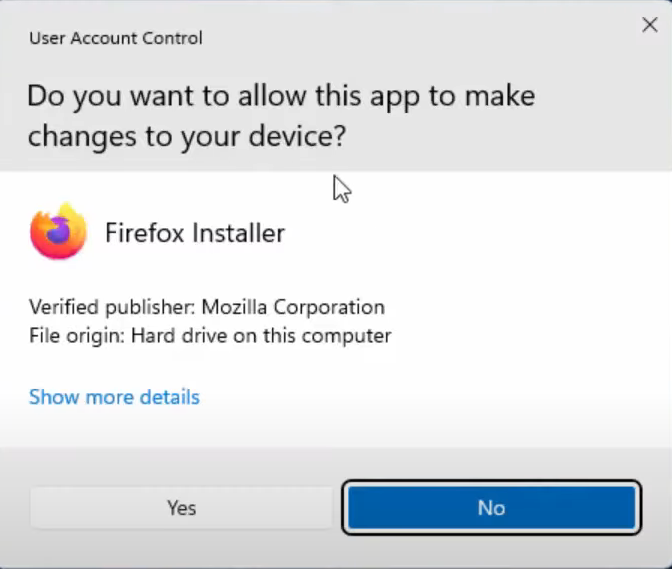
6. Click Yes to the warning.
7. It will start the installation process. Now the installation process has been finished.
8. Now, I can see Firefox on Windows desktop.

9. After some time, your Firefox window will be opened automatically.

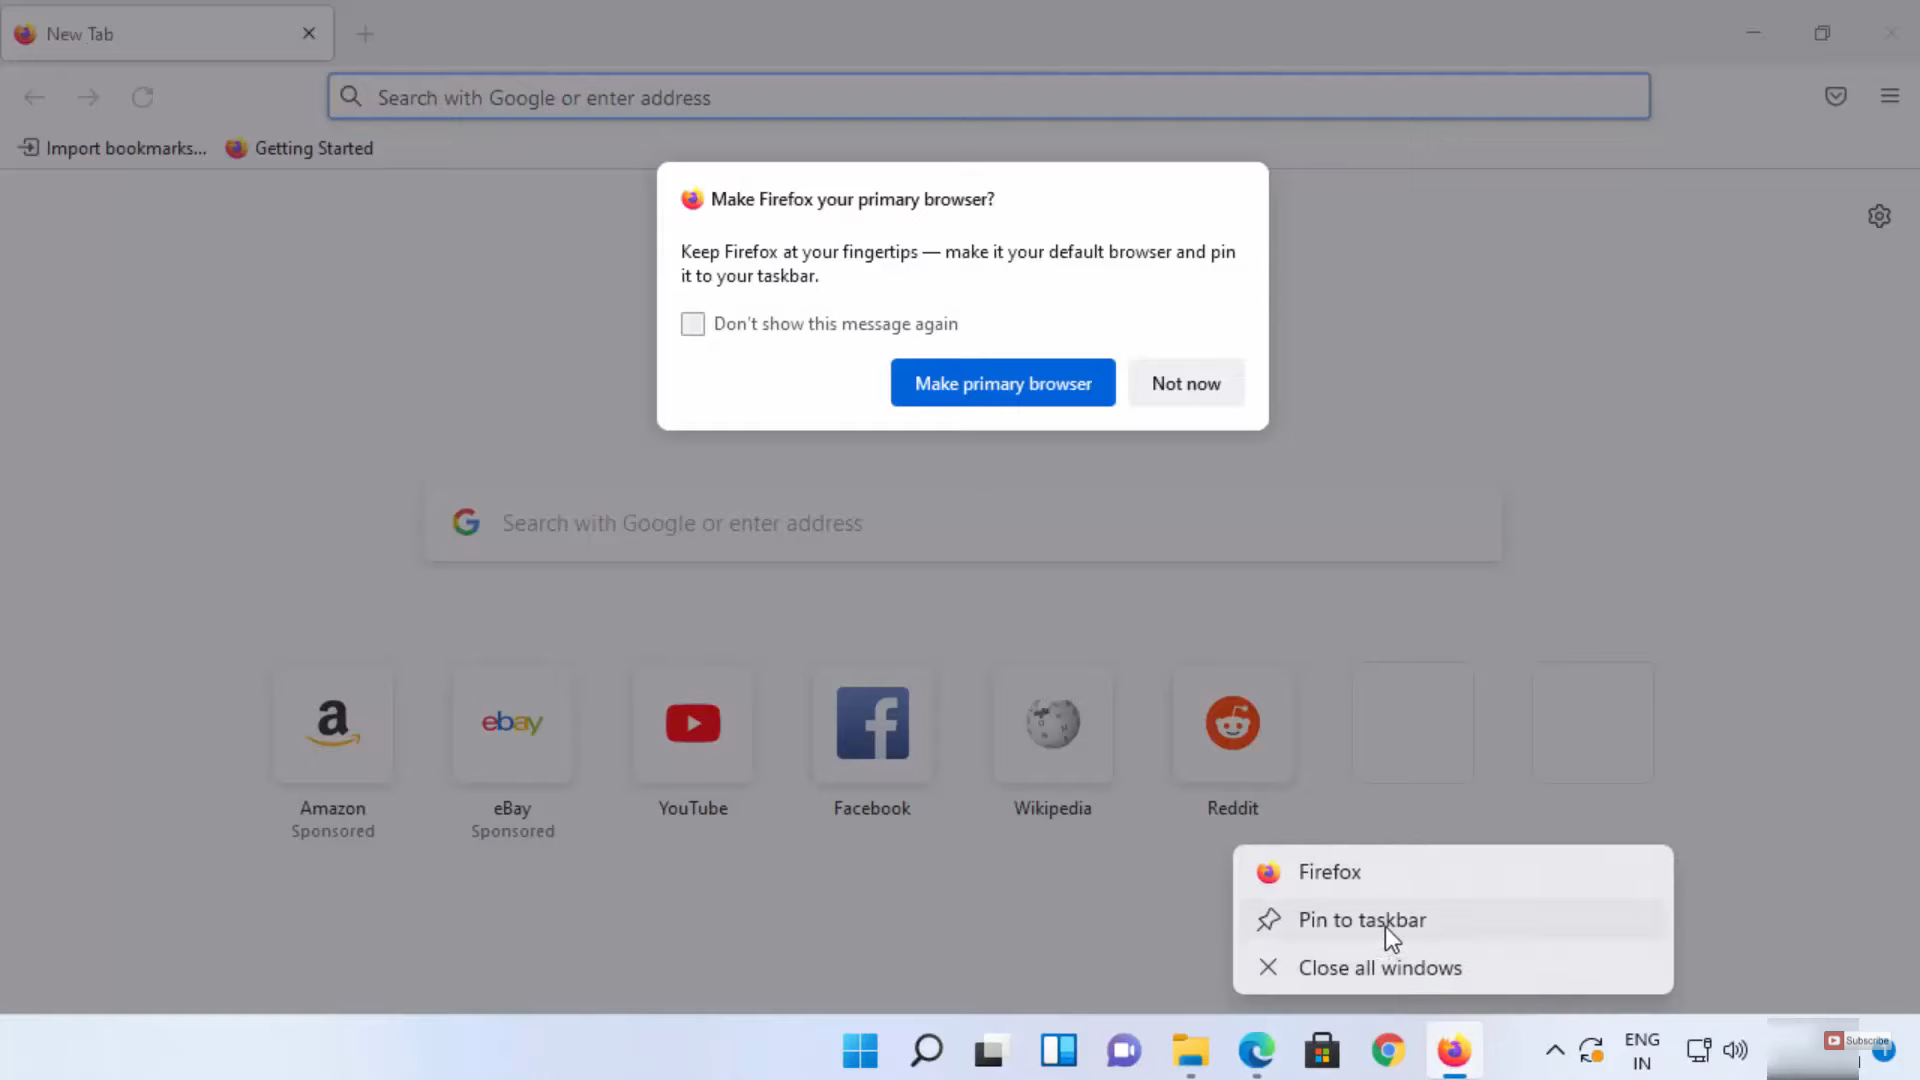
10. To add this Firefox to the taskbar, open the Firefox and it will appear in the taskbar. Right-click on it and click on the Pin to taskbar option. It will pin the Firefox icon to the taskbar. Form next time, if you want to open it, you can open it from the taskbar.
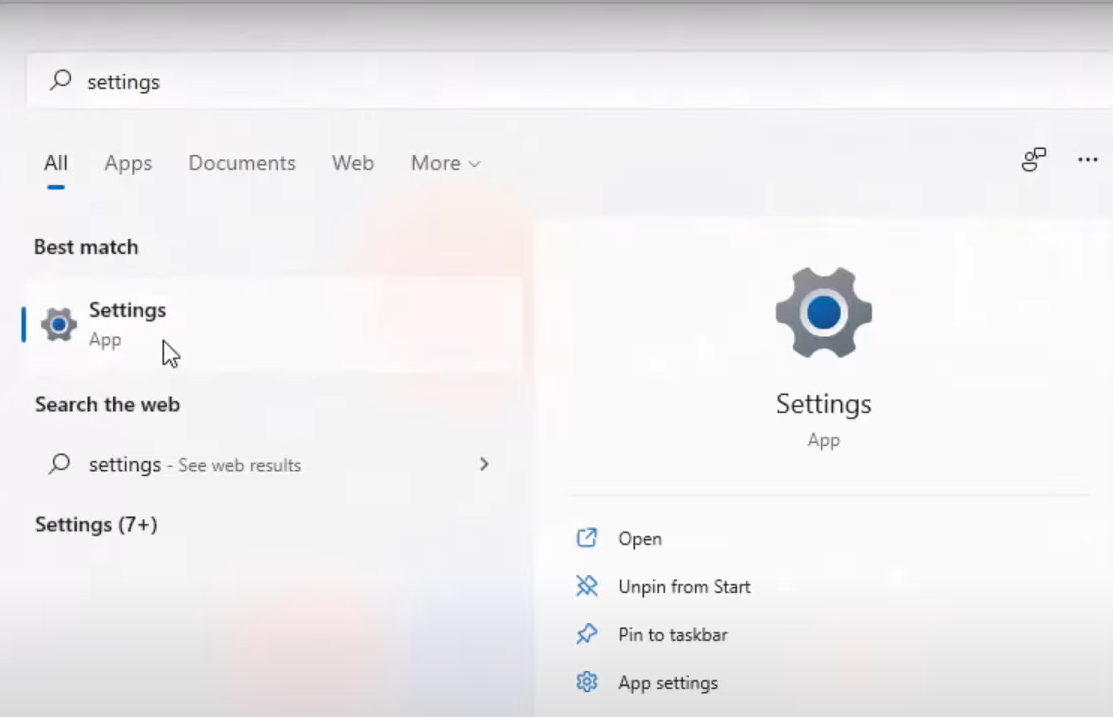
11. When you install Firefox, it will provide this kind of information warning that is whether you are going to set it as a default browser. If you want click on Set as default browser. After clicking that icon and couldn’t see any settings app opened, then click on the search icon and search for the Settings app.
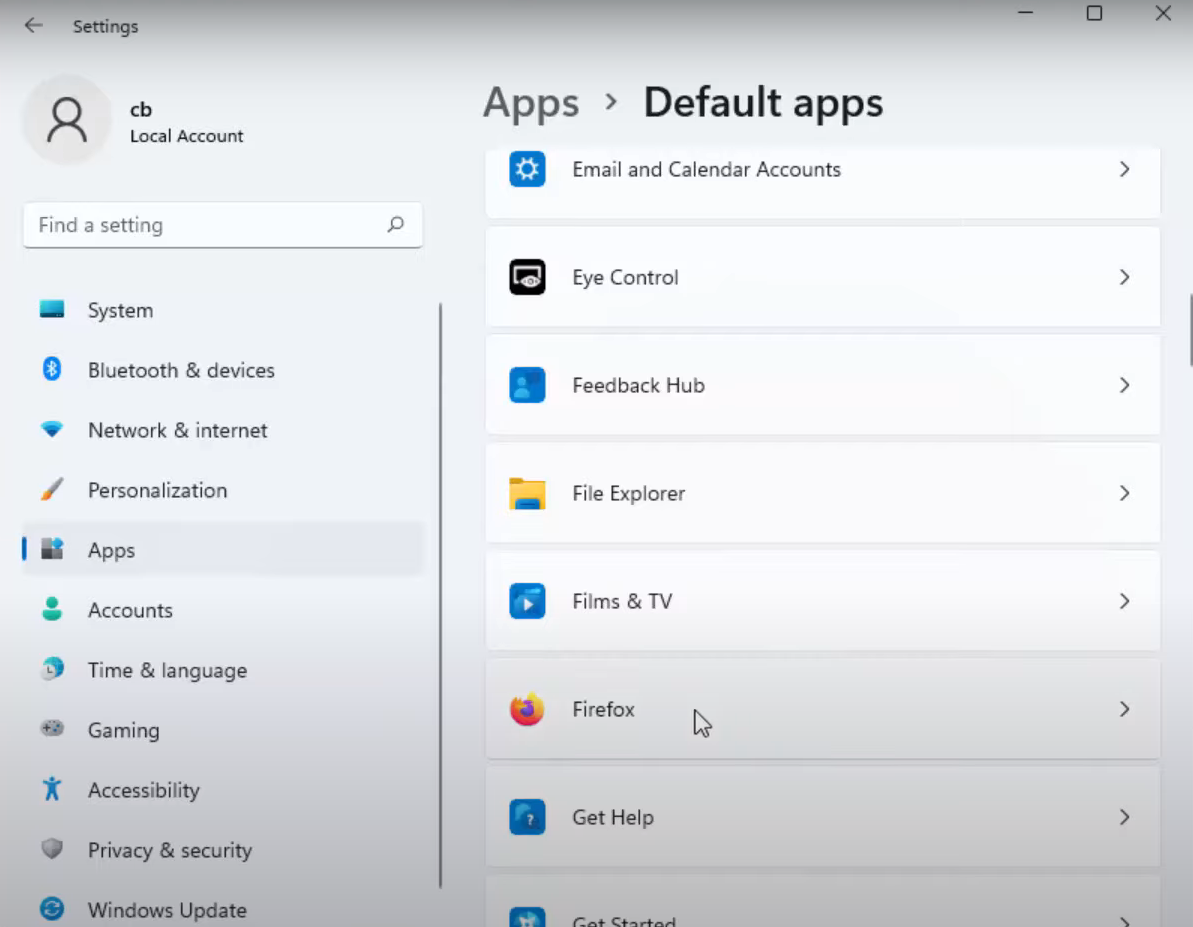
12. In the settings app, click on Apps. Then click on Default apps. In the list of default apps, check whether Firefox is listed or not. If it is listed, then it will work as your default web browser.
These are the steps for installing a Firefox browser on your Windows 11 Operating System.
Leave a Reply