
In this blog post, I will give a detailed view of installing XAMPP on your Windows 11 Operating System.
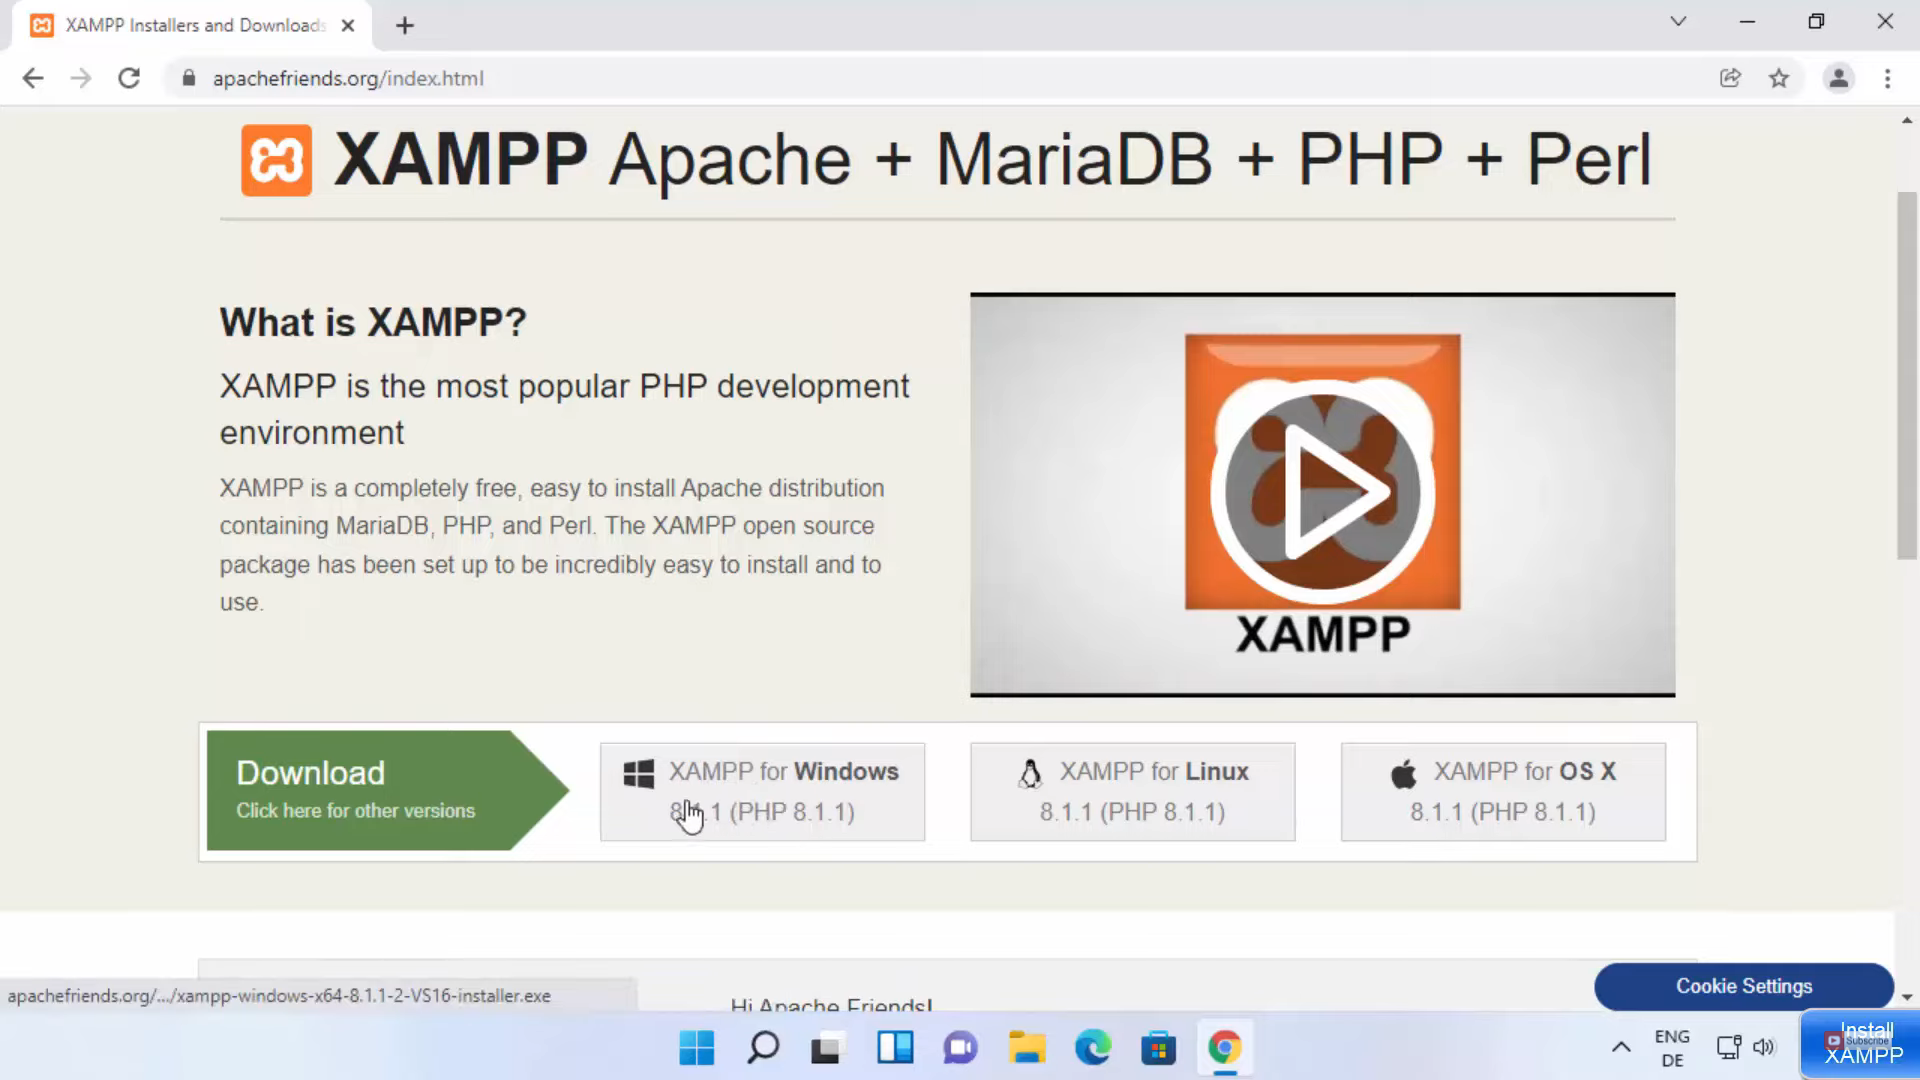
1. Open a web browser of your choice and search for xampp. Click on the first link.

2. Once the link opens, you will be able to see the version for Windows. Click on that version. It will start to download.
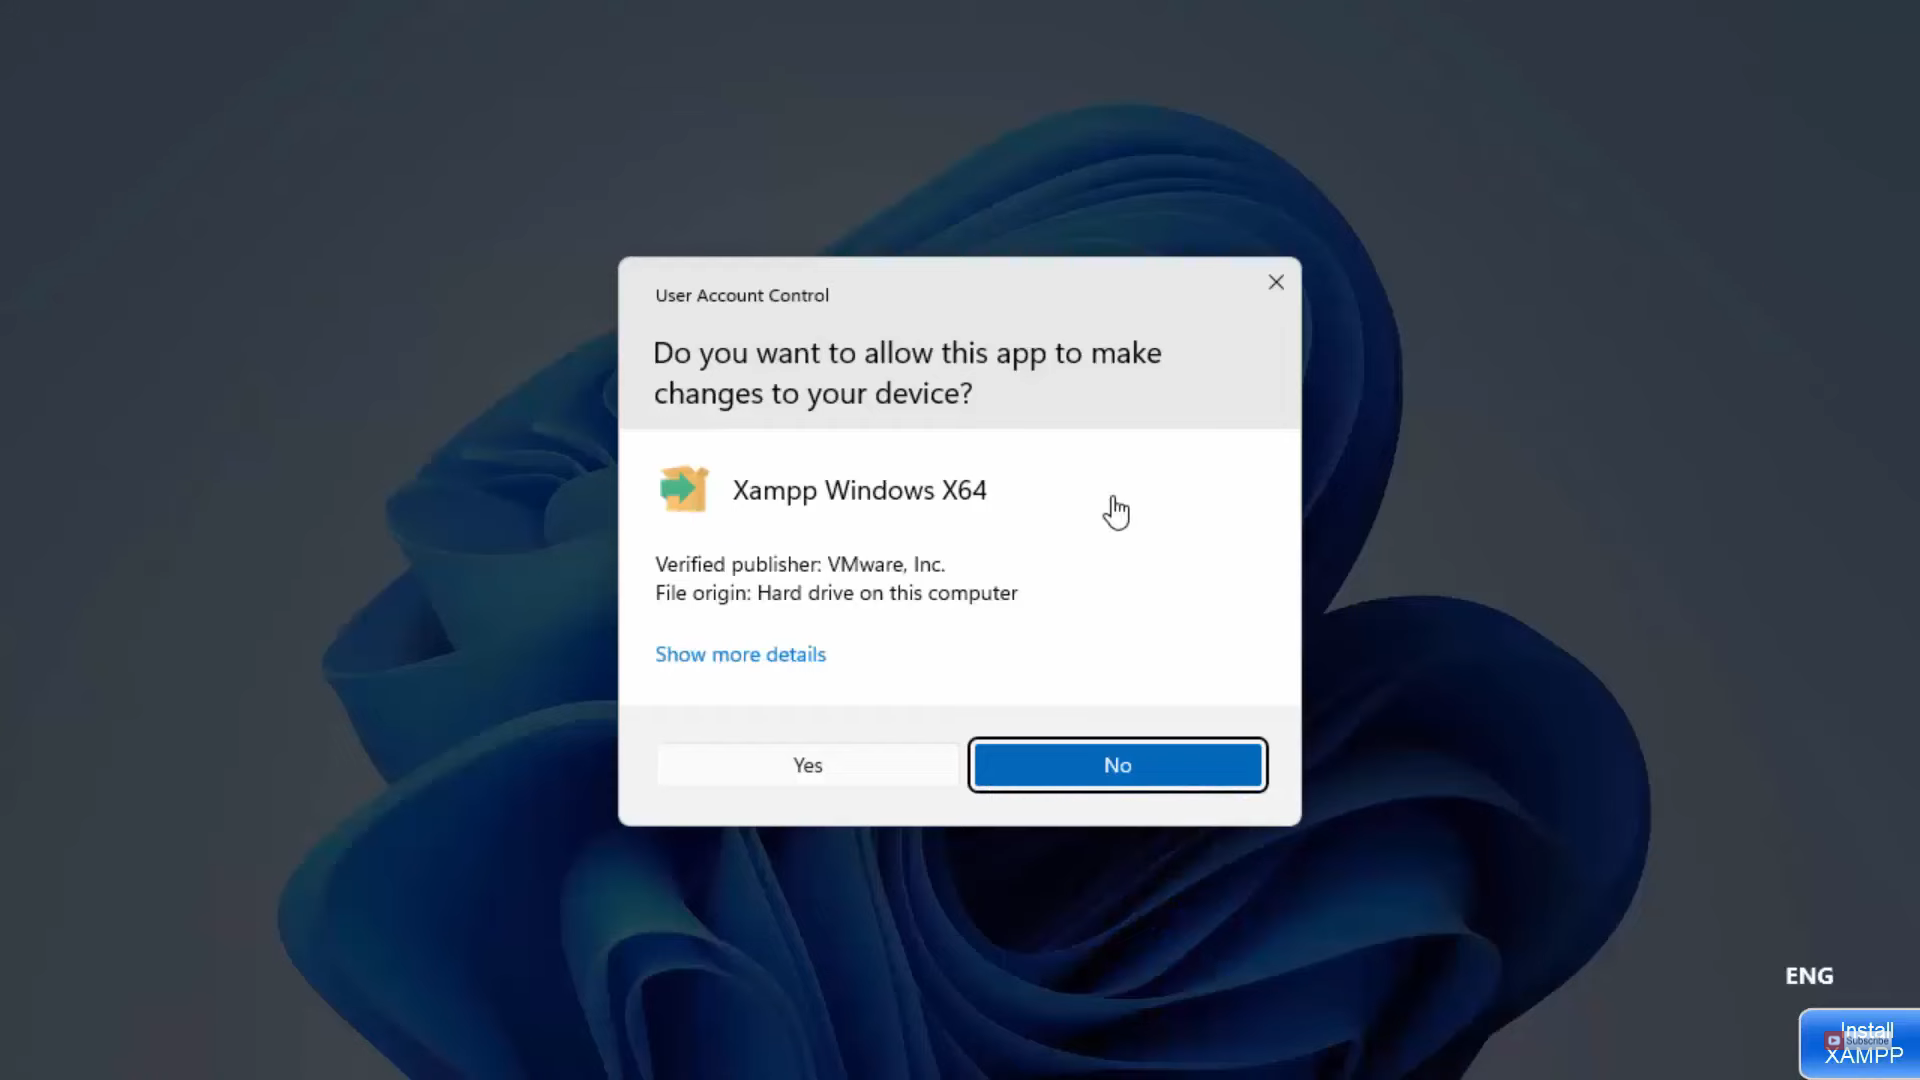
3. Once the download is complete, click on the exe file and minimize the browser. It will show a warning. Click on yes.
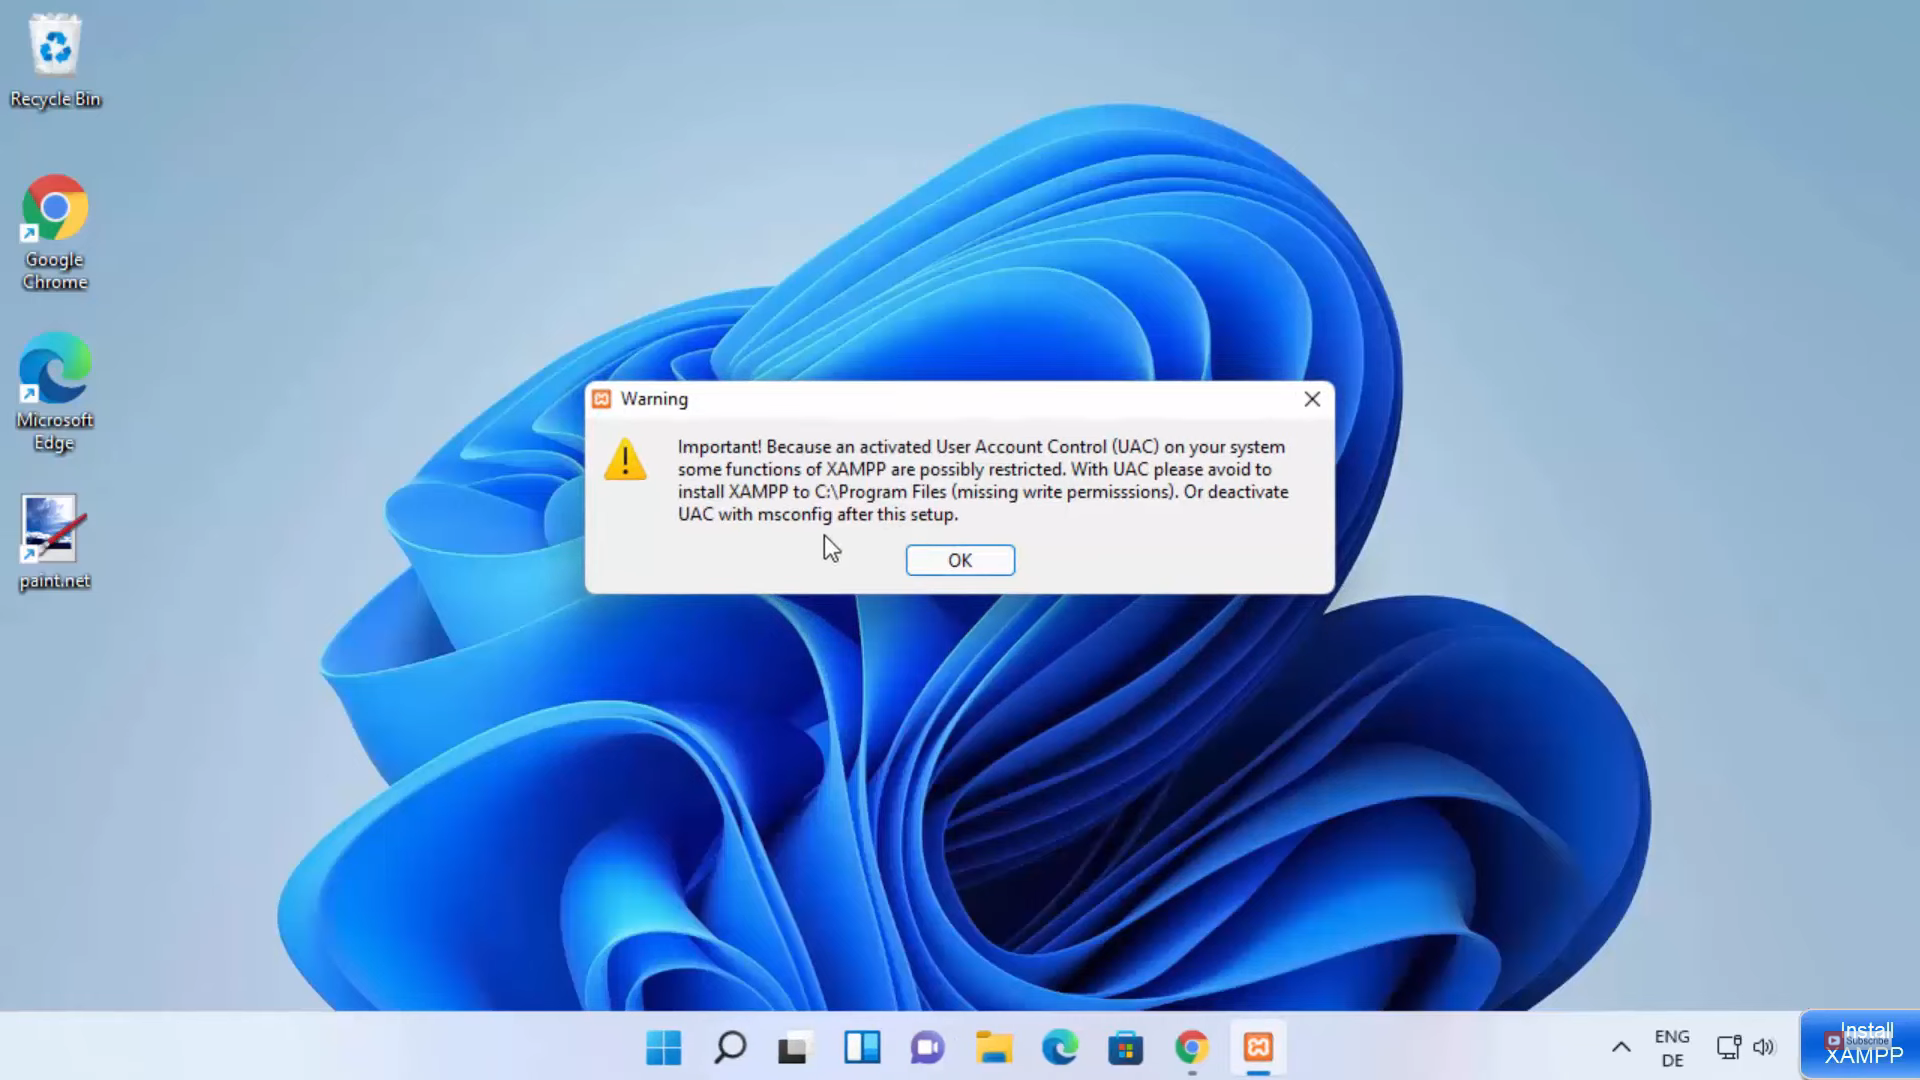
4. In the setup window, it will show a warning. Click on Ok.
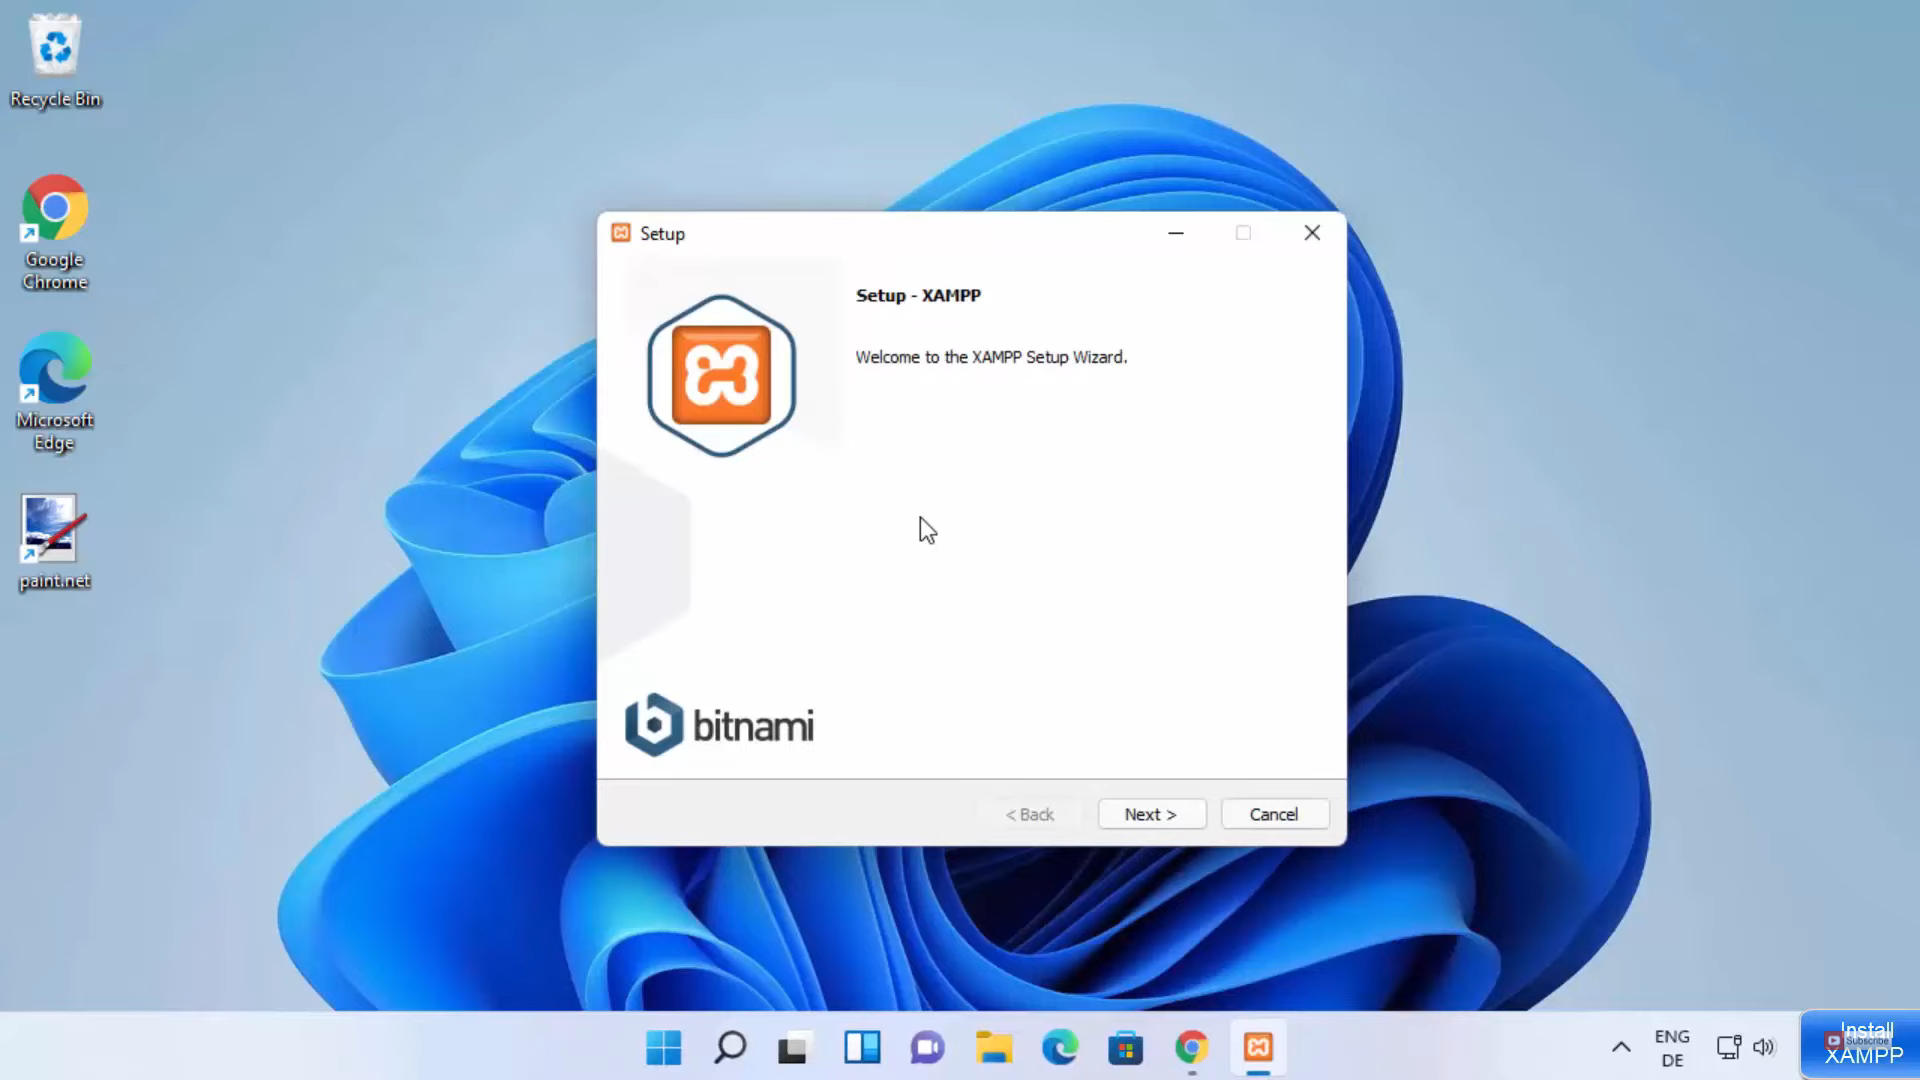
5. In this window, click on Next.
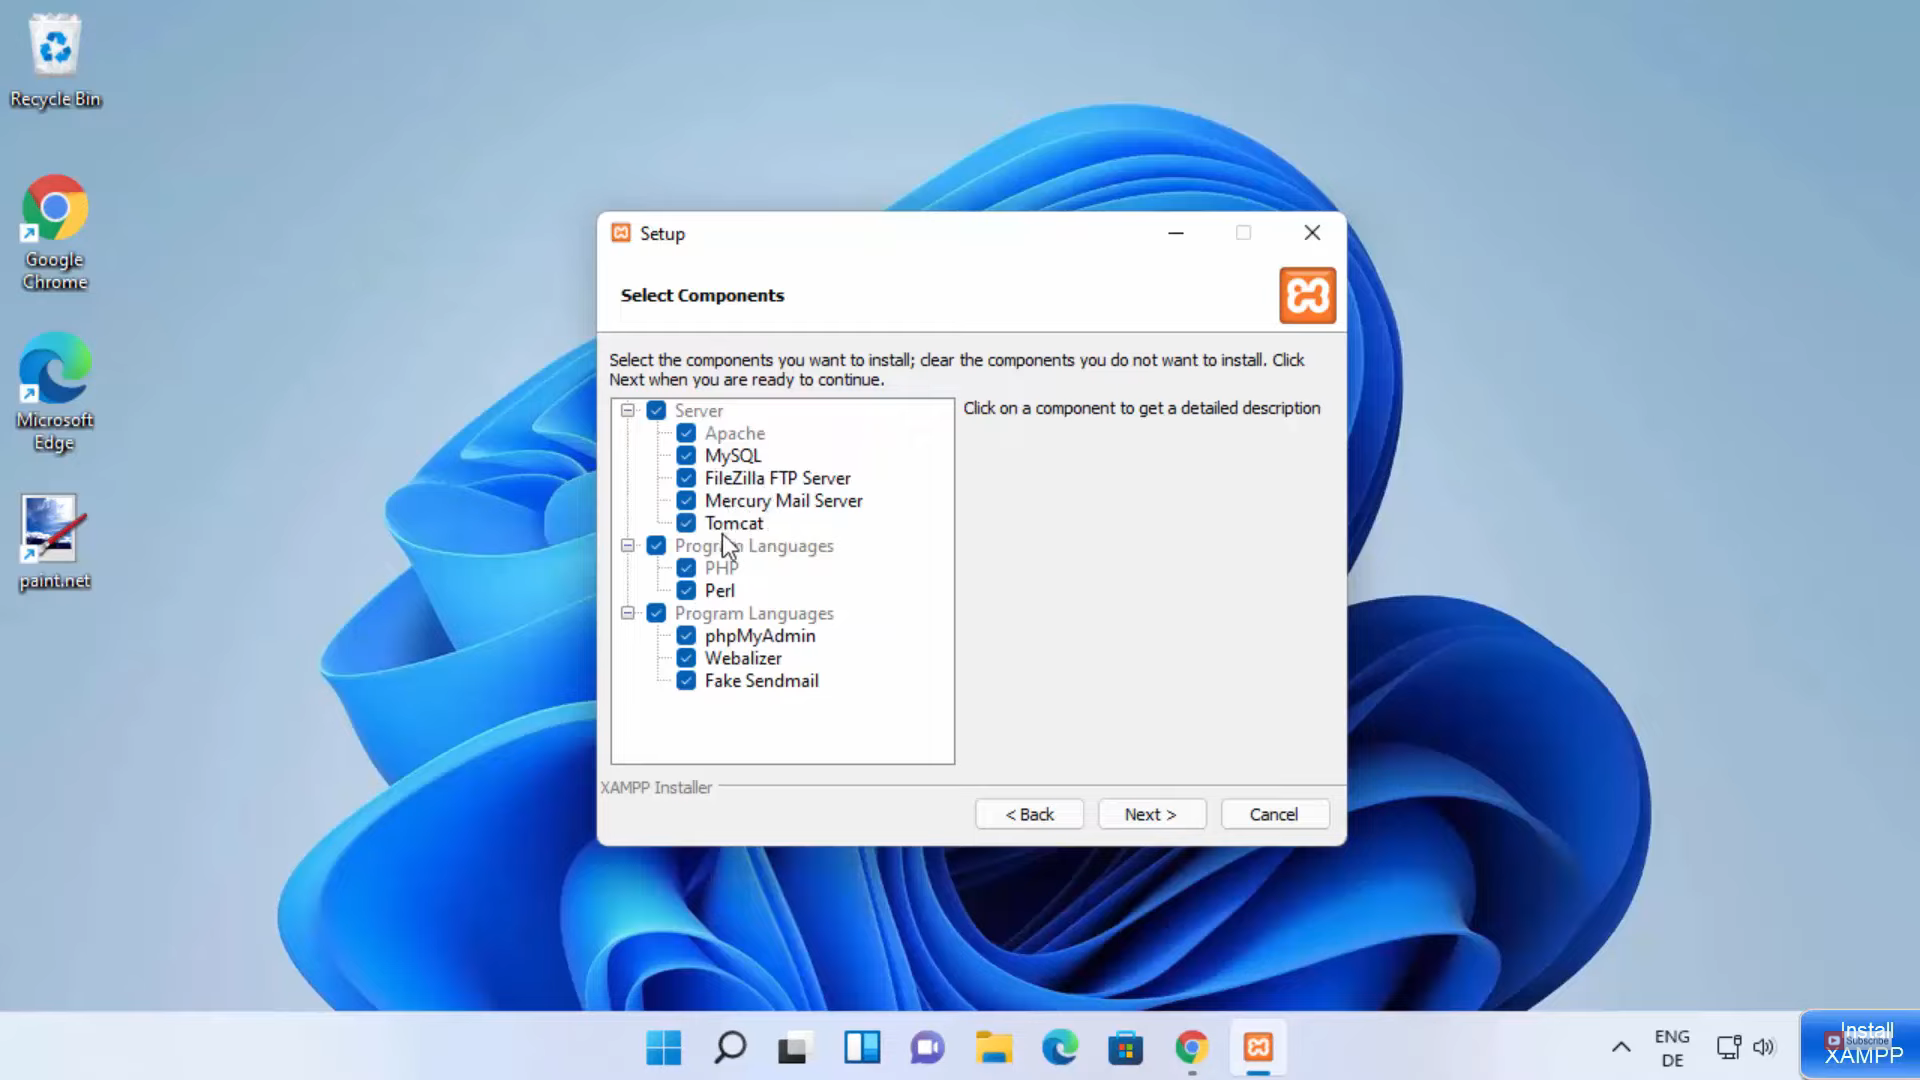
6. XAMPP server comes with many tools. So, I am going to leave everything as default and click on Next.
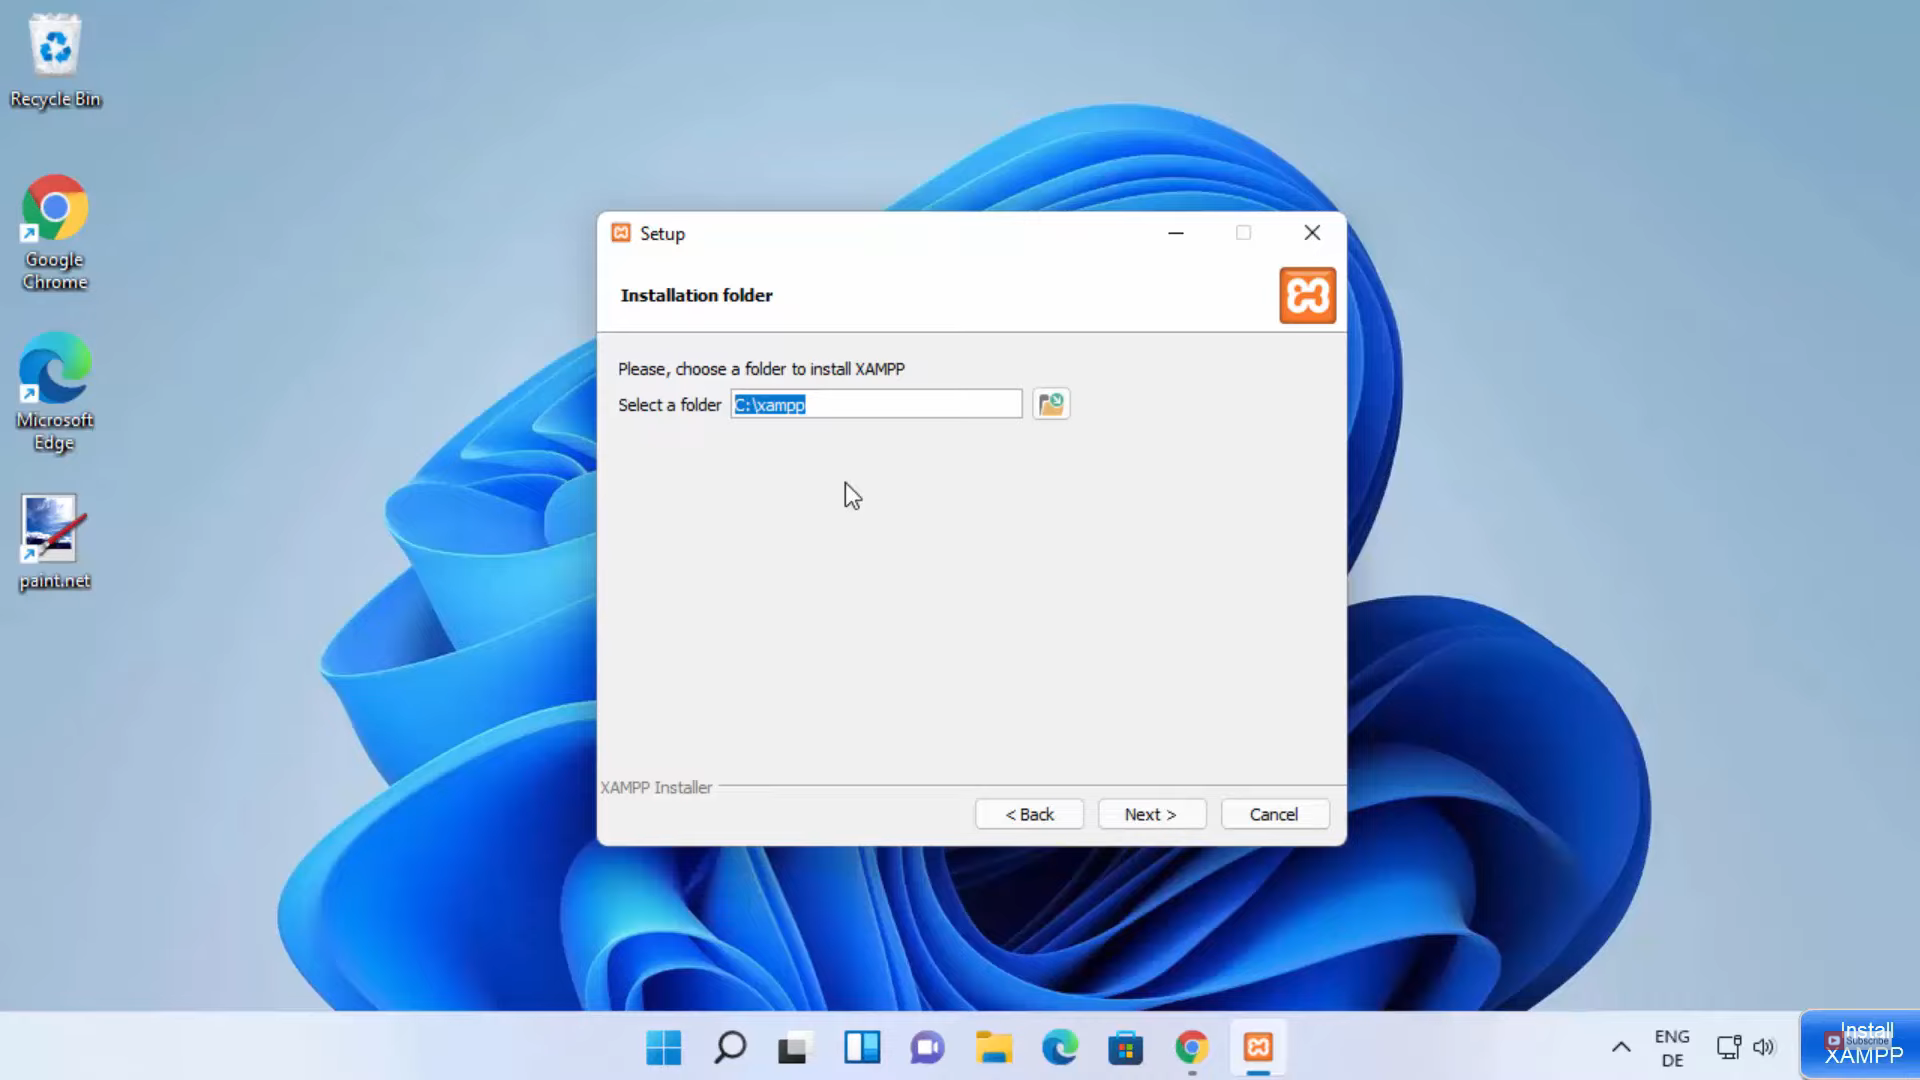
7. This will be the location where it will be installed. If you want, you can change the location. I am going to leave it as default and click on Next.
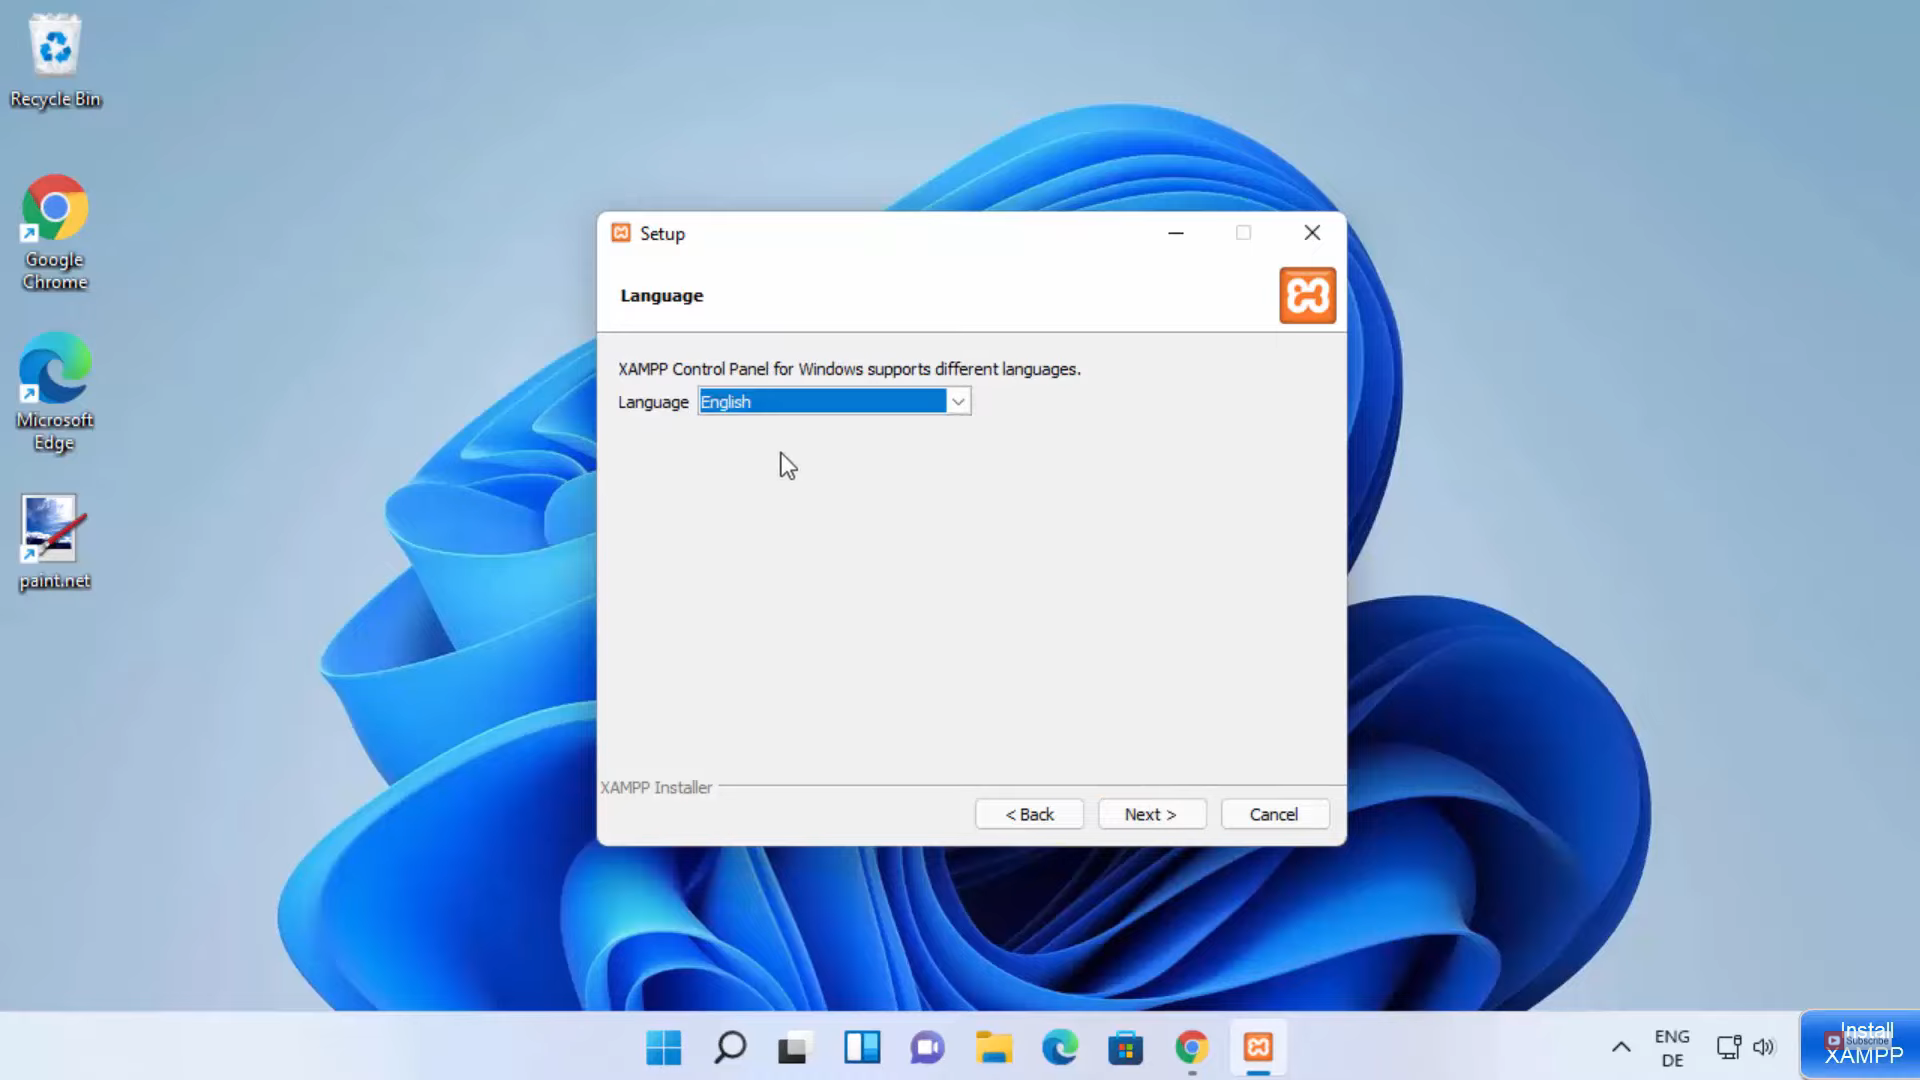
8. In the language window, I am going to choose English and click on Next.
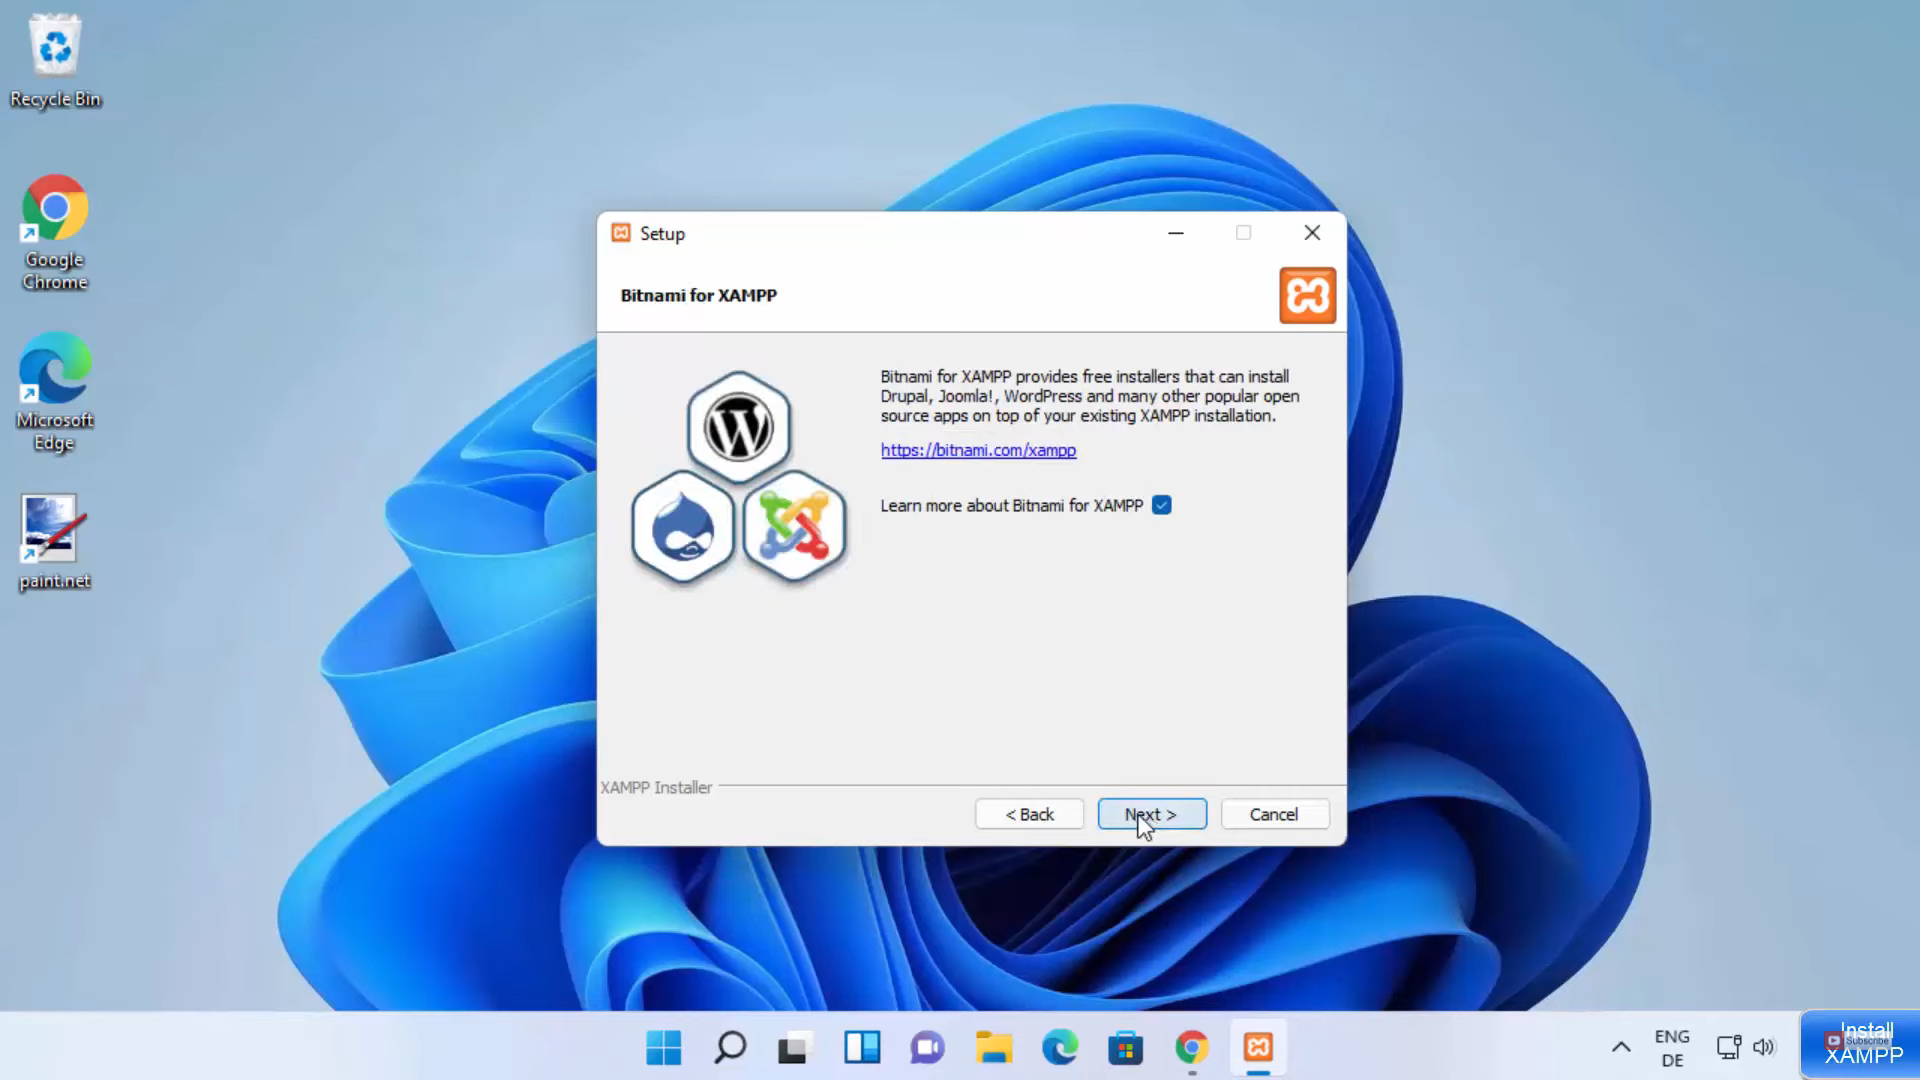
9. In this window, click on Next.
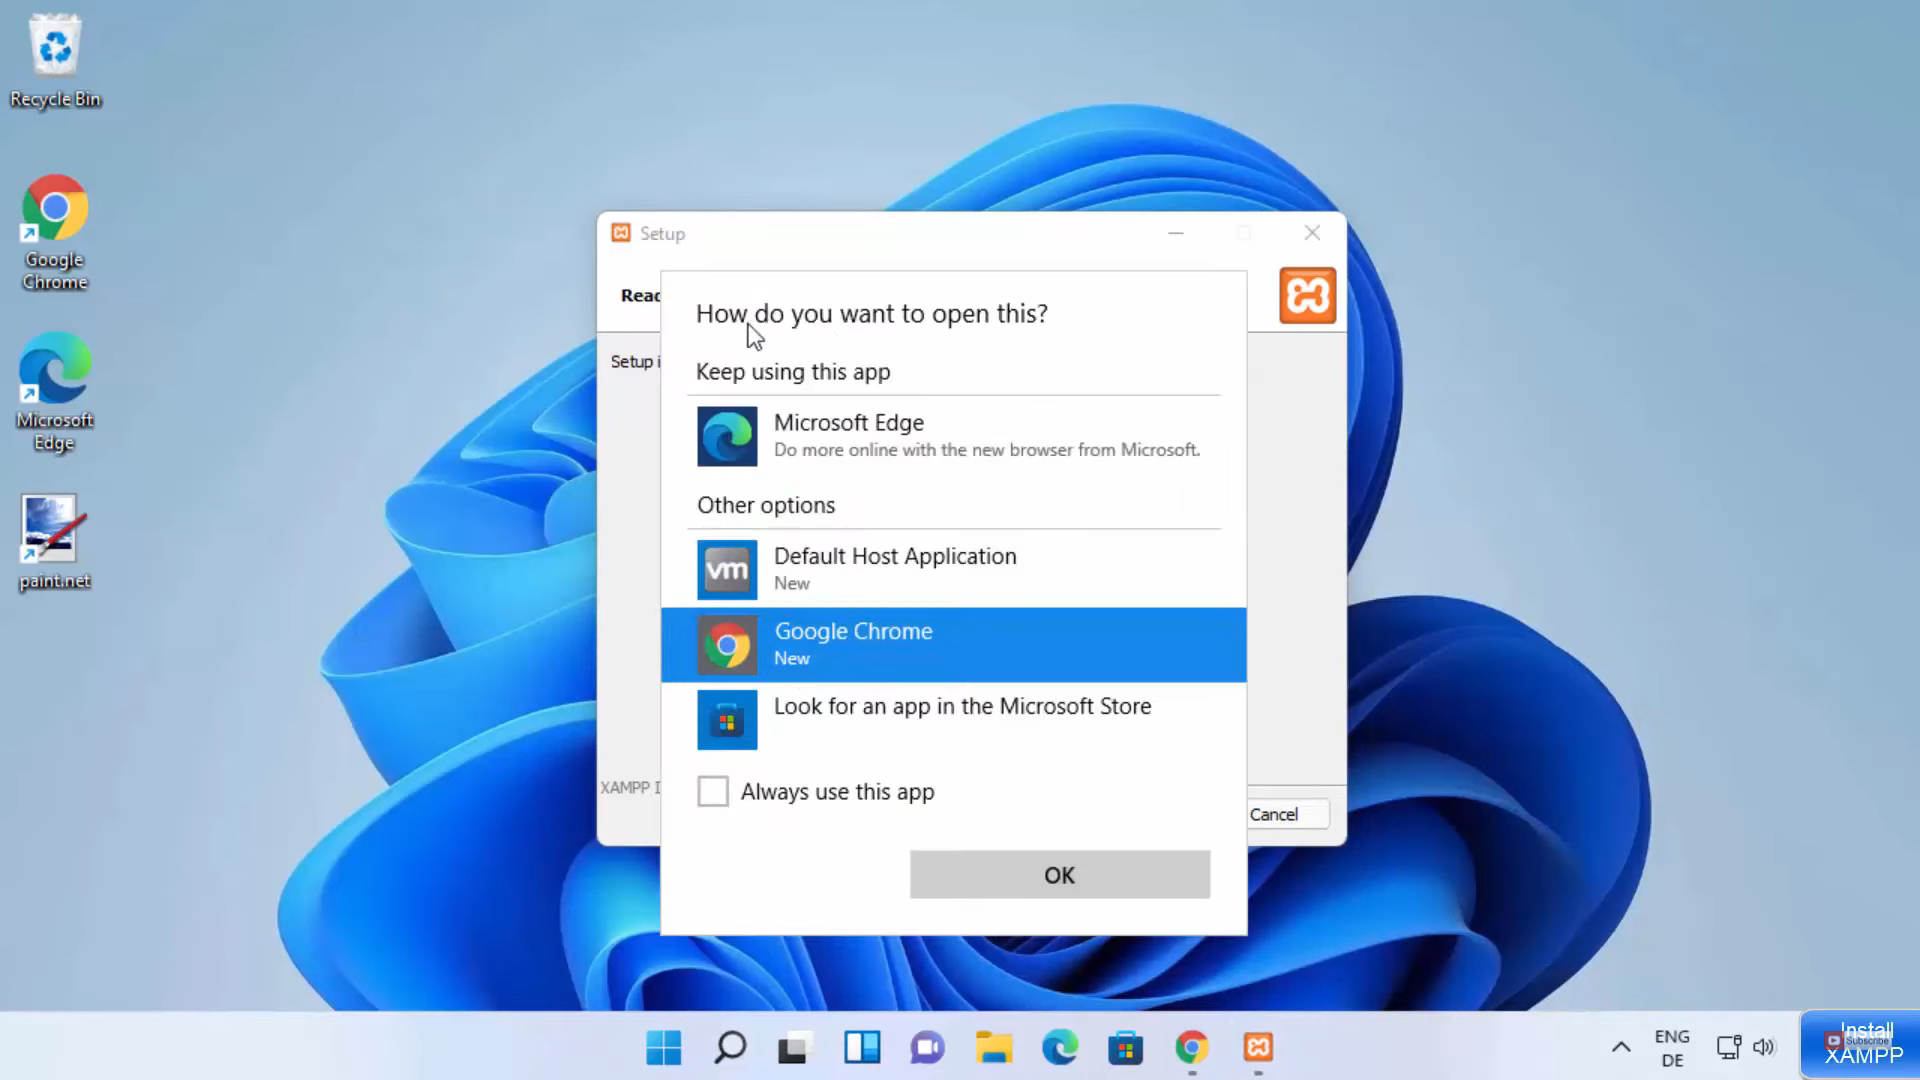
10. I am going to select google Chrome for opening the file. Then, click on Ok.
11. It will take you to a web page. Minimize it and click on Next. It will start the installation process.

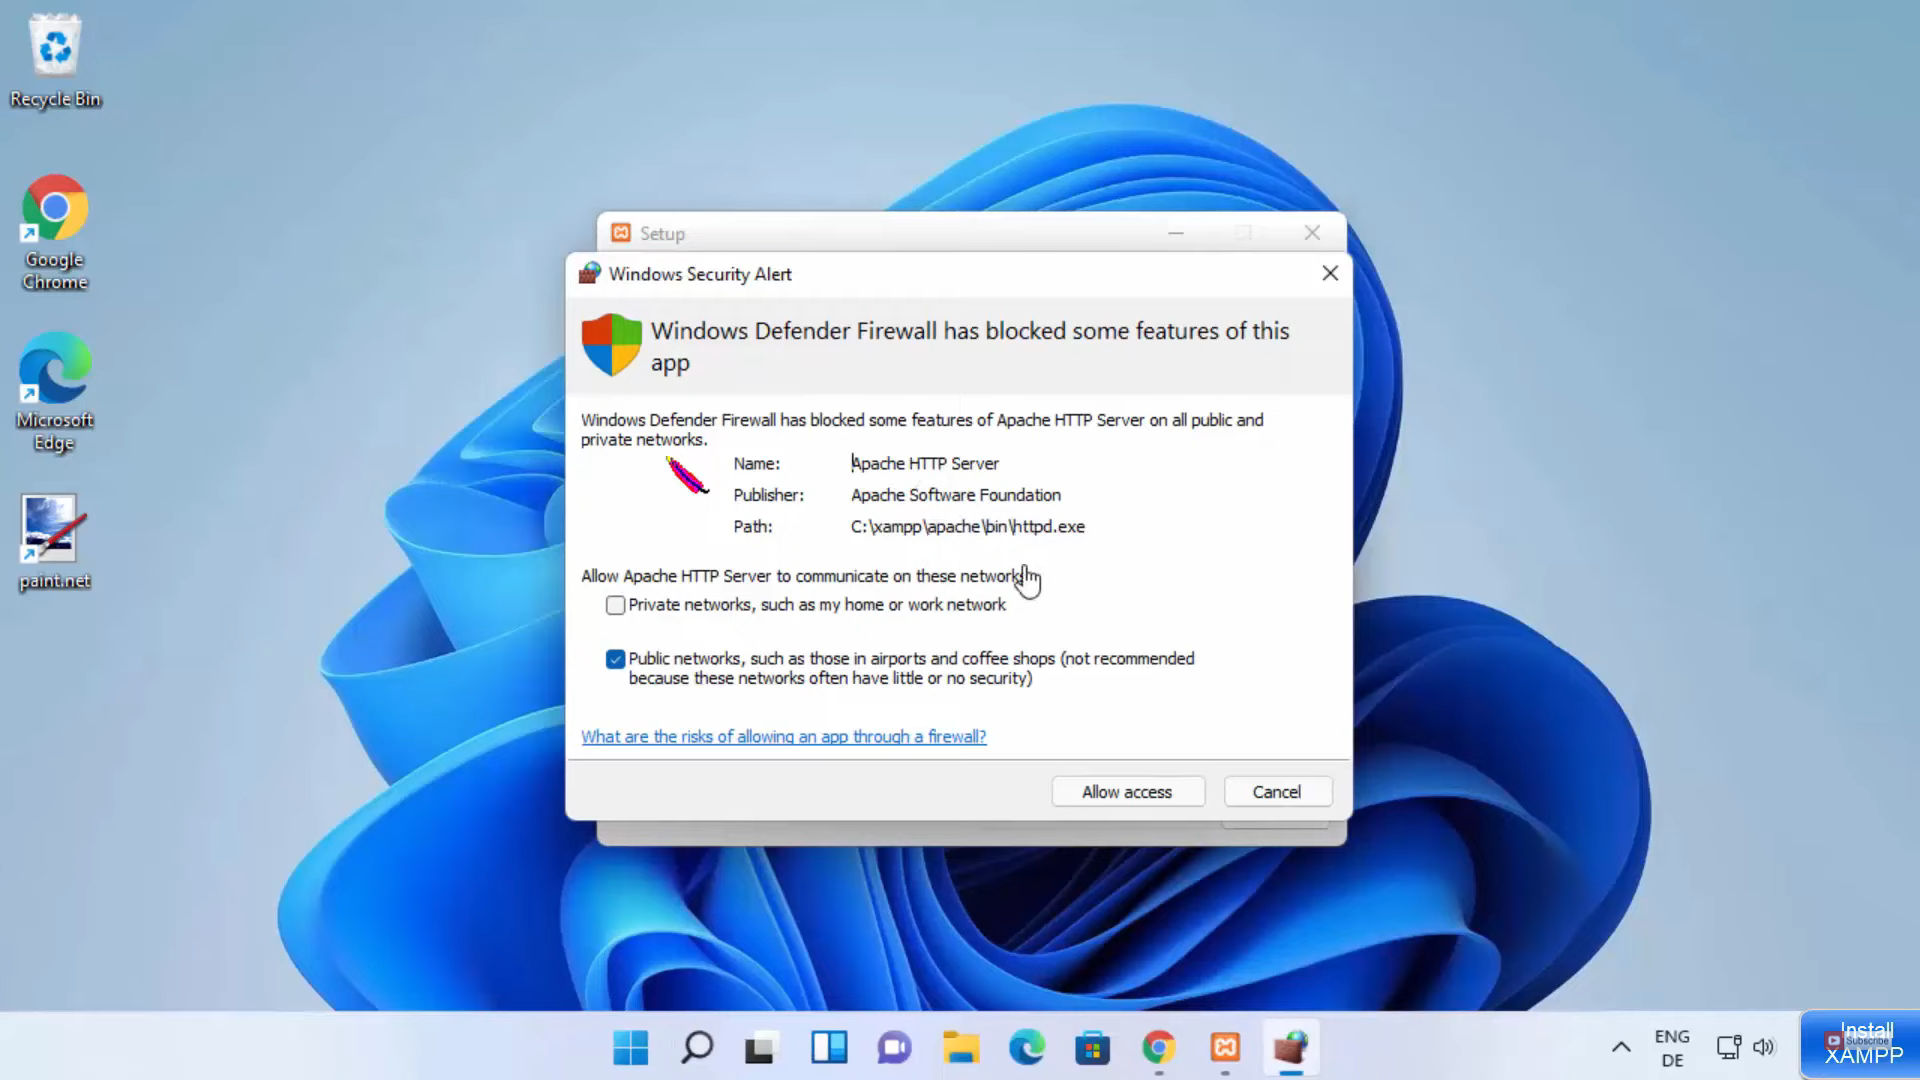
12. Once the process is complete, it will show some warning. Click on allow access option.
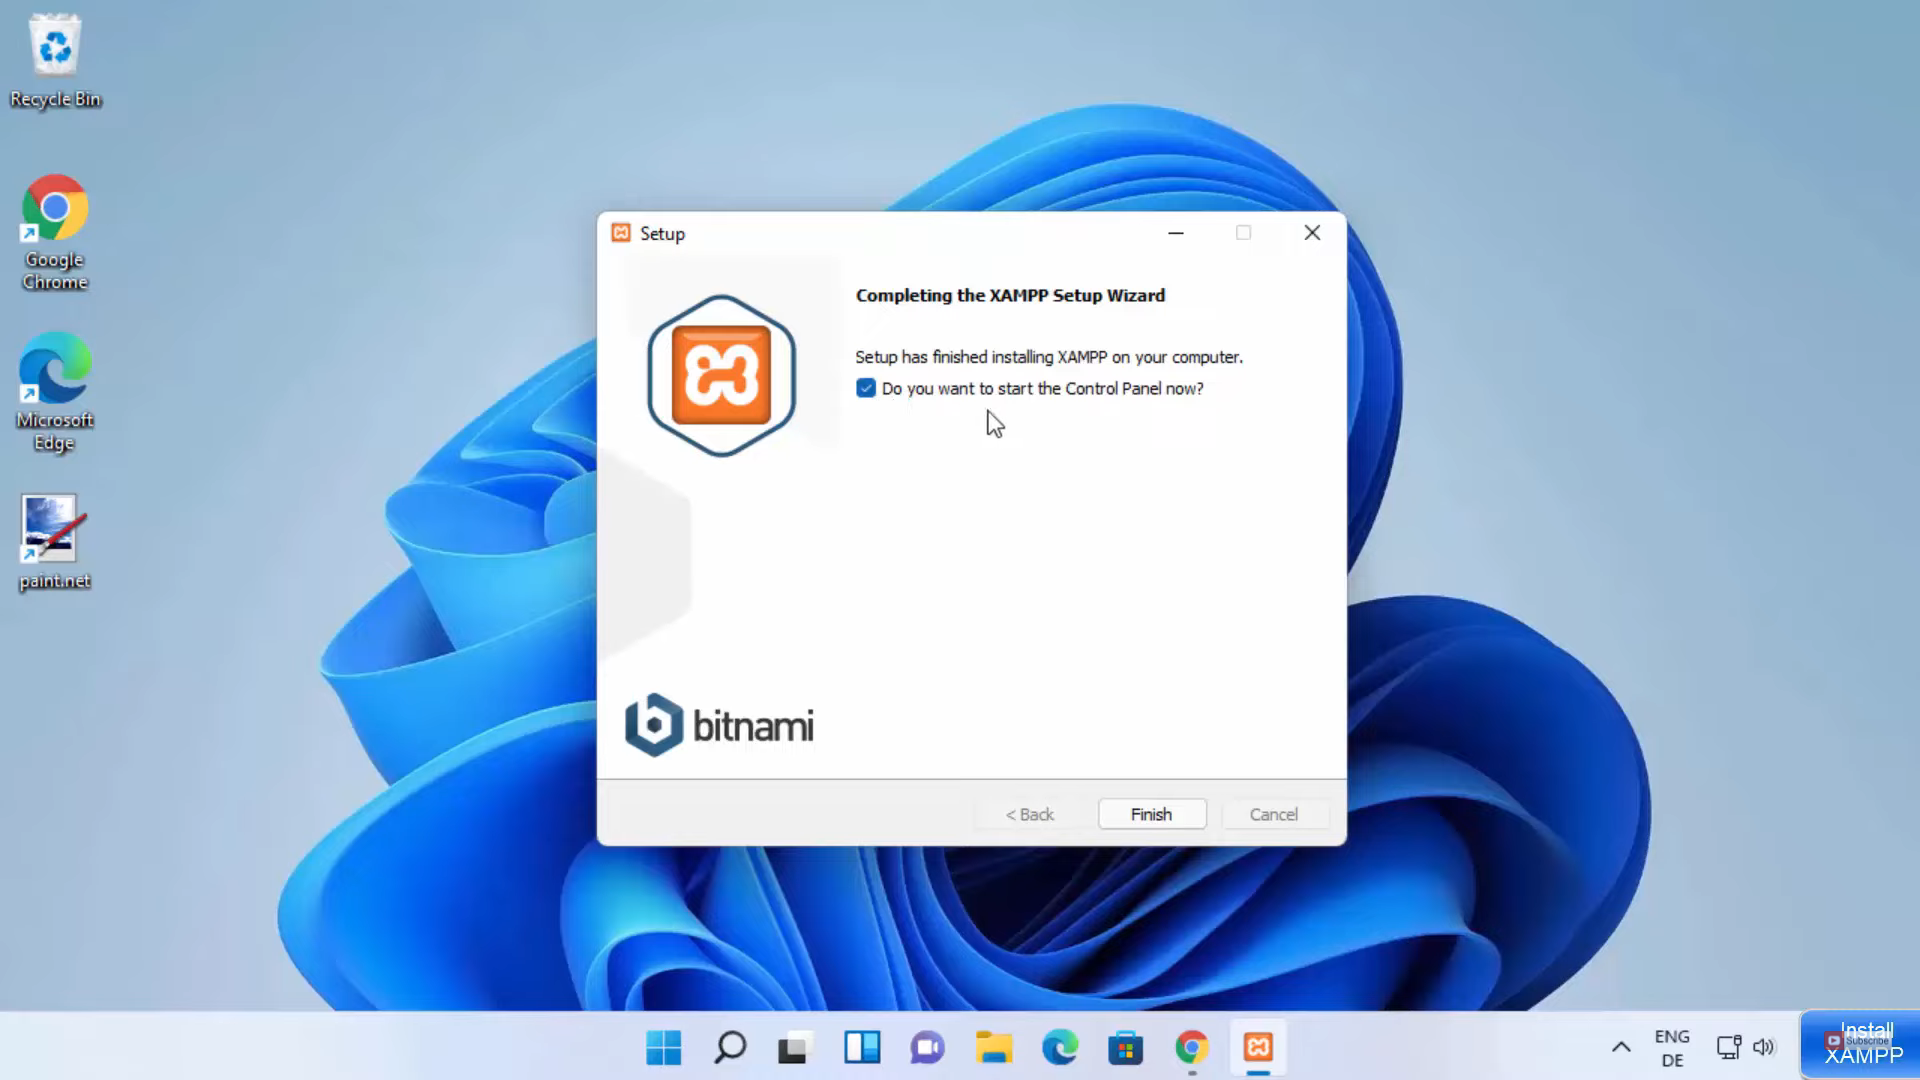
13. In the next window. Click on Finish.
14. It will start the XAMPP server on your Windows 11 Operating System. Once it is opened, you will be able to see the icon in the taskbar by clicking on the arrow button. I am going to start the Apache server first. In front of apache, click on Start.
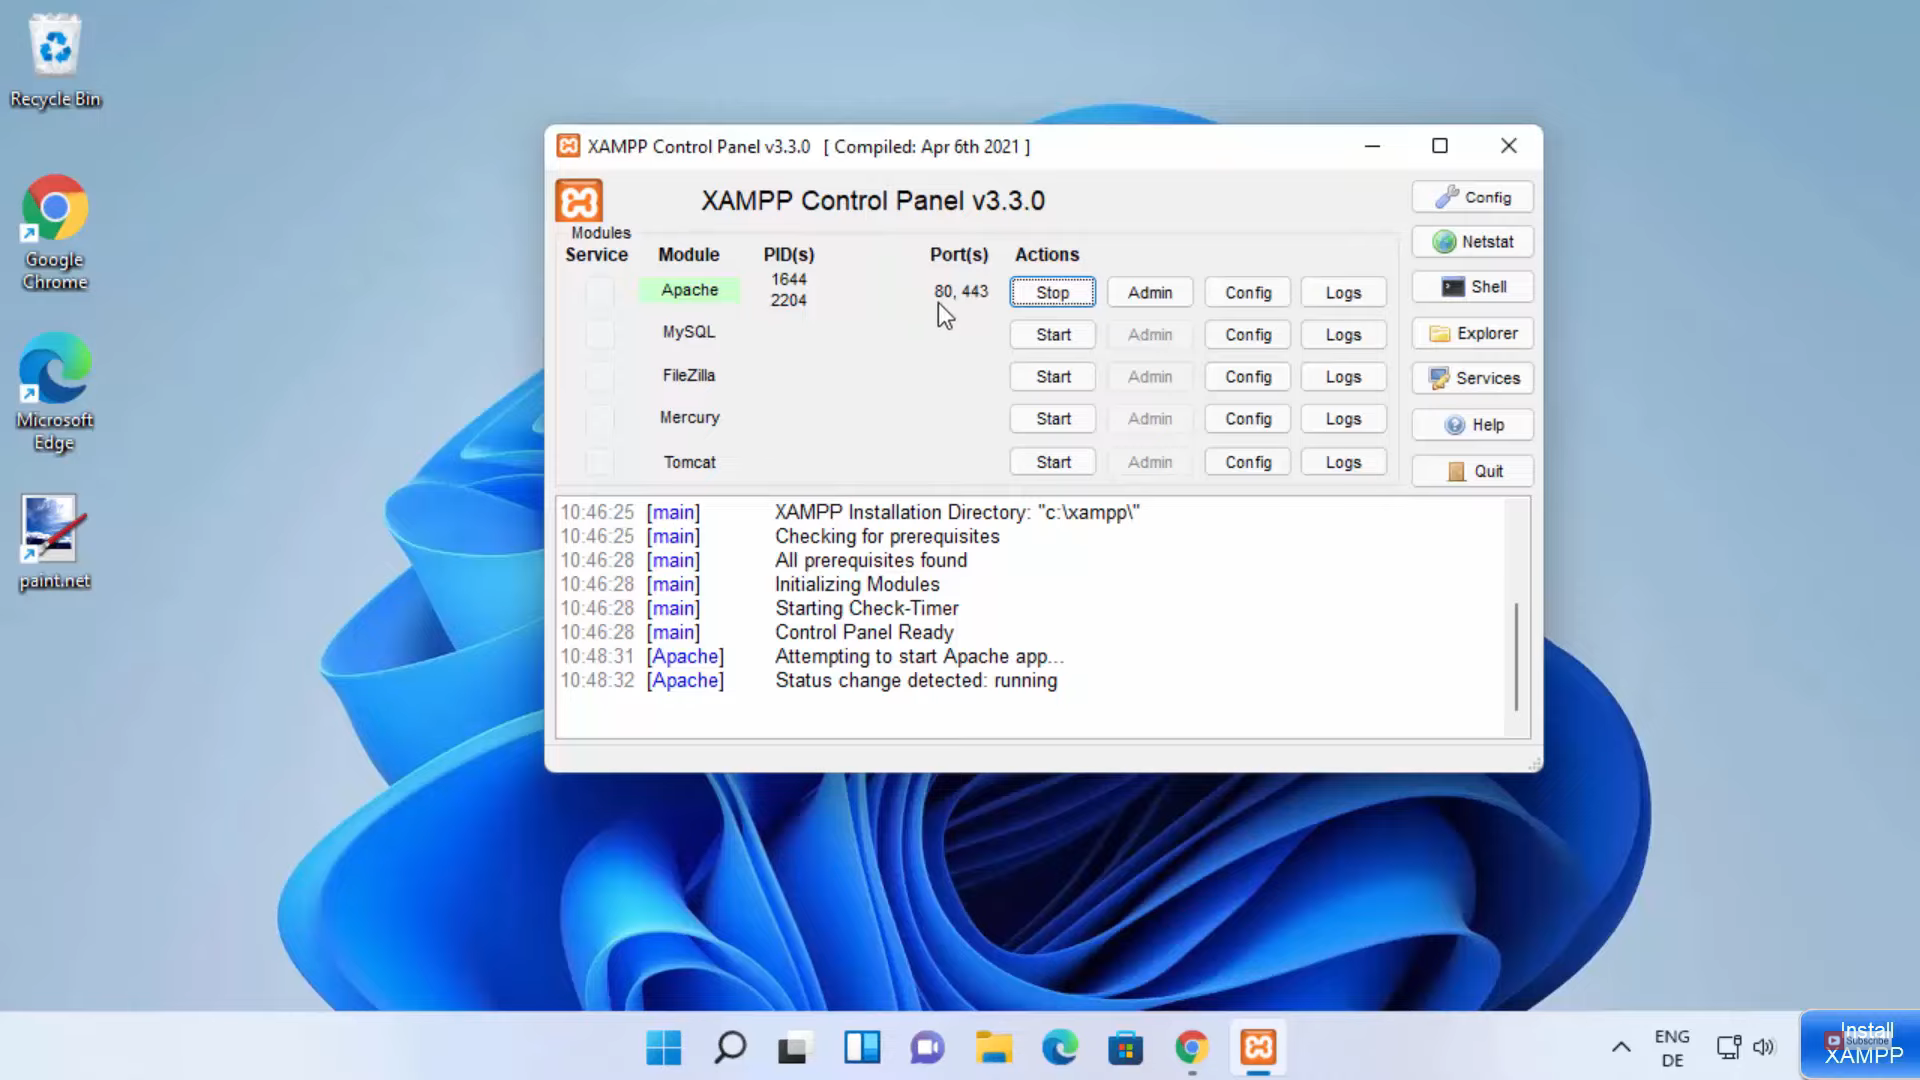
15. Once the apache server starts, it will turn to green color. You can also see the stop button.
16. Now, go to a web browser of your choice and search for localhost, and press enter. If you see this kind of window which is provided in the image below, then the apache server is running successfully on your Windows 11 Operating System. If these features are not free to your Windows 11 Operating System by any chance then your apache server will show some error.
17. To solve this error, go to your browser and search for localhost. If you see this kind of image which is provided below, then the apache server is running successfully. On this web page, you will be able to see PHPMyAdmin. Click on that.

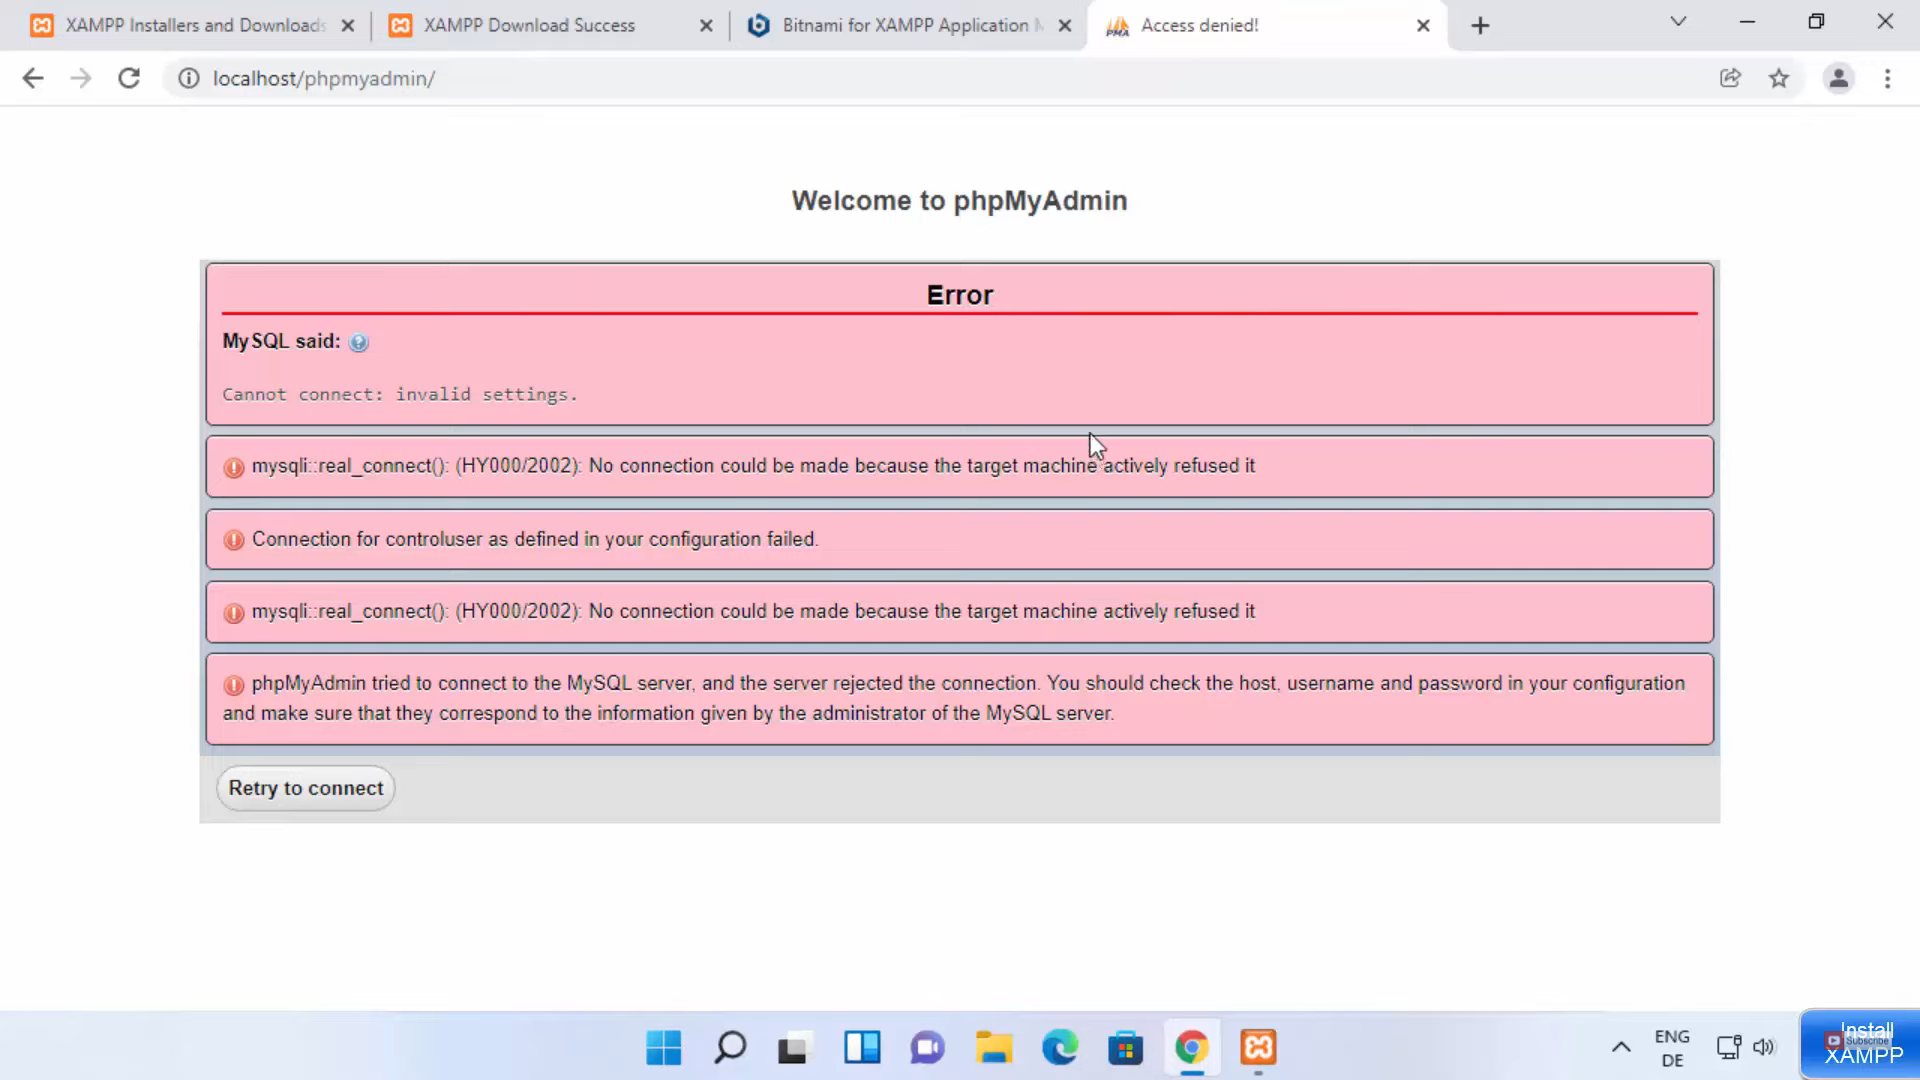
18. But for now it will not open that admin window. It will show some errors. This is because we have not started the MySQL server. You have to start MySQL just like how you did for apache.
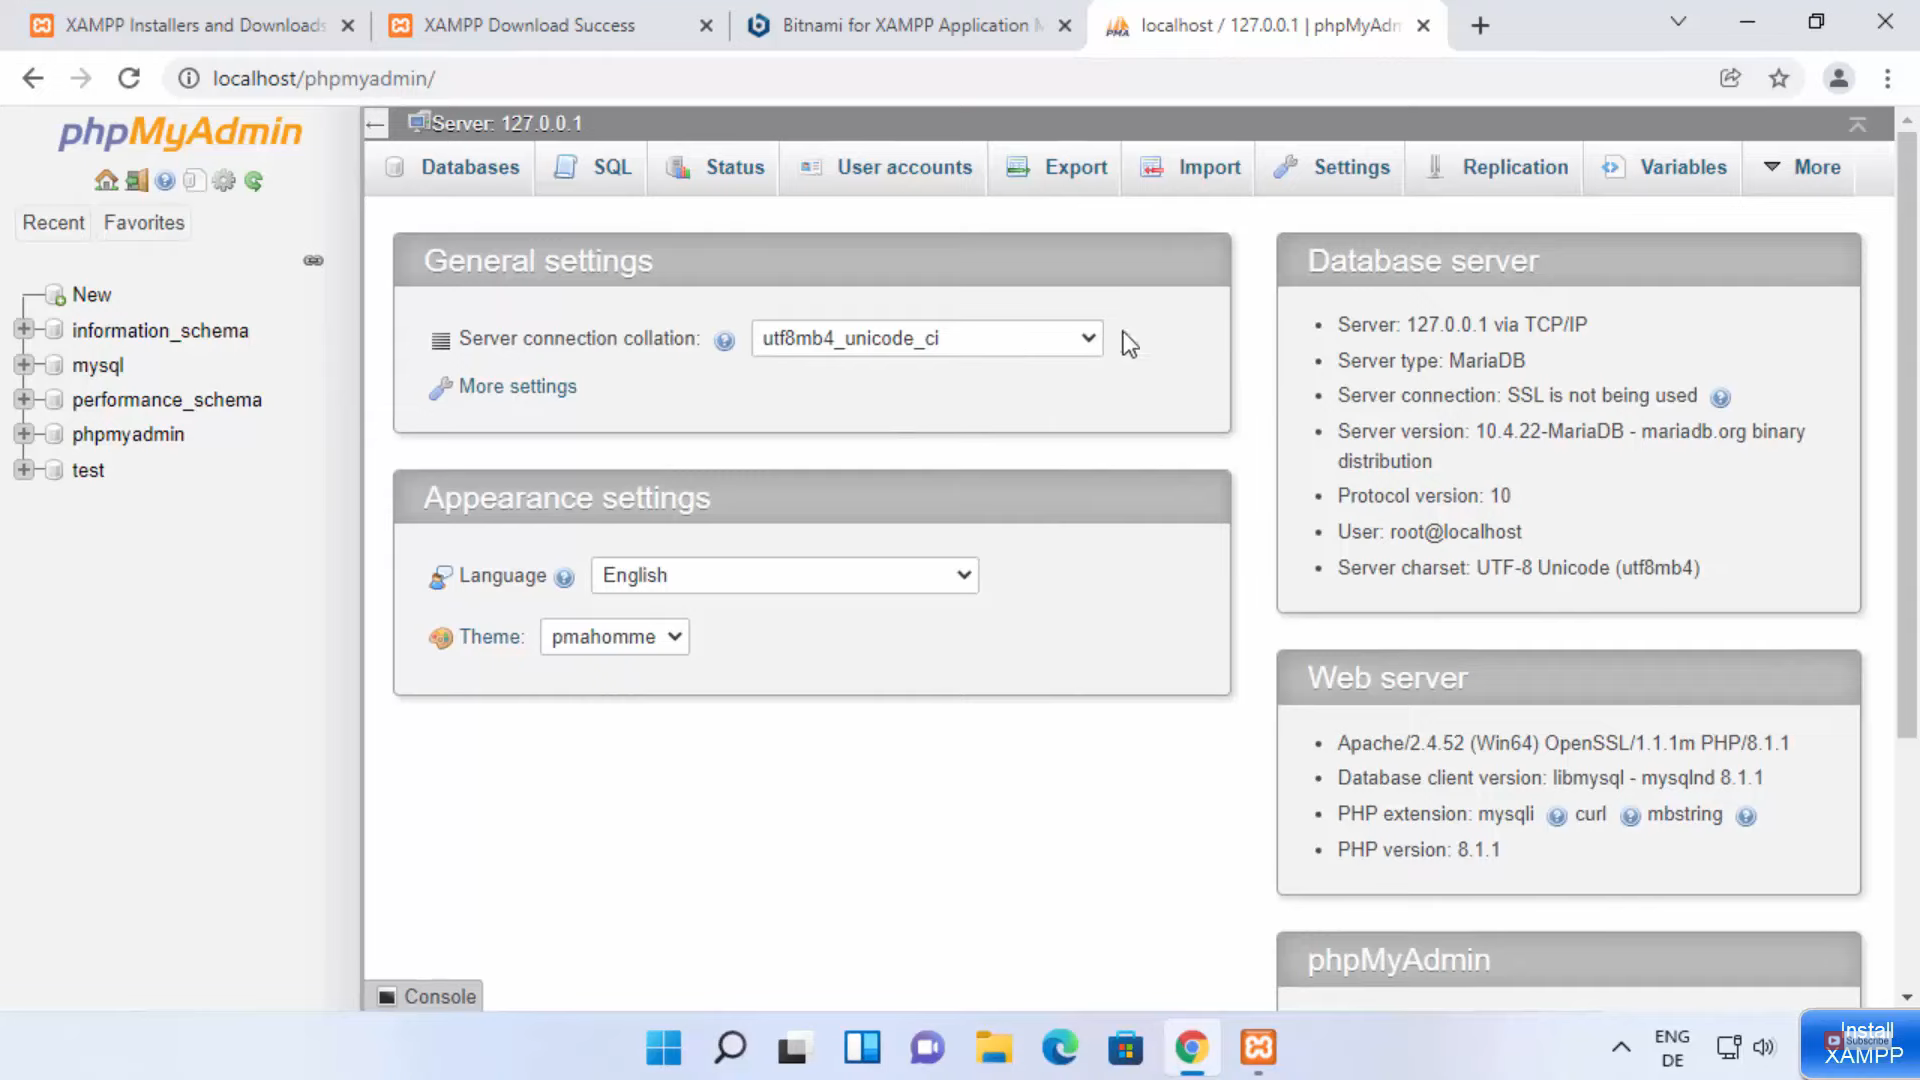
19. Once the MySQL server is running, you need to refresh the web page. It will show this kind of interface which is provided in the image below. From here, you can create databases, run SQL queries, and can do many things related to databases.
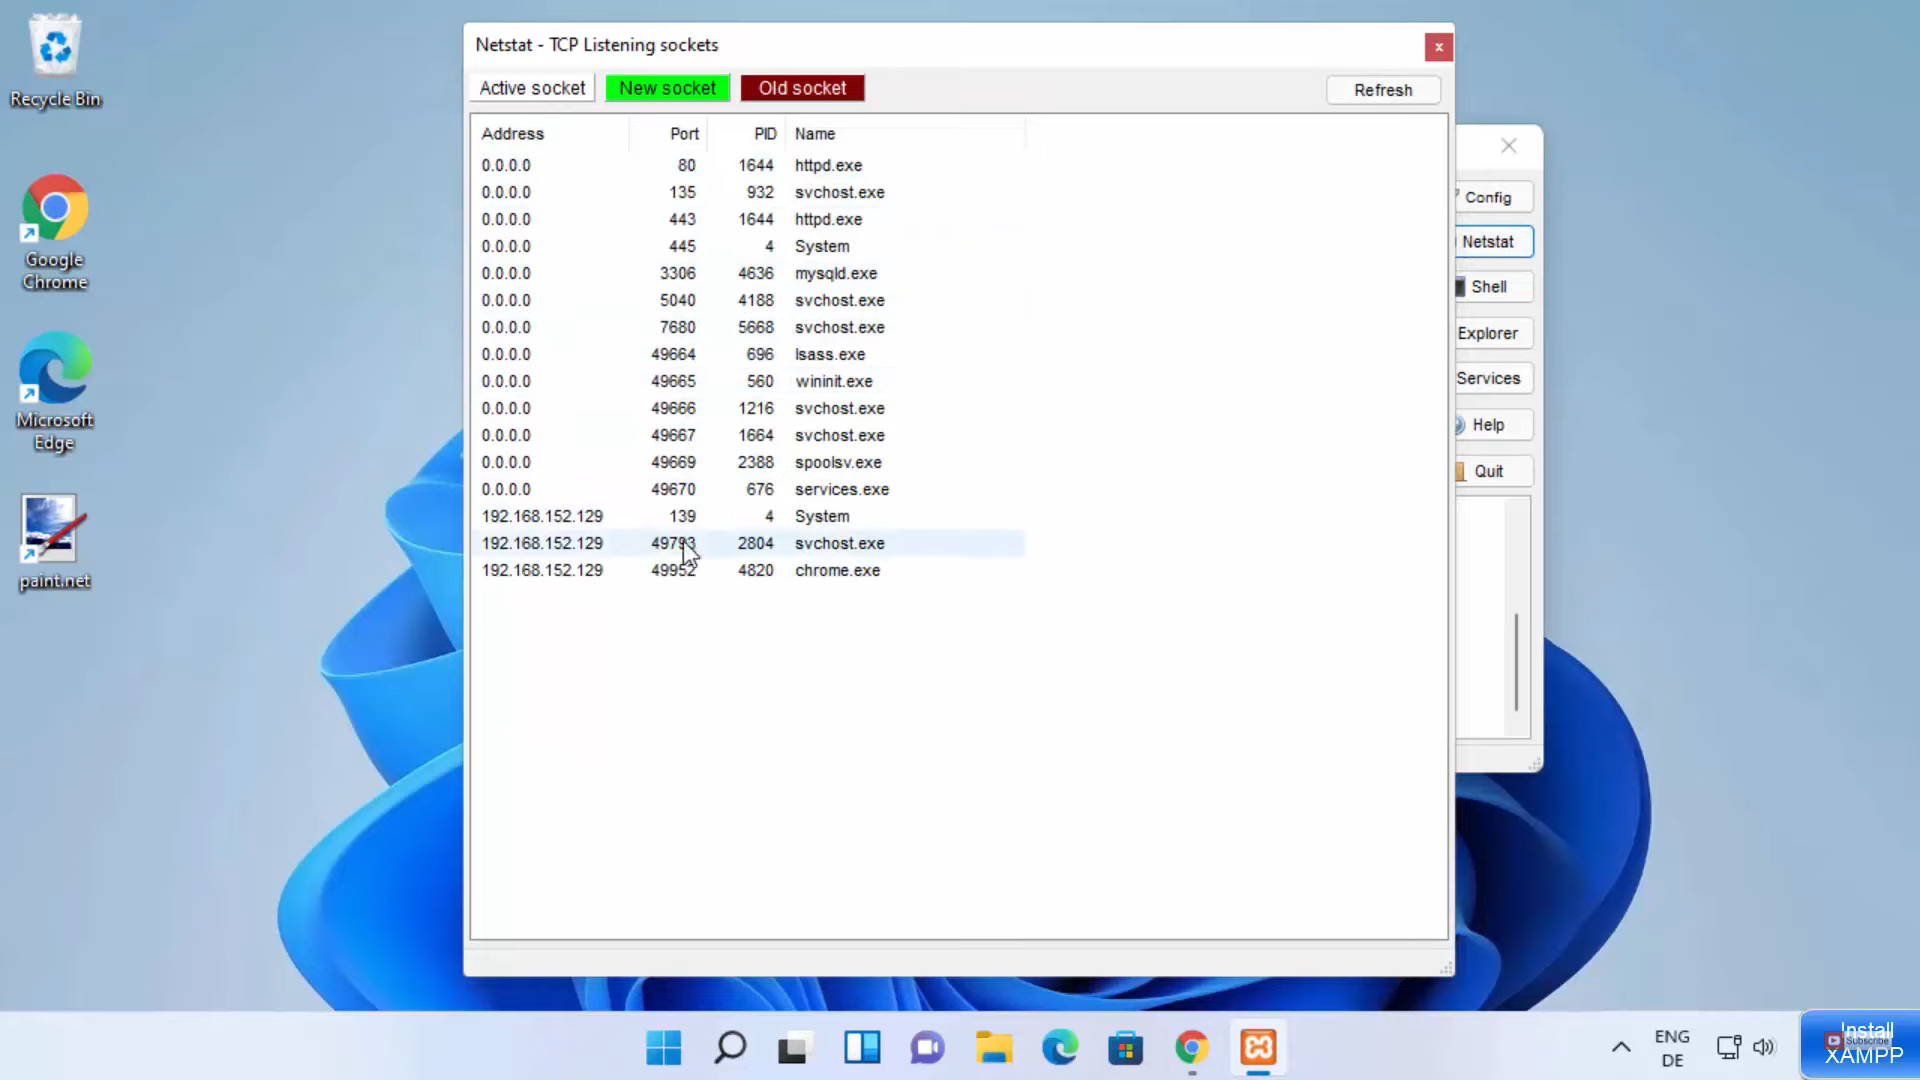
20. If port 80 of the apache server is already occupied by some other server, then the apache server will show some error. XAMPP comes with Netstat which will tell you the ports that are already occupied by 80. It will show the list of all the ports. In this window, port 80 is occupied by the apache server.
21. For changing the port, click on stop. Then, click on the config button. Here, you need to choose the first option.
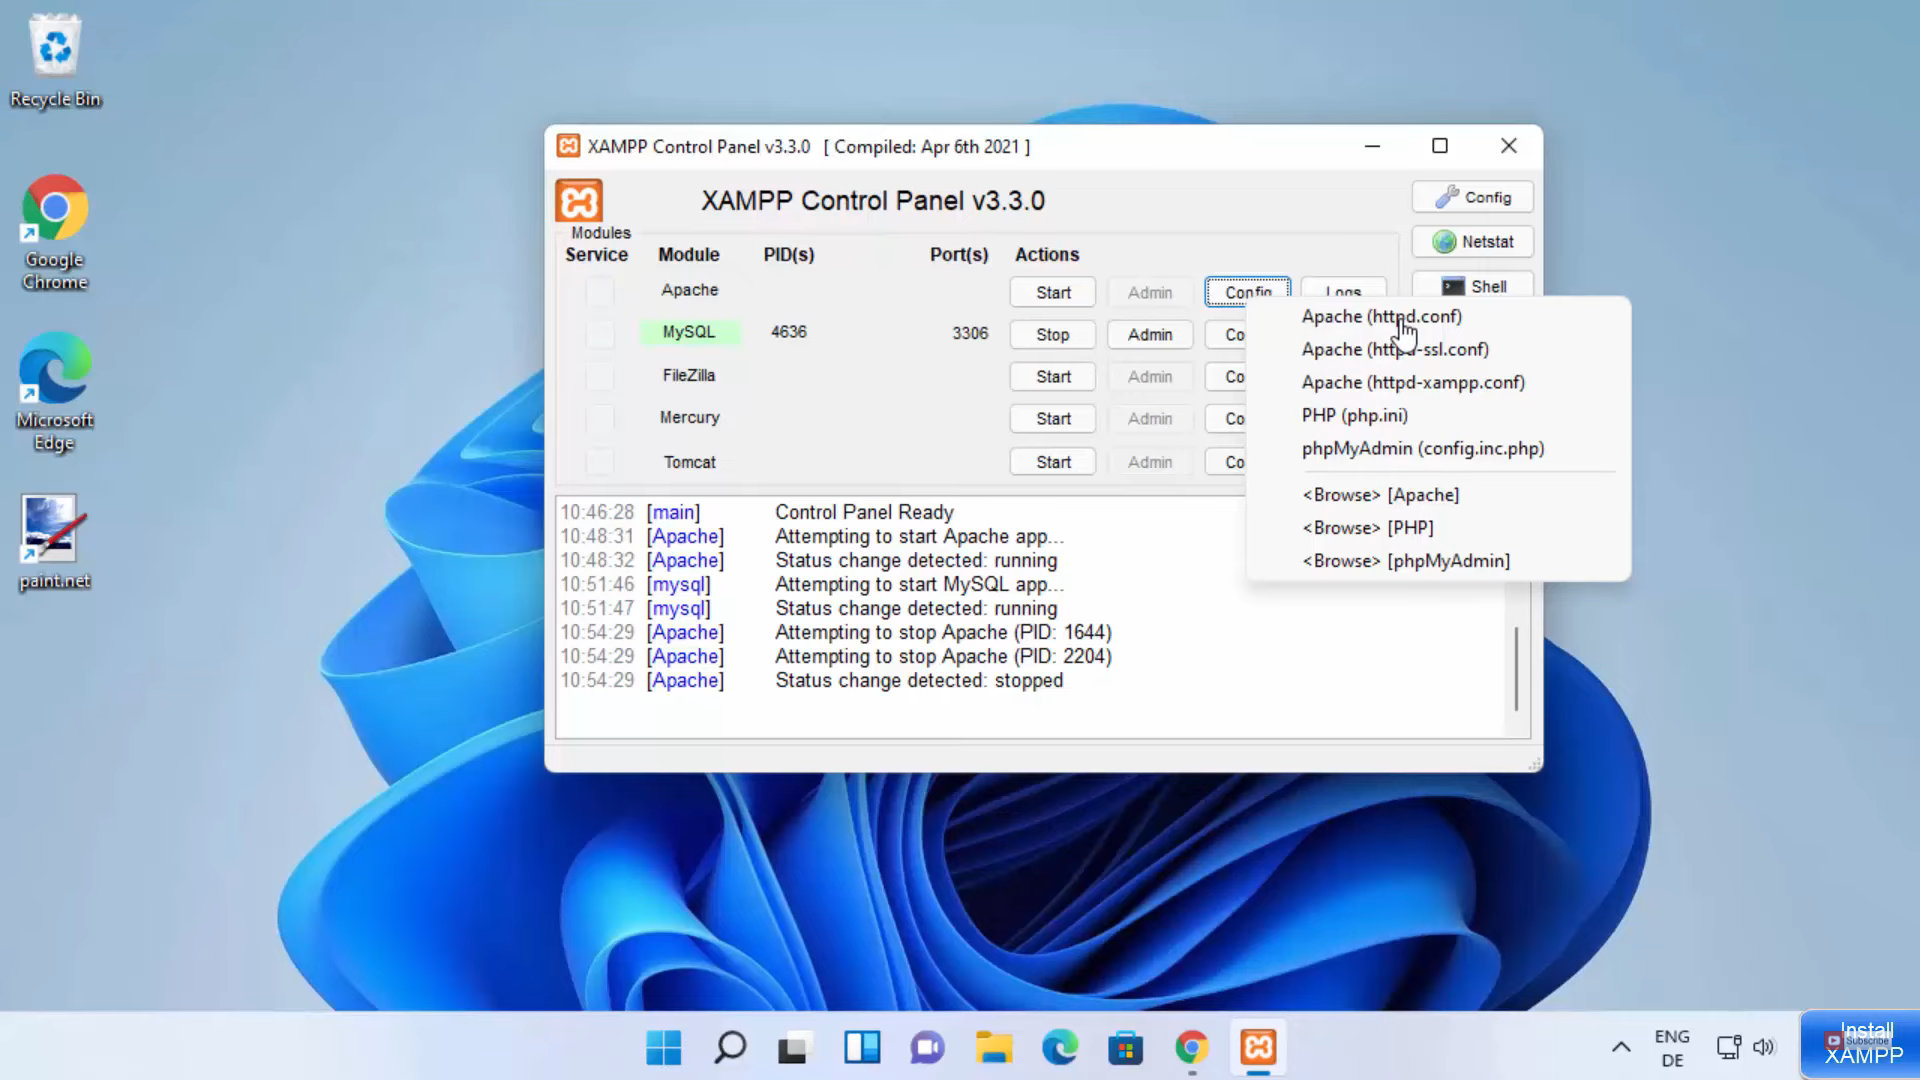
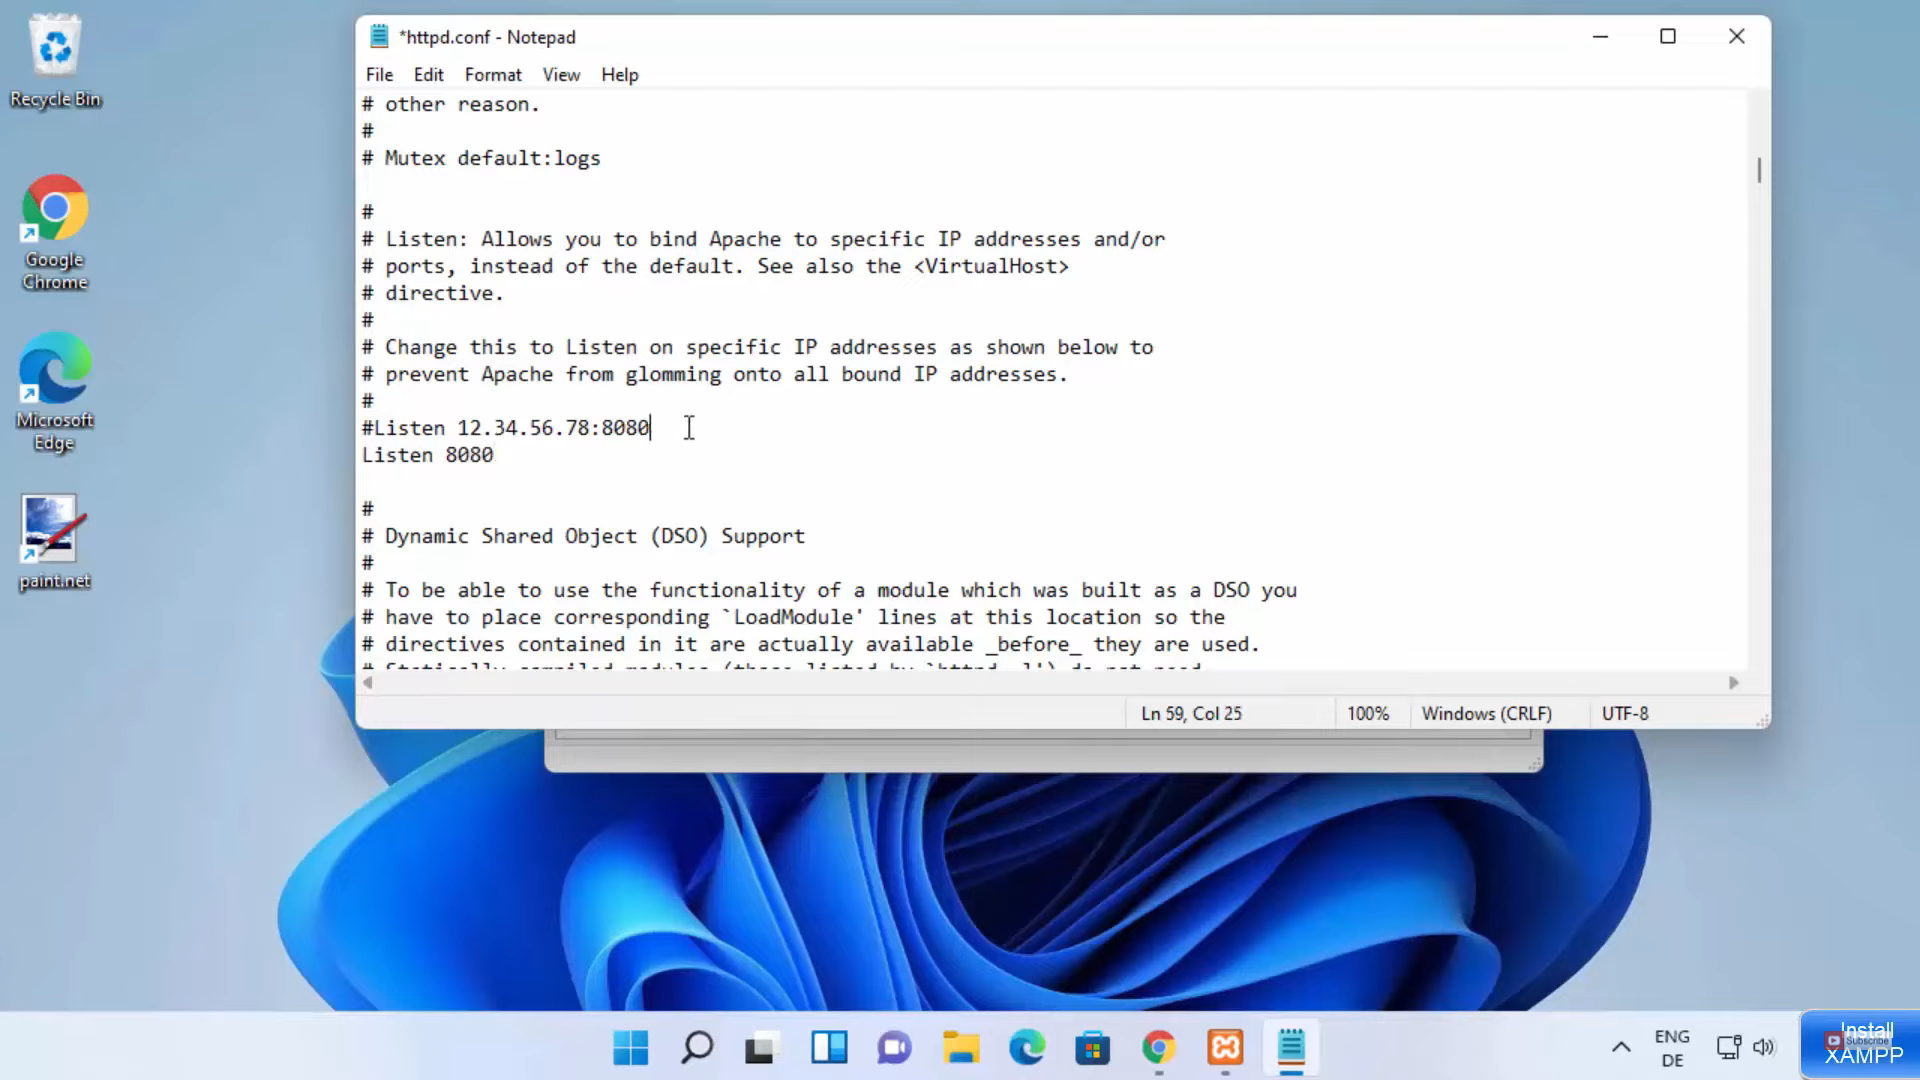
22. It will open a notepad file. You need to scroll down until you listen to 80. The default port is 80. You can change it to something else. I am going to change it to 8080. Then, save this file. You can close the file after saving it. Once you have done that, you can start your apache server.
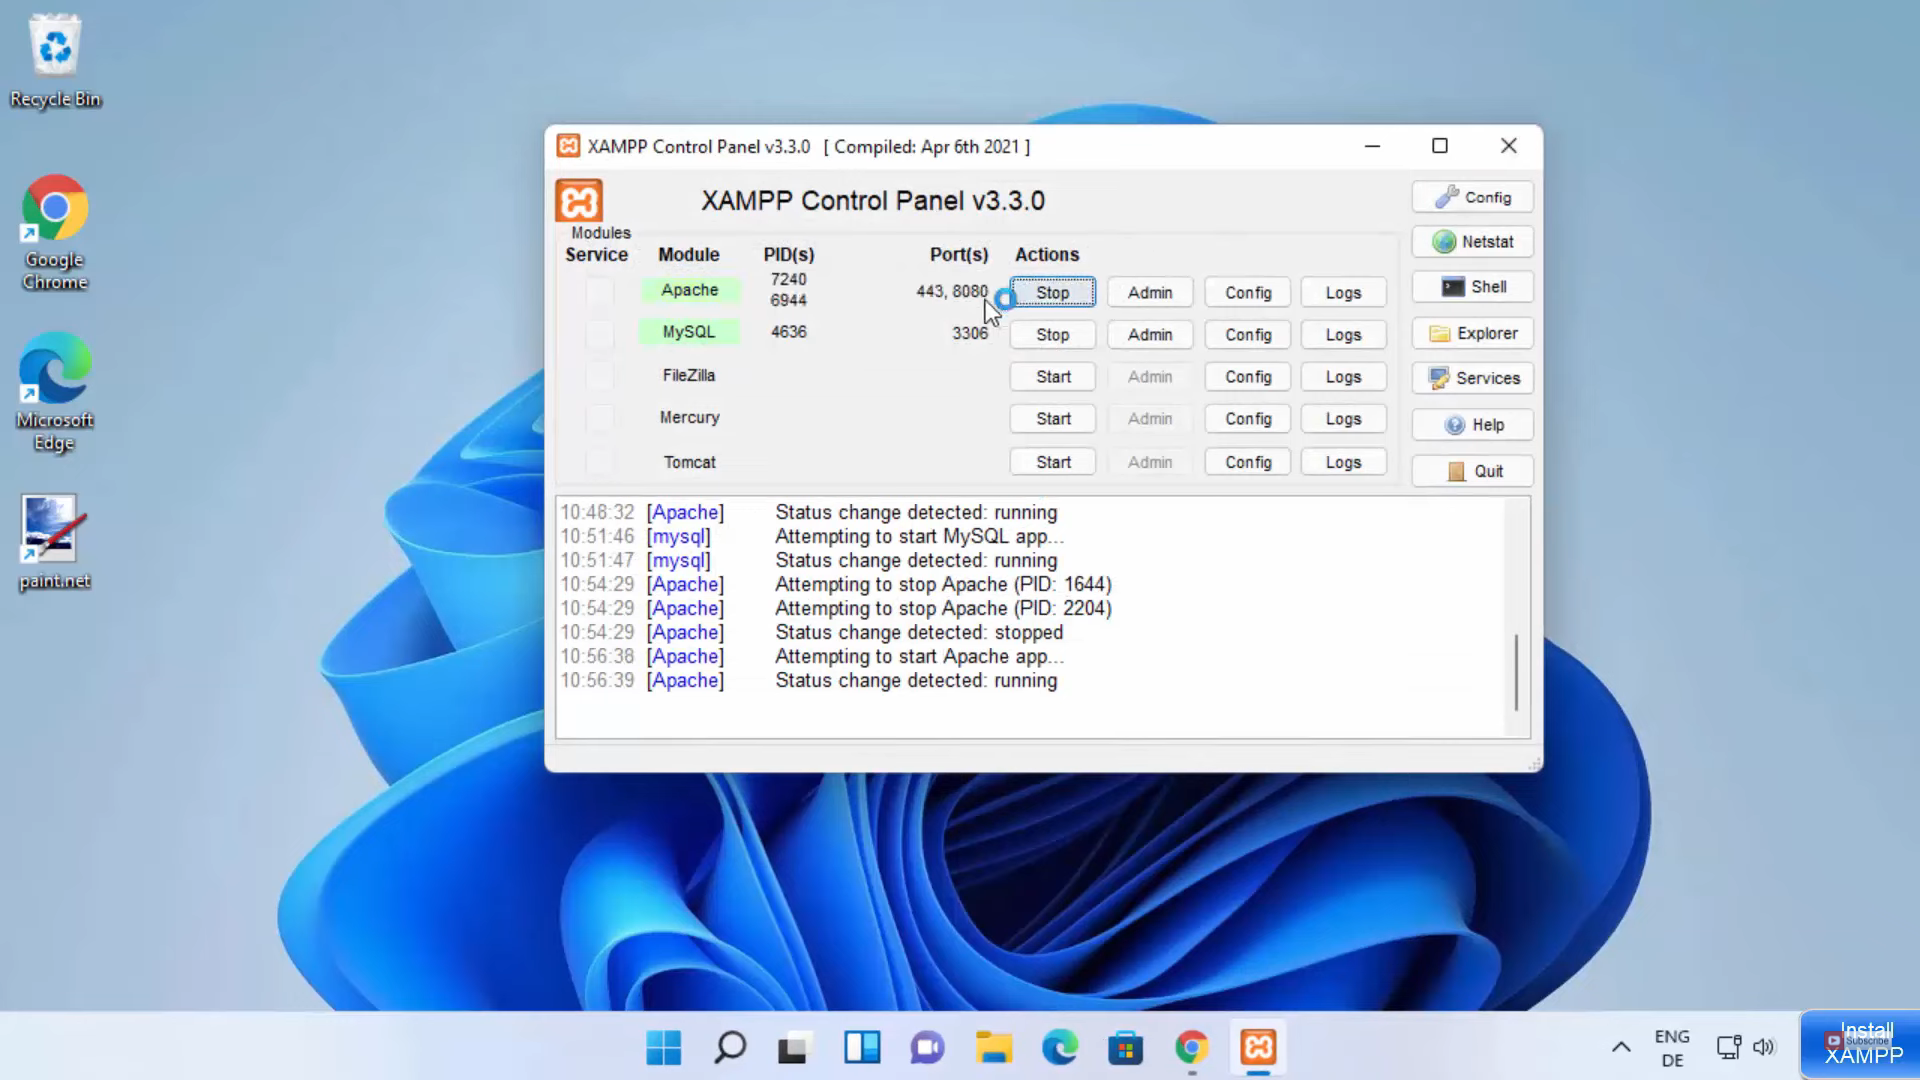
23. This time you can see that the port has been changed.
24. Now, go to your browser and search for localhost. This time it will not open. This is because the server is running on a different port. So, if you change the port number you need to add a colon and type the port number, and press enter. This time it will open. Similarly, the earlier PHPMyAdmin will also not work. You need to use it from this localhost.

These are the steps for installing XAMPP on your Windows 11 Operating System.
Leave a Reply