
In this blog post, I will give a detailed view of downloading and installing Microsoft SQL server 2019 on your Windows 11 Operating System.
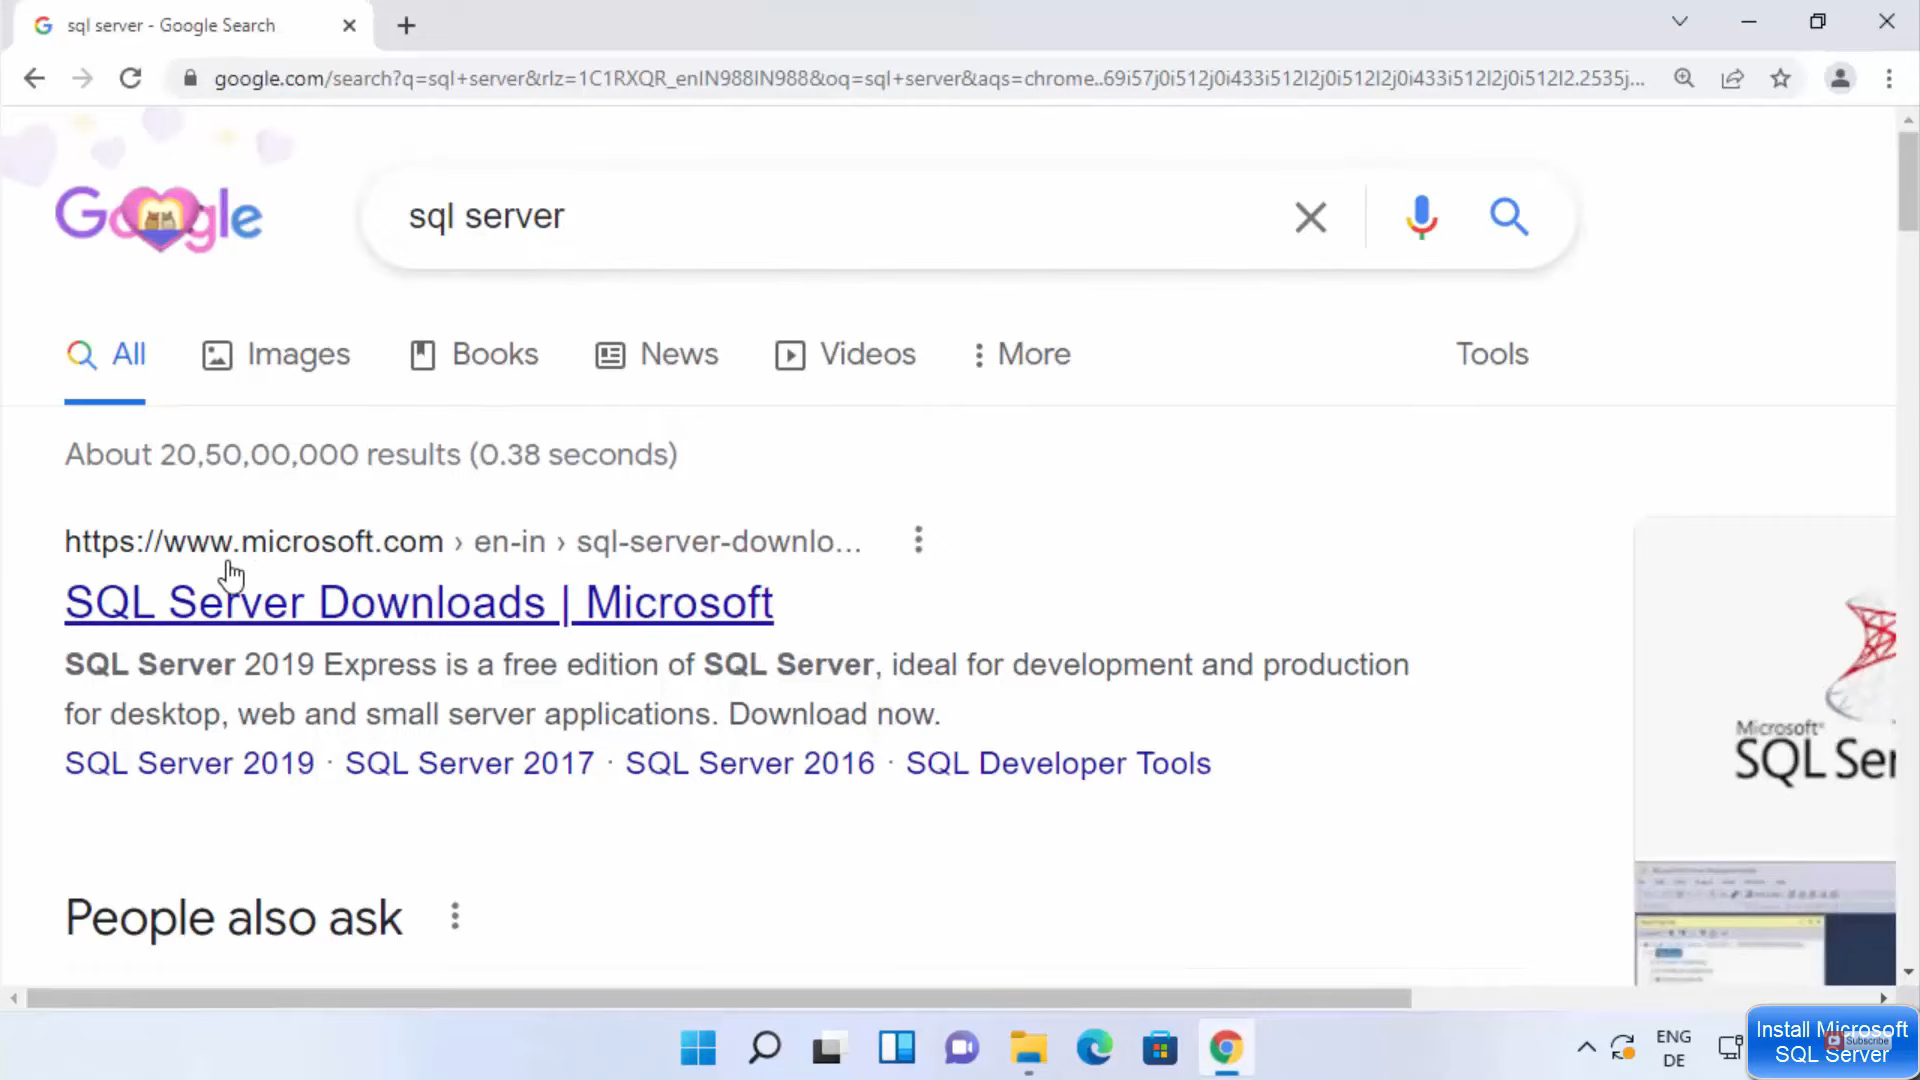
1. Open a web browser of your choice and search for an SQL server. Click on the first link.
2. Once the link opens, scroll down and you can see two versions. I am going to download the express version. Click on the download now button. It will start to download.

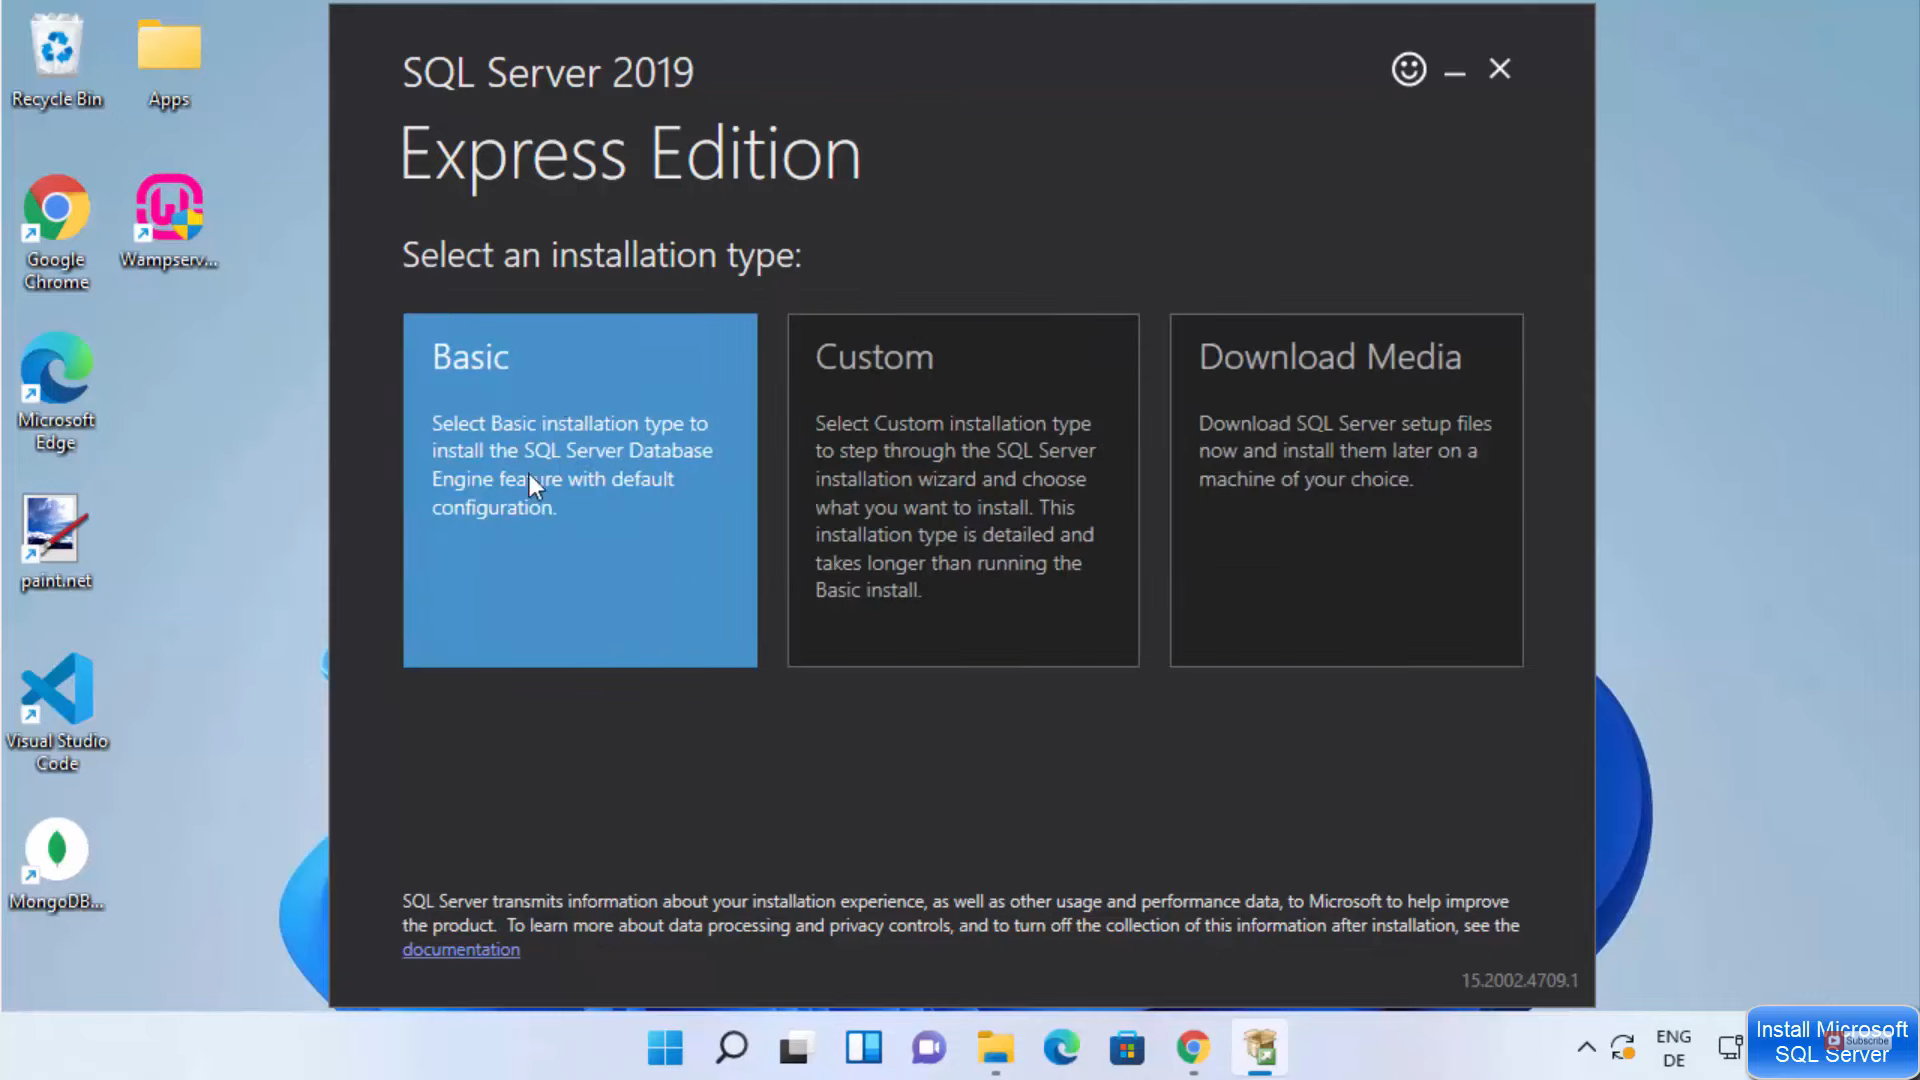
3. Once the download is complete, click on the exe file and minimize the browser. The setup will start. In this window, click on the basic version.
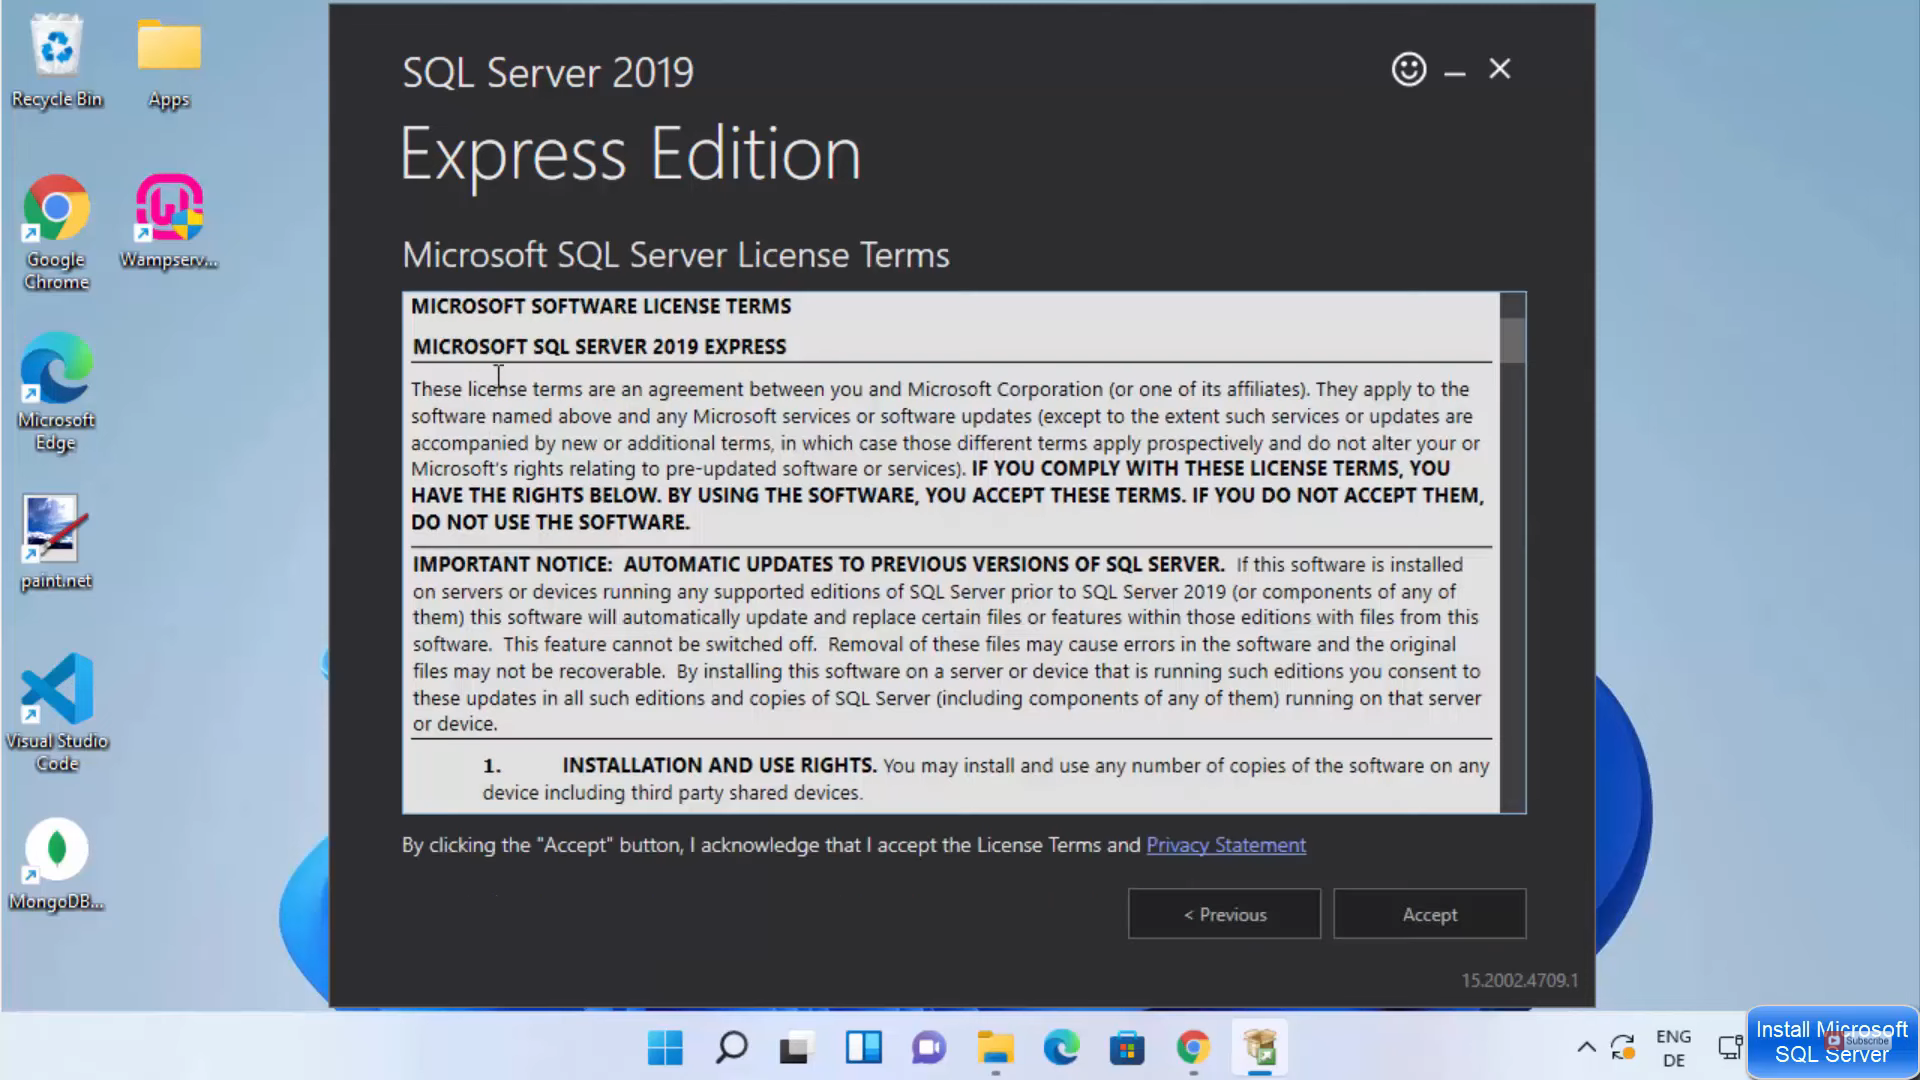
4. In the license agreement window, accept the terms and conditions and click on Accept button.
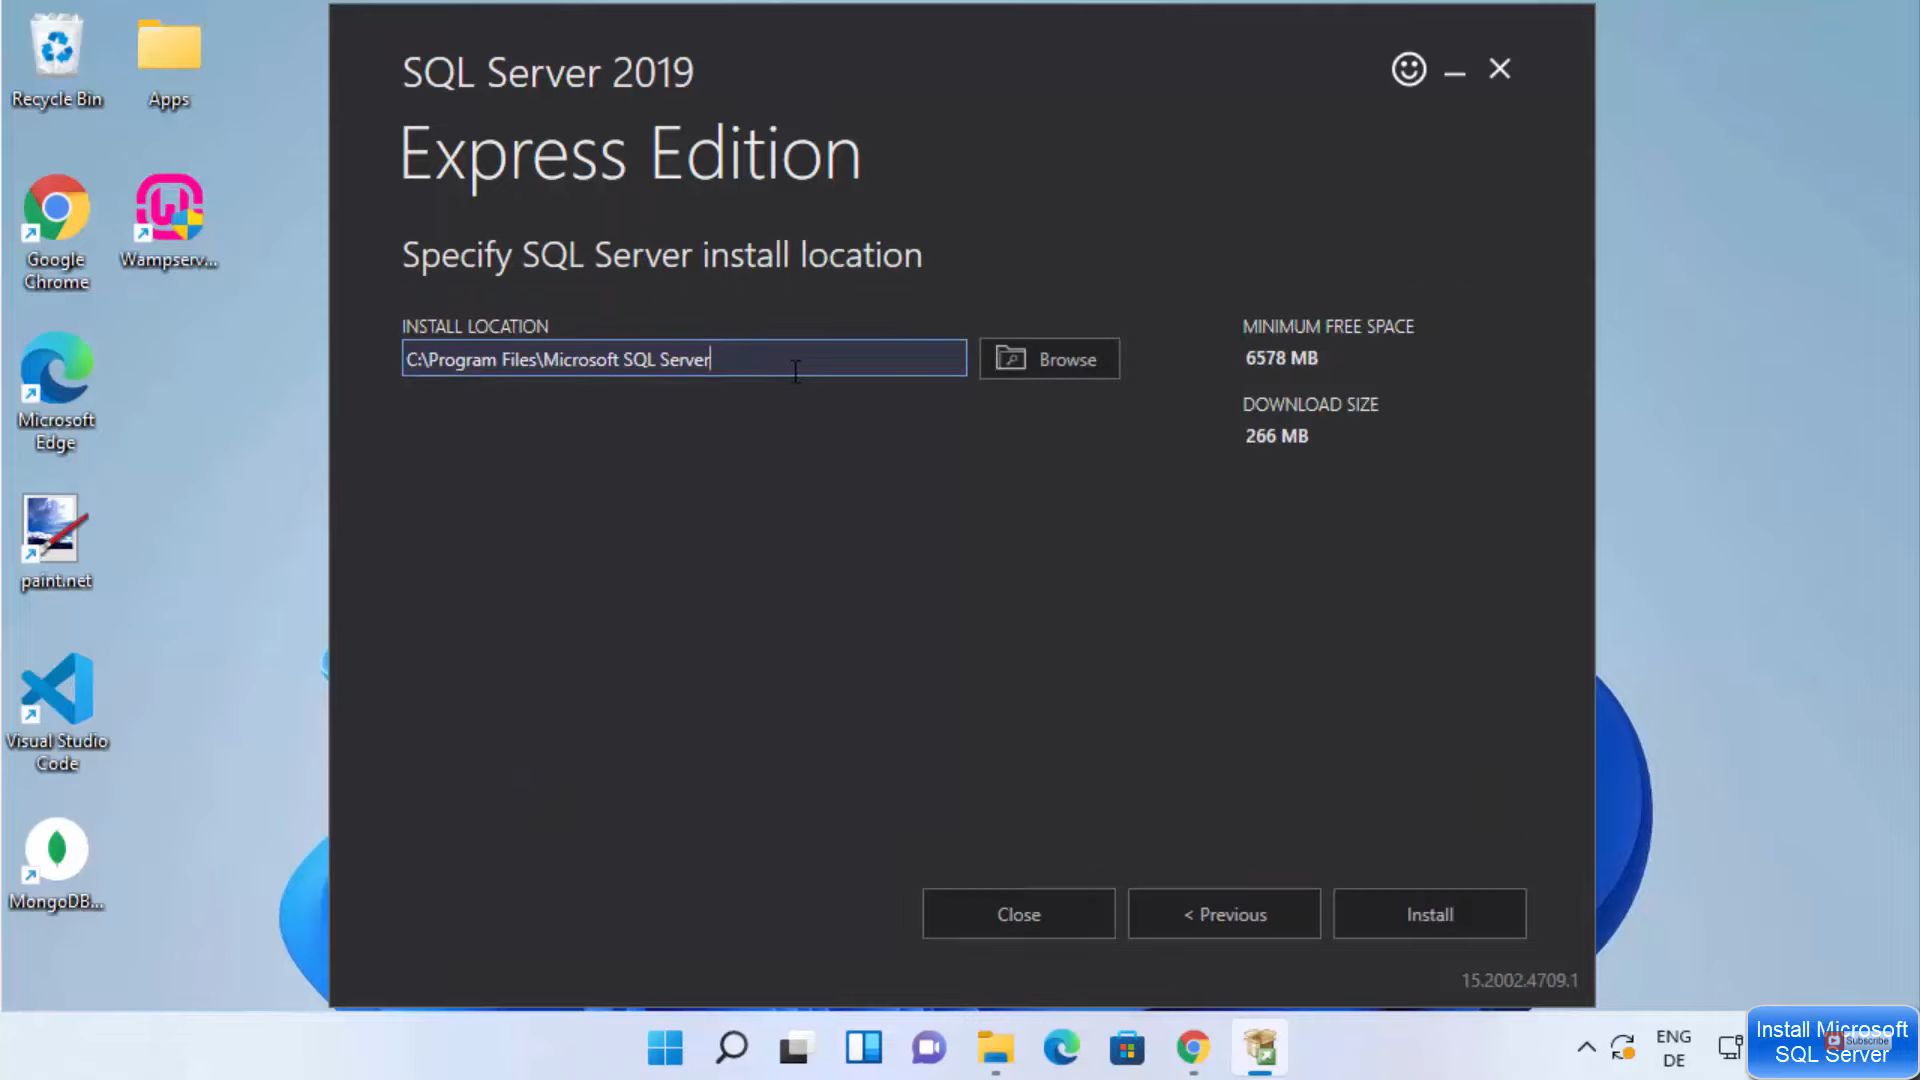
5. This will be the default location where it will be installed. If you want, you can change the location by clicking on the Browse option. I am going to leave it as default and click on the Install option.
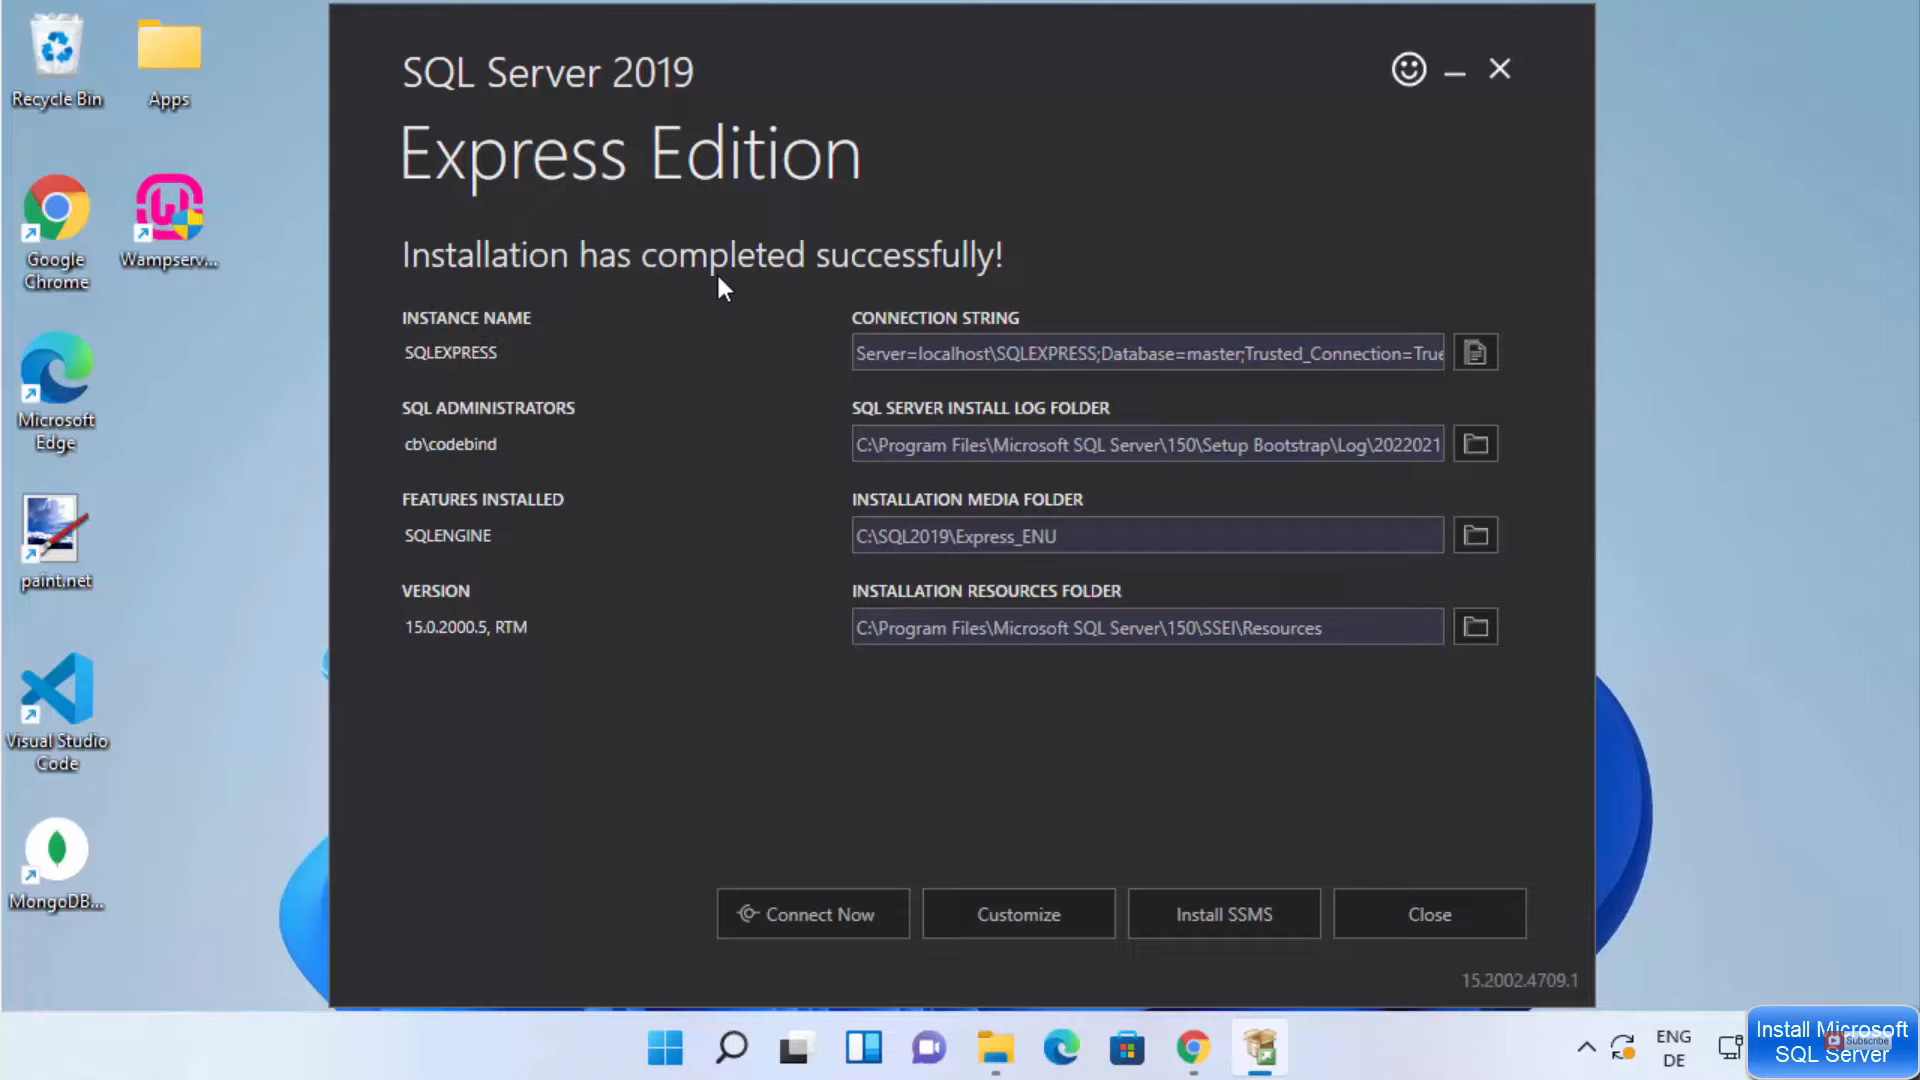
6. Once the installation is successful, it will display a message. To check whether your SQL server connection is working or not, you need to click on connect now button.
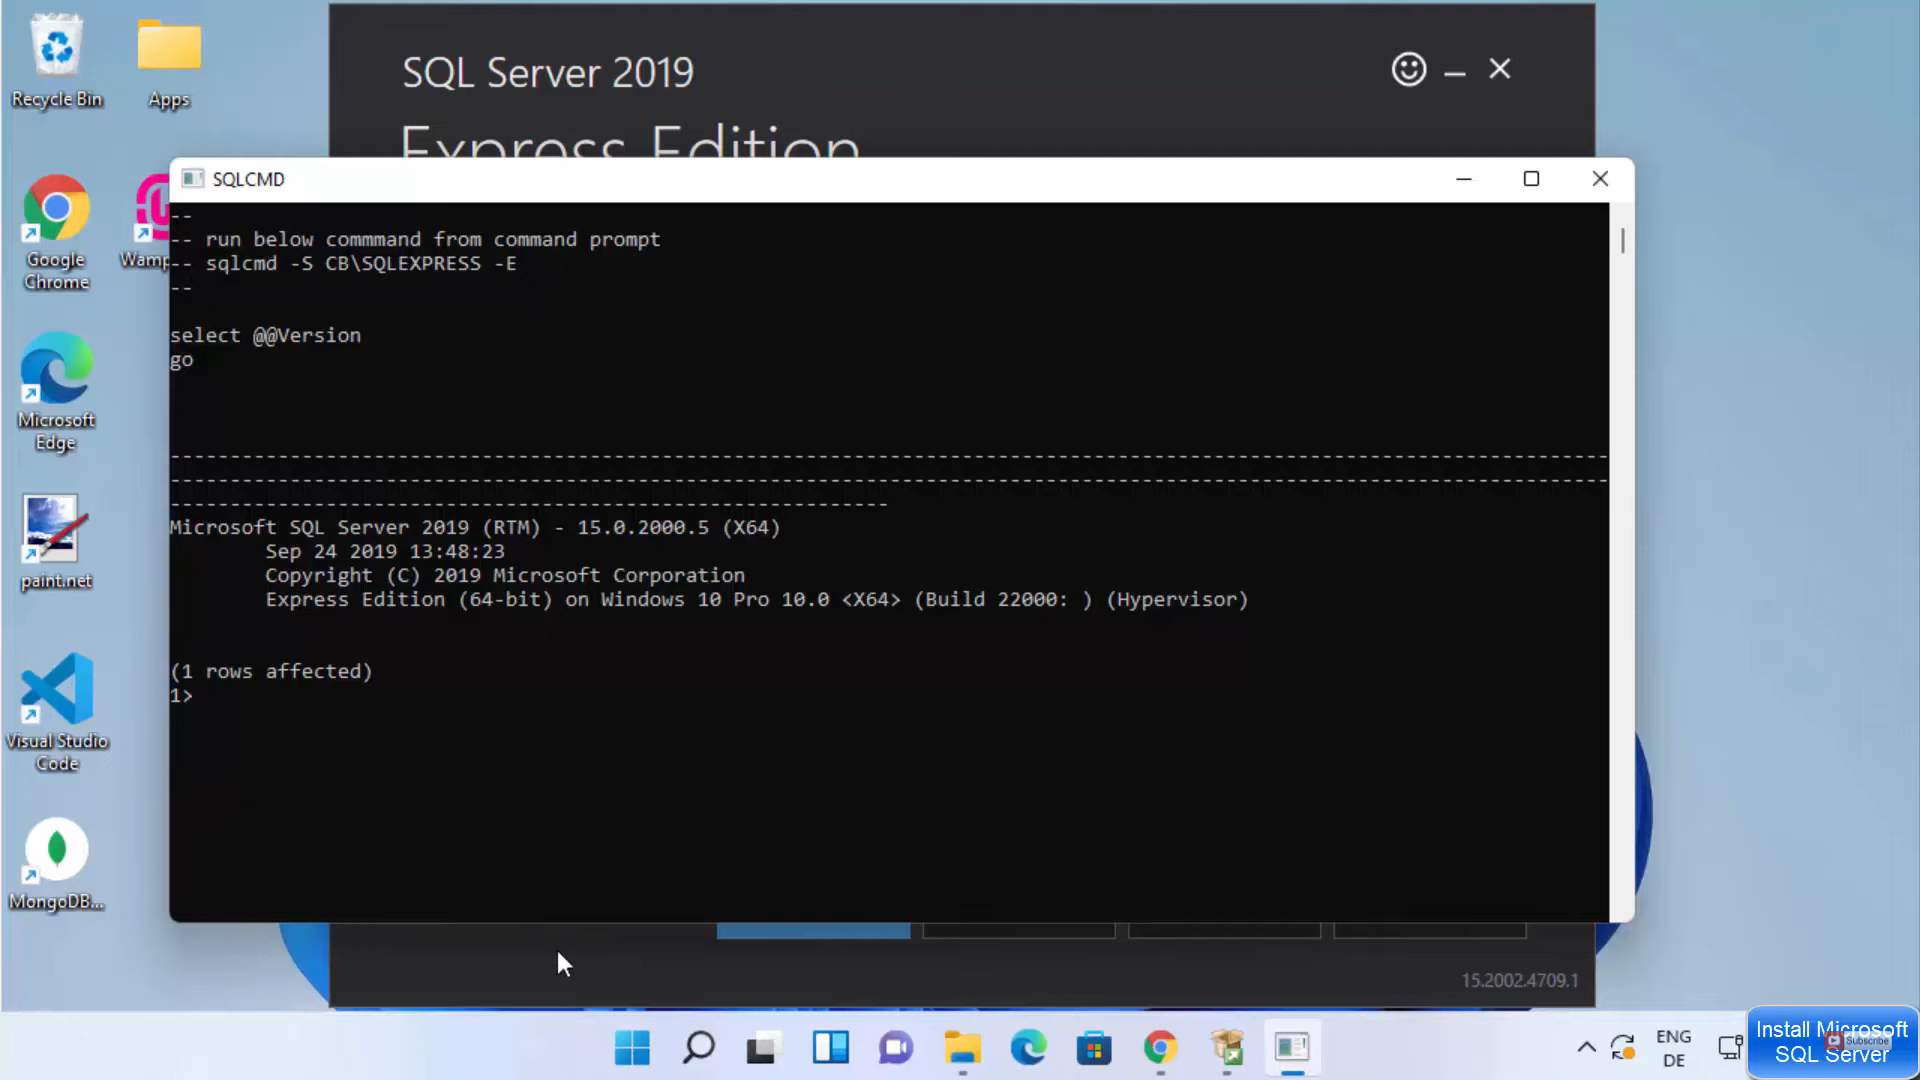
7. If you see this kind of window which is provided in the image below without any error, then your SQL server is working properly.
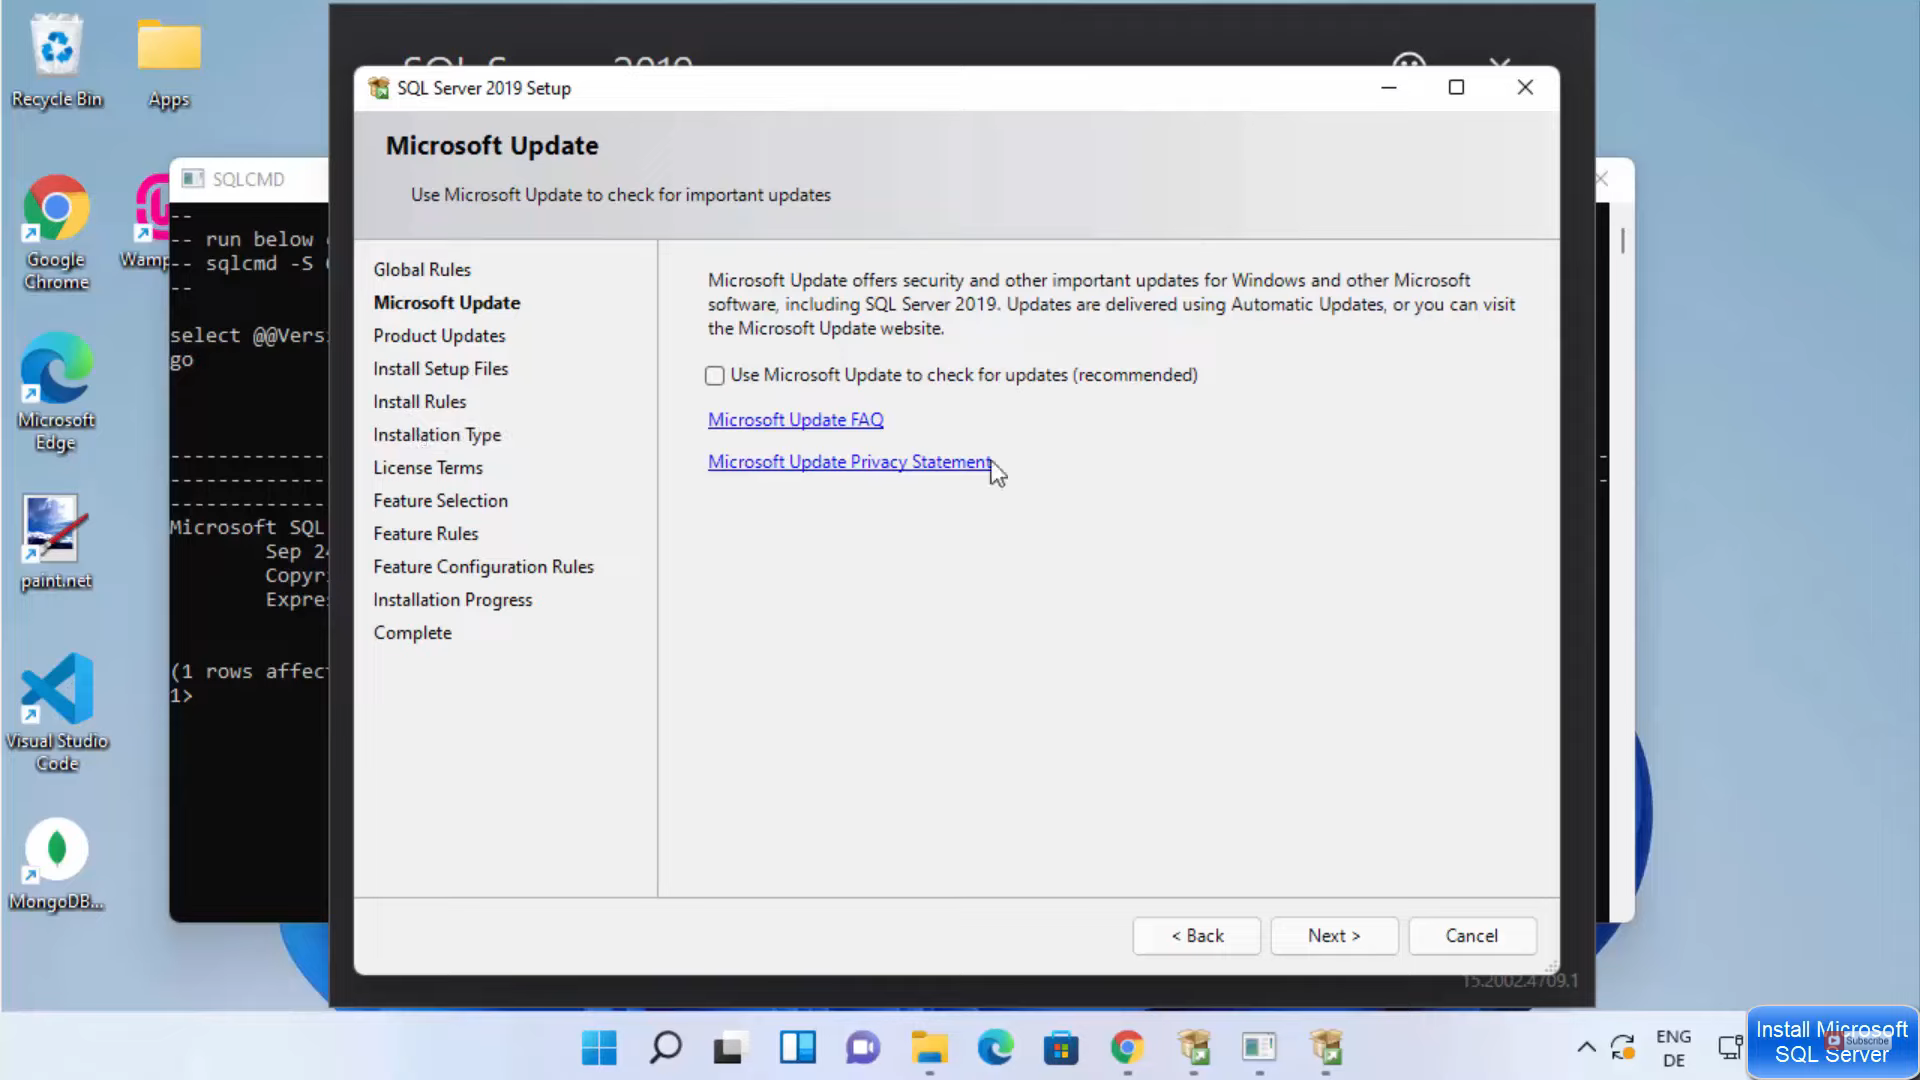
8. When you click on customize option, you can see all options related to Microsoft and its product update.
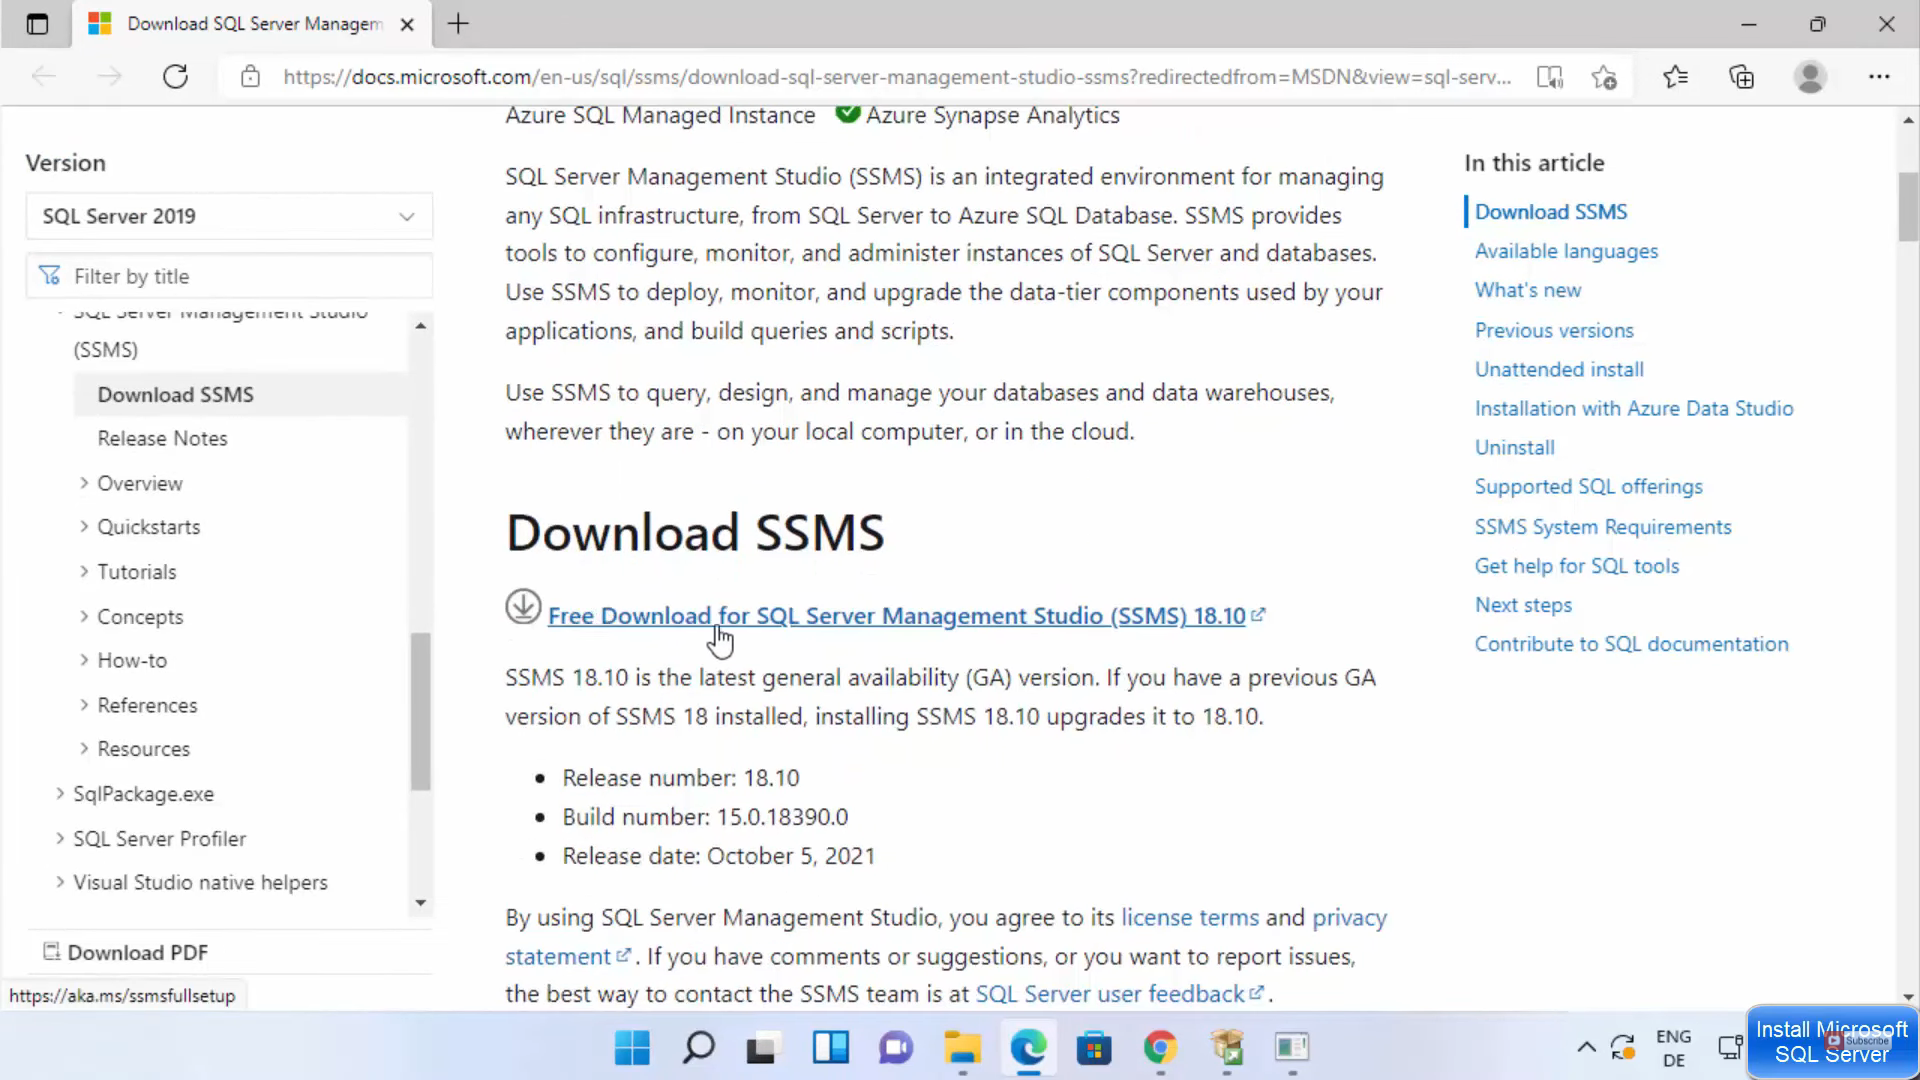
9. Install SSMS button stands for SQL server management studio. When you click on that button, it will open a web page where you can download it. When you scroll down, you can see a free download link. Click on that link. It will start to download the exe file.
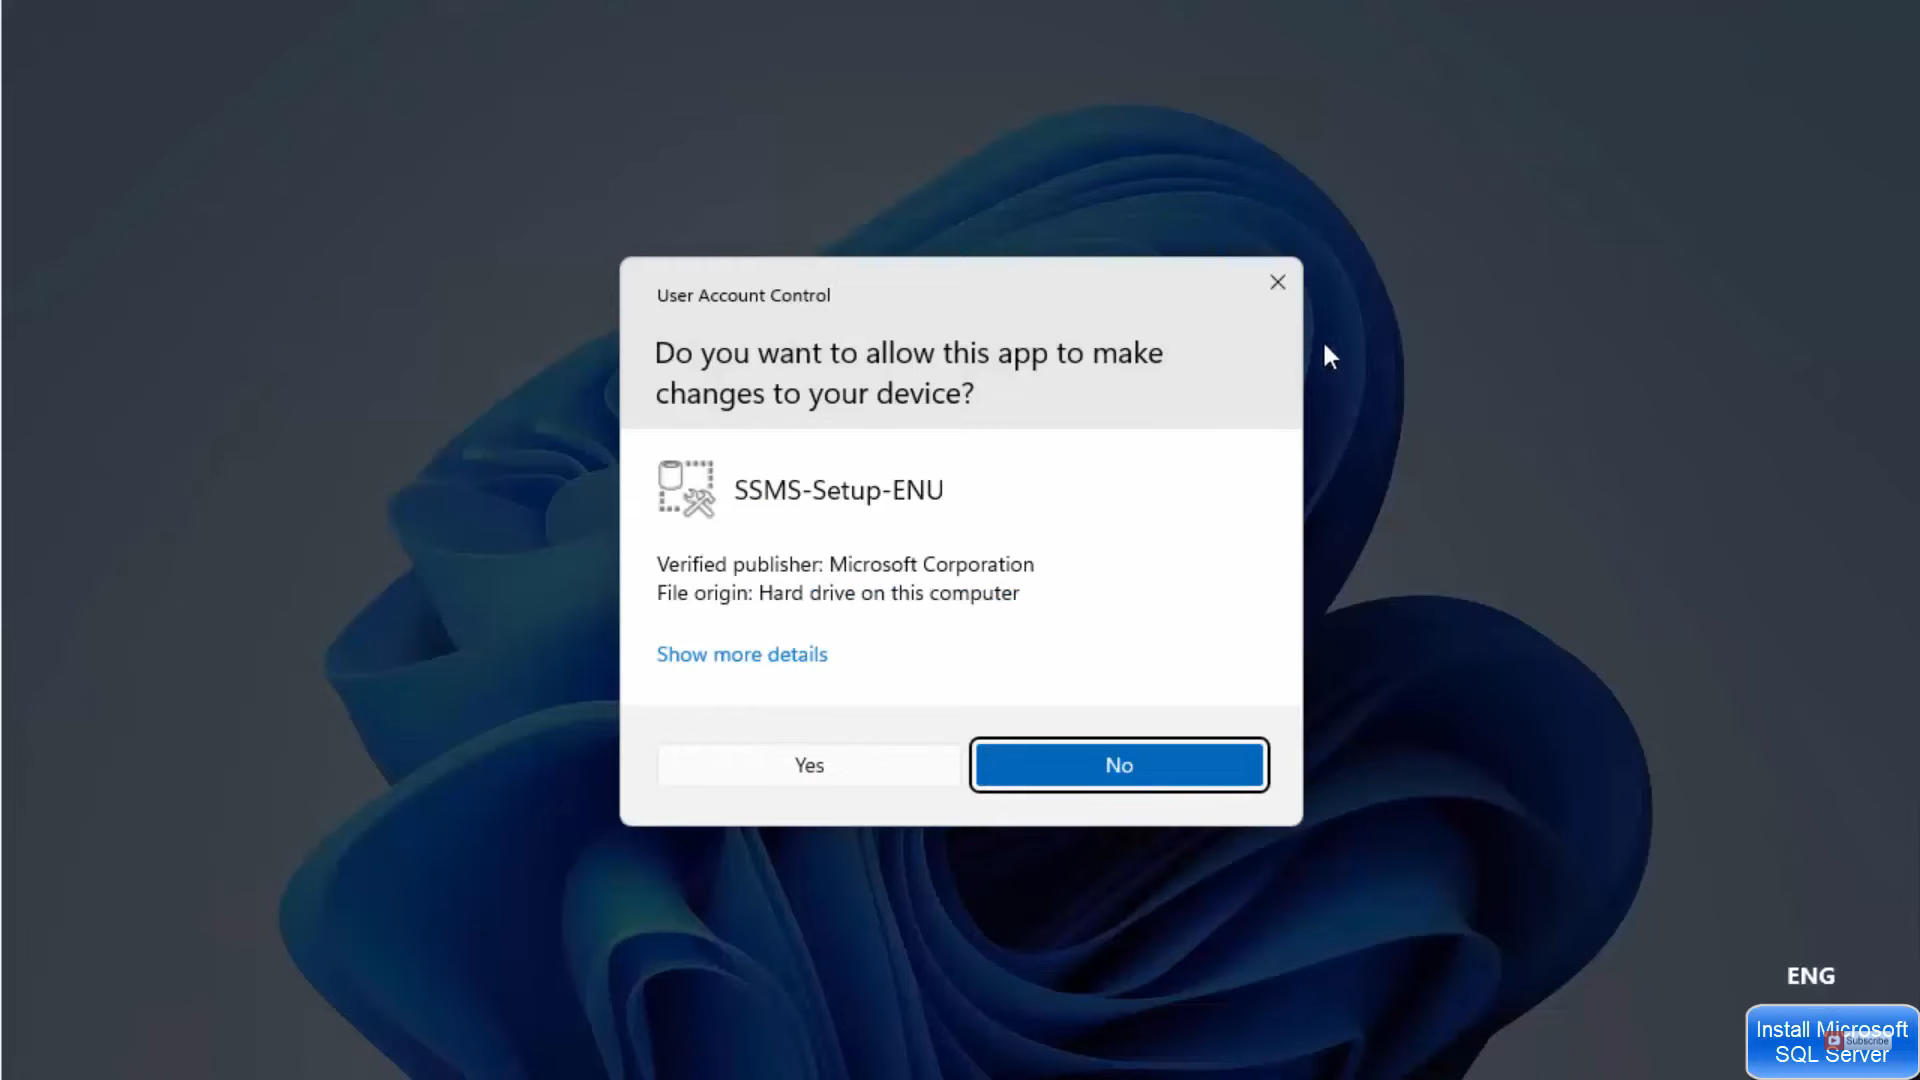
10. Once the download is complete, click on the exe file and minimize the browser. It will show a warning. Click on Yes.
11. This will be the location where it will be installed. If you want you can change the location by clicking on the Change option. I am going to leave it as default and click on the Install option.

12. Once it is installed, you will see a message called setup completed. Click on the Close button.

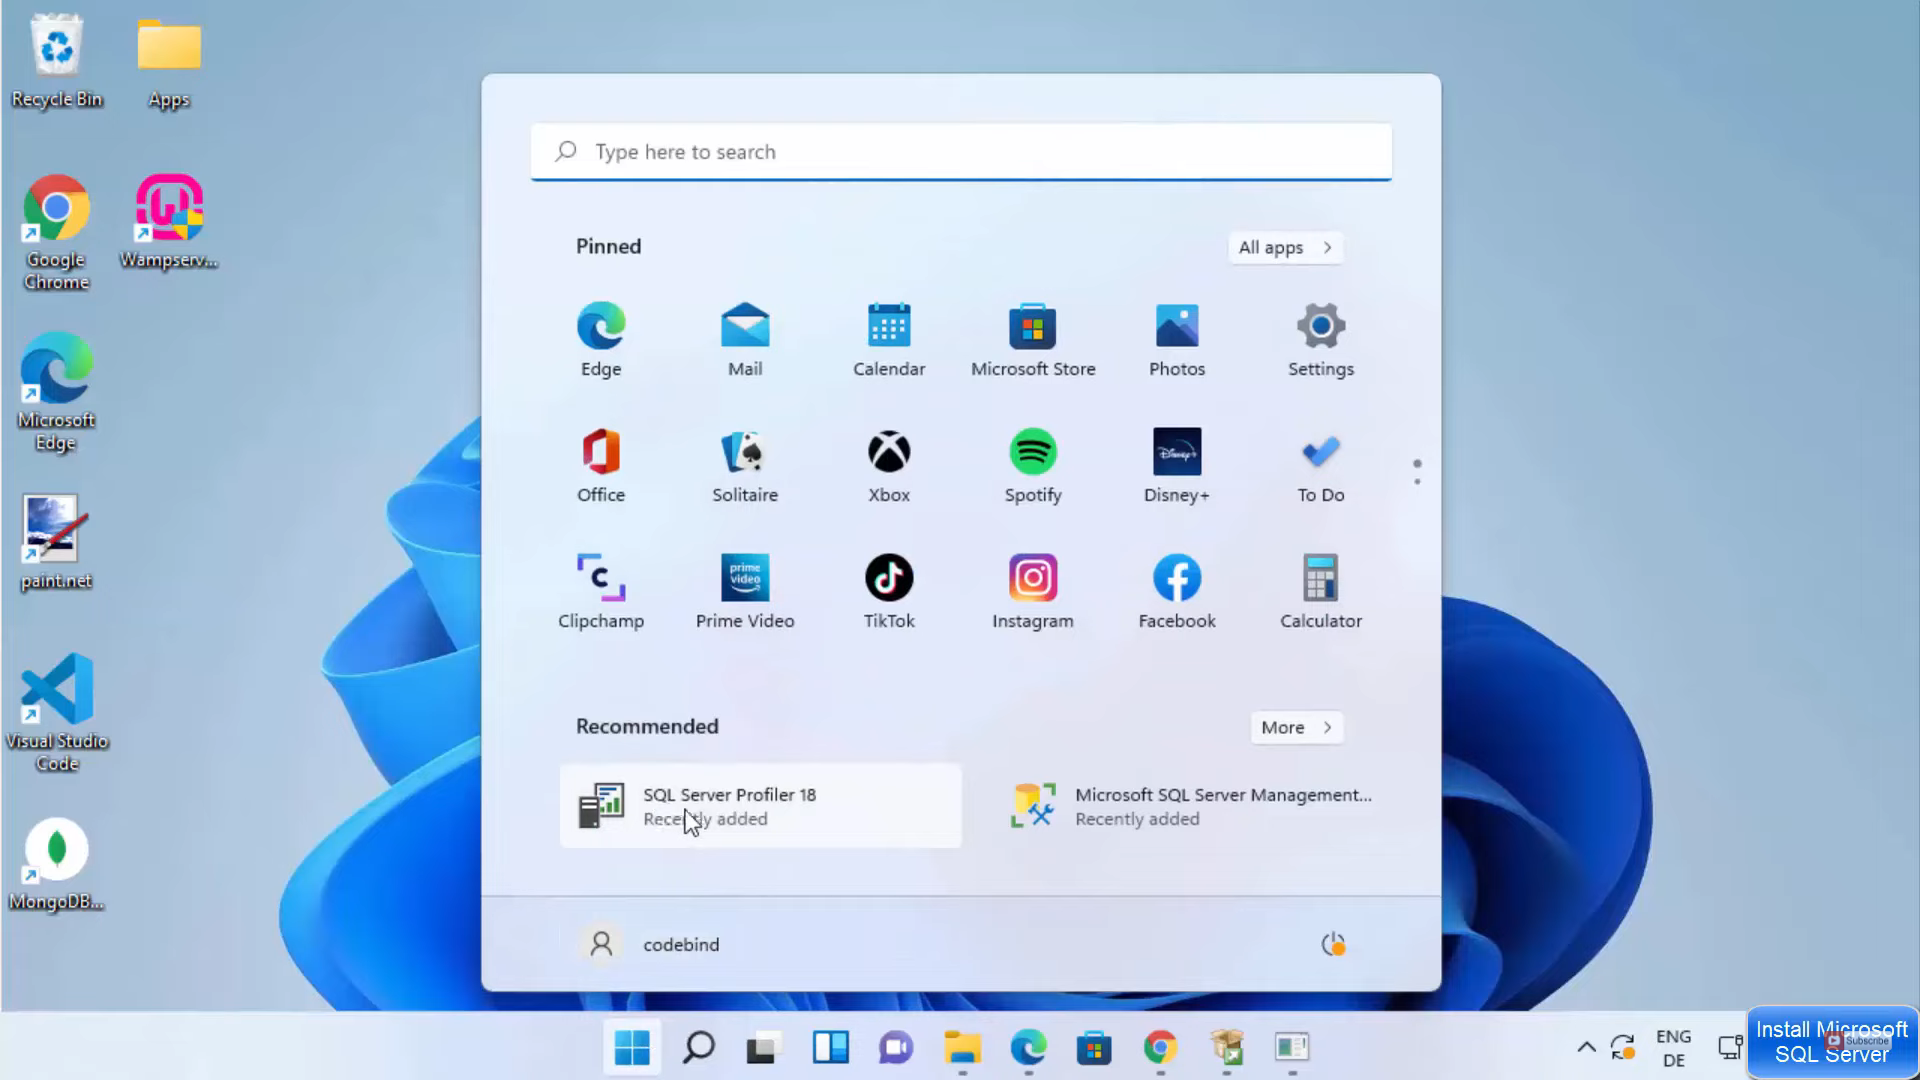
13. Click on the Windows start icon, and you will be able to see the SQL server profile.
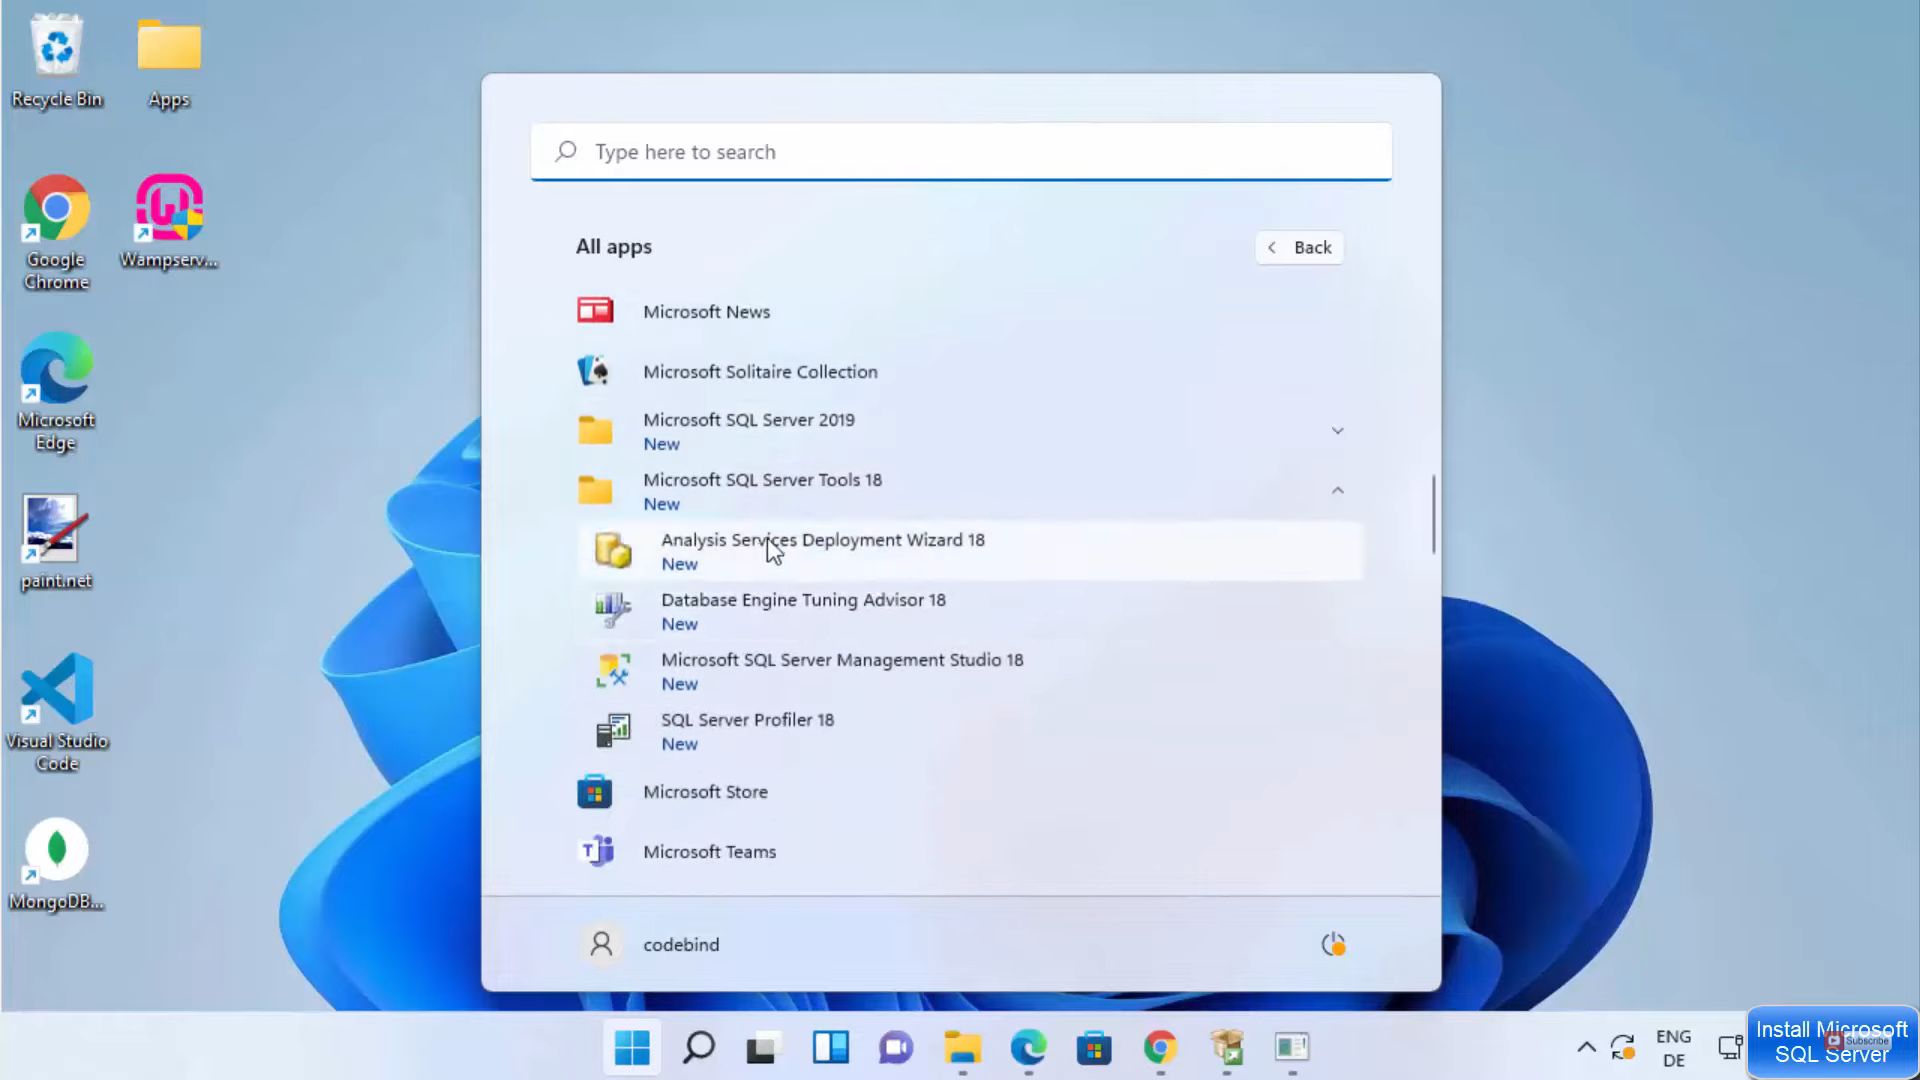
14. If you want to see all the tools related to SQL, you need to click on All apps. It will display all the apps related to SQL.
15. It will start SQL server management studio. Now, the SQL server has been started. Click on Connect option.
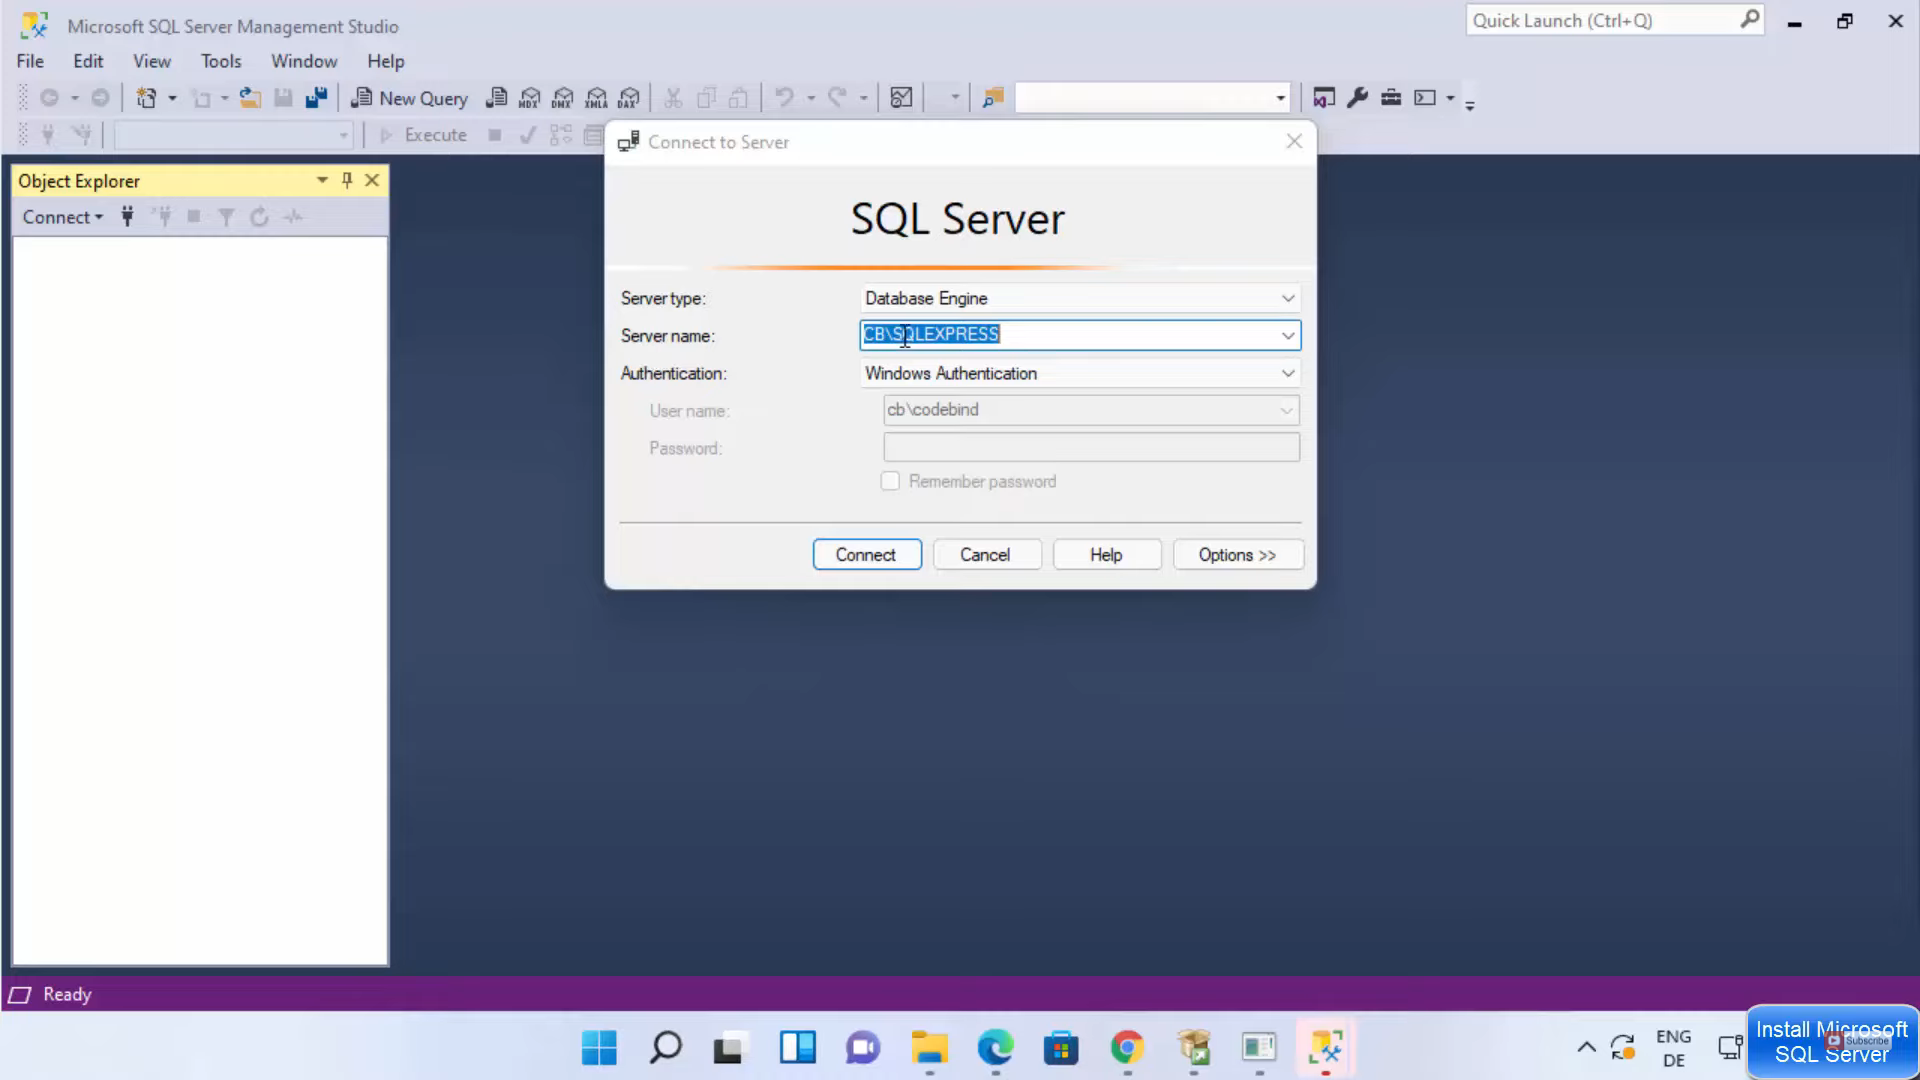
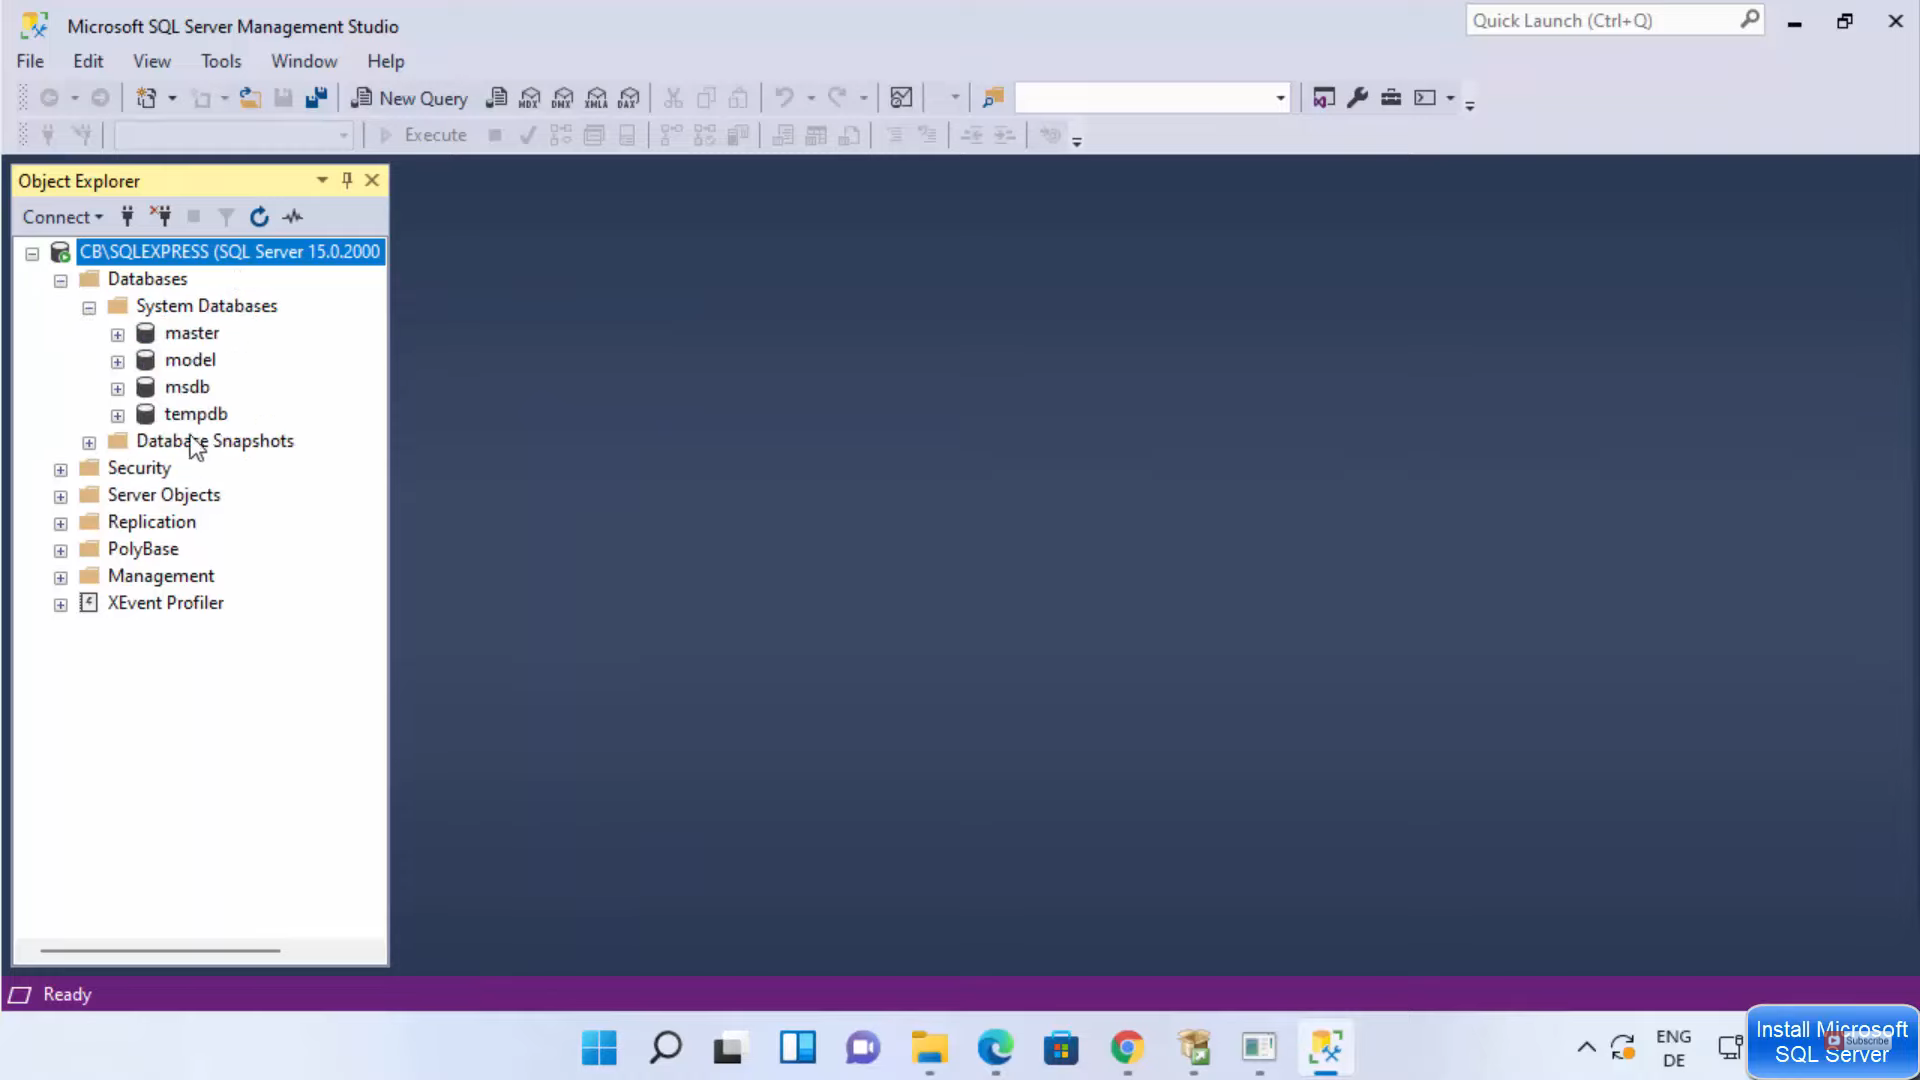
16. It will connect you to the SQL server. You can see the list of databases.
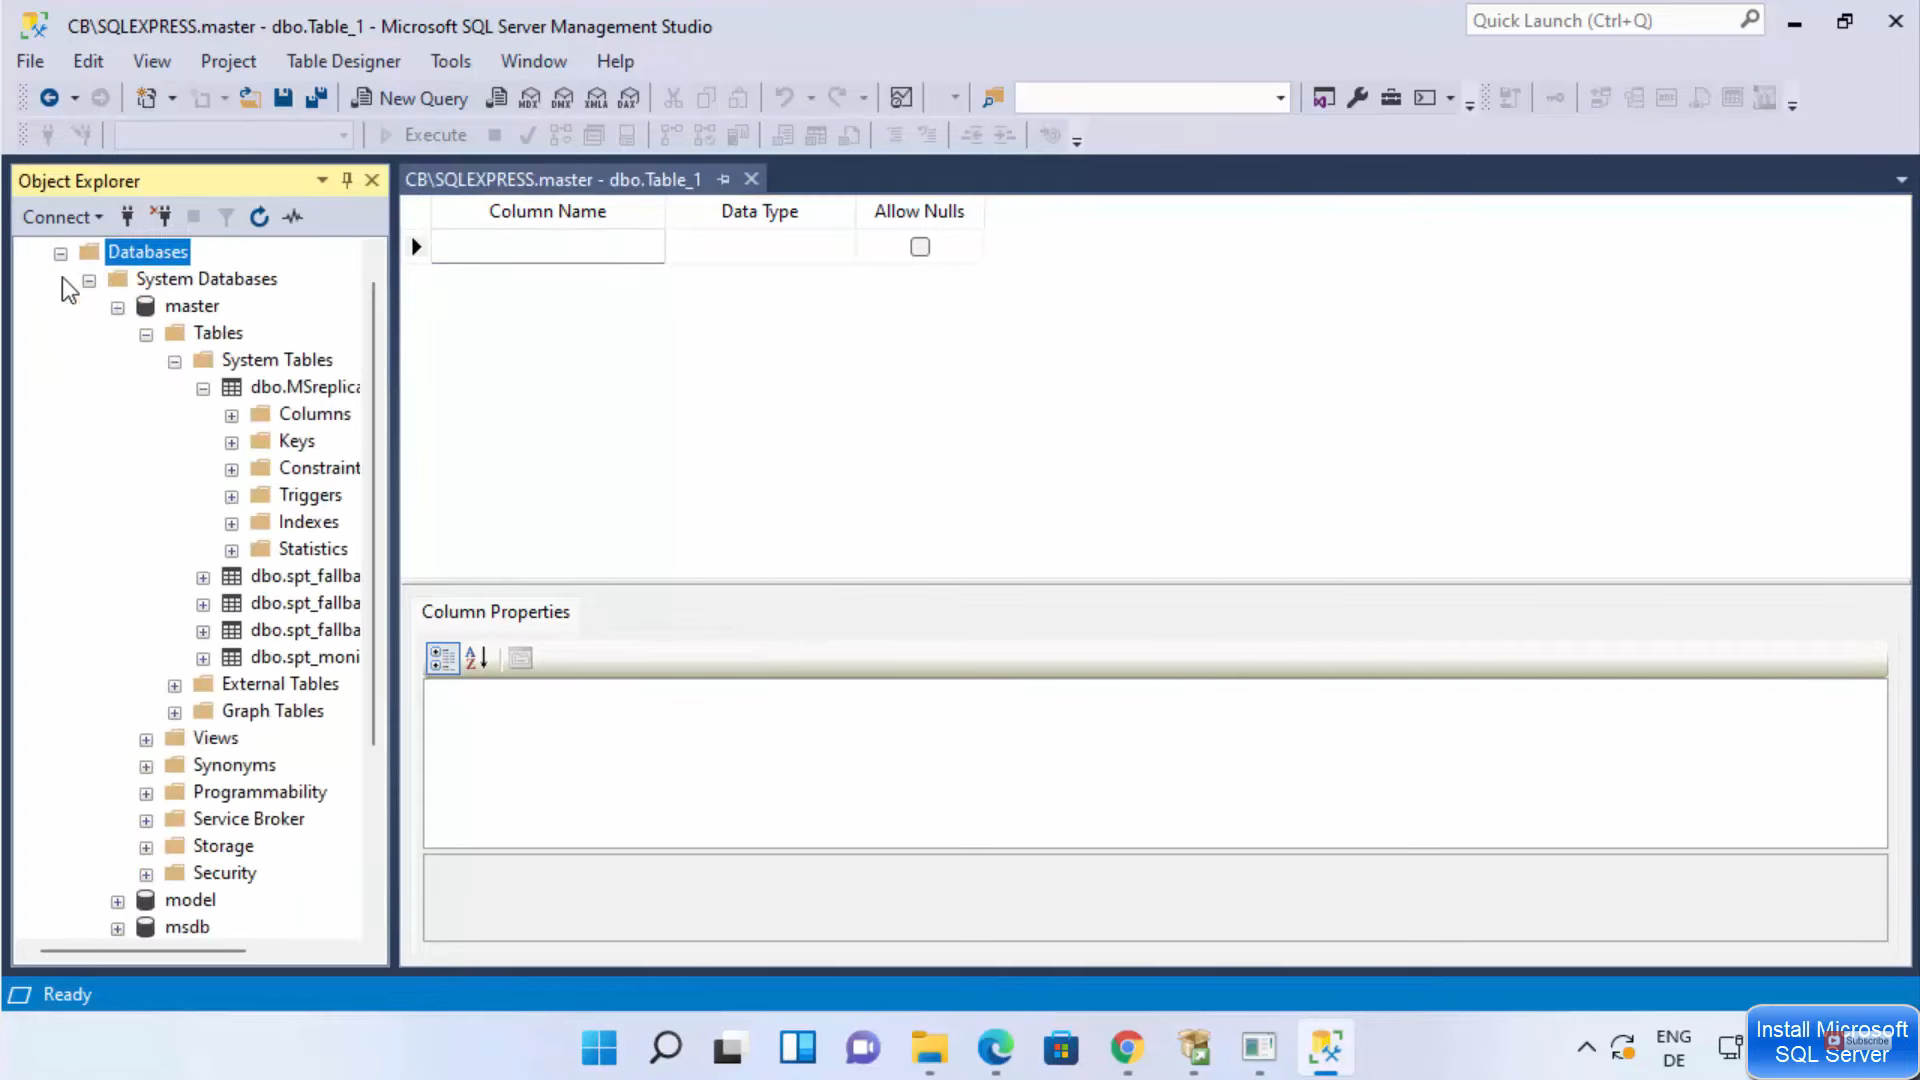
17. When you click on the table, it will create a new table.
These are the steps for downloading and installing Microsoft SQL server 2019 on your Windows 11 Operating System.
Leave a Reply