
This blog post will give a detailed view of installing Zoom on macOS. Let’s get started!
1. Go to your favourite web browser, search for ‘zoom’ and press ENTER.
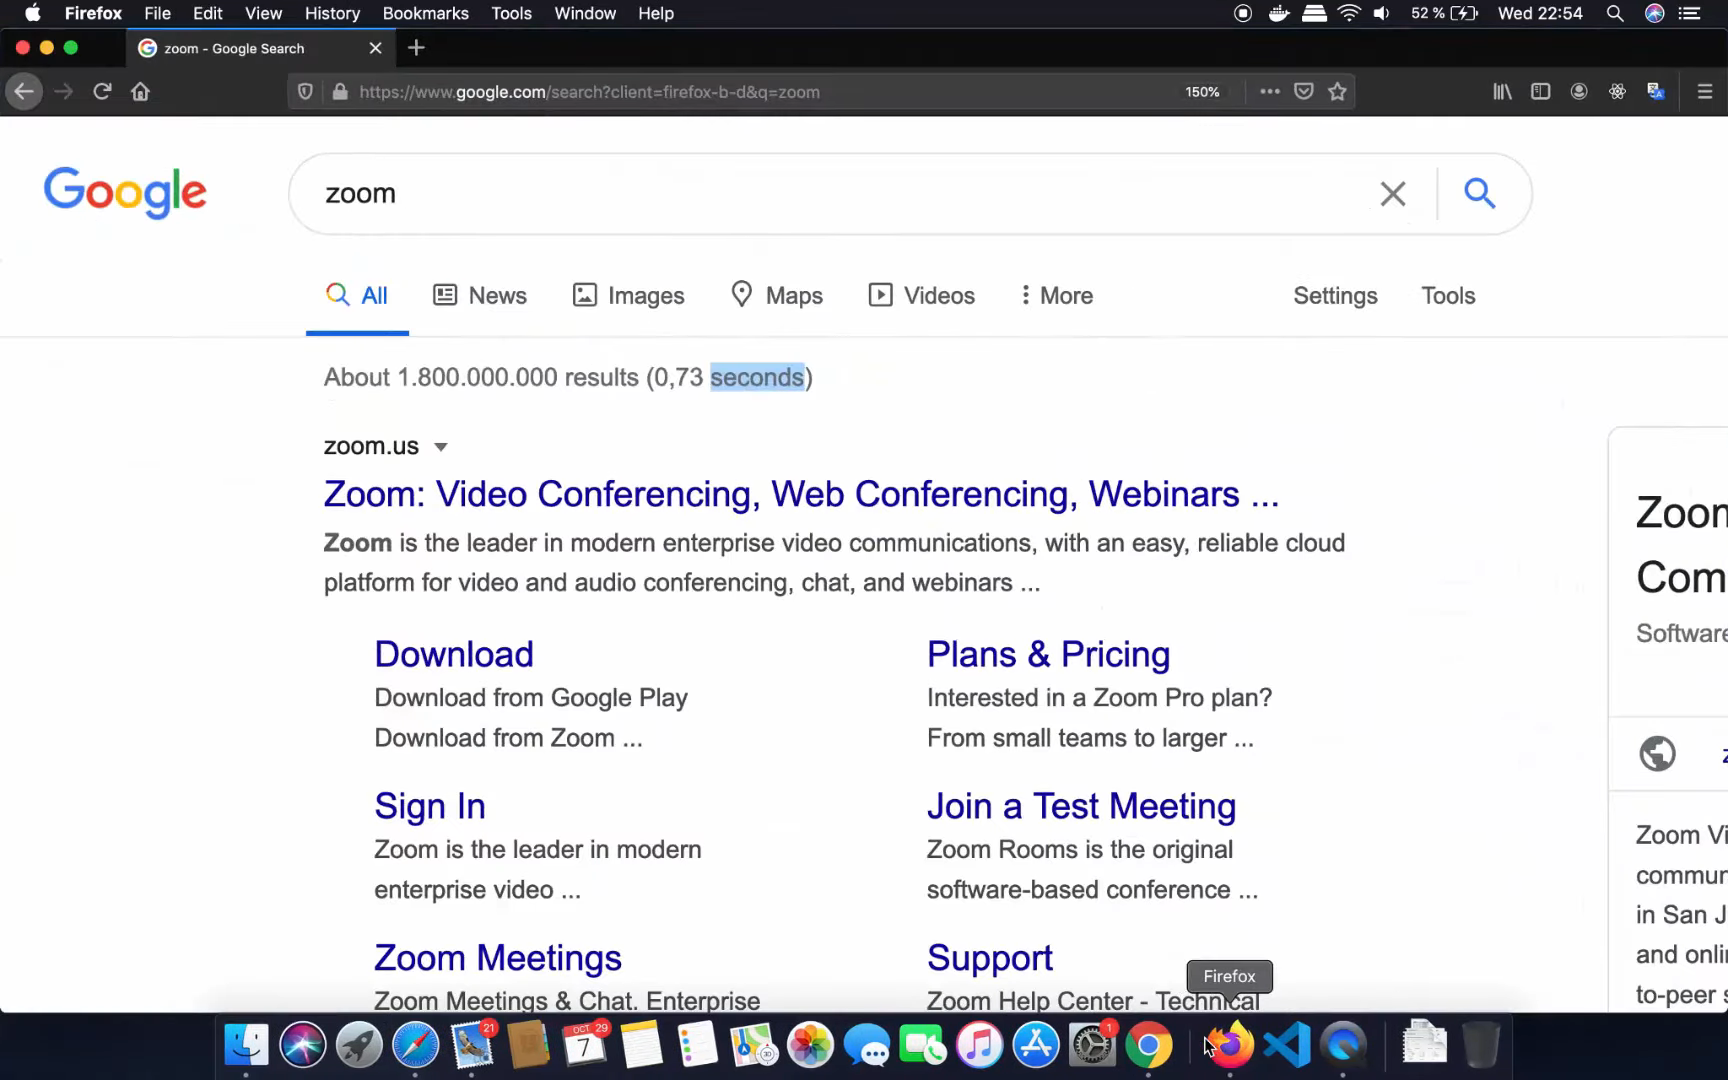
2. I would always choose the official website of applications that I wish to download. So, let’s click on the first link.
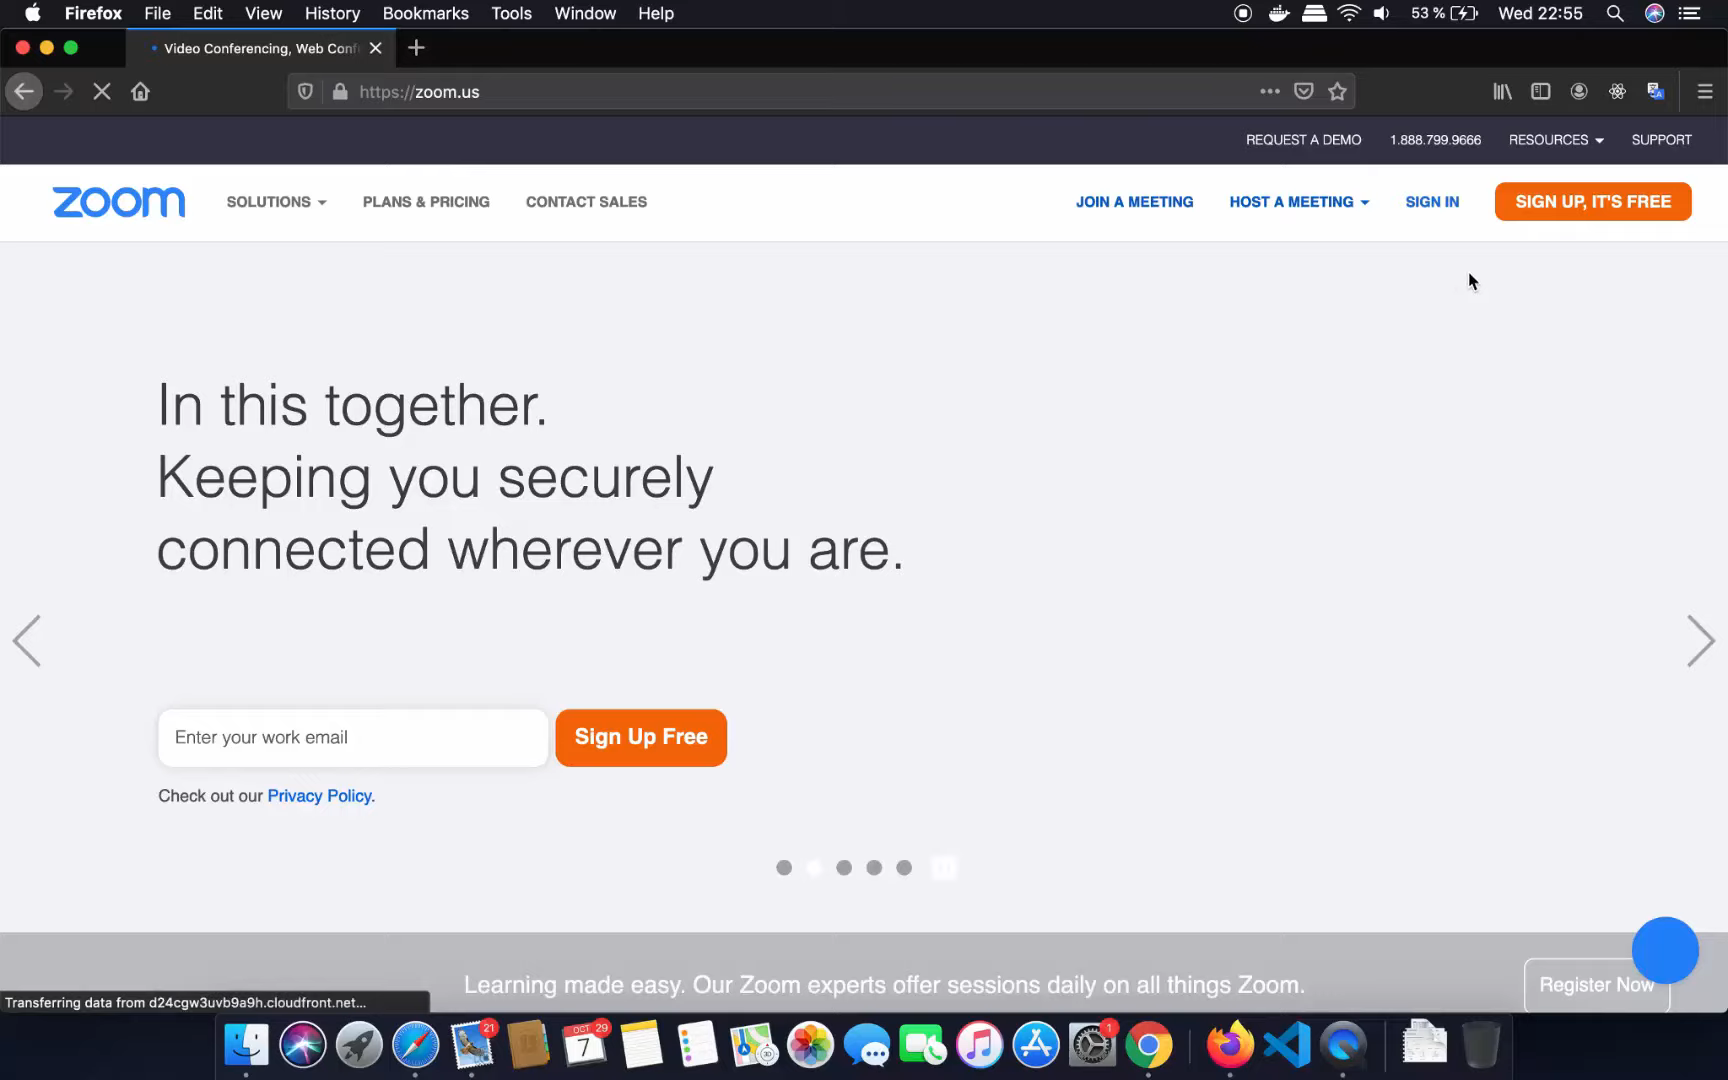
3. On clicking on the above link, it will take you to the website of zoom.us and click on the ‘Sign up its free button in the top right corner.
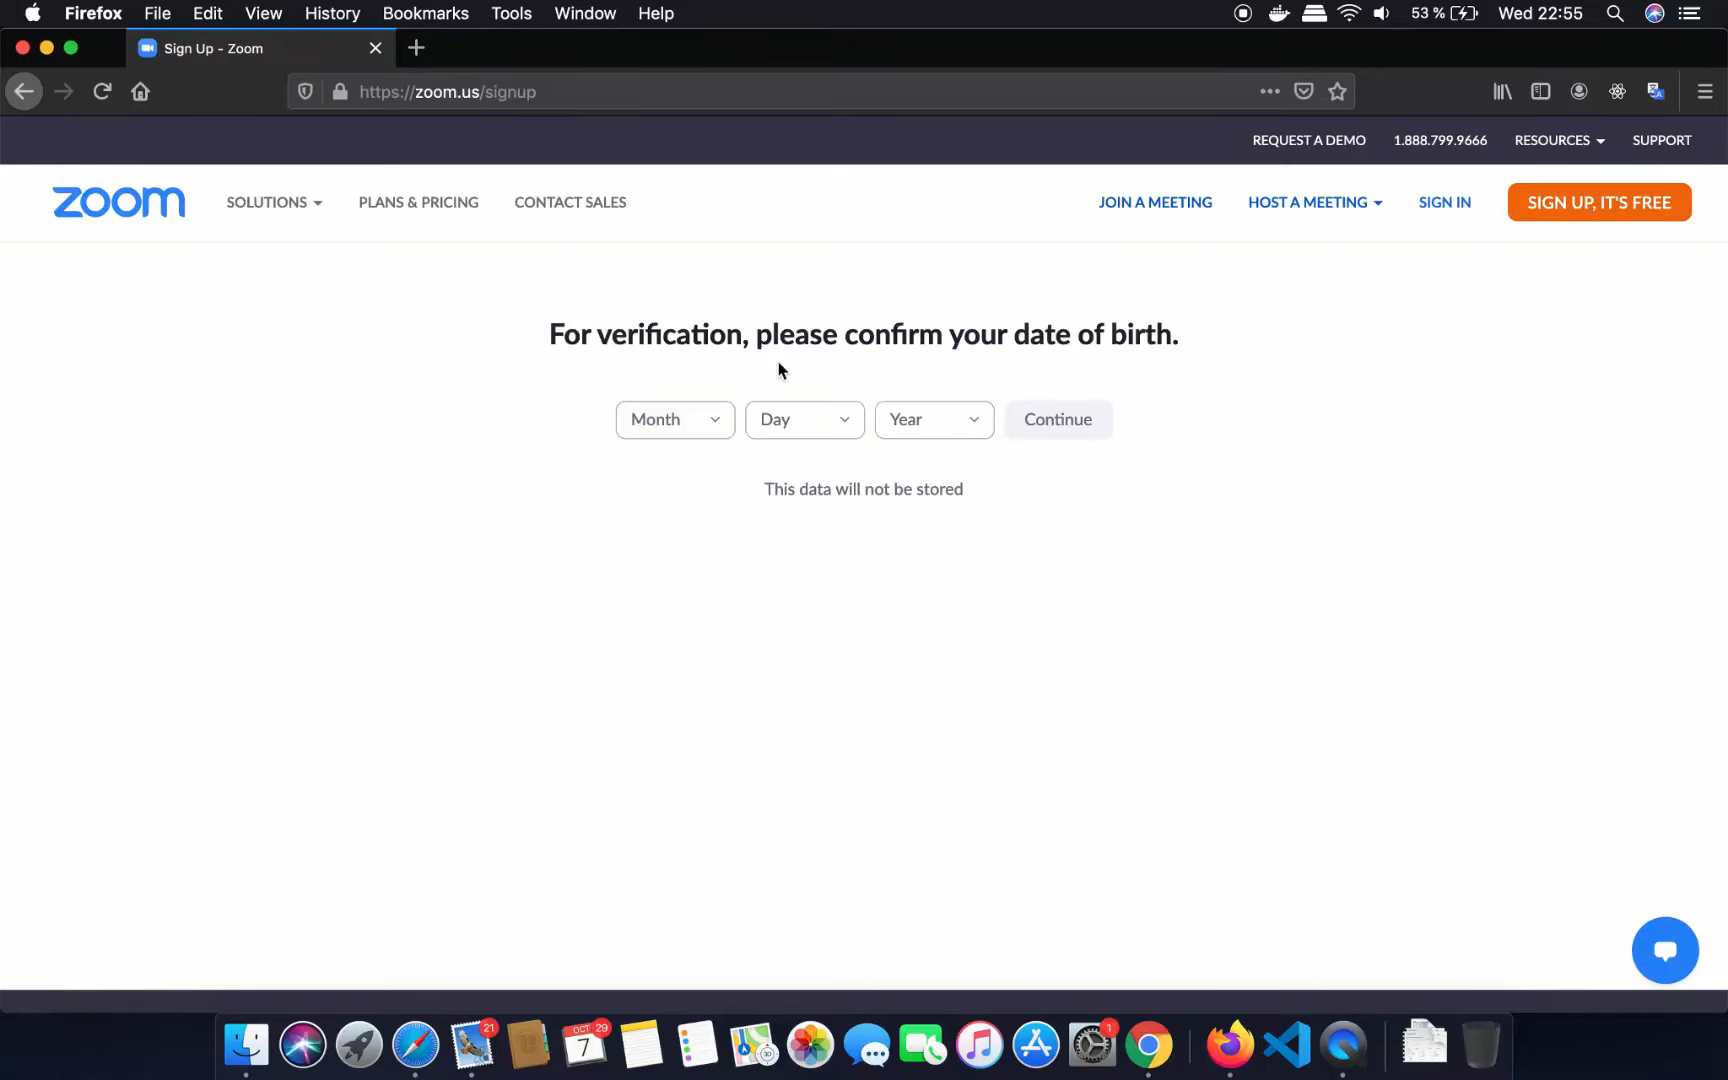
4. For signing up, it will ask you to enter the date of birth, and after that, click on ‘Continue.’
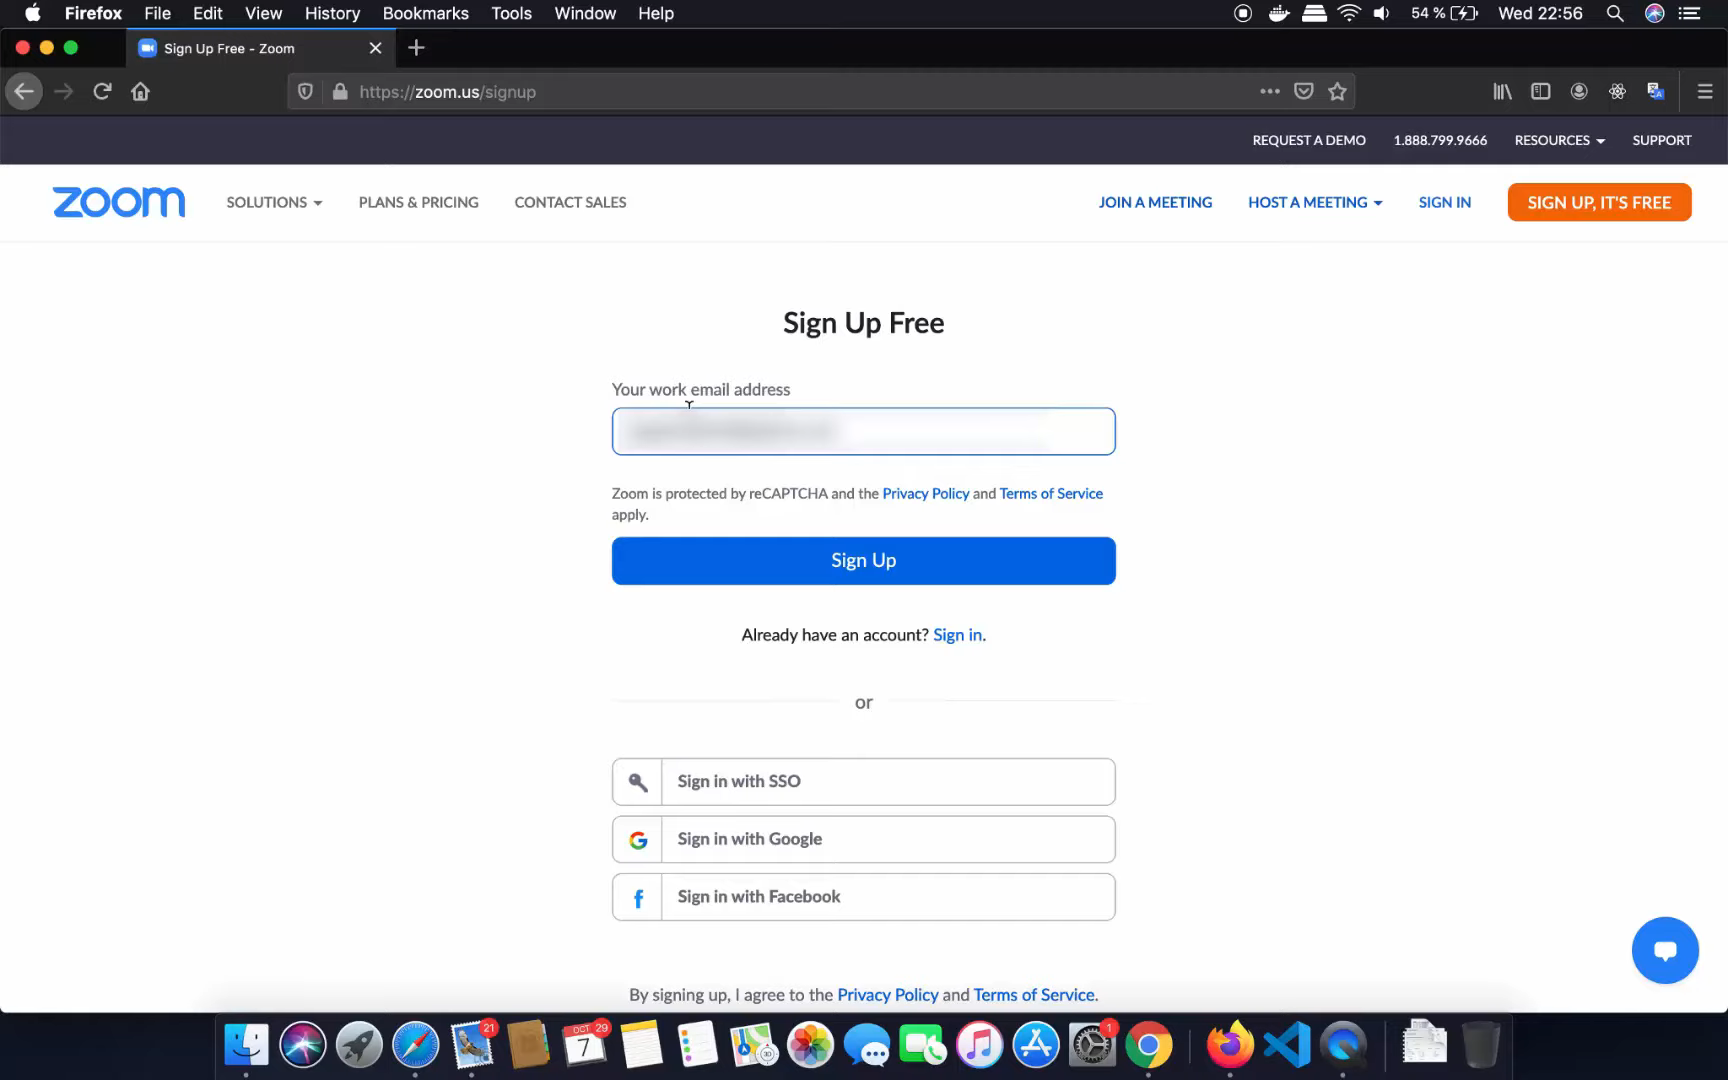
5. On the next page, give your email address and then click on Sign up
6. A confirmation mail will be sent to the email address that you’ve given. Go to your email and check for the confirmation link from zoom.
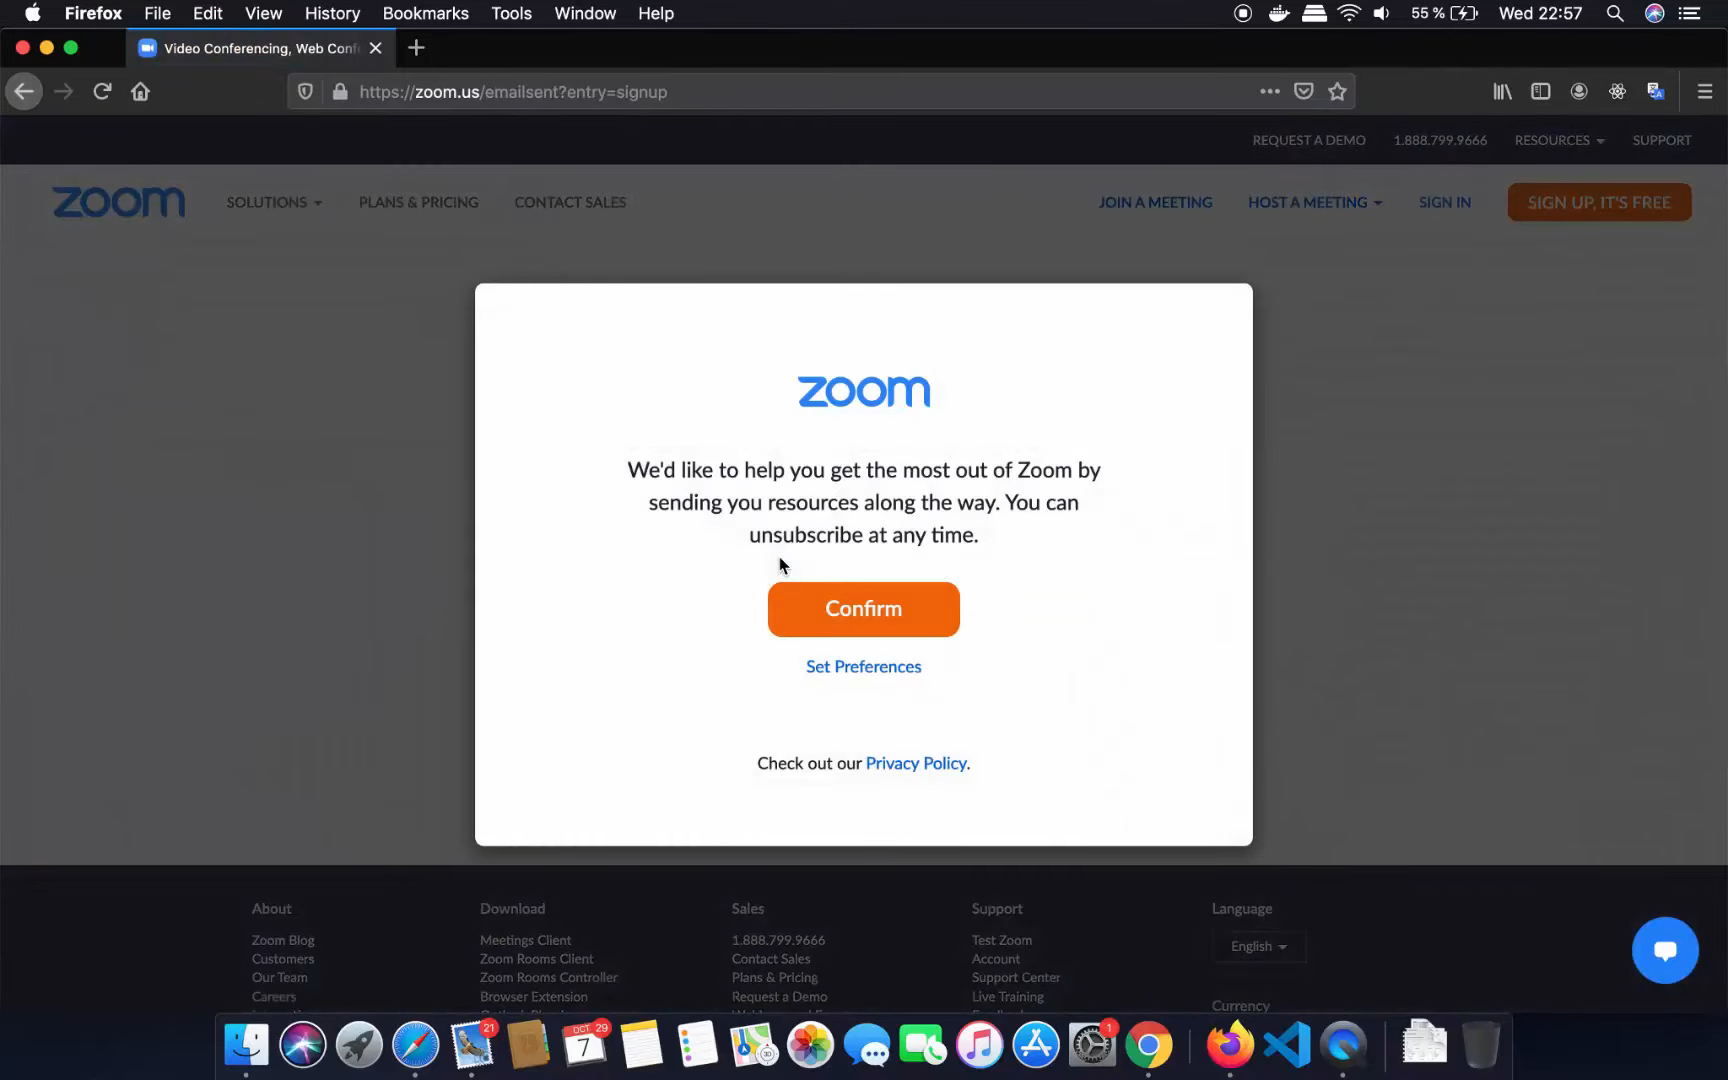
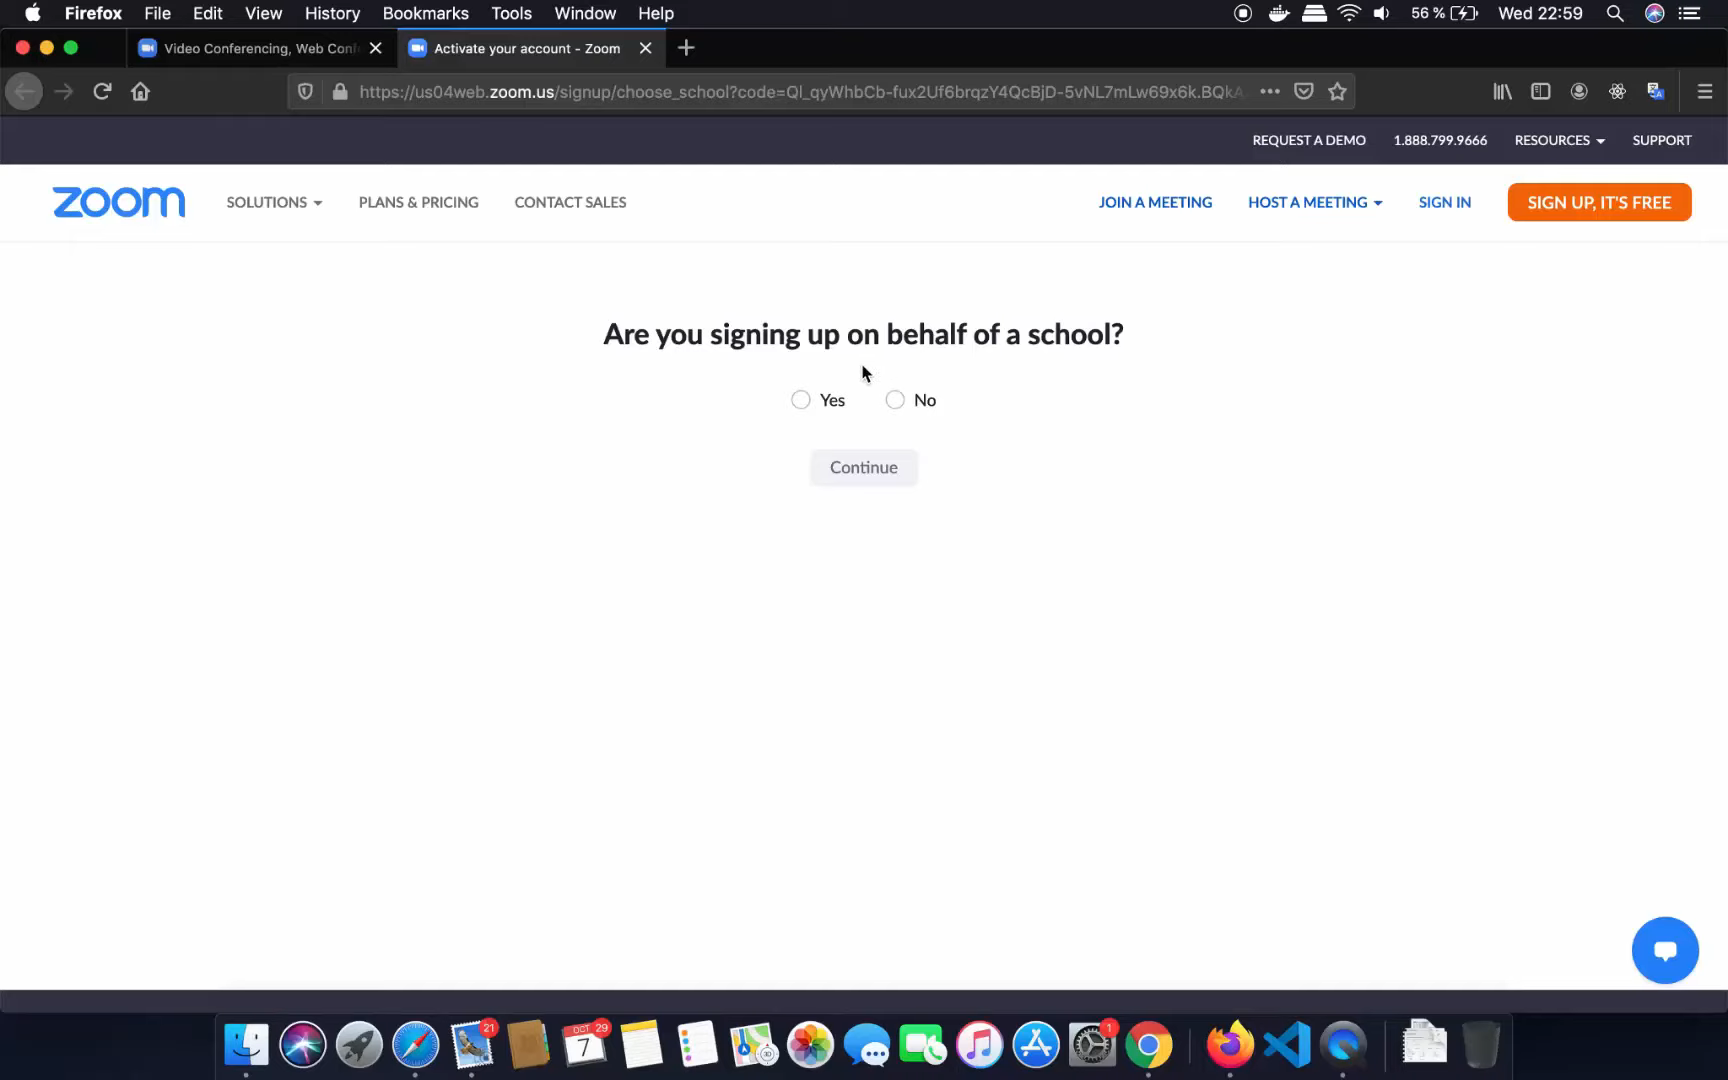
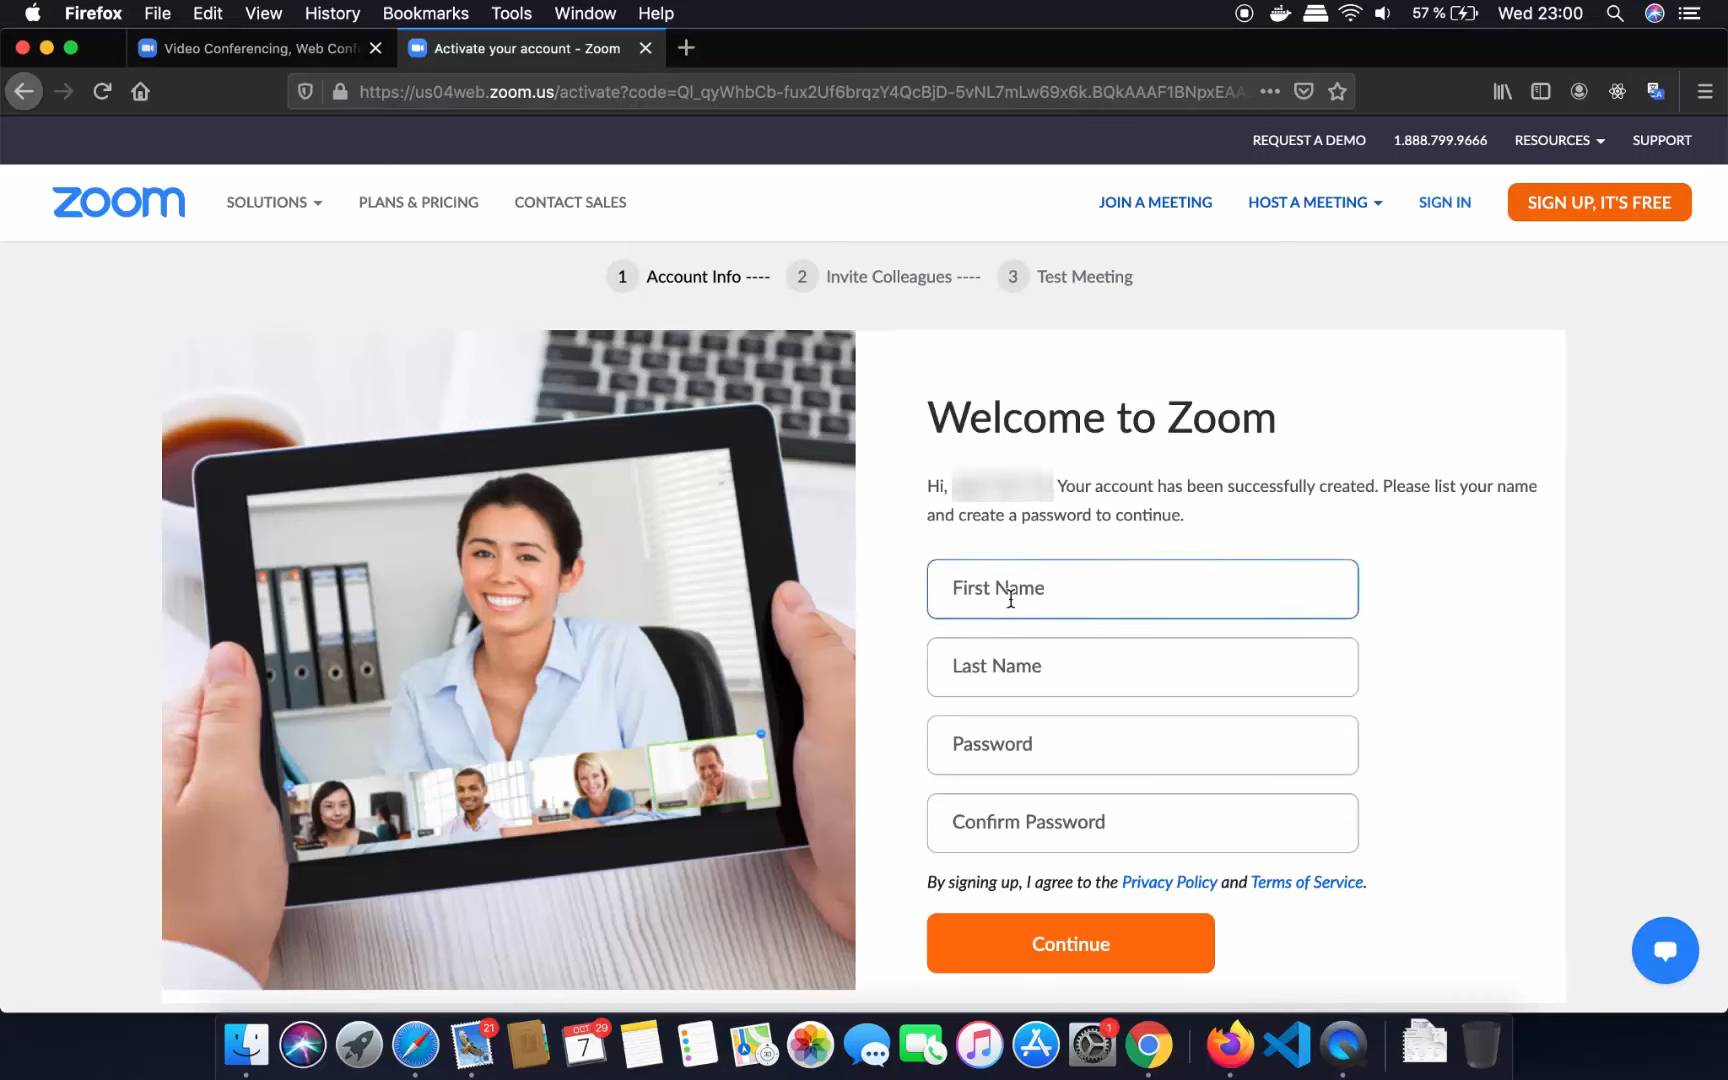
7. This confirmation link will take you to another web page to get more details from you. It will ask you to enter your first name, last name and so on.
8. Set a password for your zoom account.
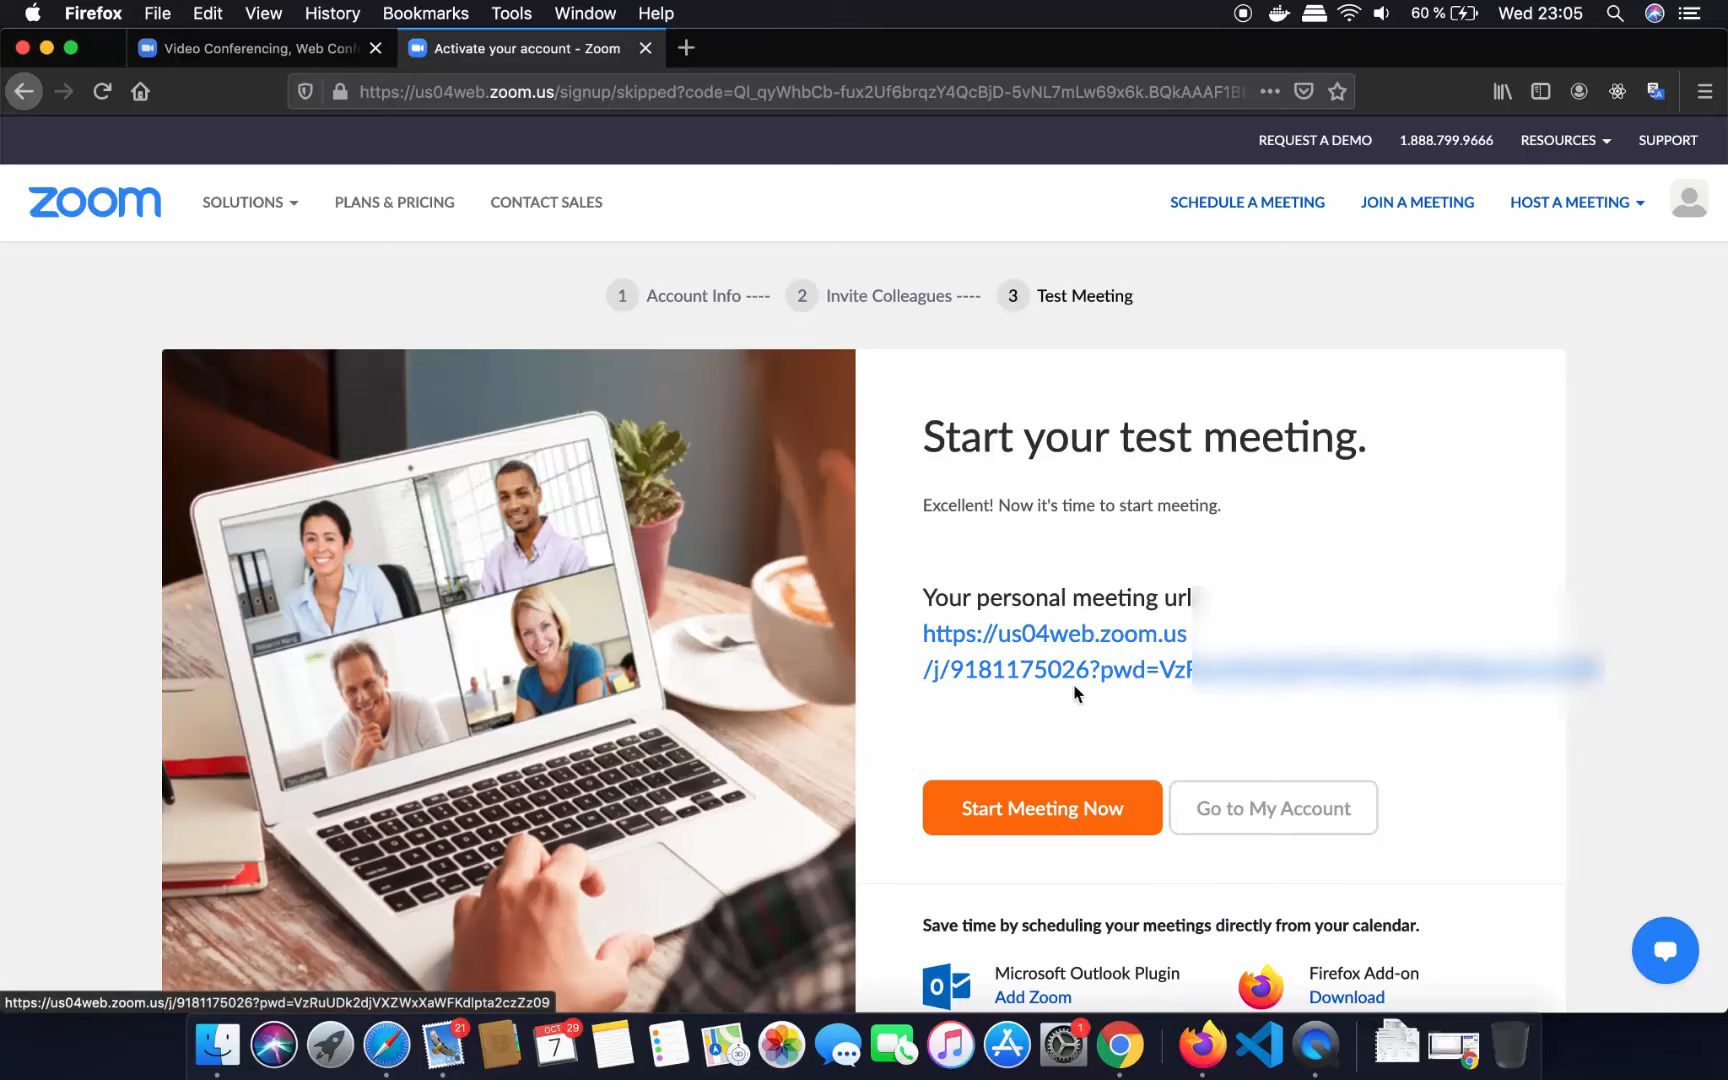
9. After setting up the account, you can also do a test meeting.
10. For macOS, you need to download a package from zoom. The ‘zoom.pkg’ file will be automatically downloaded.
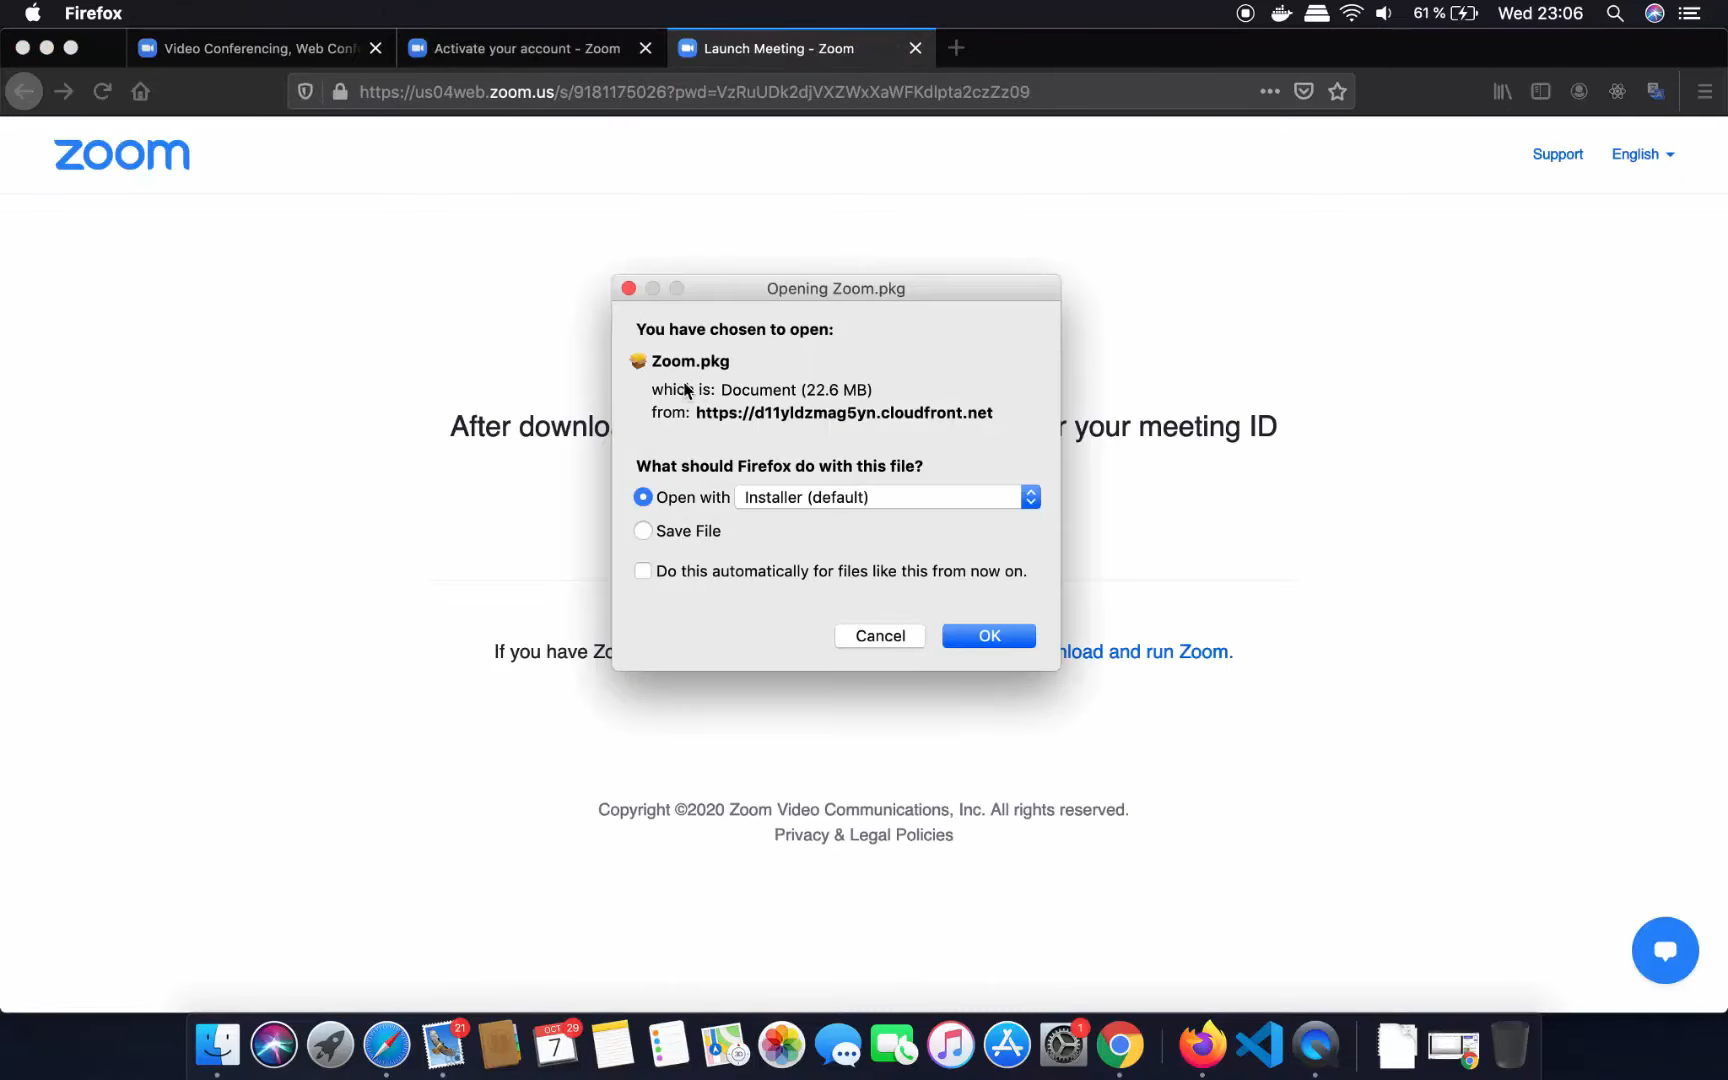
11. After the download completes, double click to open the zoom.pkg file.
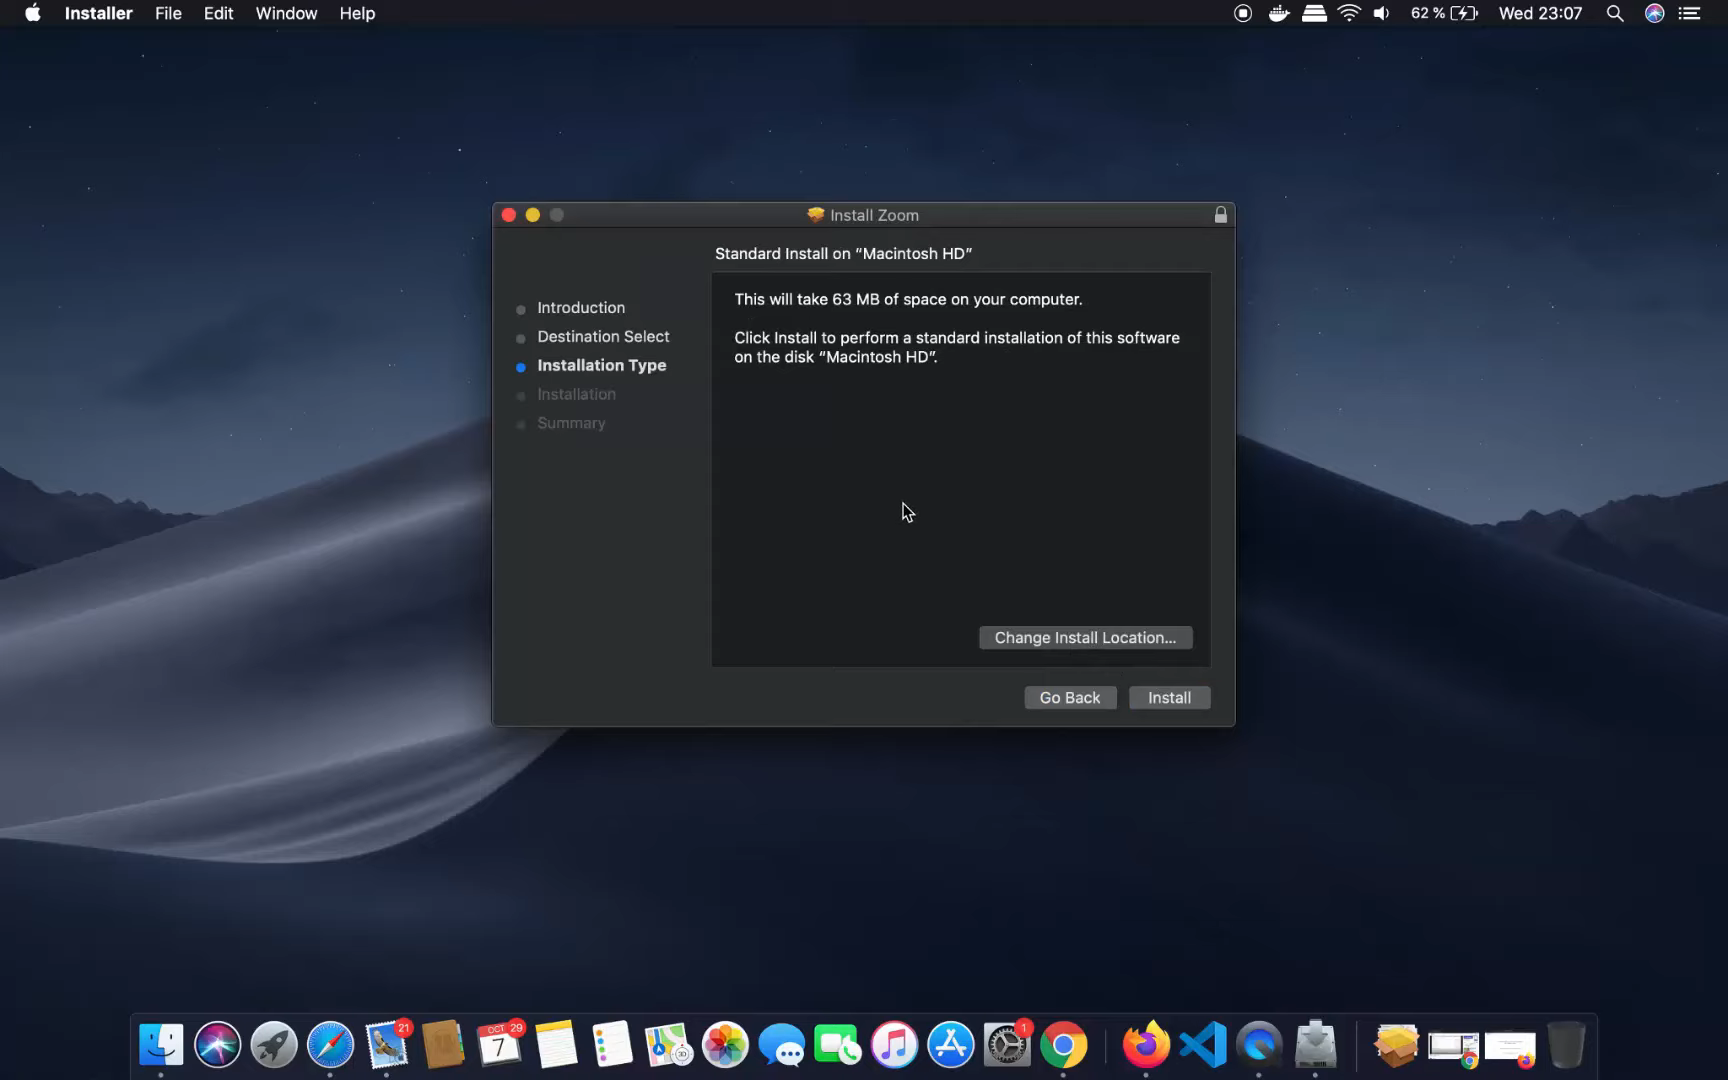
12. We have to do a few more steps for a complete installation.
13. Press ‘Continue’ in the above pop-up. The next screen allows you to change the default location for installation. If you do not want to change it, click on ‘install.’

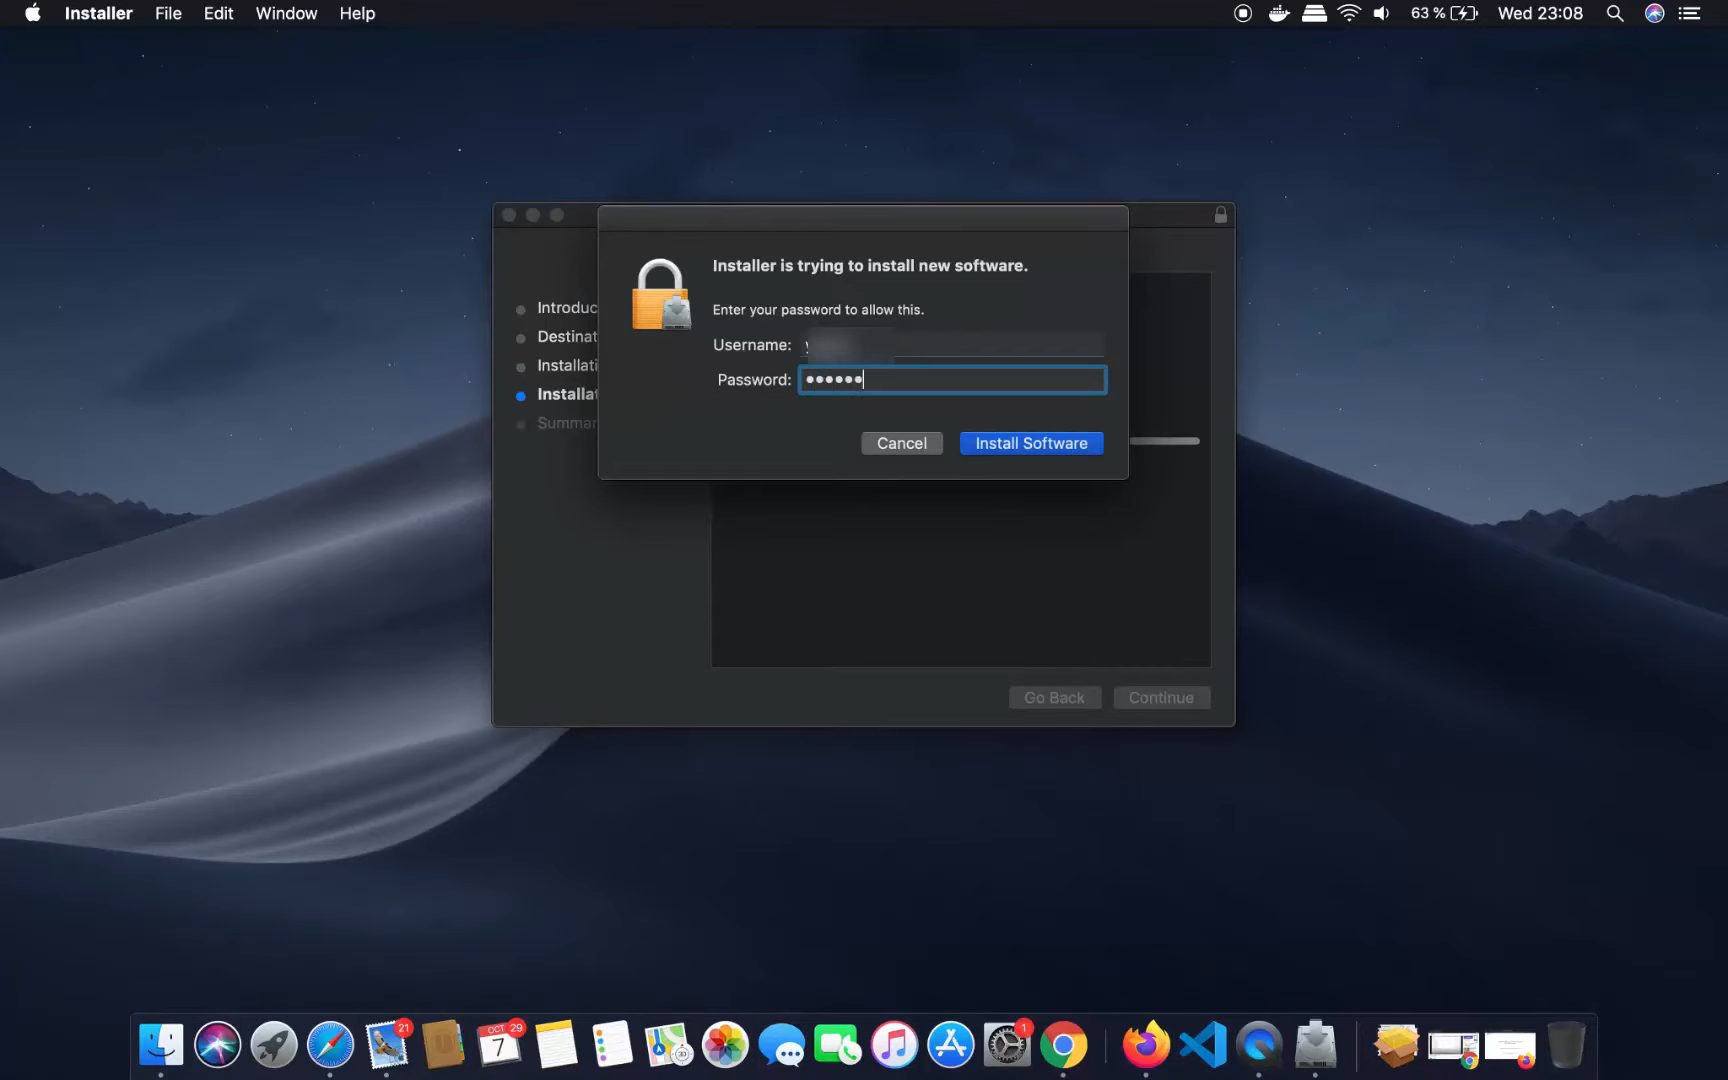
14. Remember you gave a password for your zoom account? So, you have to enter this password to start the installation. In a minute or so, the installation will be complete.
Woohoo! Zoom installation on your macOS is now completed. You can start scheduling meetings now through zoom. I hope you find my blog helpful!
Leave a Reply