
This blog post will give a detailed view of installing Java on macOS. Let’s get started!
- First, open the Safari web browser that comes with the Mac Operating System.
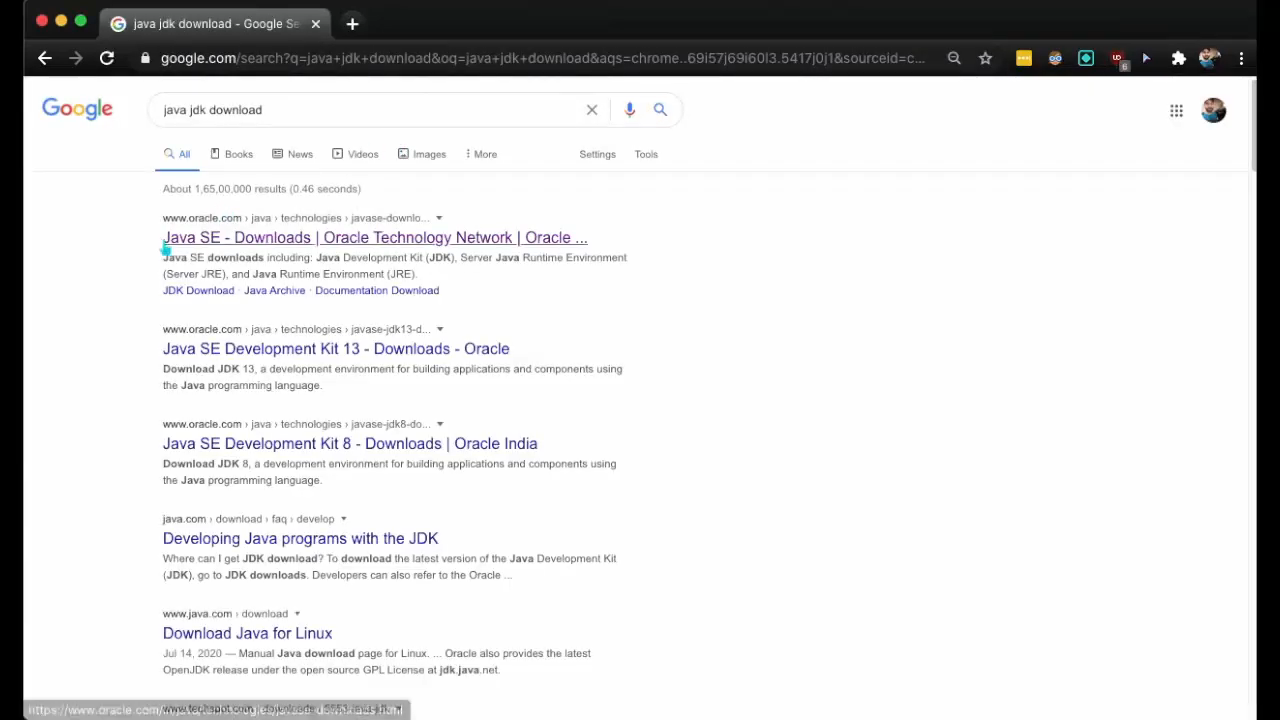
2. After opening the Safari browser, search for ‘java jdk download’ in the search bar and press ENTER.
3. Click on the ‘SE Downloads’ link published by Oracle.
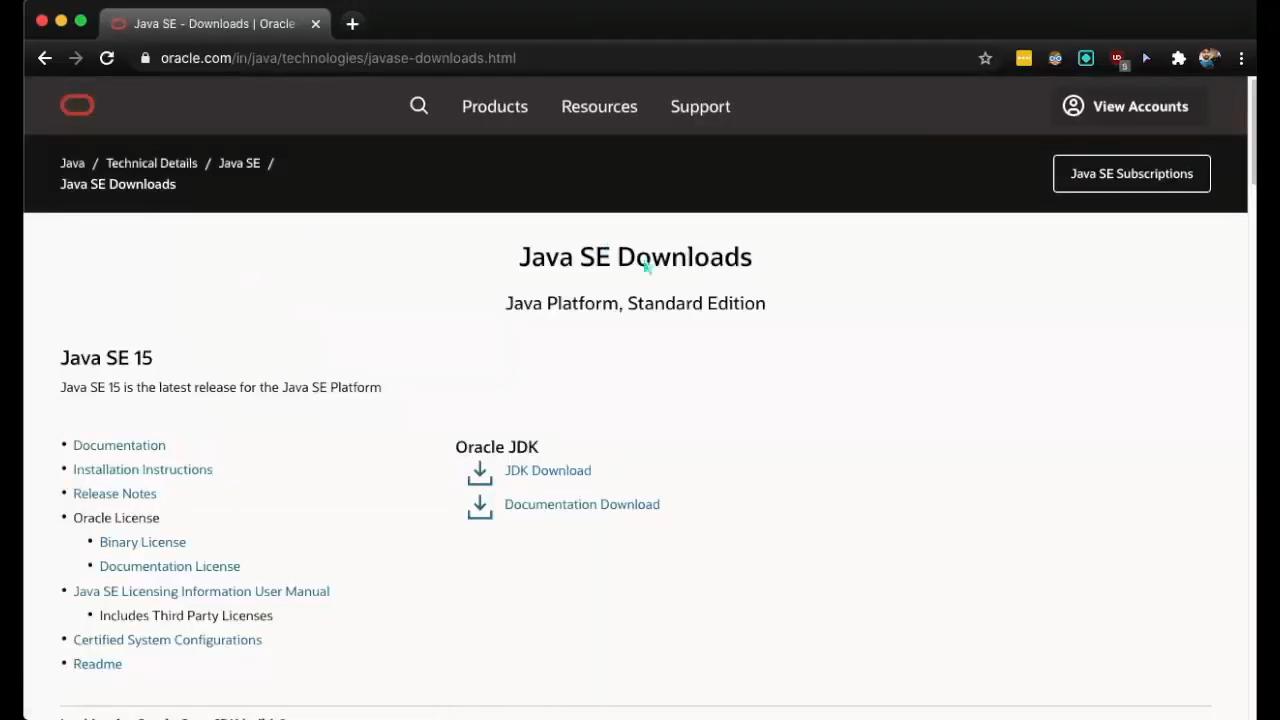
4. The above link will take you to the website of Oracle. Just click on JDK download.
5. This will take you to a new web page, where you must choose a macOS installer and click on the corresponding download option.
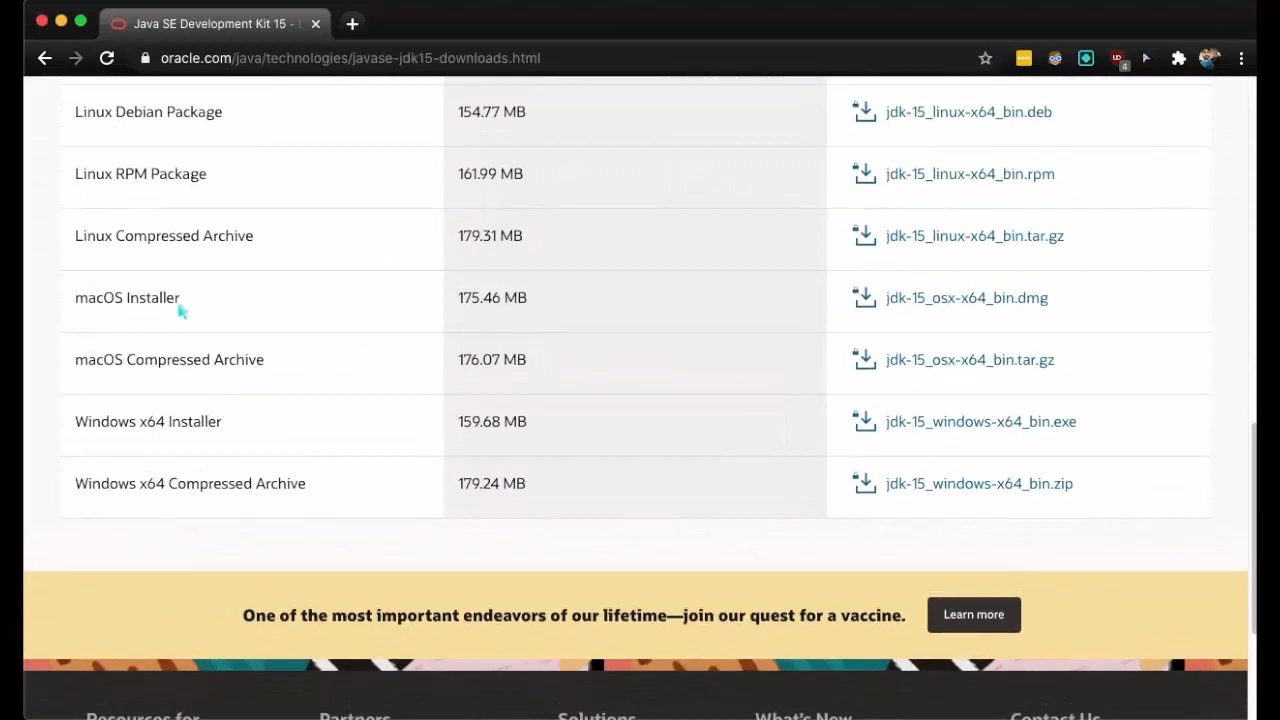
6. You can also go for macOS Compressed Archive, but the file size of archive data is more than that of the original data. So I would recommend you guys choose the original macOS installer.
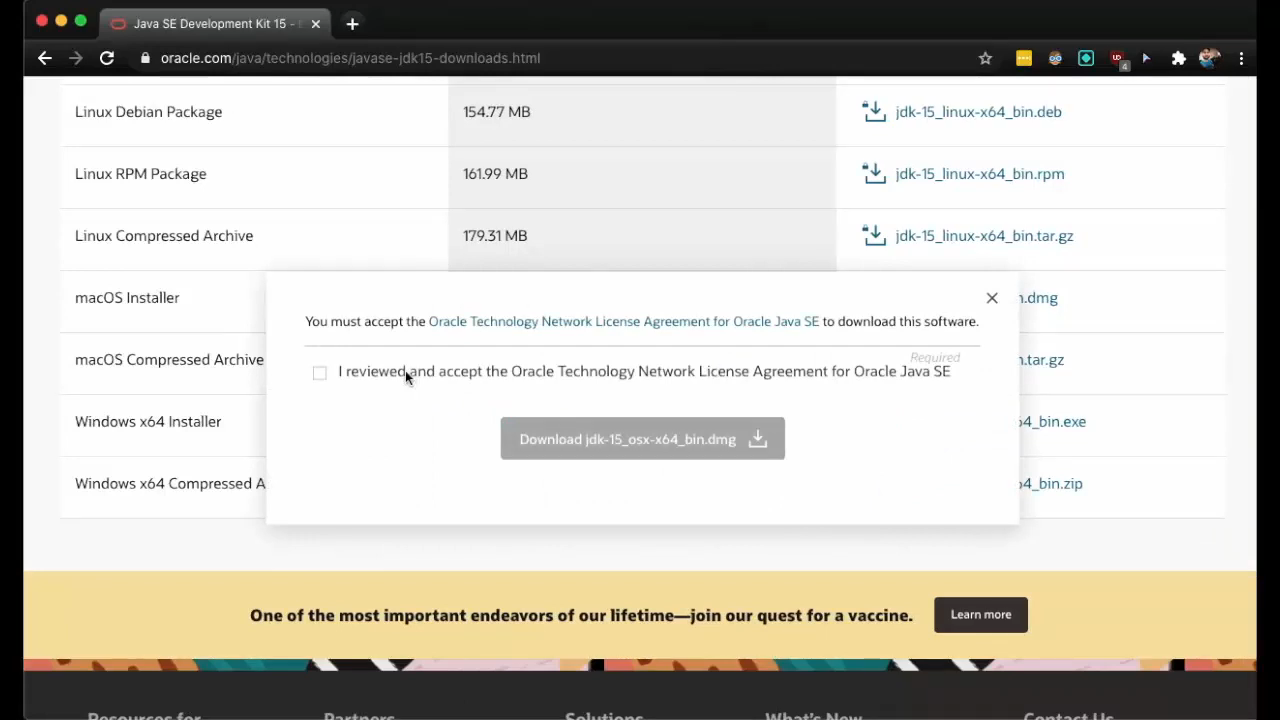
7. Oracle organization will ask for the approval for Network License. Click on the checkbox, after which the DOWNLOAD option will be enabled.
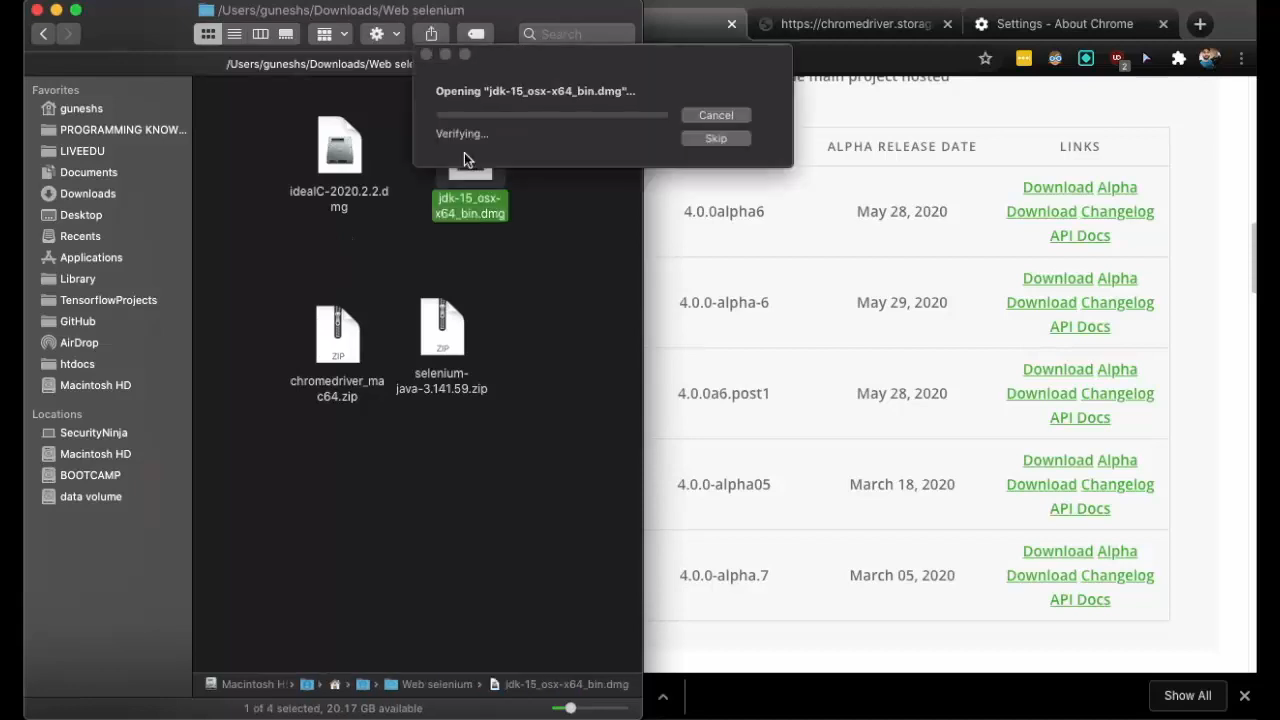
8. After downloading JDK, go to the ‘Downloads’ folder and open the dmg file.
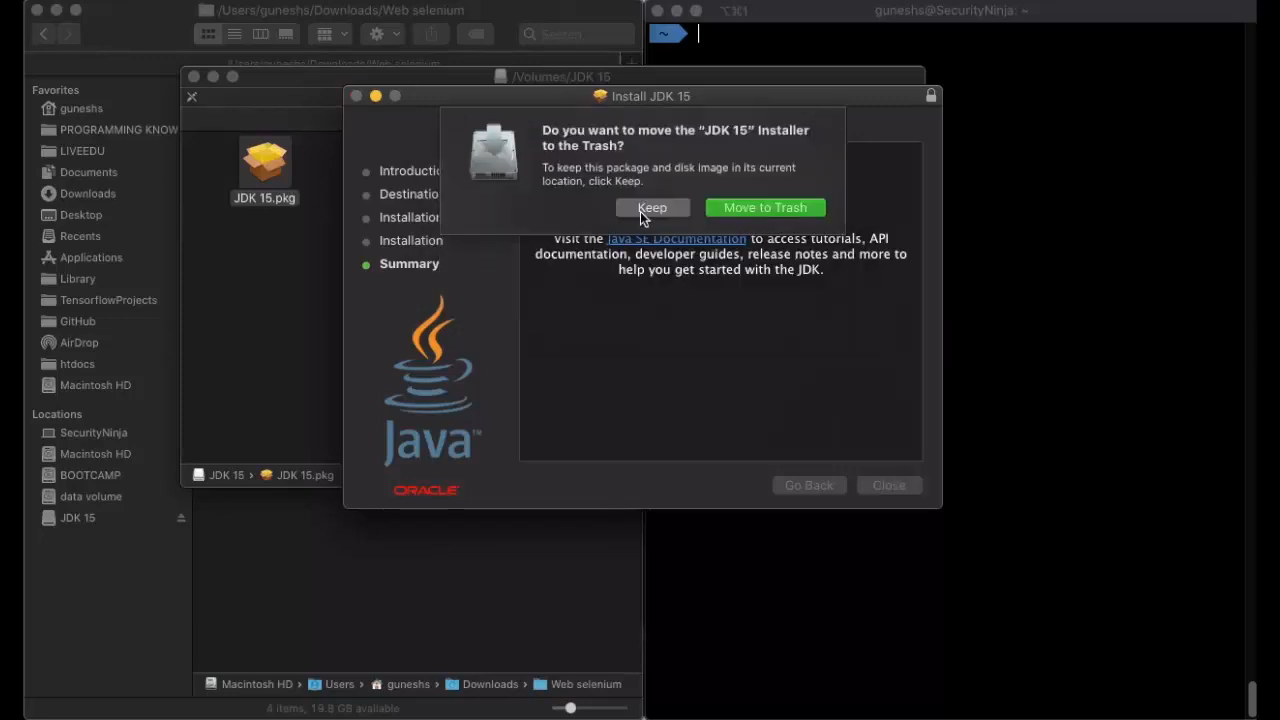
9. Now, double click on jdk-15.pkg. It will start with the JDK installer. Press continue, and the next step is the installation of packages. Click on ‘Install’ under Installation Type.

10. To prevent unauthorized access, it provides a strong authentication process, either by thumbprint or password. I’ve given the password, and now all the packages are continually installed one after the other.
11. Once the installation is completed successfully, a window with a confirmation message pops up. Click ‘close’
12. Go to the JDK terminal and type Java.

13. Press ENTER.
14. A lot of interface options will be displayed. If you want to know the version, type the Java version and press ENTER.

So, by carefully following the above steps that I’ve mentioned, I am sure that you will be able to install the JDK compiler successfully on macOS. I hope it’s helpful!
Leave a Reply