
In this blog post, I will give a detailed view of mirroring your phone on a Windows 11 PC. To mirror your phone, you should have installed connect app.
1. Open the settings app by searching for the settings app in the search bar. Click on apps and click on optional features.

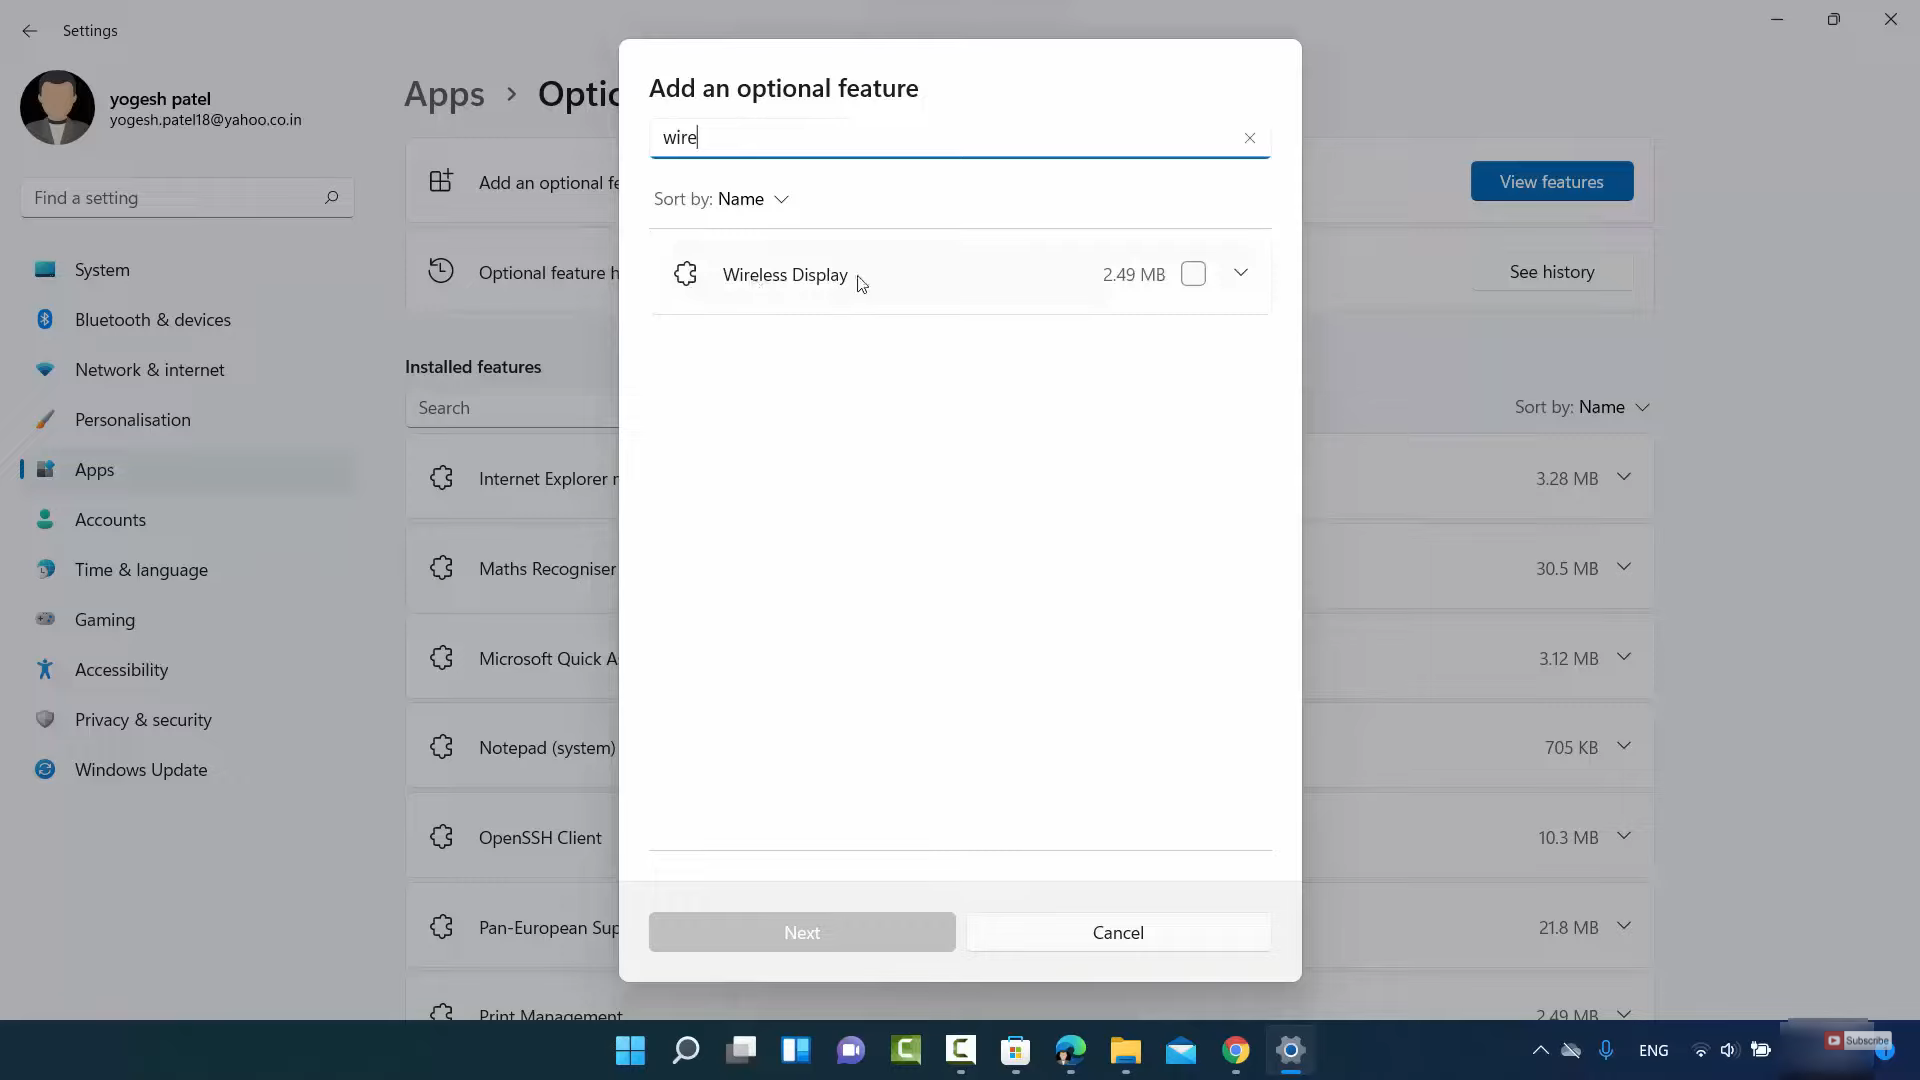
2. Click on view features. Search for wireless display feature. Once the result appears, check that checkbox which is around 2.49 MB. Then, click on Next.
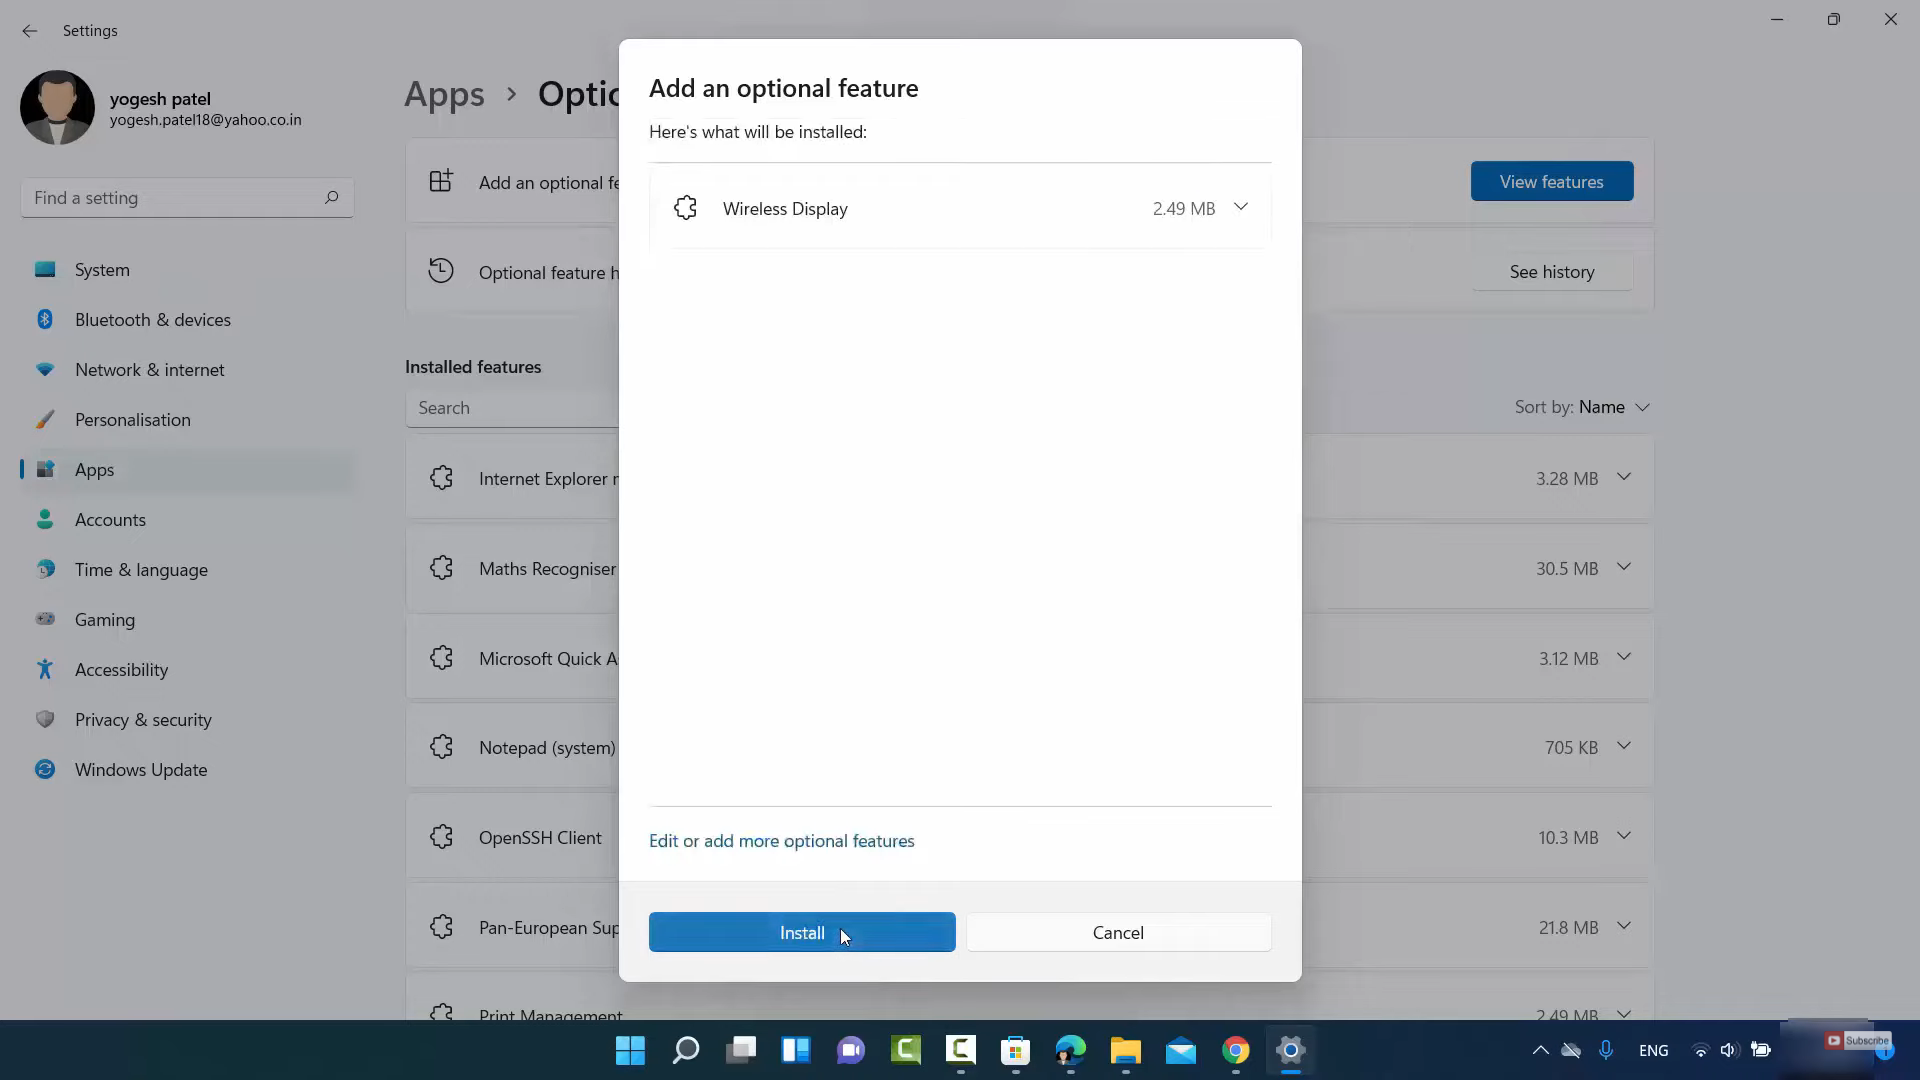
3. Now, click on Install. It will install the wireless display app.
4. Once the app is installed, you will be able to see that app.

5. Now, search for connect app in the search bar. You will be able to see the connect app in the search result. Click on that app.

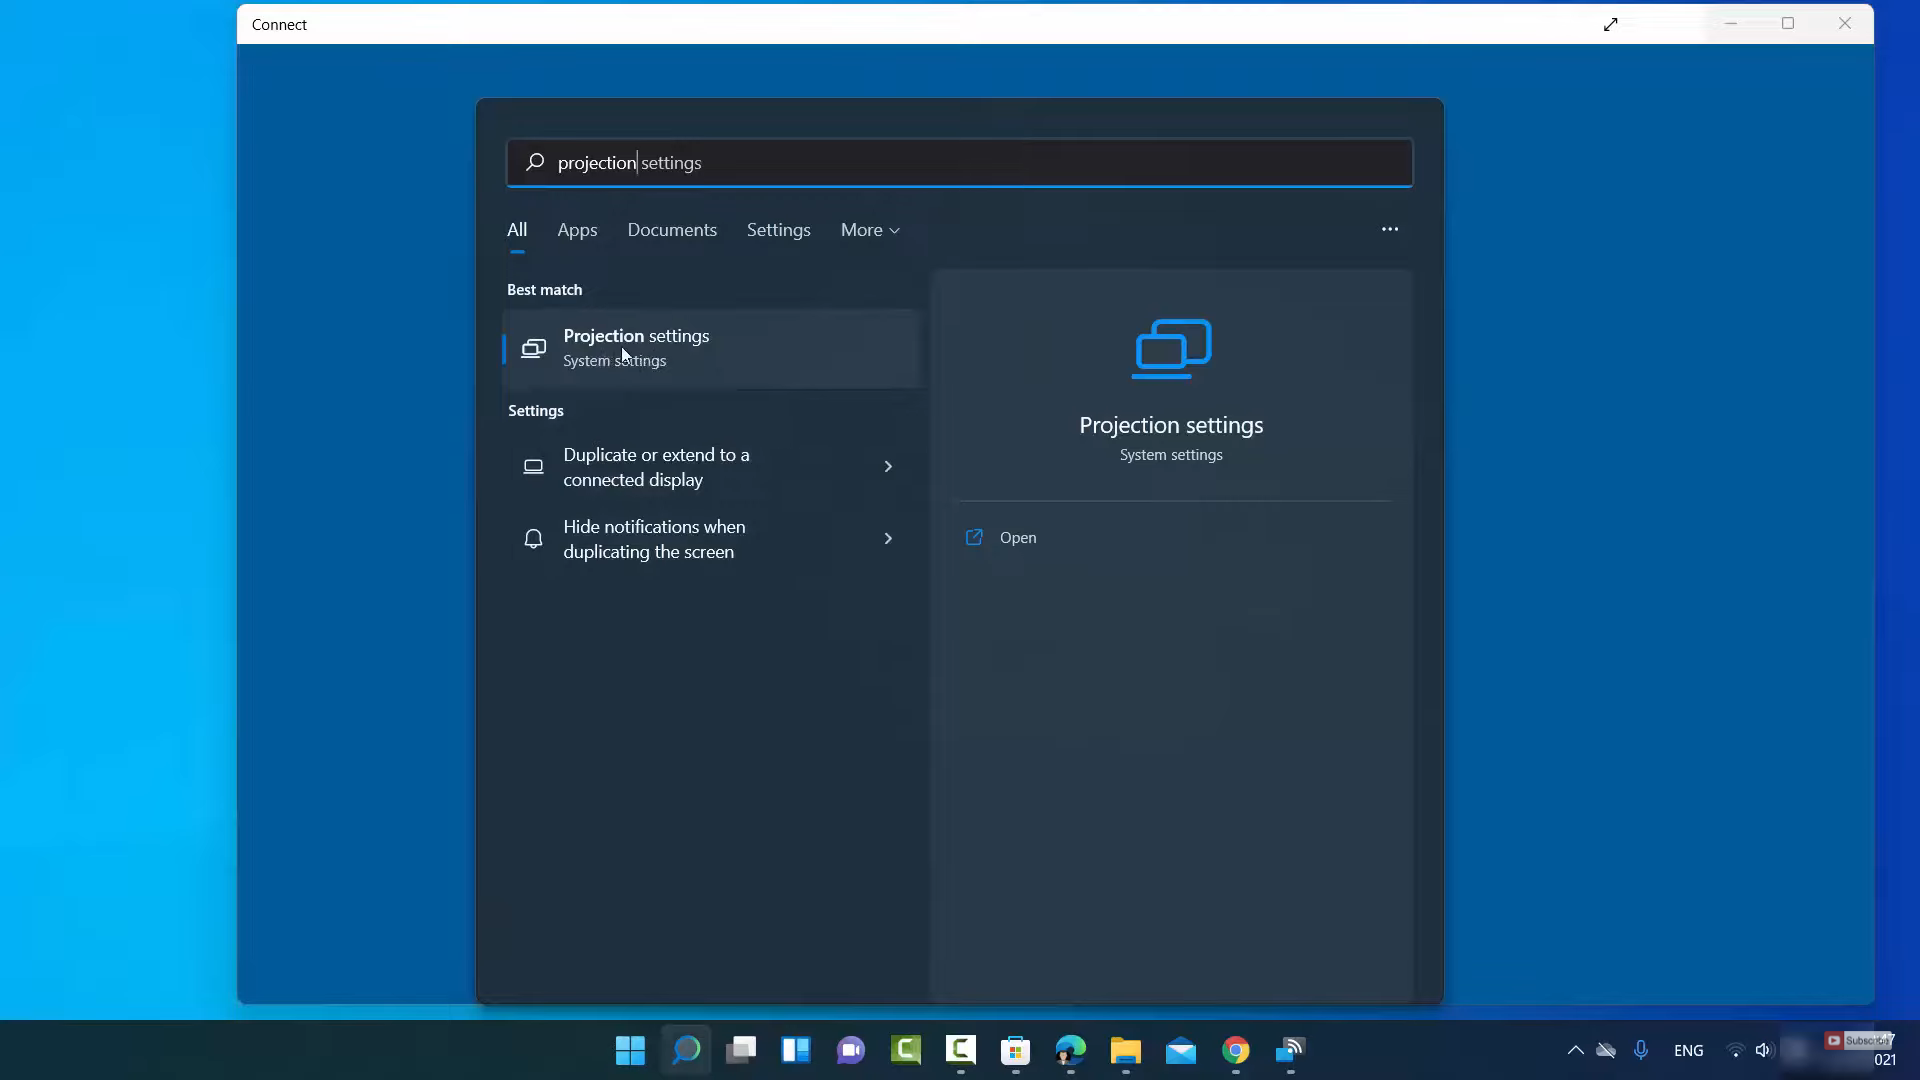
6. Once the app opens, click on the search icon and search for projection settings and click on that.
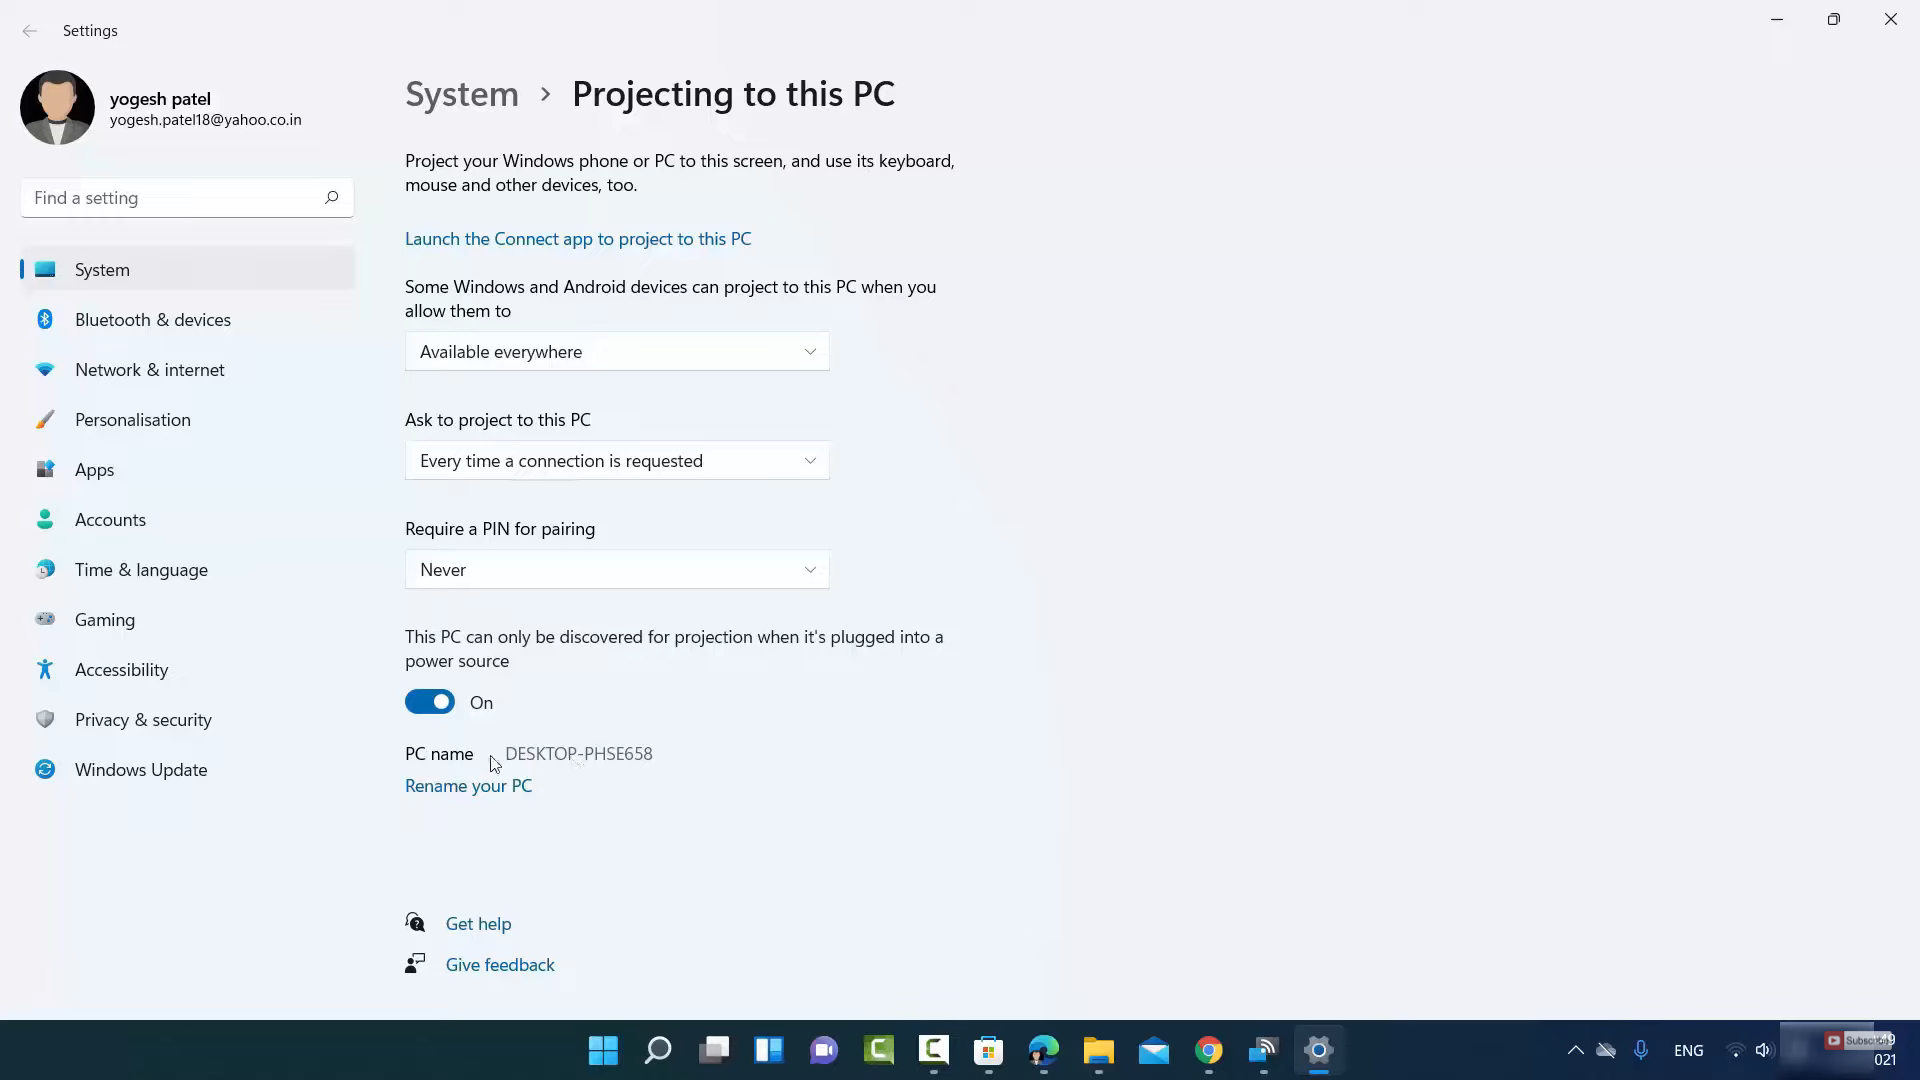
7. For the first option, select available anywhere. For the second option, set it to every time a connection is required. For the third option, set it to never. Once you have done these settings, close the window.
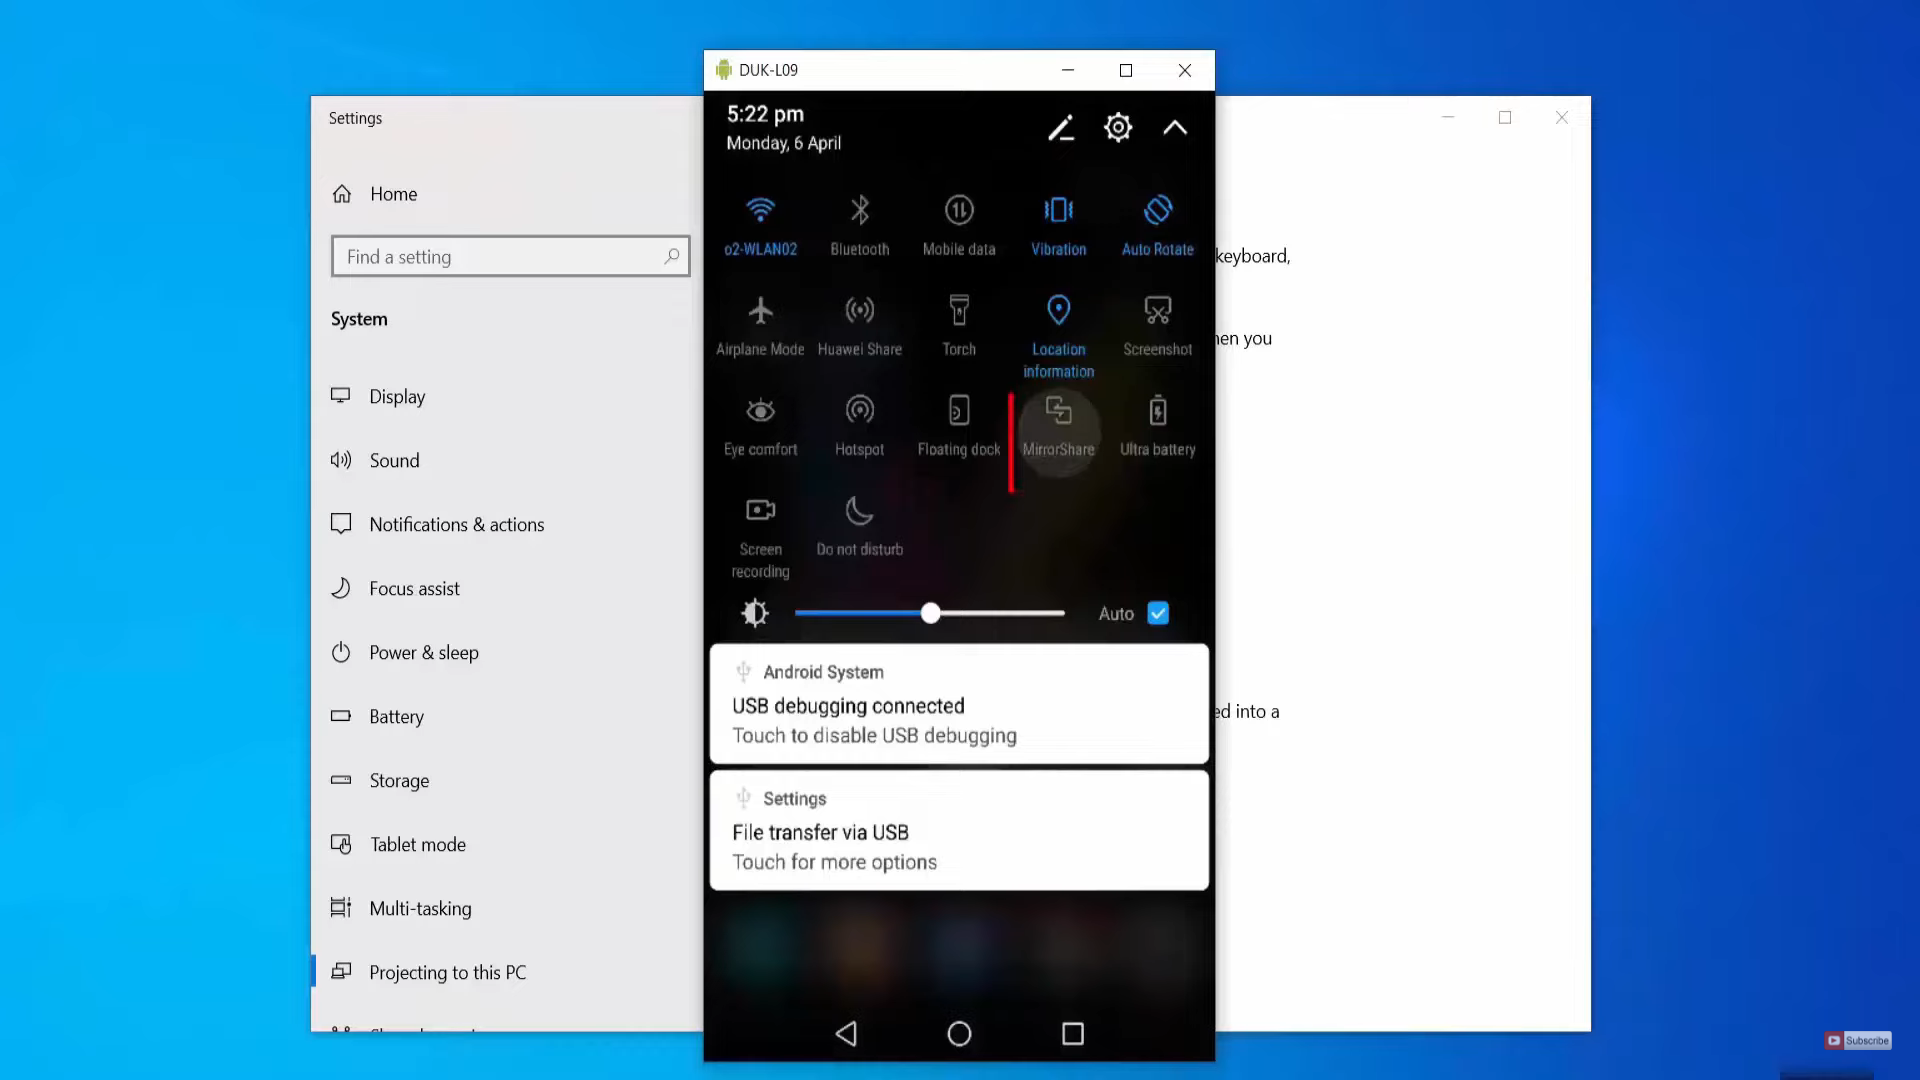
8. On your android device, you will be able to see an option for casting. In my case, the mirror share option is available. Click on that option.
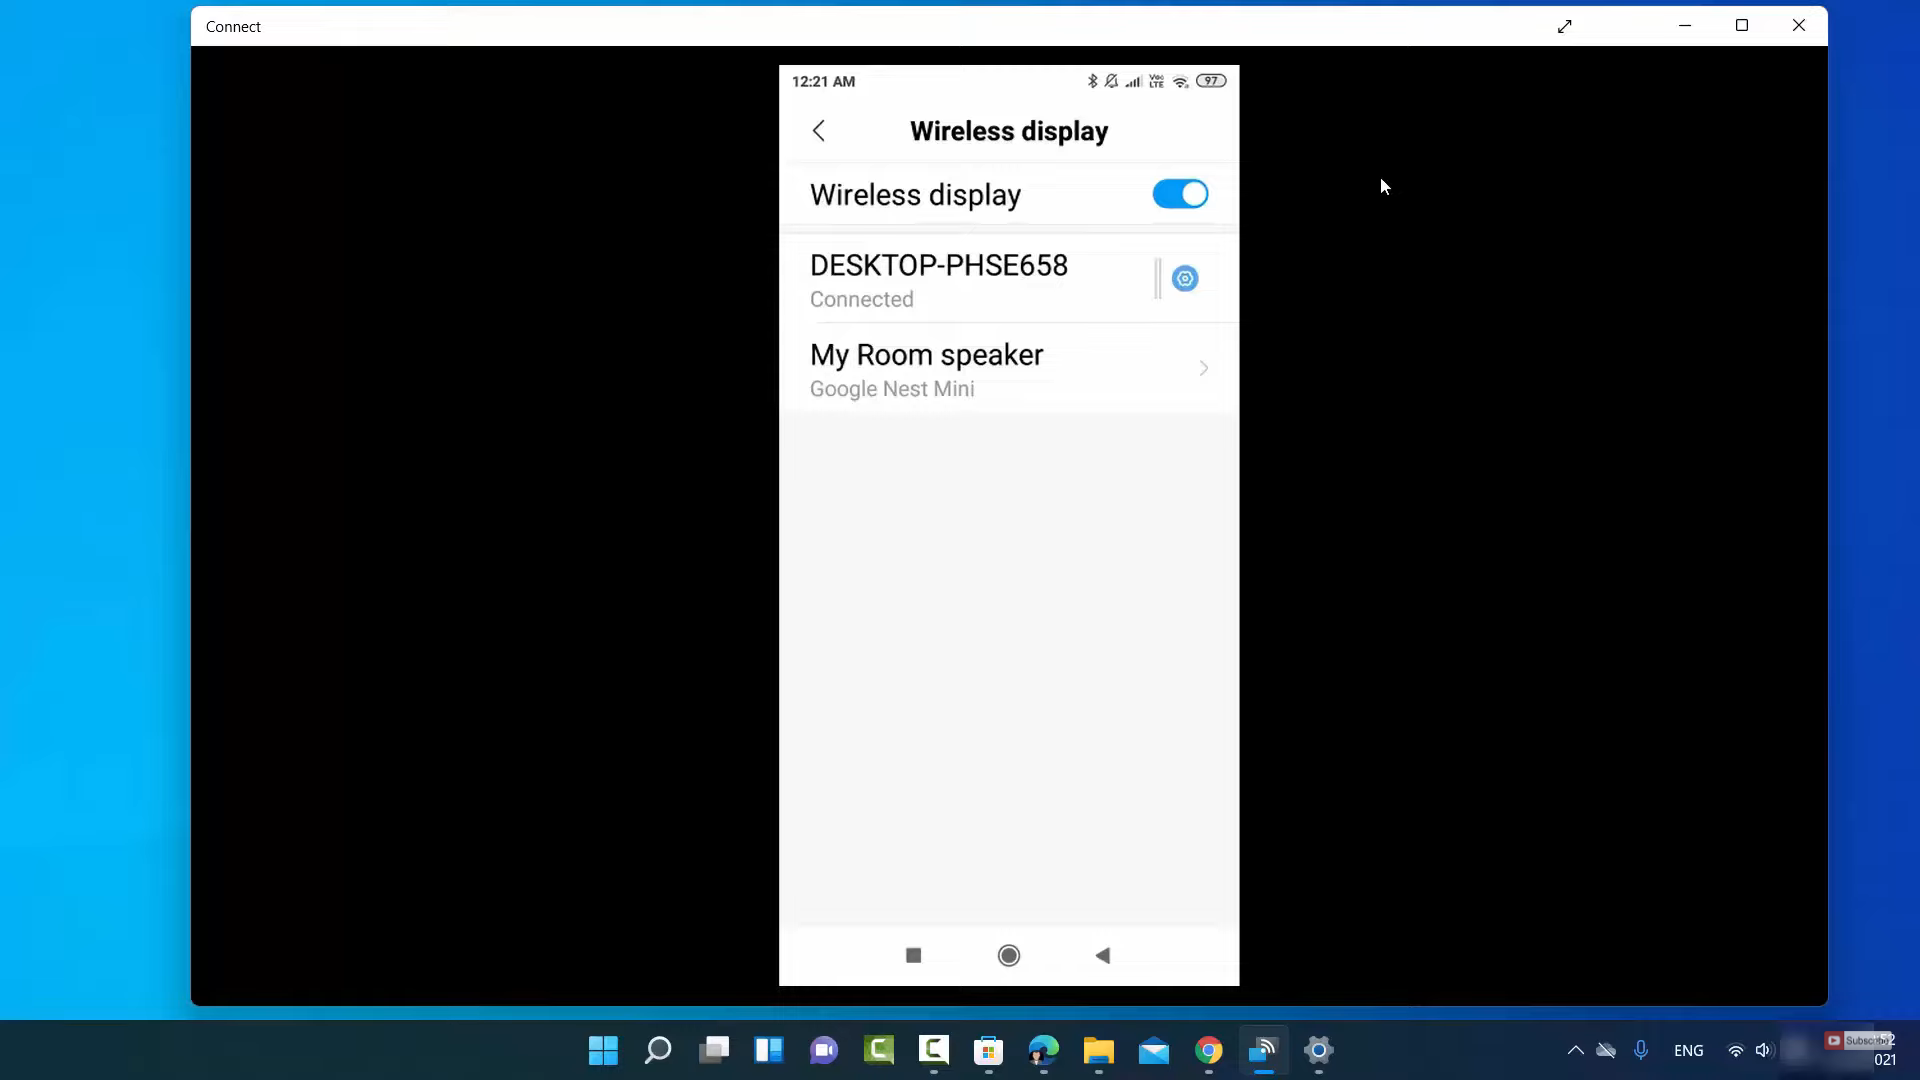
9. It will show you the devices on which you can cast. You need to search for the device that supports your android phone.

10. As soon as you select the proper device, your Android screen will be displayed on your Windows 11 Operating System.
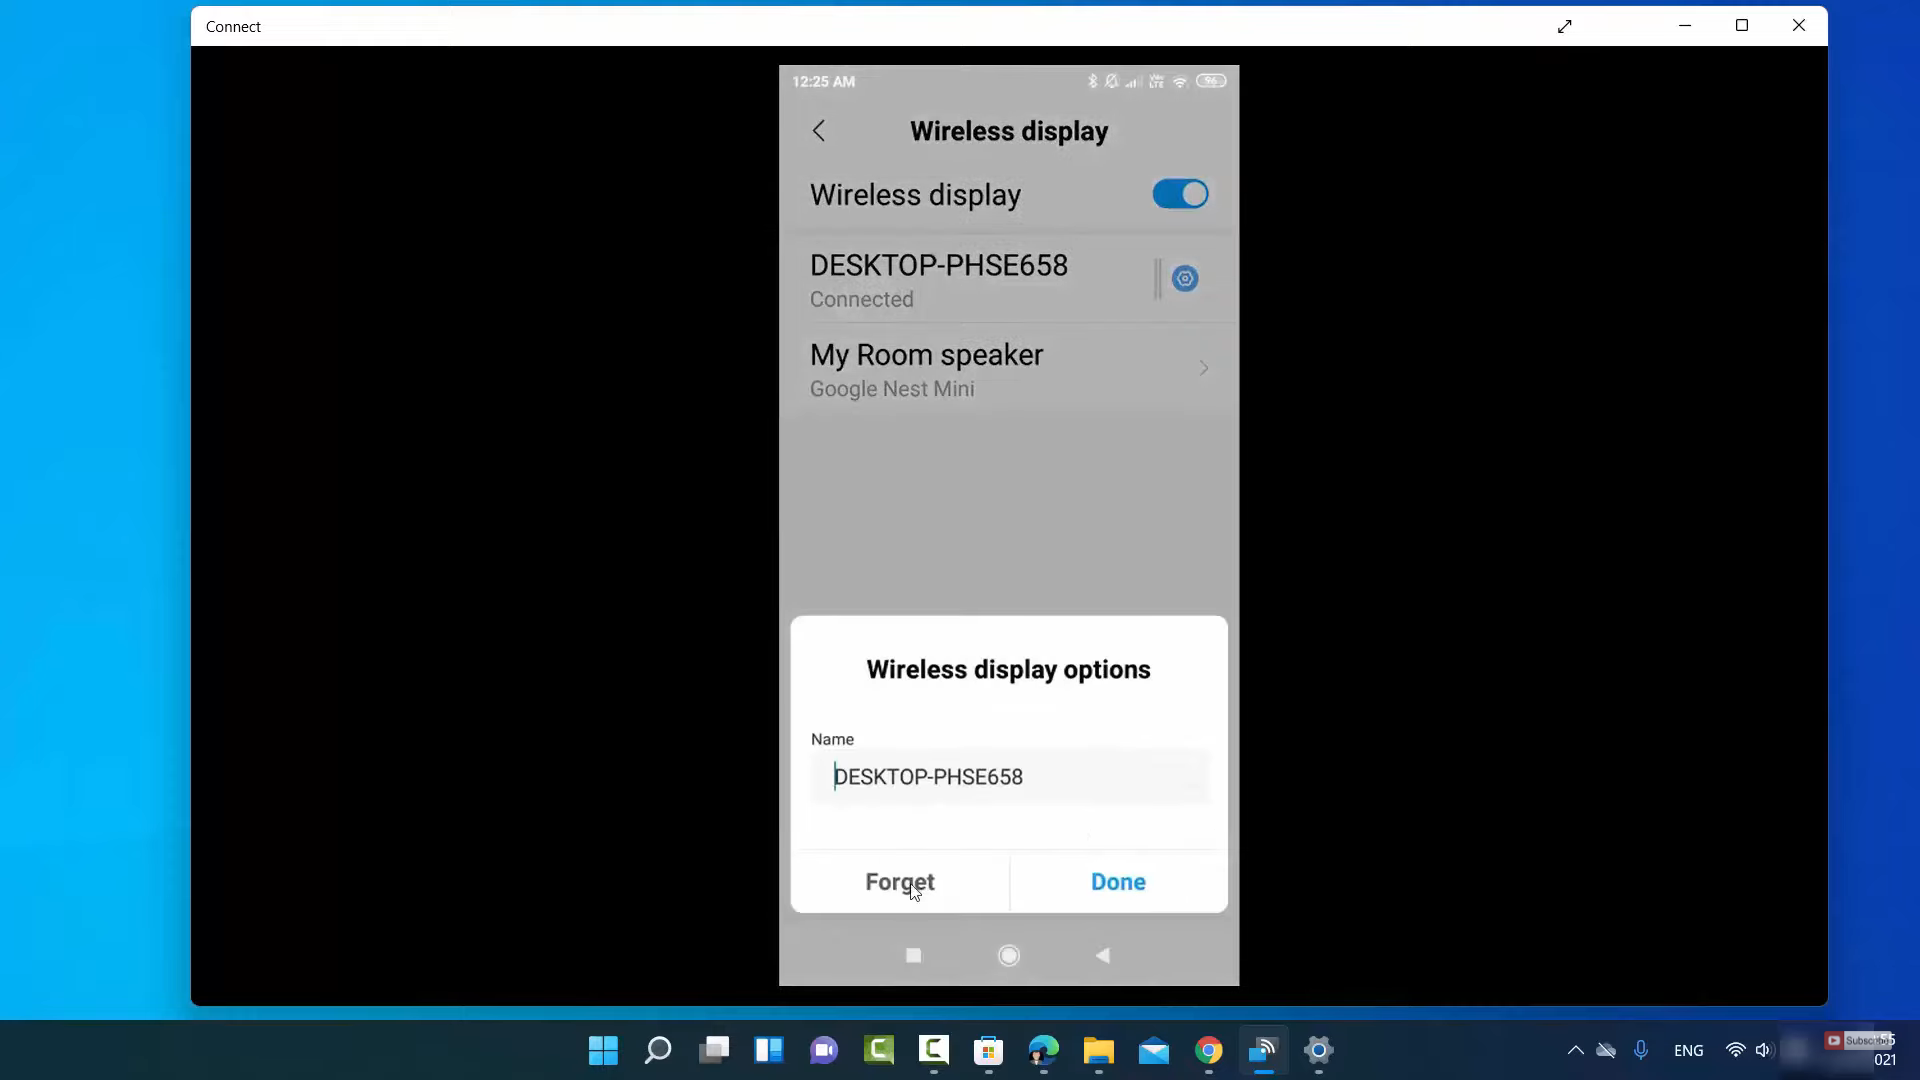
11. To disconnect this, you need to click on that device in your android phone and click on disconnect. Or you can click on that device and forget that device as well.
These are the steps for mirroring a phone on your Windows 11 PC.
Leave a Reply