
In this blog post, I will give a detailed view of installing WinRAR on your Windows 11 Operating System.
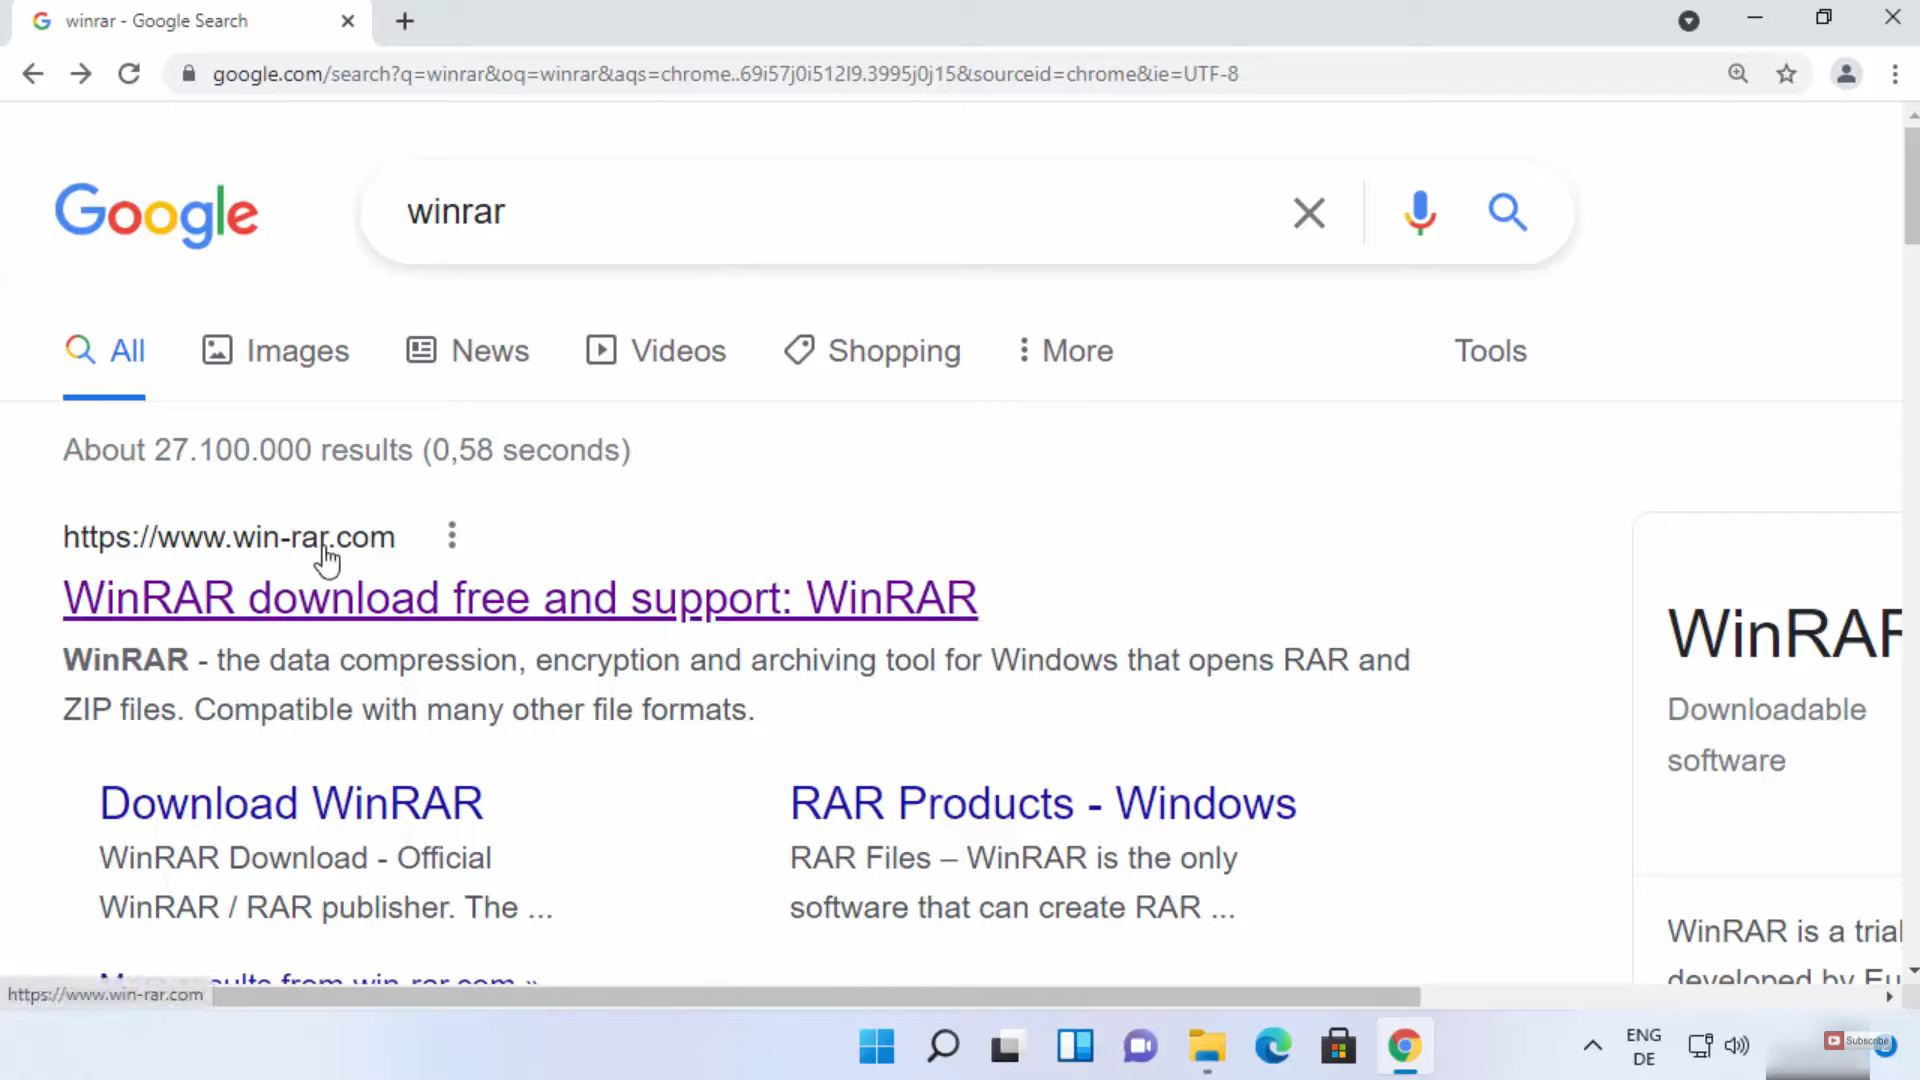
1. Open a web browser of your choice and search for WinRAR. Click on the first link.
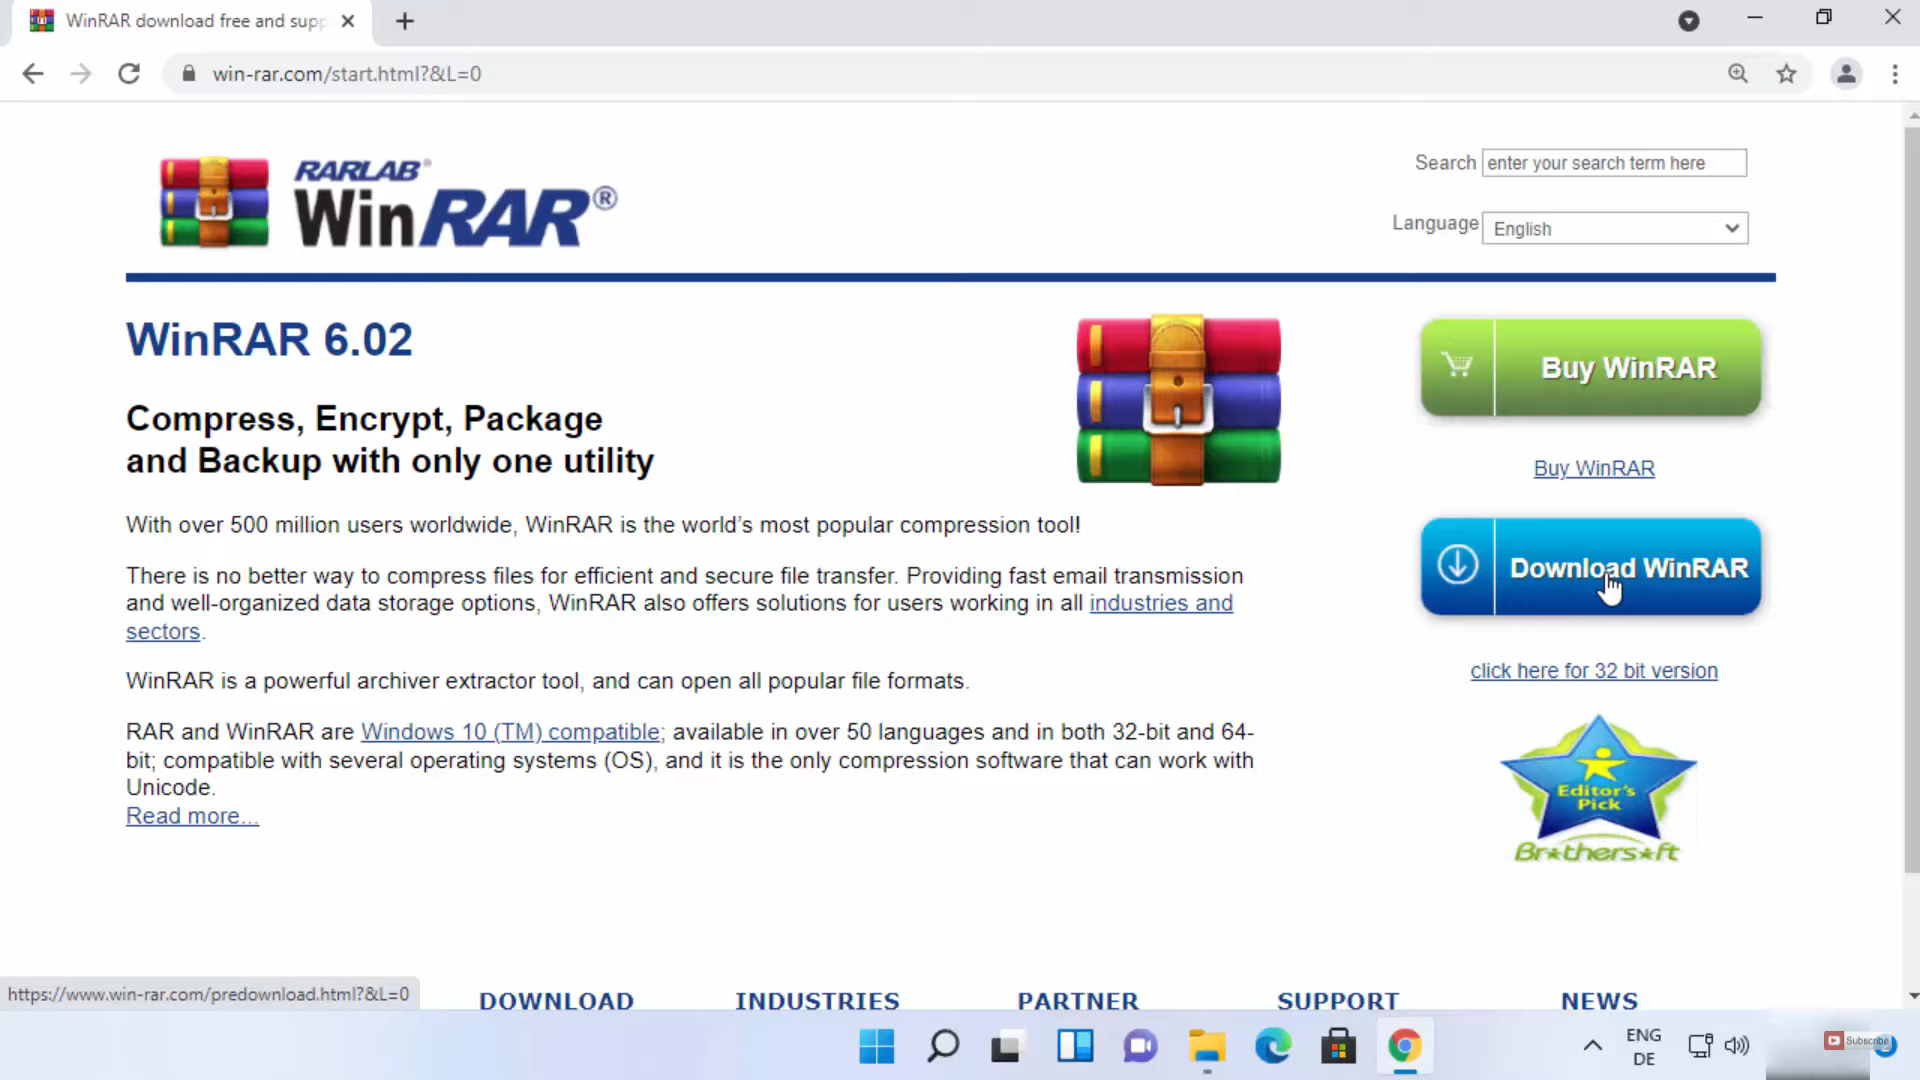
2. On their official page, you will be able to see two versions. The first one is their premium version. The second one is the free version. We are going to download the free version. Click on the Download button.
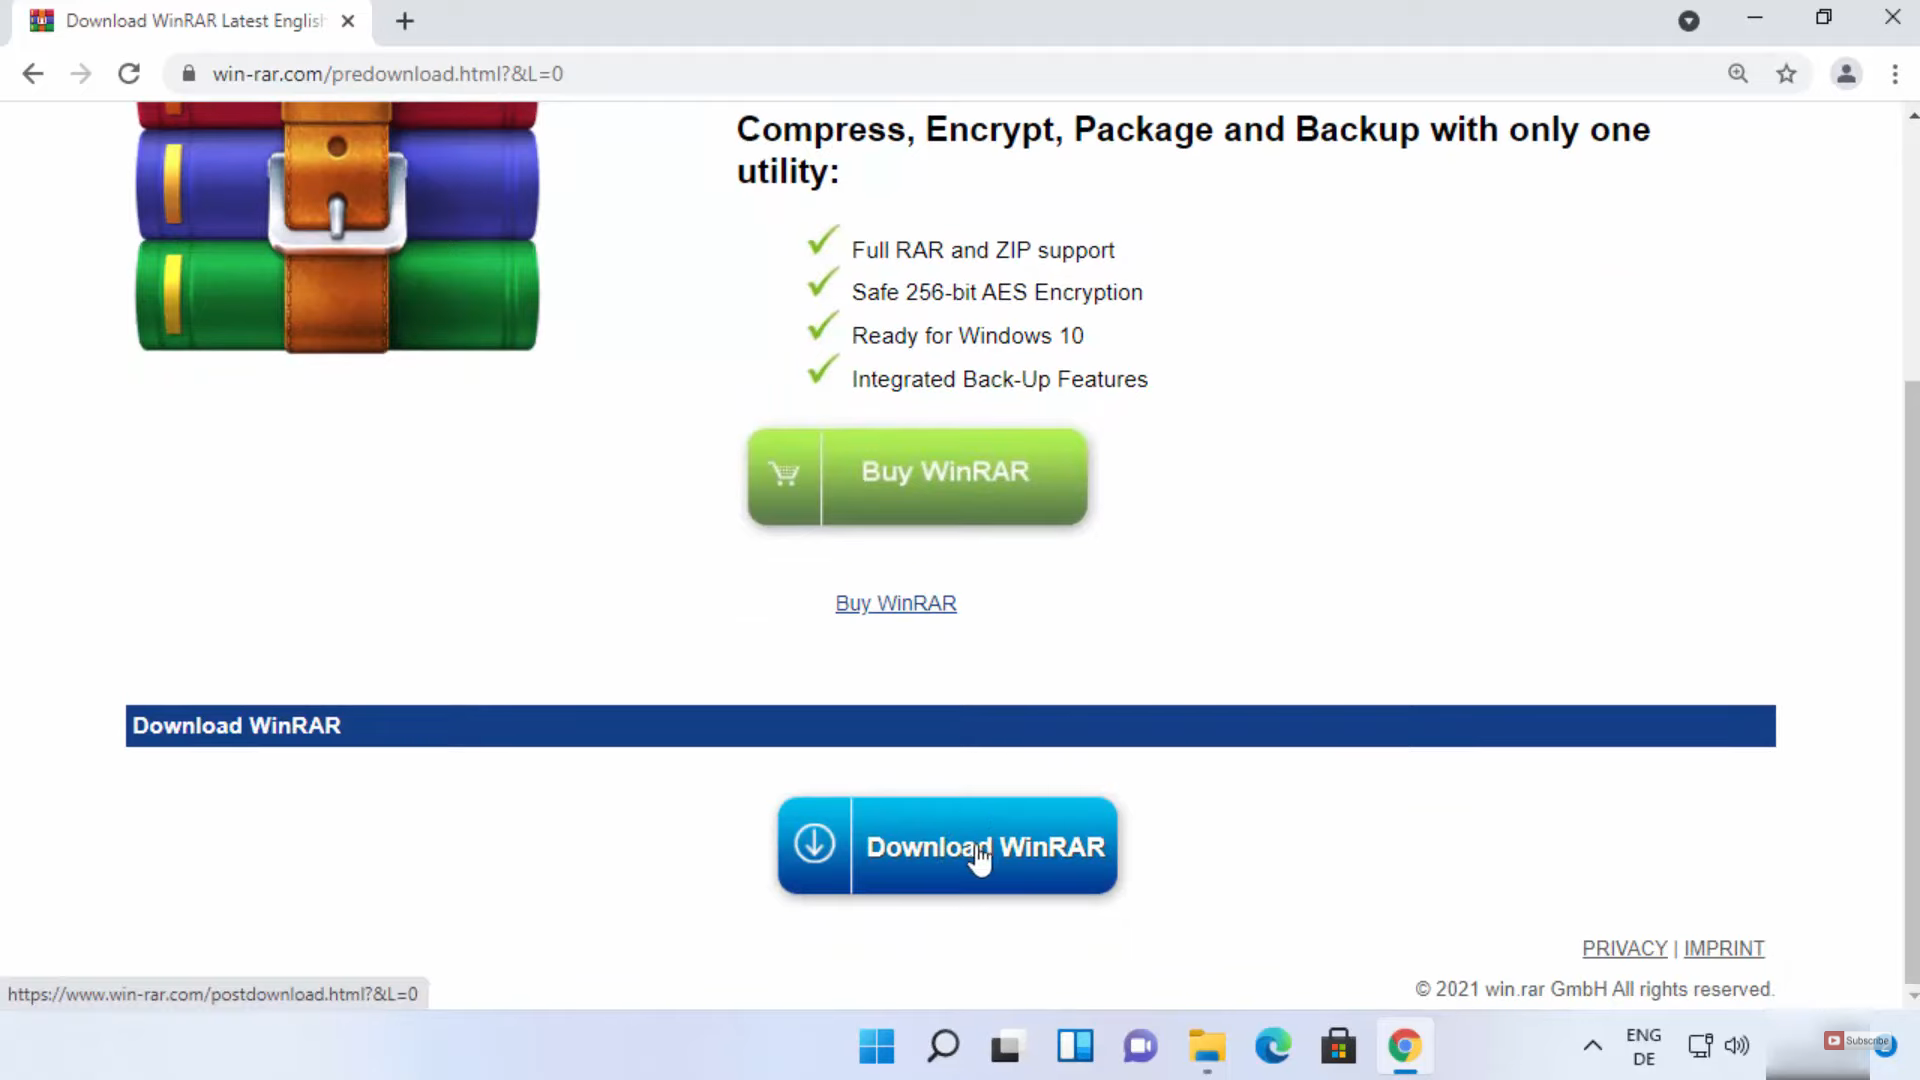
3. You will be redirected to a new page. Scroll down and click on the Download WinRAR option. It will start the downloading process.
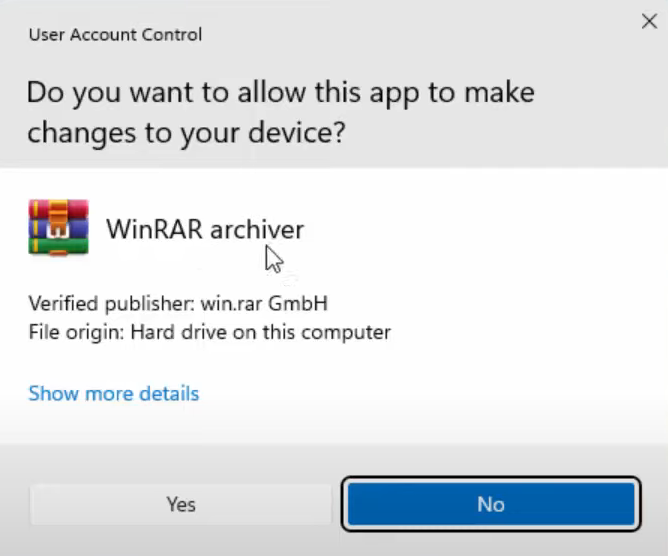
4. Click on the exe file and minimize the browser. It will show a warning message. Click on Yes.
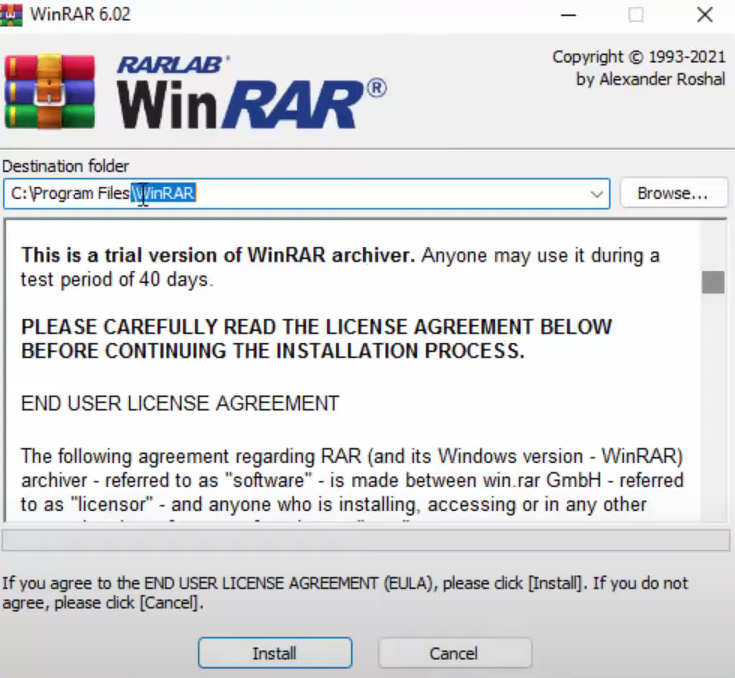
5. The setup window will open. This is the default location where it will get downloaded. If you want you can change the location using the Browse option. I am going to leave it as it is. Then click on Install.
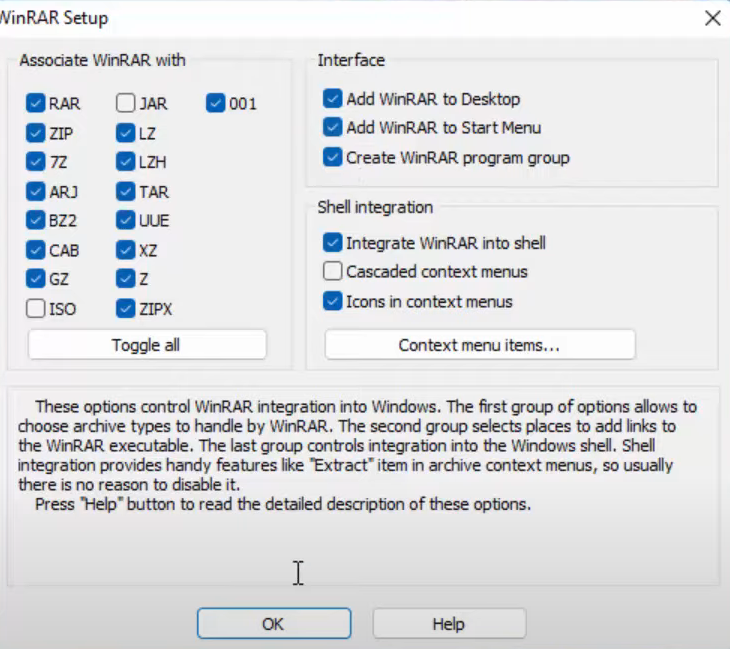
6. In the next window, I need everything as default. But in the interface section, I am going to check all the checkboxes. Then click on Ok.
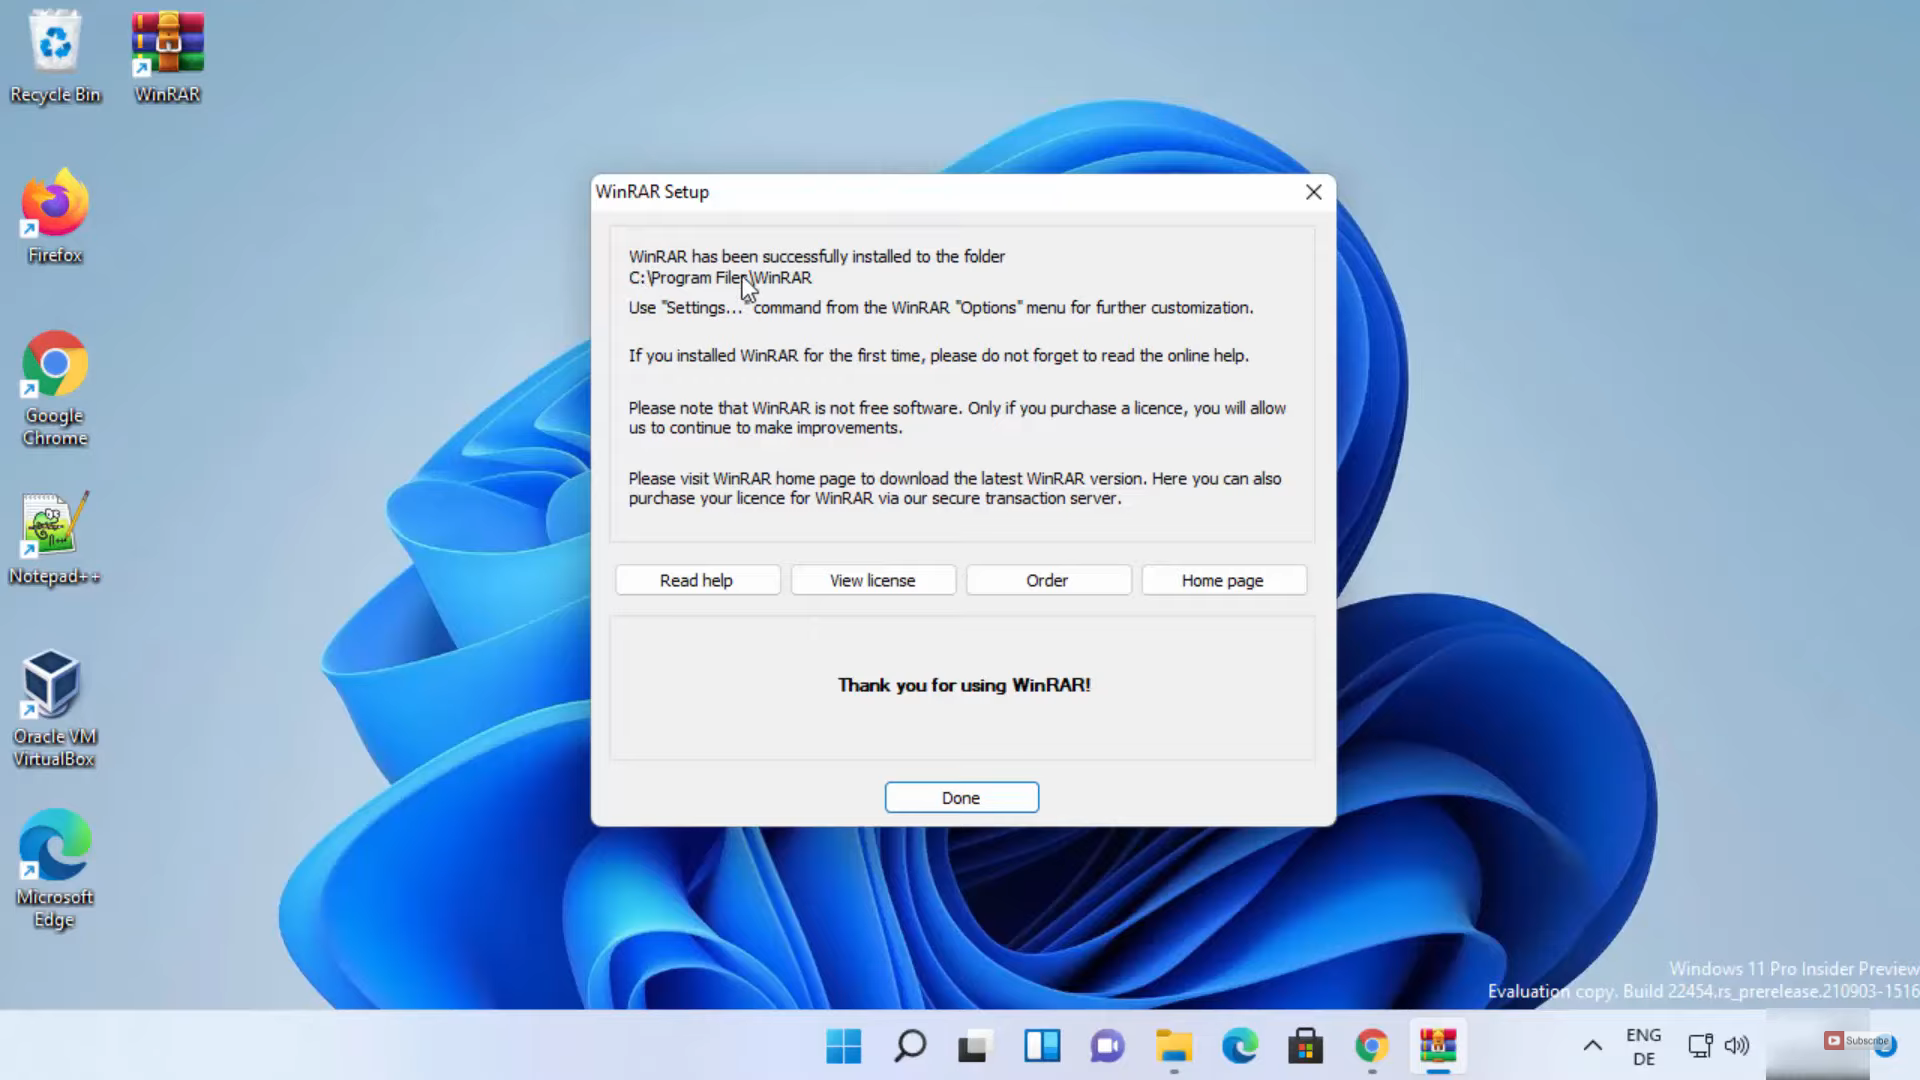
7. It will show you a message that WinRAR has been successfully installed. Click on Done.
8. As you can see the WinRAR shortcut icon is now available on the desktop. It will open a window where you can see the file location. Here, you can see the WinRAR shortcut icon. From here also you can go to WinRAR.
9. I am going to open WinRAR using the desktop shortcut icon. Whenever you open WinRAR, it will show a warning window. You can just close the warning and can use WinRAR. Let’s see the process of compressing or extracting the files using WinRAR.
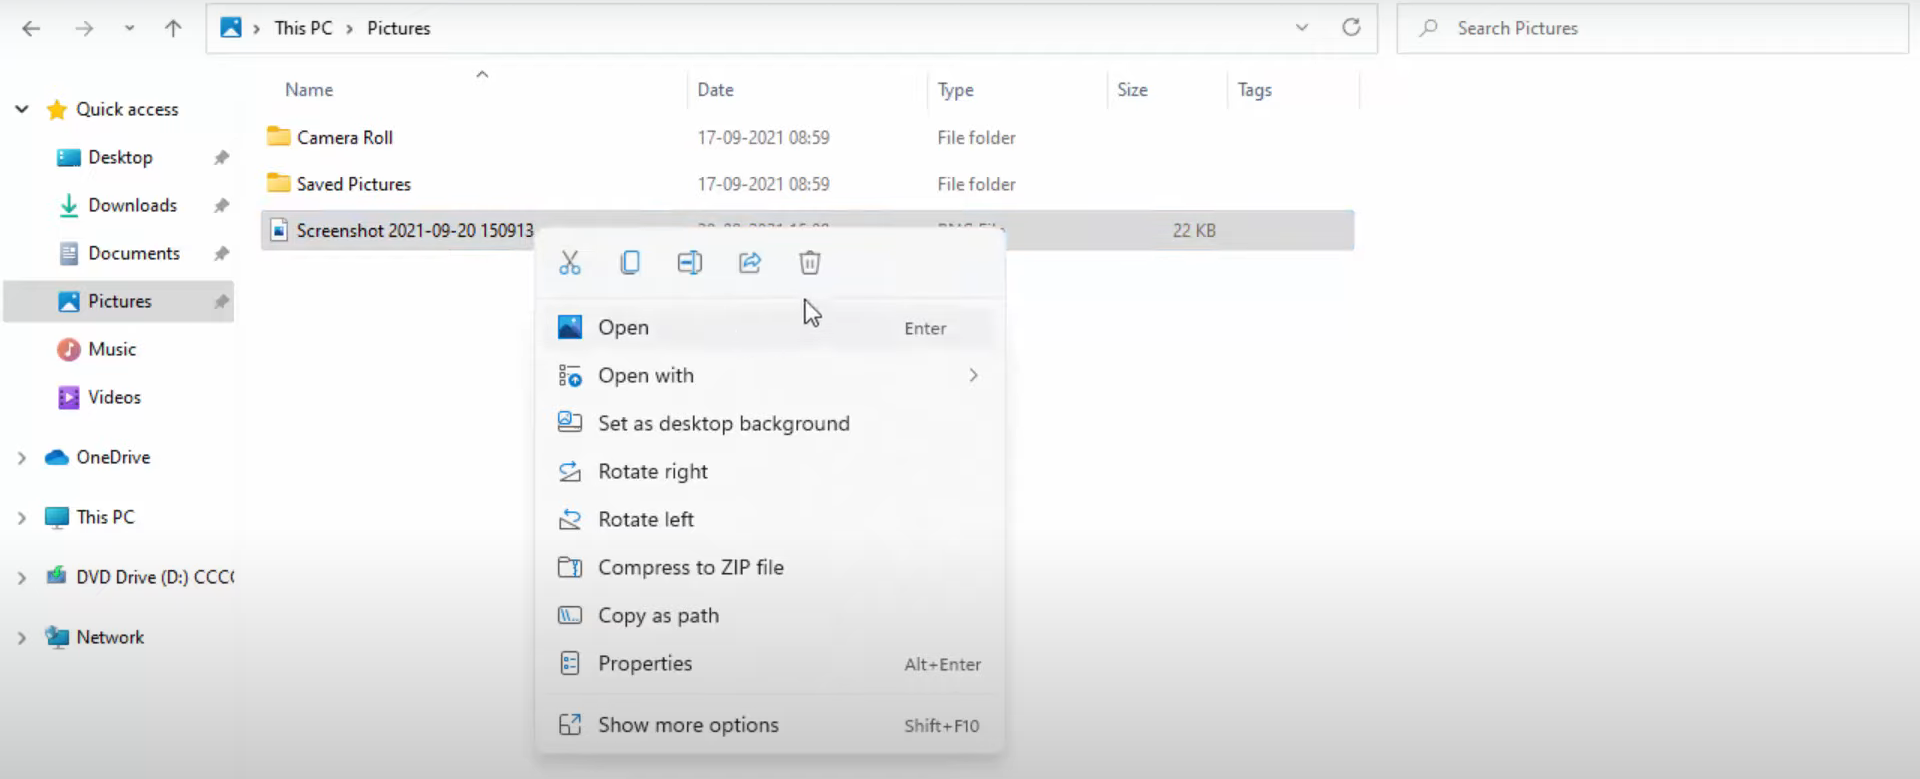
10. I am going to make a RAR file using this file. Right-click on that file. And then click on Show more options.
11. It will show the WinRAR-related options. I am going to click on the second option. It has archived the file.
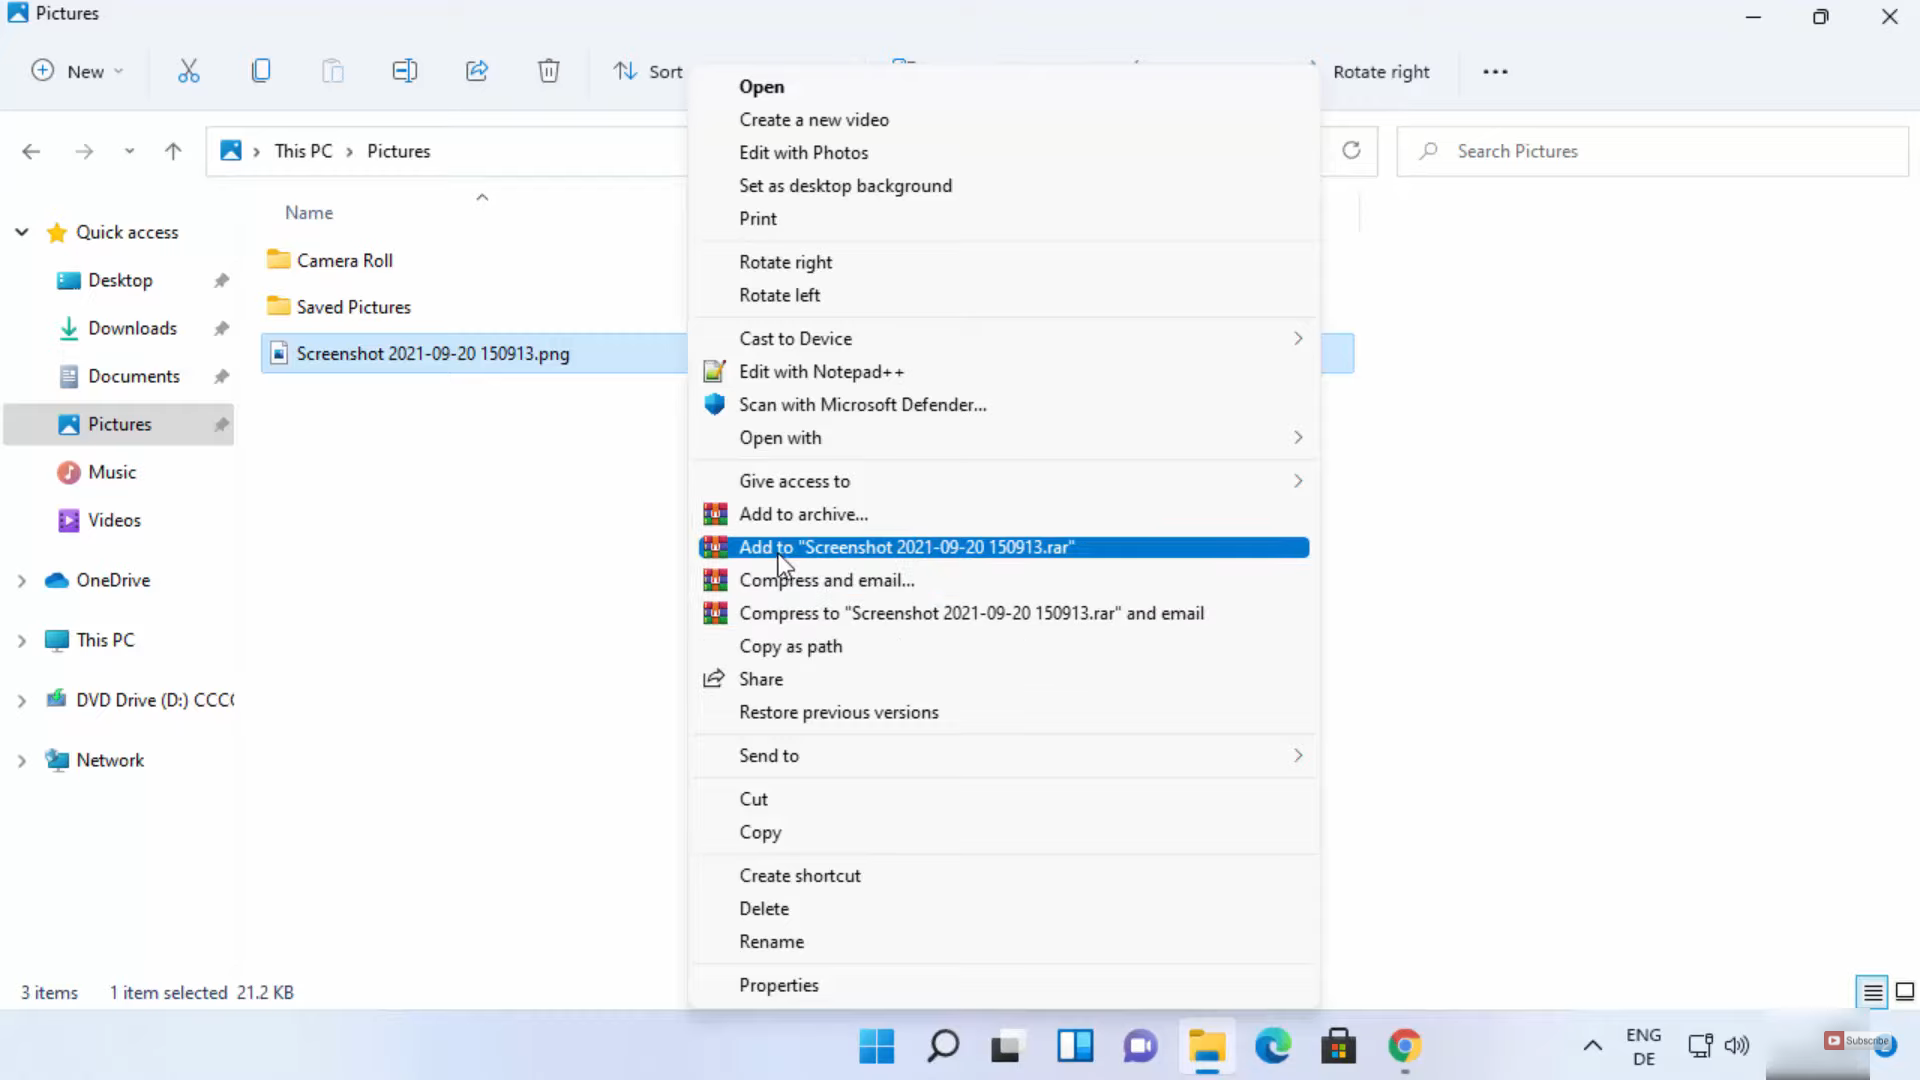
12. For creating the Zip file, right-click and click on Show more options and then click on the first option Add to archive.
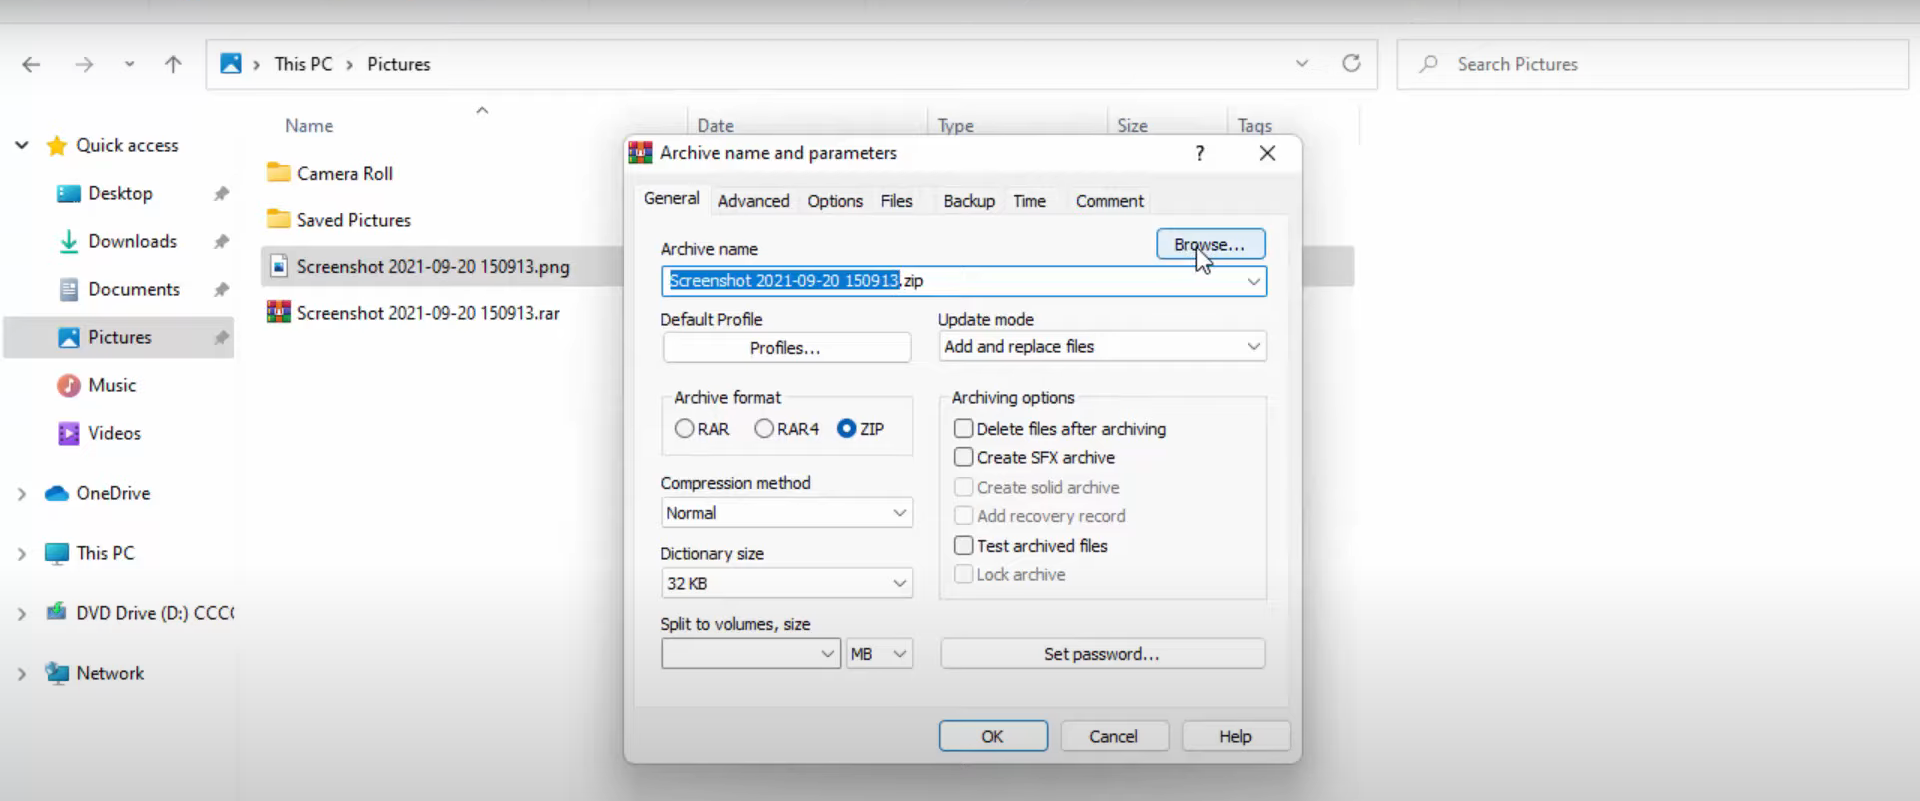
13. Here, you can choose the extension of the file. I am going to choose the Zip option. You can change the name and destination of your file as well. One interesting feature about WinRAR is you can set a password for your Zip file. using the Set Password option. It will allow you to set a password for your file. Then click on Ok.
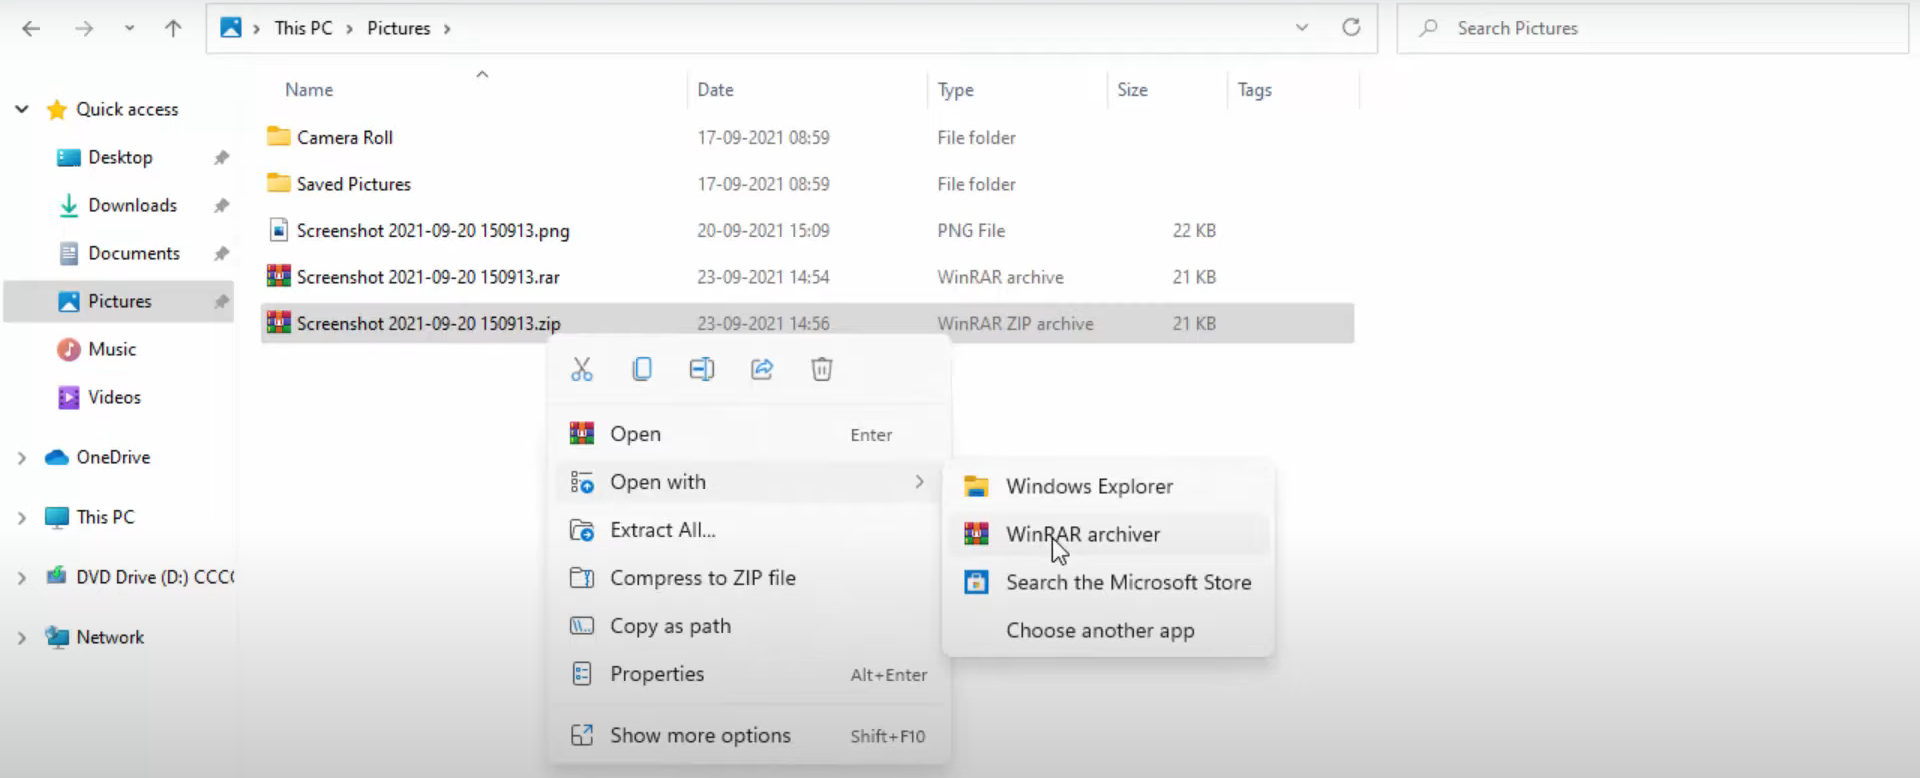
14. The Zip file has been created. To extract the zip file, right-click on it. Then click on the Extract all option. Or you can click on Open with WinRAR archiver. It will open the WinRAR window. You can see the compressed file here.
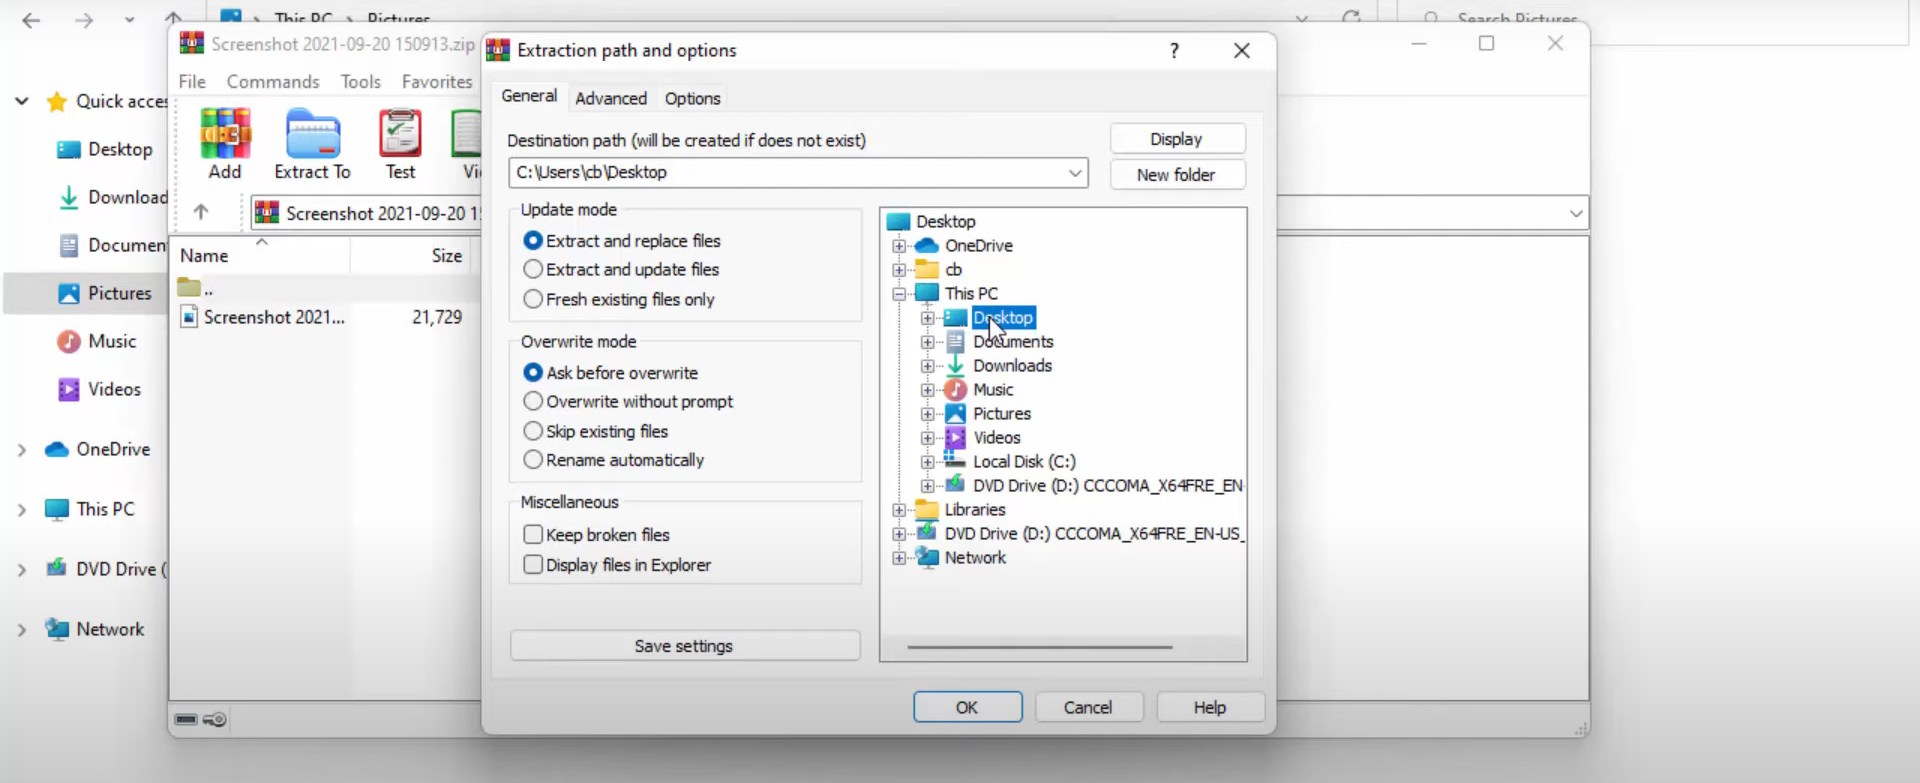
15. Click on the Extract to option here. It will allow you to extract the file. You need to choose the destination to extract the file and then click on Ok. I have chosen the desktop option. So, it has been extracted to the Desktop.
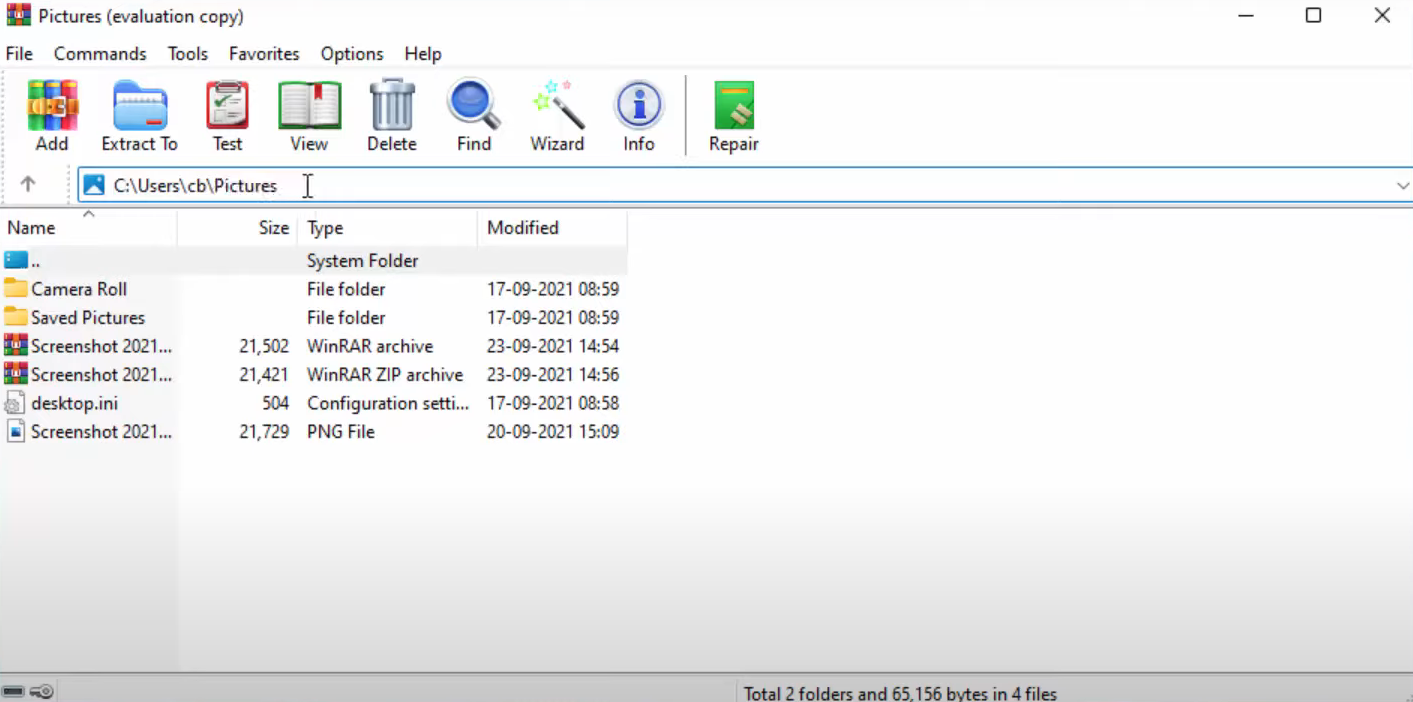
16. If you open WinRAR using the desktop shortcut icon, it will open the last known location. You can change the folder location using the dropdown menu as well.
These are the steps for installing WinRAR in your Windows 11 Operating System.
Leave a Reply