
In this blog post, I will give a detailed view of installing 7-Zip on your Windows 11 Operating System.
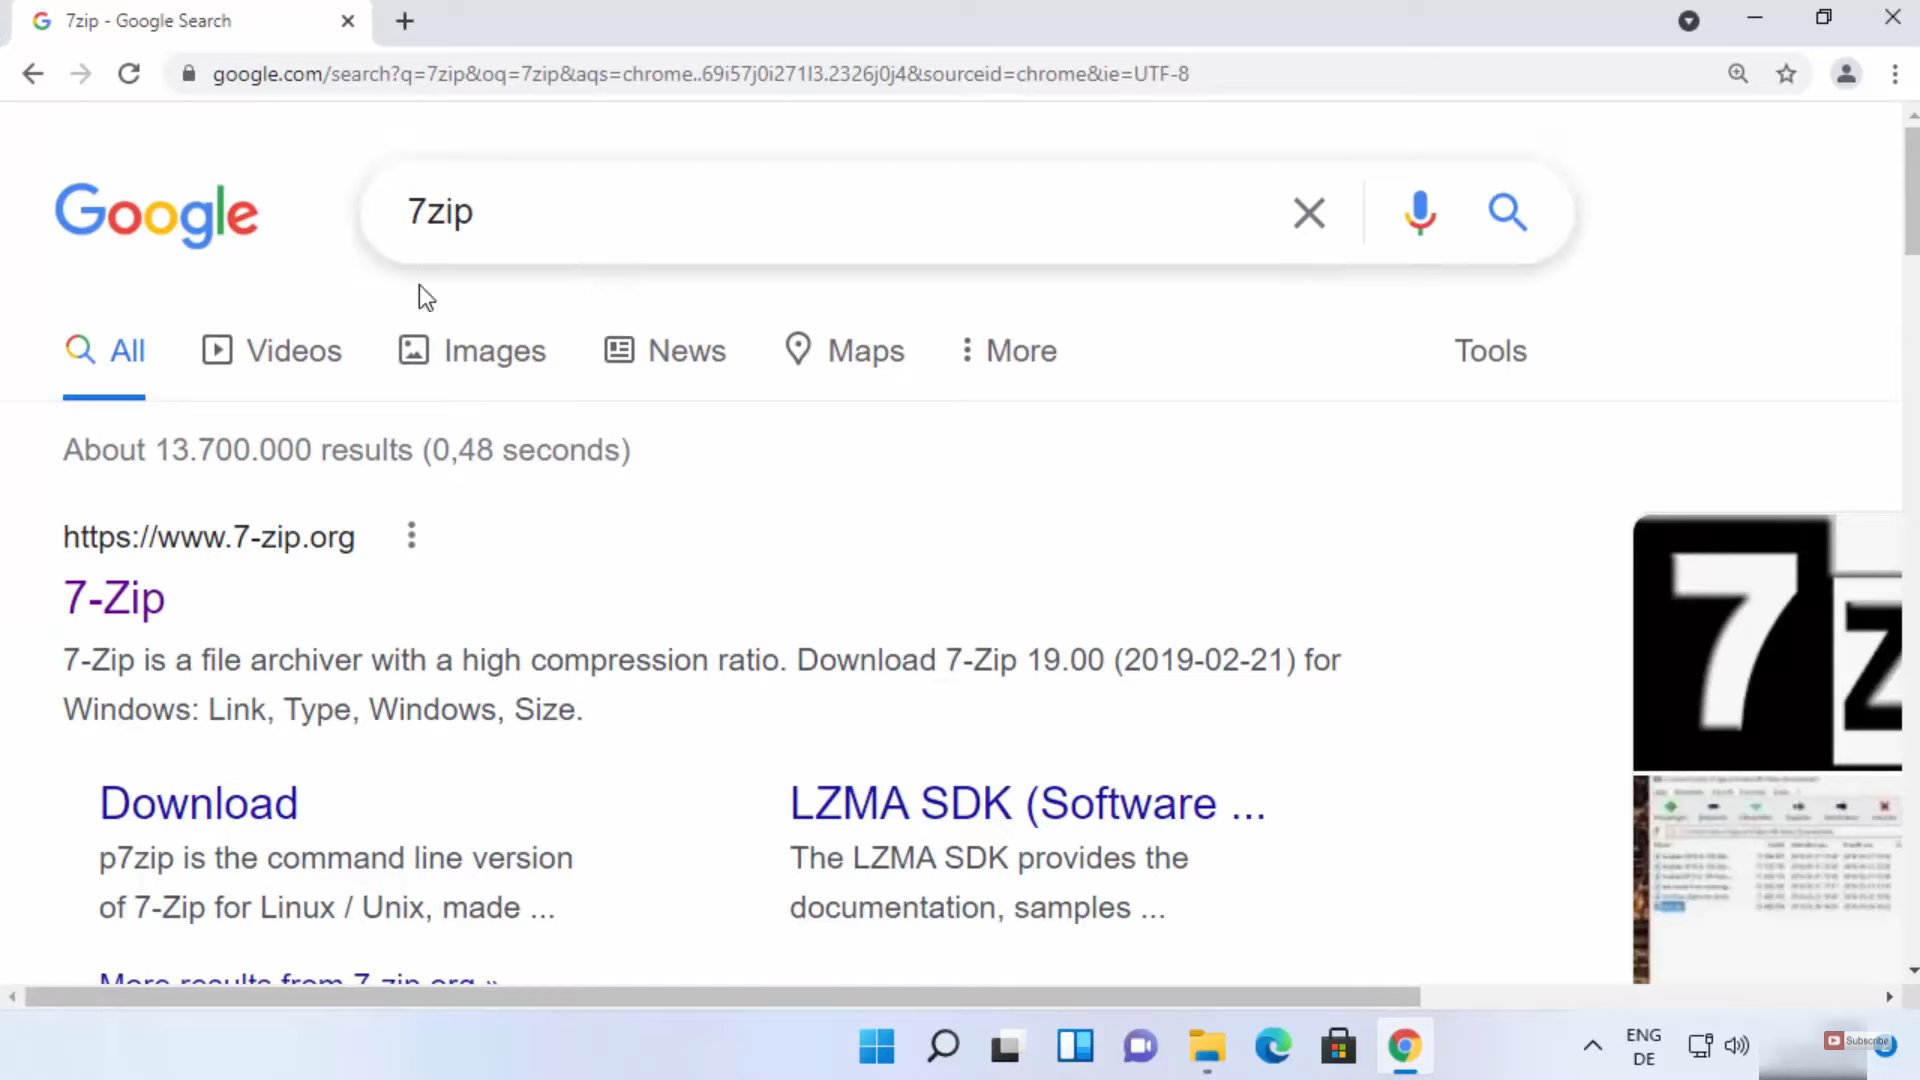
1. Open a web browser of your choice and search for 7zip. Click on the first link.
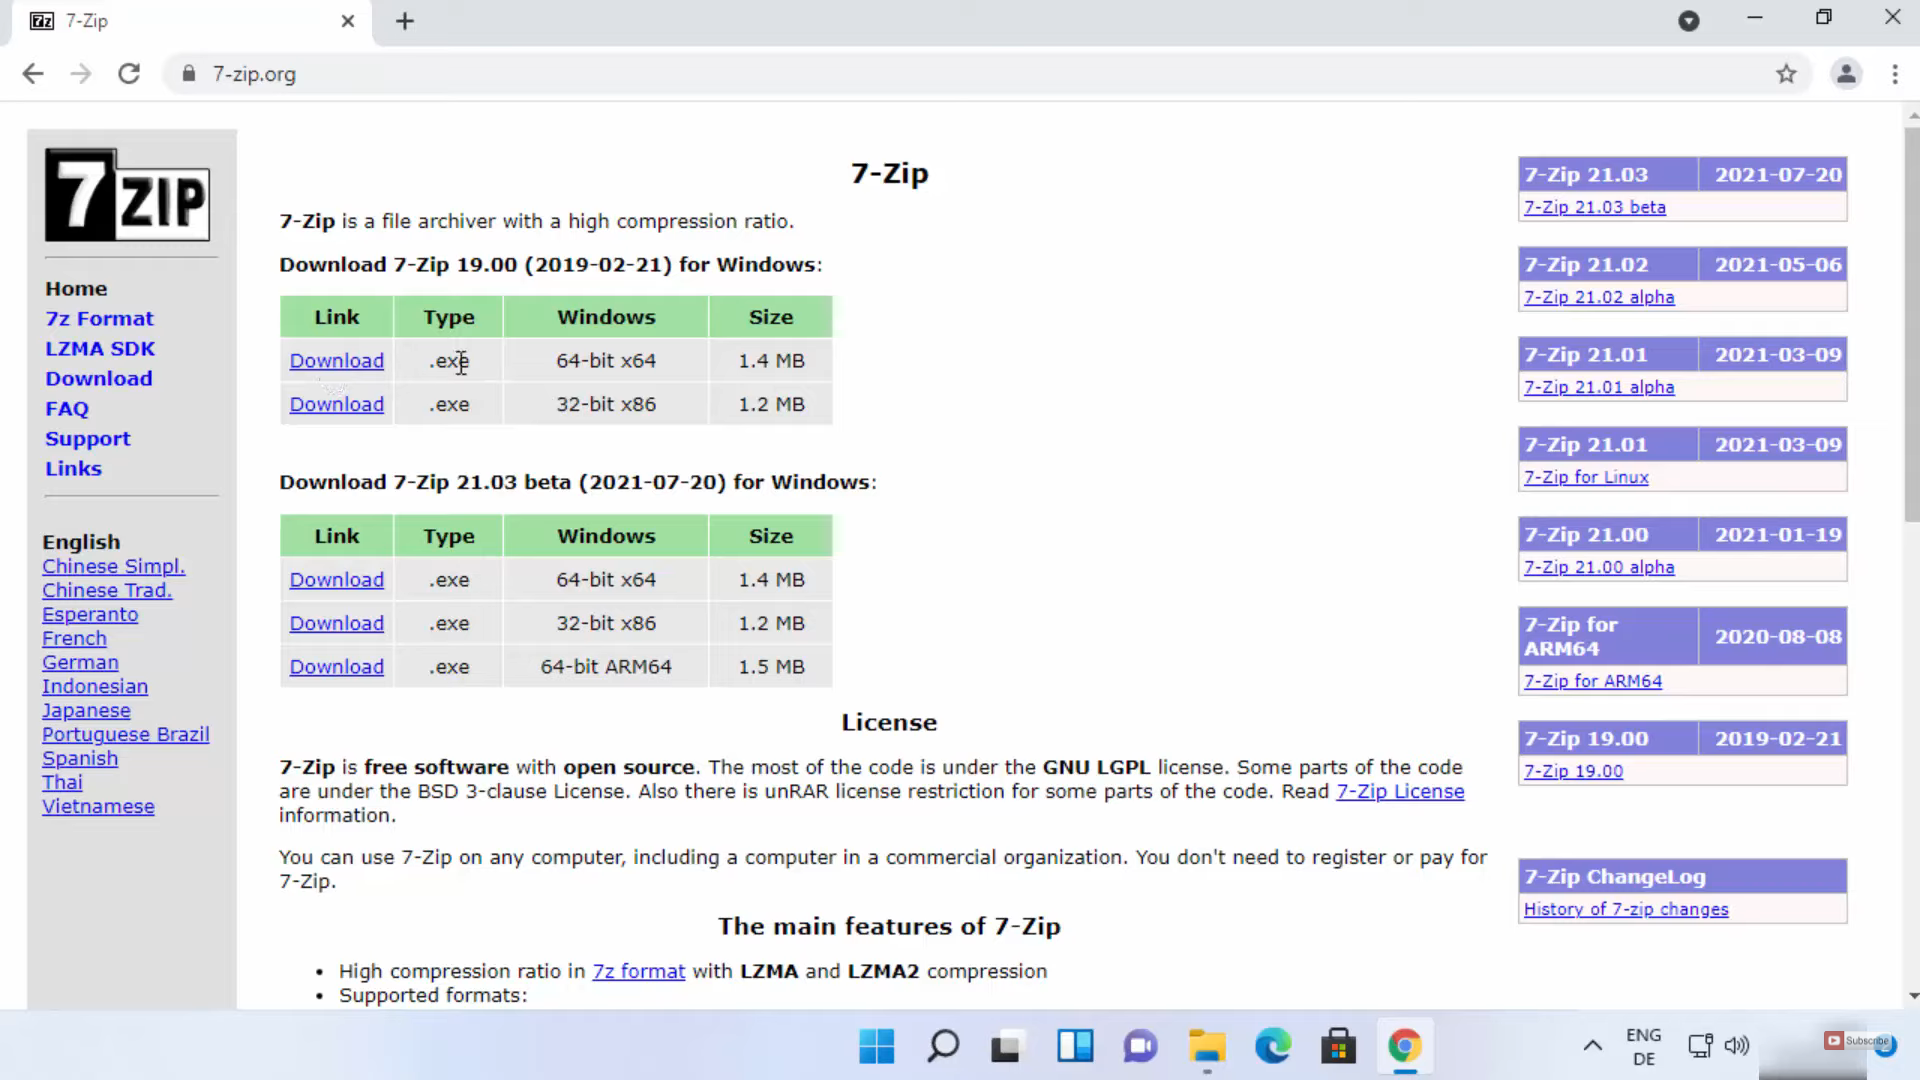
2. It will take you to the downloads page. For Windows 11, you need to download the 64-bit version. Click on the download link. It will start the download process.
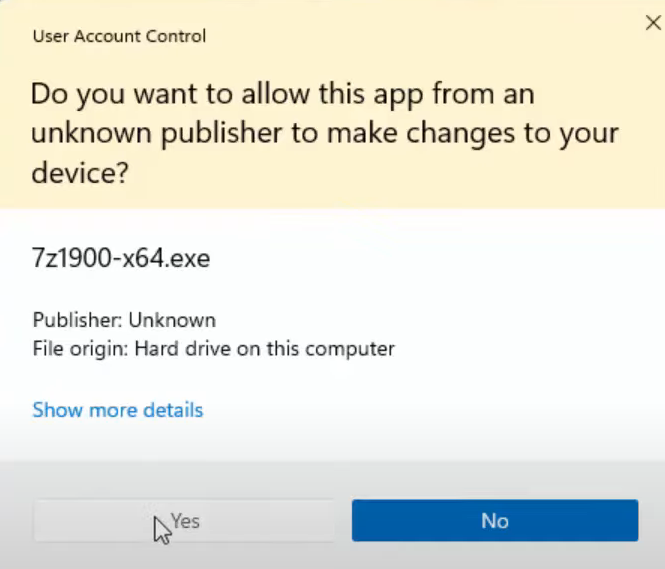
3. Click on the exe file and minimize the browser. It will show a warning message. Click on Yes.
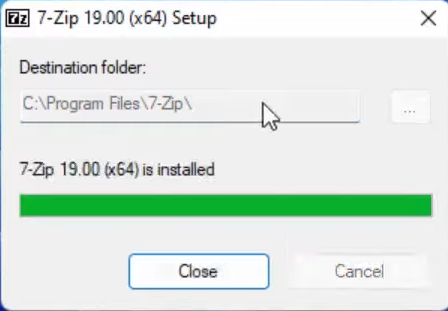
4. The setup window will open. A default location of installation will appear here. If you want to change the location, click on the 3 dots and then change the location. Click on Install.

5. It has been installed. You can now close the window using the Close option. Let’s see how to use 7-Zip.
6. I am going to compress this file into a Zip file. Right-click on that file and then click on Show more options.
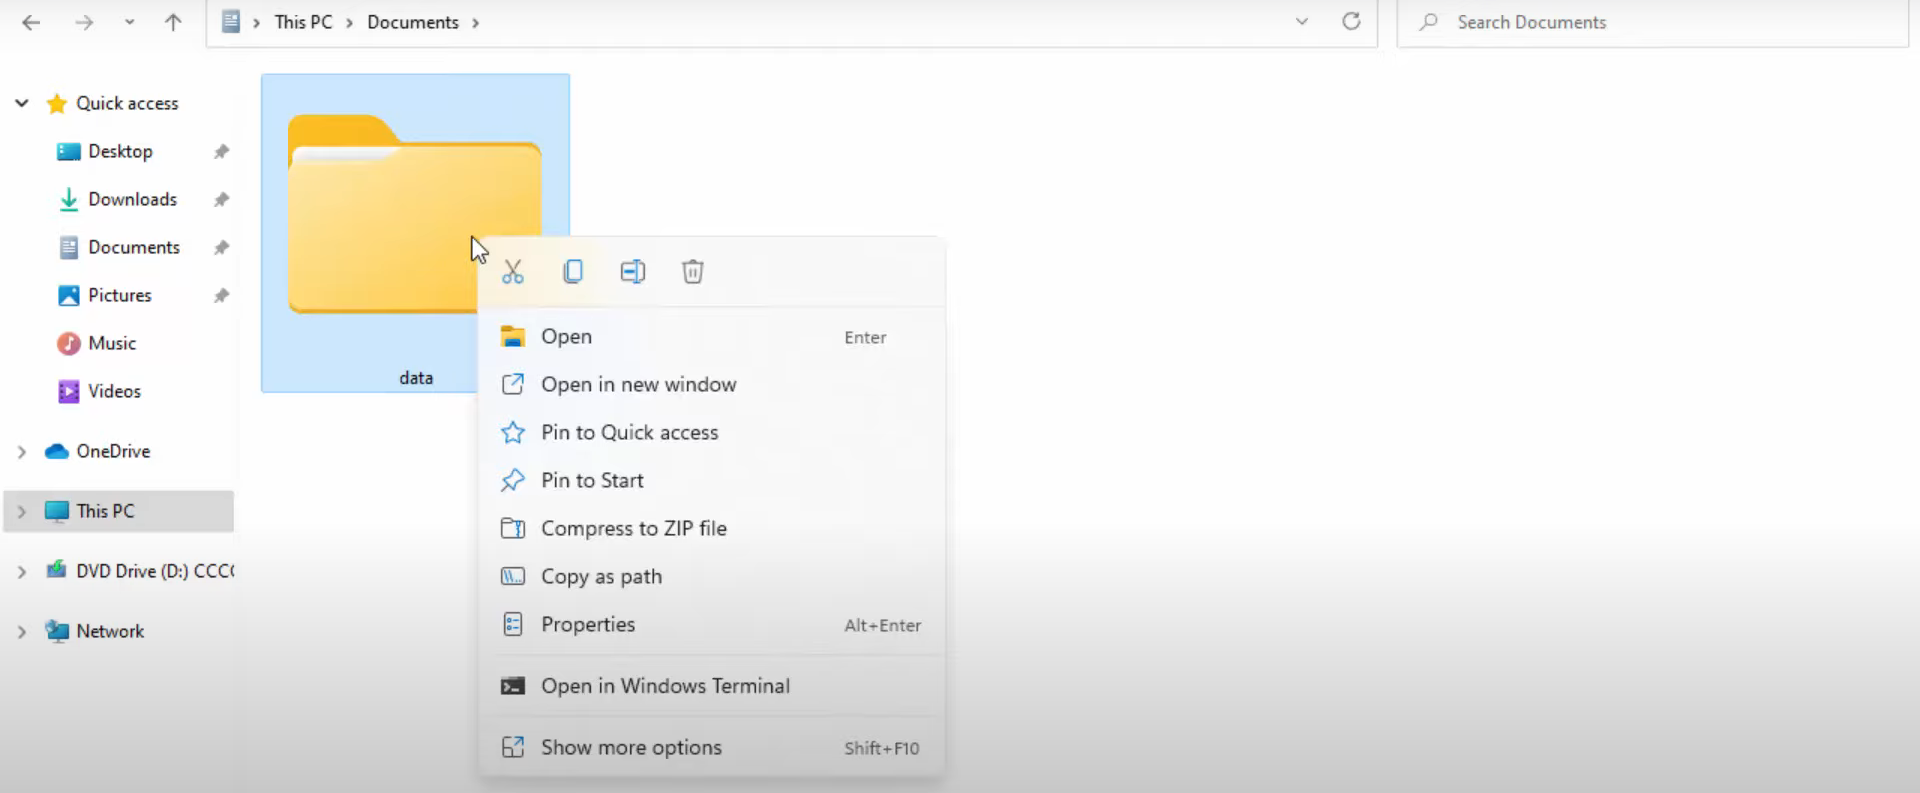
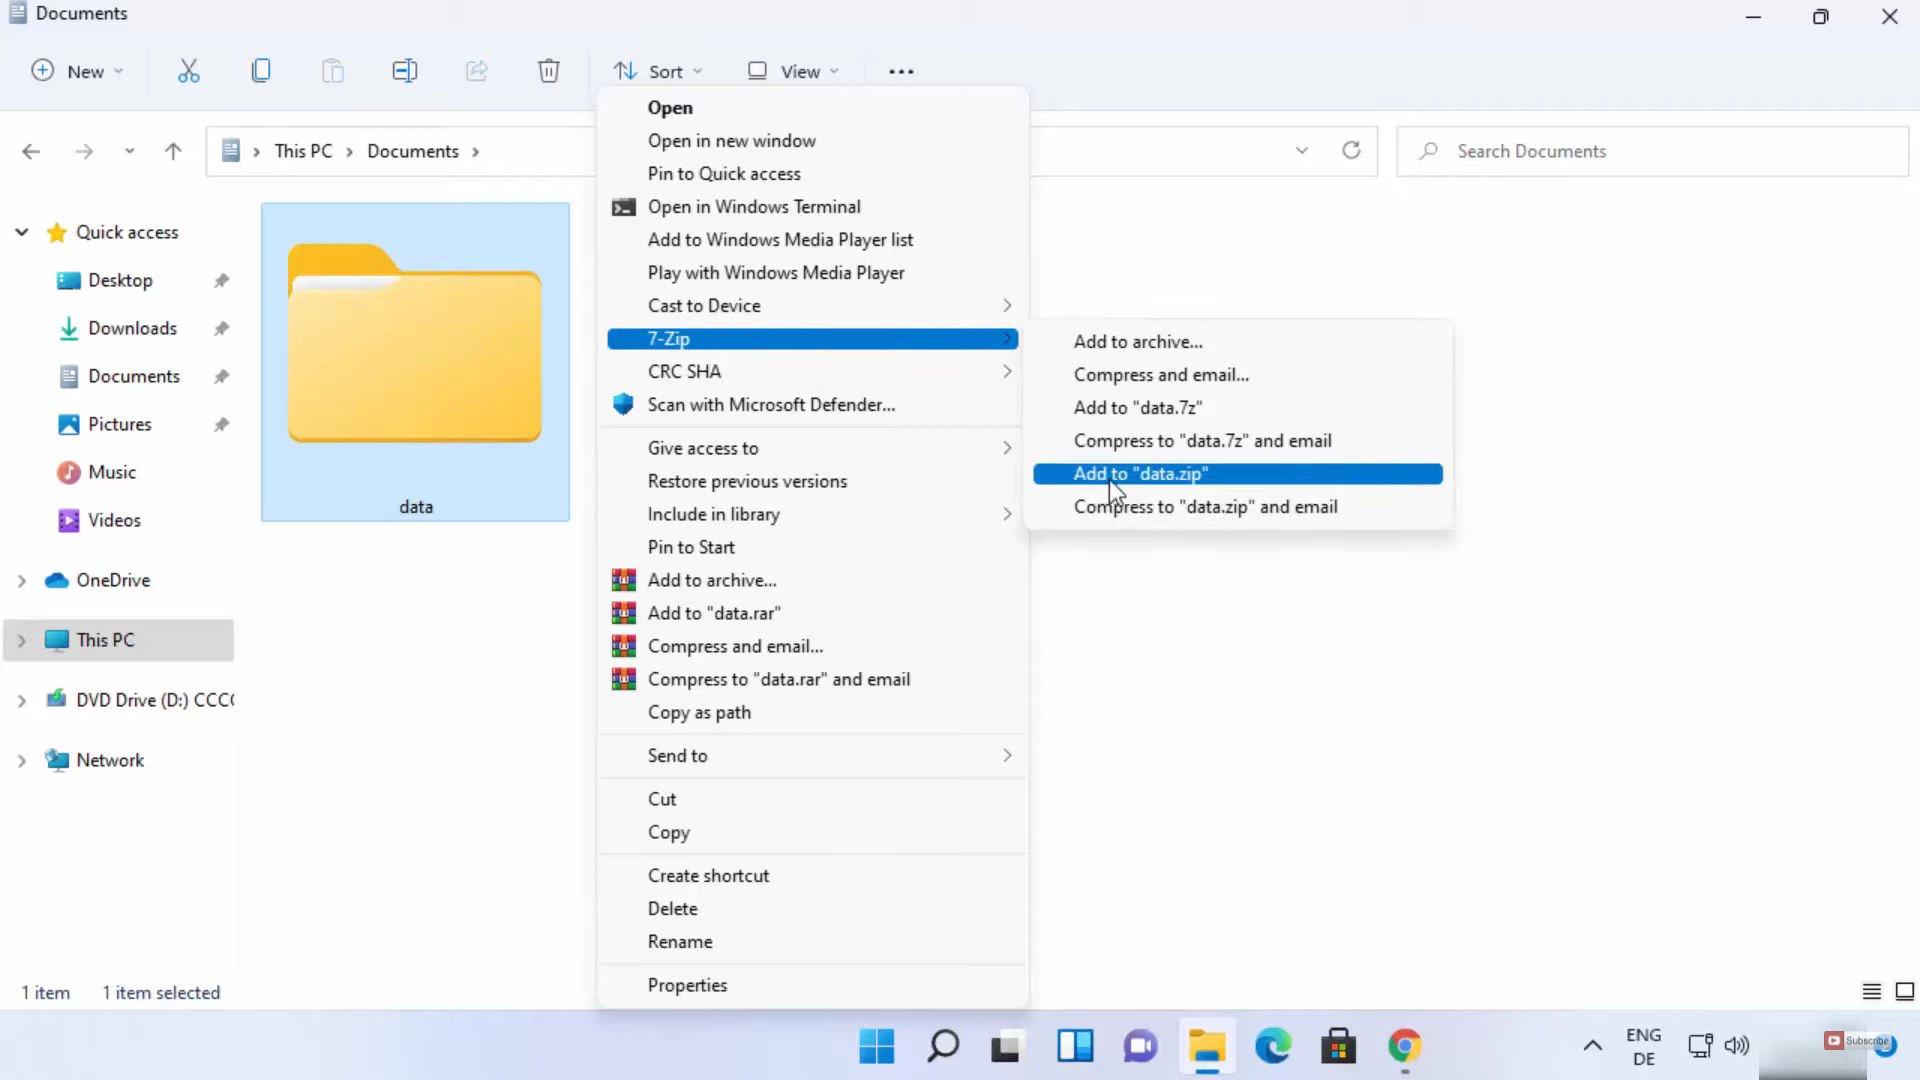
7. Here, you can see the 7-Zip option. To zip the file, click on the 5th option.
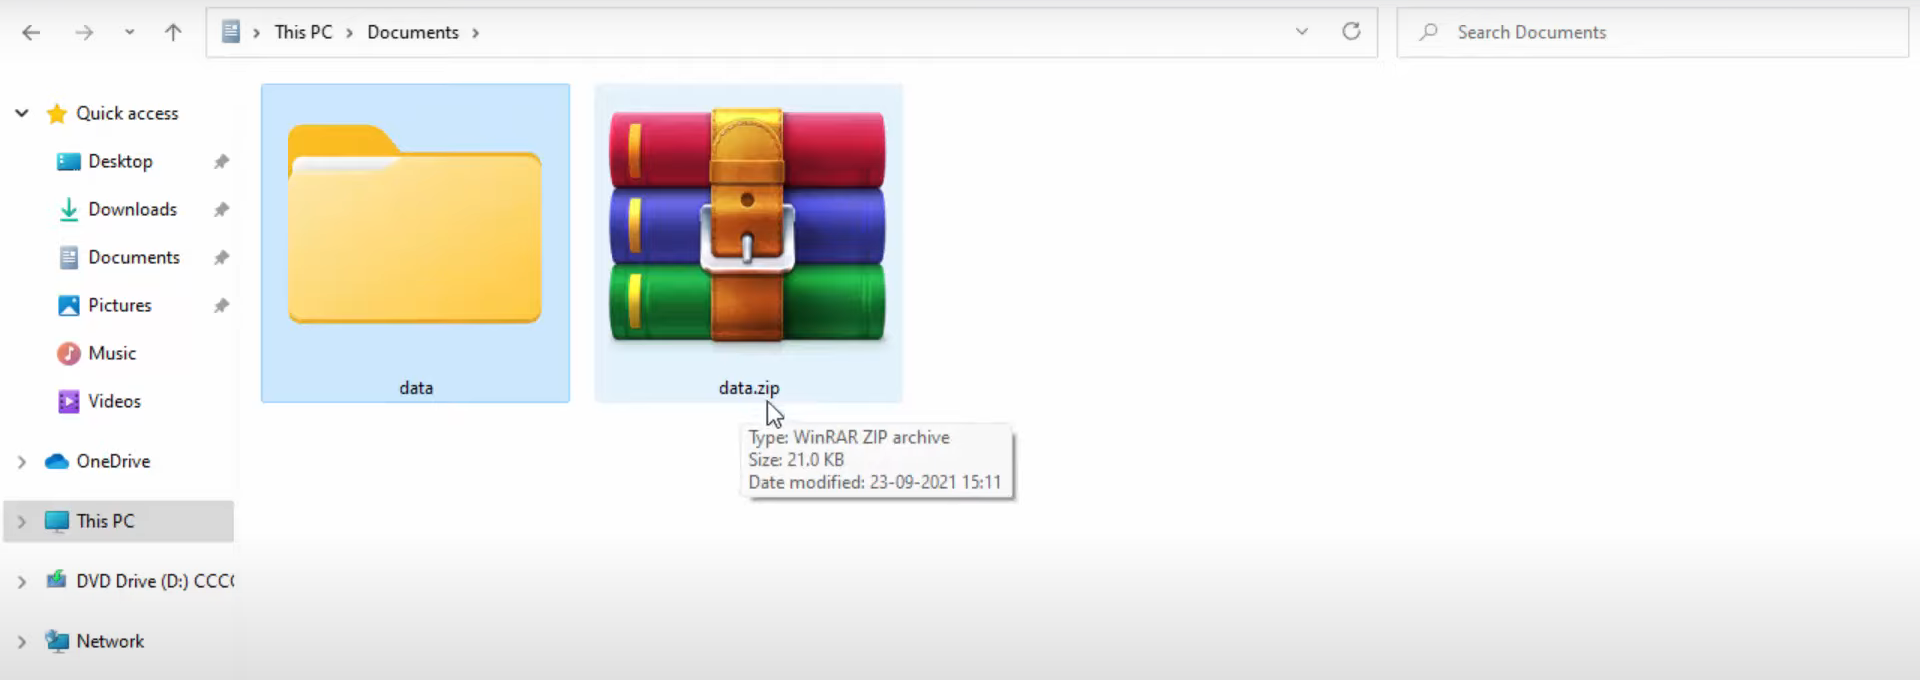
8. It has created the Zip file.
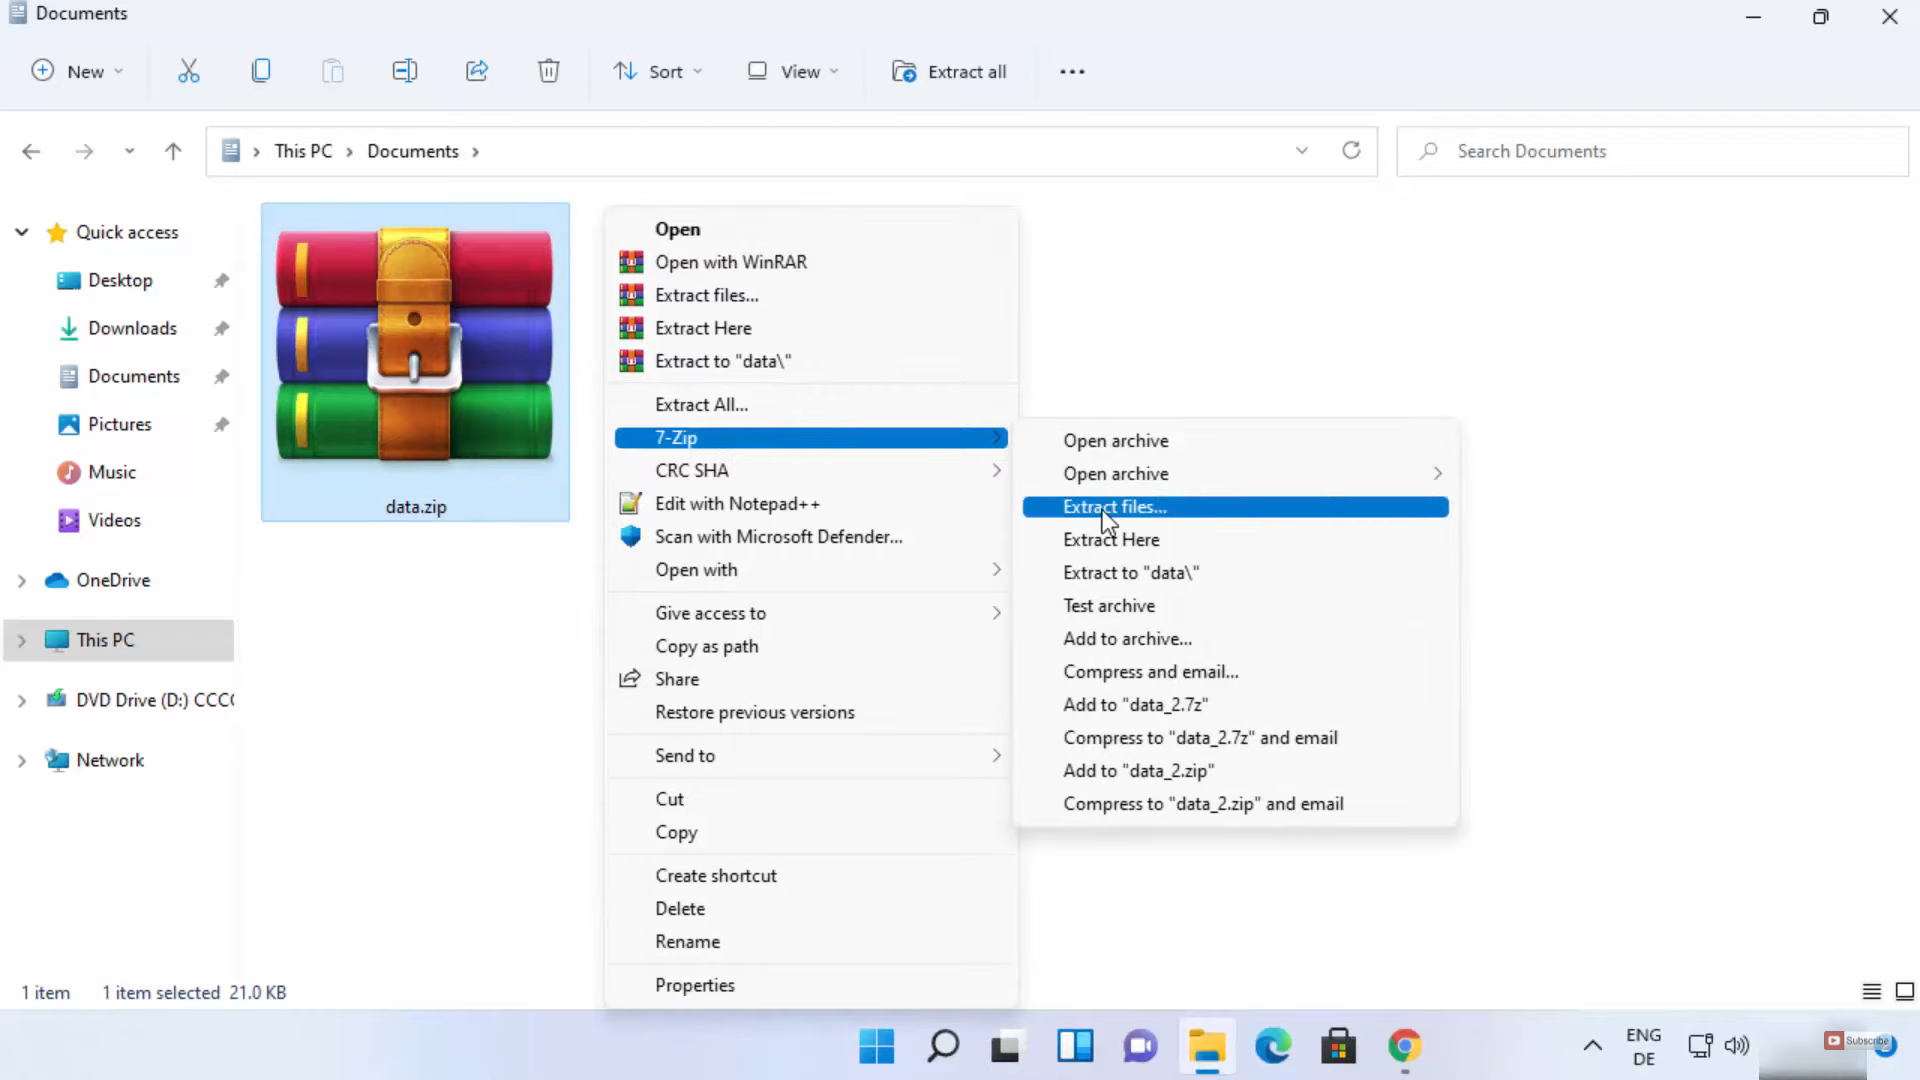
9. Now, I am going to delete the folder and explain to you the process of uncompressing it. Right-click on the Zip file and click on Show more options.
10. Here, in the 7-Zip option, click on the 4th option. It will extract the folder.

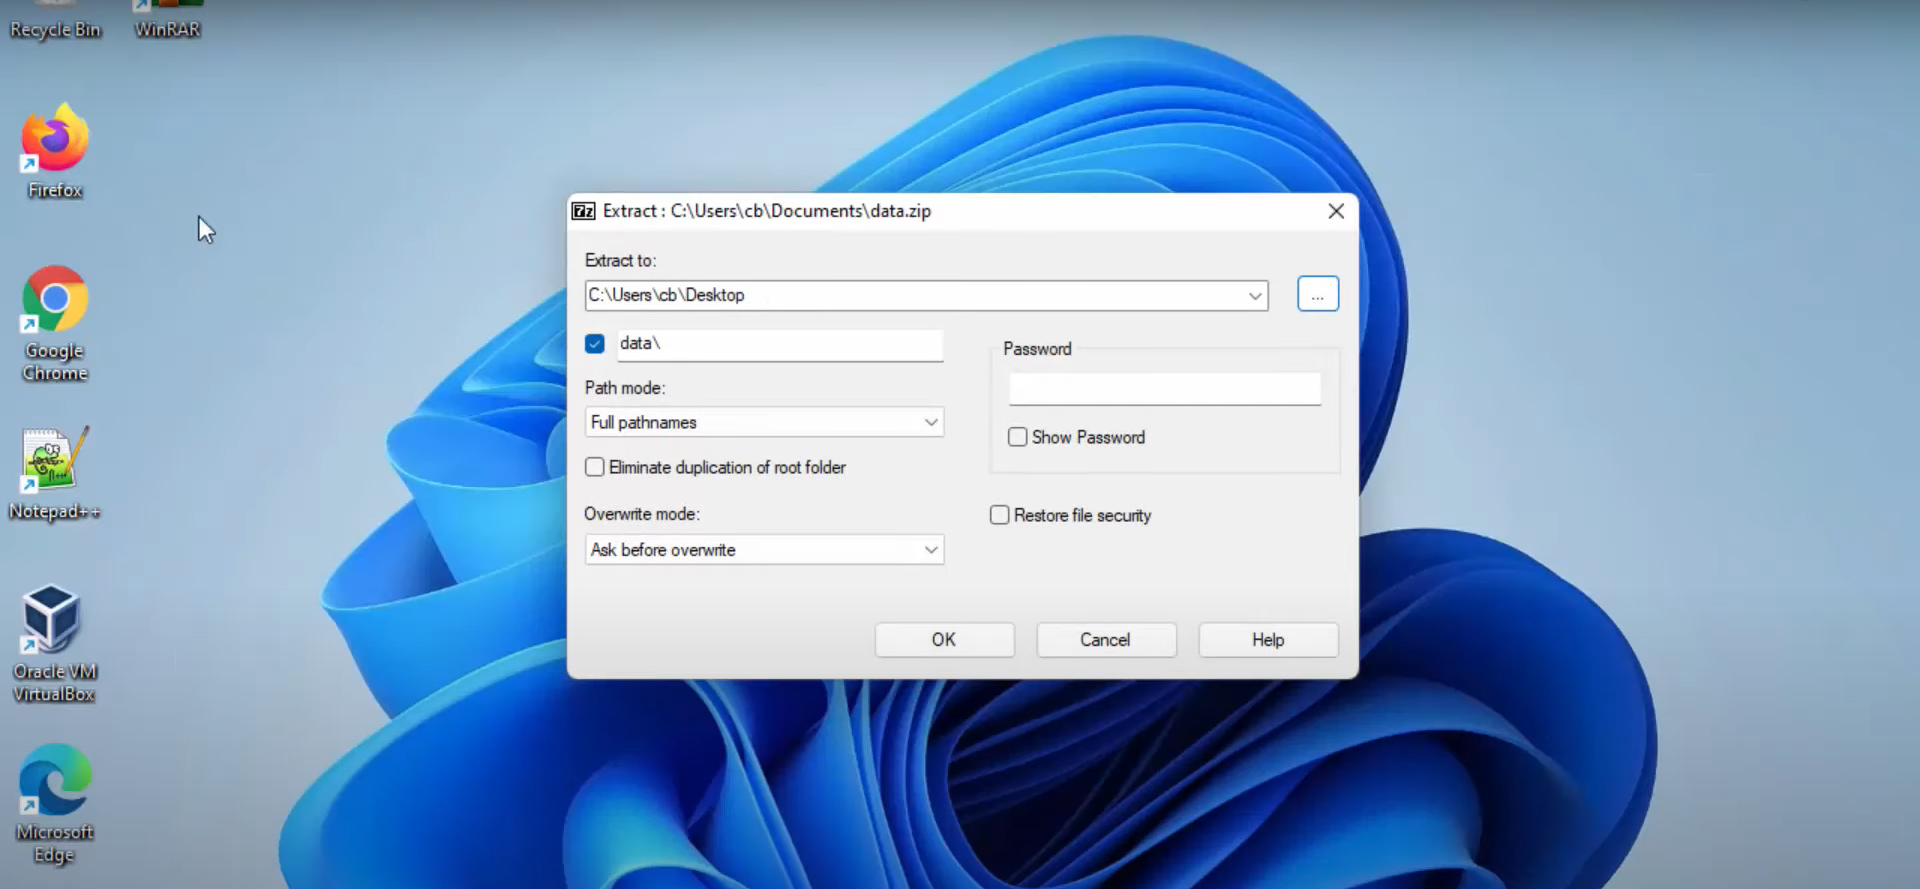
11. To extract it somewhere else, follow the same procedure explained above and click on the 3rd option instead of the 4th option. It will open this kind of window. Here, you can choose the destination for it to be extracted. I am going to choose the desktop option. You can also set a password for your folder. Click on Ok. The folder will be available on your Desktop.
These are the steps for installing 7-Zip on your Windows 11 Operating System.
Leave a Reply