
In this blog post, I will give a detailed view of installing paint.net to your Windows 11 Operating System.
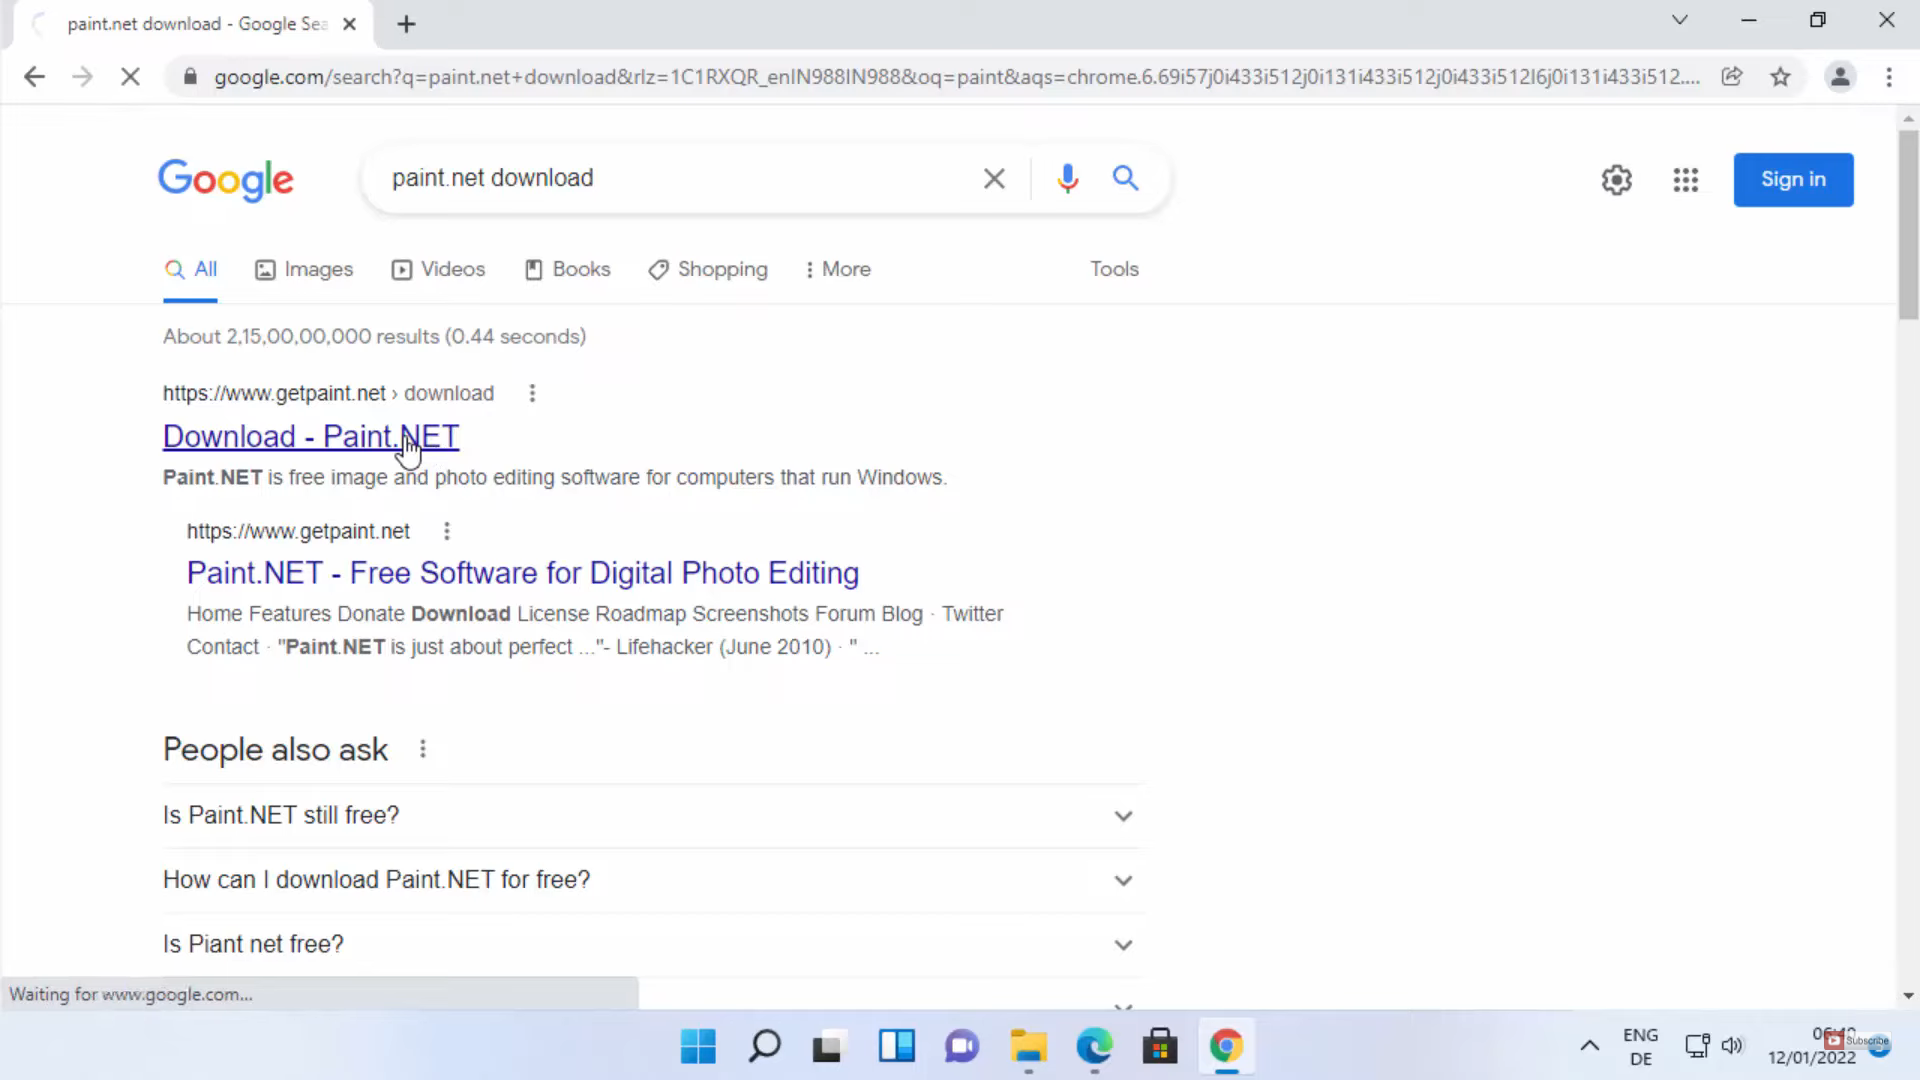
1. Open a web browser of your choice and search for paint.net. Click on the first link.
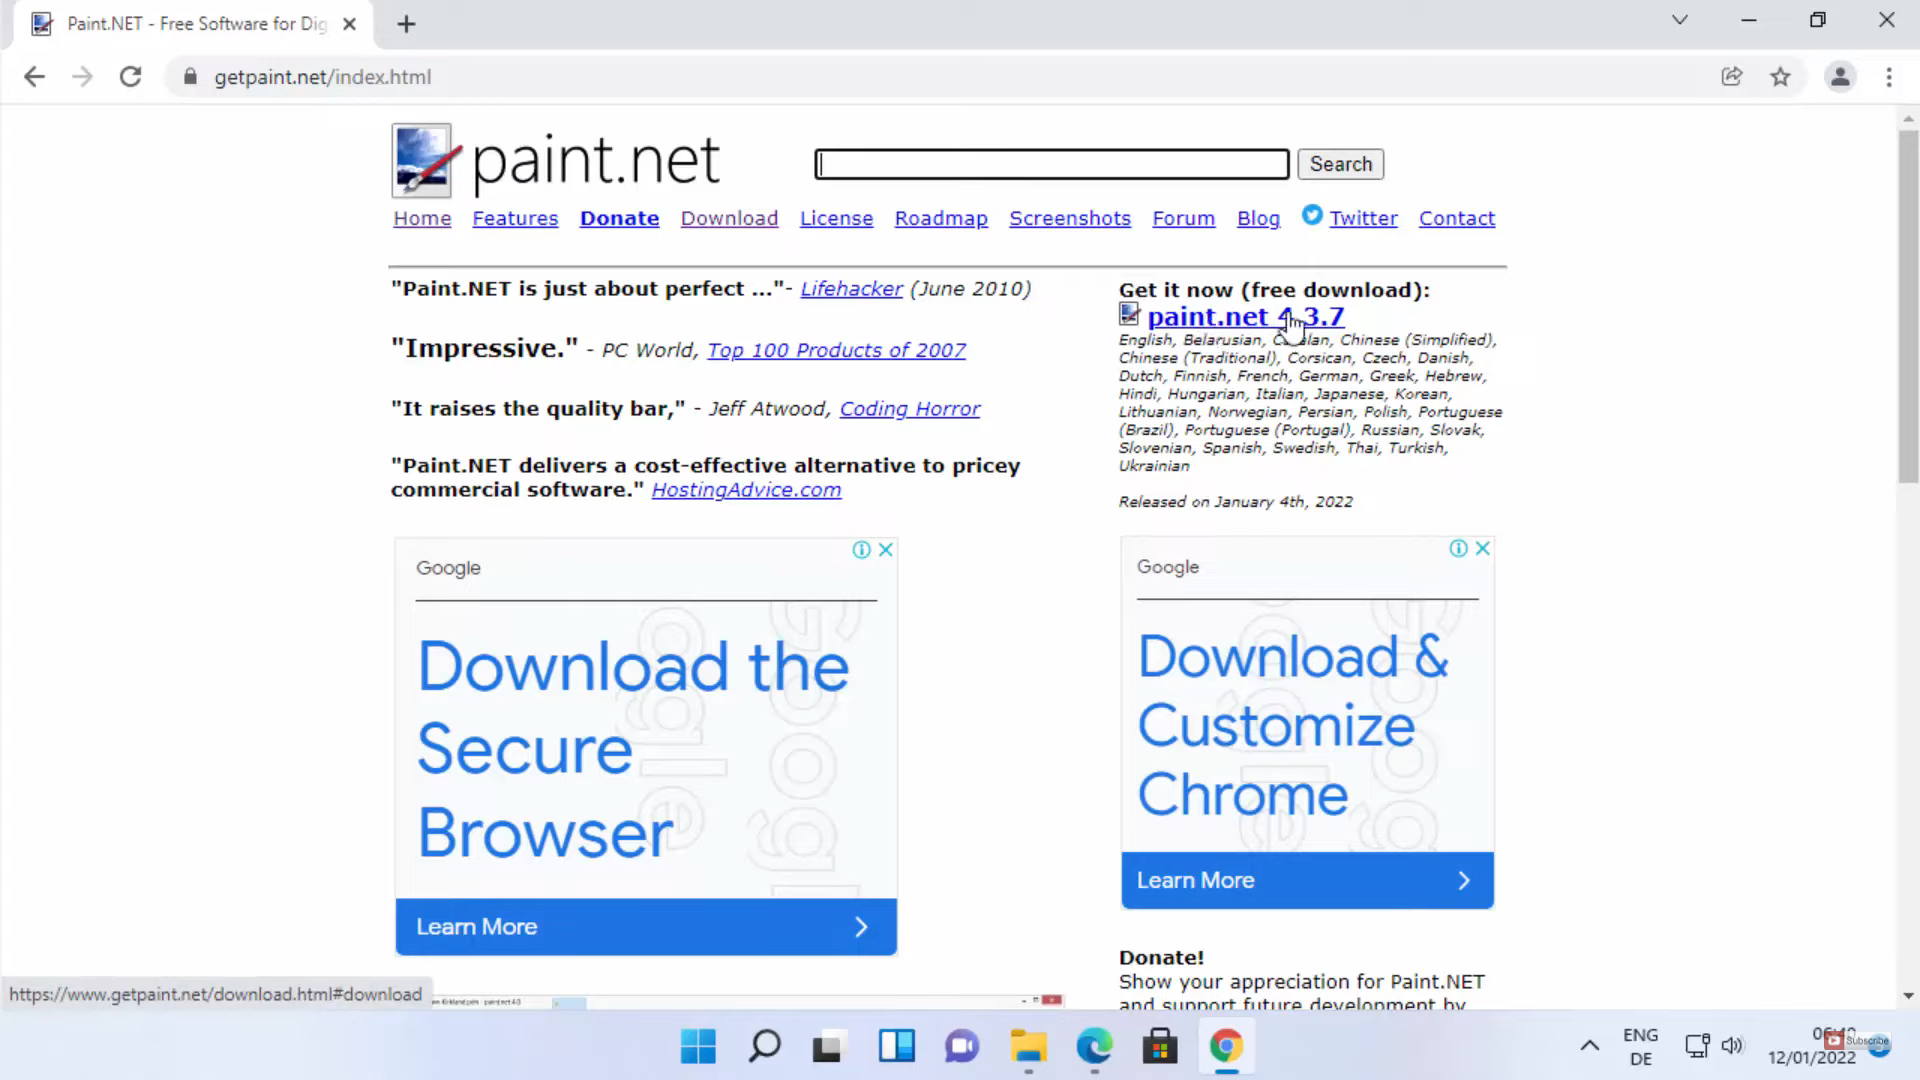
2. Once the link opens, click on the home page. On the right-hand side top, you will be able to see the free download. Click on that link.
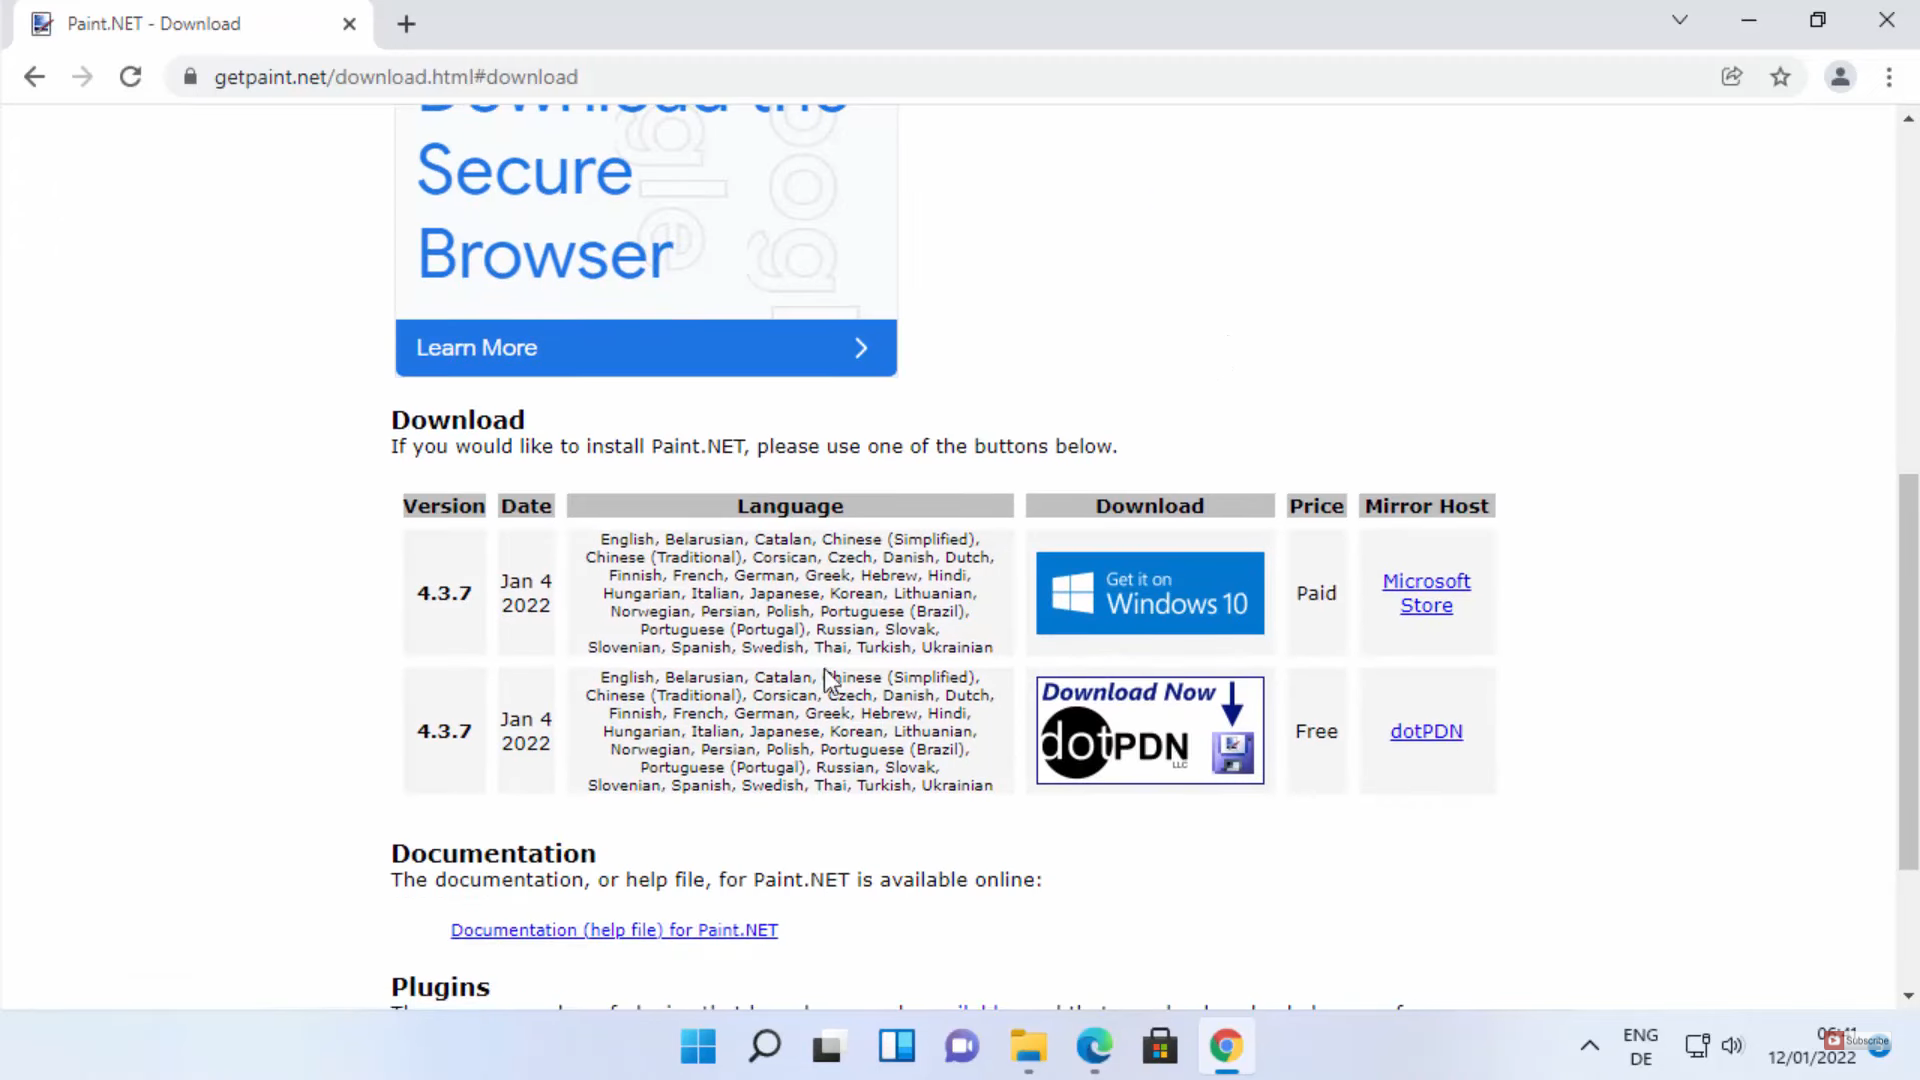
3. Once you click on that link, you will be able to see these options. I am going to download the free version. Click on the dotPDN link.
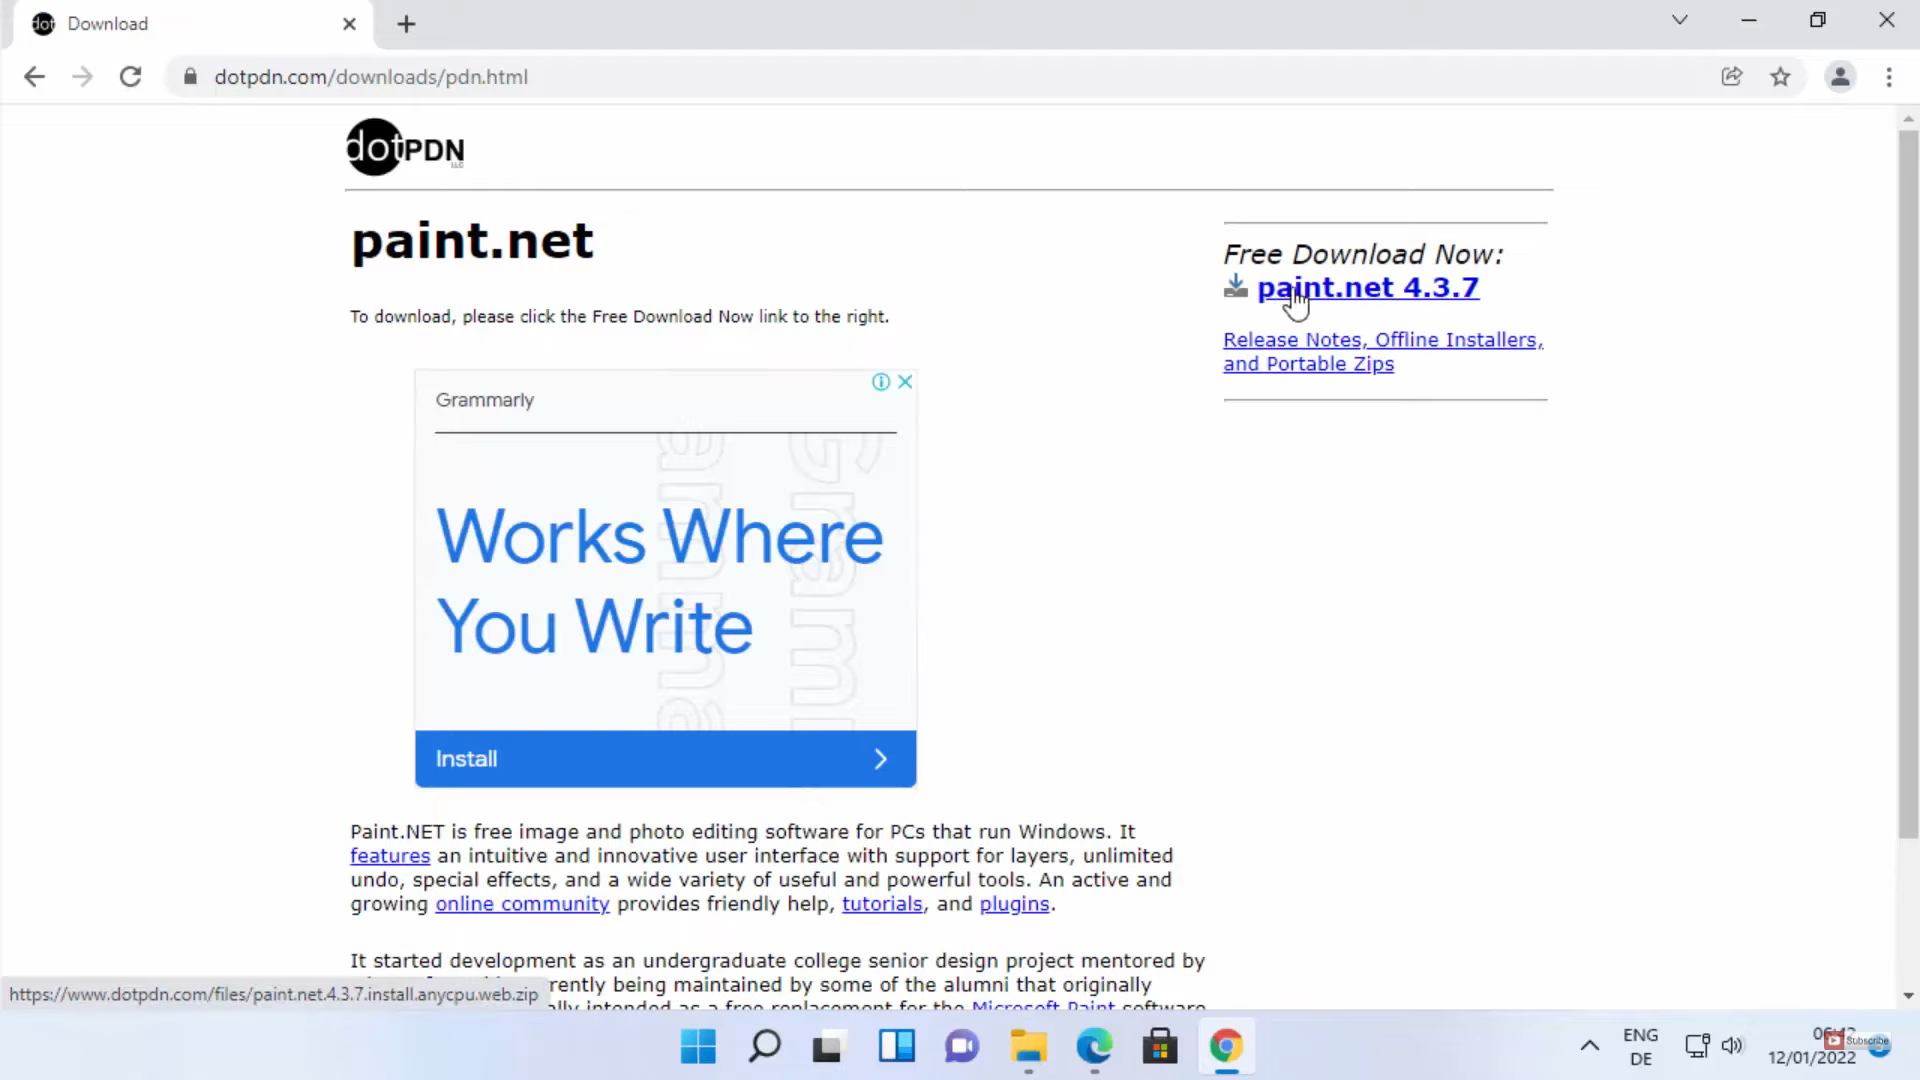
4. It will redirect you to another page. You need to click on the download button at the top. It will start to download the zip file.
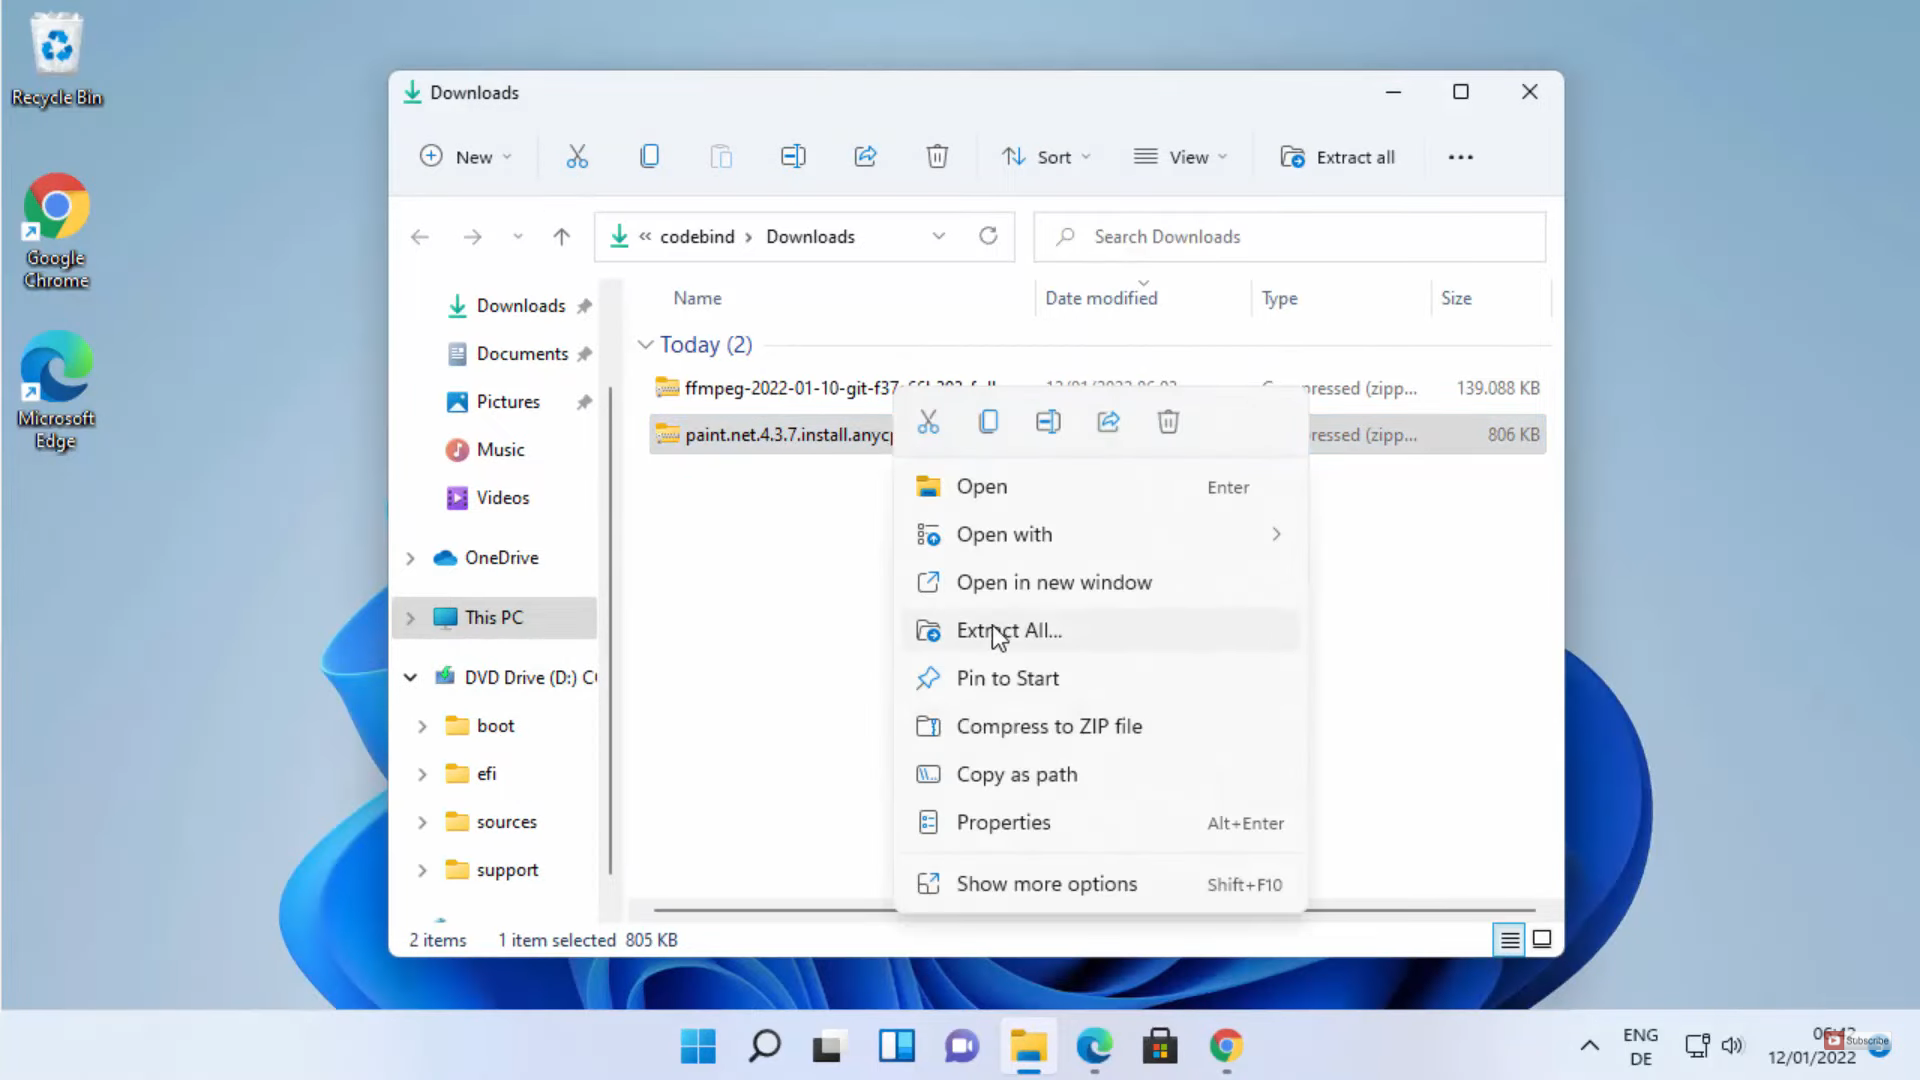
5. Once the file is downloaded, go to the location where it is downloaded and extract the file. Right-click on that file and click on extract all. I am going to extract it in downloads itself.
6. Once the folder is extracted, you will be able to see the exe file. Click on that exe file.
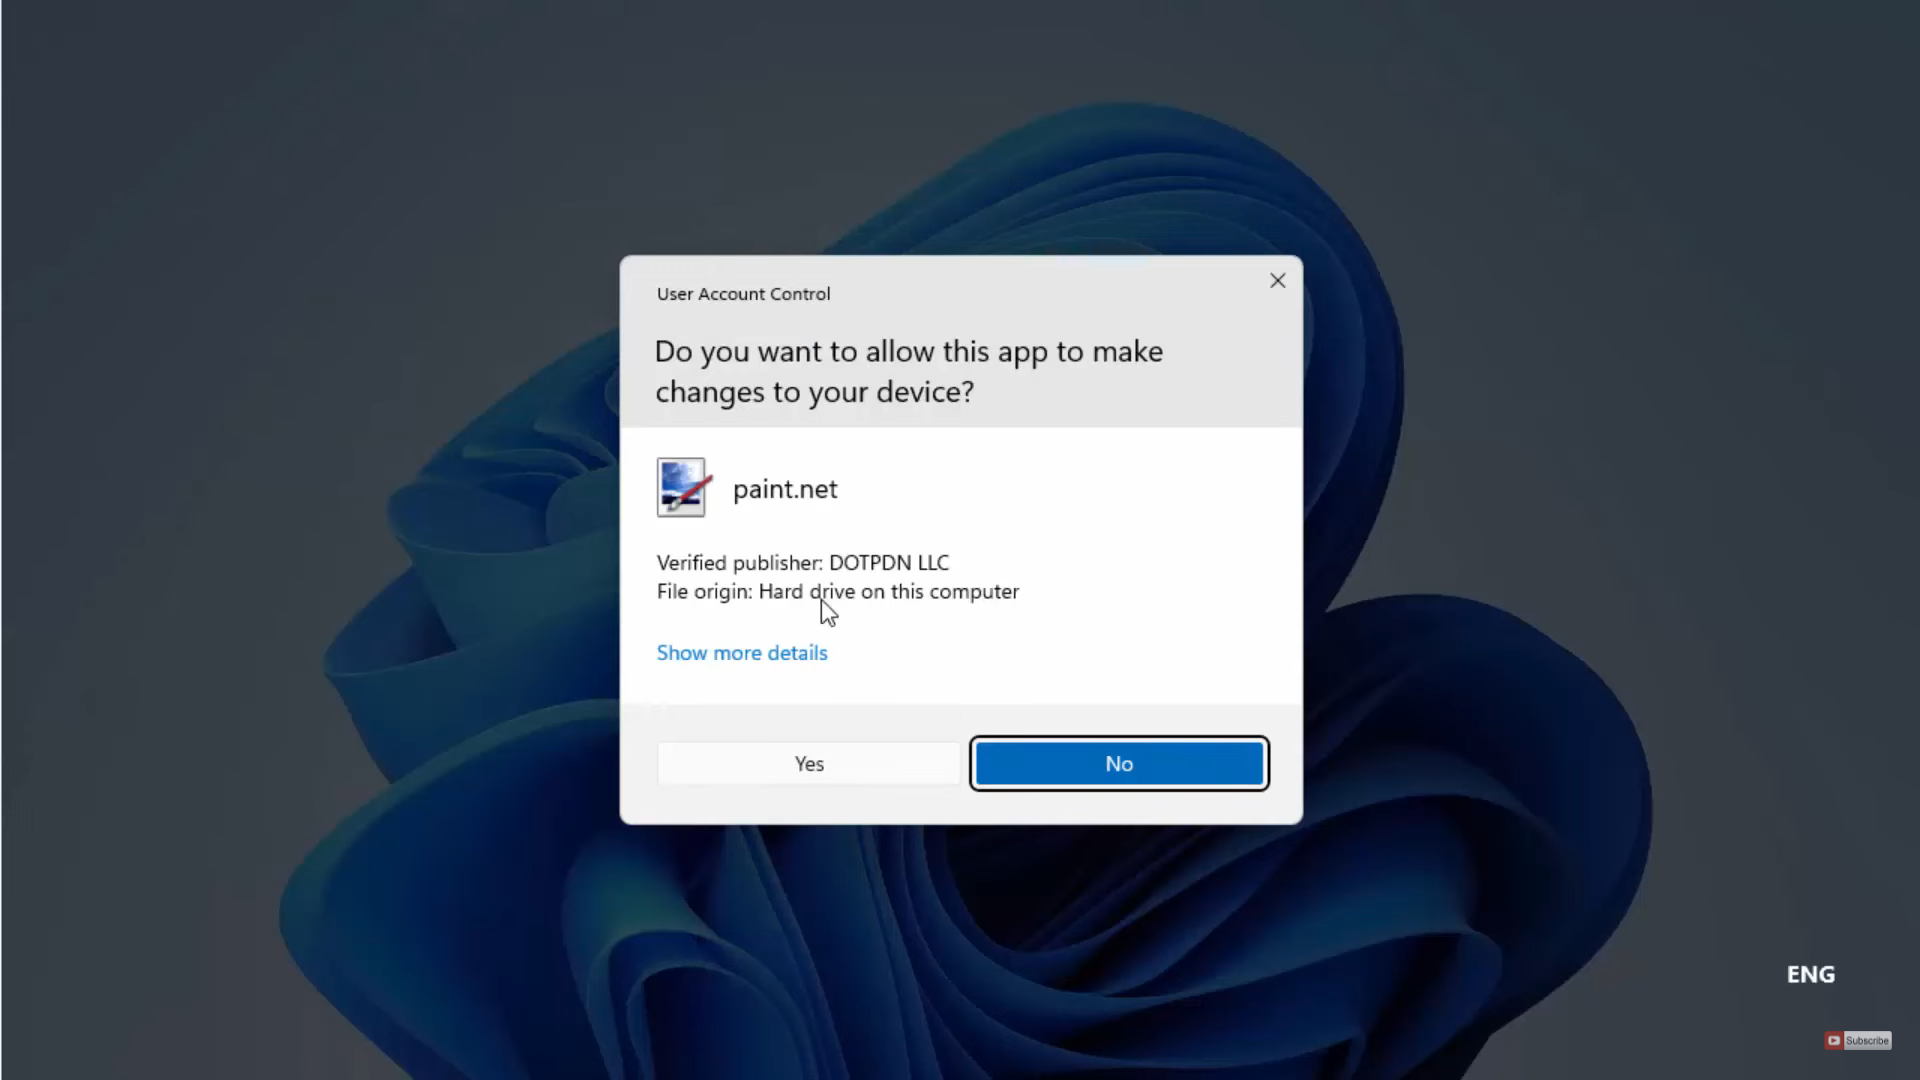
7. It will show a warning. Click on yes.
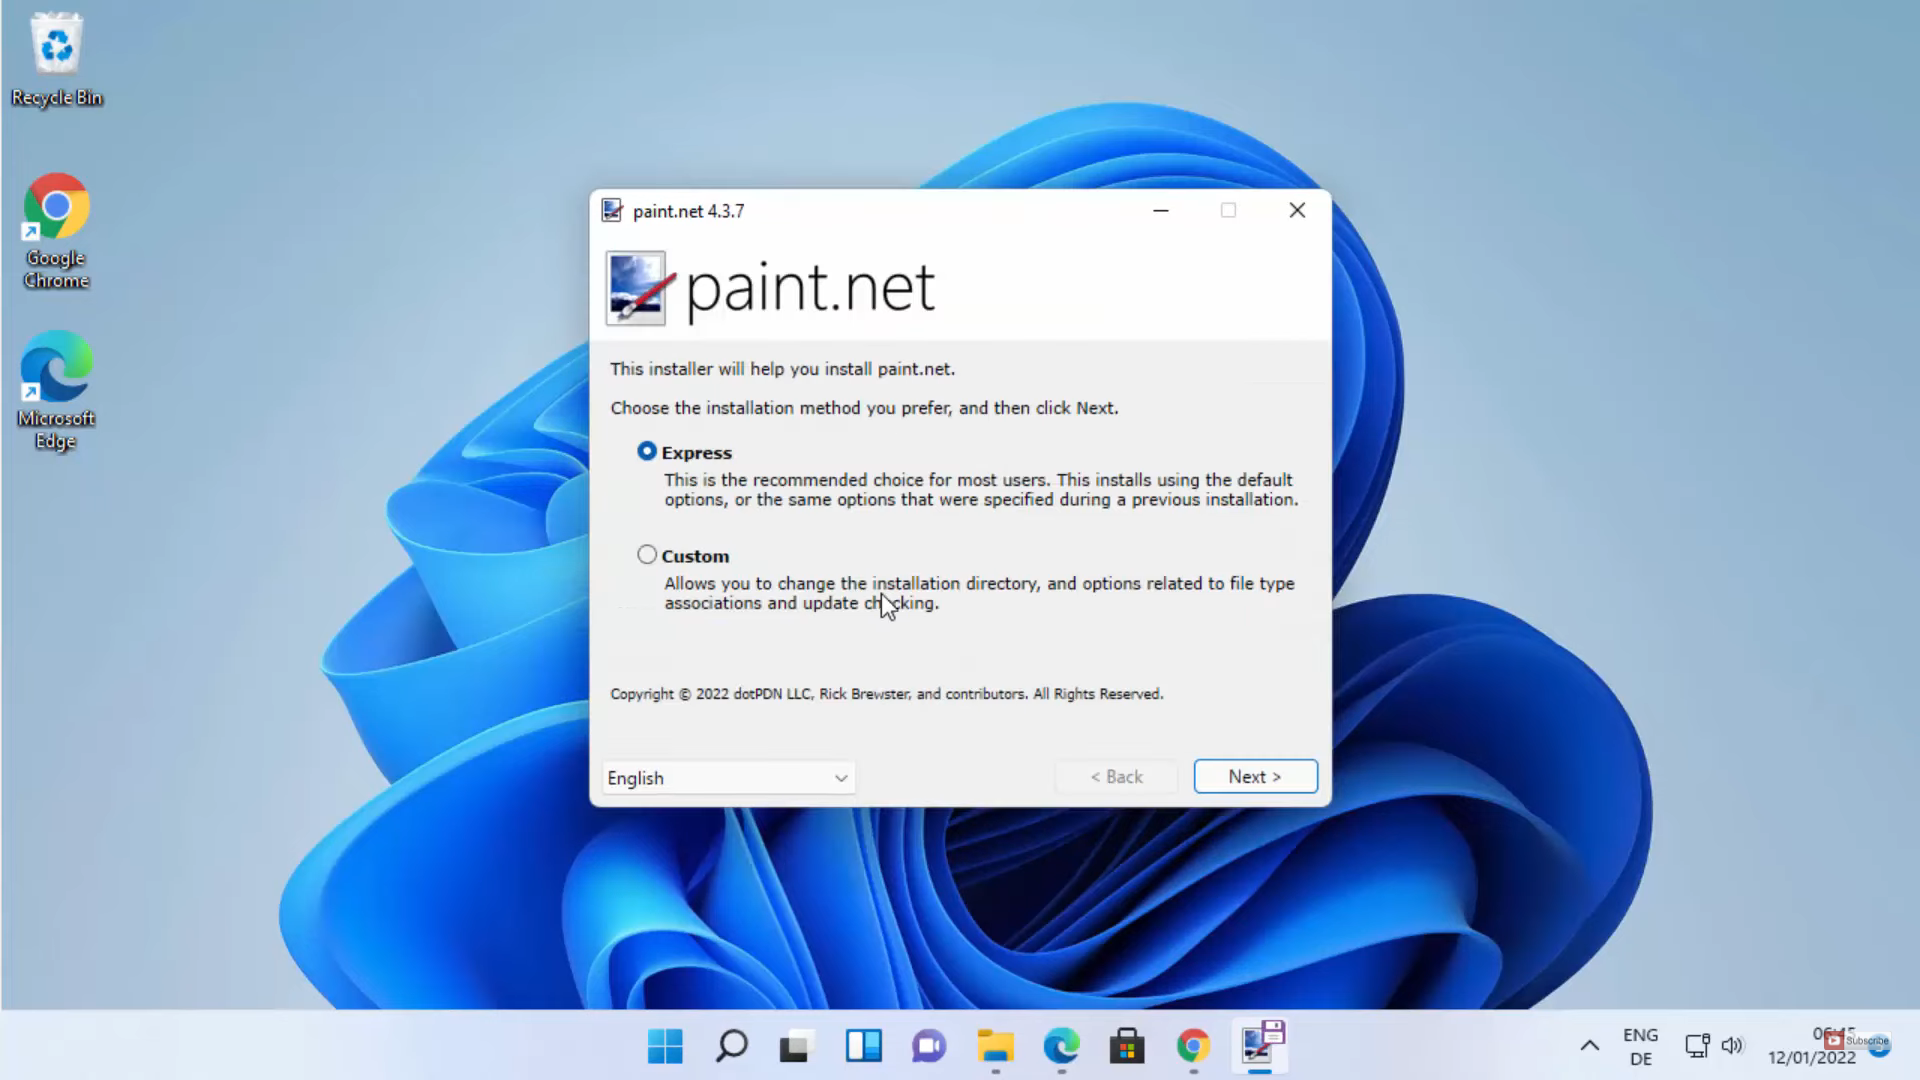
8. Then minimize the window. It will start the installation process. Once all the files are downloaded, you will be able to see the installer window. I am going to choose the express option and click on Next.
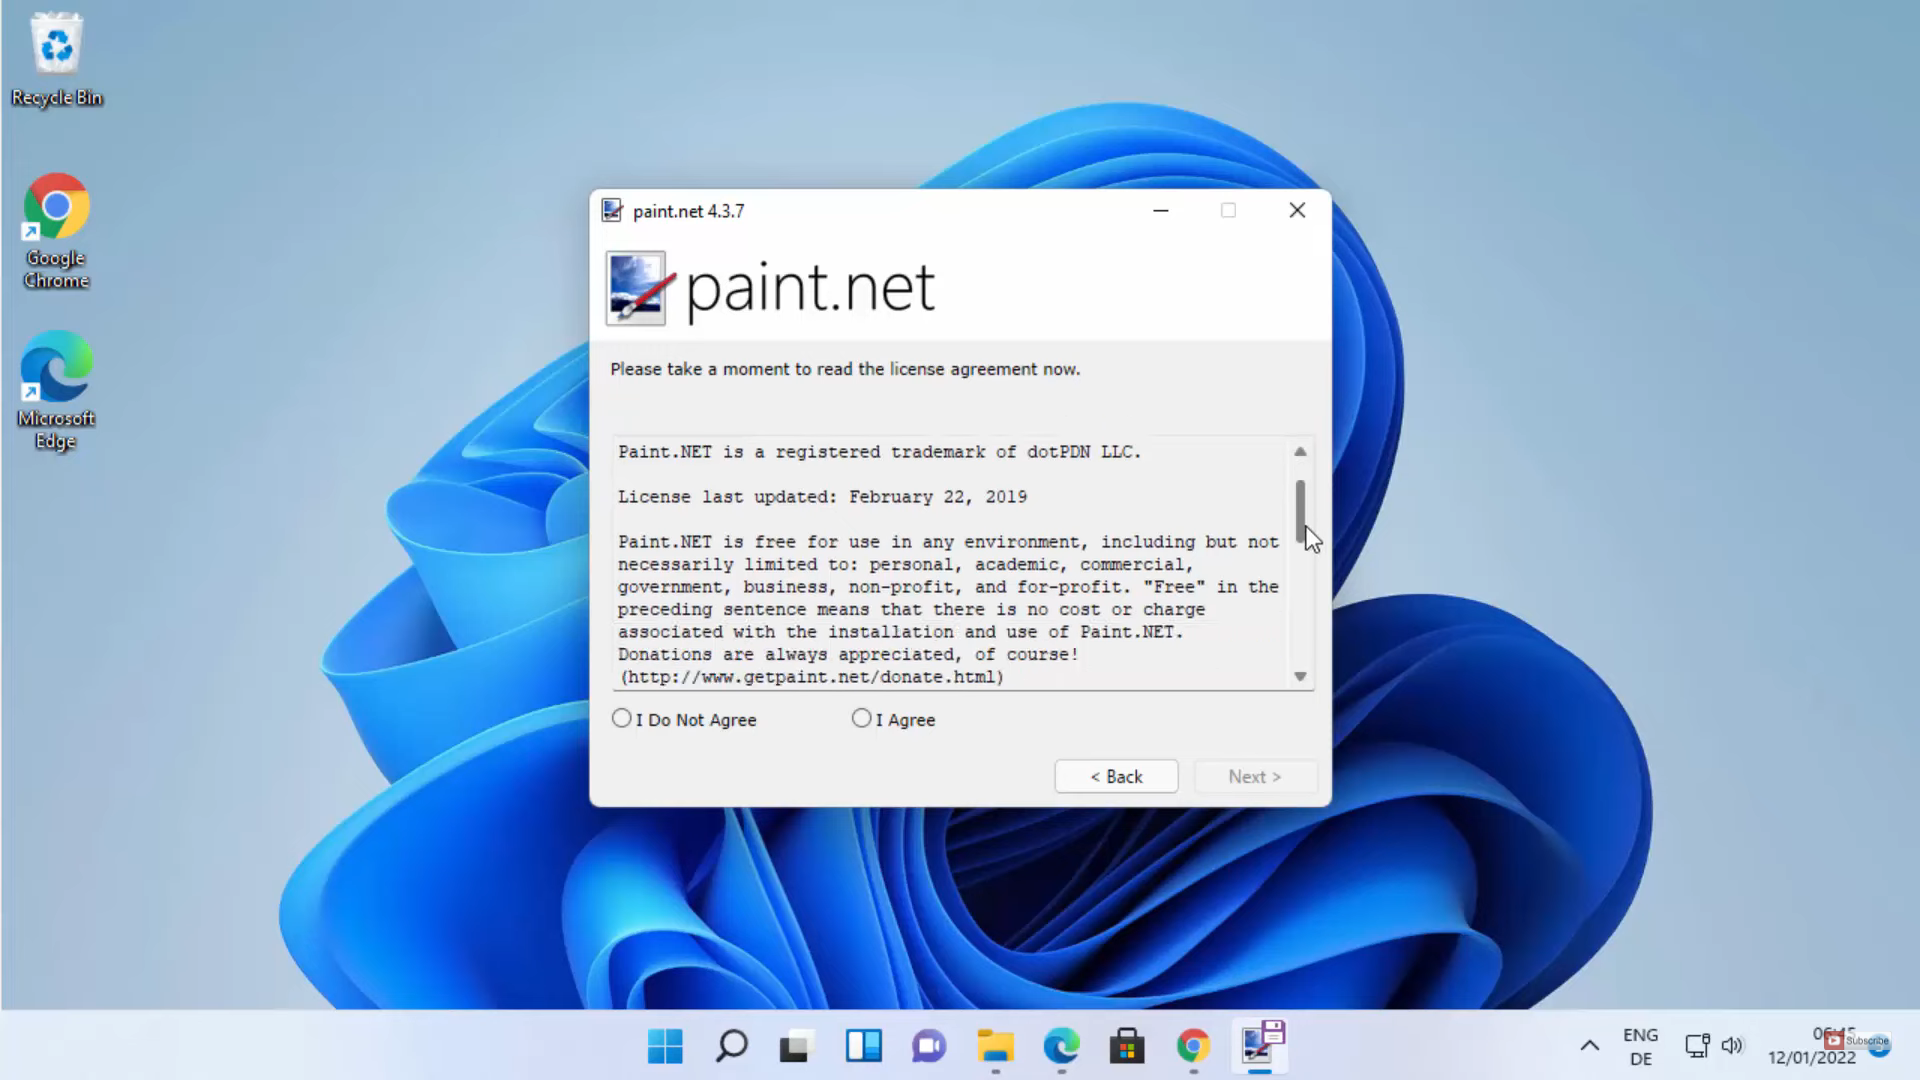
9. In the license agreement window, click on I agree and click on Next.
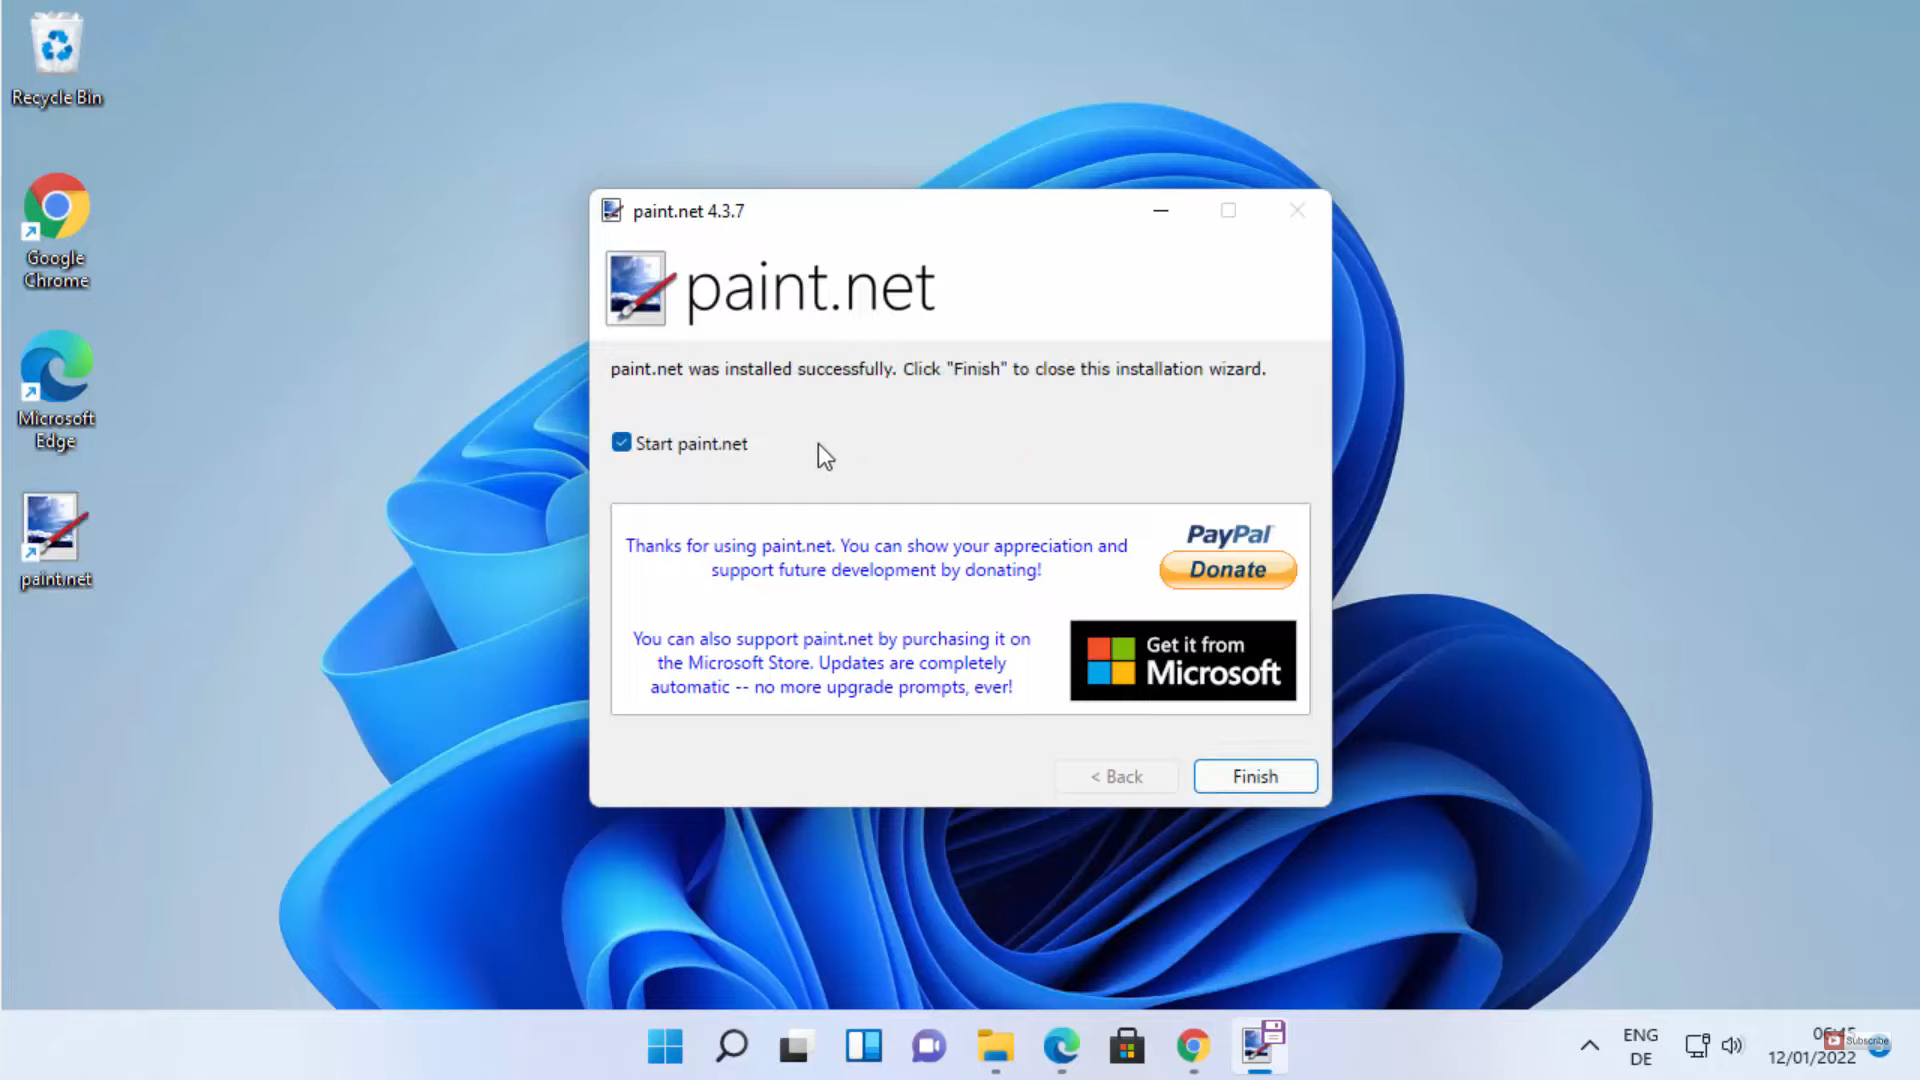
10. In the next window, wait for the process to complete and click on Finish. You can also see the shortcut icon on the desktop.
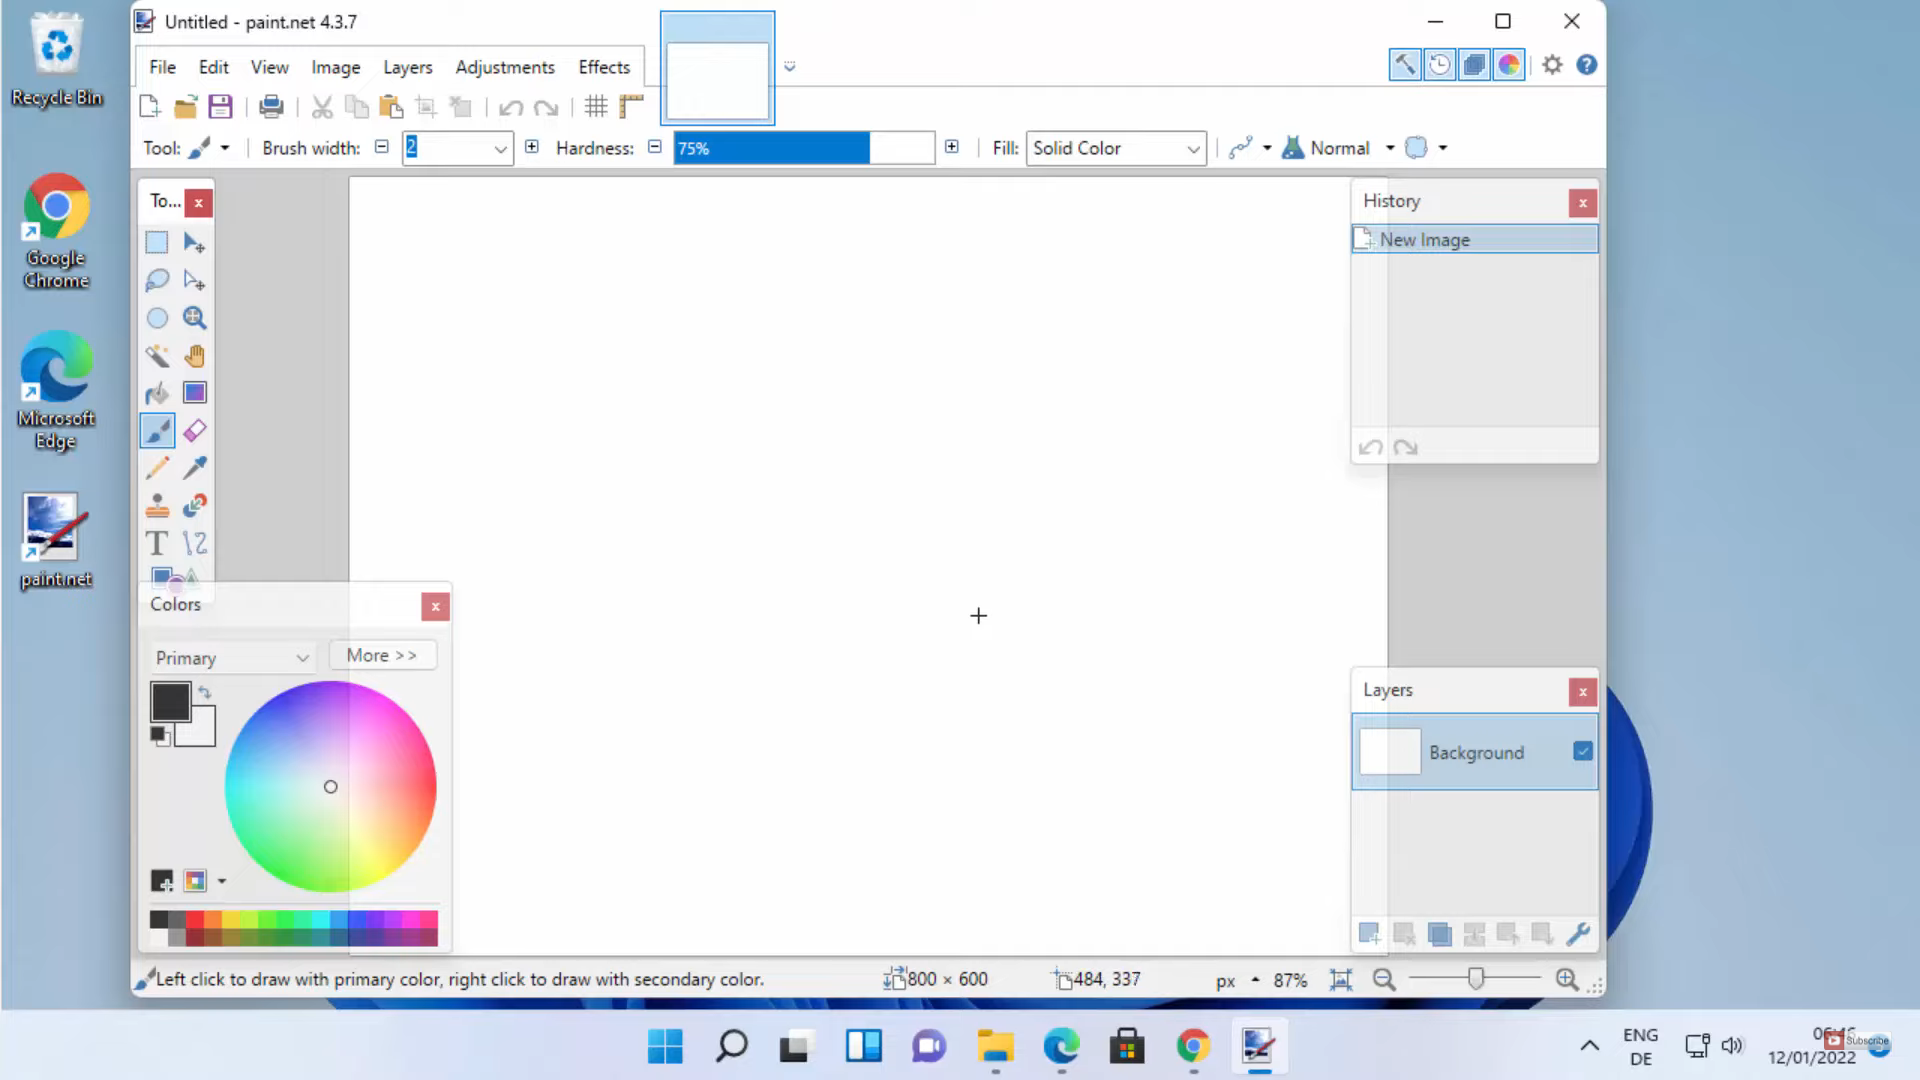
11. It will launch paint.net on your Windows 11 Operating System.
These are the steps for installing paint.net to your Windows 11 Operating System.
Leave a Reply