
In this blog post, I will give a detailed view of how to check the RAM type DDR3 or DDR4 in your Windows 11 Operating System. There are 2 different methods available.
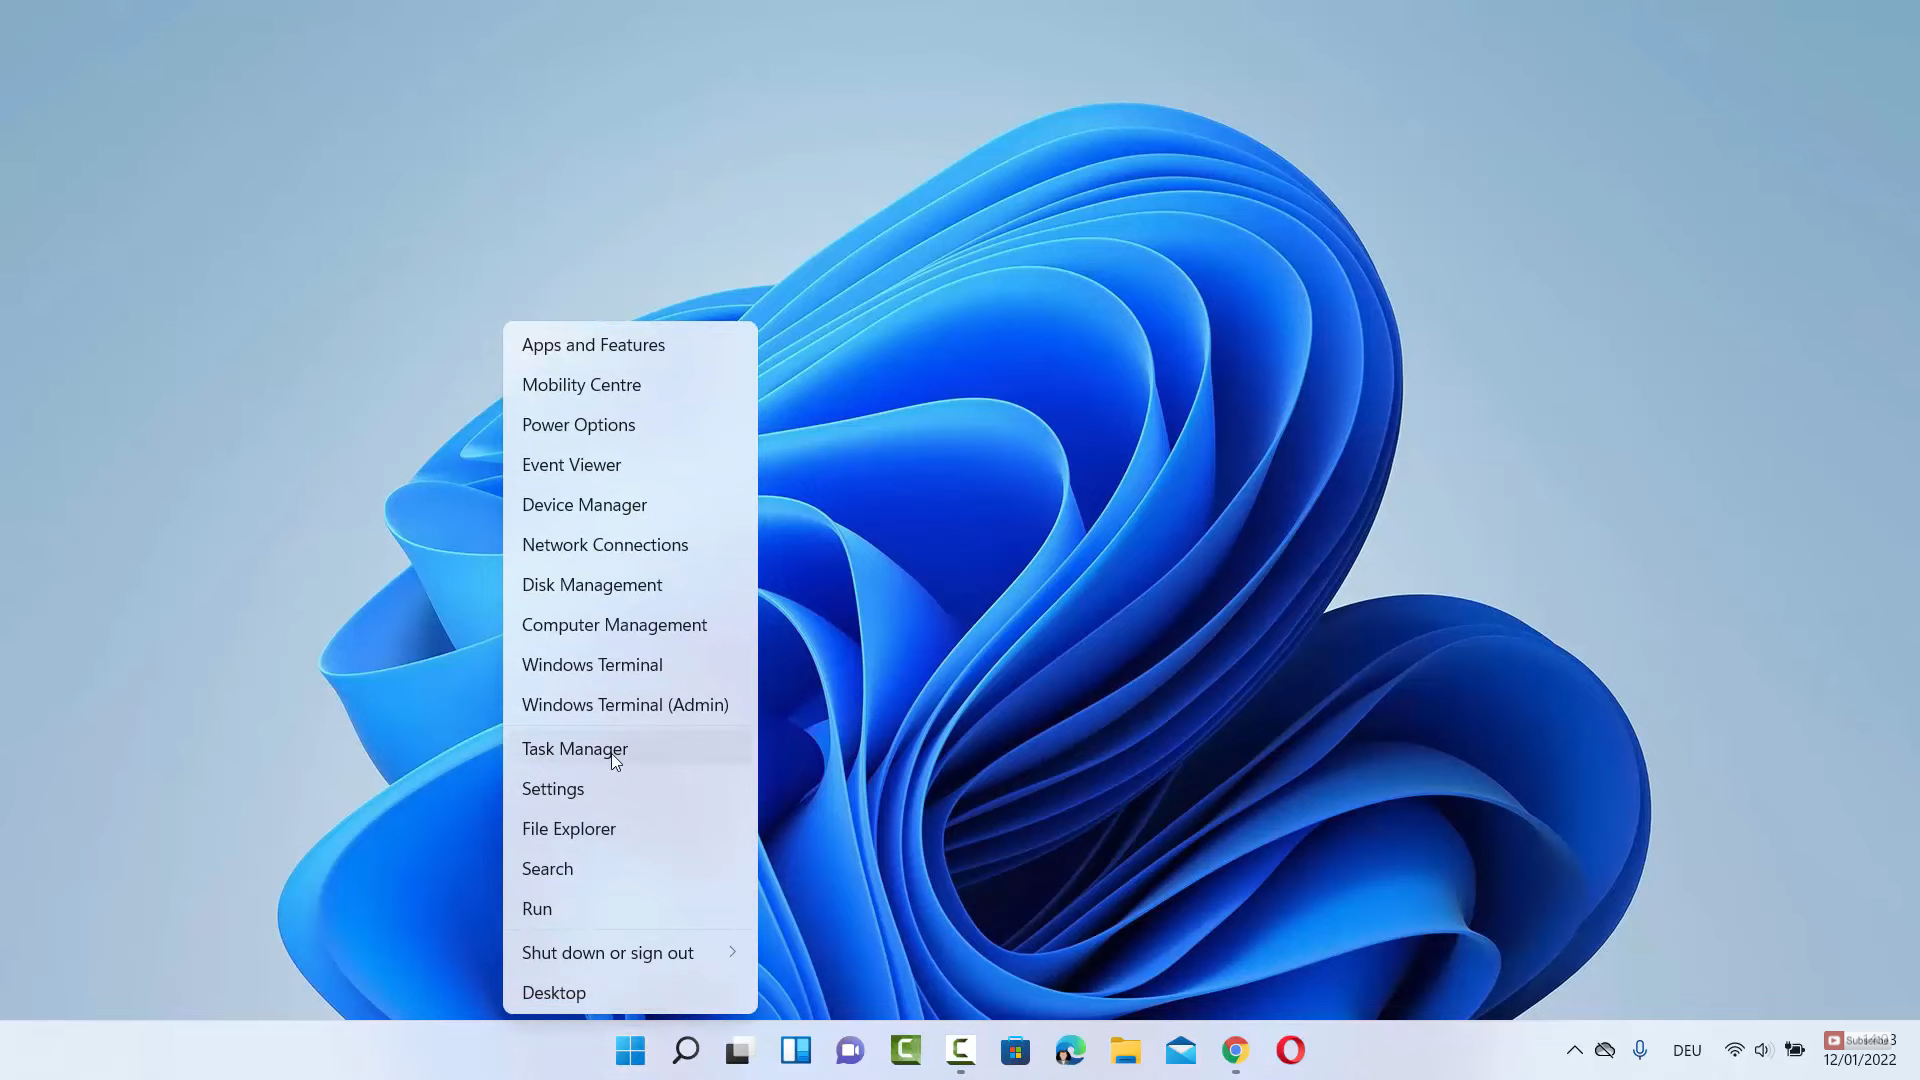
1. For the first method, right-click on the windows start icon and click on Task Manager.
2. Here, you need to click on more details.

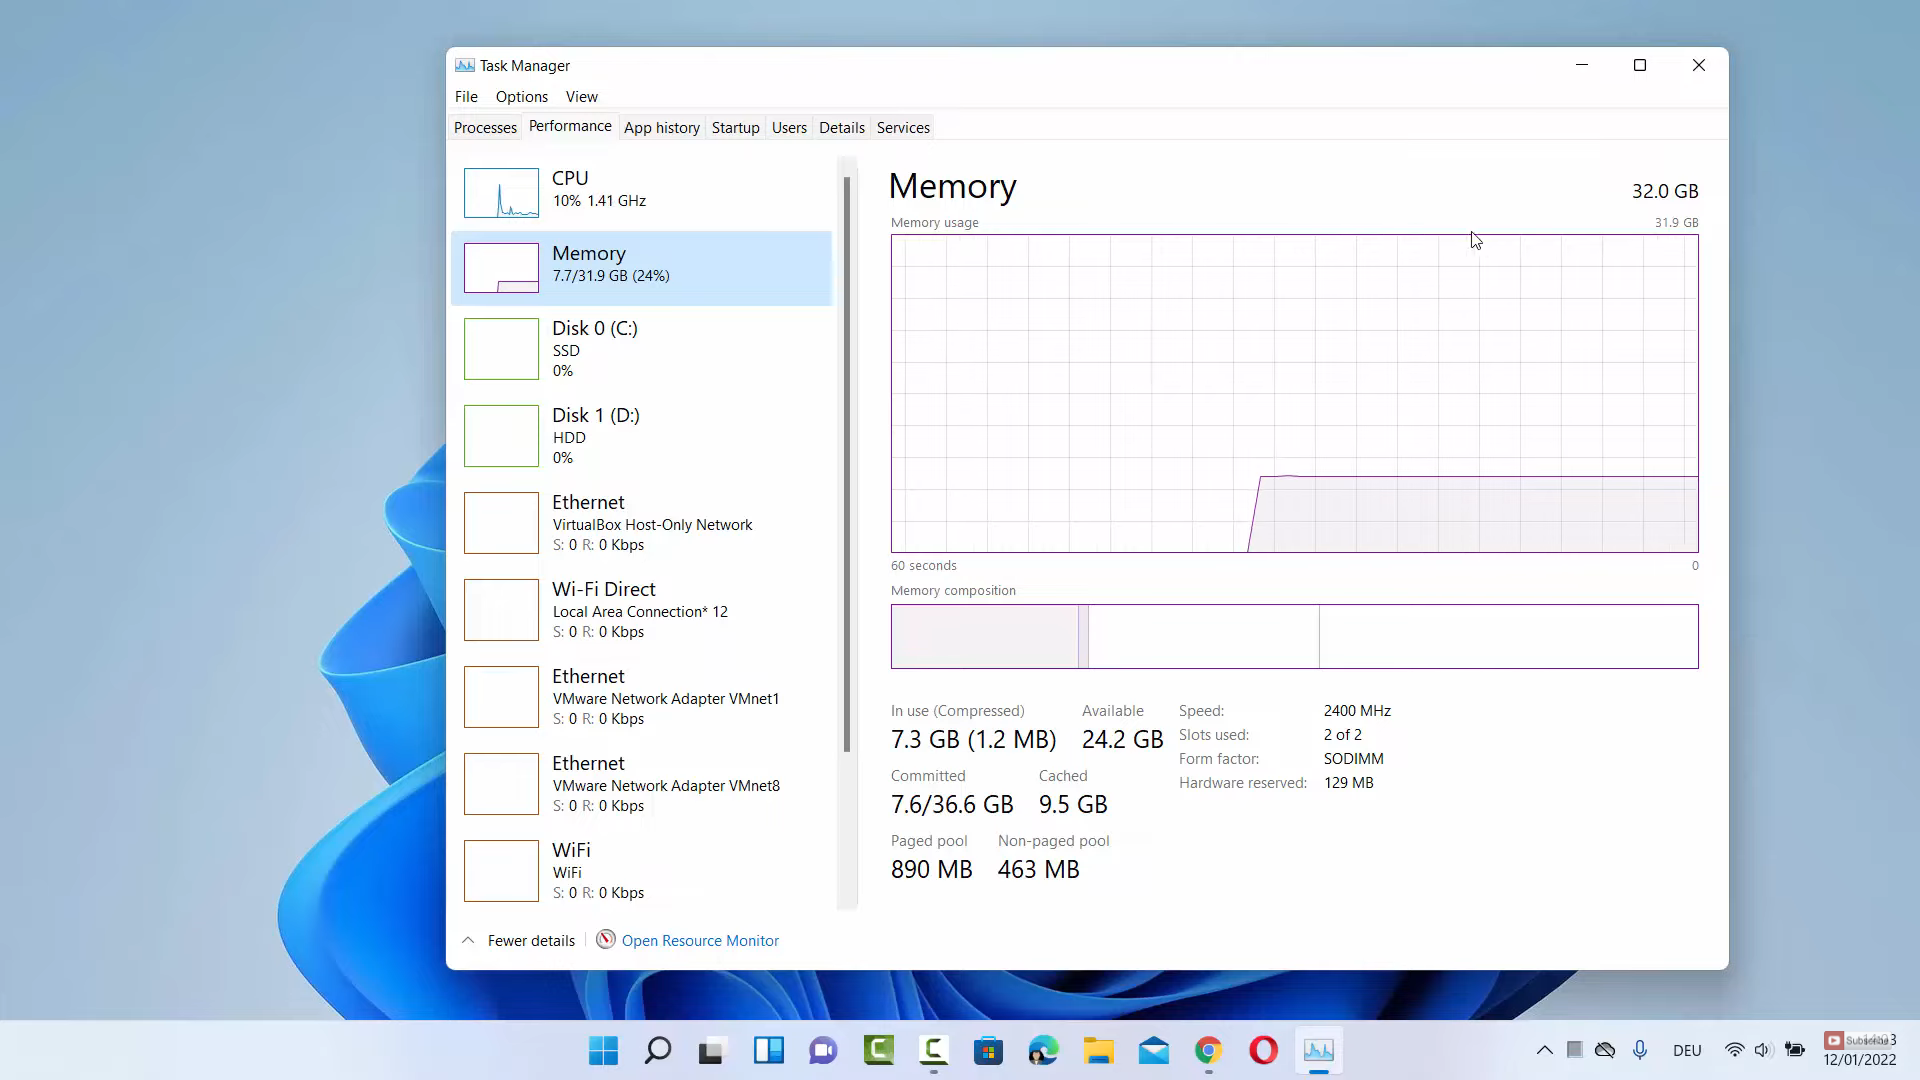
3. You should click on the performance tab. Click on memory. In the older version of windows hardware, you will be able to see RAM type under 32 GB. If it is not available, you have relatively new hardware.
4. For the second method, open a web browser of your choice and search for cpu z. Click on the first link.

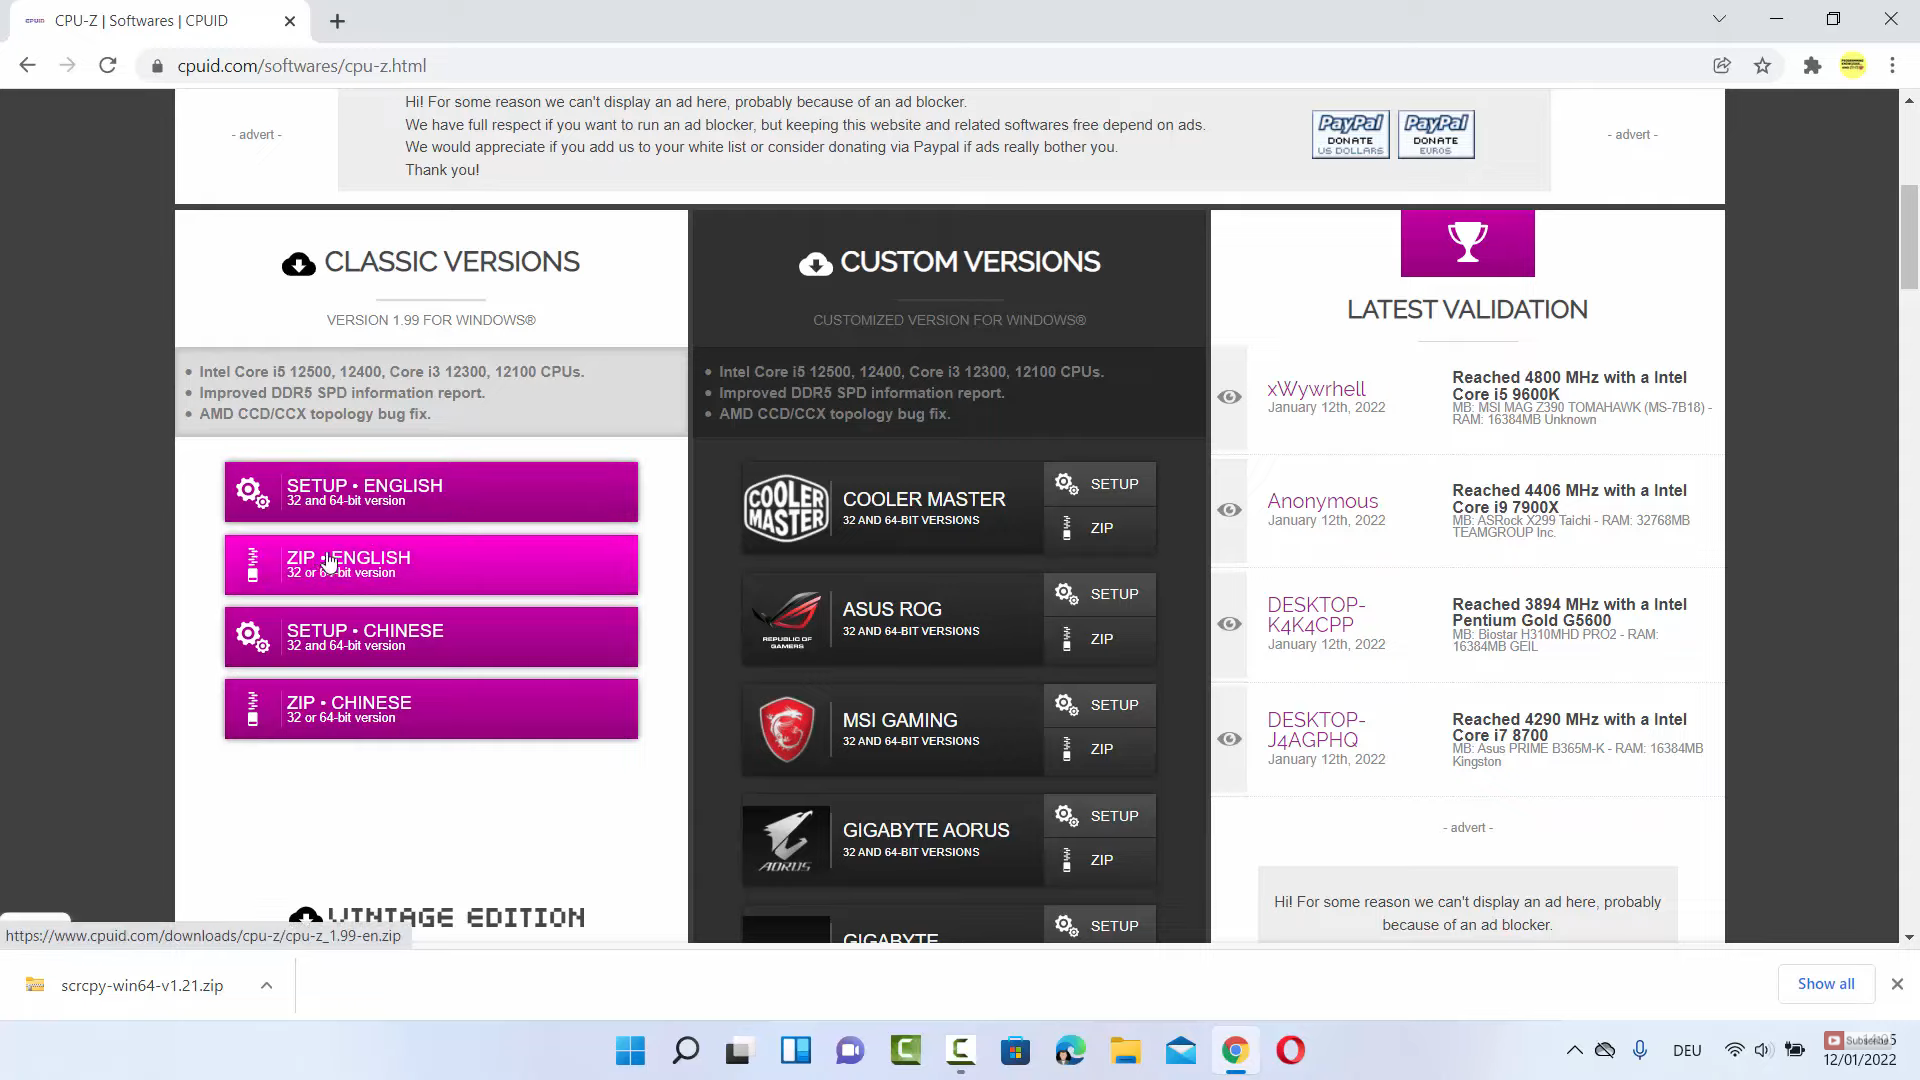
5. Once the link opens, scroll down and download the zip file under the classic version. Click on that option.
6. It will redirect you to another page. Here, you need to click on Download now button. It will start to download.

7. Once it is downloaded, you should go to the location where it is downloaded and extract the zip file. Right-click on that file and click on extract all.

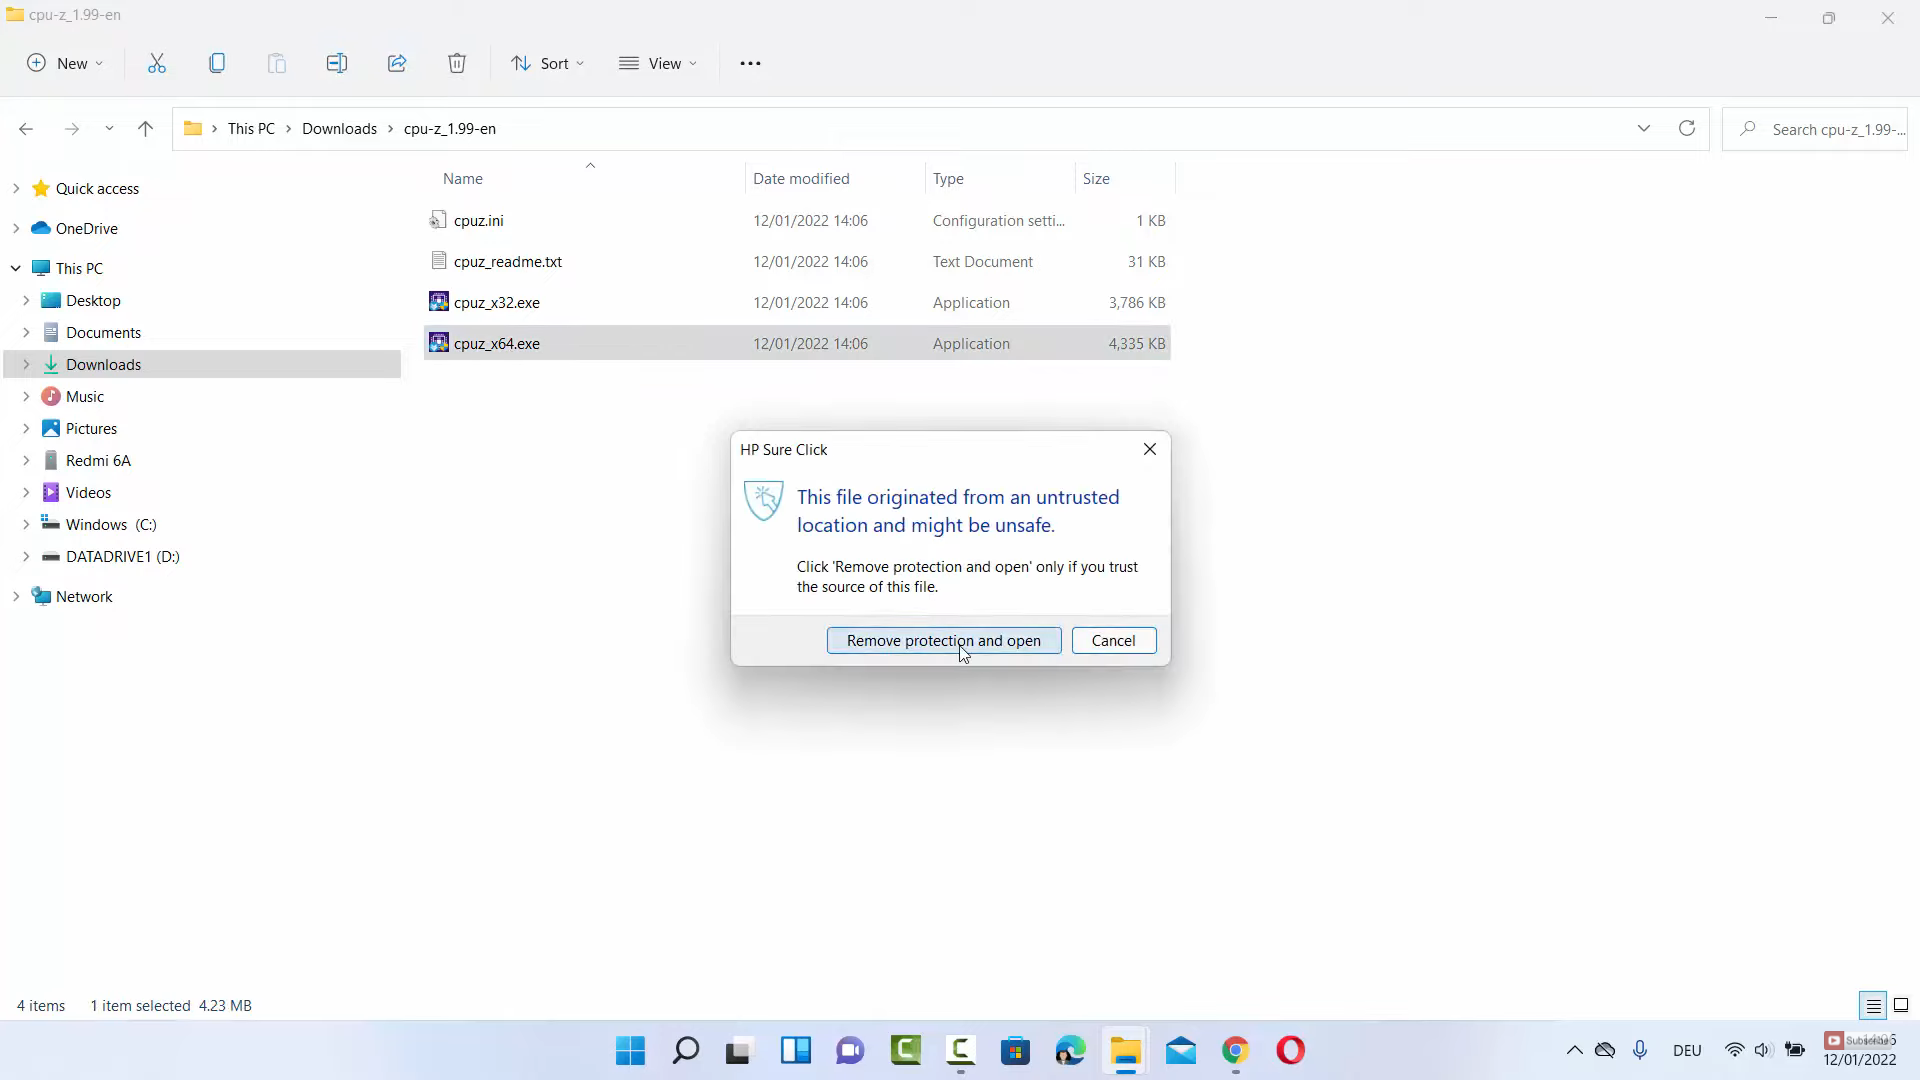
8. Inside the extracted folder, you will be able to see 2 files. Click on the 64 exe file. It will show a warning. Click on remove protection and open.
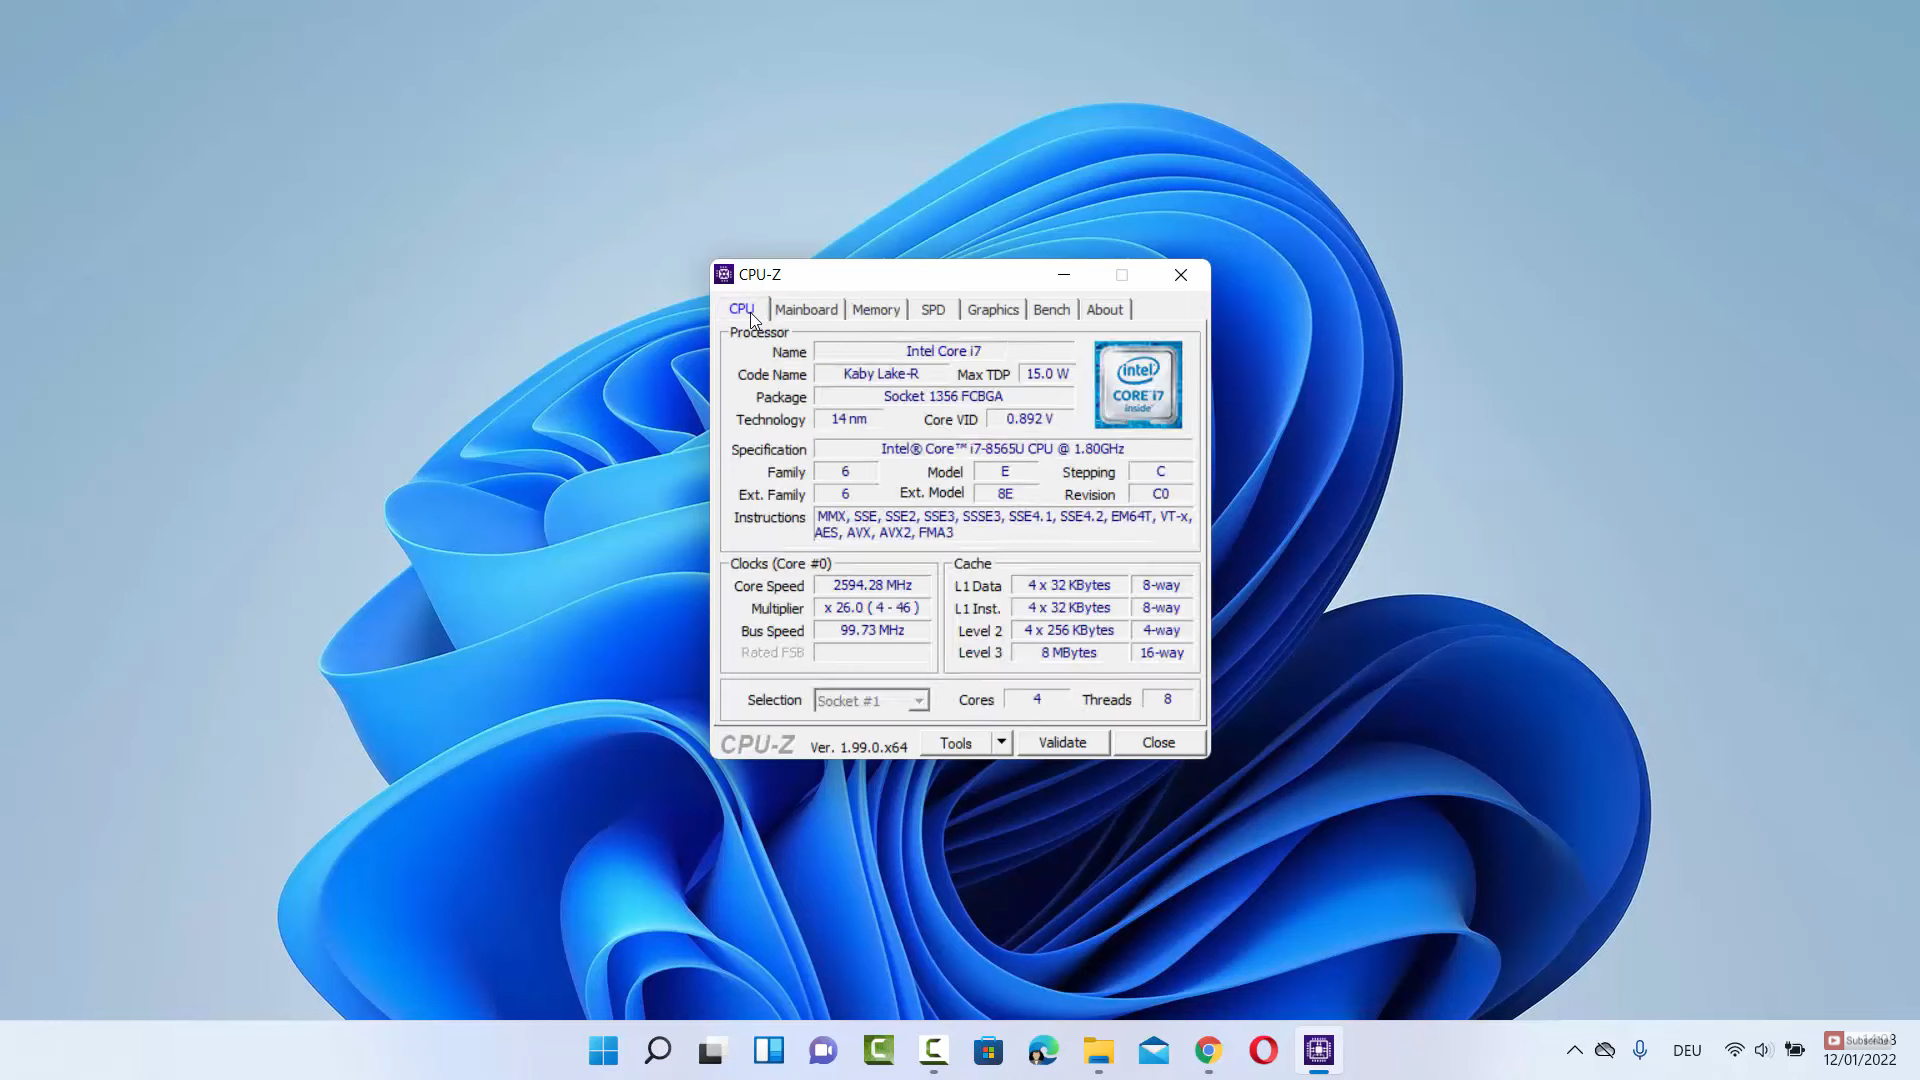
9. Once the CPUz software is started, it will provide all the information related to CPU, motherboard, memory, graphics card, and other hardware and software-related information. Click on the memory tab. In general, you will be able to see the RAM type.
These are the steps for checking the RAM type in your Windows 11 Operating System.
Leave a Reply