
In this blog post, I will give a detailed view of installing Notepad++ on your Windows 11 Operating System.
1. Open a web browser of your choice and search for Notepad++. The first link that will appear will be from Notepad++. Click on that link.
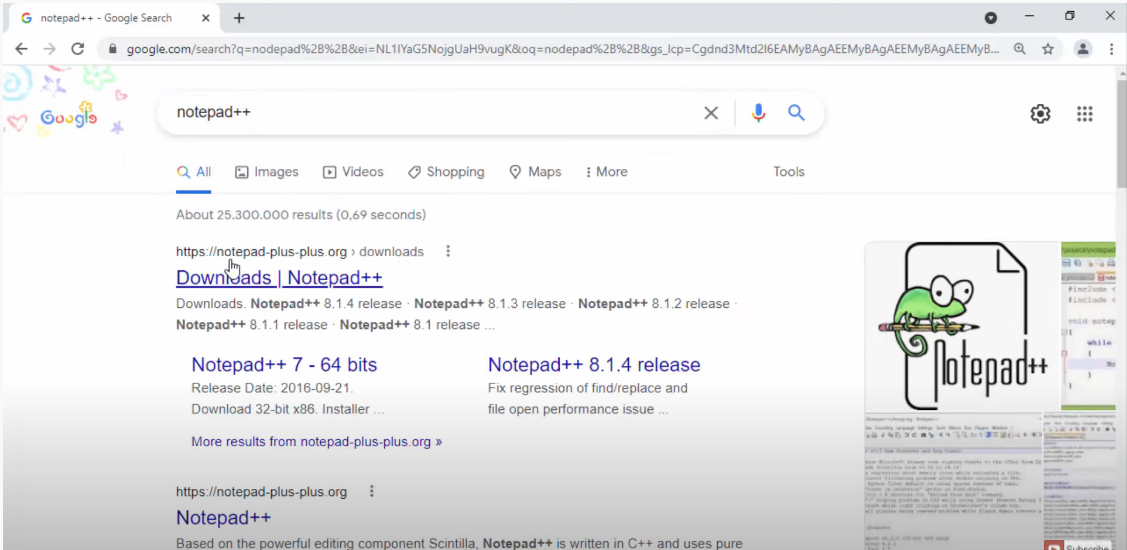
2. It will take you to this page. Click on the first link which will be the latest version.

3. The first option is for downloading it from 32-bit. The second option is for downloading it for 64-bit. For Windows 11, we are going to download a 64-bit installer. Click on the first option Installer. It will start to download.

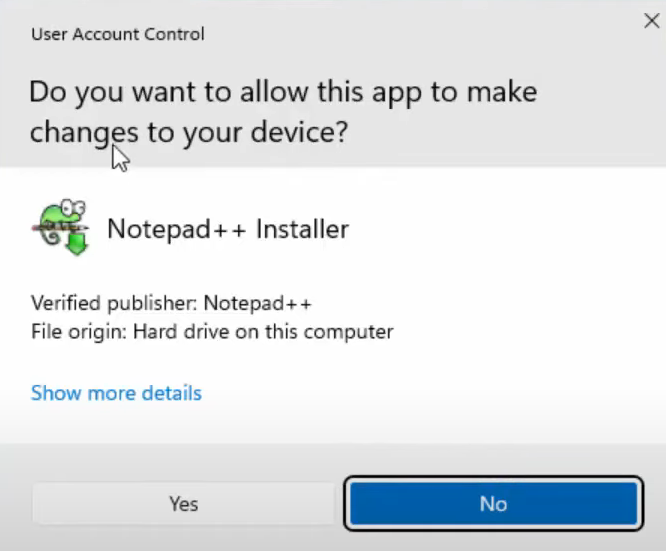
4. Click on the exe file and minimize your browser. It will provide this warning. Click Yes.
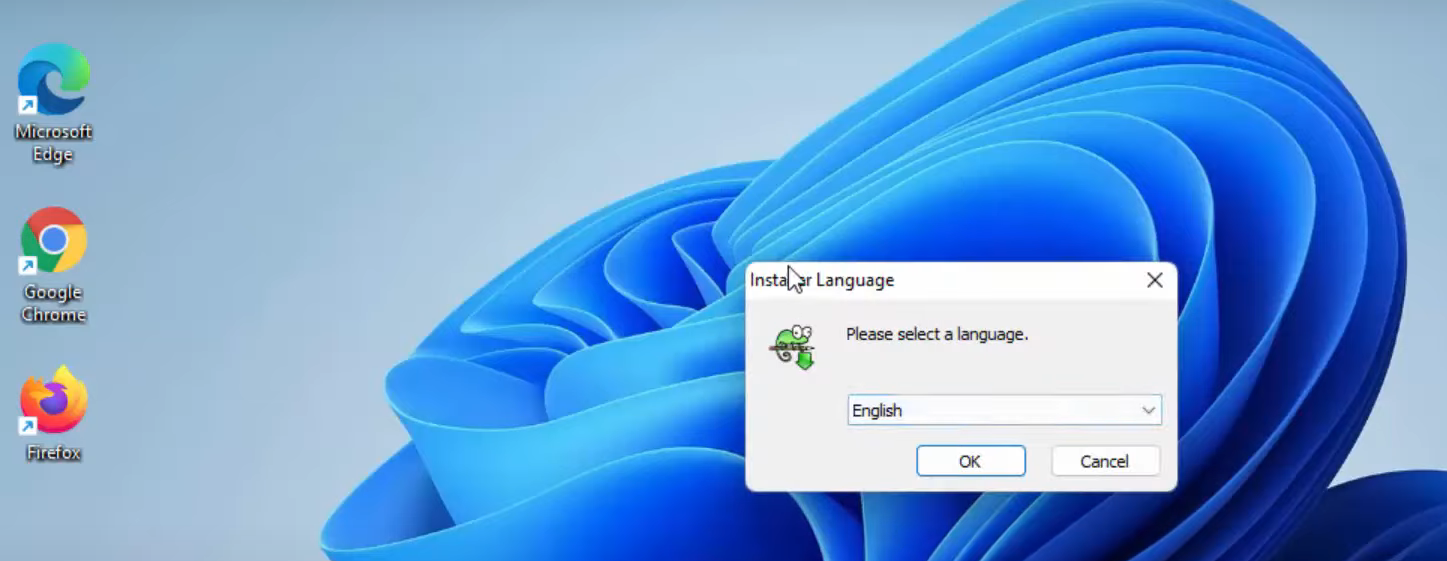
5. It will start the installation. You need to select the language here.
6. In the next window, click on Next.

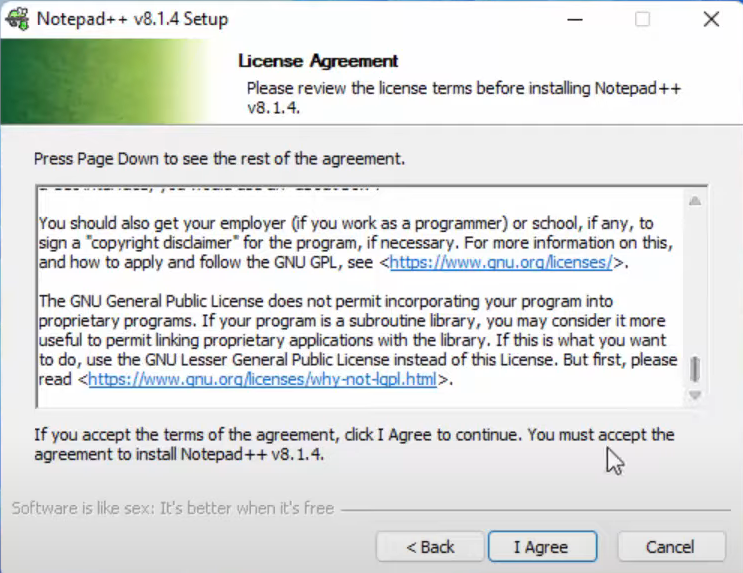
7. You have to agree to the license agreement. Click on I Agree.
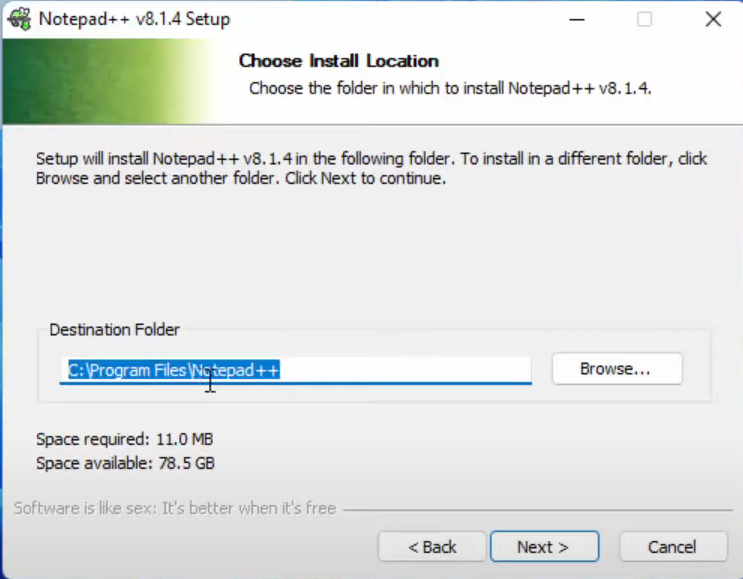
8. This is the default location where the Notepad++ will be installed. If you do not want to change, then leave it as default and click on Next.
9. You need to click on Next for all the other options.
10. If you want to create a shortcut on your desktop, you need to check this checkbox. Click on Install.

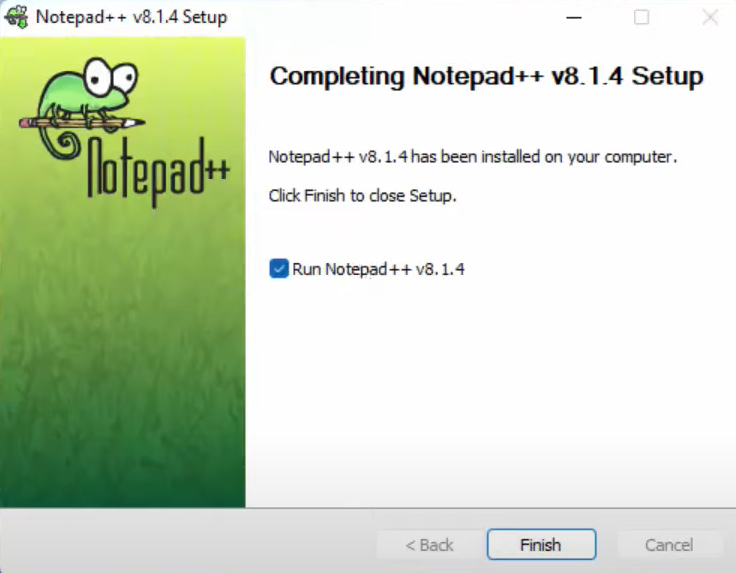
11. Once the installation is complete, click on Finish.
12. Notepad++ has been launched.
13. If you want to create a new file or open a file then you need to click on File. If you want to start coding, you can choose the language from the Language option.

These are the steps for downloading Notepad++ in Windows 11 Operating System.
Leave a Reply