
In this blog post, I will give a detailed view of installing memu android emulators on your Windows 11 Operating System.
1. Open a web browser of your choice and search for memu. The first link will appear from memuplay. Click on that link.
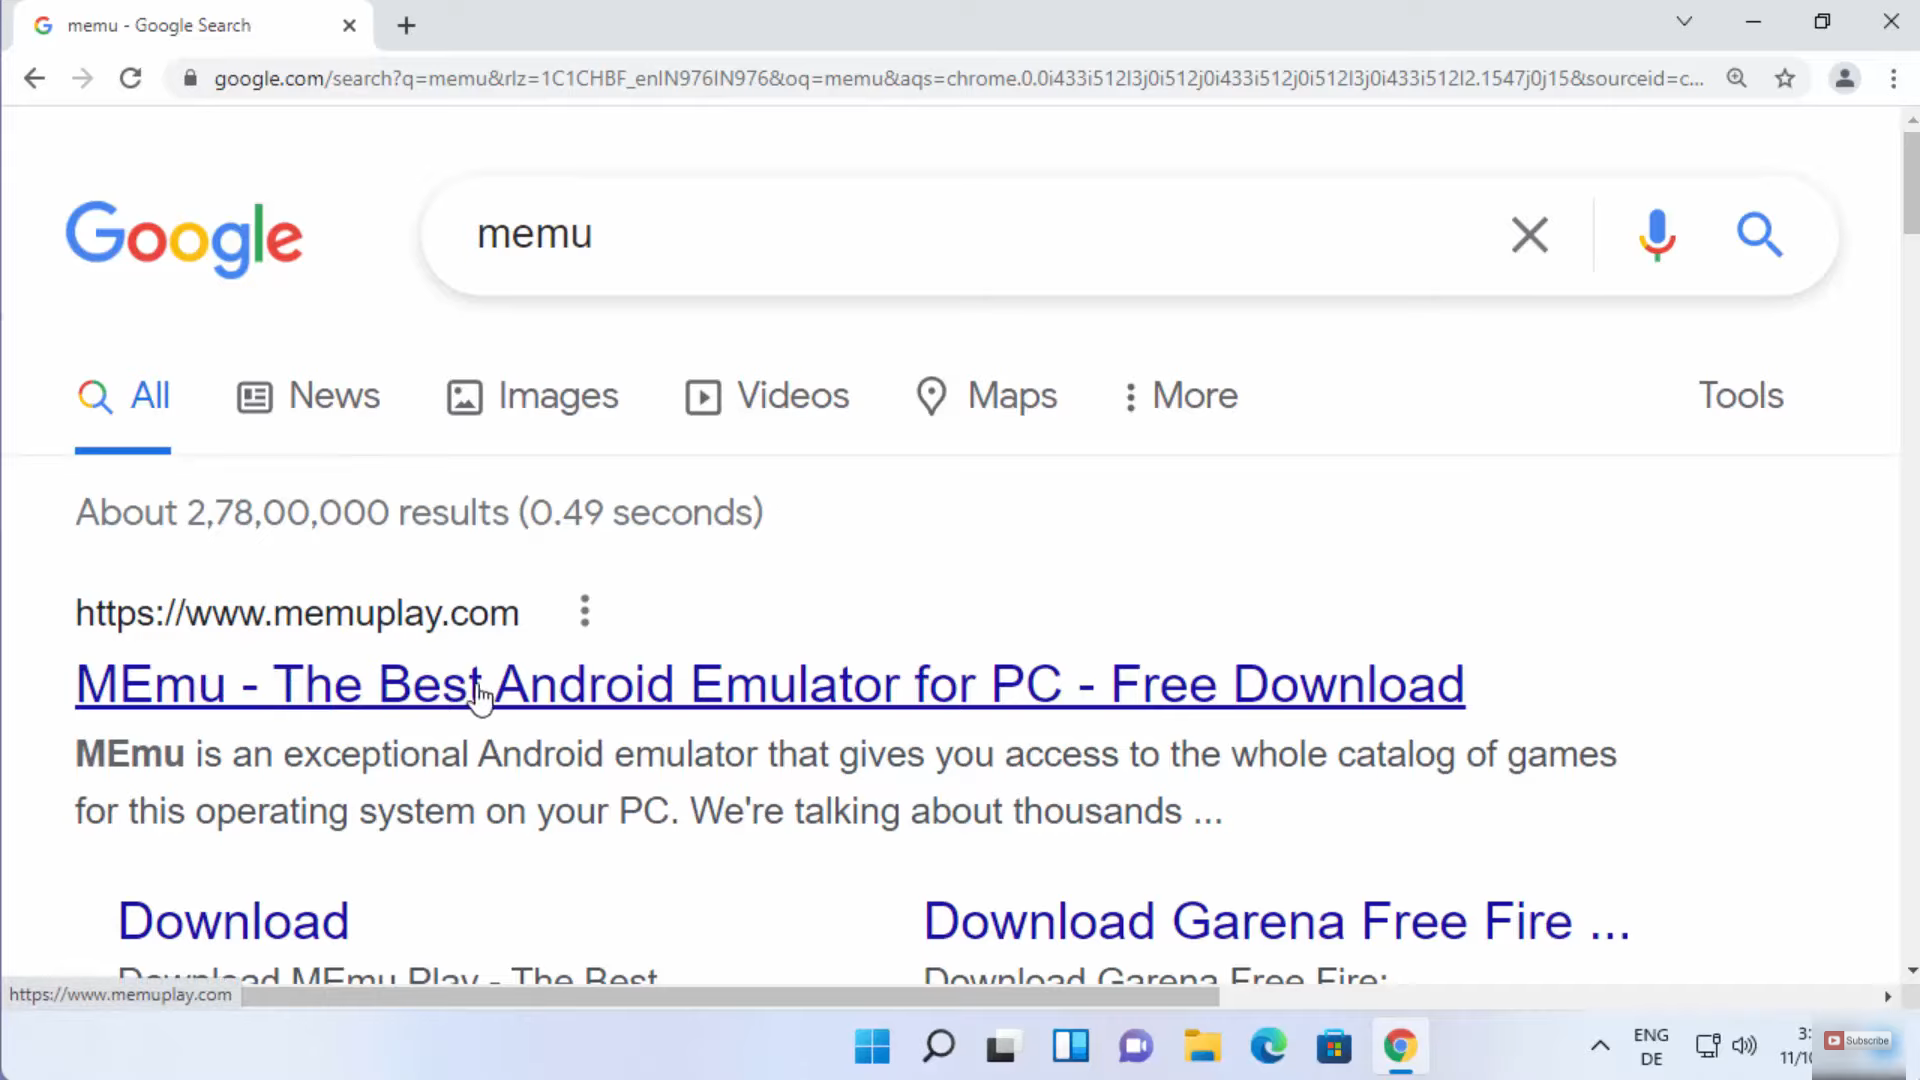
2. Once the link opens, you will be able to see the download button. Click on that button. It will start to download.

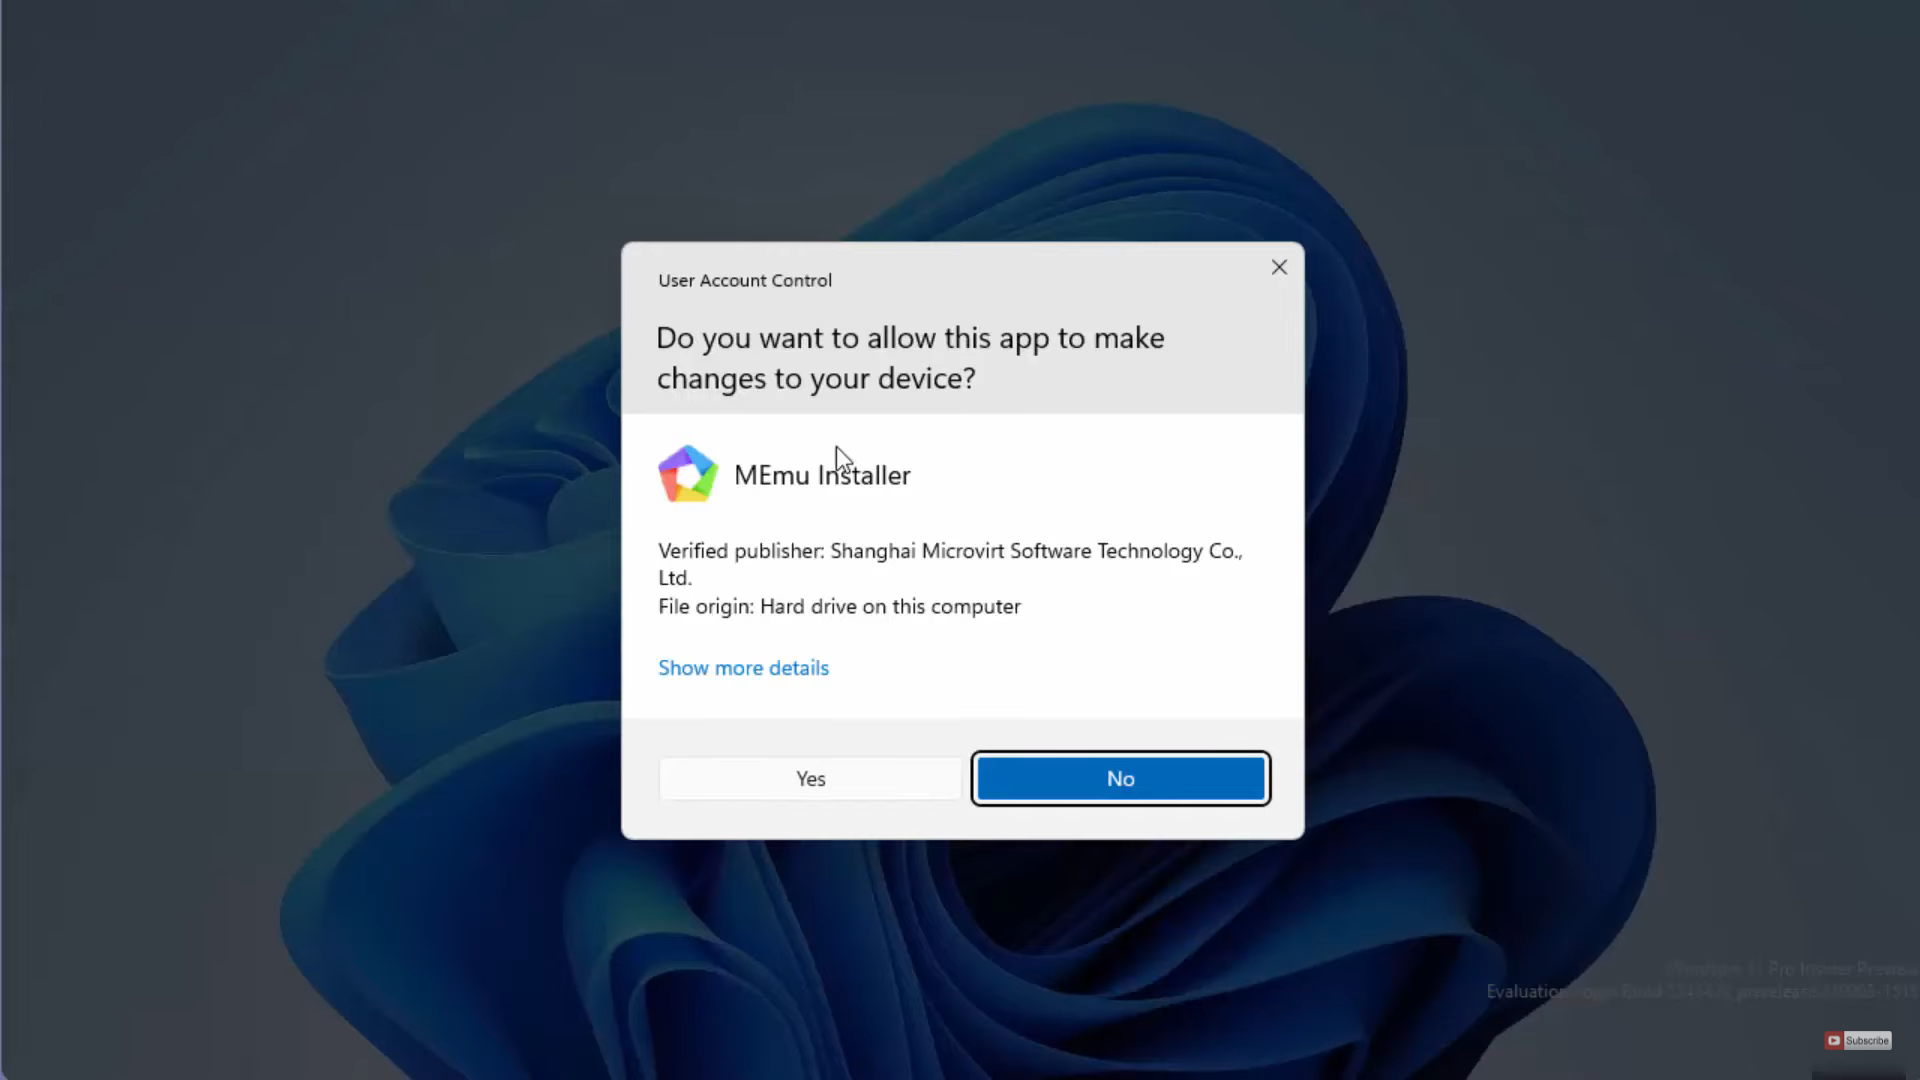
3. Once the download is complete, click on the exe file and minimize the browser. It will show a warning. Click on yes.
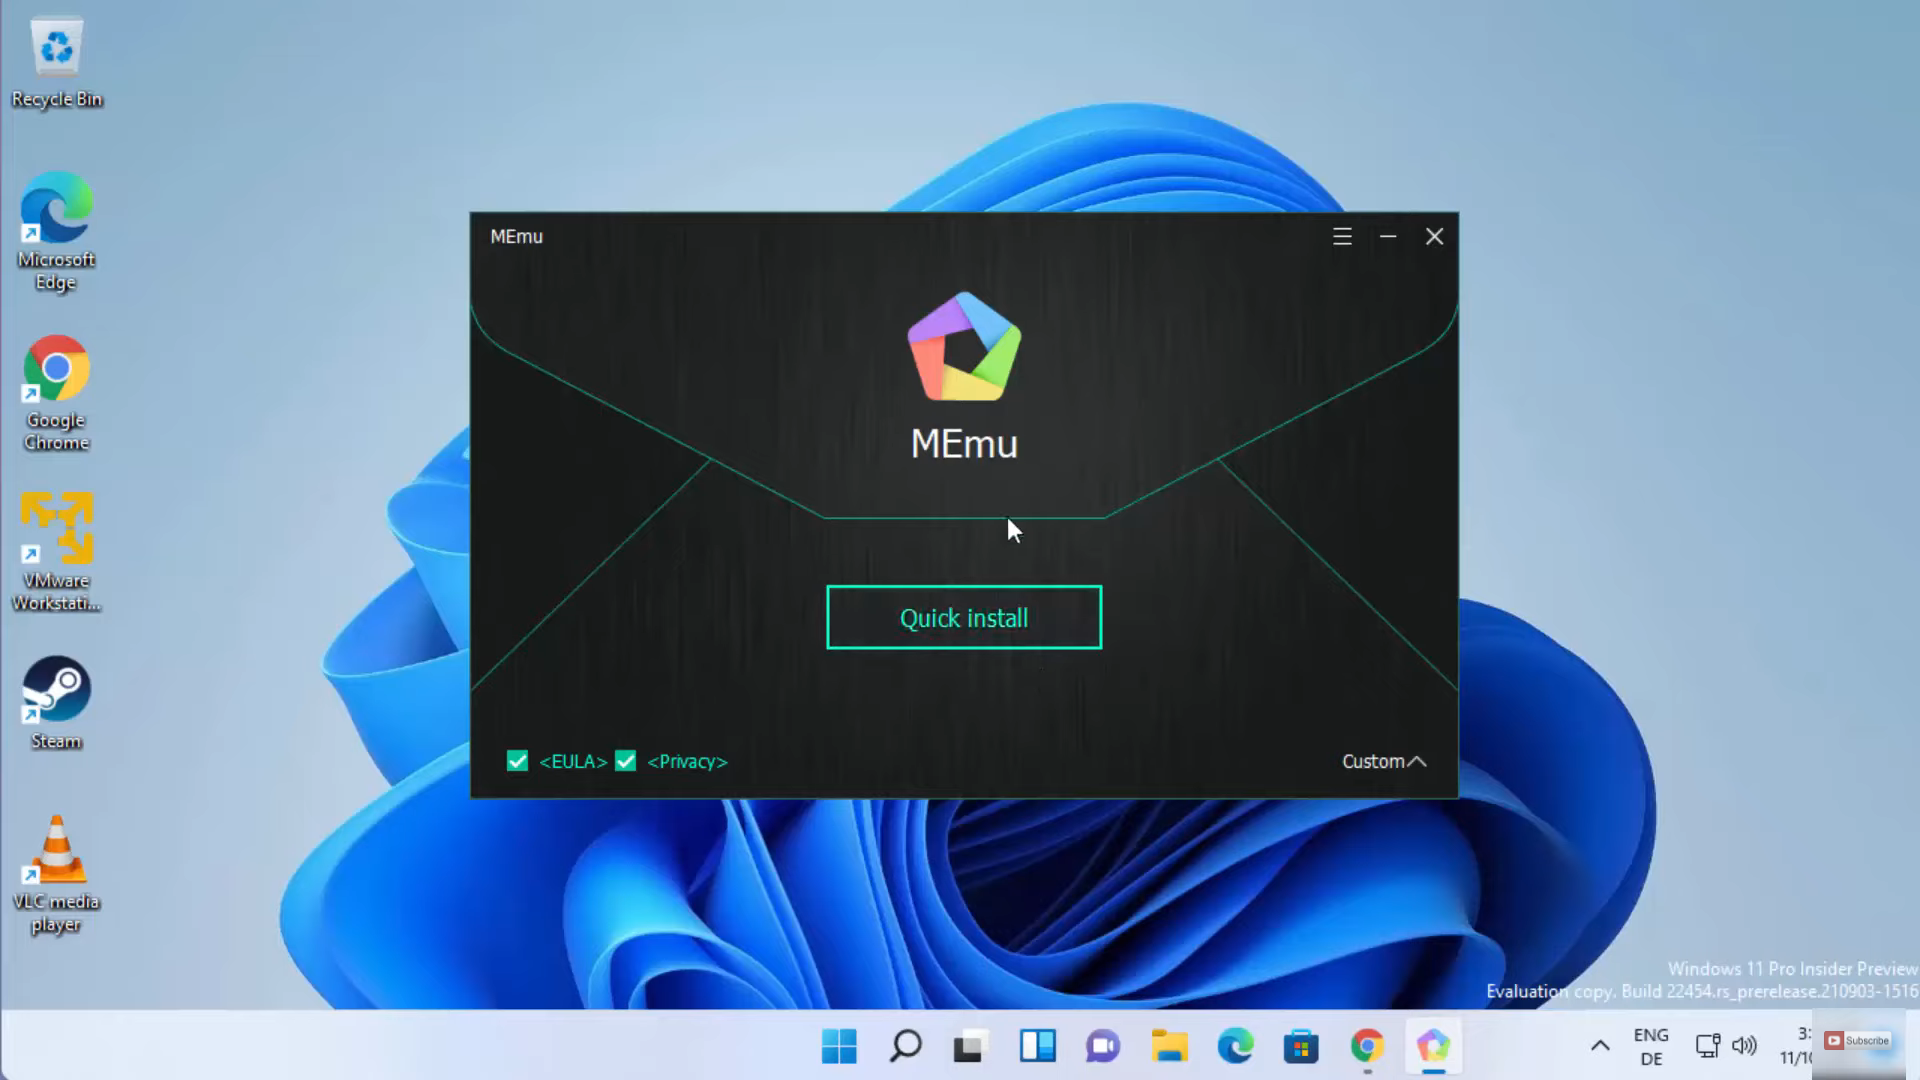
4. In the setup window, click on the Quick install button.
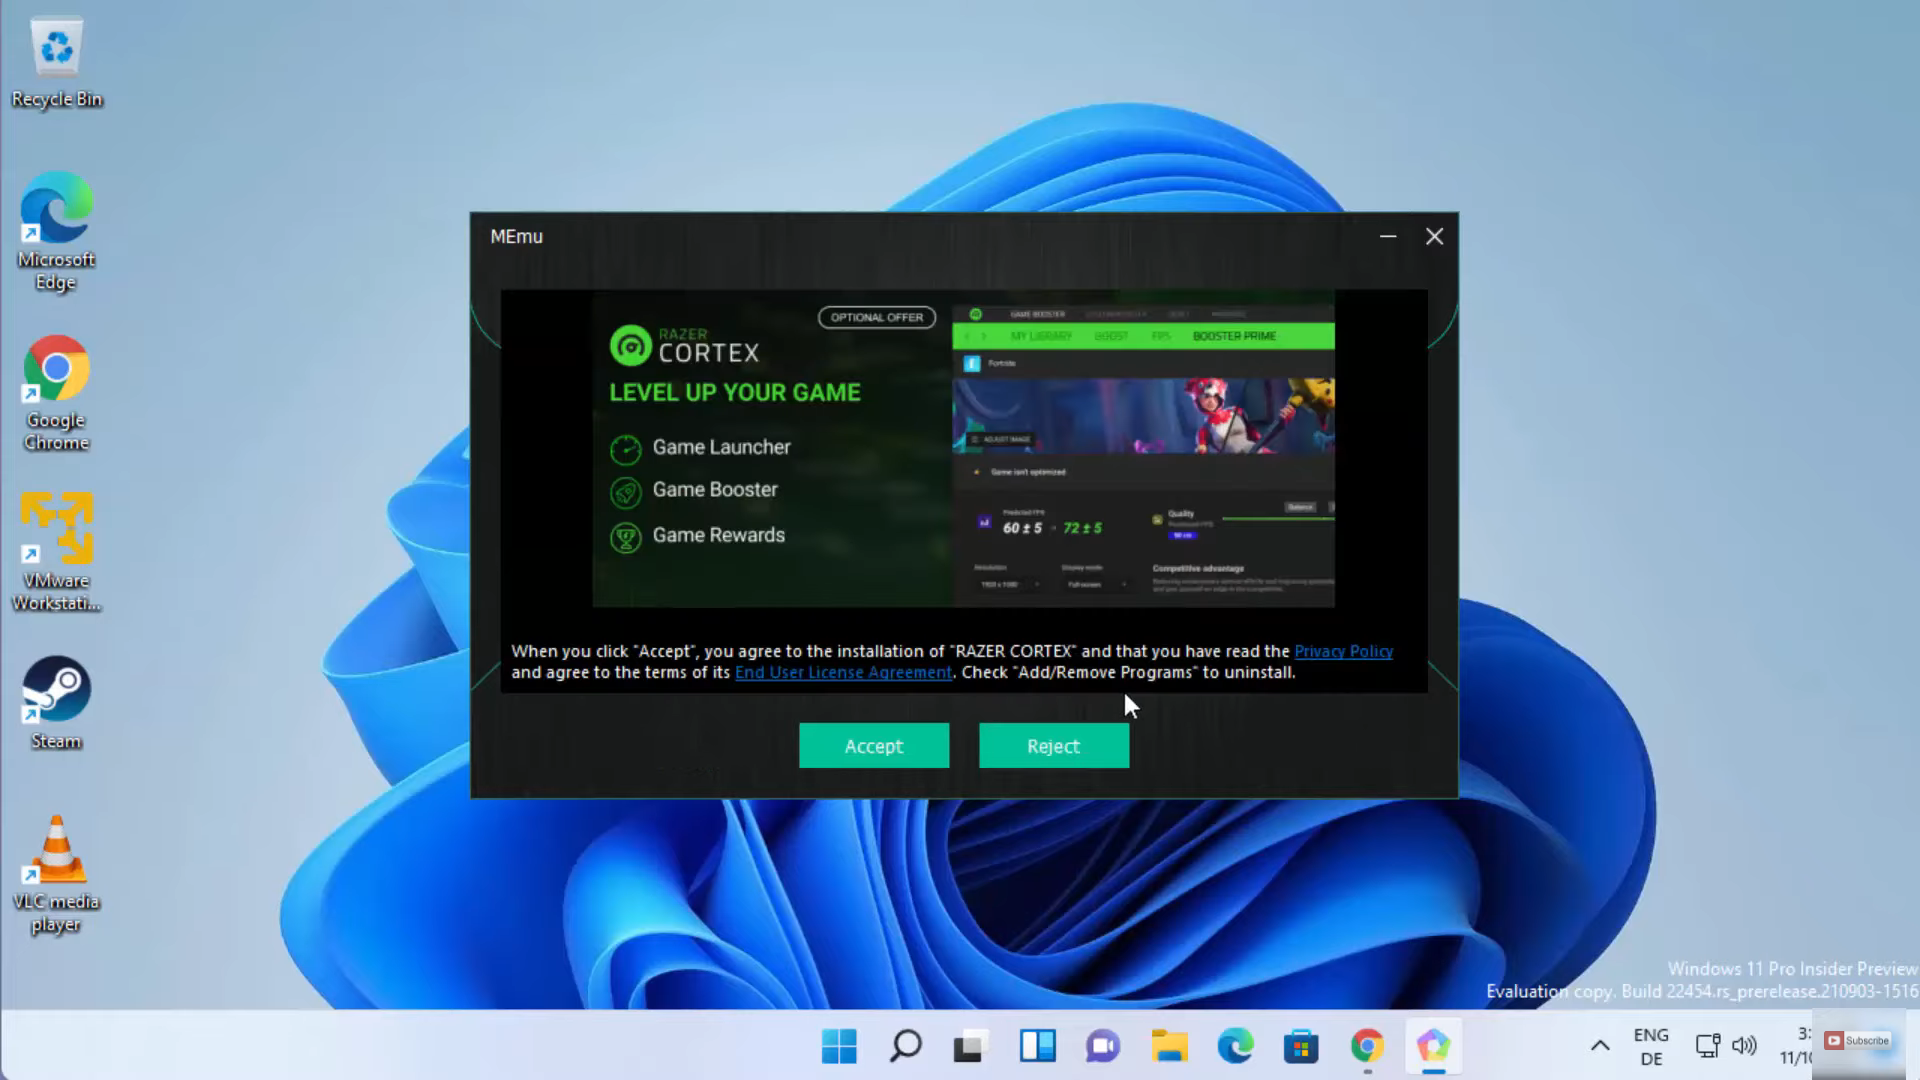
5. In the license agreement window, you need to click on Accept.
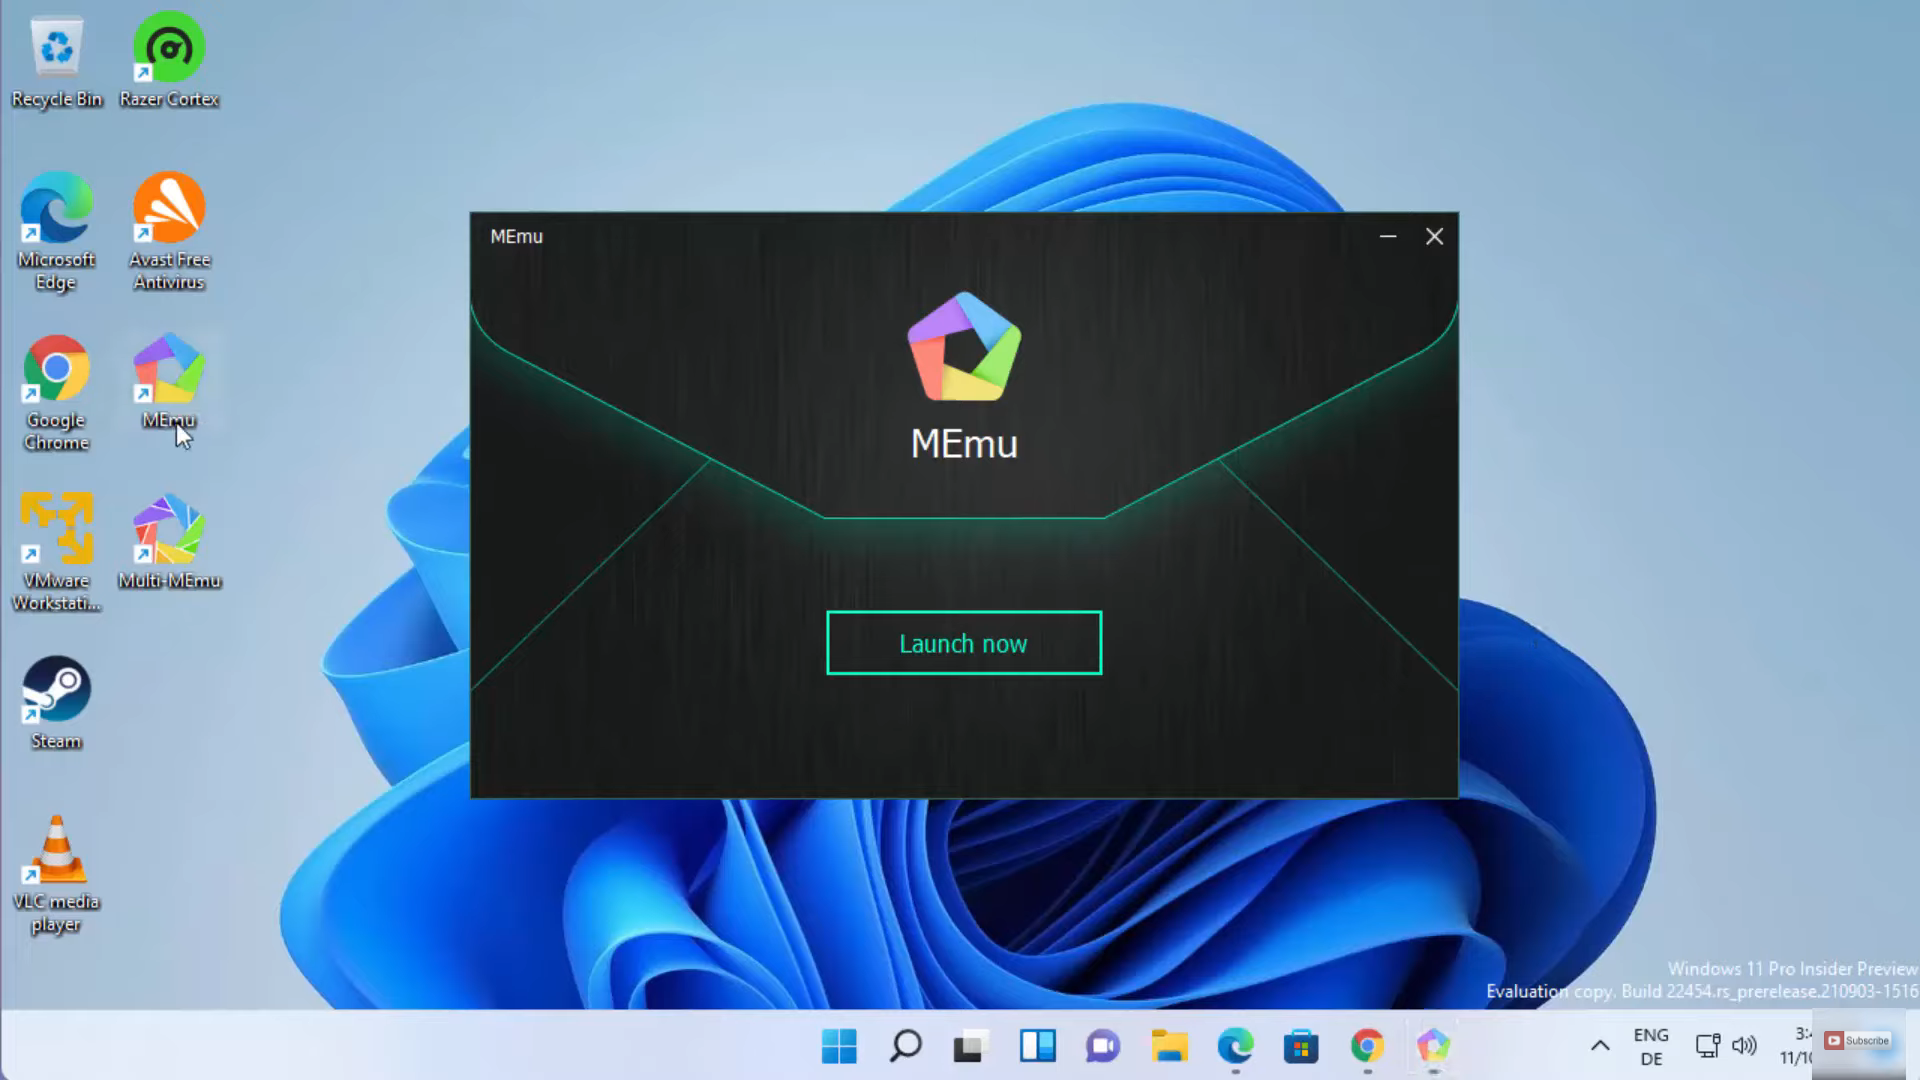
6. Once the download is complete, you will be able to see the shortcut icon on the desktop. Then, click on the Launch now button.
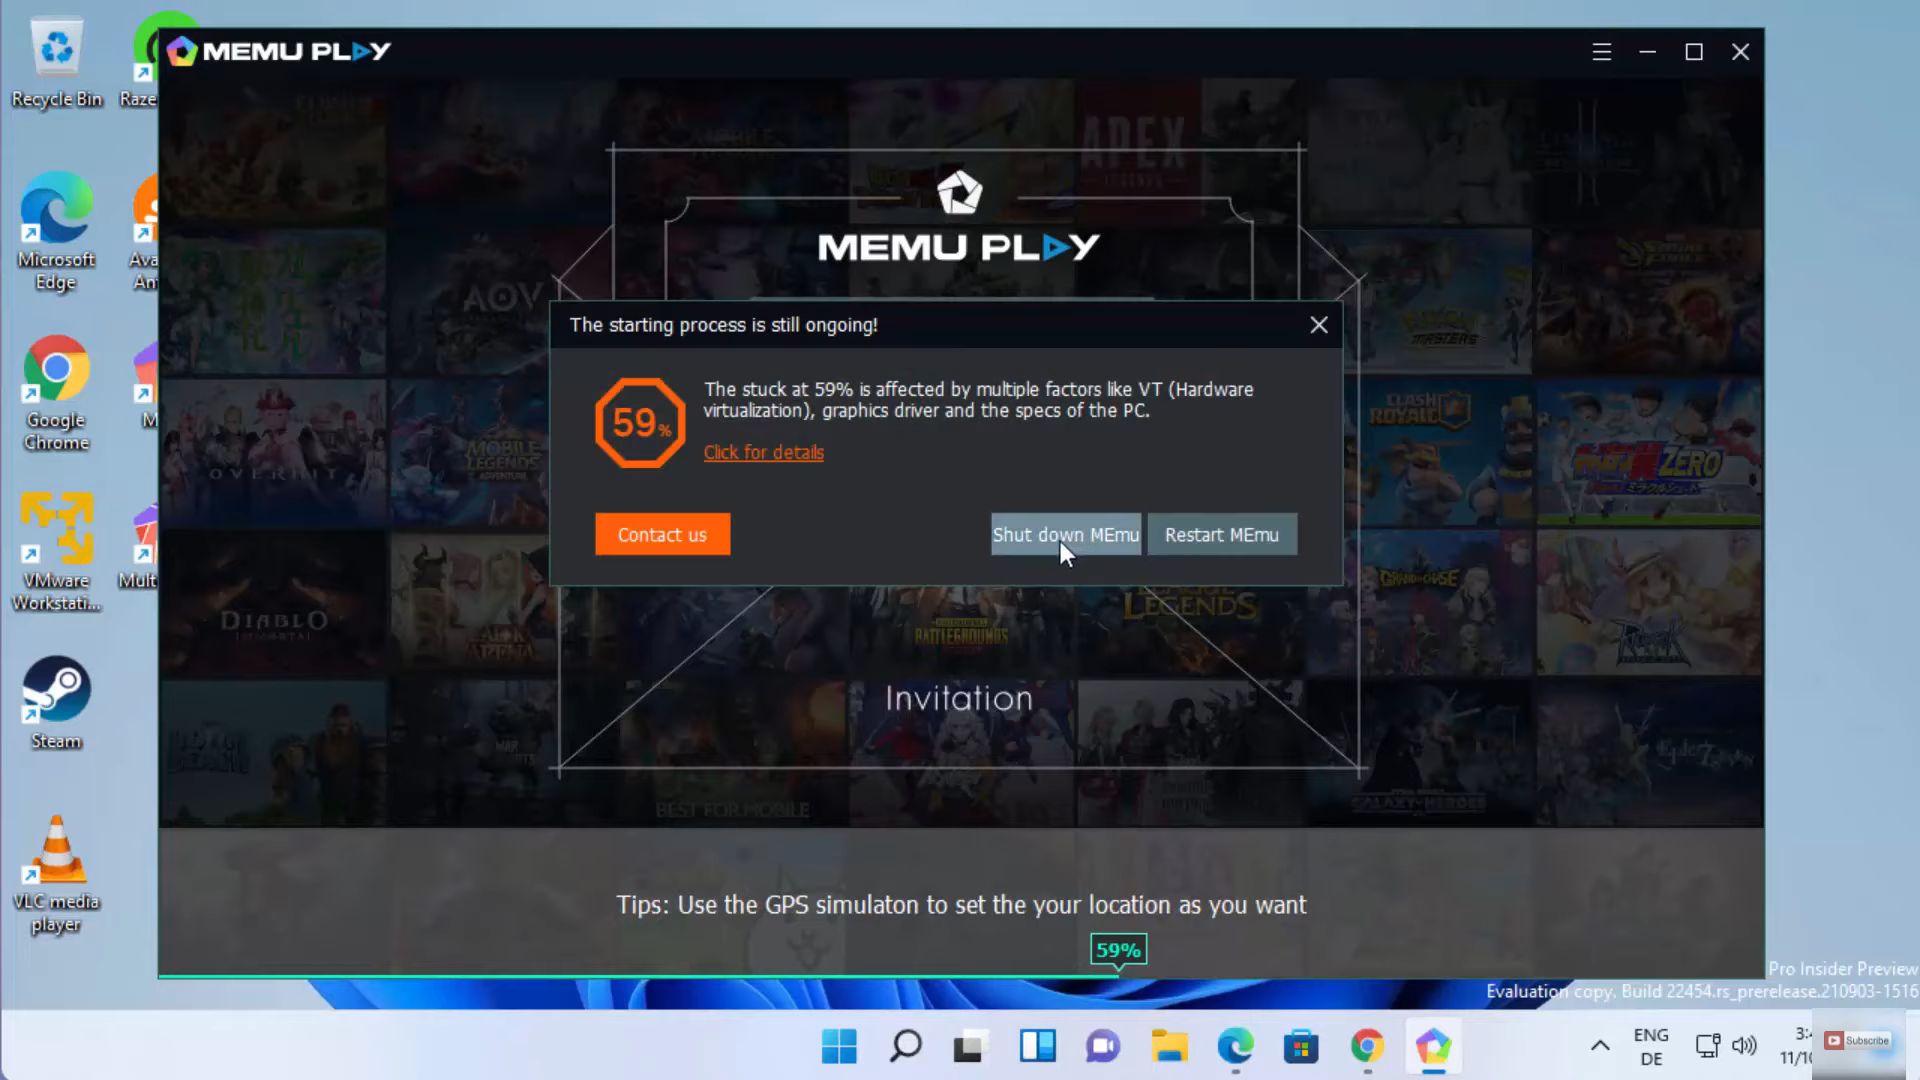
7. While launching memu, you will be able to see the process might get stuck in the middle somewhere. To solve this problem, you need to close the memu emulator. Click on Shut down memu.
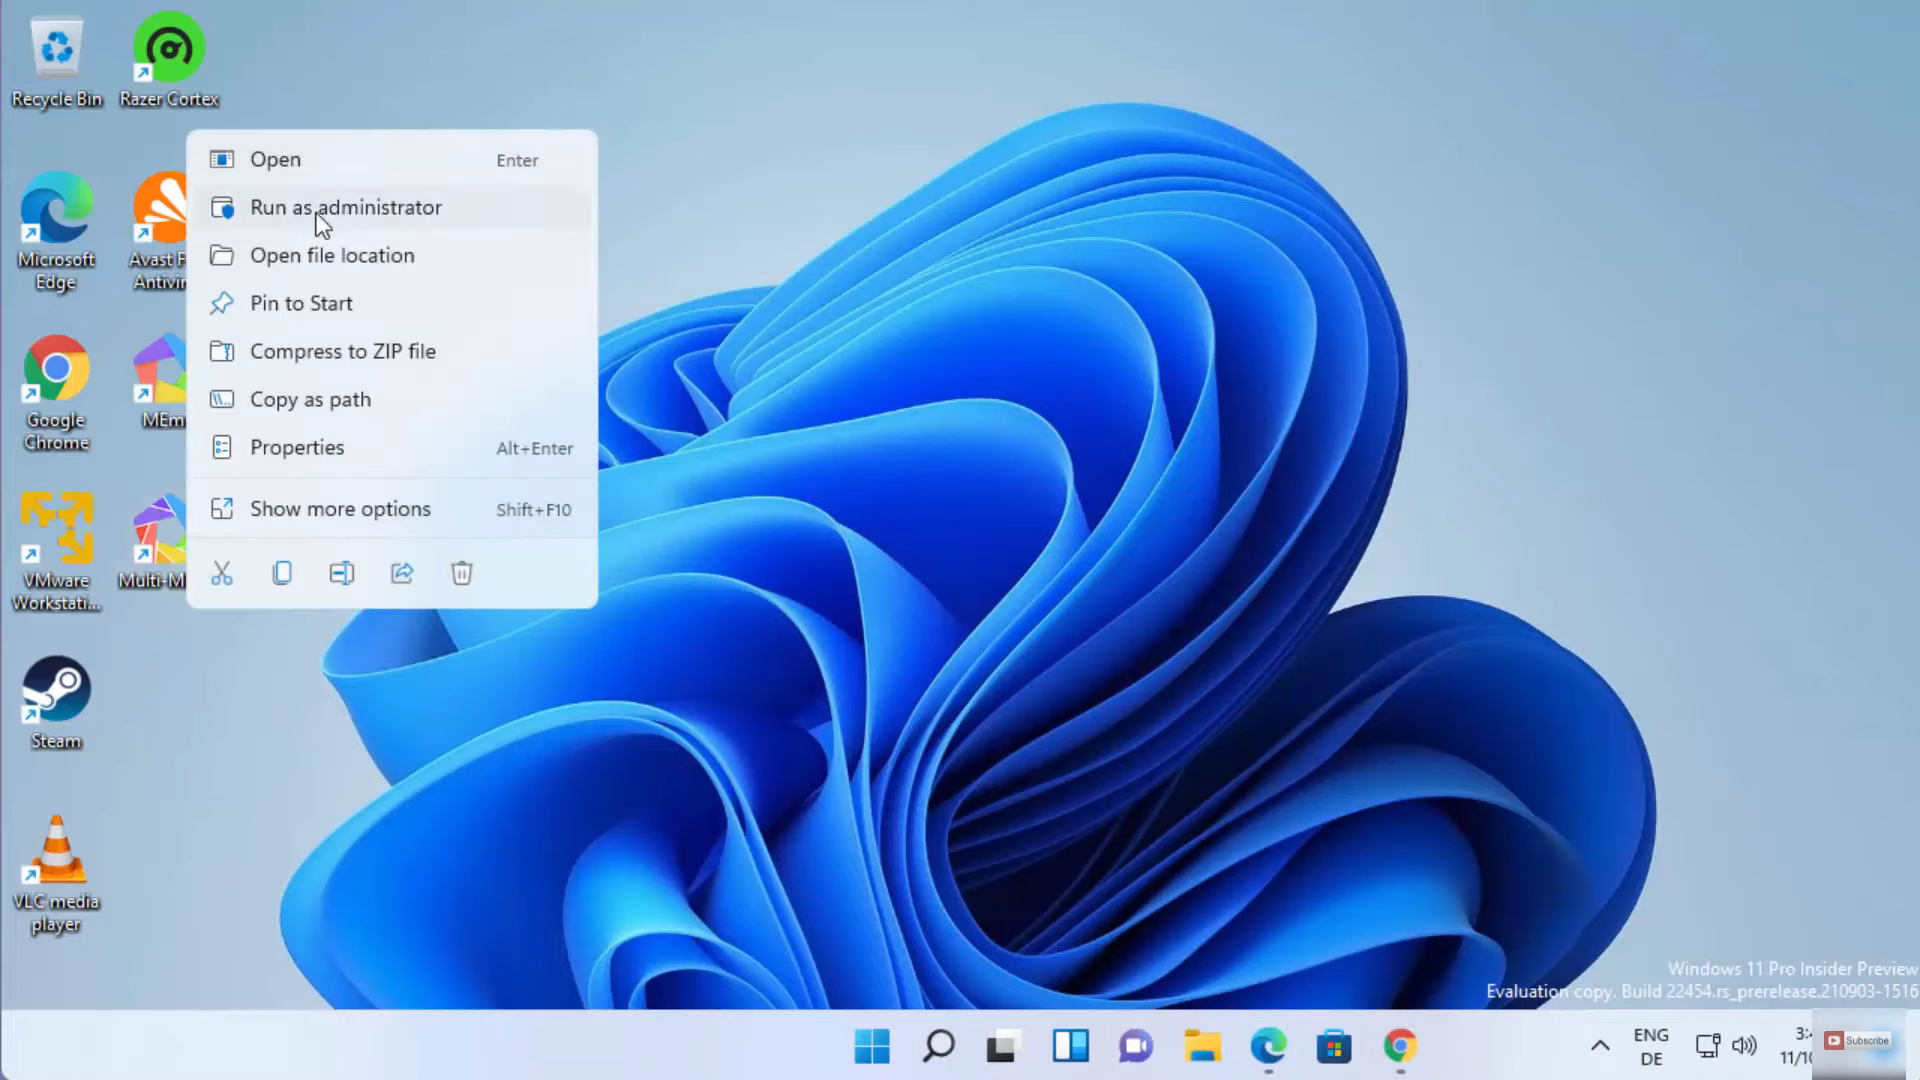
8. Once it shutdowns, click on the multi-memu icon. Then right-click on that icon and click on Run.
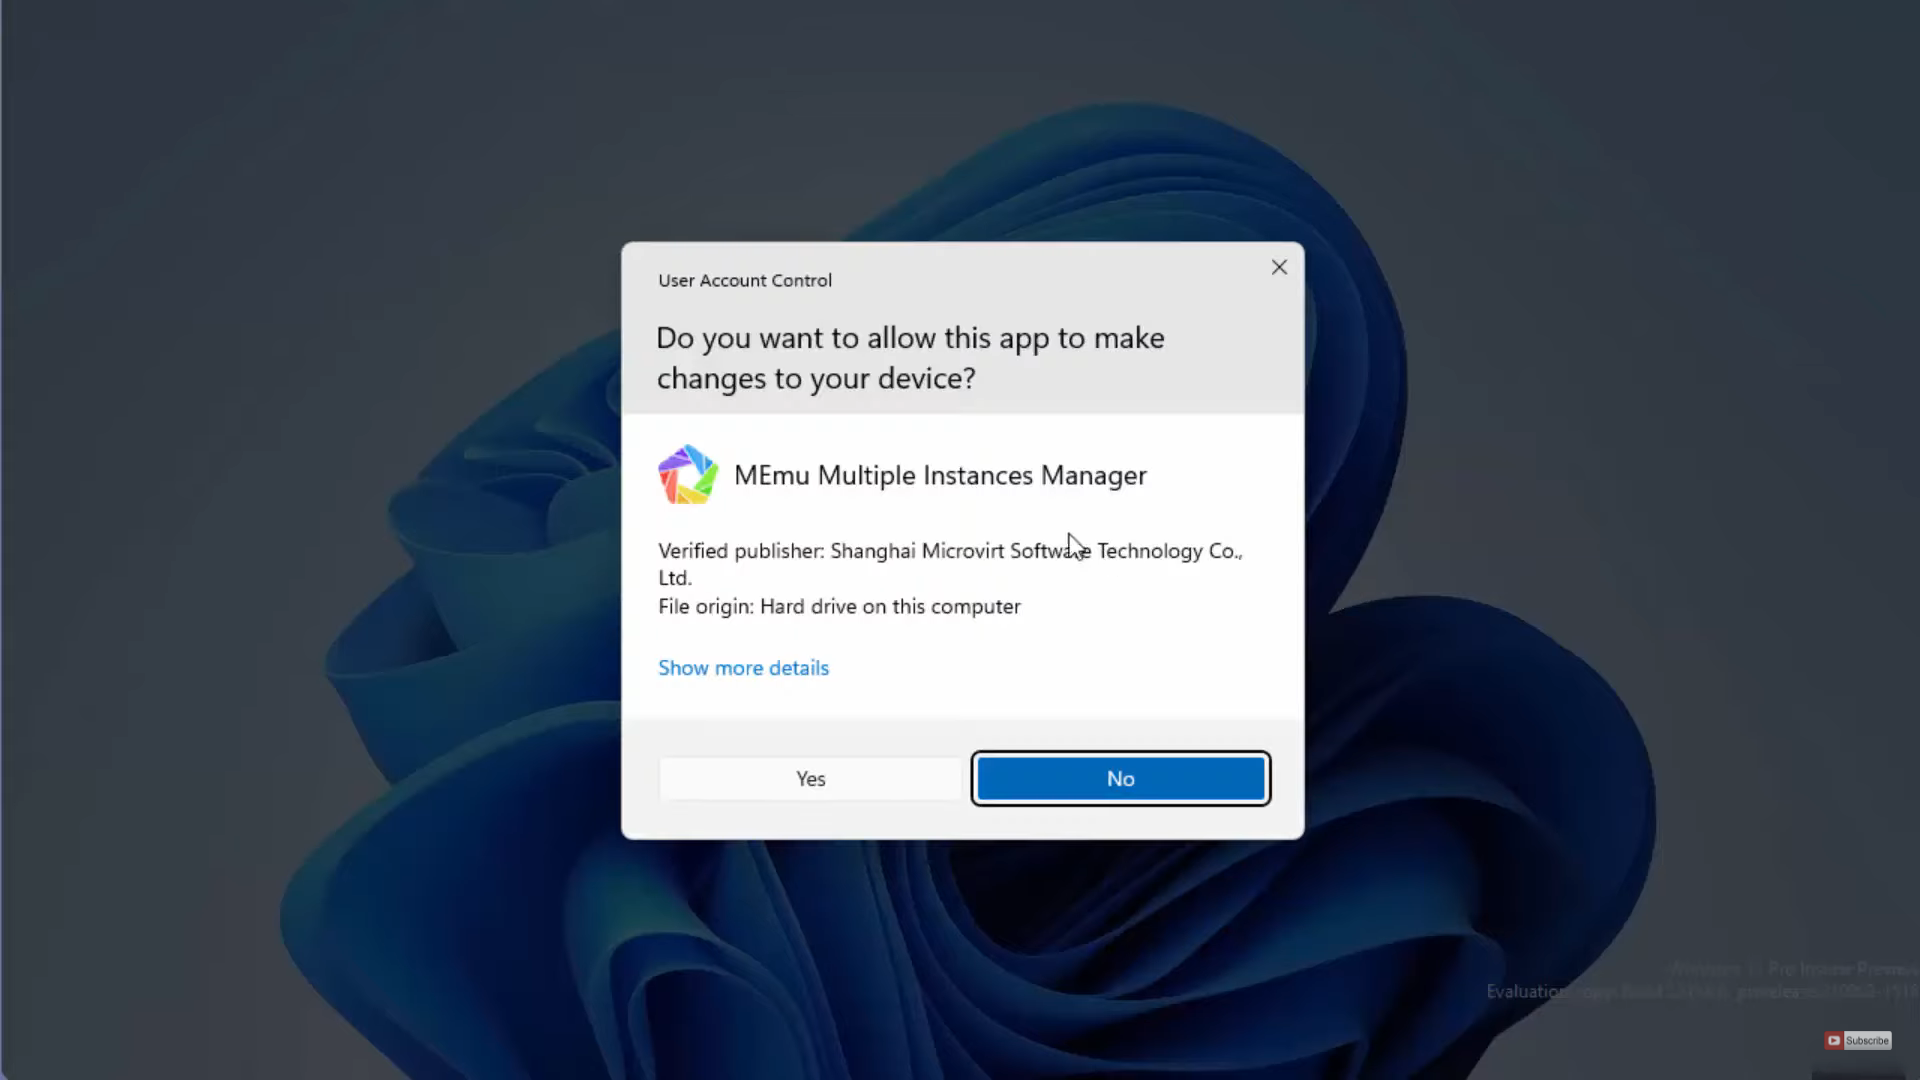
9. It will show a warning. Click on Yes.
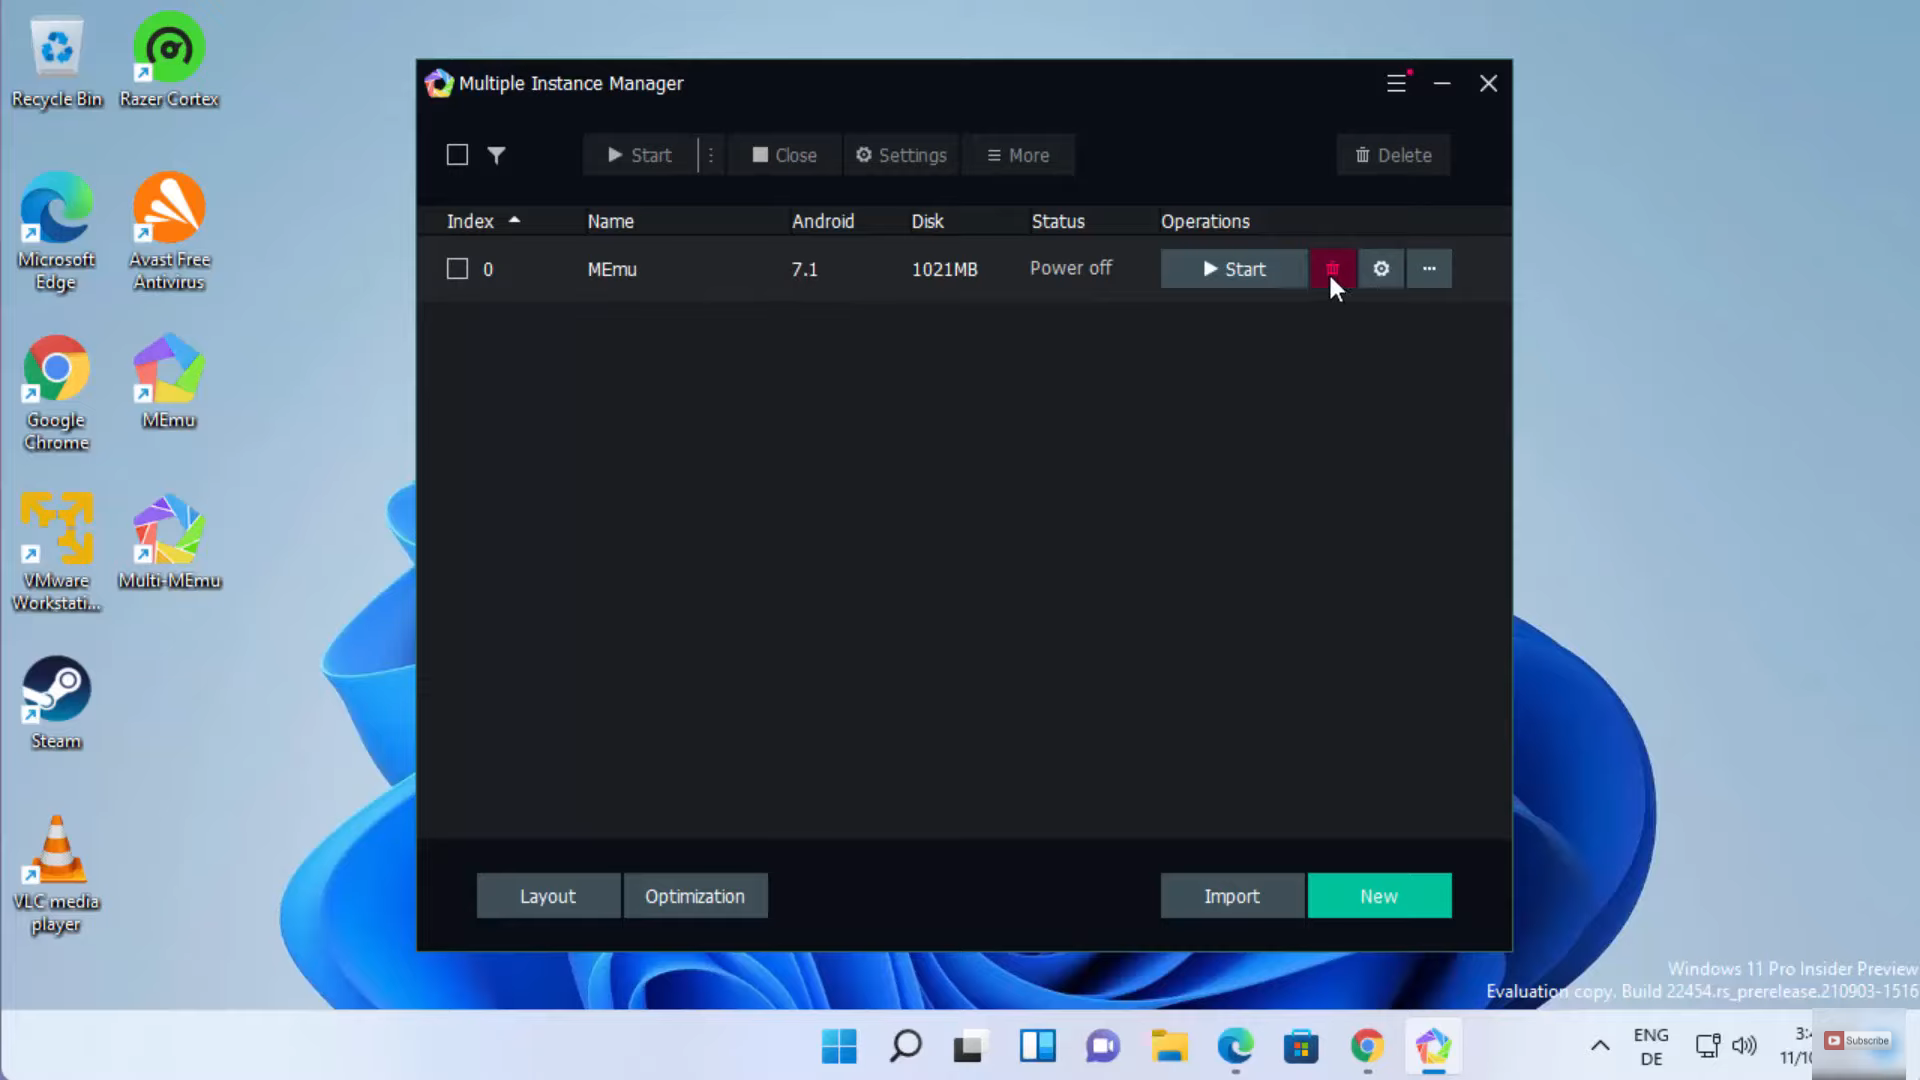
10. It will open the multi-instance manager window. Here, you need to delete this instance. Click on that delete button and click on Ok.
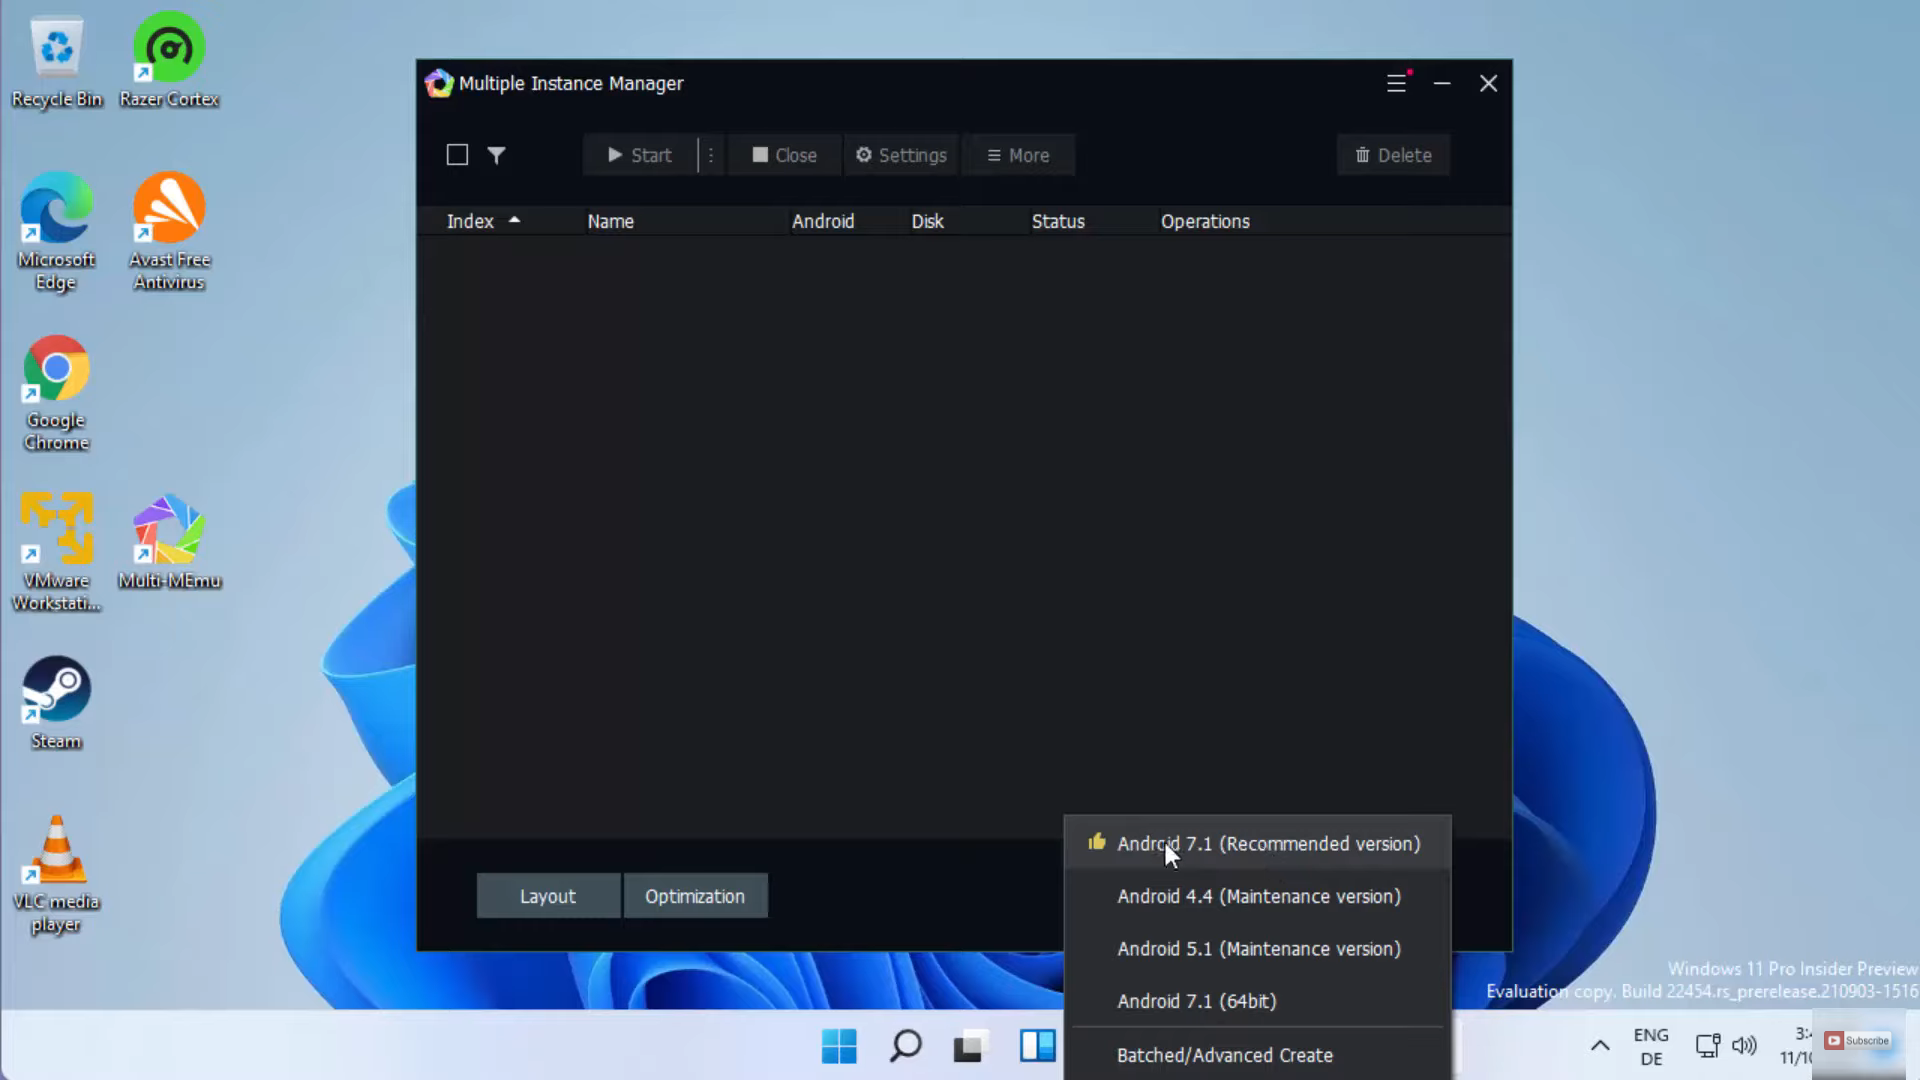
11. Now, click on the New button. Then, click on the Android 7.1 option. It will create a device.
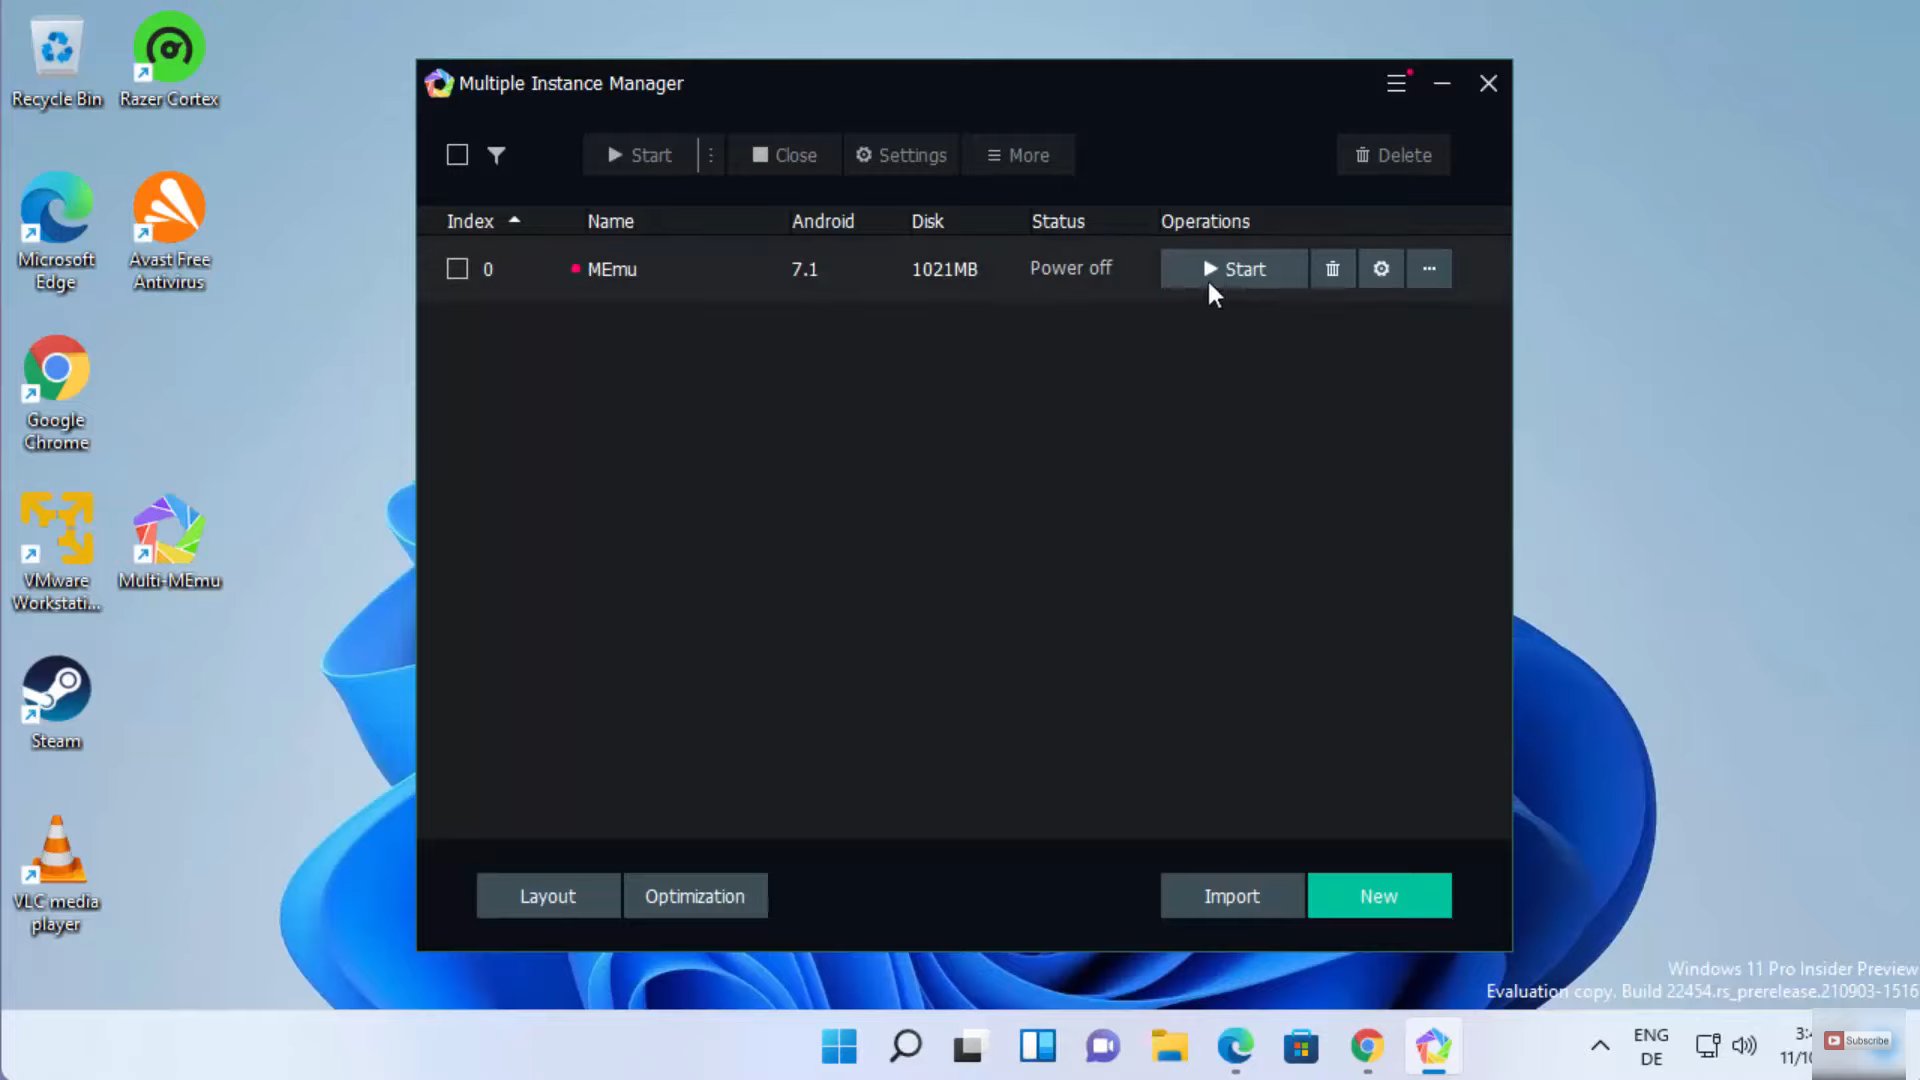
12. Once the device is created, click on Start.
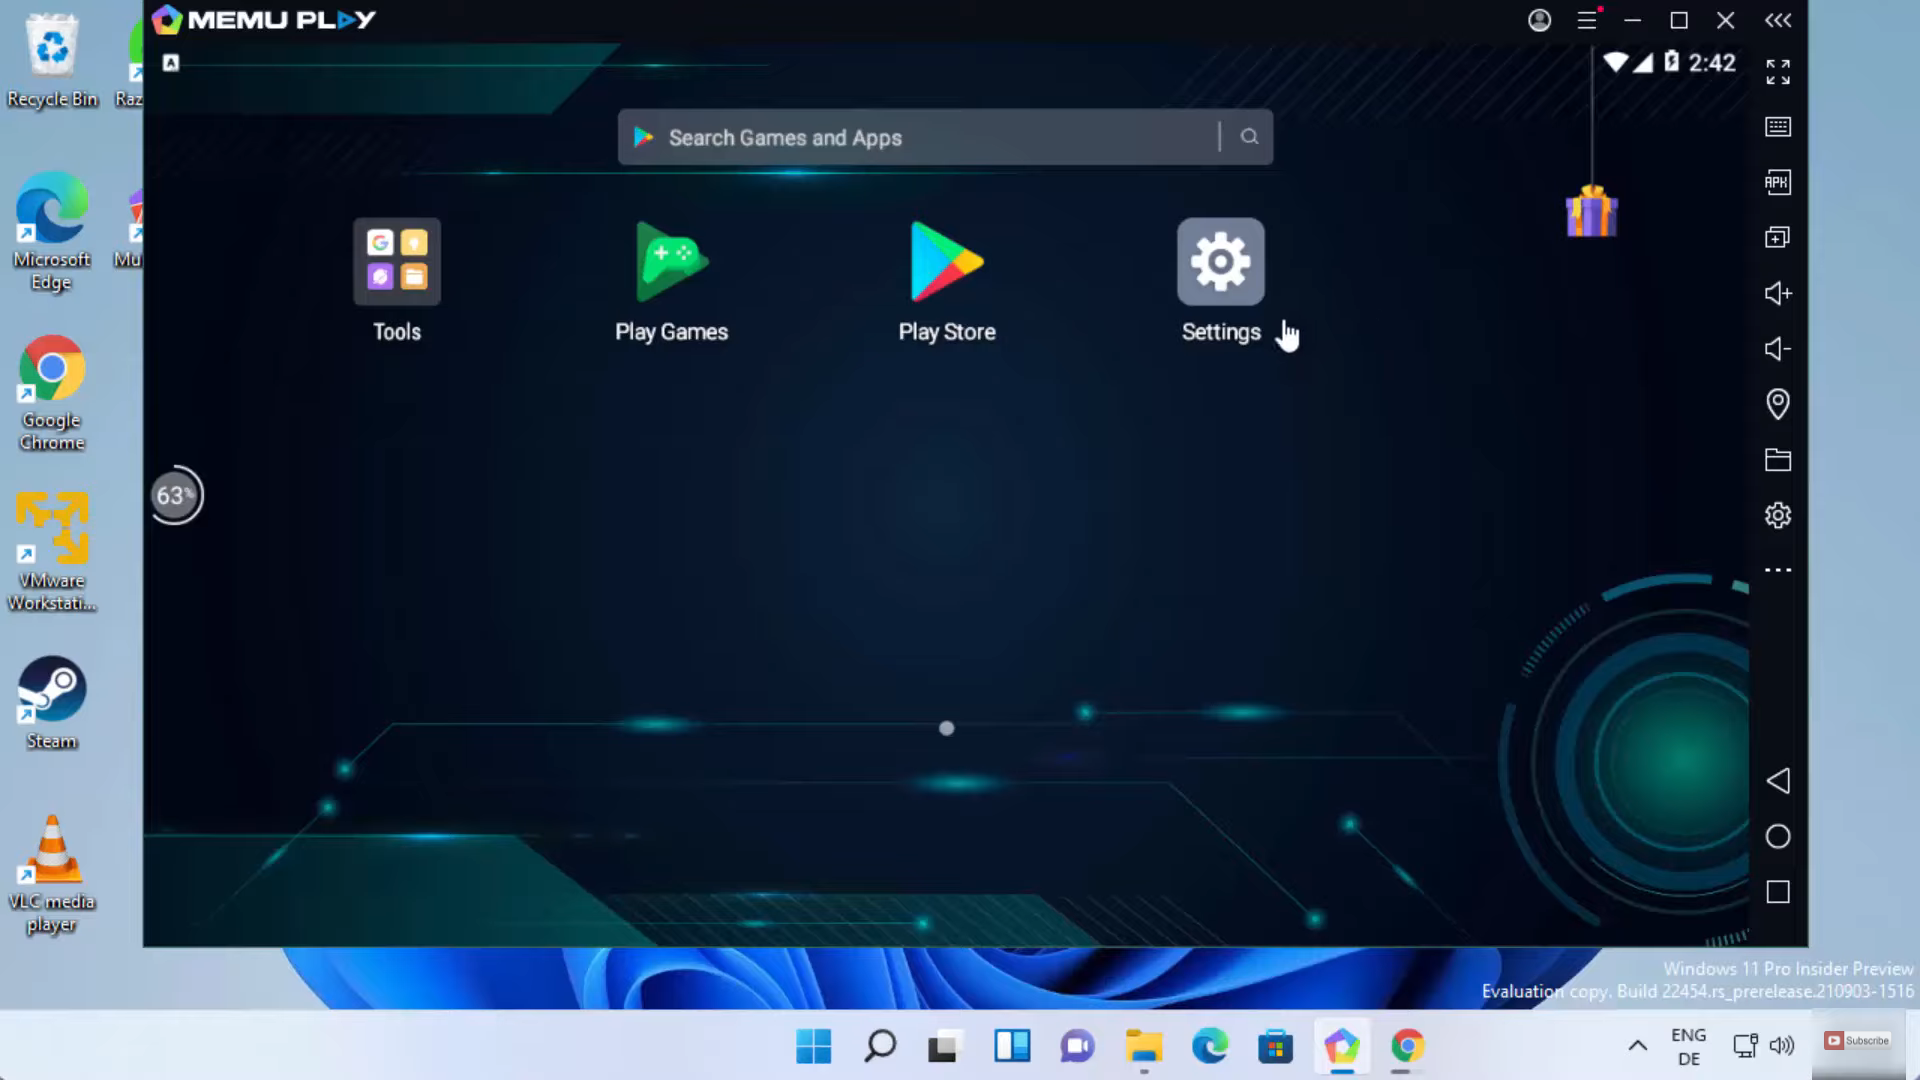
13. This time it will reach the 100% mark. The memu android emulator has been launched now. Here, you can see some apps and tools. Play Store is the most important app when you start it for the first time. In the play store, you need to sign in or log in with your Gmail account.
These are the steps for installing Memu Android Emulator on your Windows 11 Operating System.
Leave a Reply