
In this blog post, I will give a detailed view of installing CodeLite IDE on your Windows 11 Operating System.
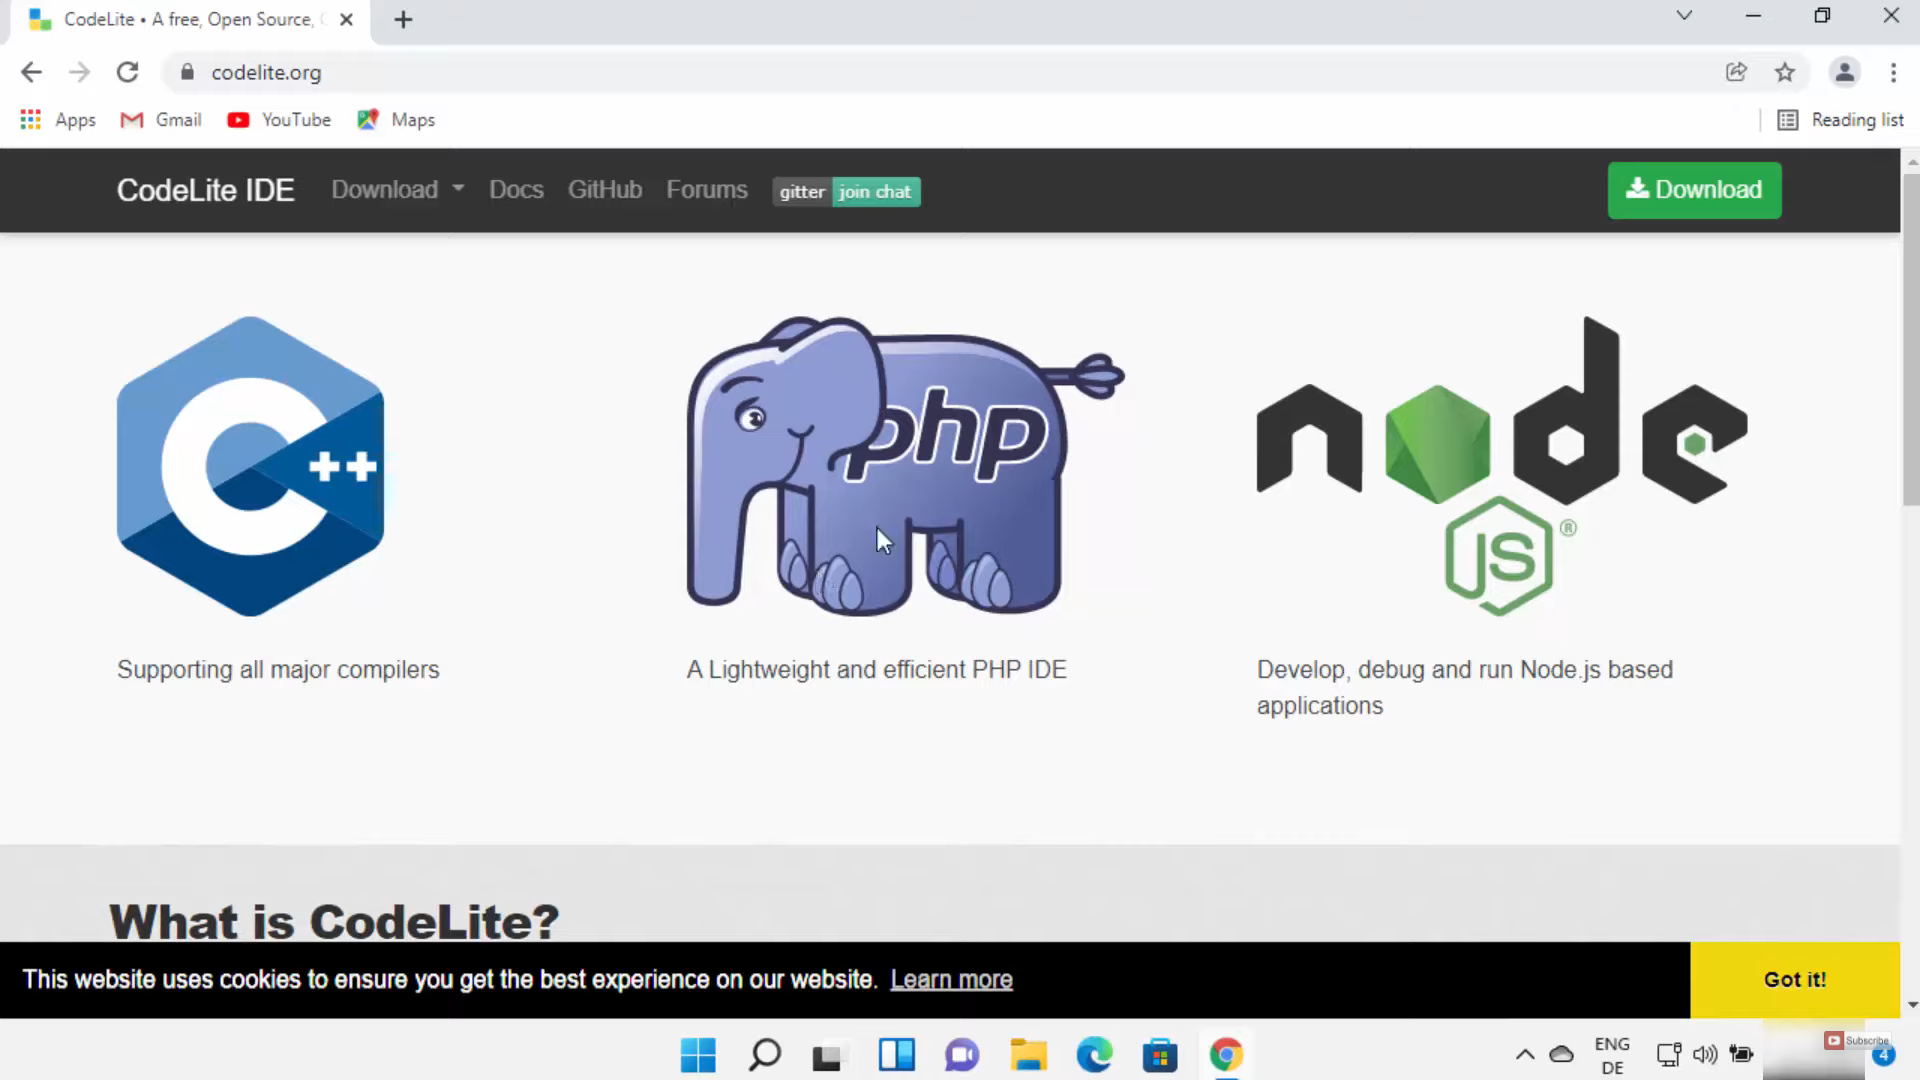
1. Open a web browser of your choice and search for codelite. Click on that link.

2. Once the link opens, you will be able to see the download tab on the top and the download button. Click on the download button.
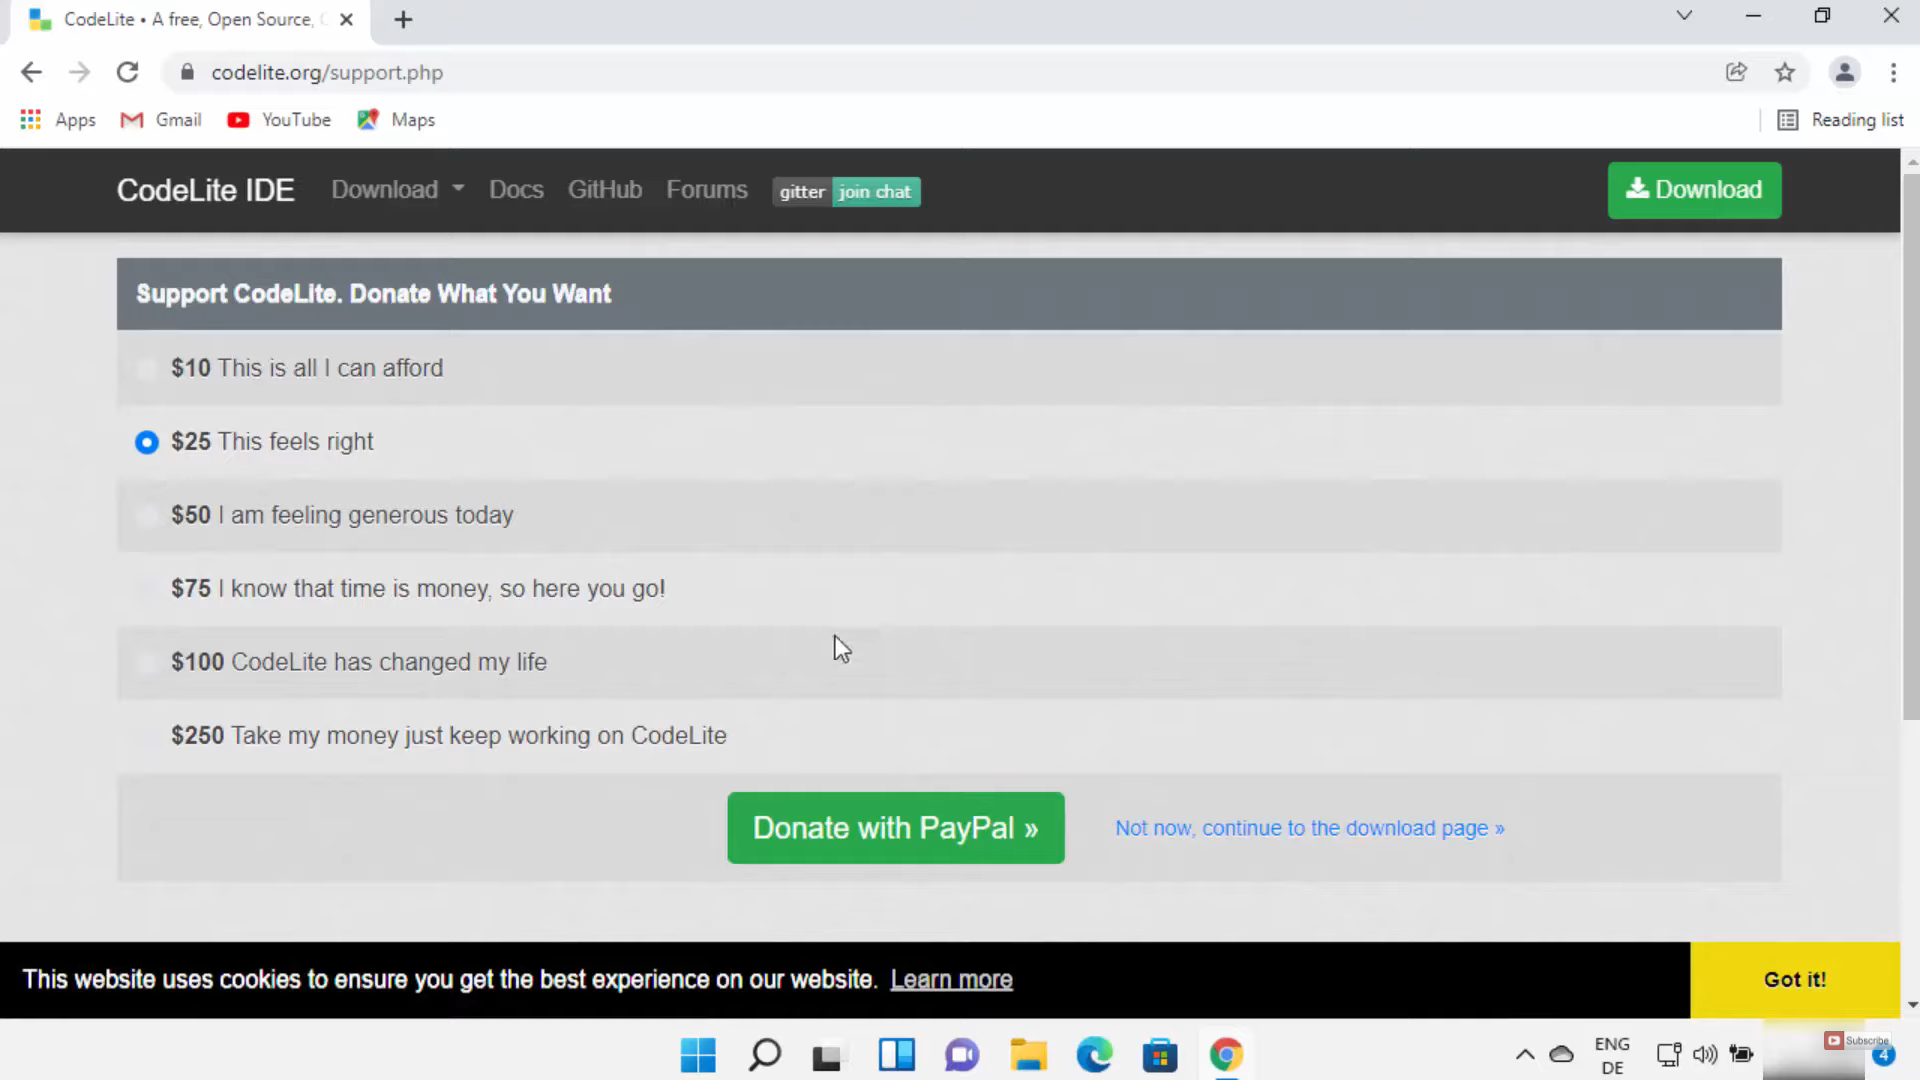
3. If you want you can pay some donations. If you don’t want, click on Not now.
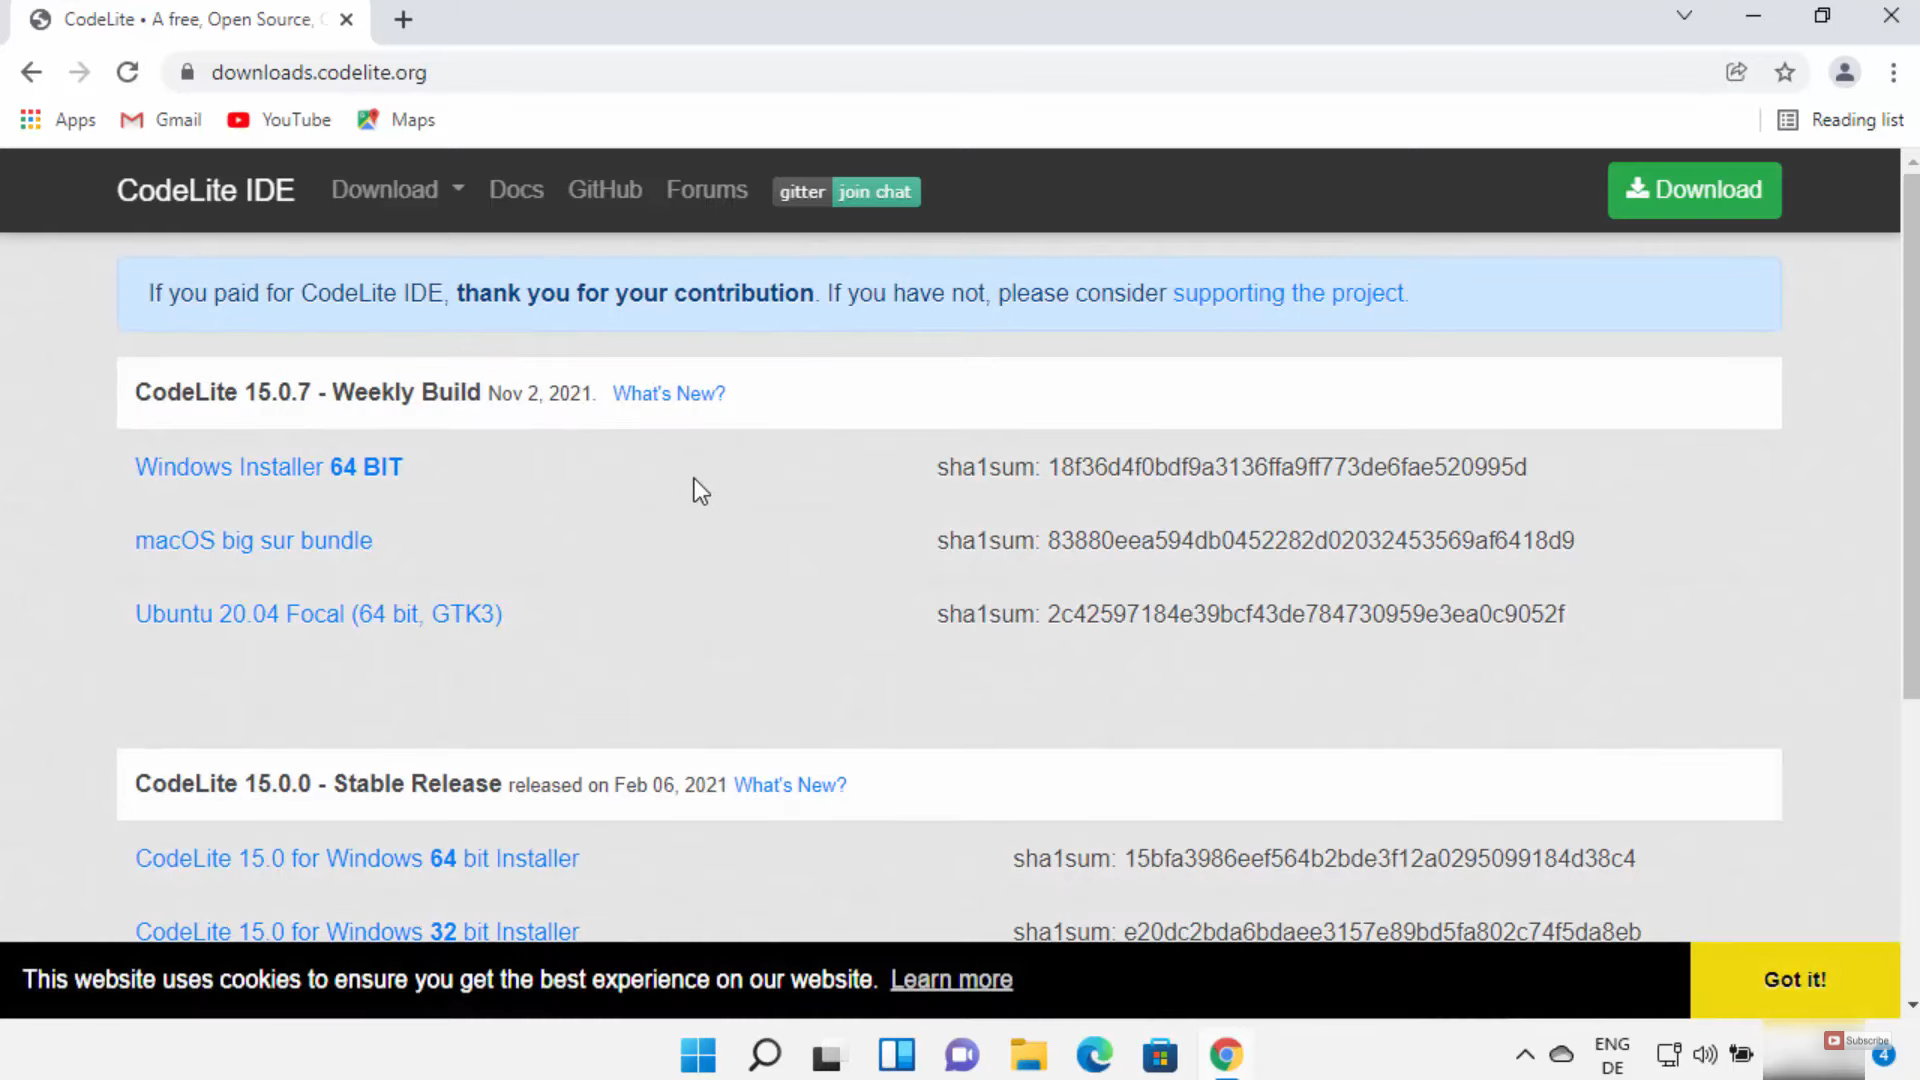
4. It will redirect you to another page. Here, you need to click on Windows Installer 64 BIT. It will start to download.
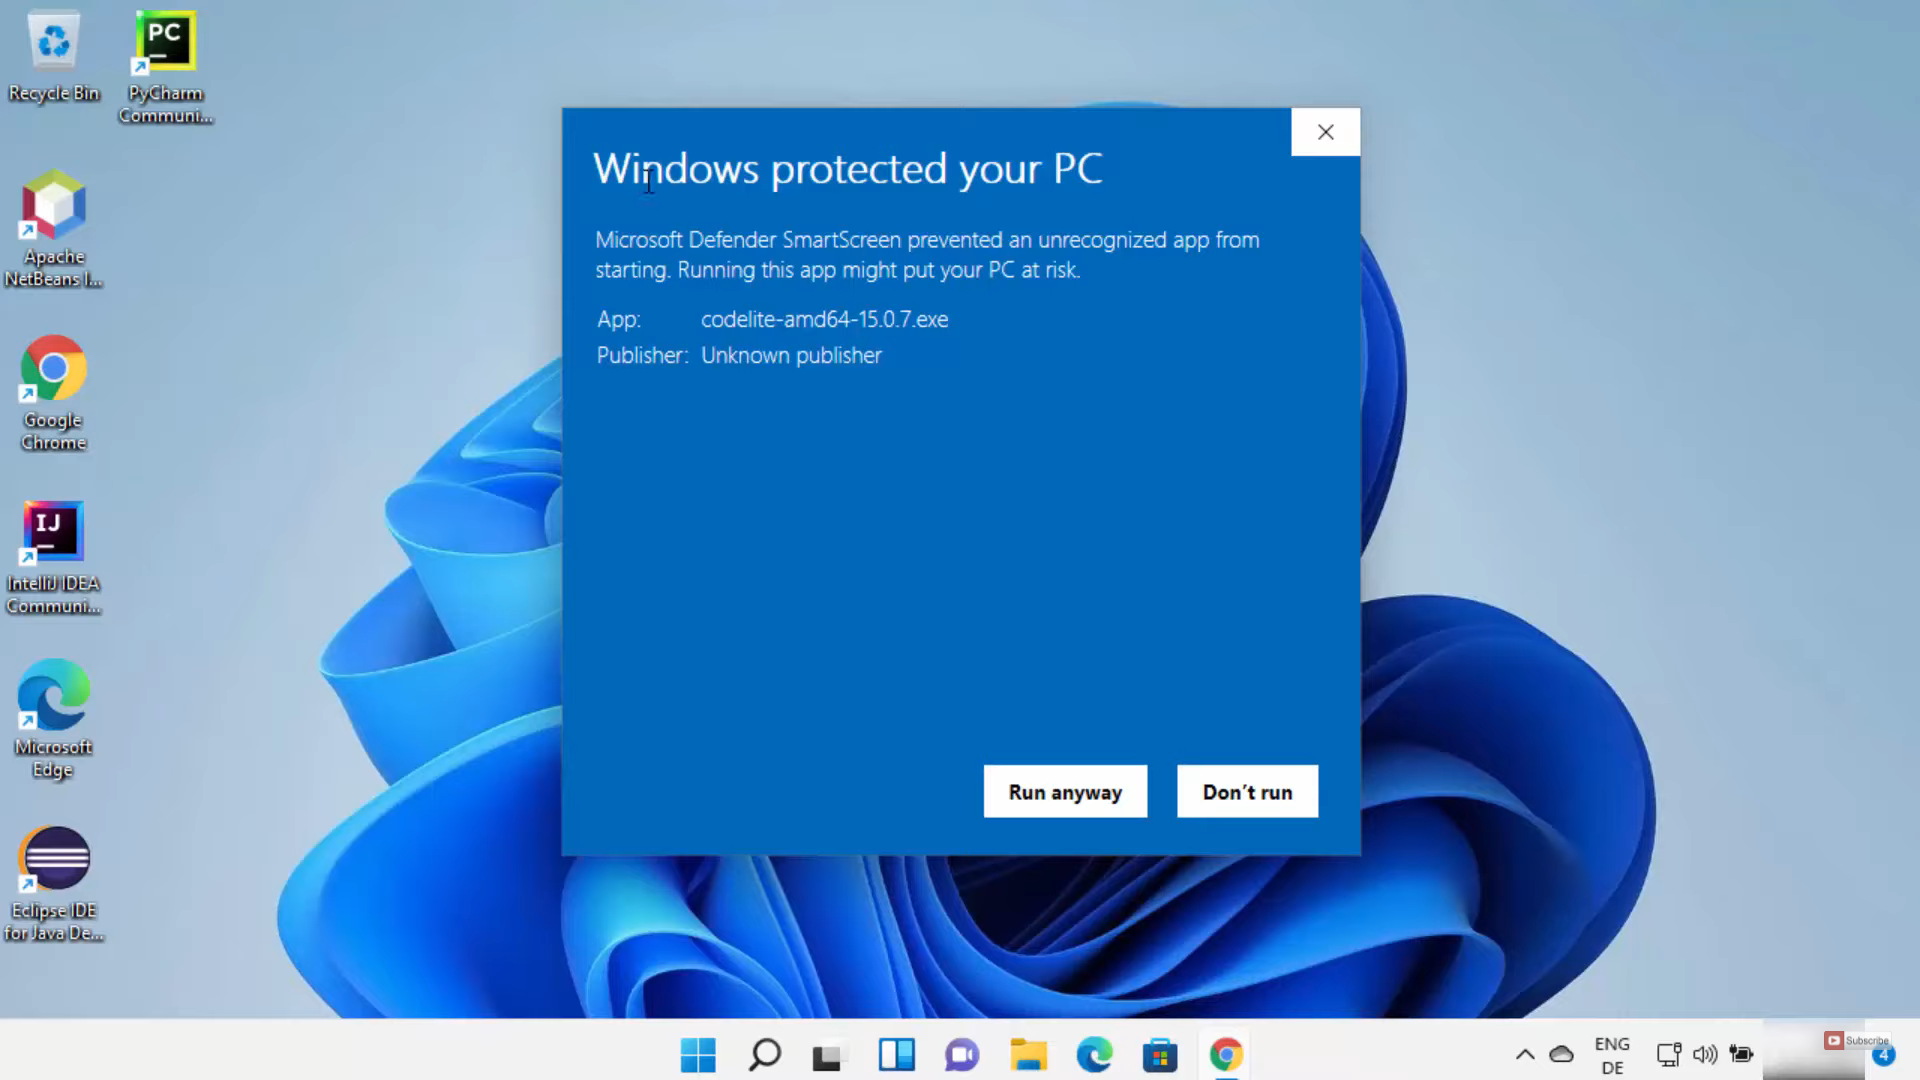
5. Once the download is complete, click on the exe file and minimize the browser. It will provide a message. You need to click on Run anyway.
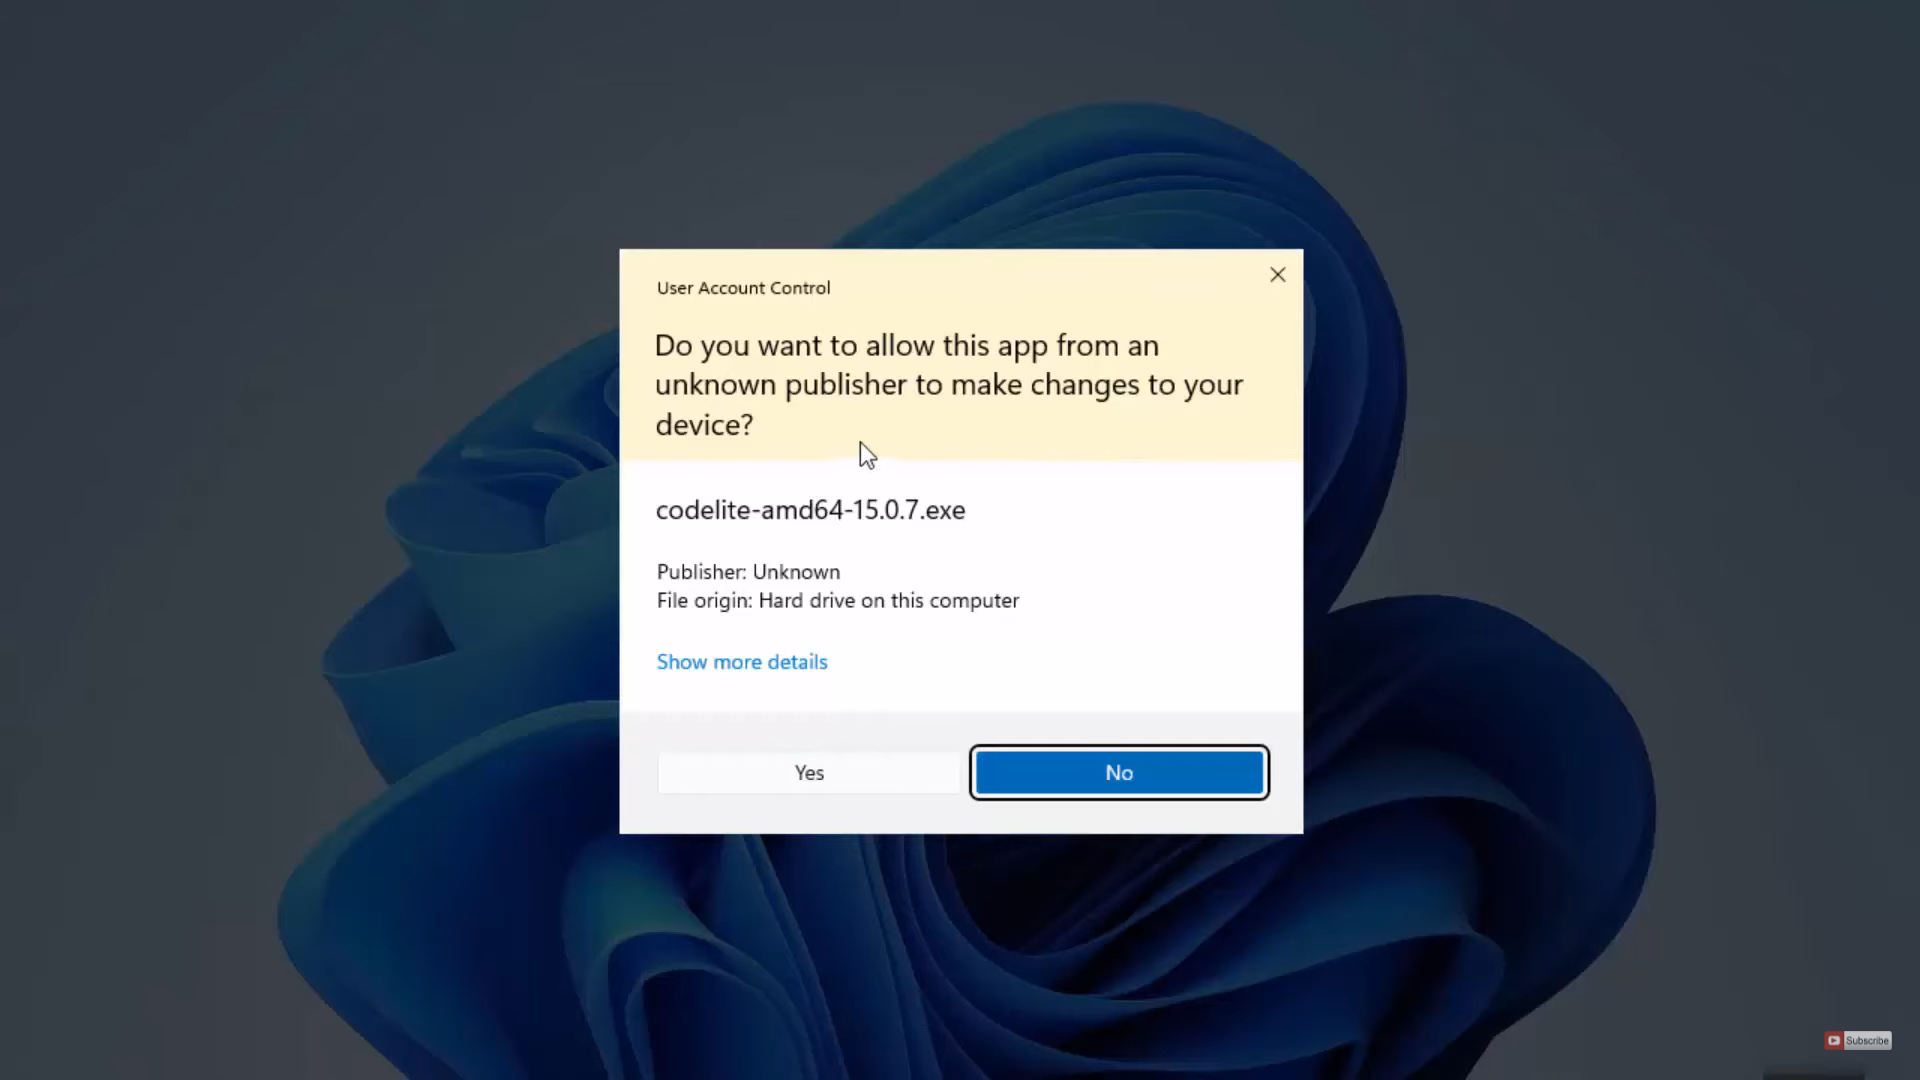
6. It will show a warning. Click on Yes.
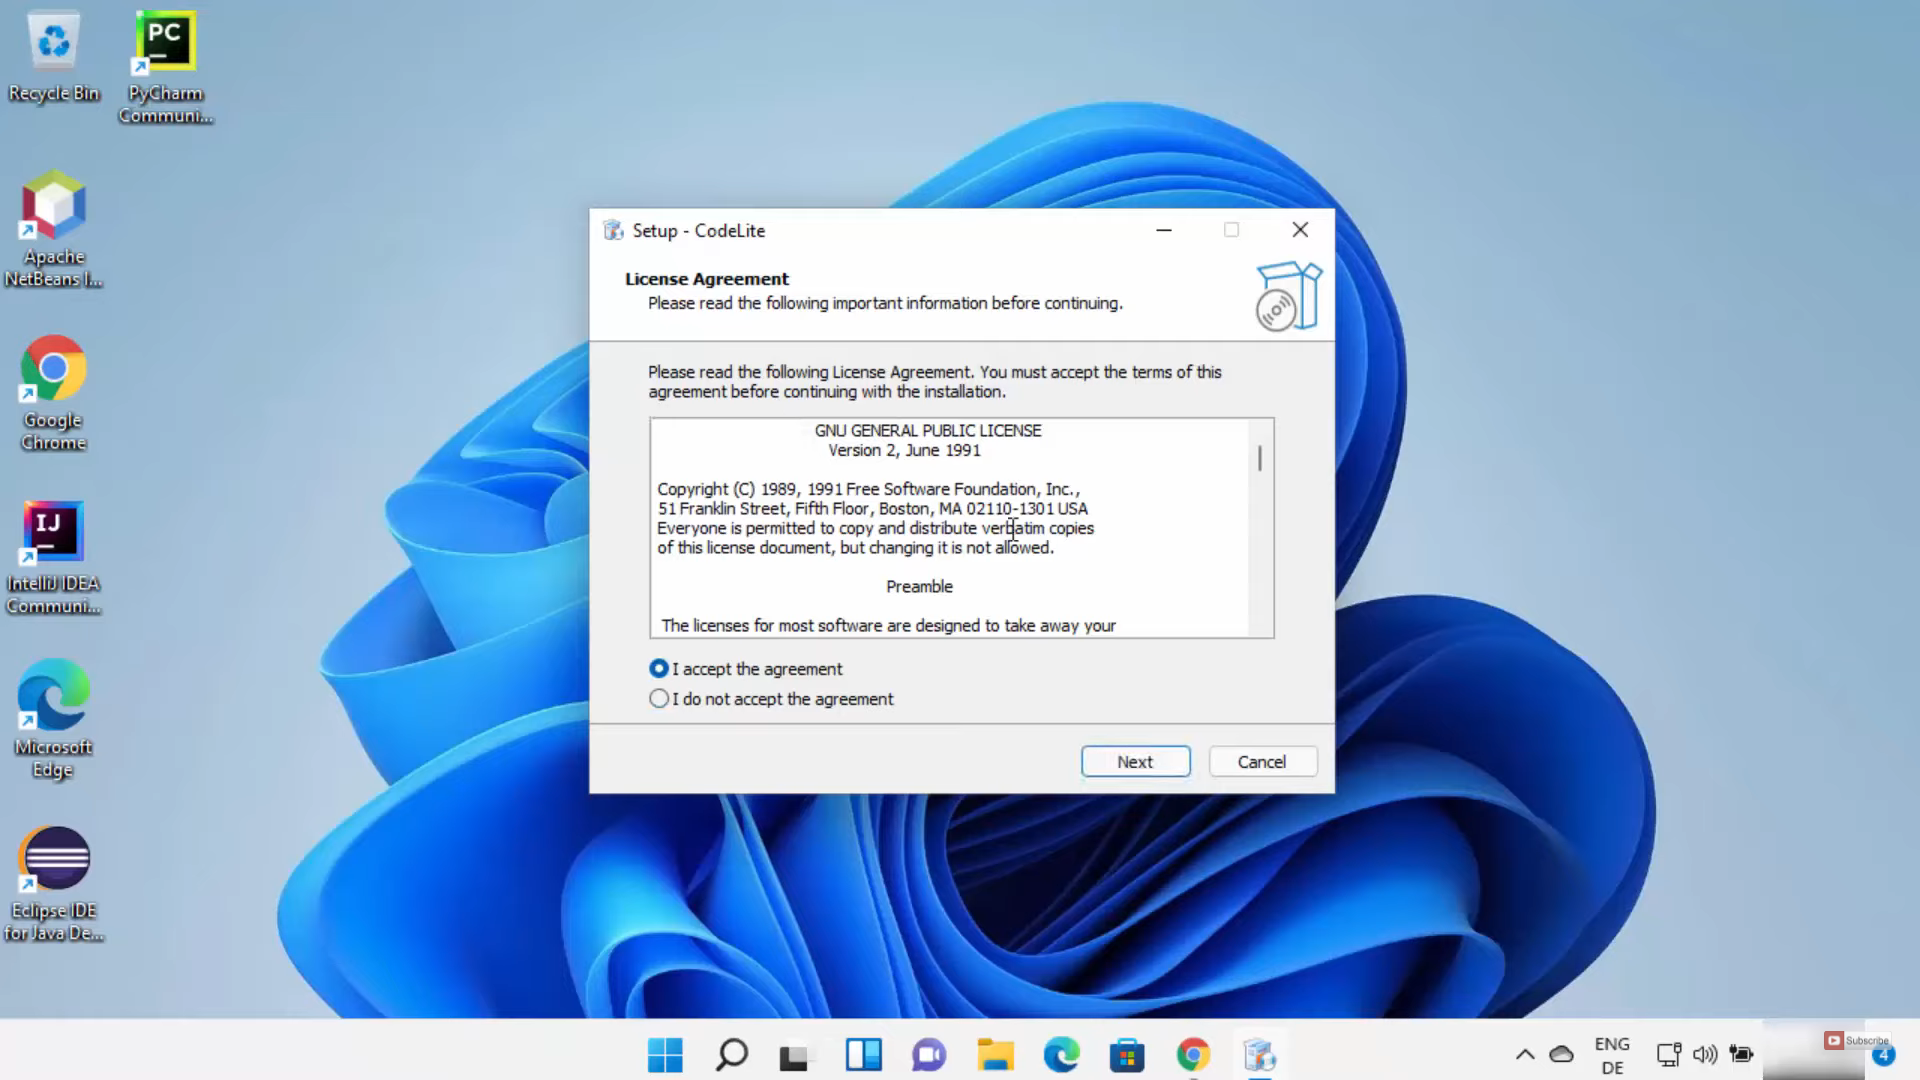
7. In the license agreement window, you need to accept the agreement. Then, click on Next.
8. This will be the location, where it will be installed. If you don’t have any reasons to change it, click on Next. If you want to change the location, then click on the Browse option.

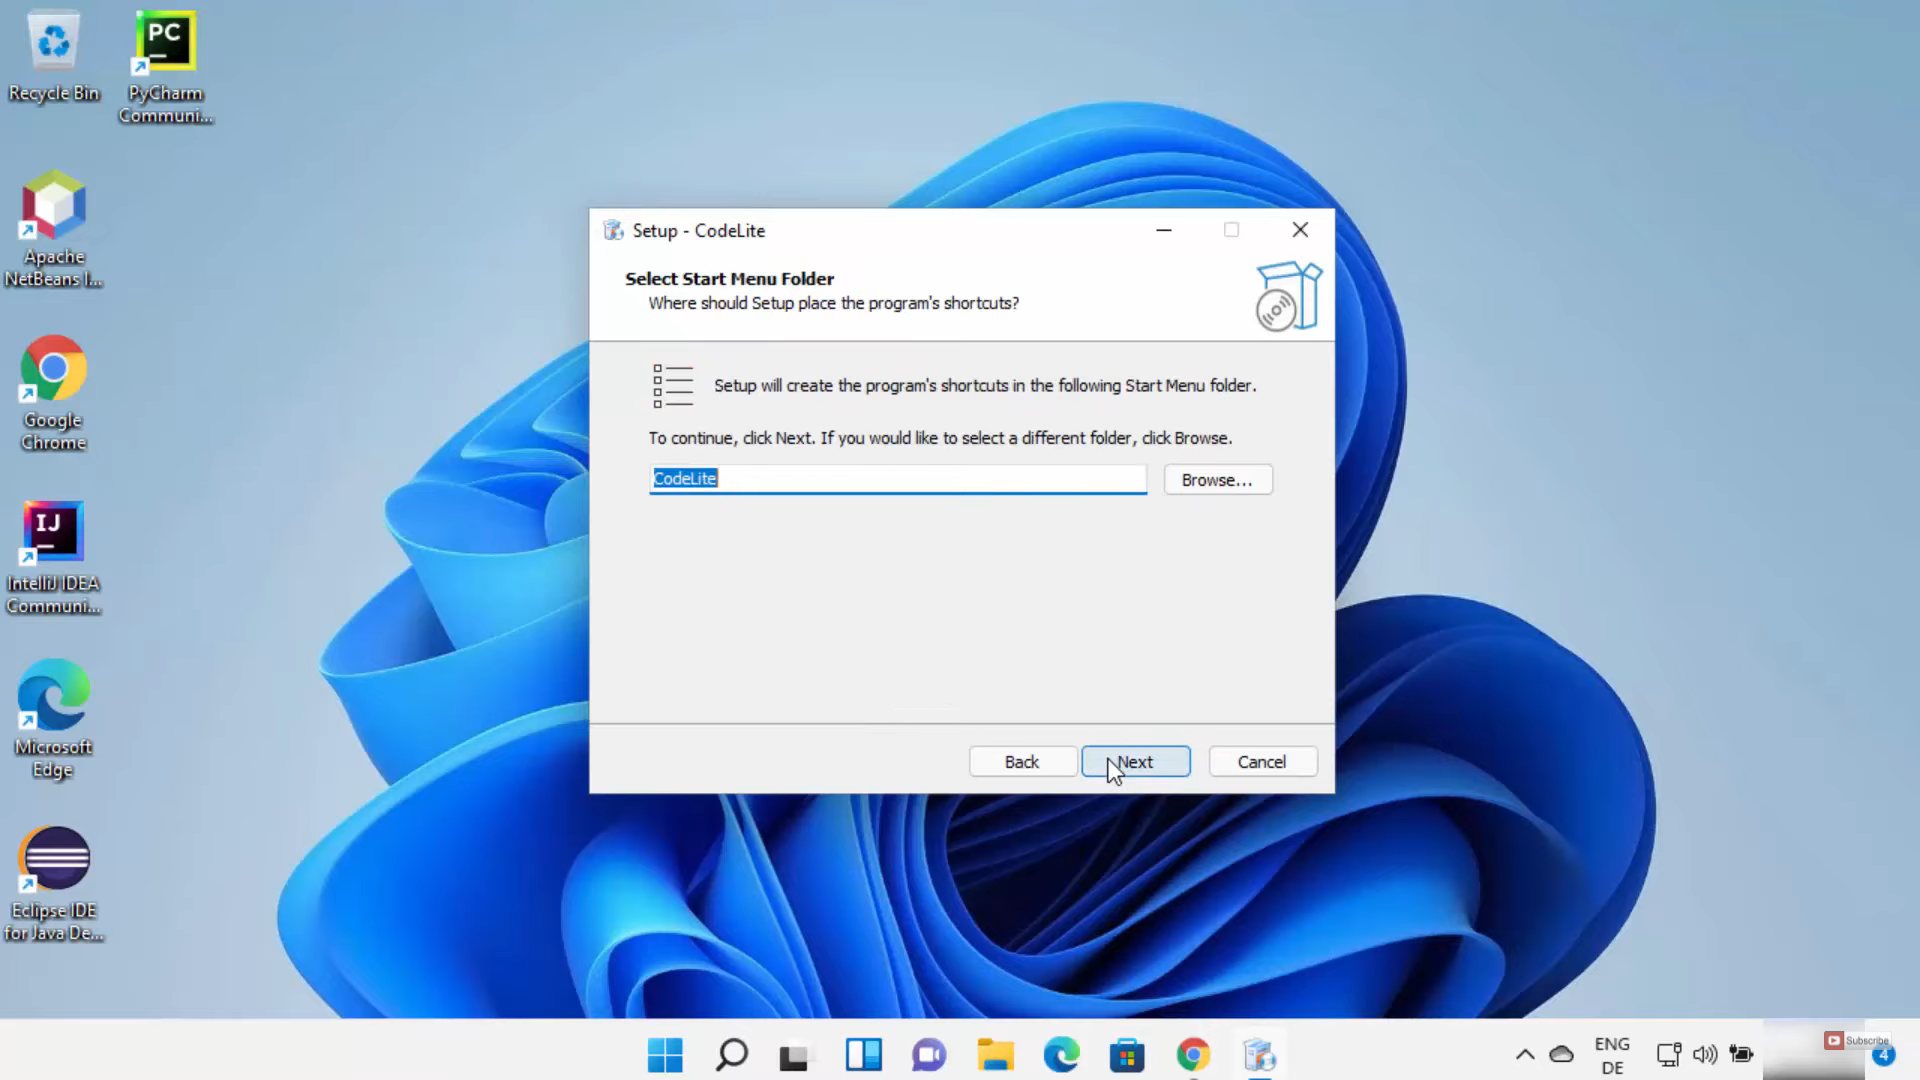
9. In the next window, leave it as default and click on Next.
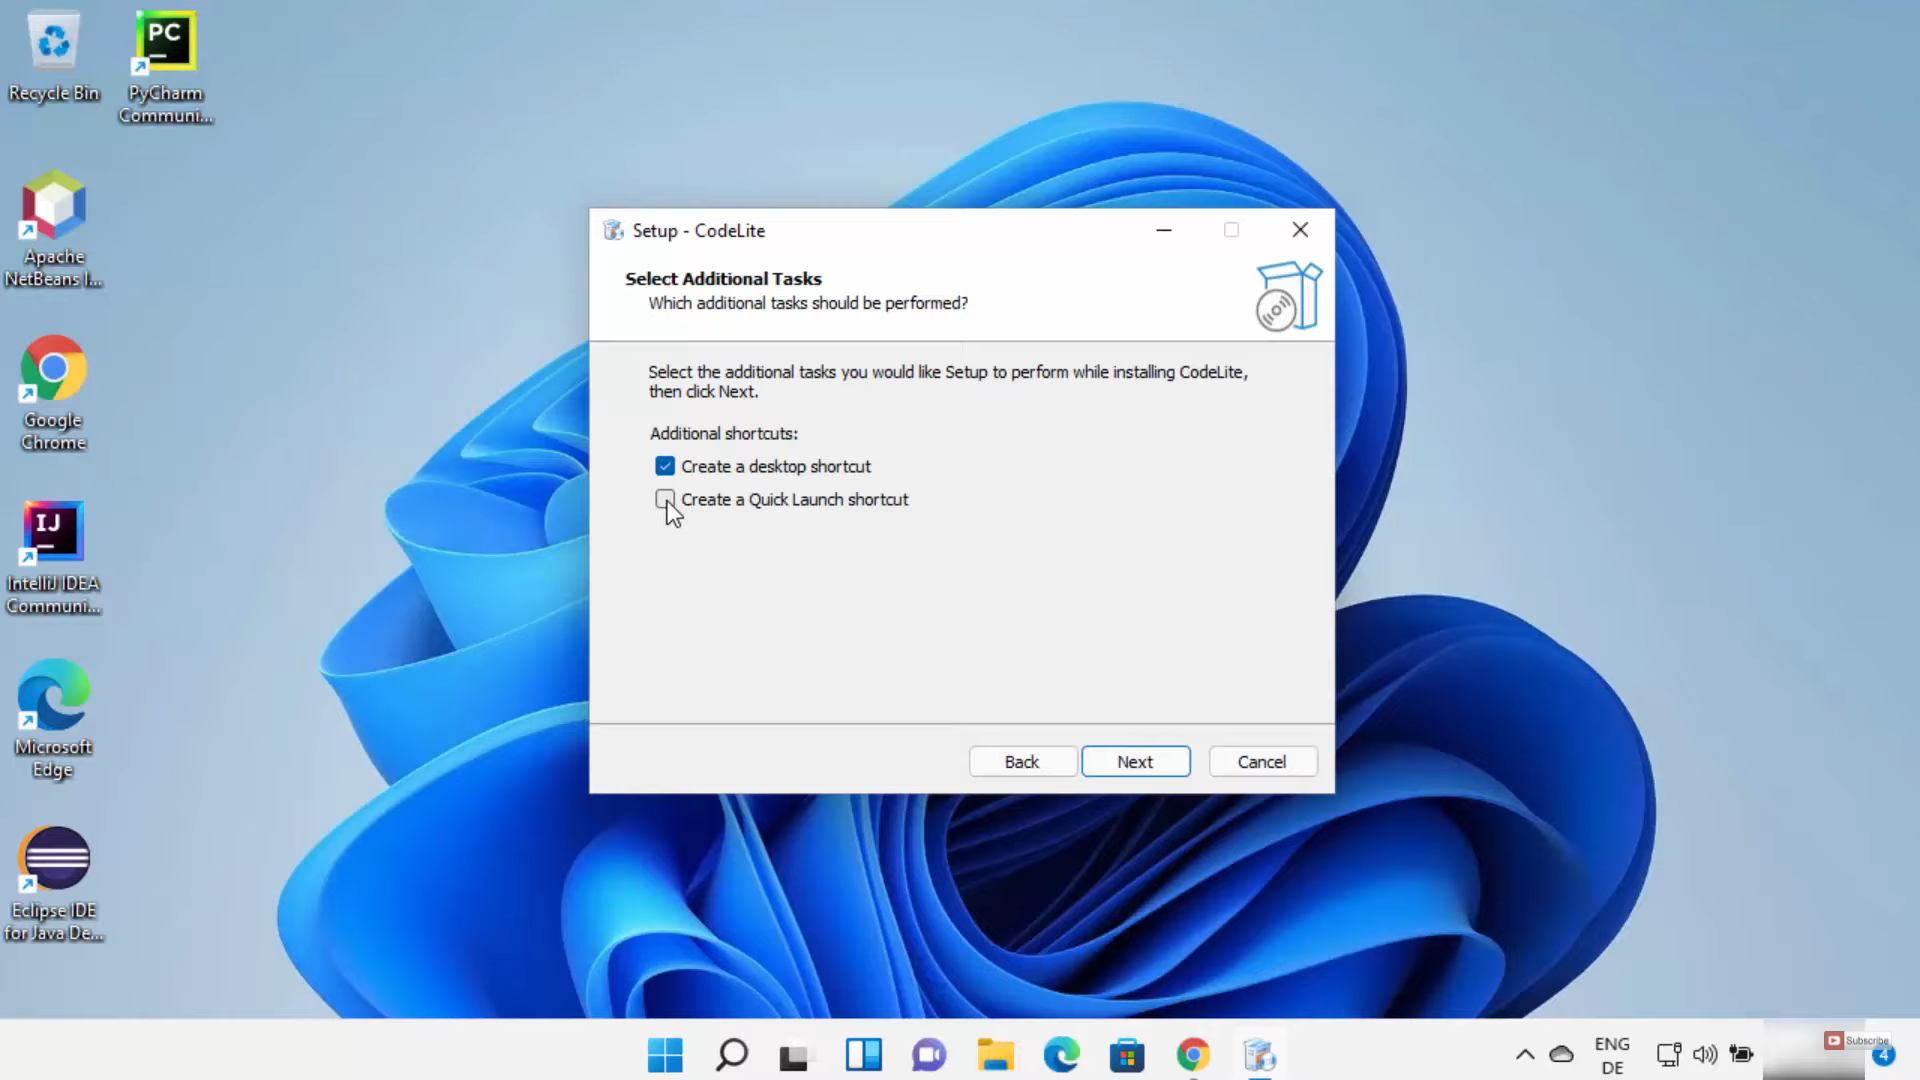
10. In the next window, I am going to check the first checkbox. Then, click on Next.
11. In this window, click on Install.

12. Once the installation is complete, you will be able to see the shortcut icon. Leave the checkbox as checked and click on Finish.

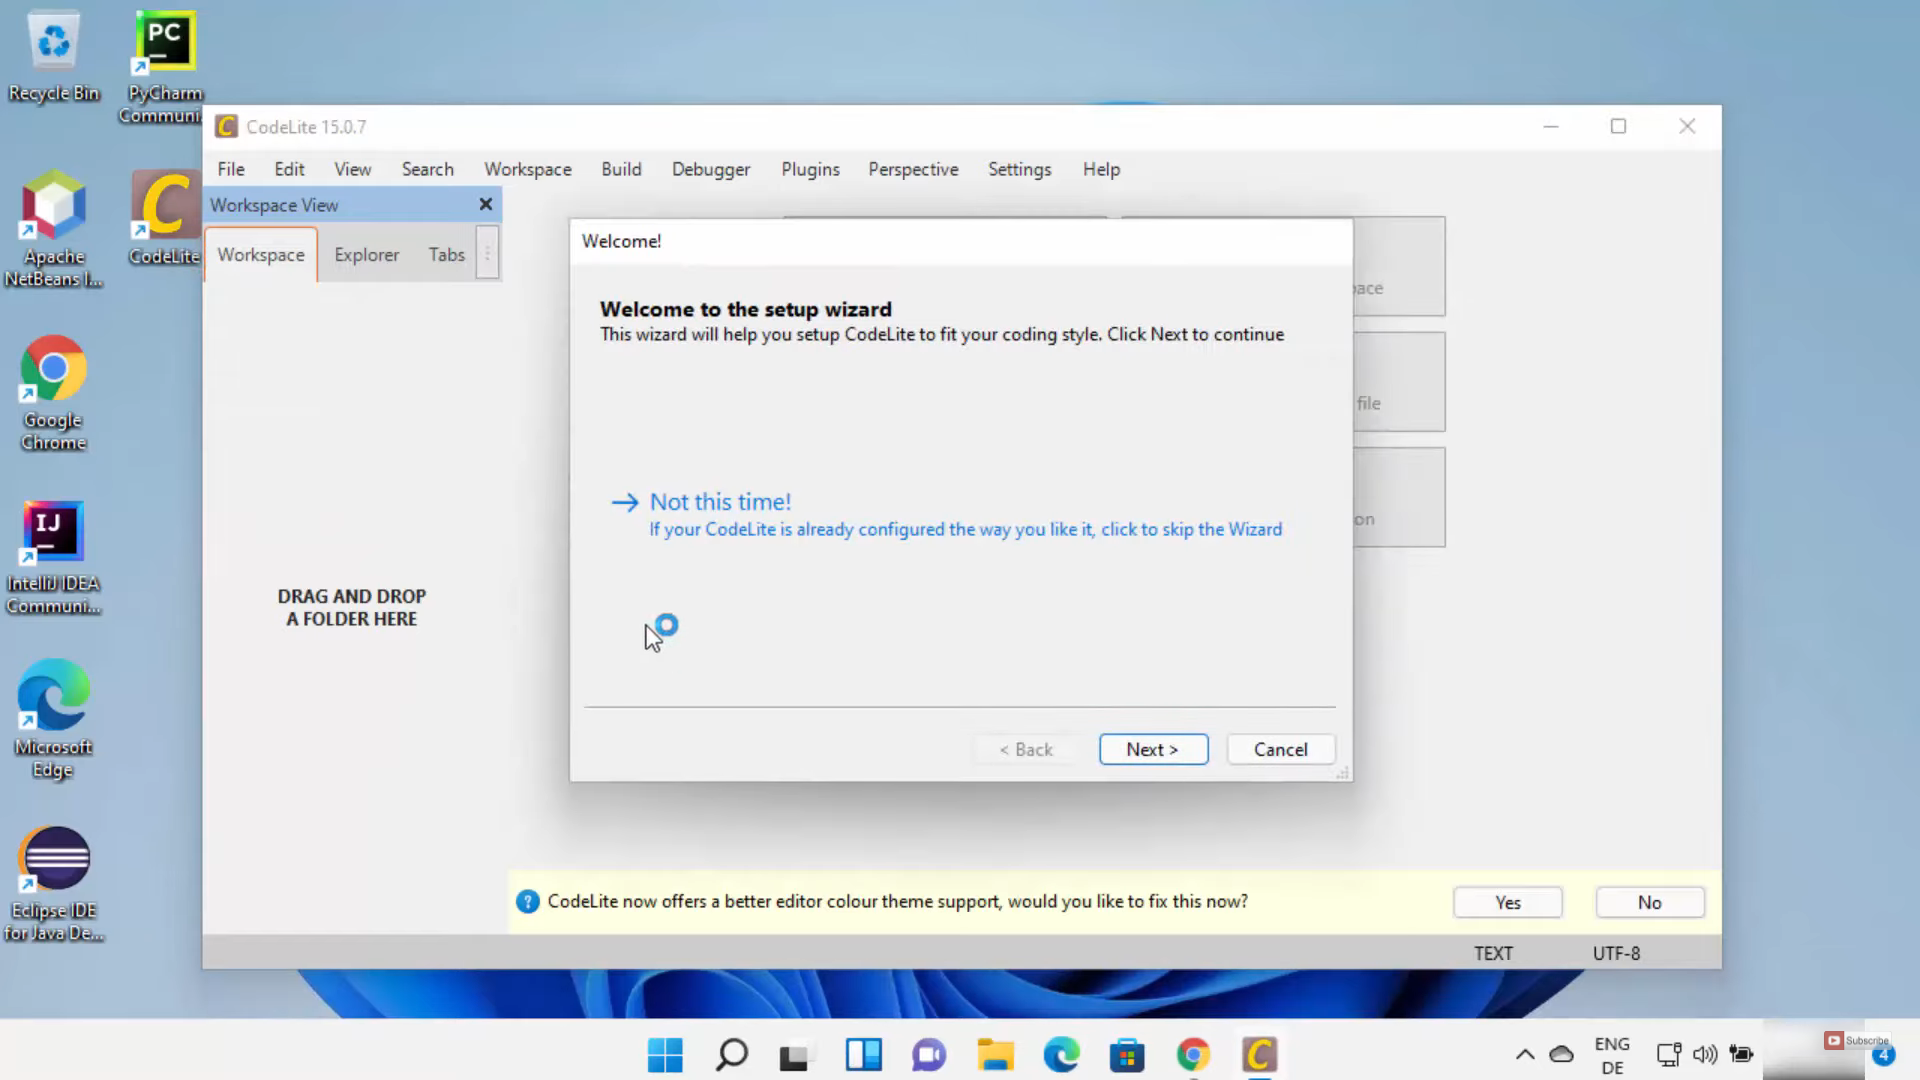
13. In the setup wizard, click on Next.
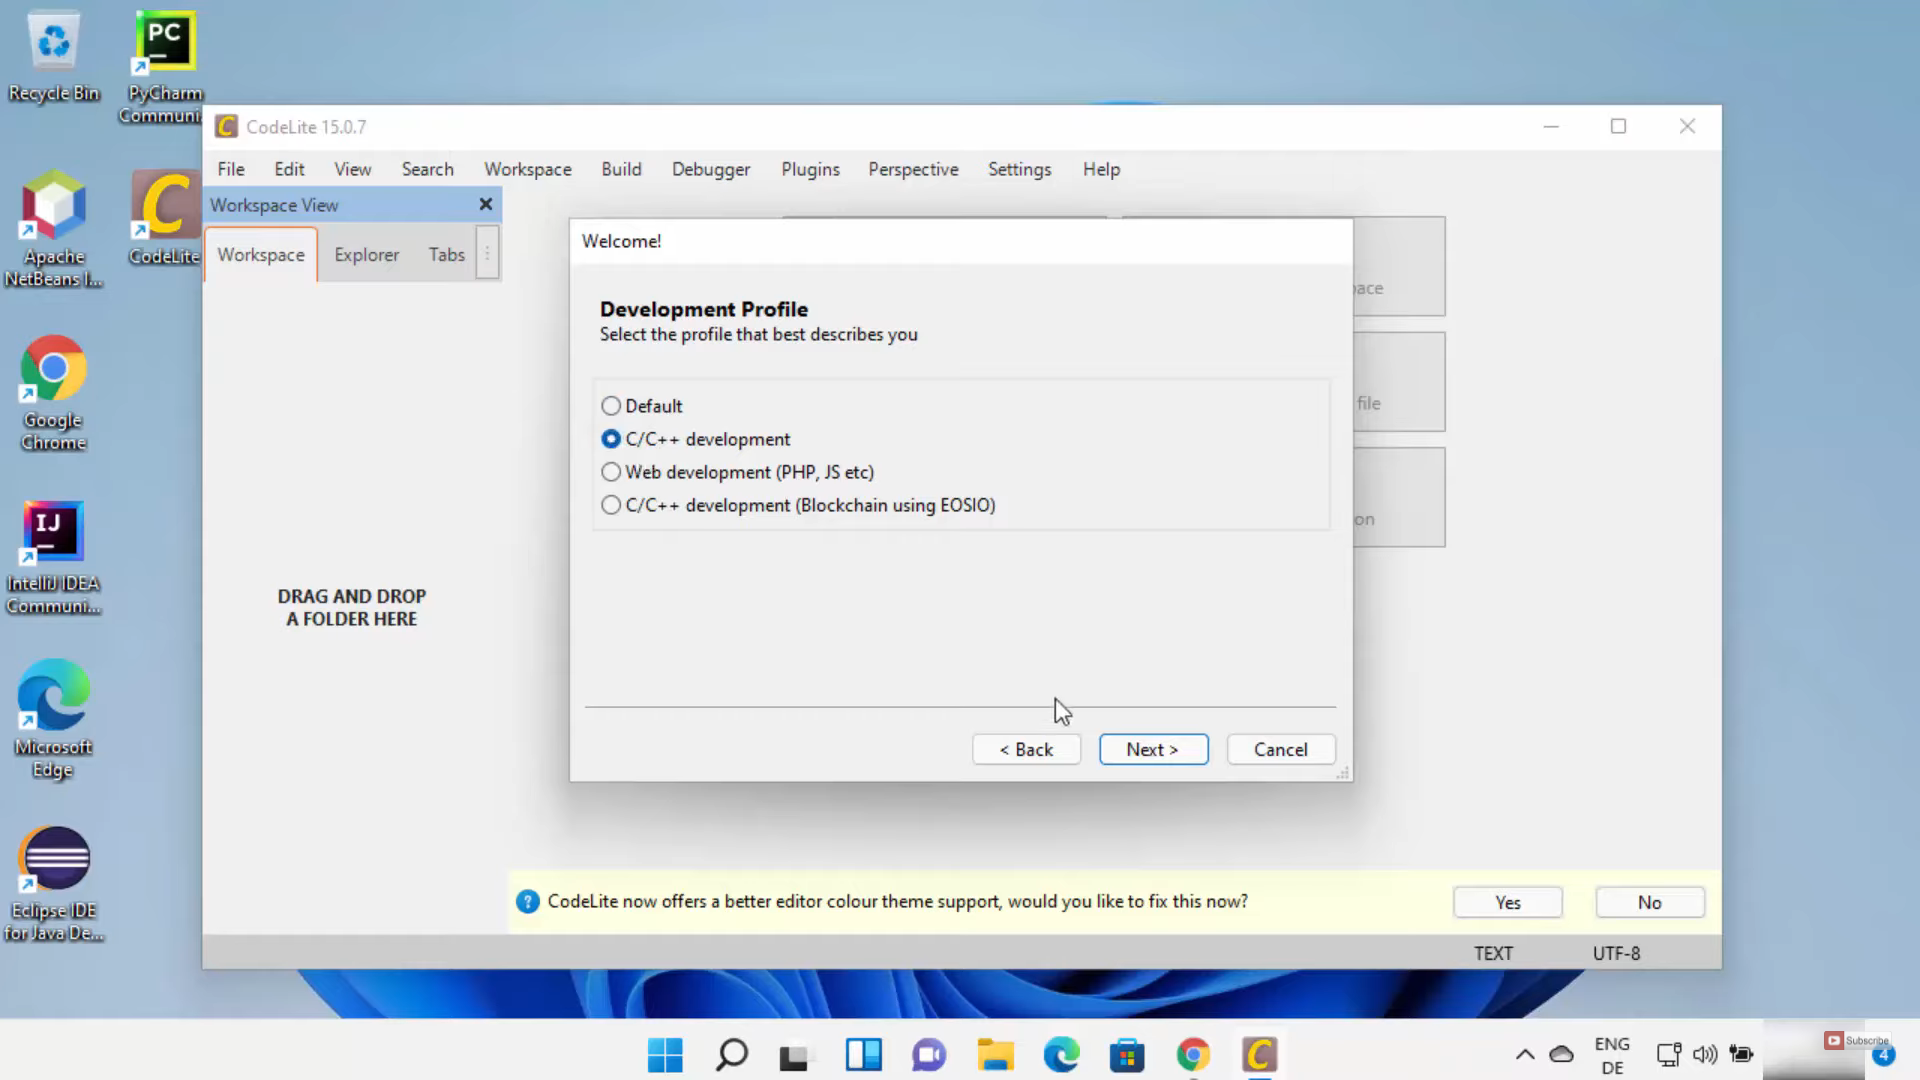
14. In the next window, I am going to choose C/ C++ development and click on Next.
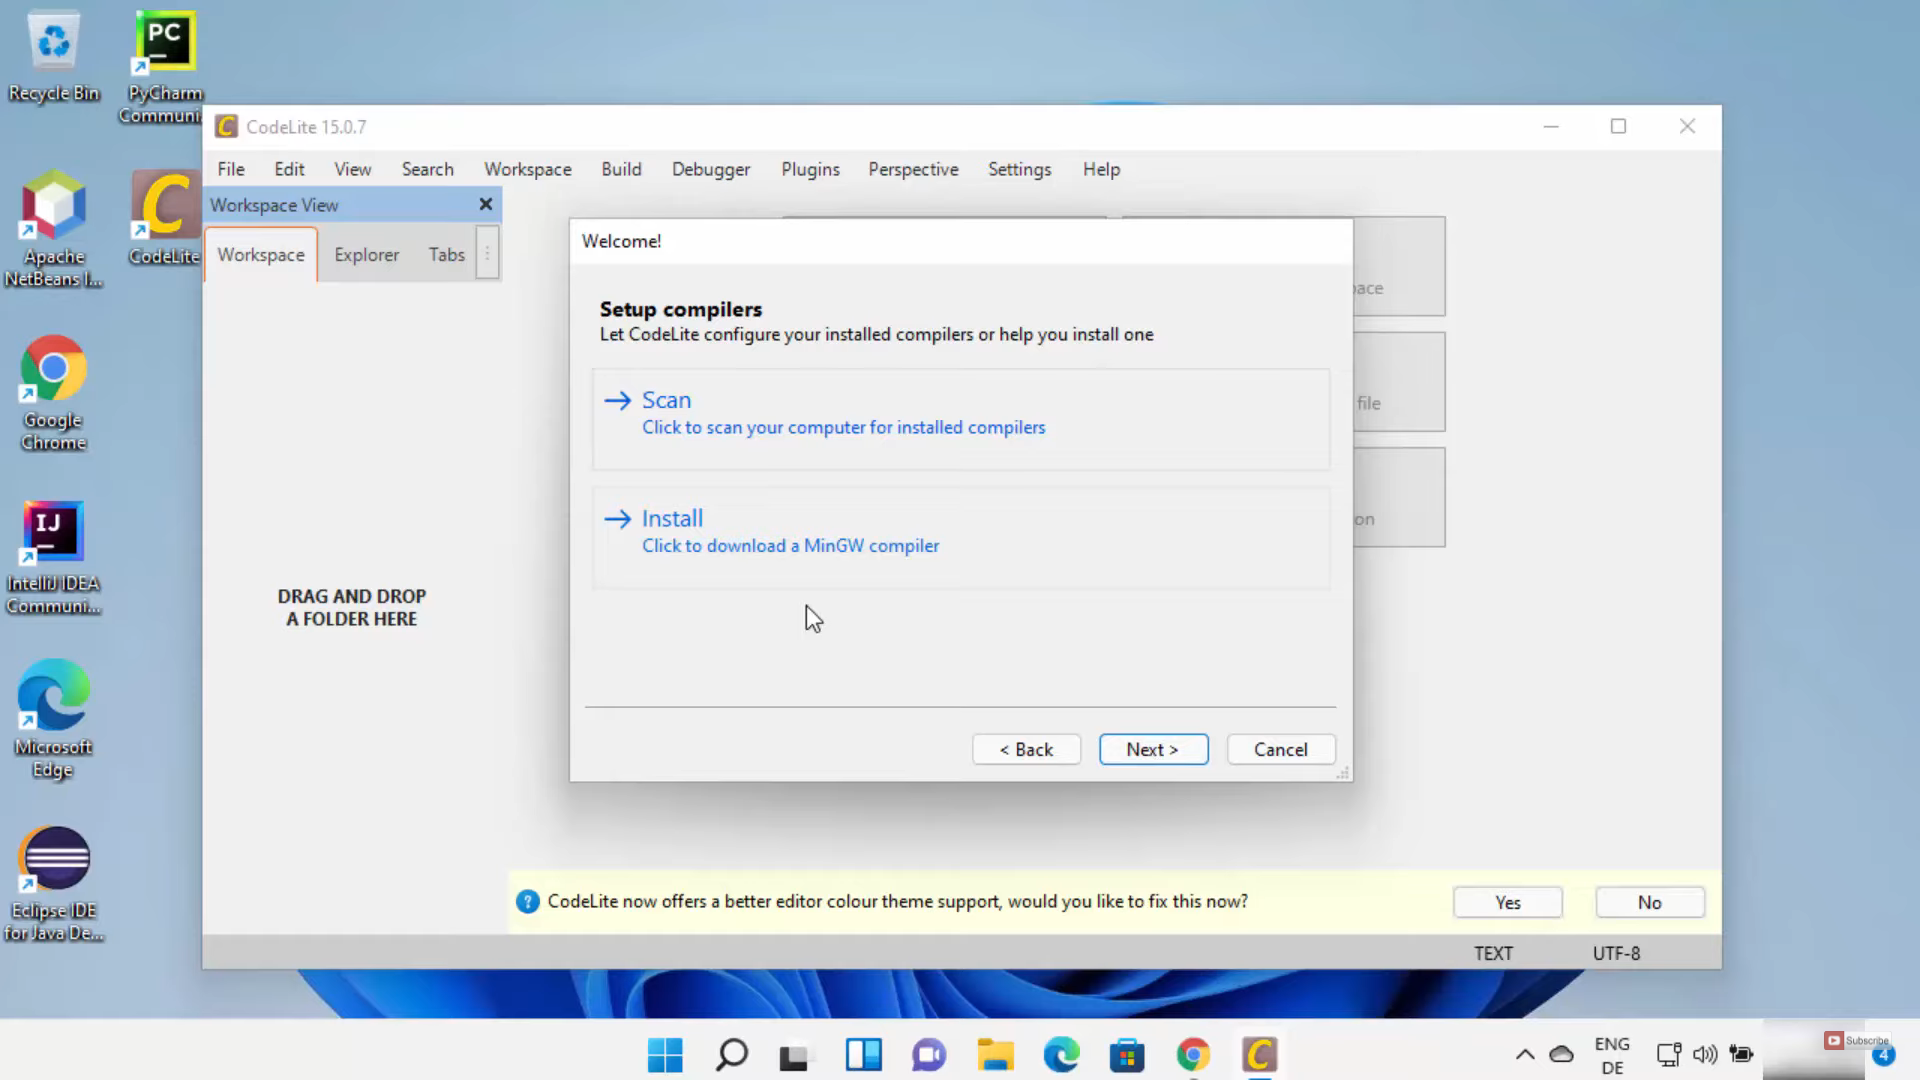
15. If you have already downloaded the MinGW compiler, click on Scan. If not, click on Install. I have already downloaded it, I am going to click on Scan.
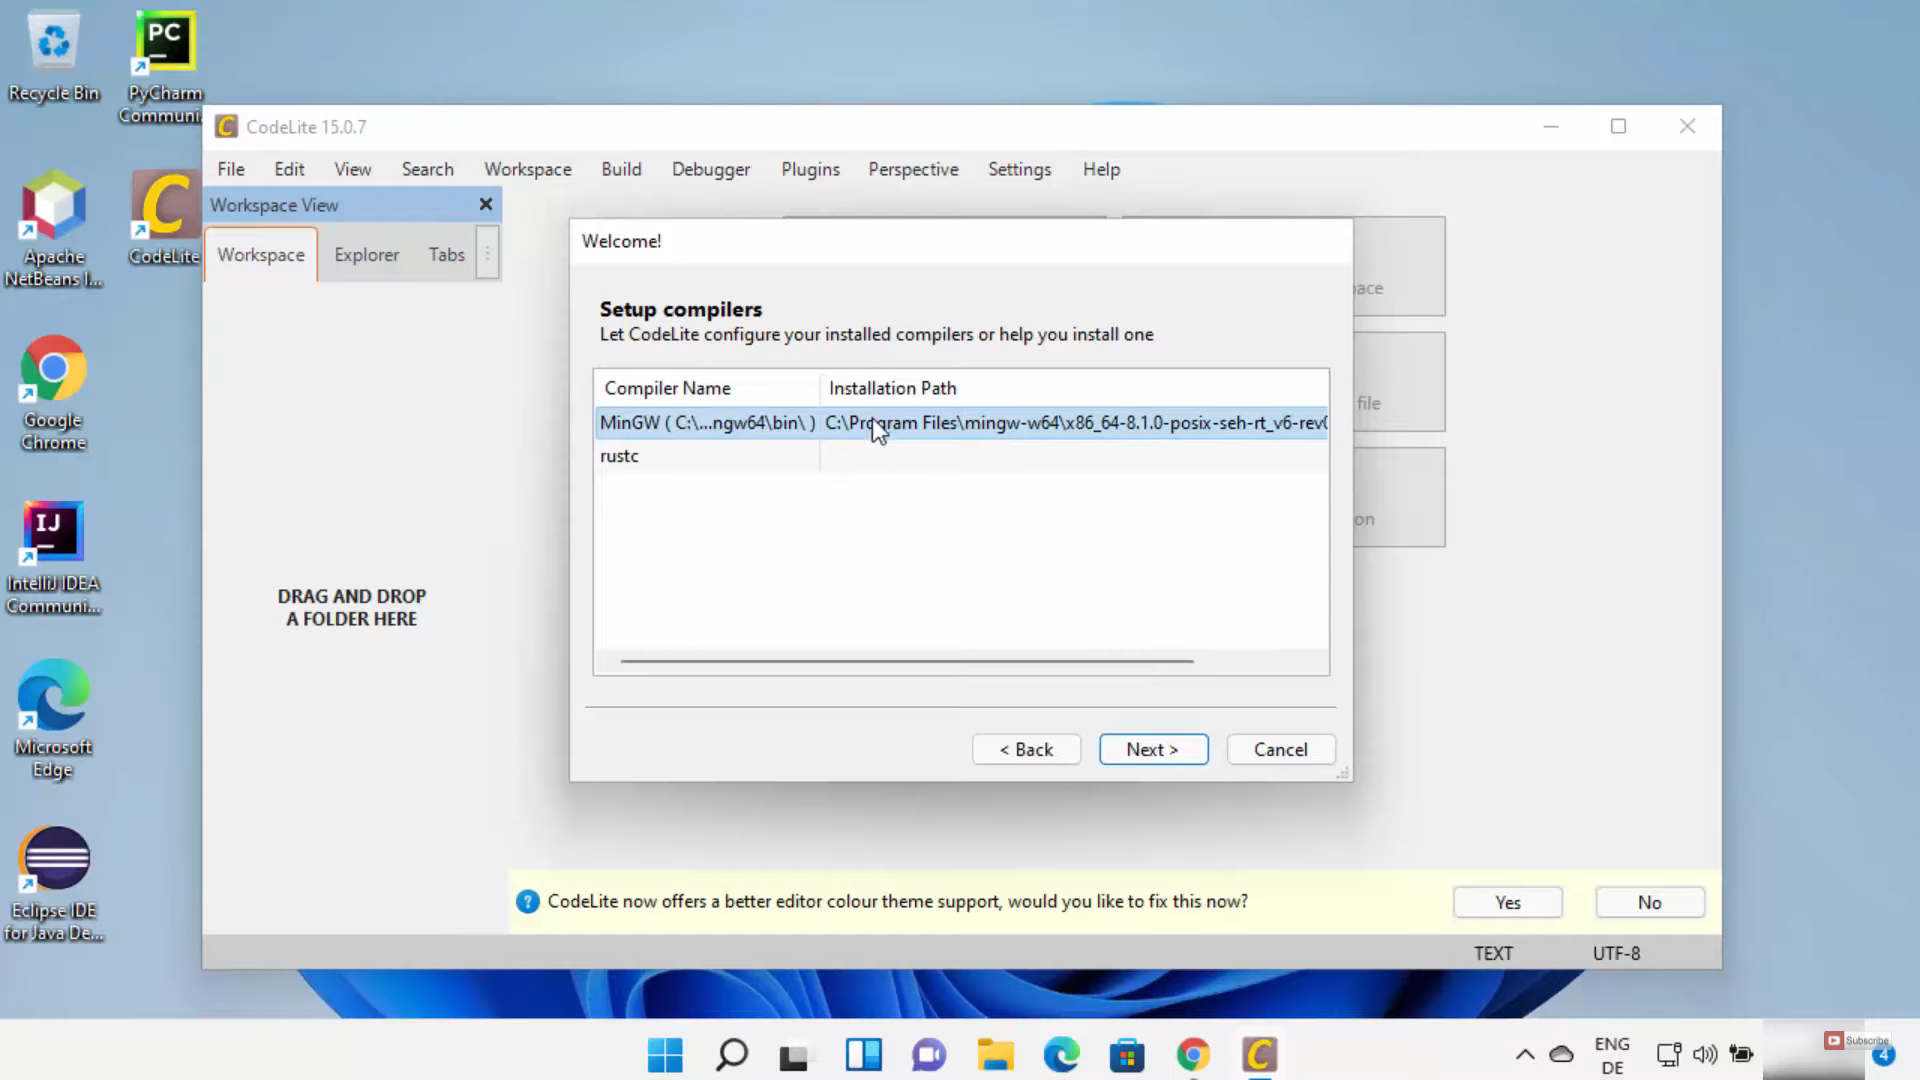
16. In the next window, select the path and click on Next.
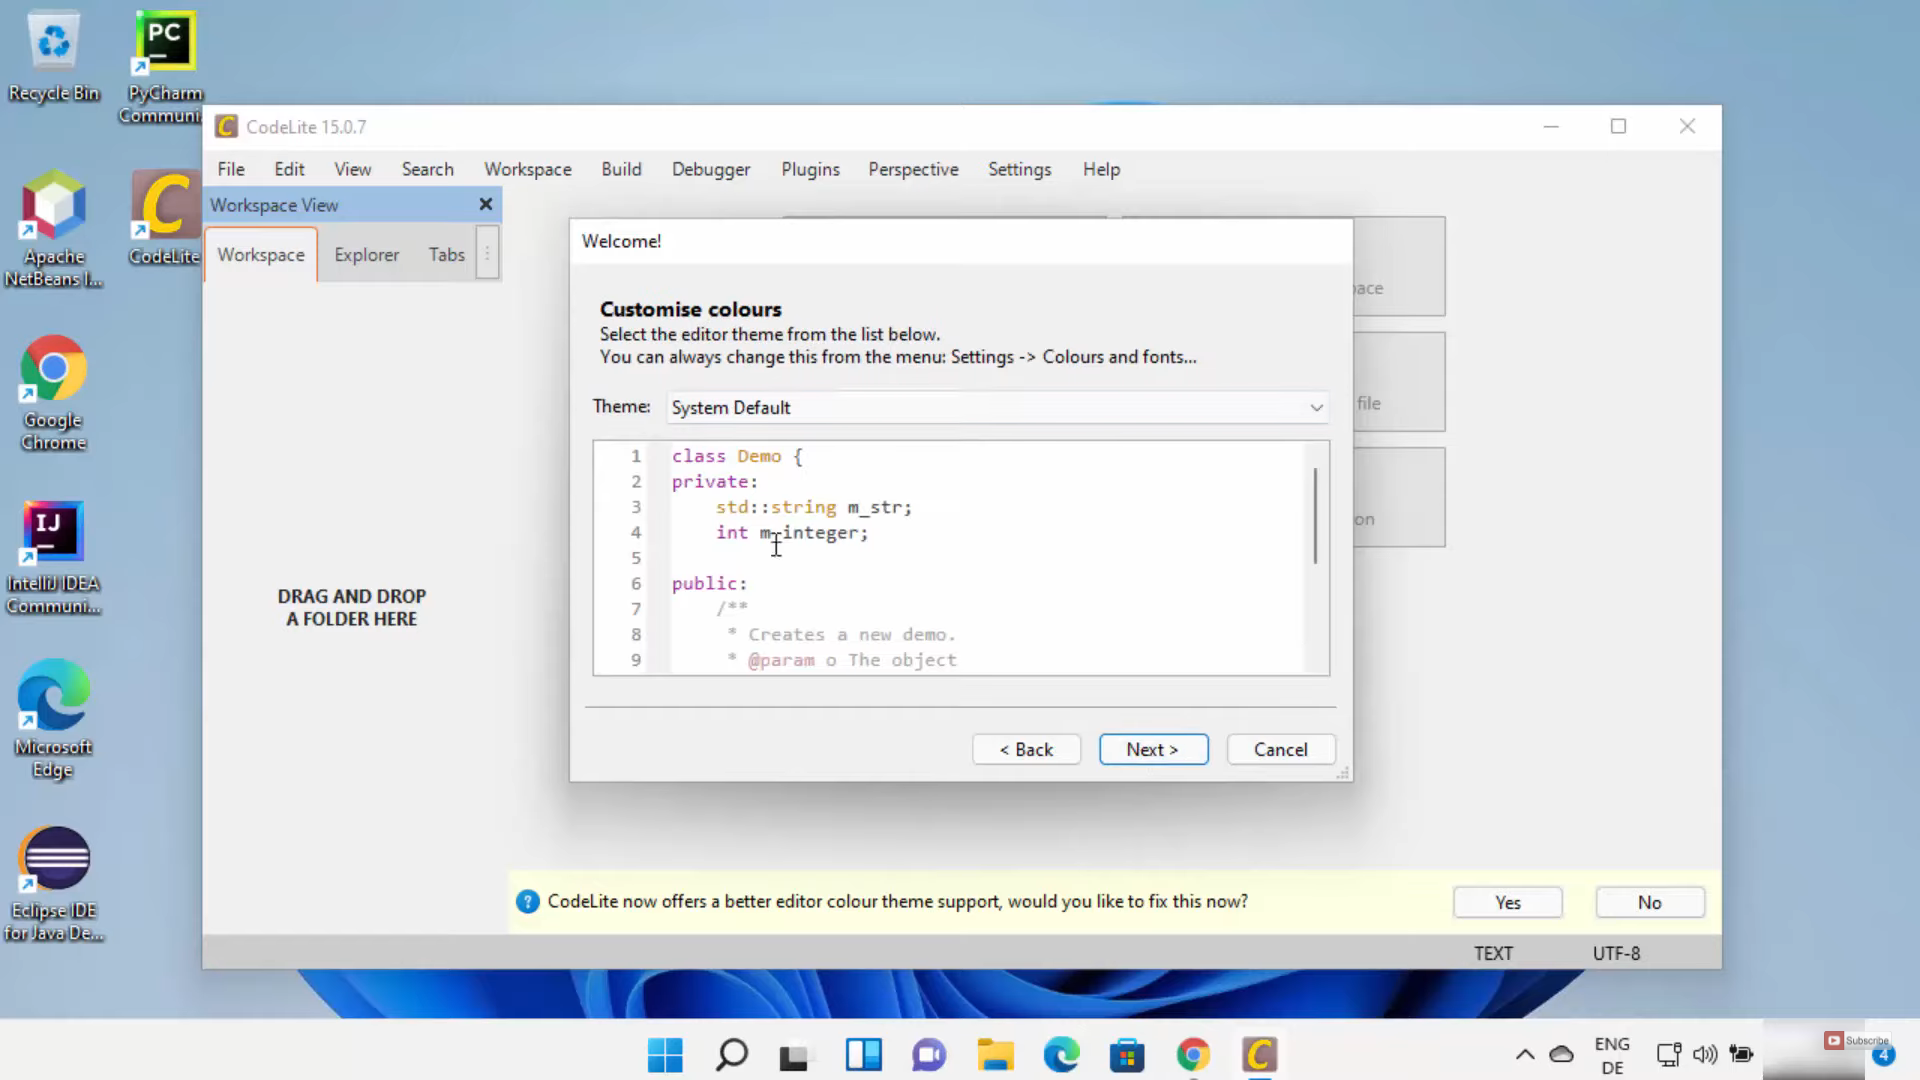
17. This will be the default theme of your codelite editor. If you want, you can change the theme. I am going to leave it as default and click on Next.
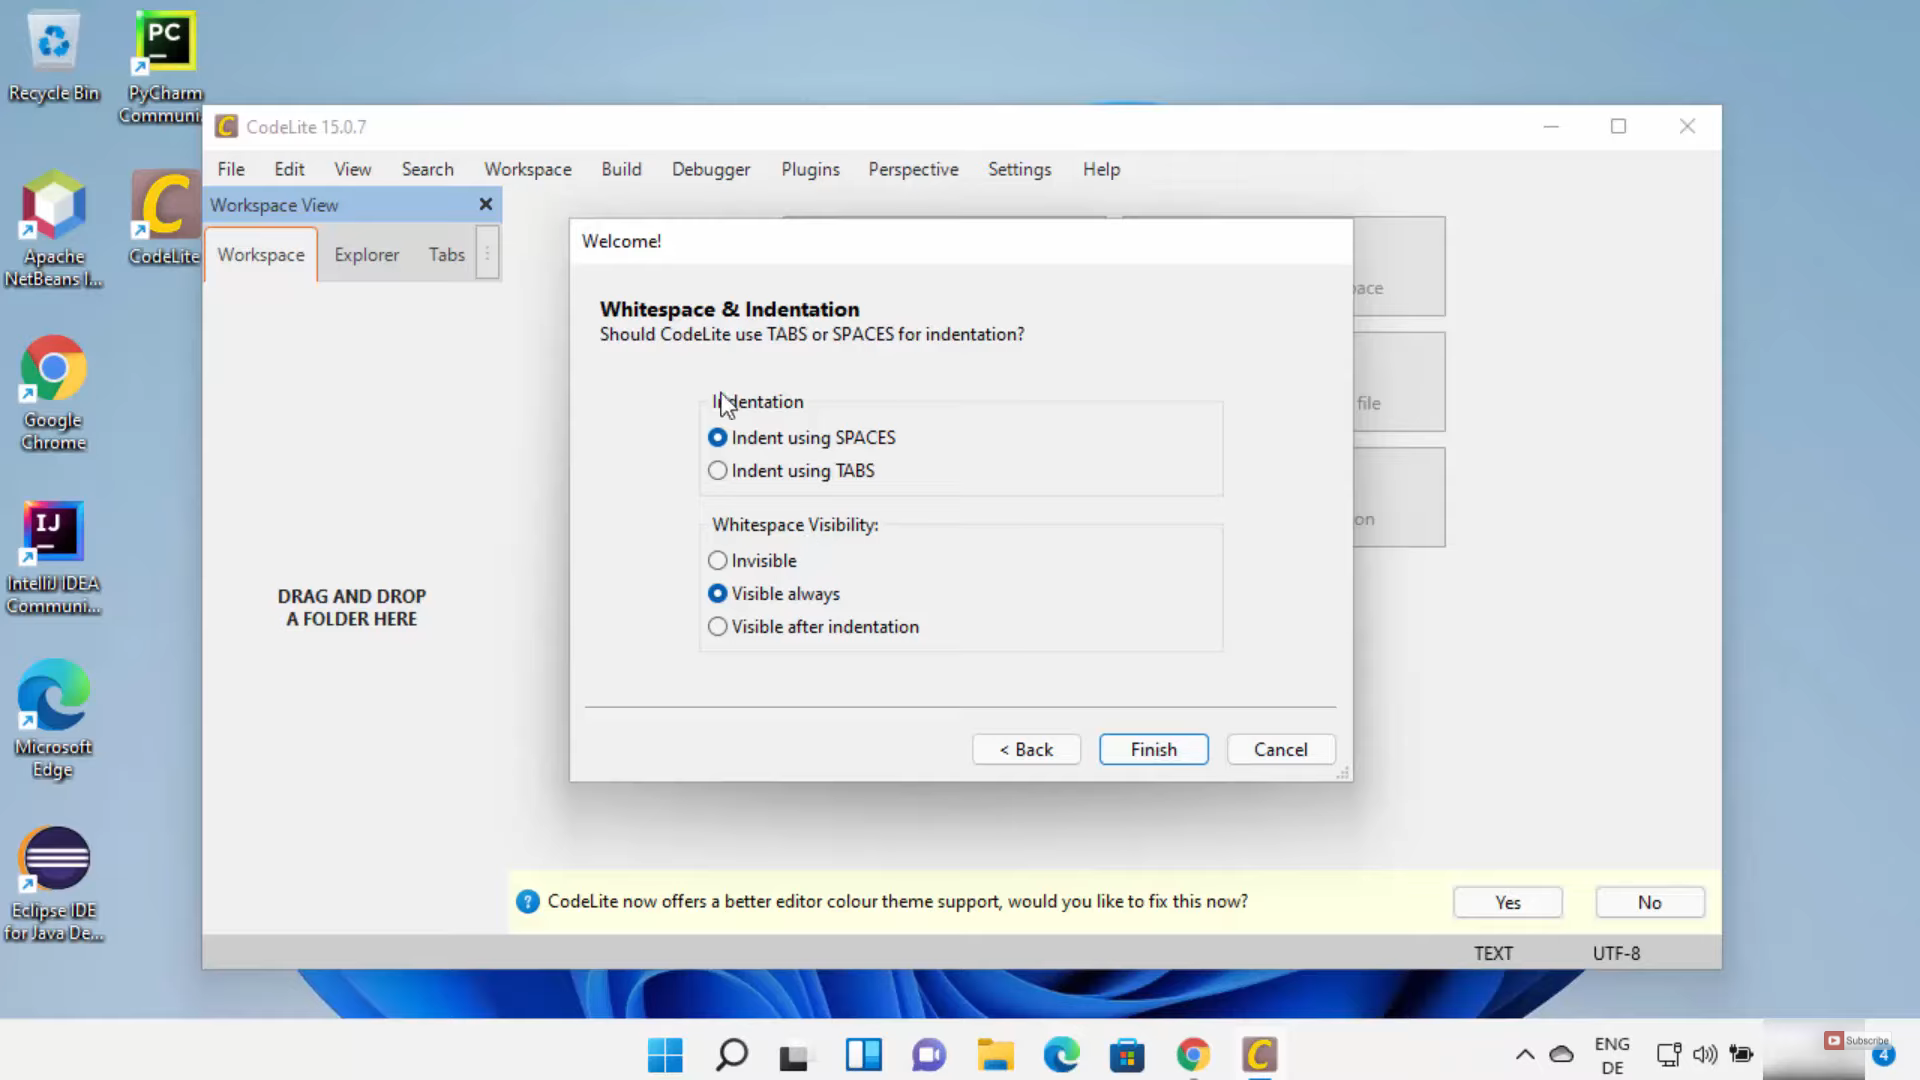
18. In the next window, I am going to leave everything as default. Then, click on Finish.
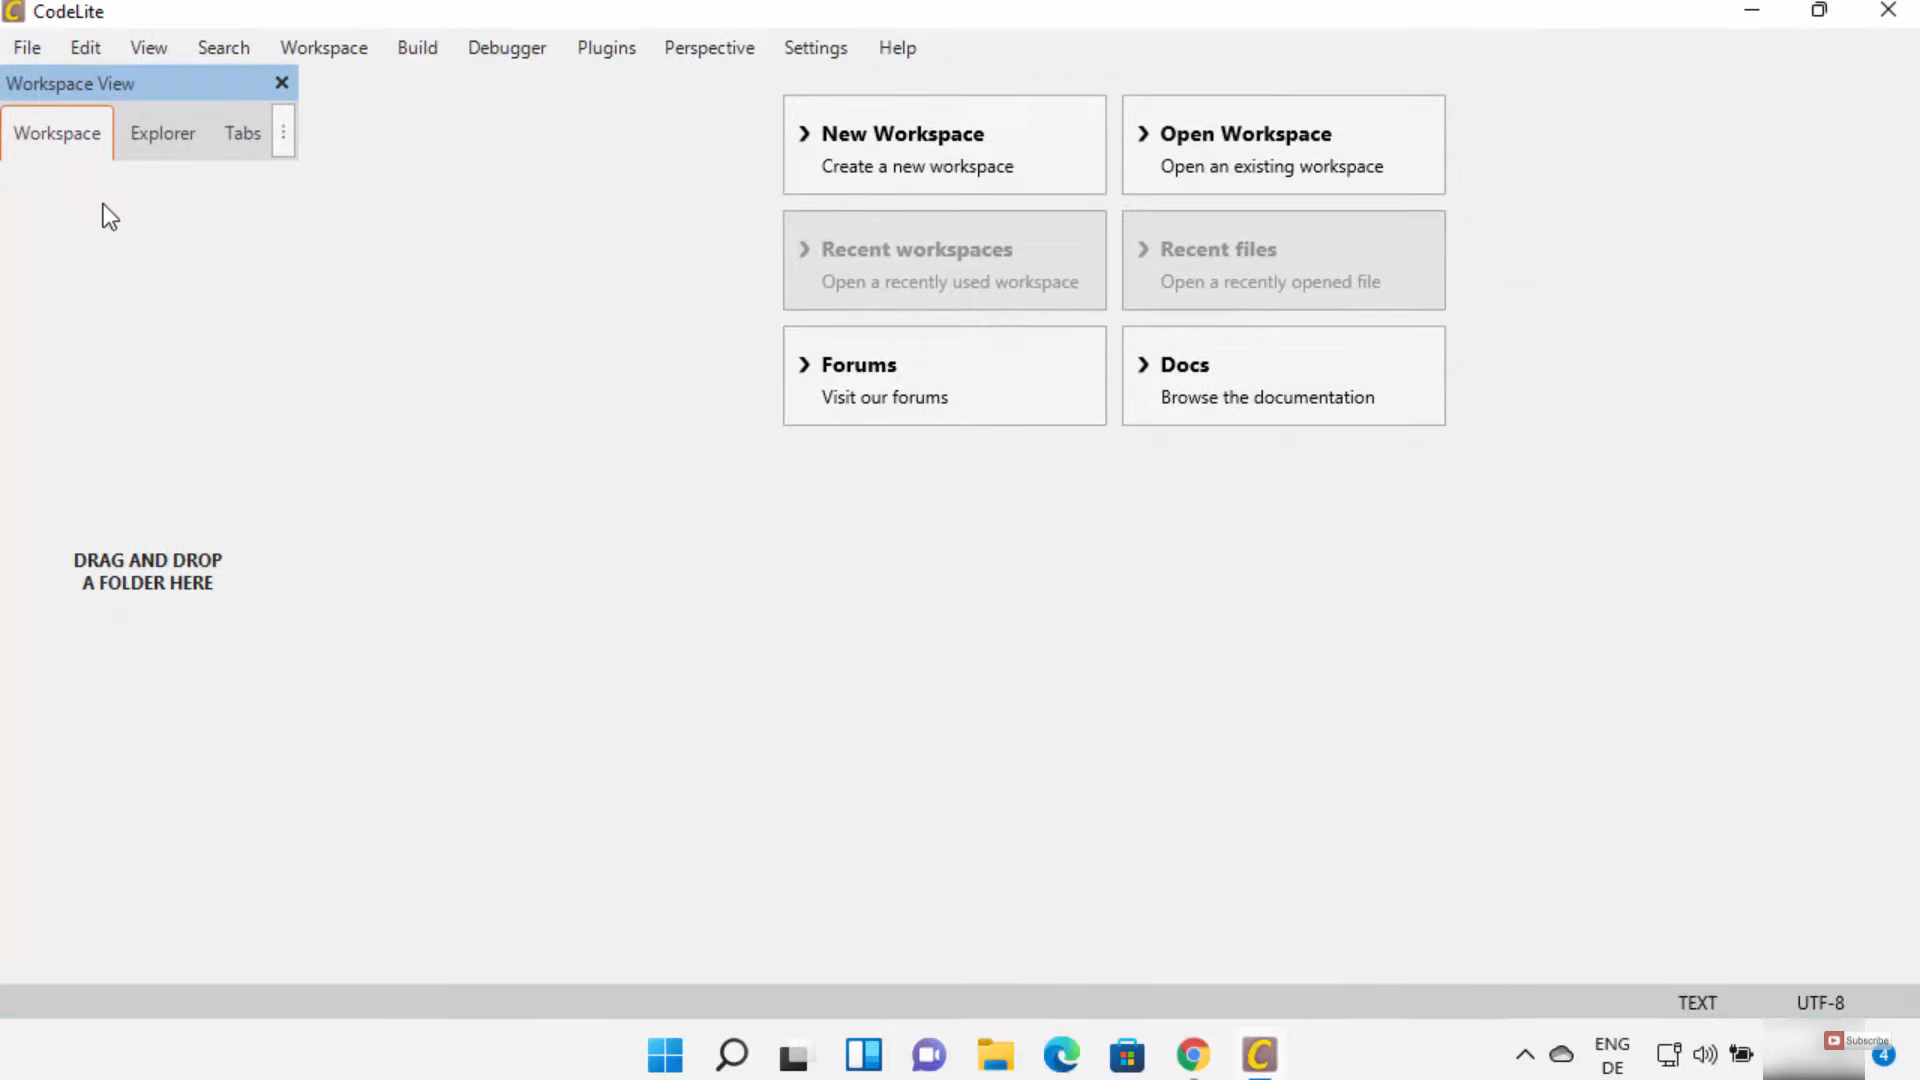
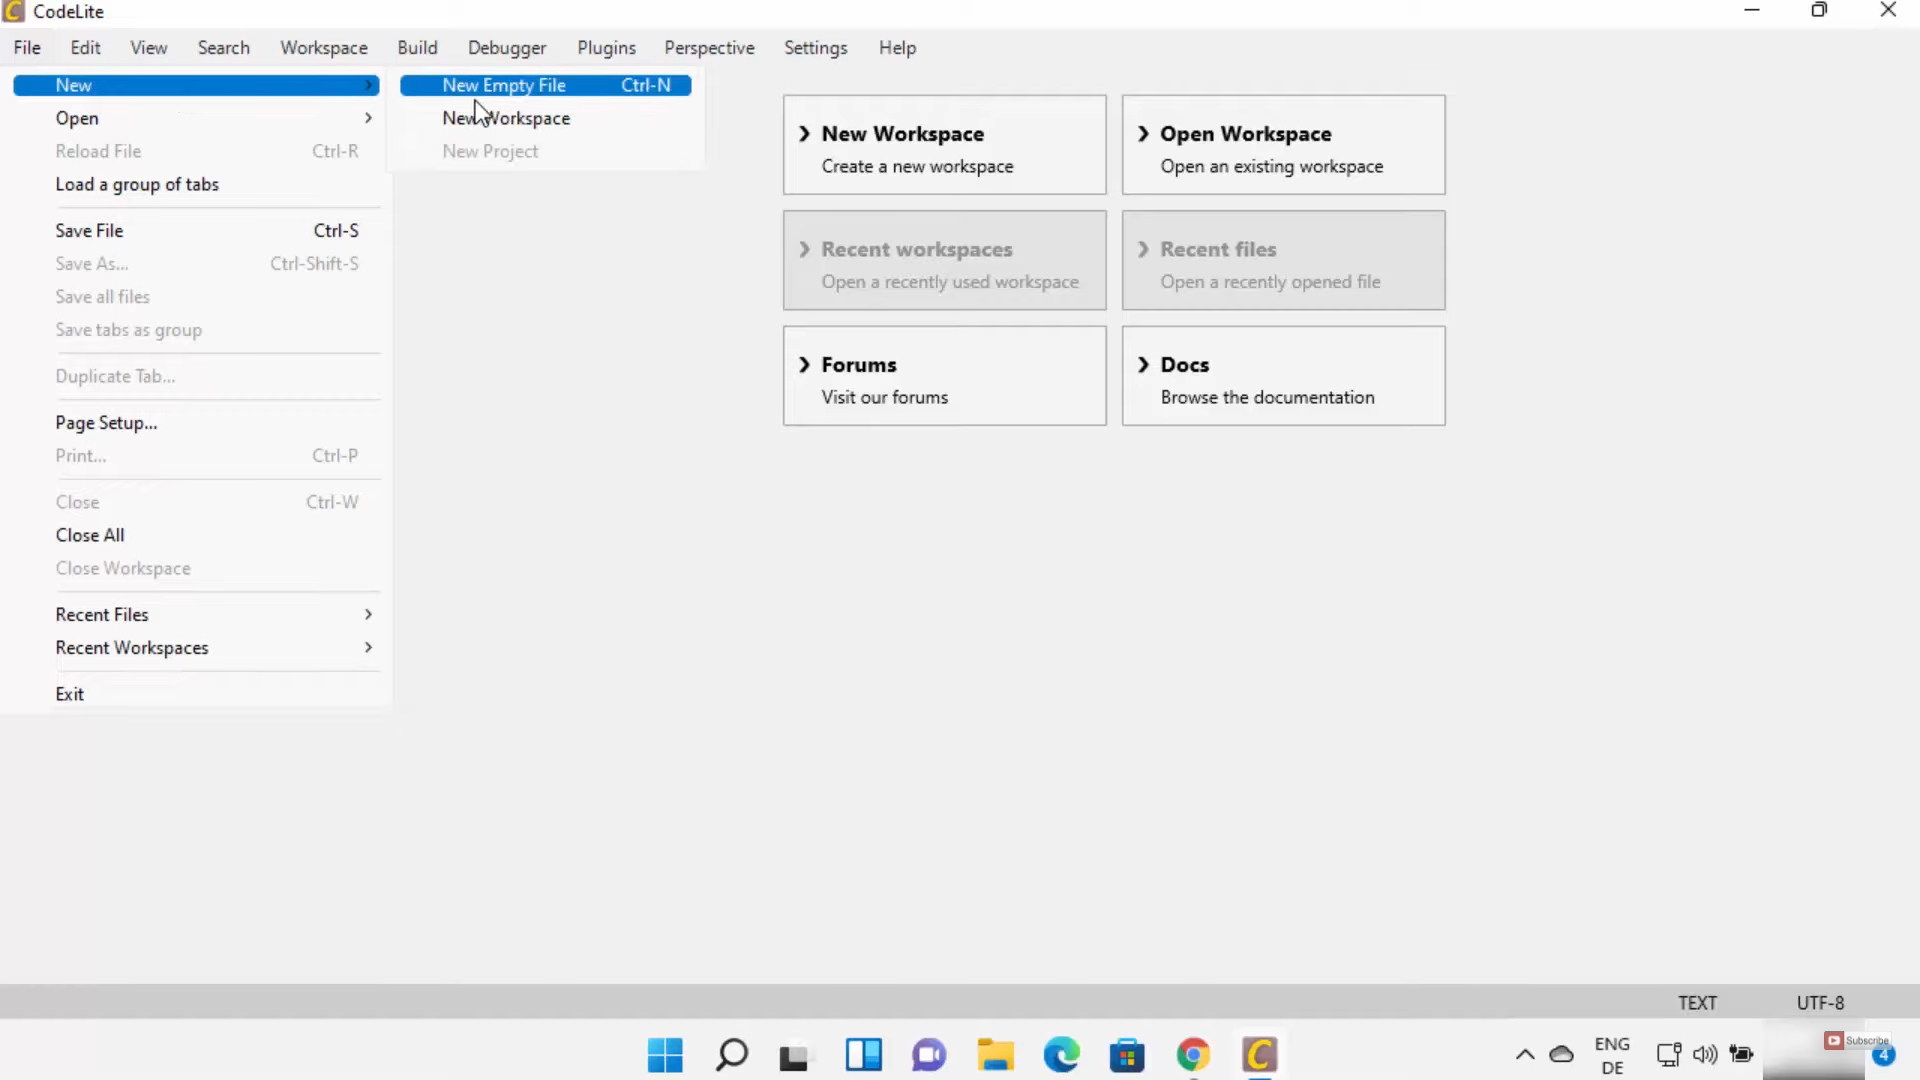
19. Now I am going to create a new C++ project. Click on File and click on New. Then, click on New Workspace.
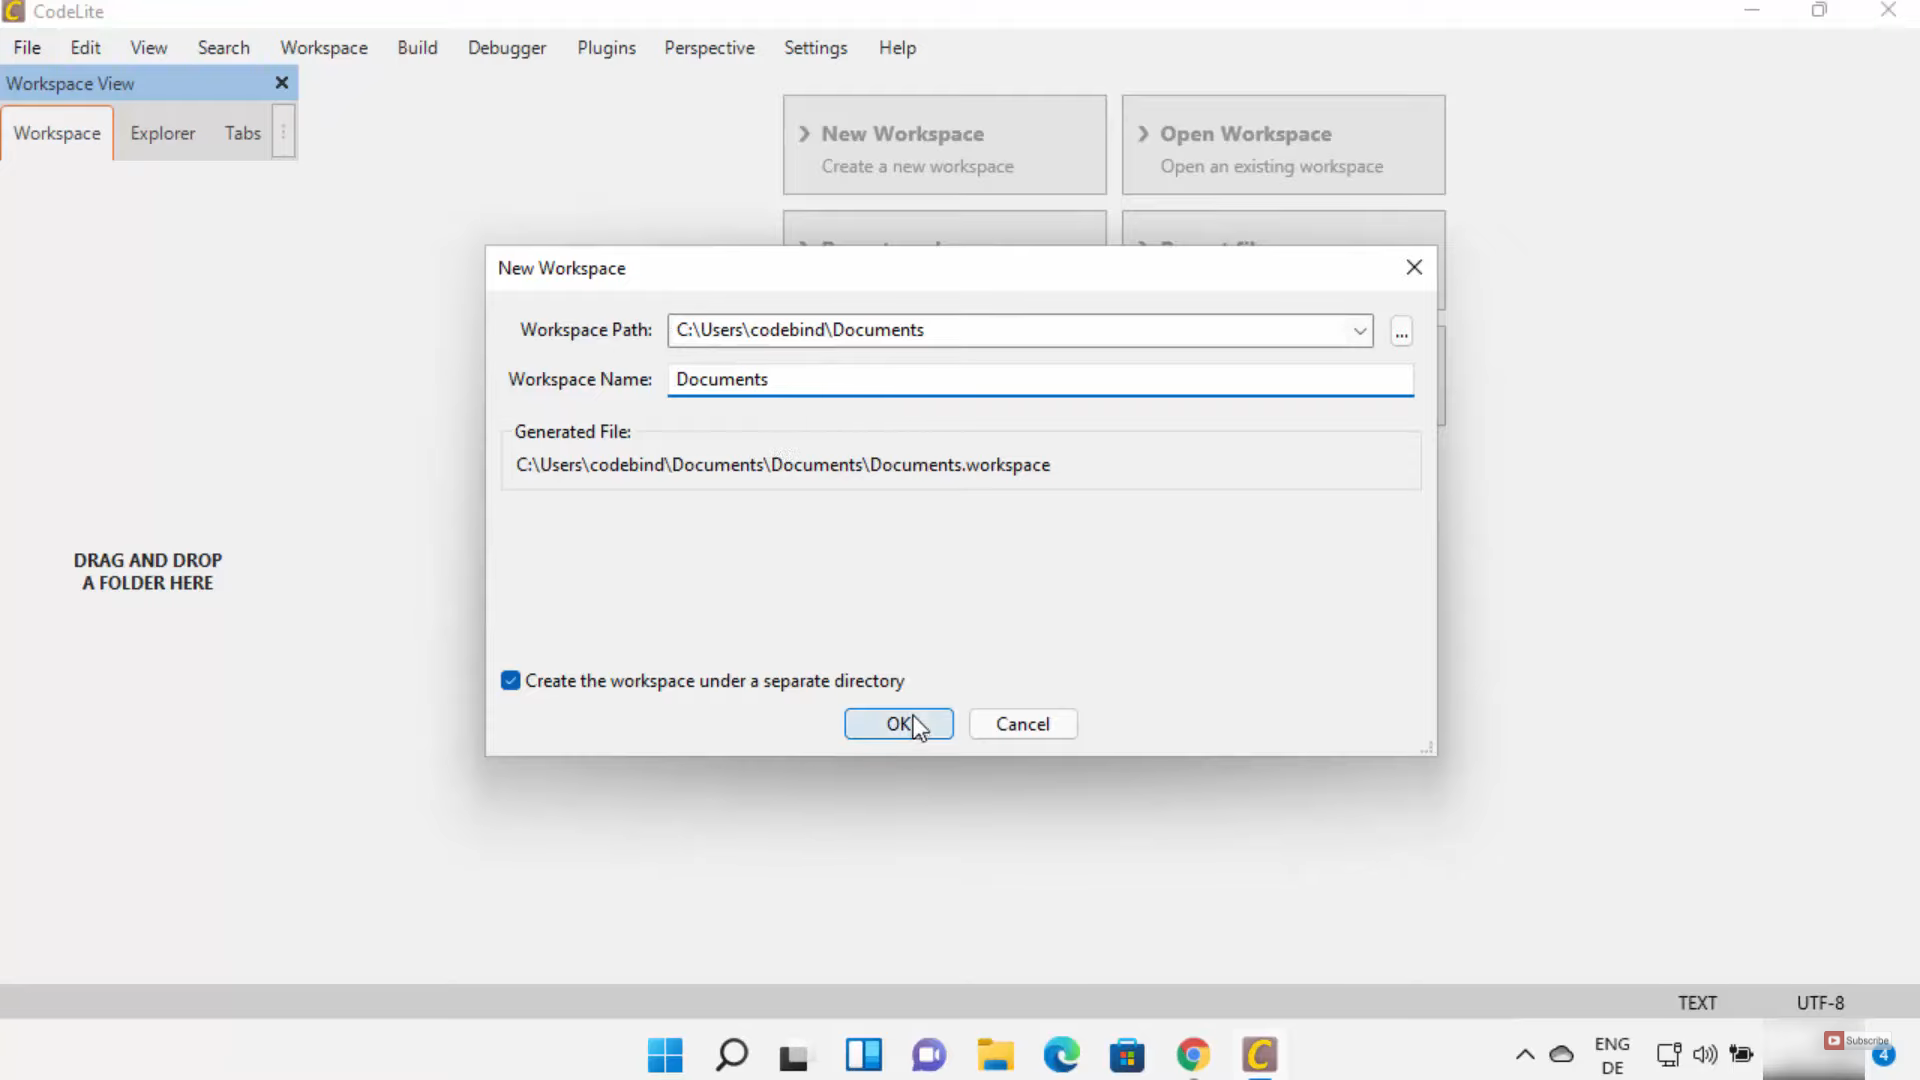
20. In the workspace type window, click on Ok.
21. This will be the location where your project will be saved. I am going to leave it as default and click on Ok.
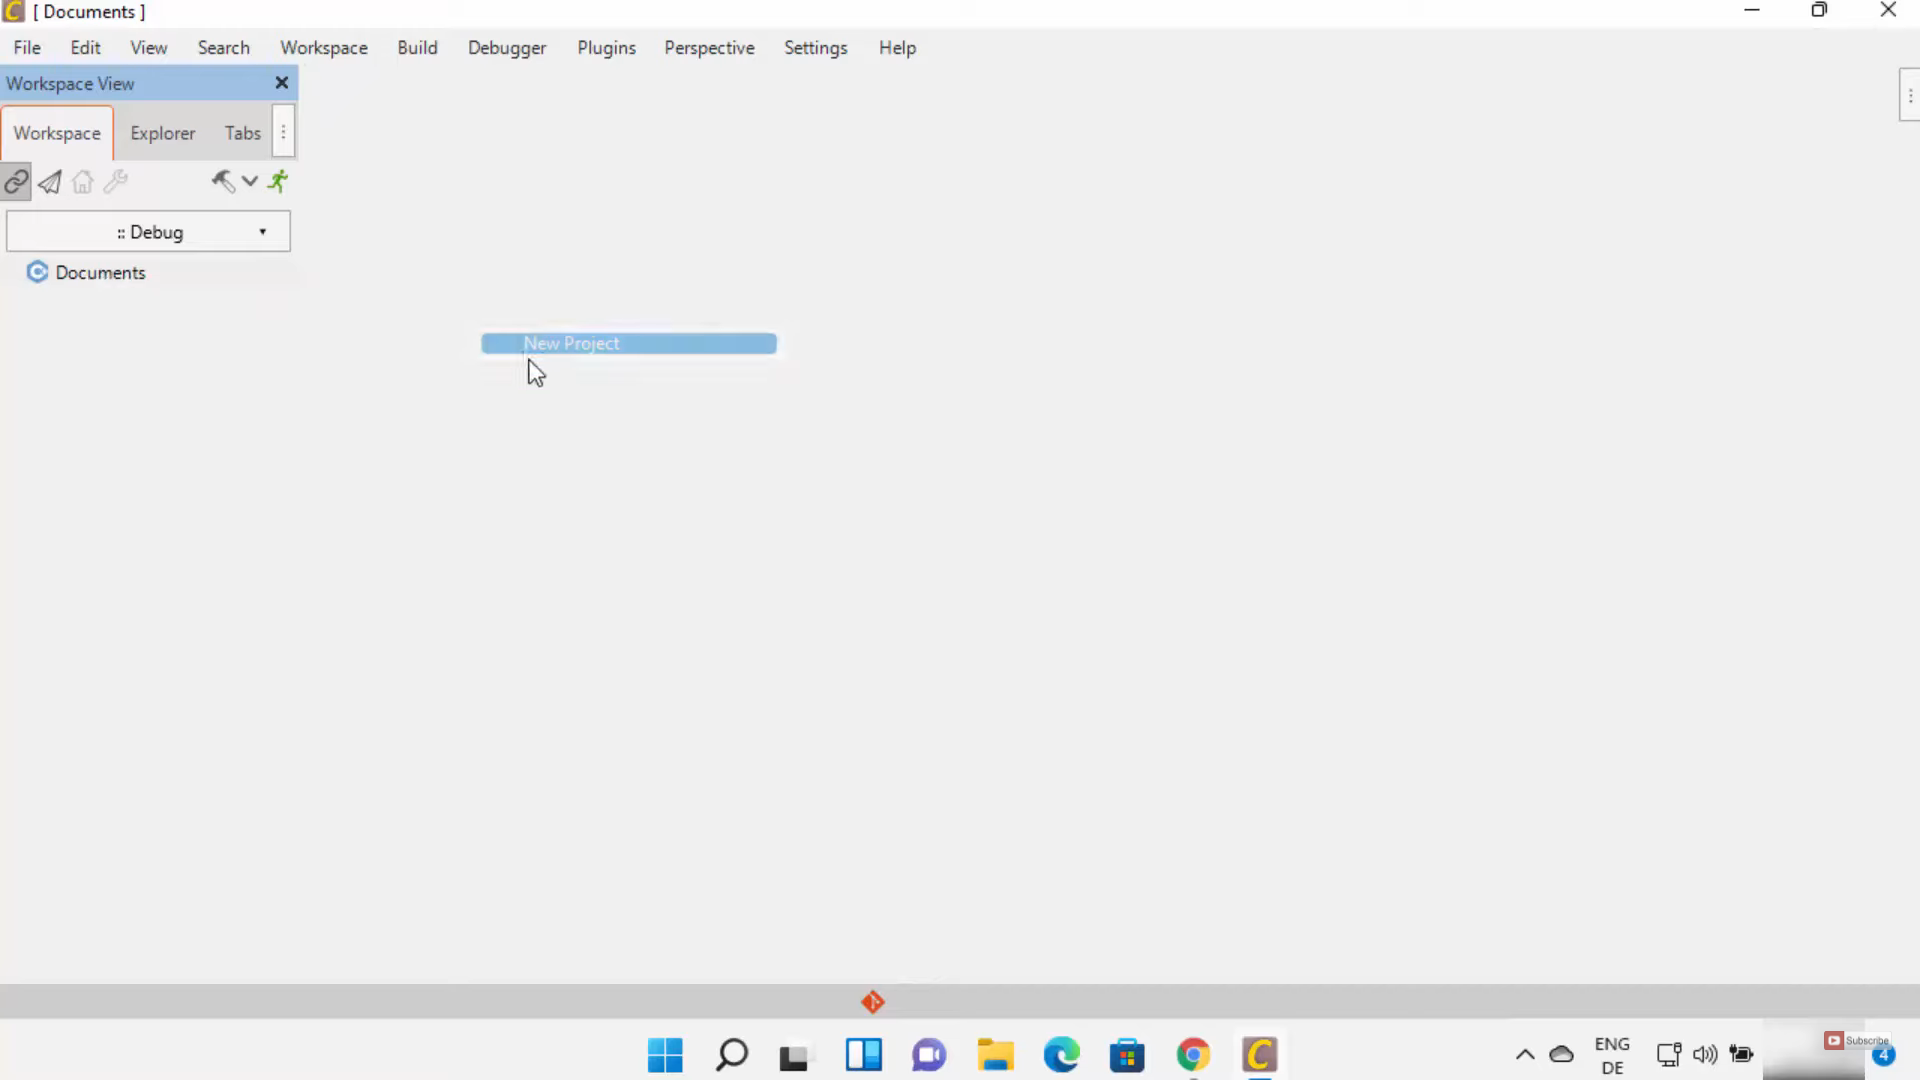
22. Under documents, you need to click on Workspace and create a new project.
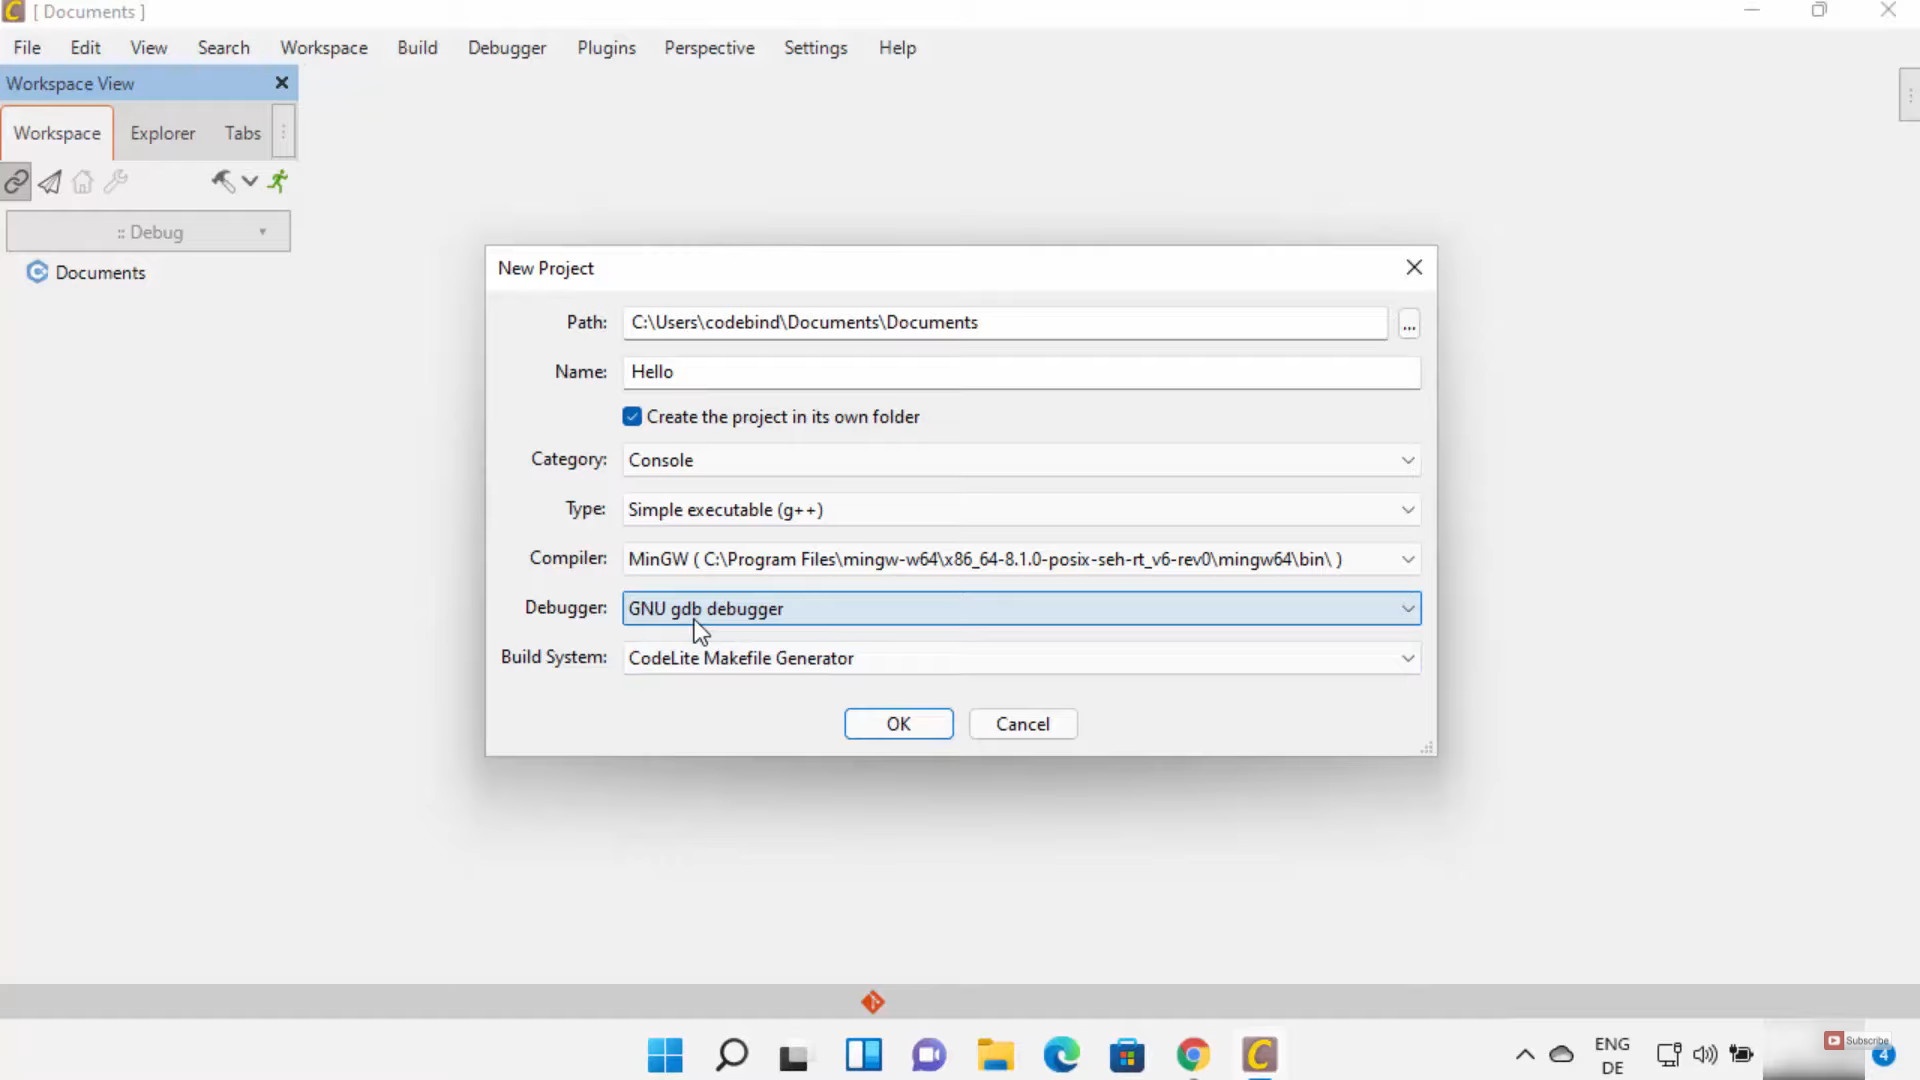
23. Here, you can give a name to your project. I am going to name it Hello. You can provide a category. I am going to choose Console. Under type, I am going to choose Simple executable (g++). You can also choose the debugger. I am going to choose the GNU gdb debugger. Then, click on Ok.
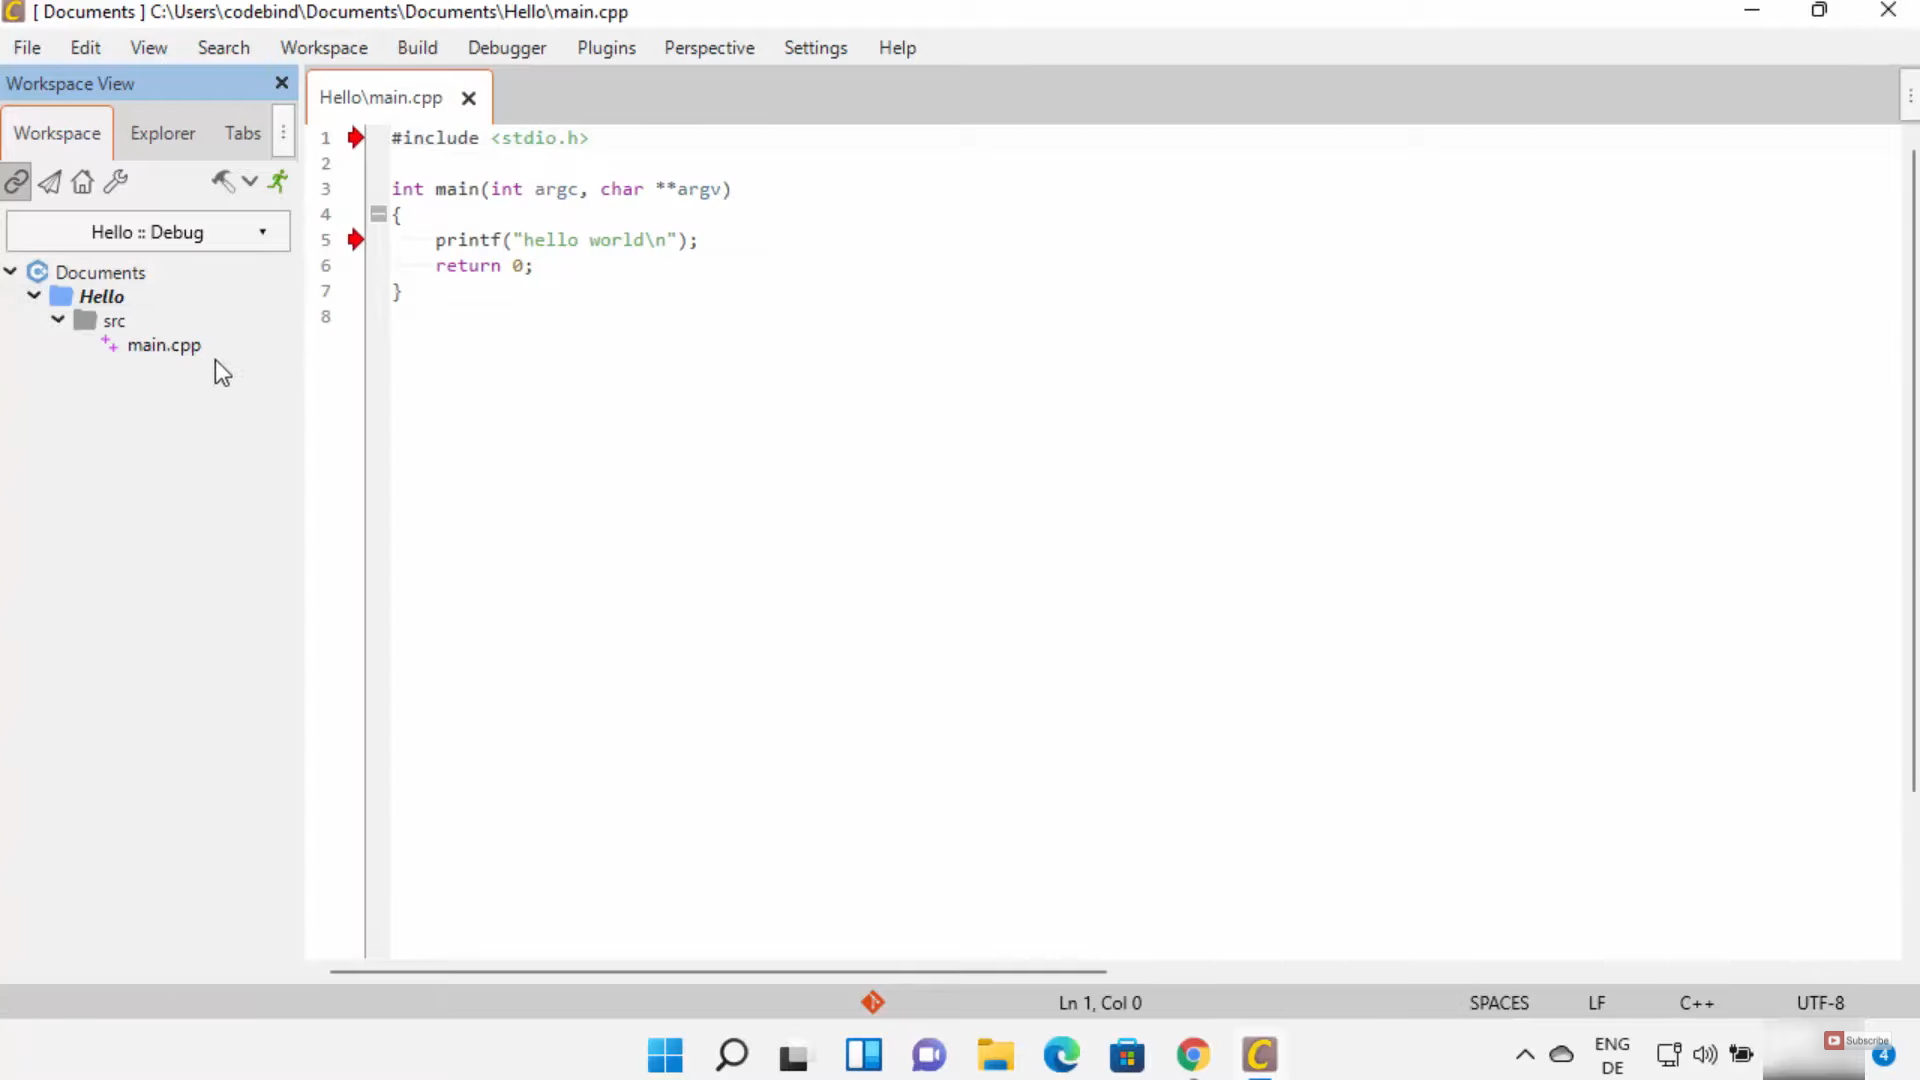
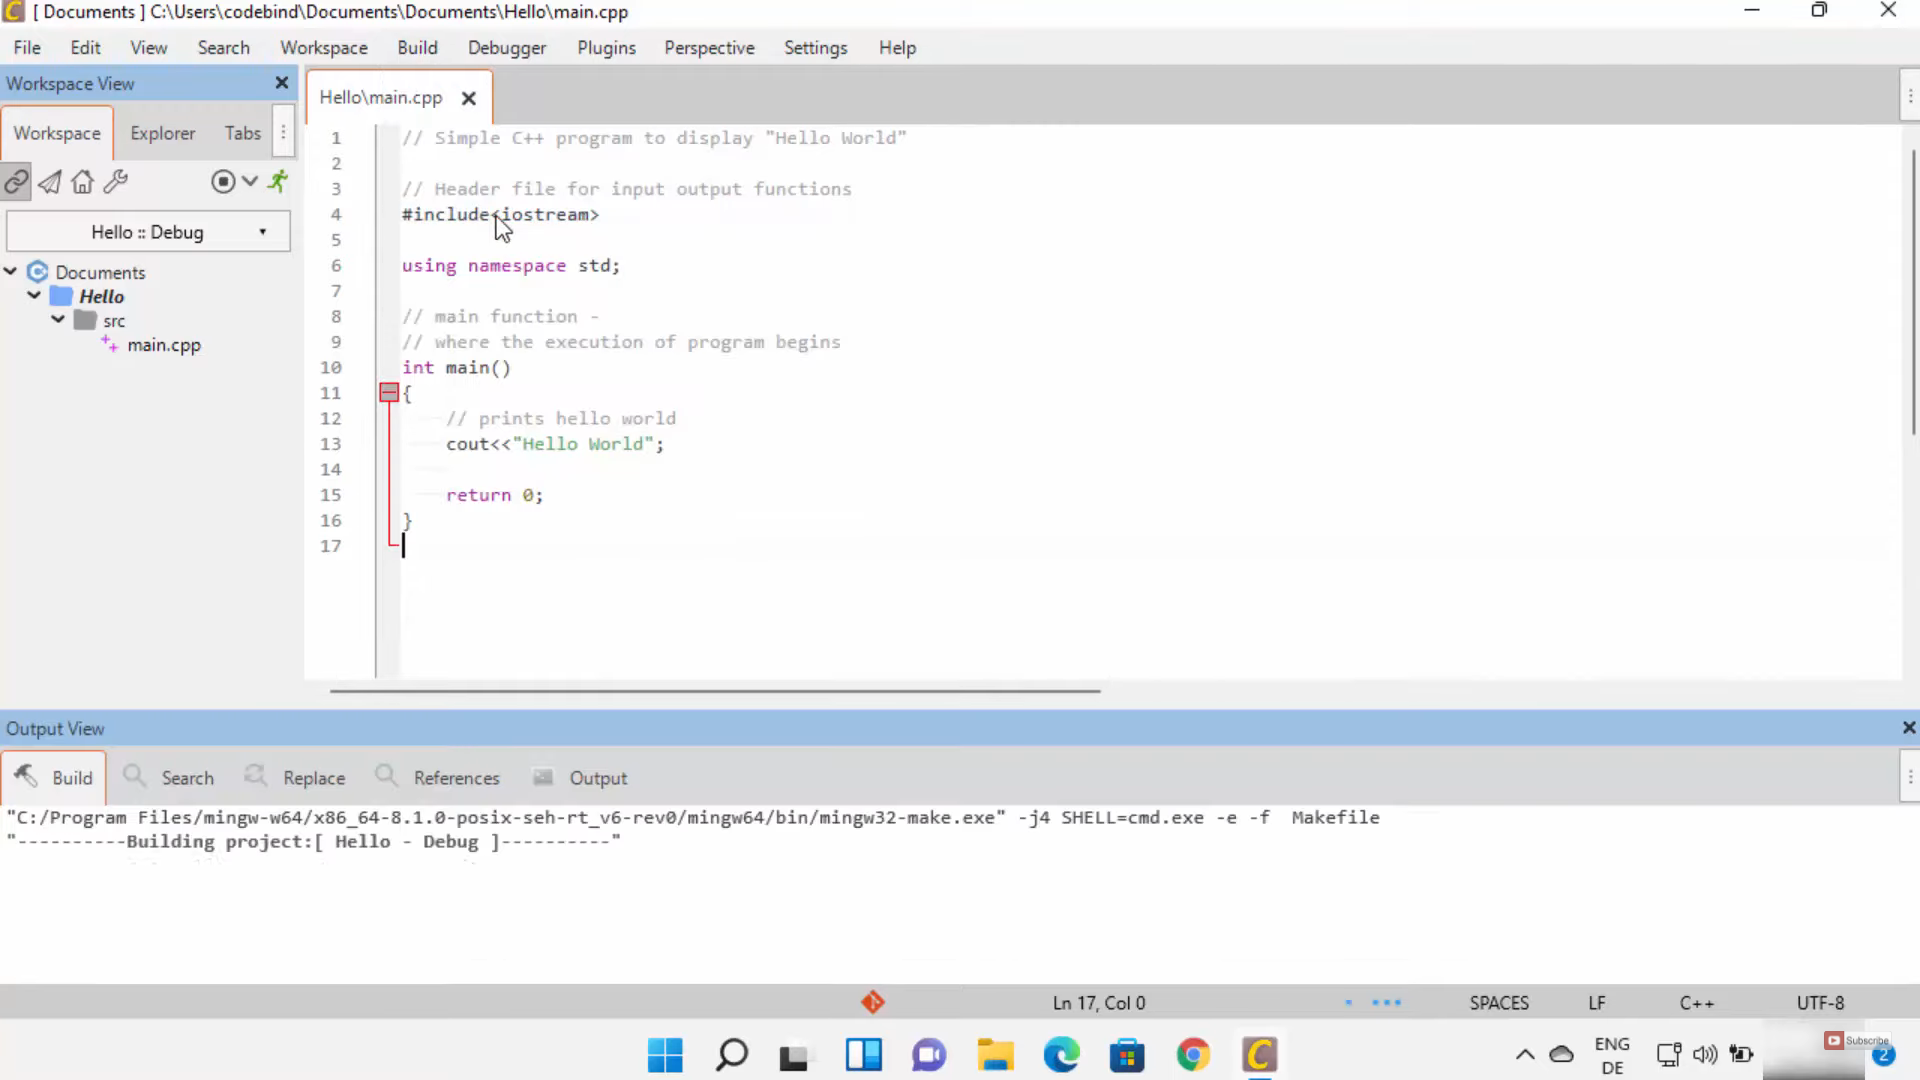
24. Now, the main.cpp file is available. In this file, a C program is already created. I am going to replace it with a C++ program.
25. I am going to paste a C++ program. For building this C++ program, click on the Build option at the top. Then, click on Build Project.

26. It will build your C++ program. You will be able to see the confirmation message as well. There are no errors and warnings.
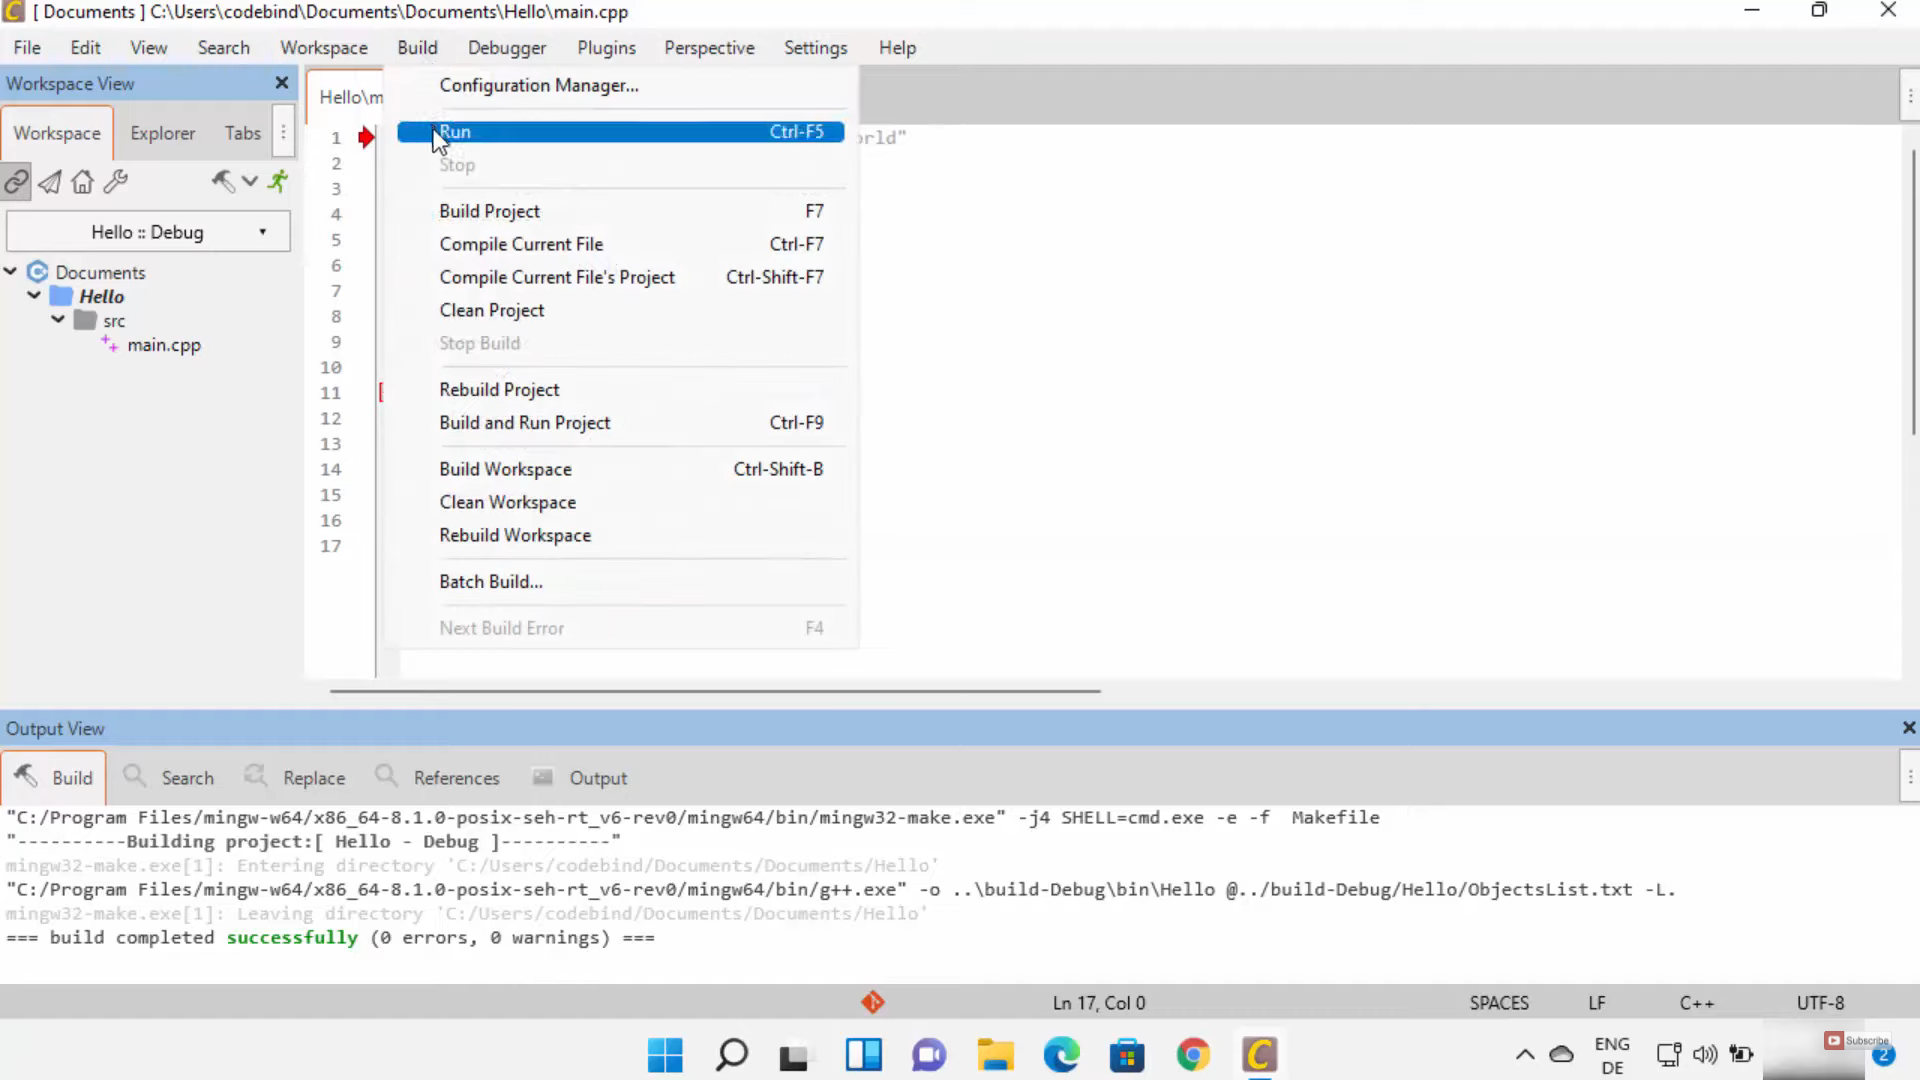
27. Now, I can run this by clicking on Build once again. Click on Run.
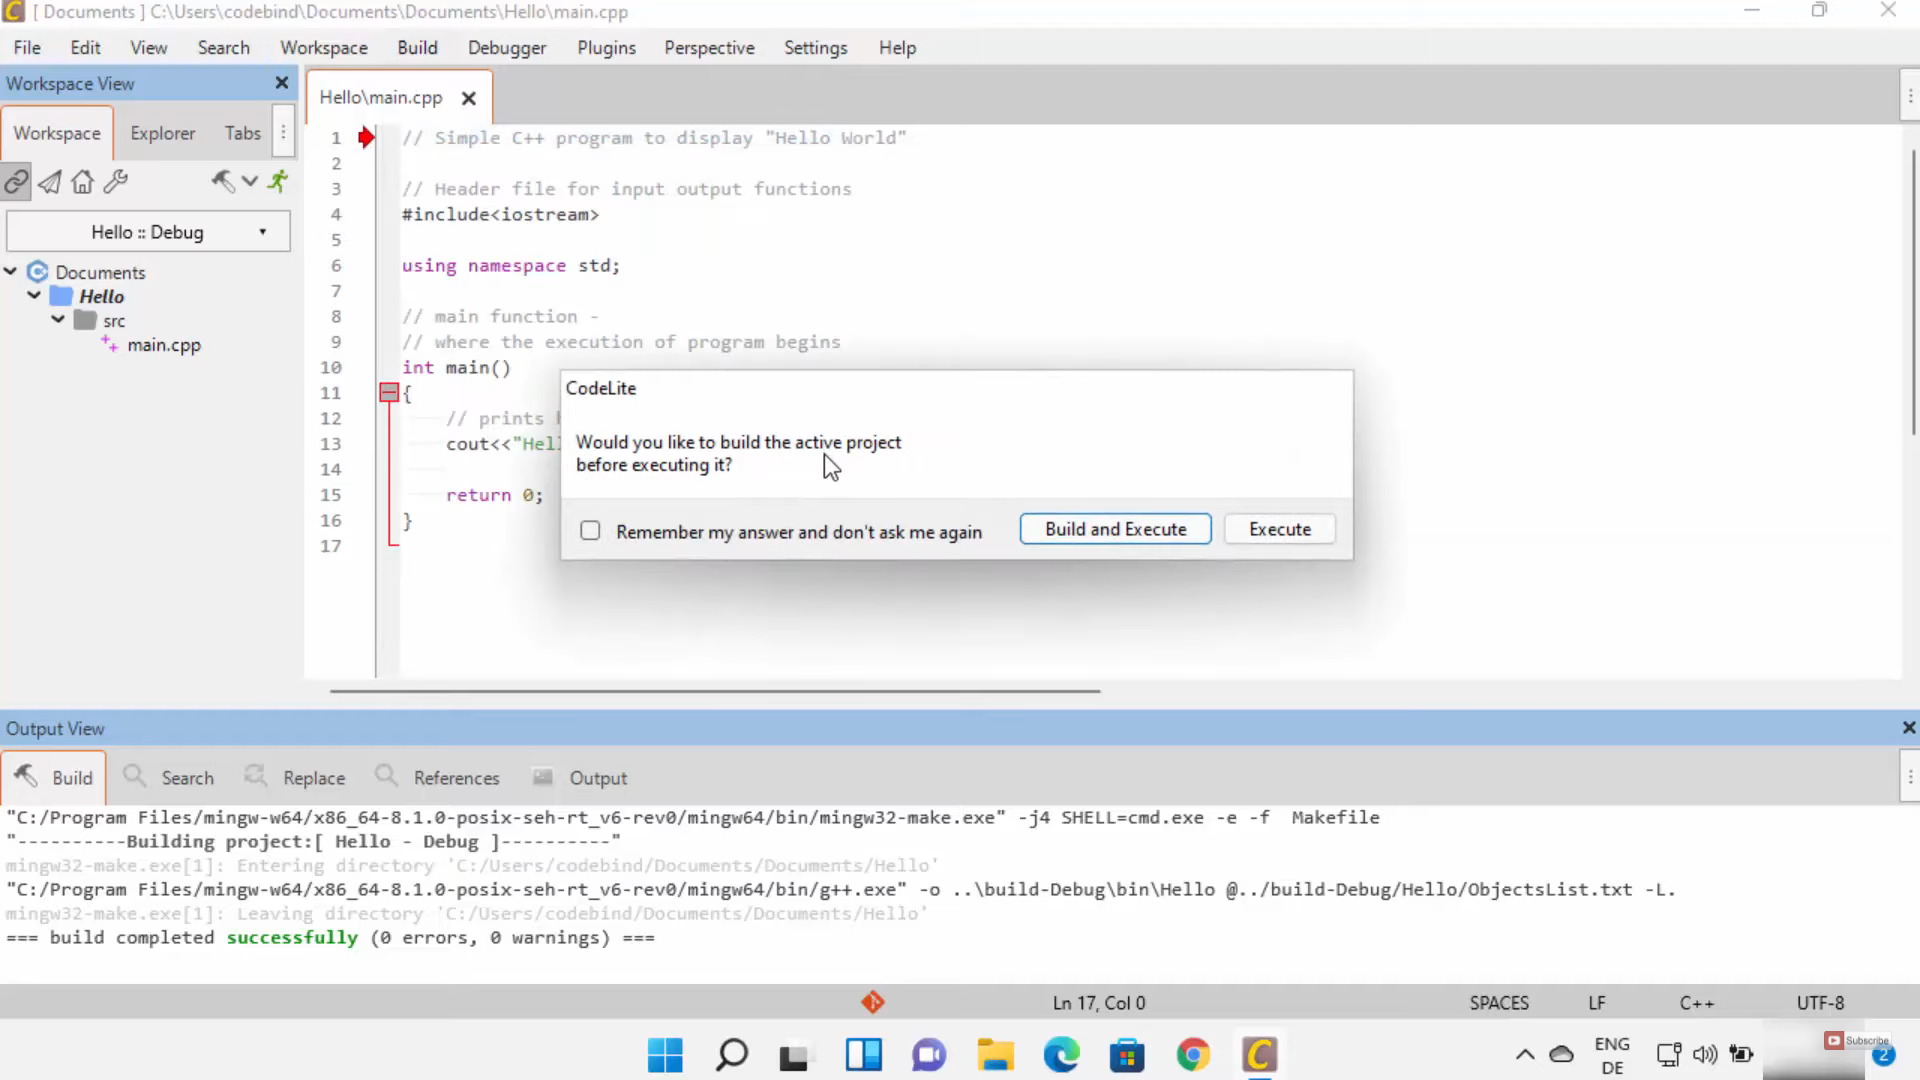
28. It will provide a warning. I am going to click on Build and Execute. Because it is a good practice.
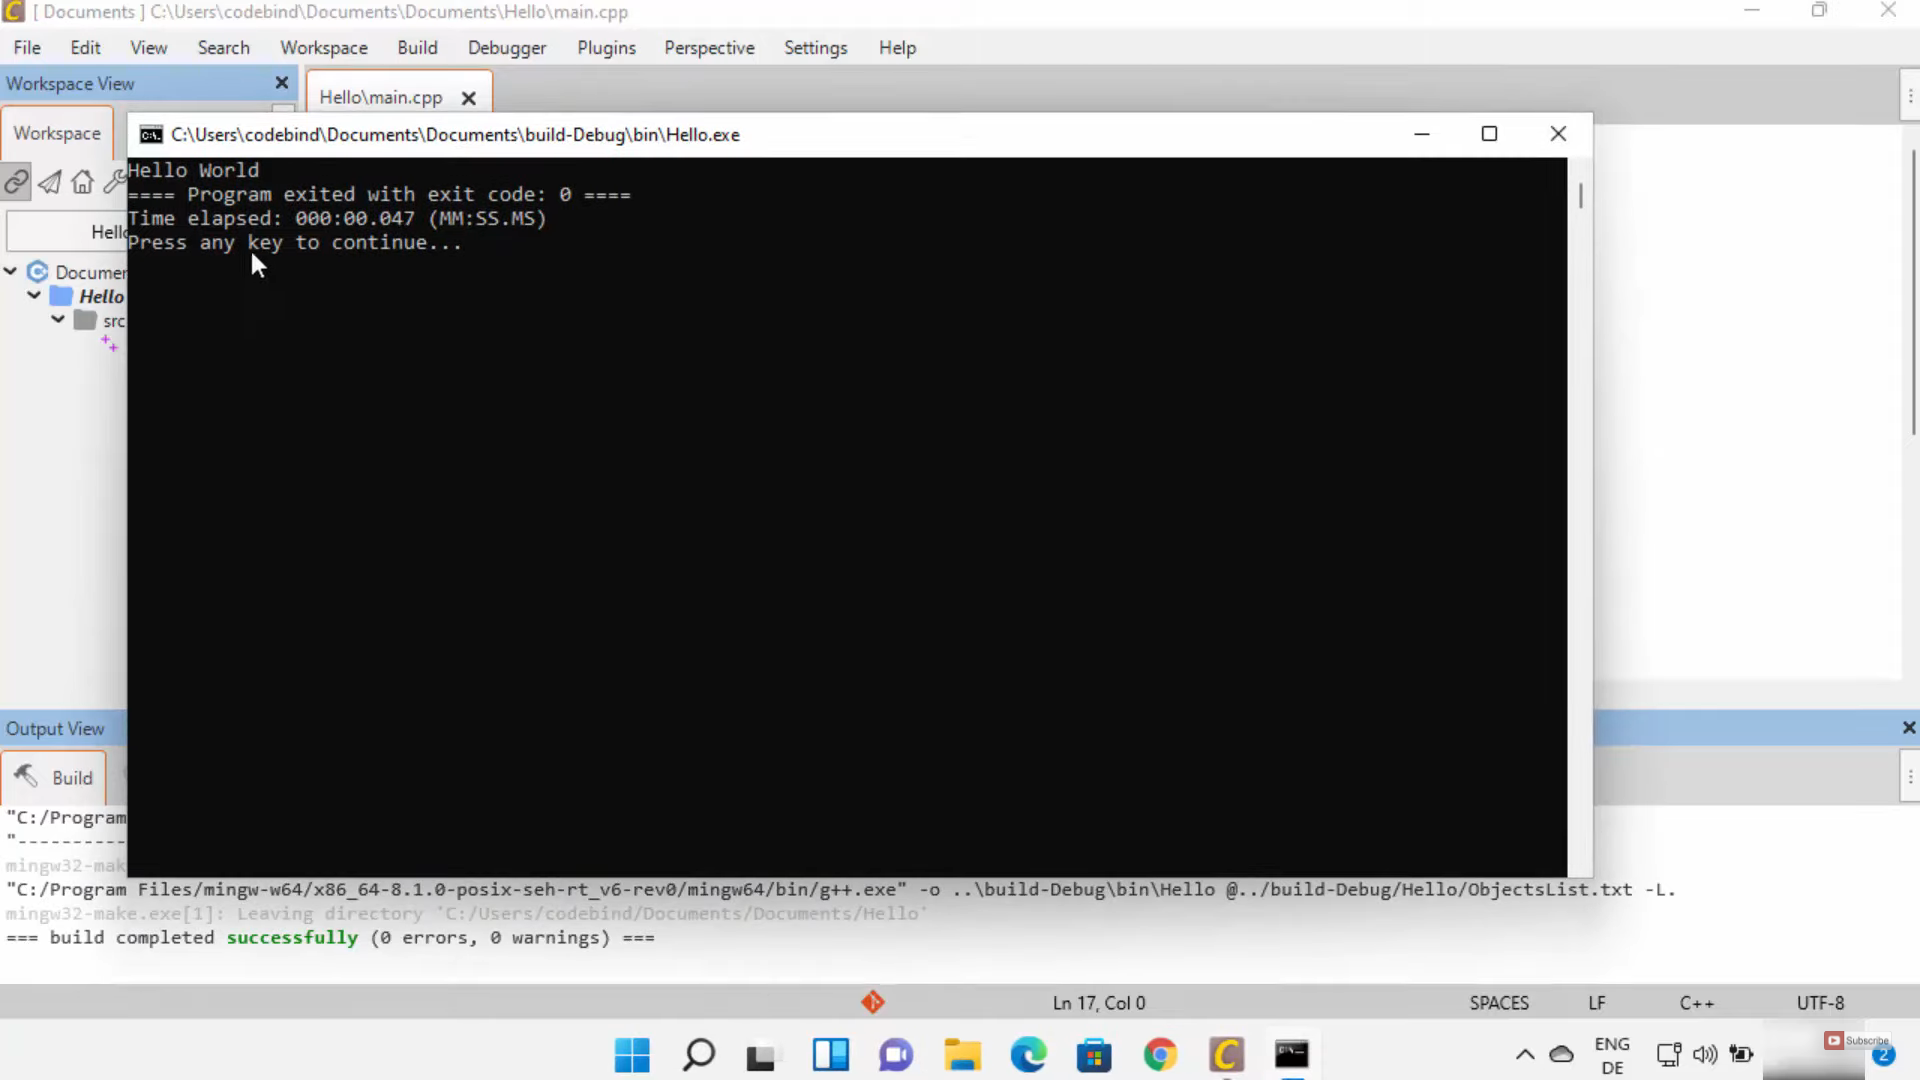
29. Now the process has been successfully built and it displays the output.
These are the steps for installing CodeLite IDE on your Windows 11 Operating System.
Leave a Reply