
In this blog post, I will give a detailed view of enabling a dark mode in the Windows 11 Operating System.
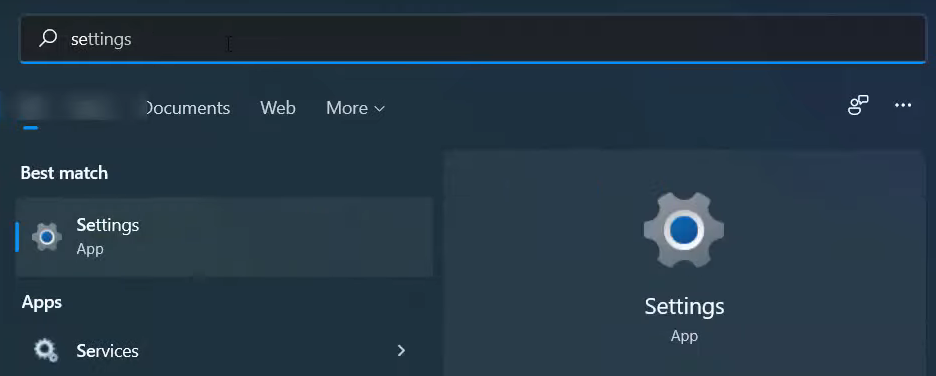
1. You need to open the Settings app. You can open it by searching it on the search bar or right-click on the Windows icon and clicking on Settings.
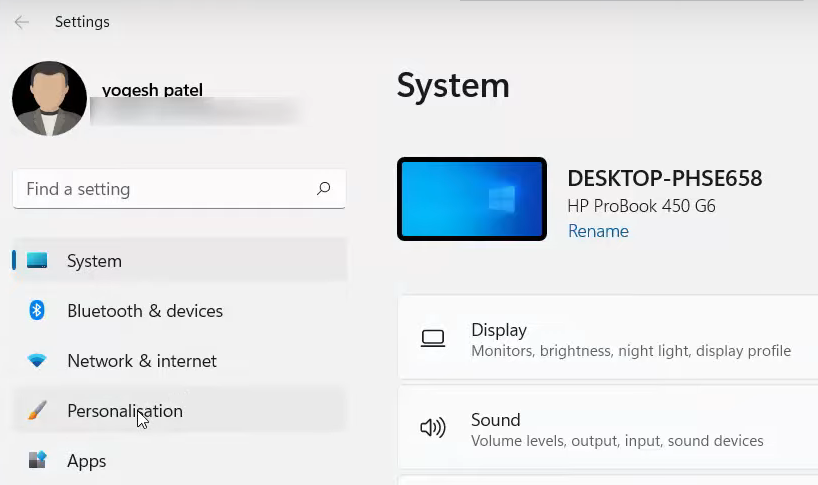
2. It will open the Settings app. Click on Personalization.
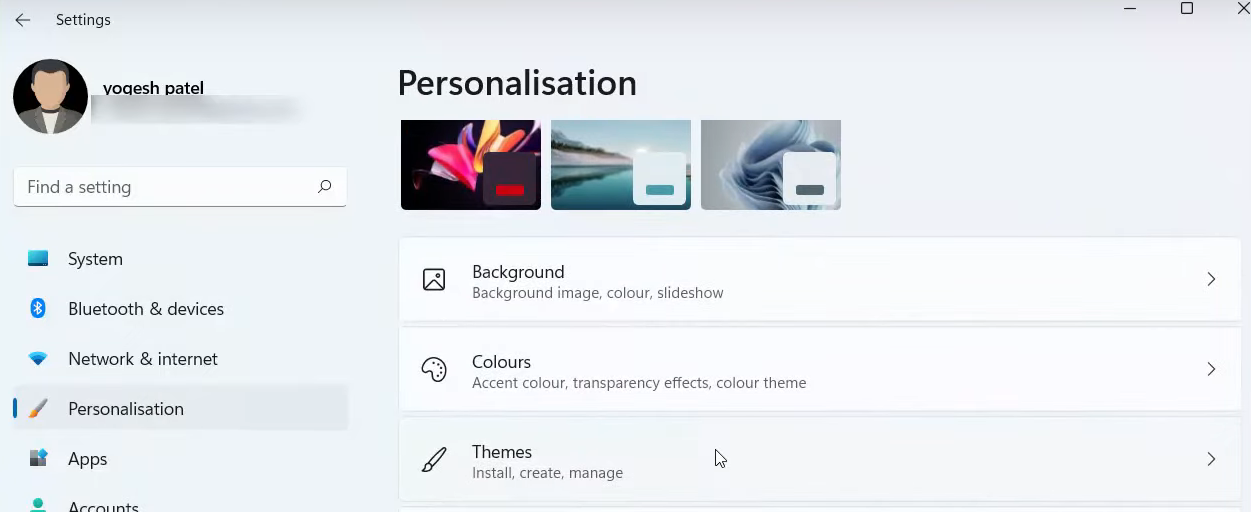
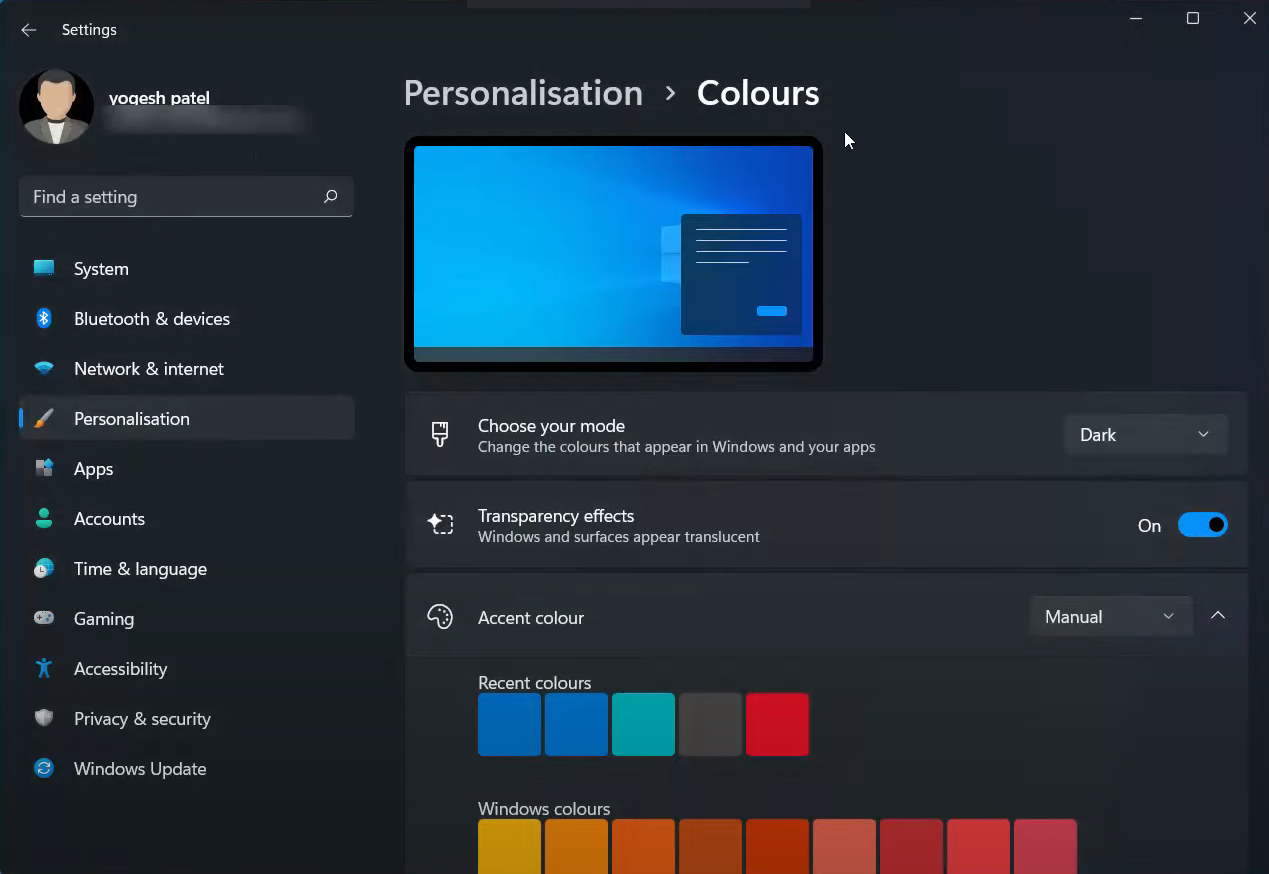
3. Scroll down and click on Colours.
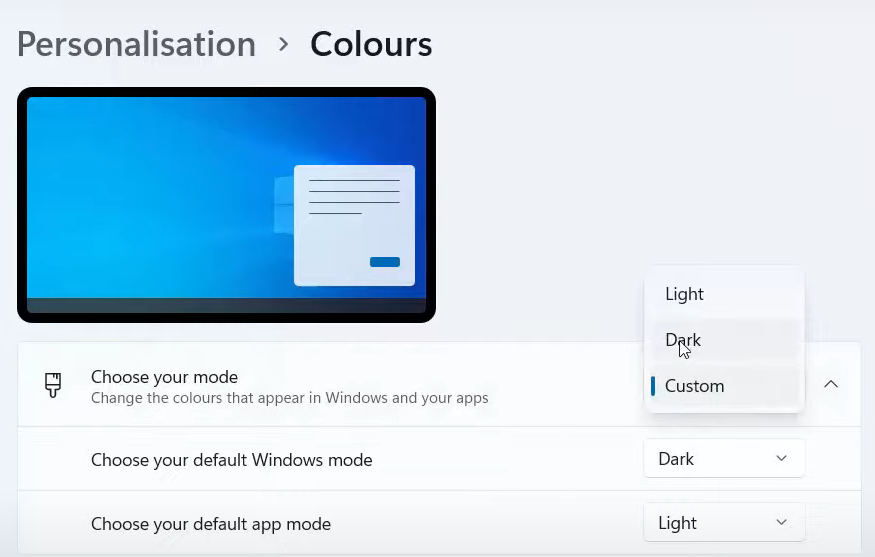
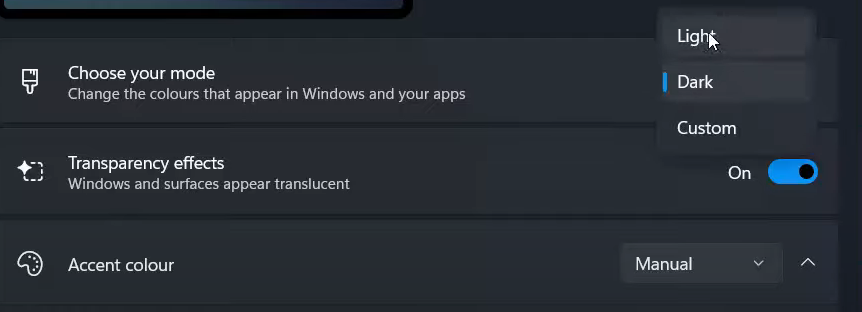
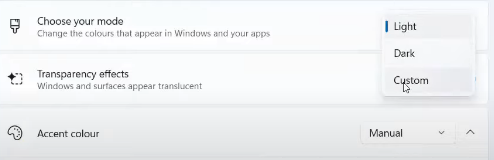
4. Here you can see different settings. You will be able to see an option called Choose your mode. Right now, it is in Custom mode. You can change it to Light or Dark mode.
5. Now, I am going to choose the Dark mode as the default mode. As you can see, all the windows that you open are in dark mode. Also, the taskbar is in dark mode.
6. Now, I am going to open the File Explorer. It is also in dark mode.

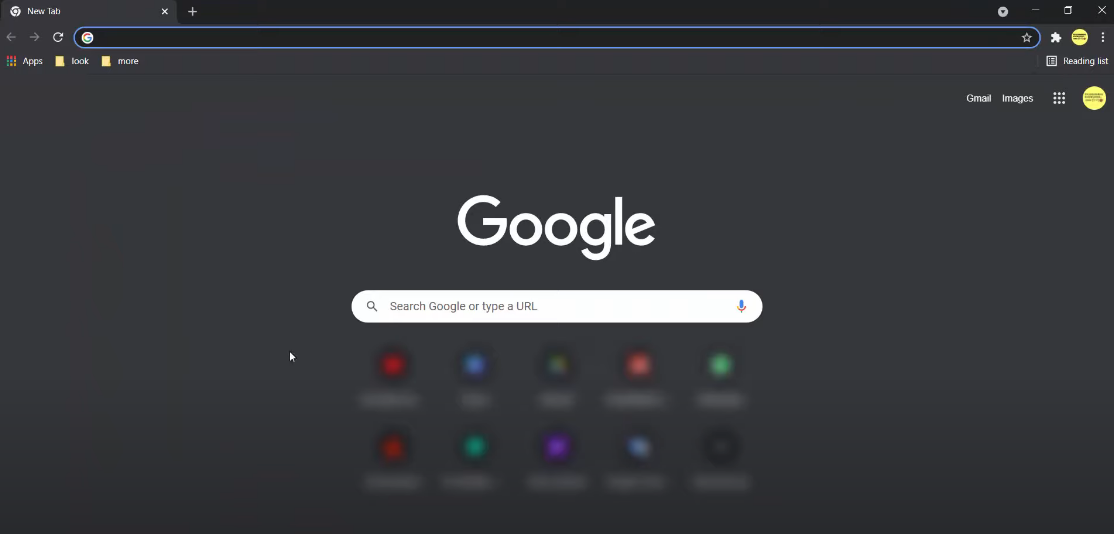
7. If you search for any third-party apps, they will also appear in the dark mode in Google Chrome.
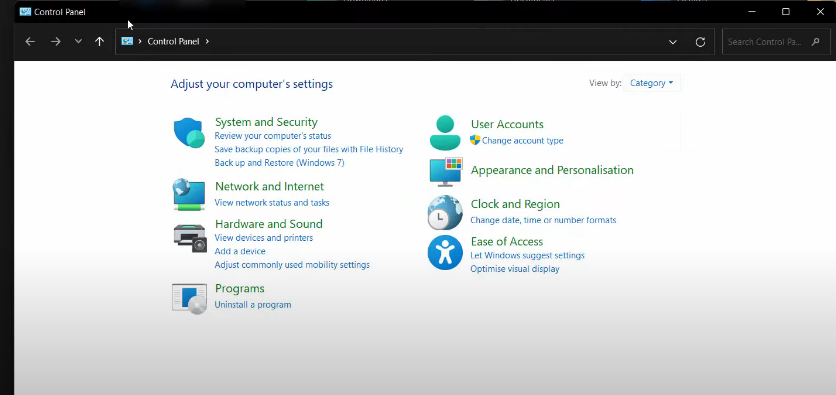
8. Let’s test it with some more apps. I am going to open the Control panel app. Now, the control panel’s top area is also in dark mode.
9. If you want to switch back to normal mode, you have to once again click personalization and follow the same steps.
10. I am going to switch to Light mode. Now, everything will turn into the light mode, including your taskbar.
11. When I open third-party apps like google chrome, it will also appear in light mode.

12. When you click on Custom mode, you have the option to choose default windows mode and default app mode.
13. I am going to choose Dark mode for default windows mode and Light mode for default app mode.
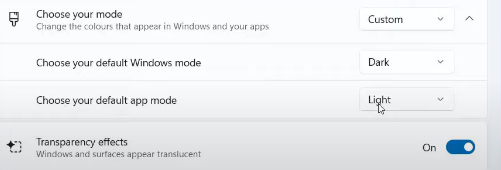
14. These are my preferences, but you can change them according to your choice.
These are the steps for changing the mode to custom, light, or dark mode on your Windows 11 Operating System.
Leave a Reply