
In this blog post, I will give a detailed view of changing your User Account type in the Windows 11 Operating System.
1. We use this option if we have multiple users registered on Windows 11 Operating System.
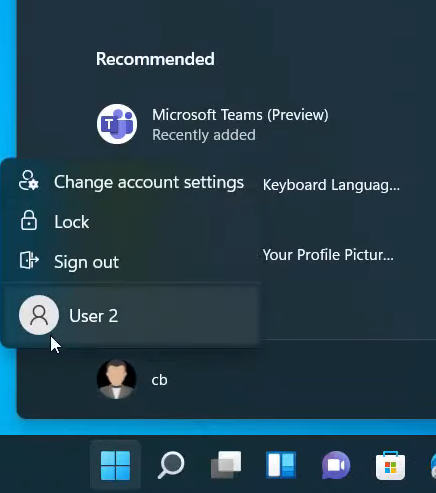
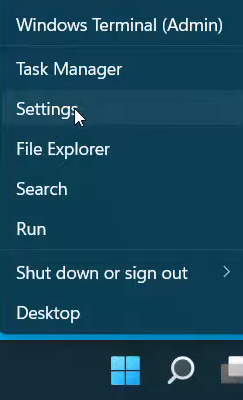
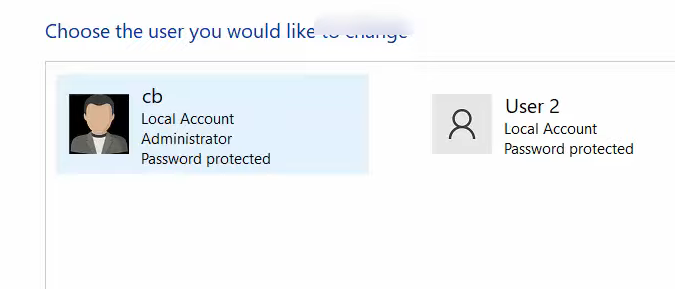
2. Right-click on the Windows icon. In my system, I have two users cb and User2. cb is the administrator account and User2 is the normal user account.
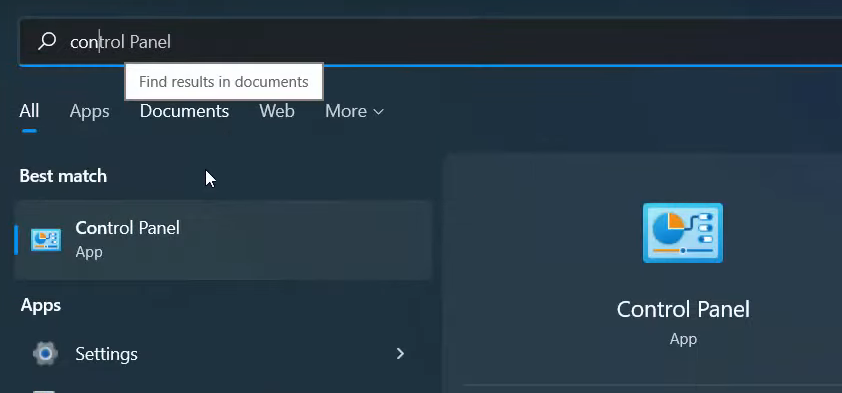
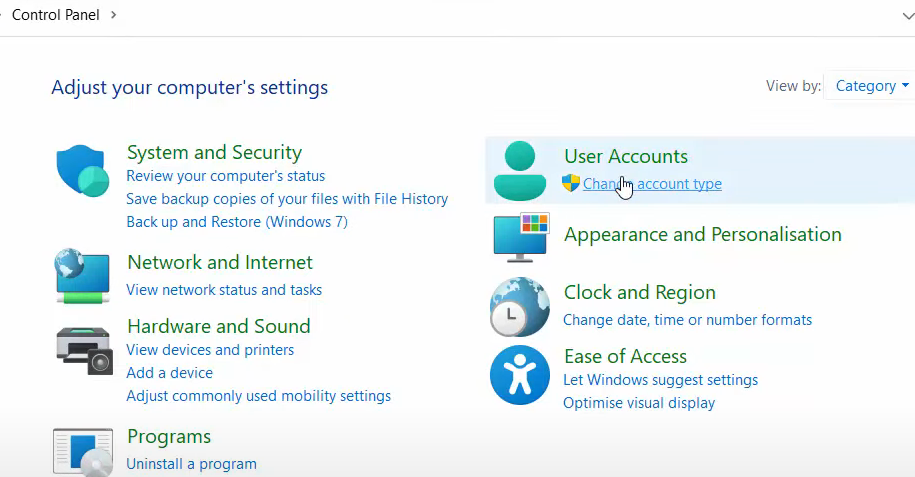
3. For checking which user is the administrator and which is normal, you have to click on the Search bar. Search for the Control panel app. Click on the Change account type which is available under the User Accounts section.
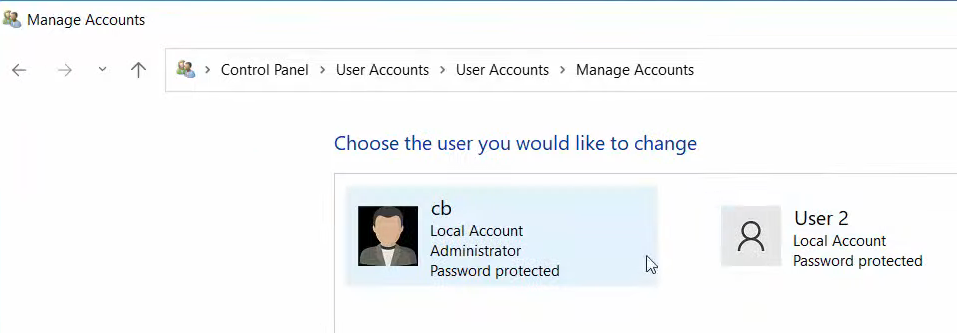
4. Here, you can see 2 accounts. One is the administrator account and the other one is the local account.
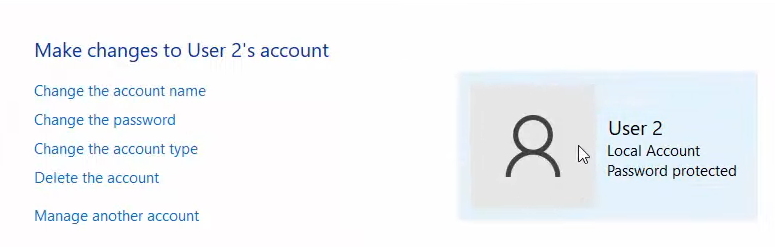
5. For changing the account type, you should be logged in with your administrator account. To change the user account type, click on the User2 account. On the left side, you will be able to see a list of options. Click on Change the account type.
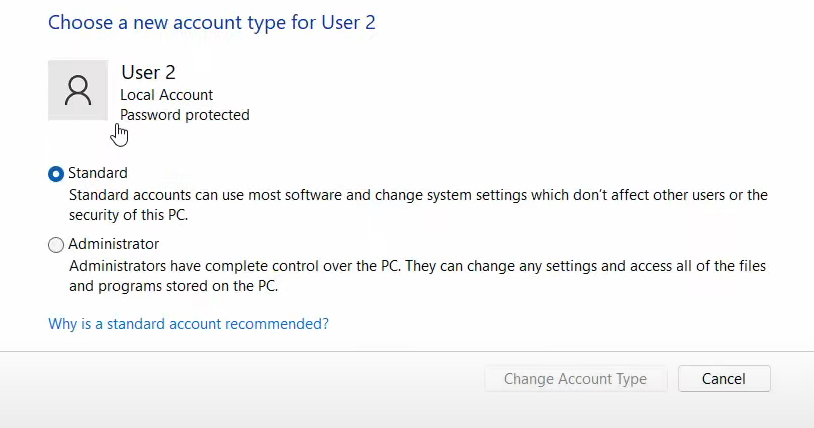
6. Here, you can change the account type by clicking on Administrator. Then, click on Change account type.
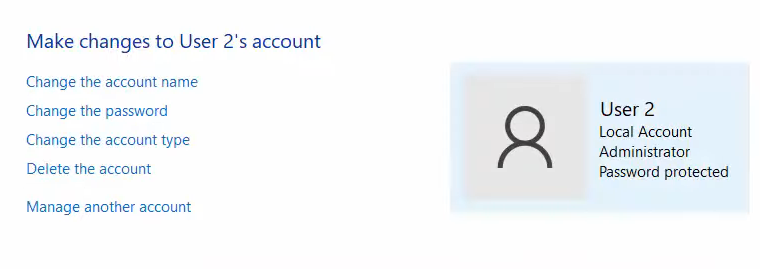
7. Now, you can see the User2 account has been changed to the administrator.
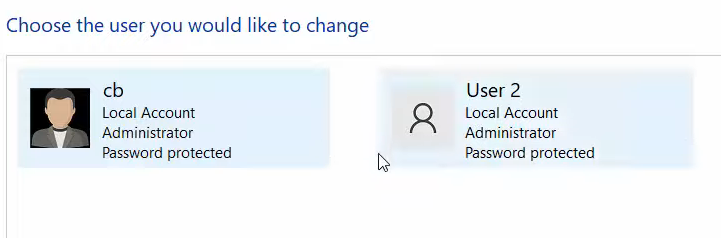
8. You can confirm this by going to the control panel once again and following the same steps. You can see now both users are administrators. This is the first way to do it.
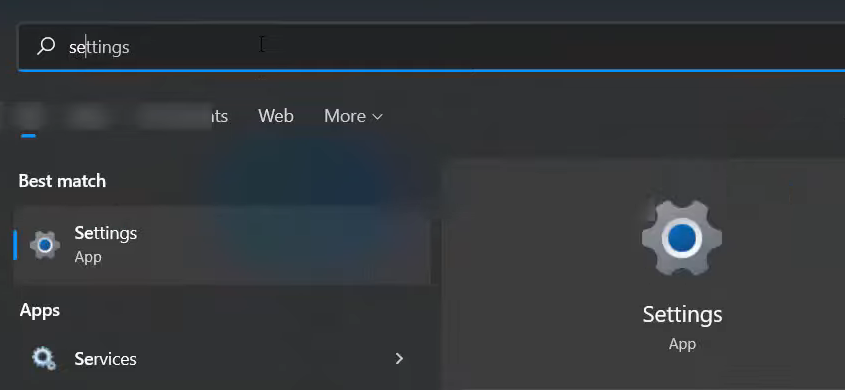
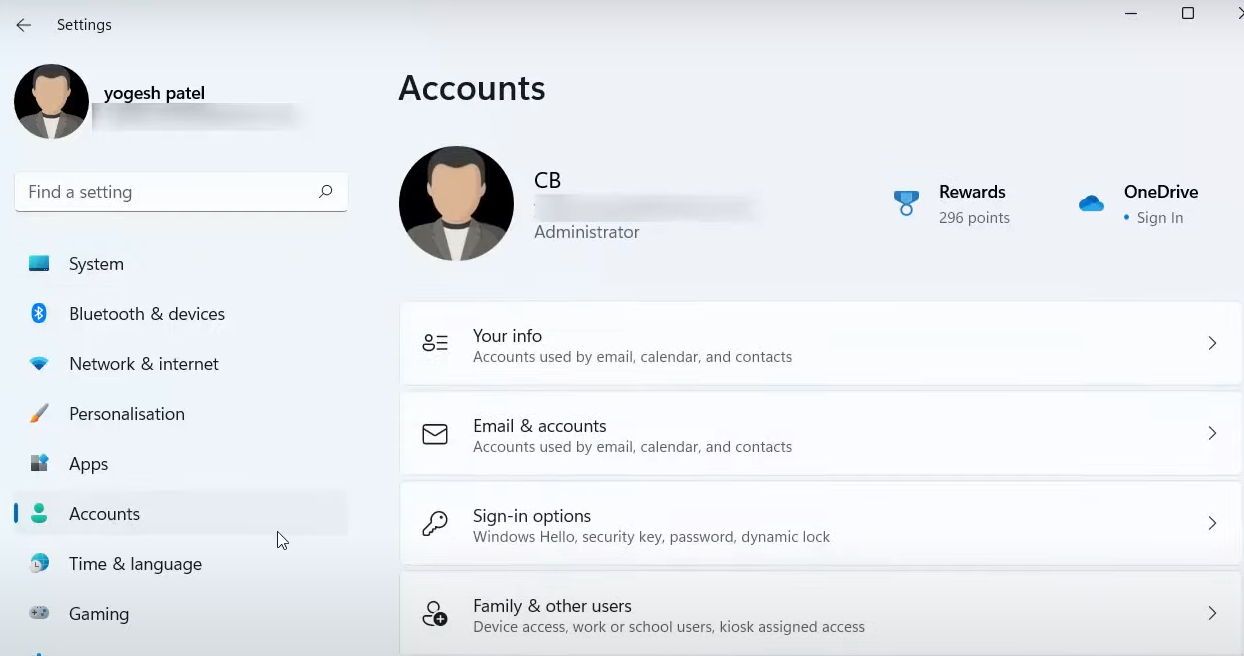
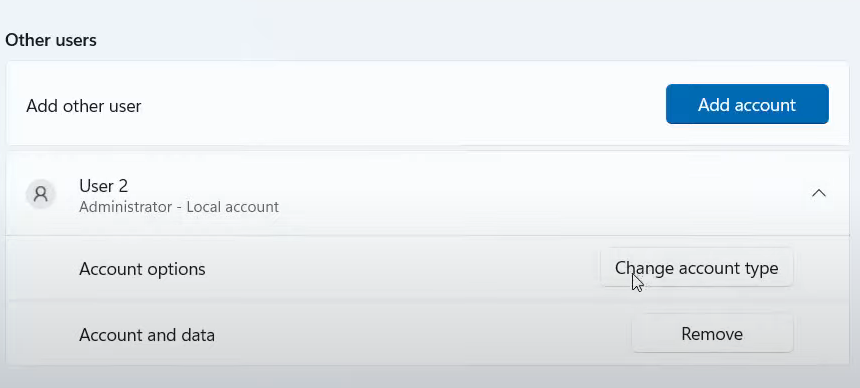
9. If you are not able to see the control panel and the other options, you can follow the other way. Right-click on the Windows icon and click on the Settings option. You can also open the settings option by searching for the settings app in the search bar. Click on the Accounts section.
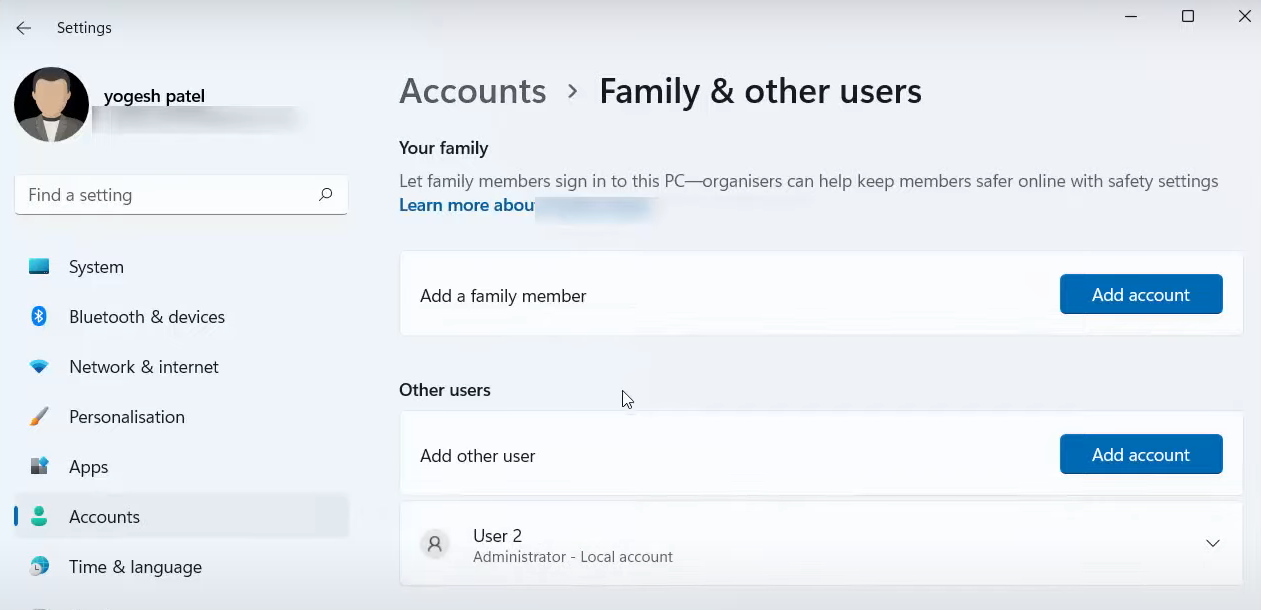
10. You will be able to see an option called Family & other users. Here, you can see the other user which is User2 is in administrator mode since we have changed it to an administrator. You can also change the account type from here as well.
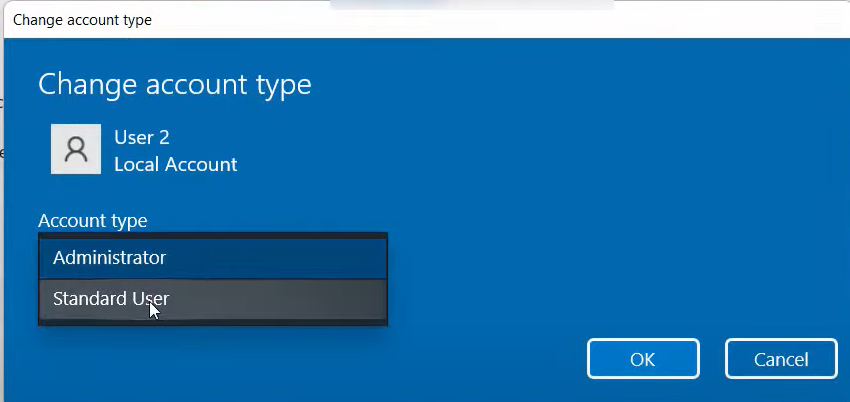
11. Click on change account type. It will open a window.
12. In the drop-down list box, you can select the Administrator or Standard user. Here, I am going to click Standard user. And then click on Ok.
13. Now, you can see it has changed to a local account again.
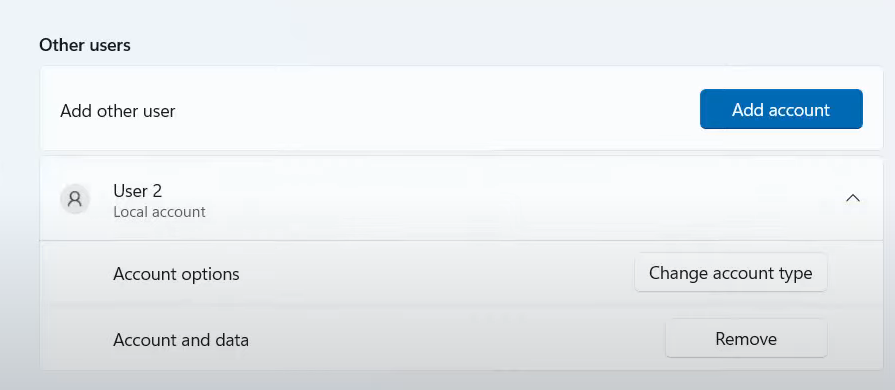
14. You can verify this once again by opening the control panel app and following the same steps mentioned above.
15. Now, you can see the account type is local.
These are the steps for changing the account type in Windows 11 Operating System. You can use any one of the mentioned methods to change as both of them will give the same result.
Leave a Reply