
In this blog post, I will give a detailed view of downloading and installing LibreOffice on your Windows 11 Operating System.
1. Open a web browser of your choice and search for LibreOffice. Click on the first link.

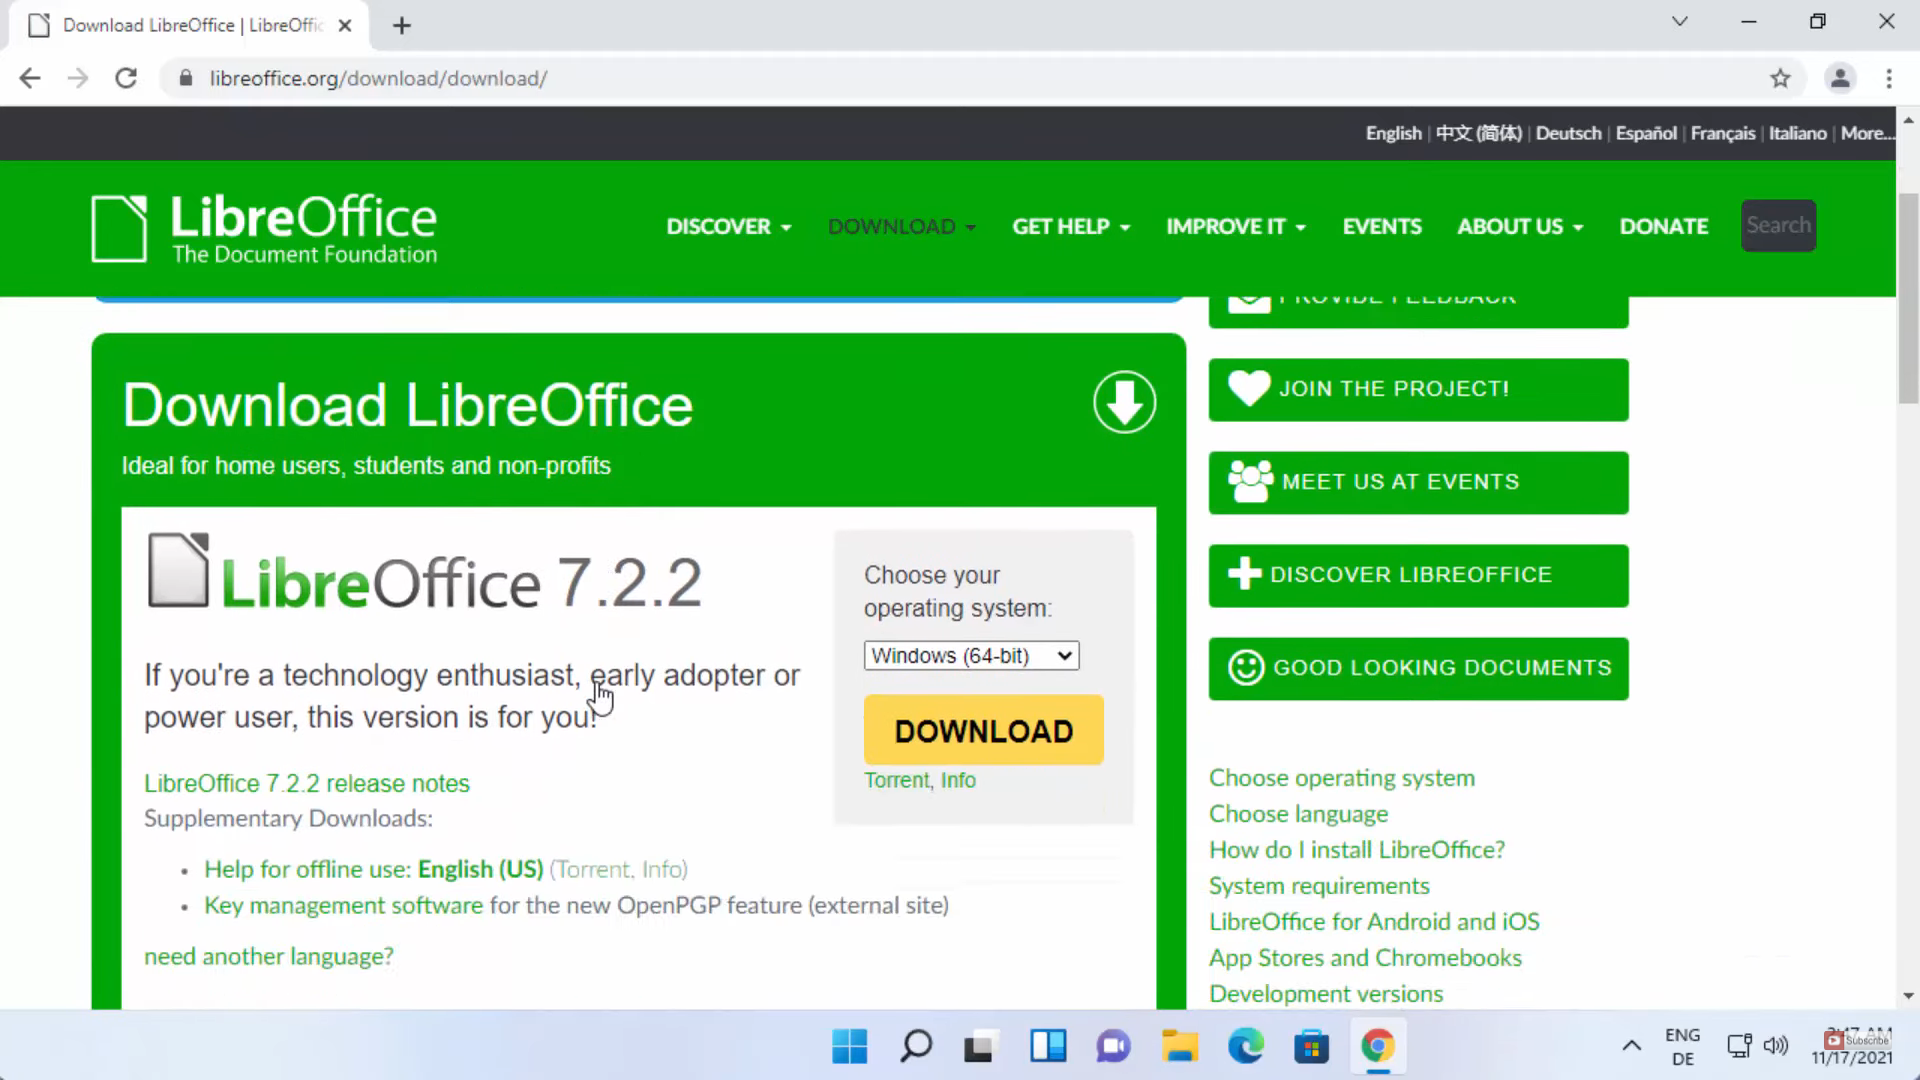
2. Once the link opens, click on Download Now button.

3. It will take you to another window where you need to choose your operating system. Then, click on the Download button. It will start to download.
4. Once the MSI file is downloaded, click on that MSI file and minimize the browser.
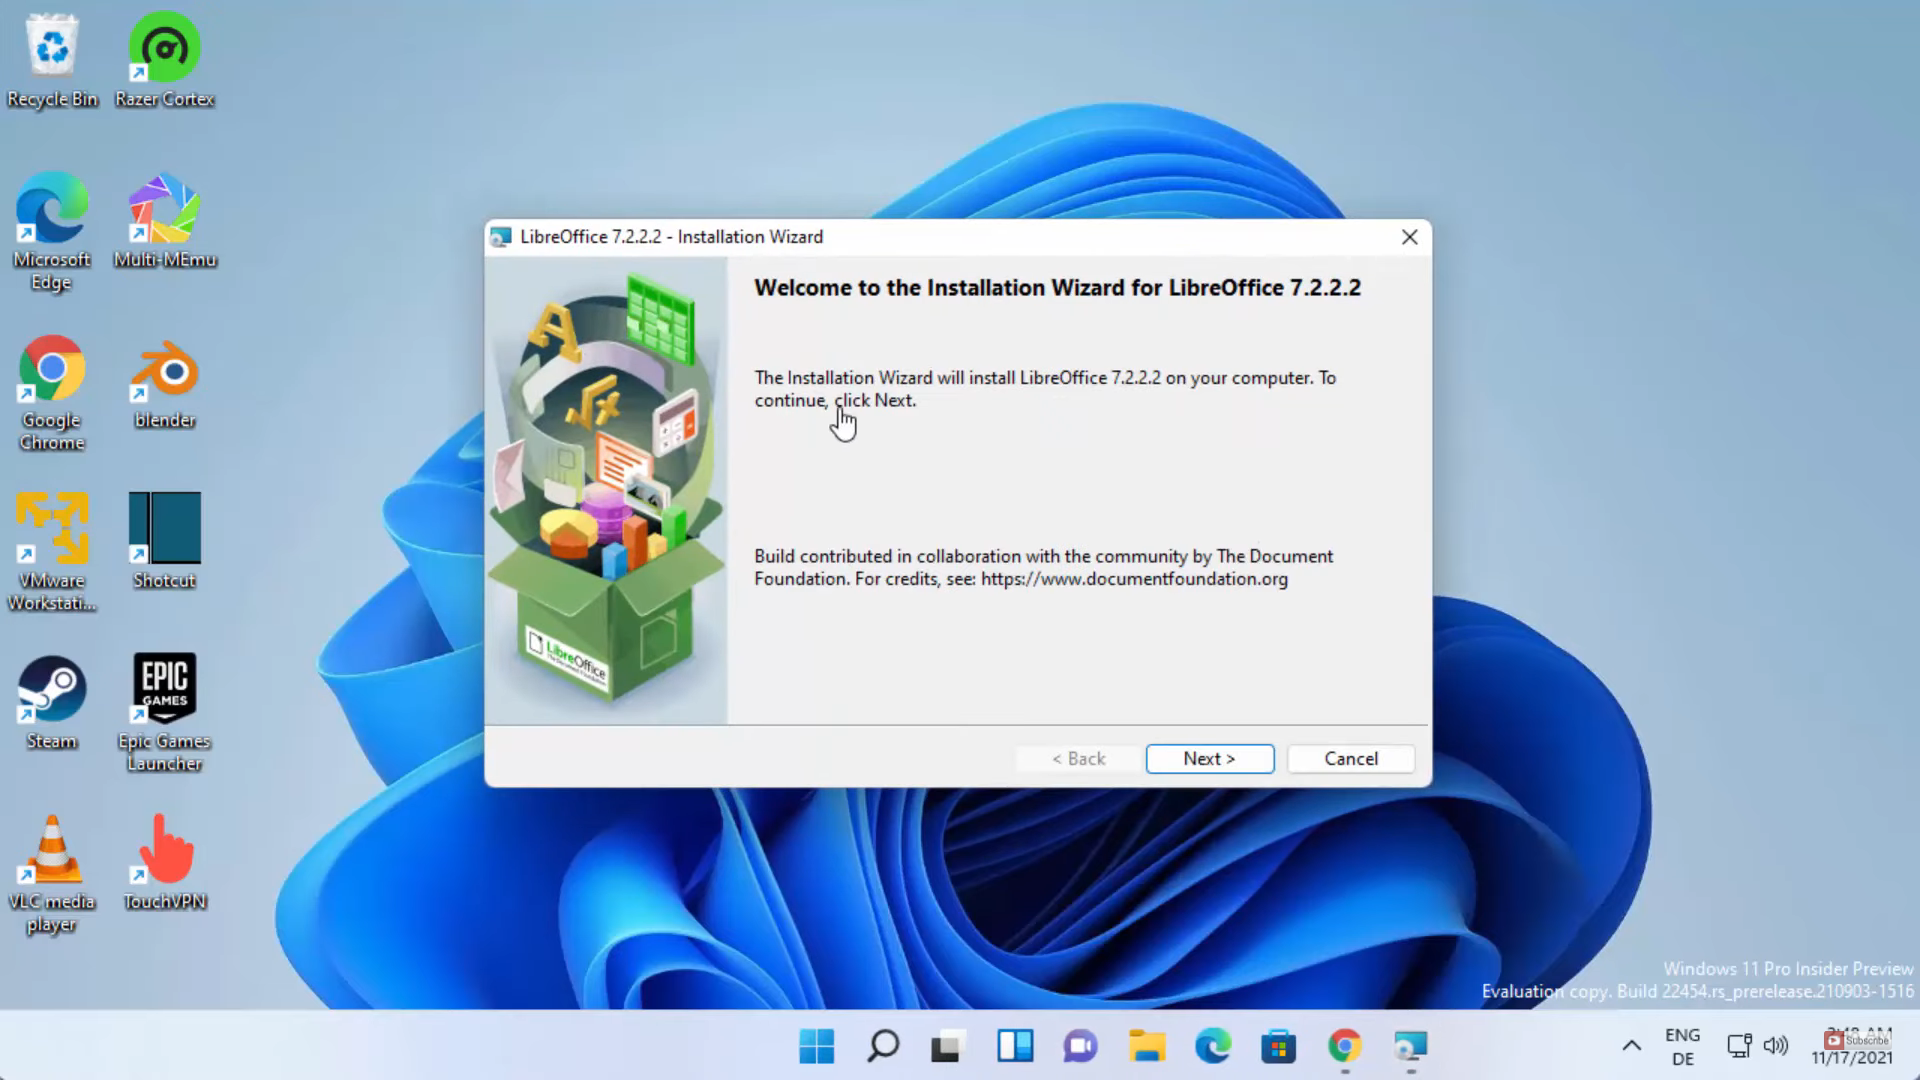
5. In the installation wizard, click on Next.
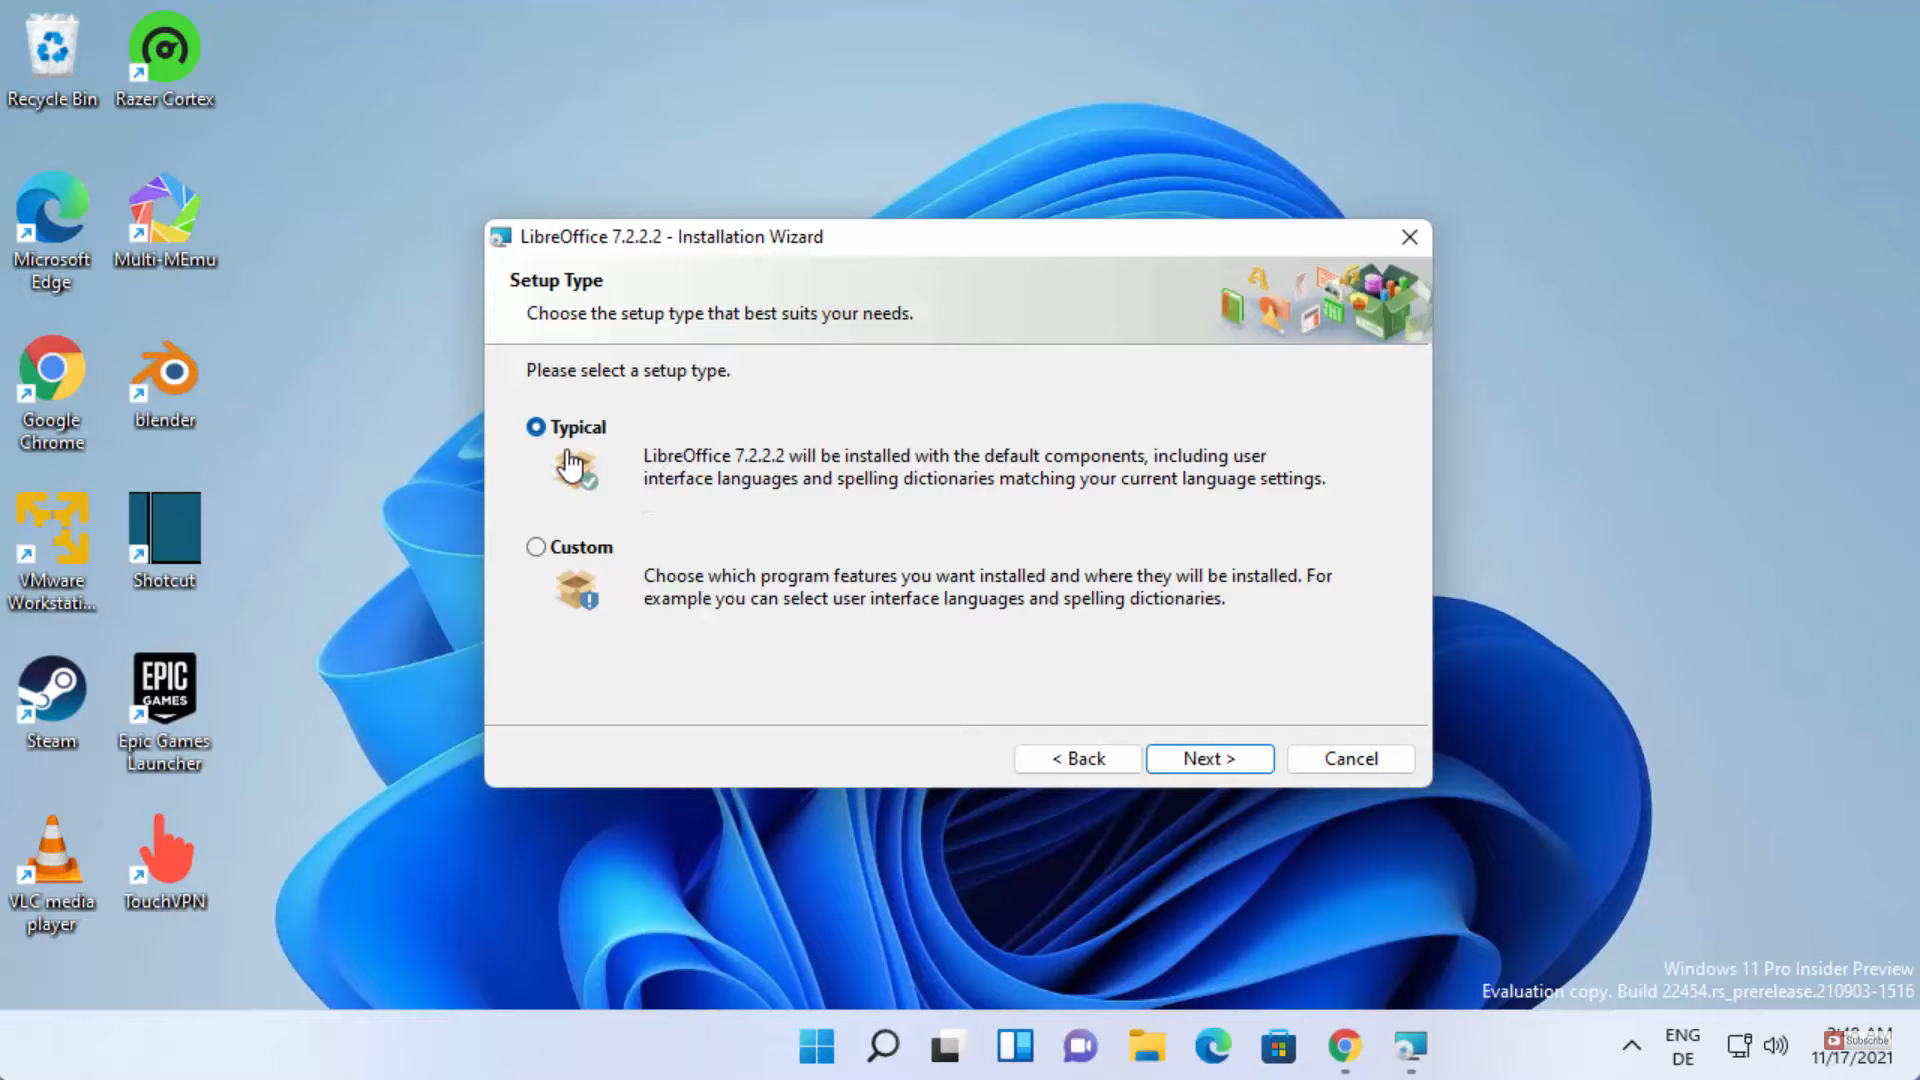
6. In the next window, choose typically and click on Next.
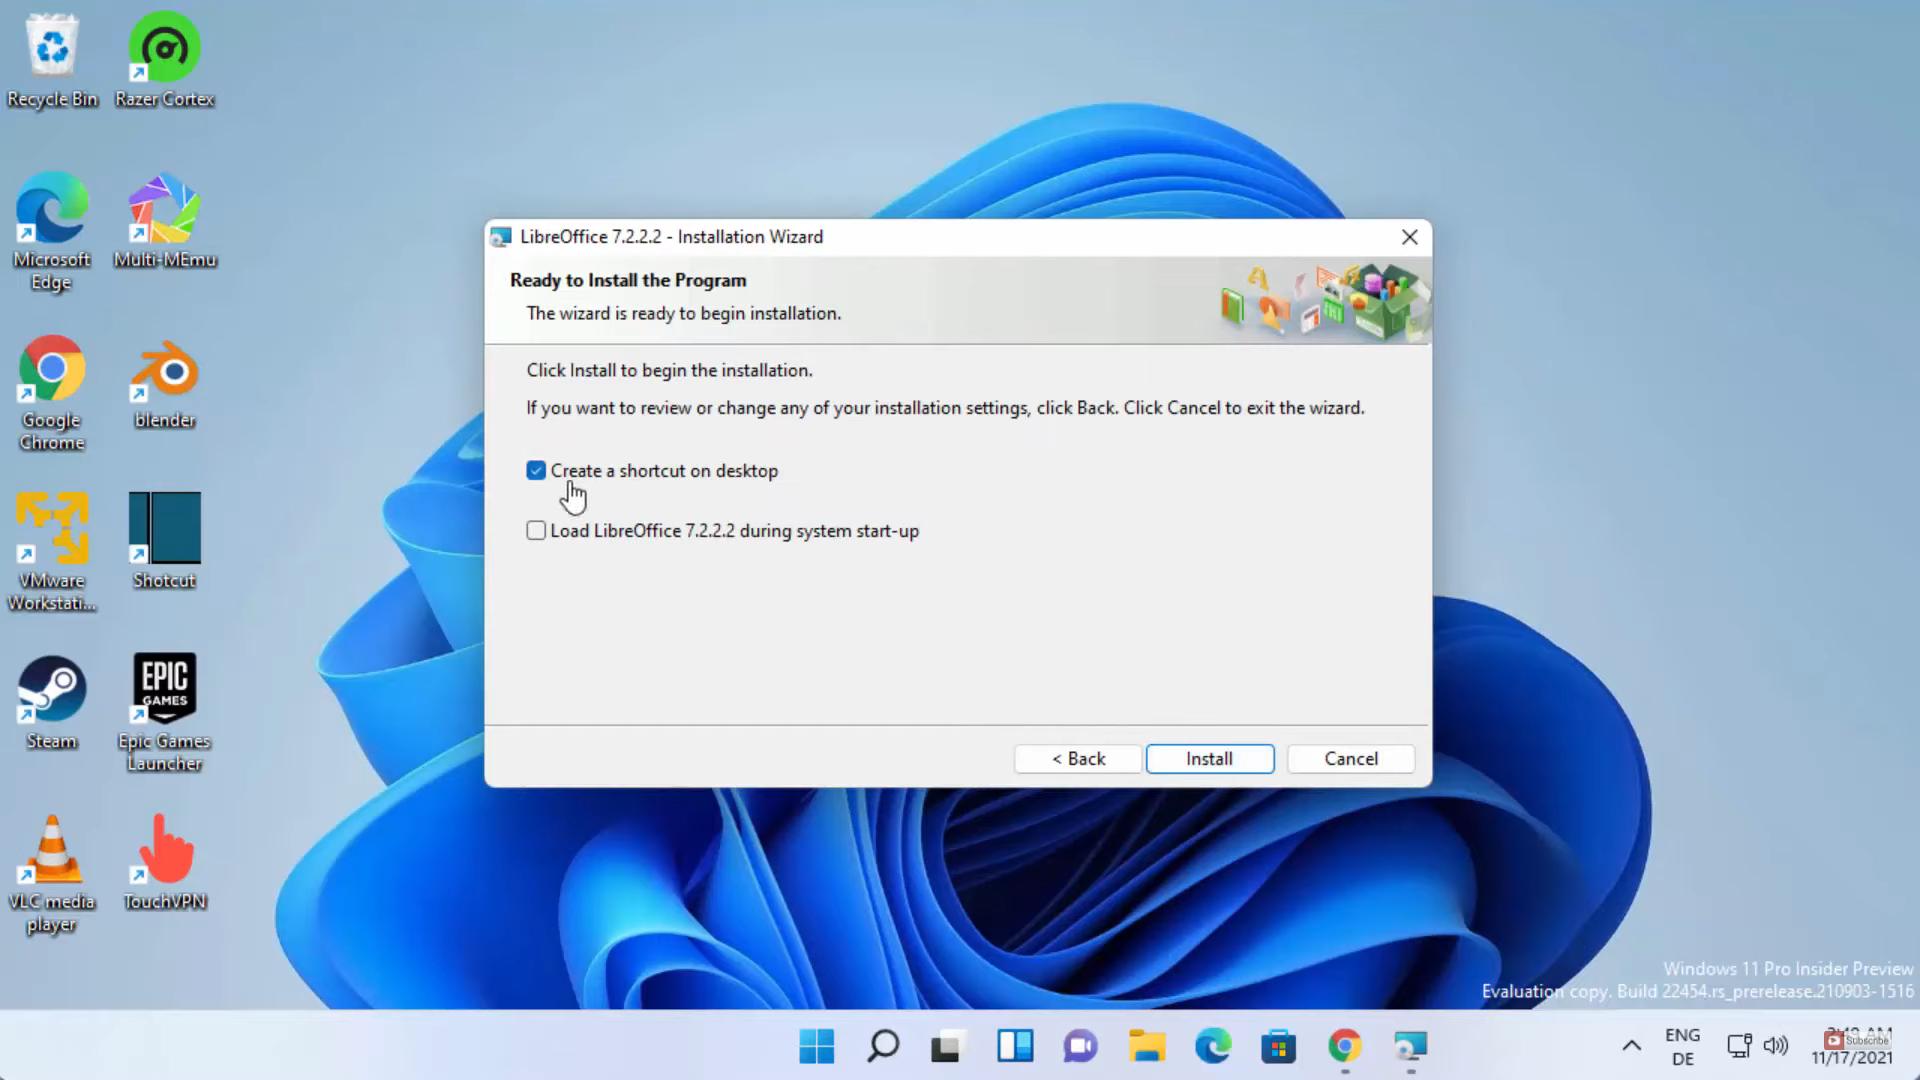
7. In the next window, leave everything as default. Then, click on Install. It will start the installation process.
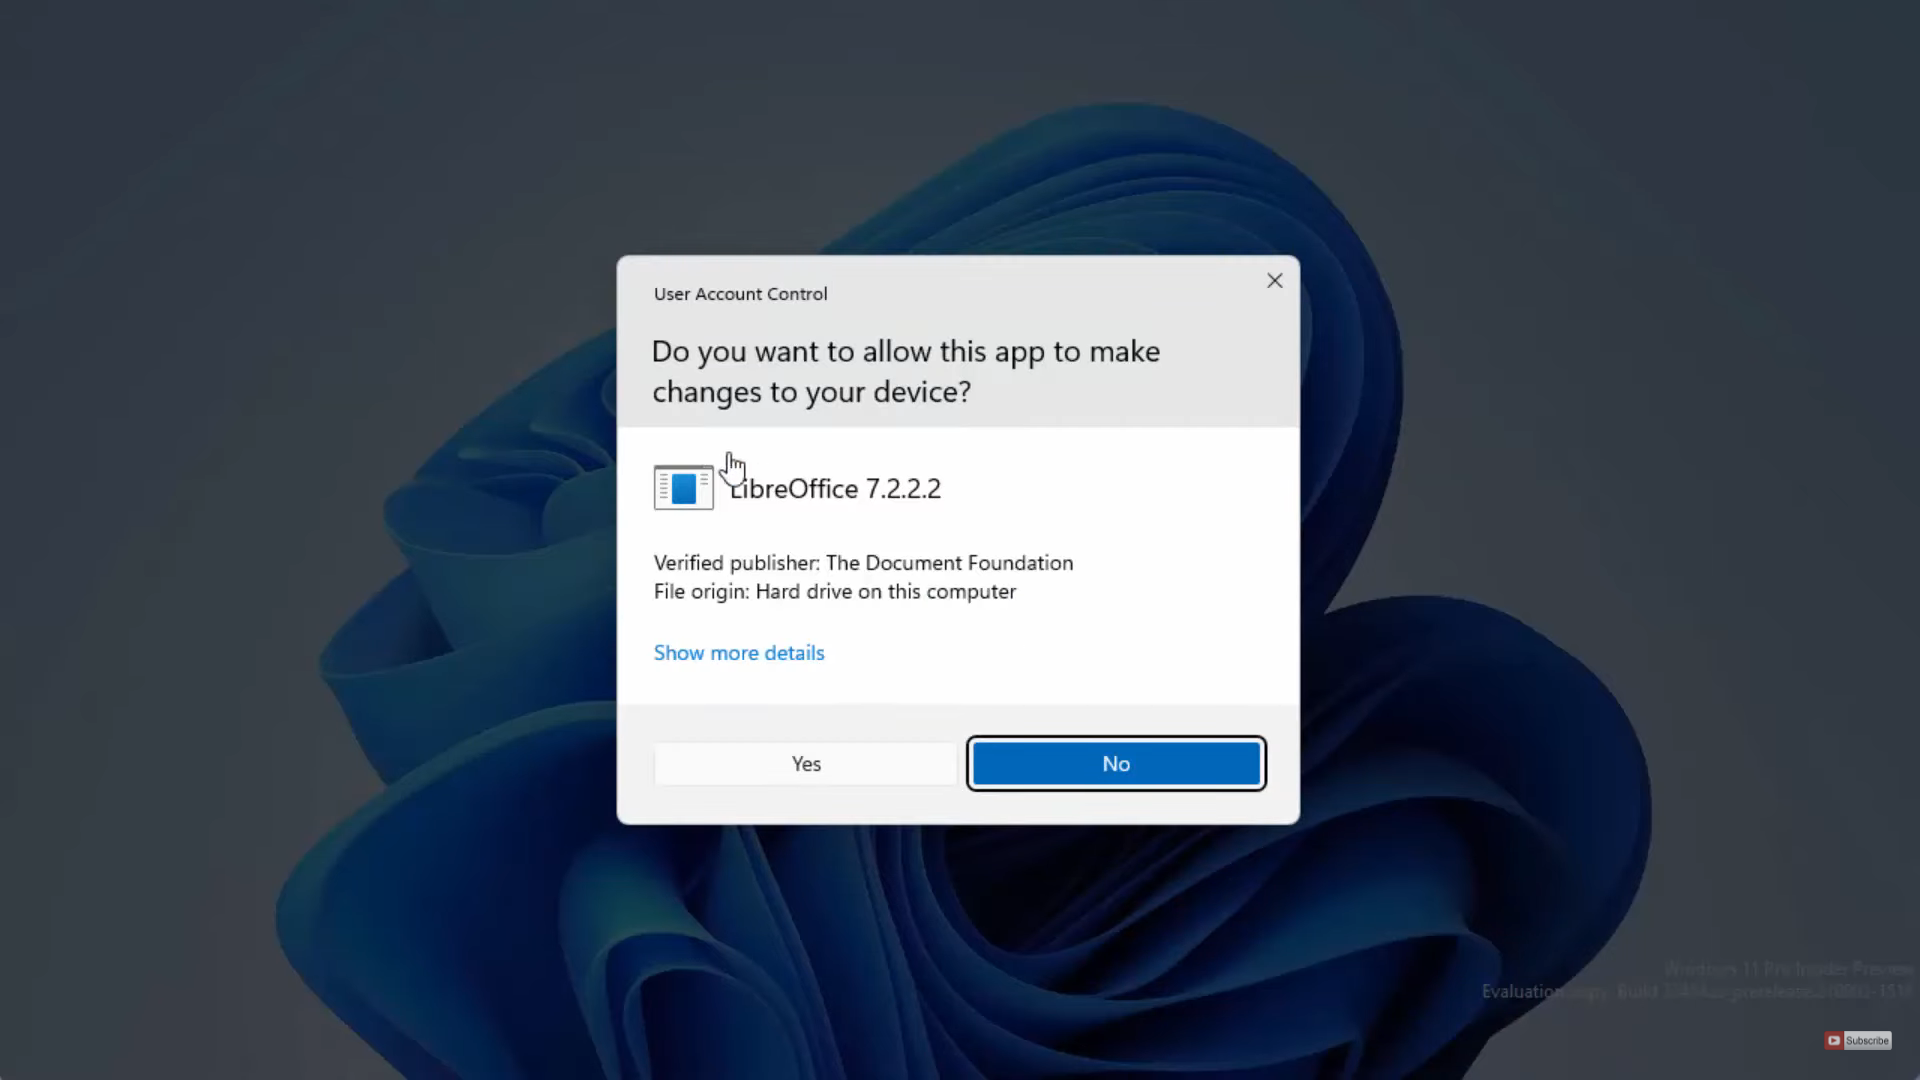
8. In between the installation process, it will show a warning. Click on yes.
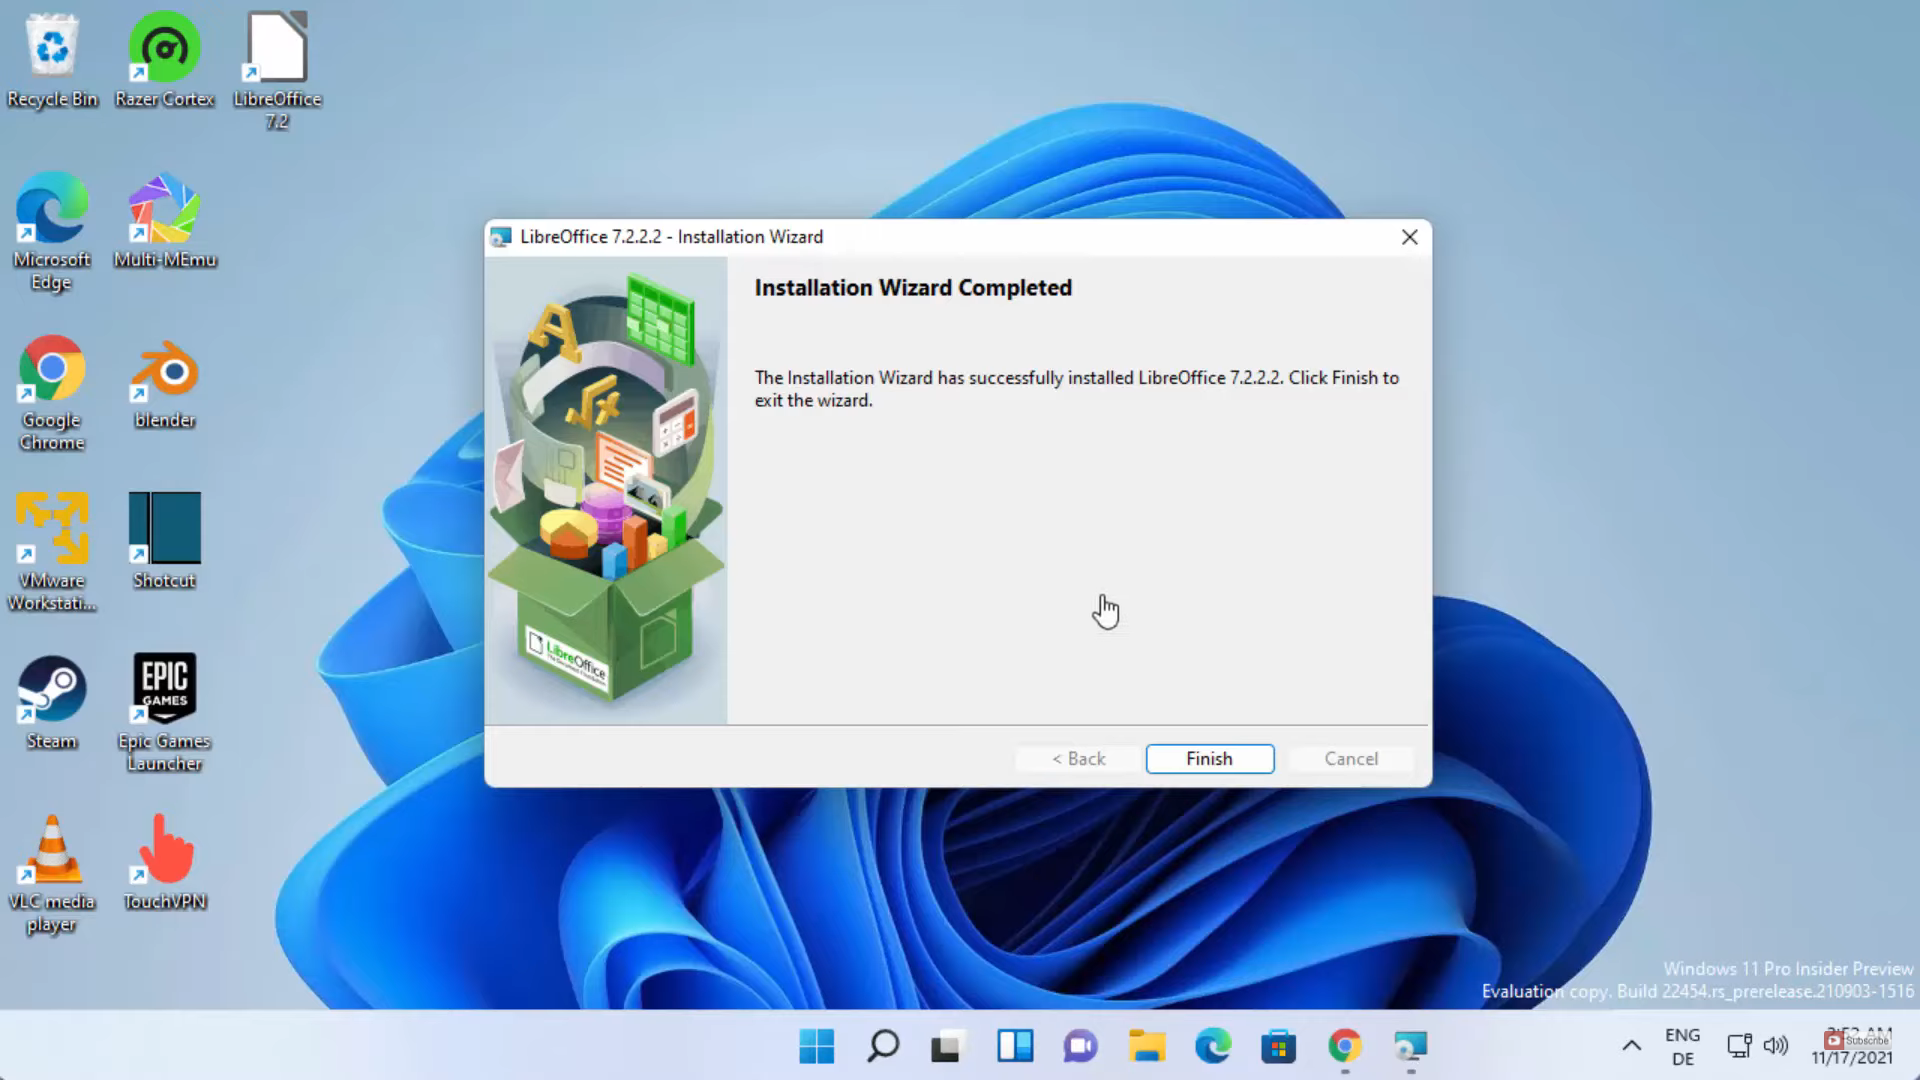
9. Once the installation is complete, you will be able to see the shortcut icon. Click on the Finish button.
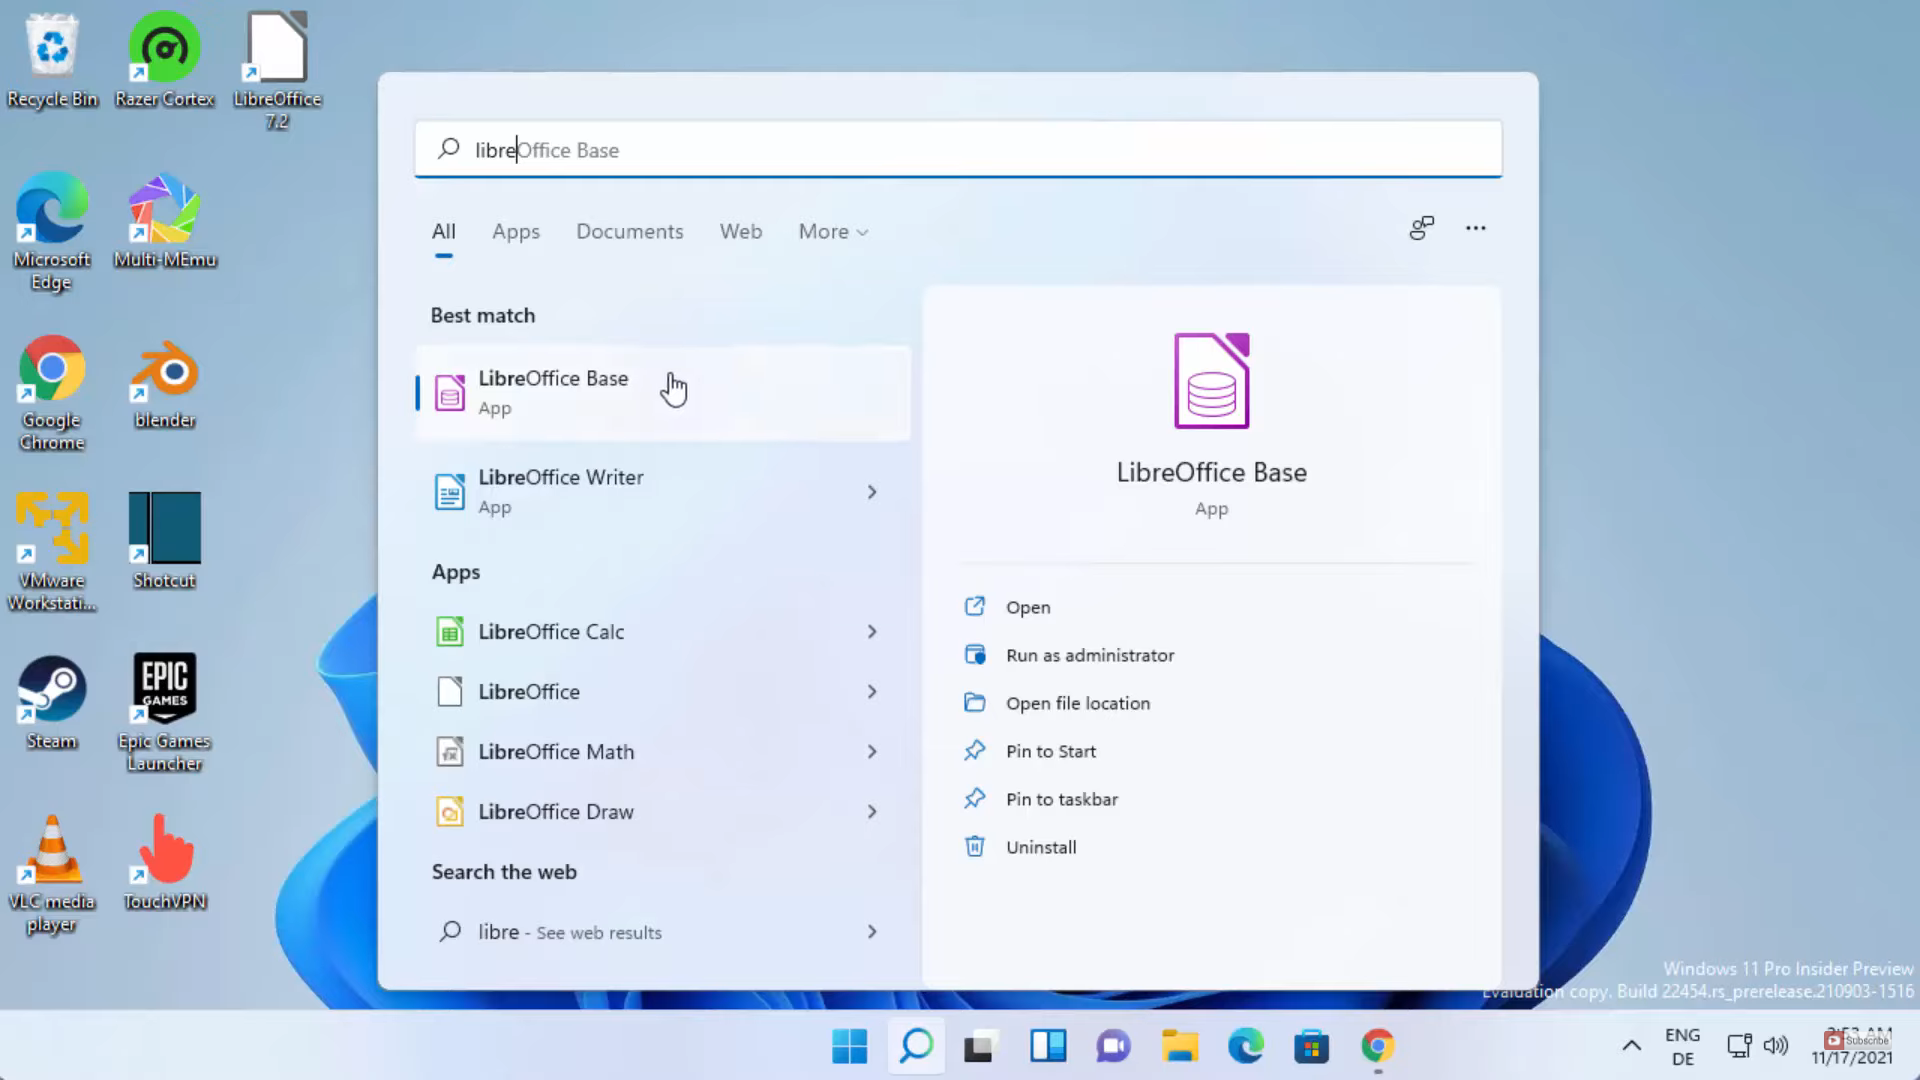
10. When you search for LibreOffice in the search bar, it will show the LibreOffice suites. It is similar to the MS Office suite.
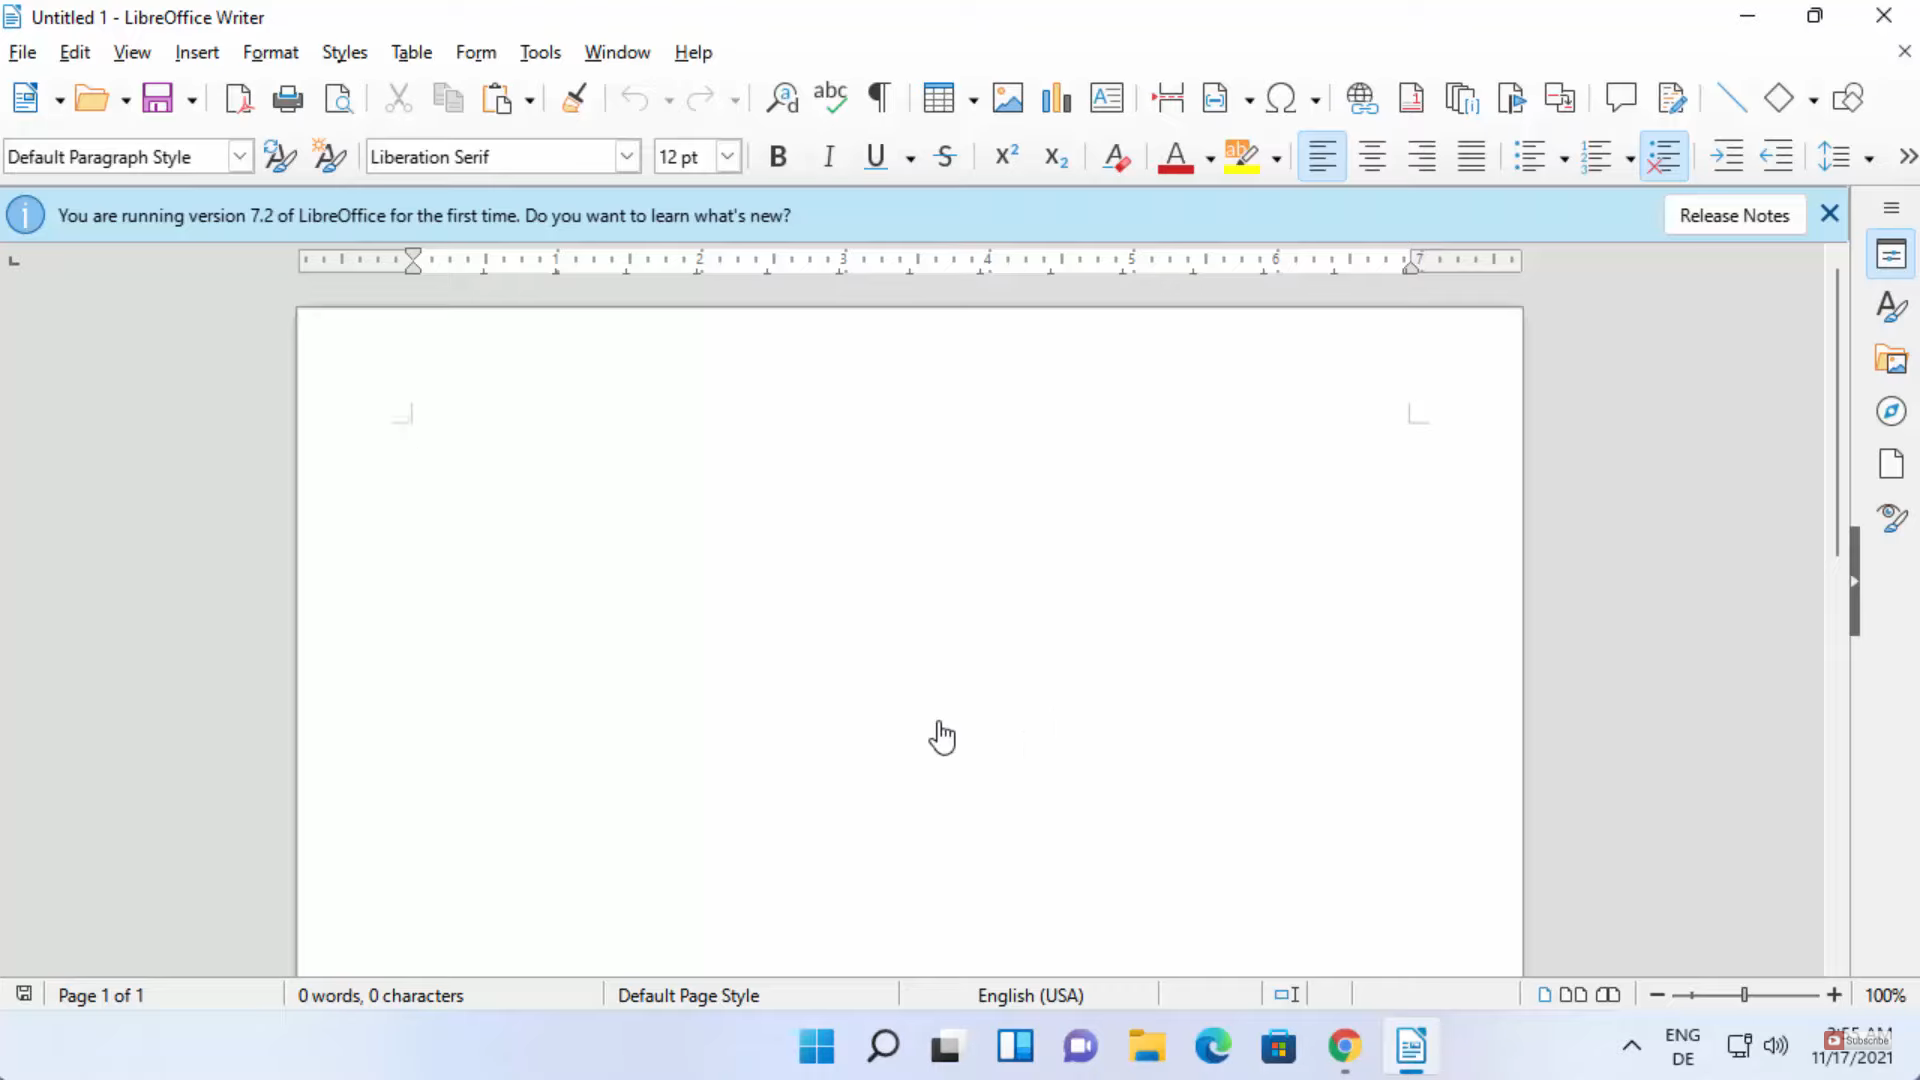
11. Click on the desktop shortcut icon. You can open any tool that you want. I am going to open the Writer’s document.
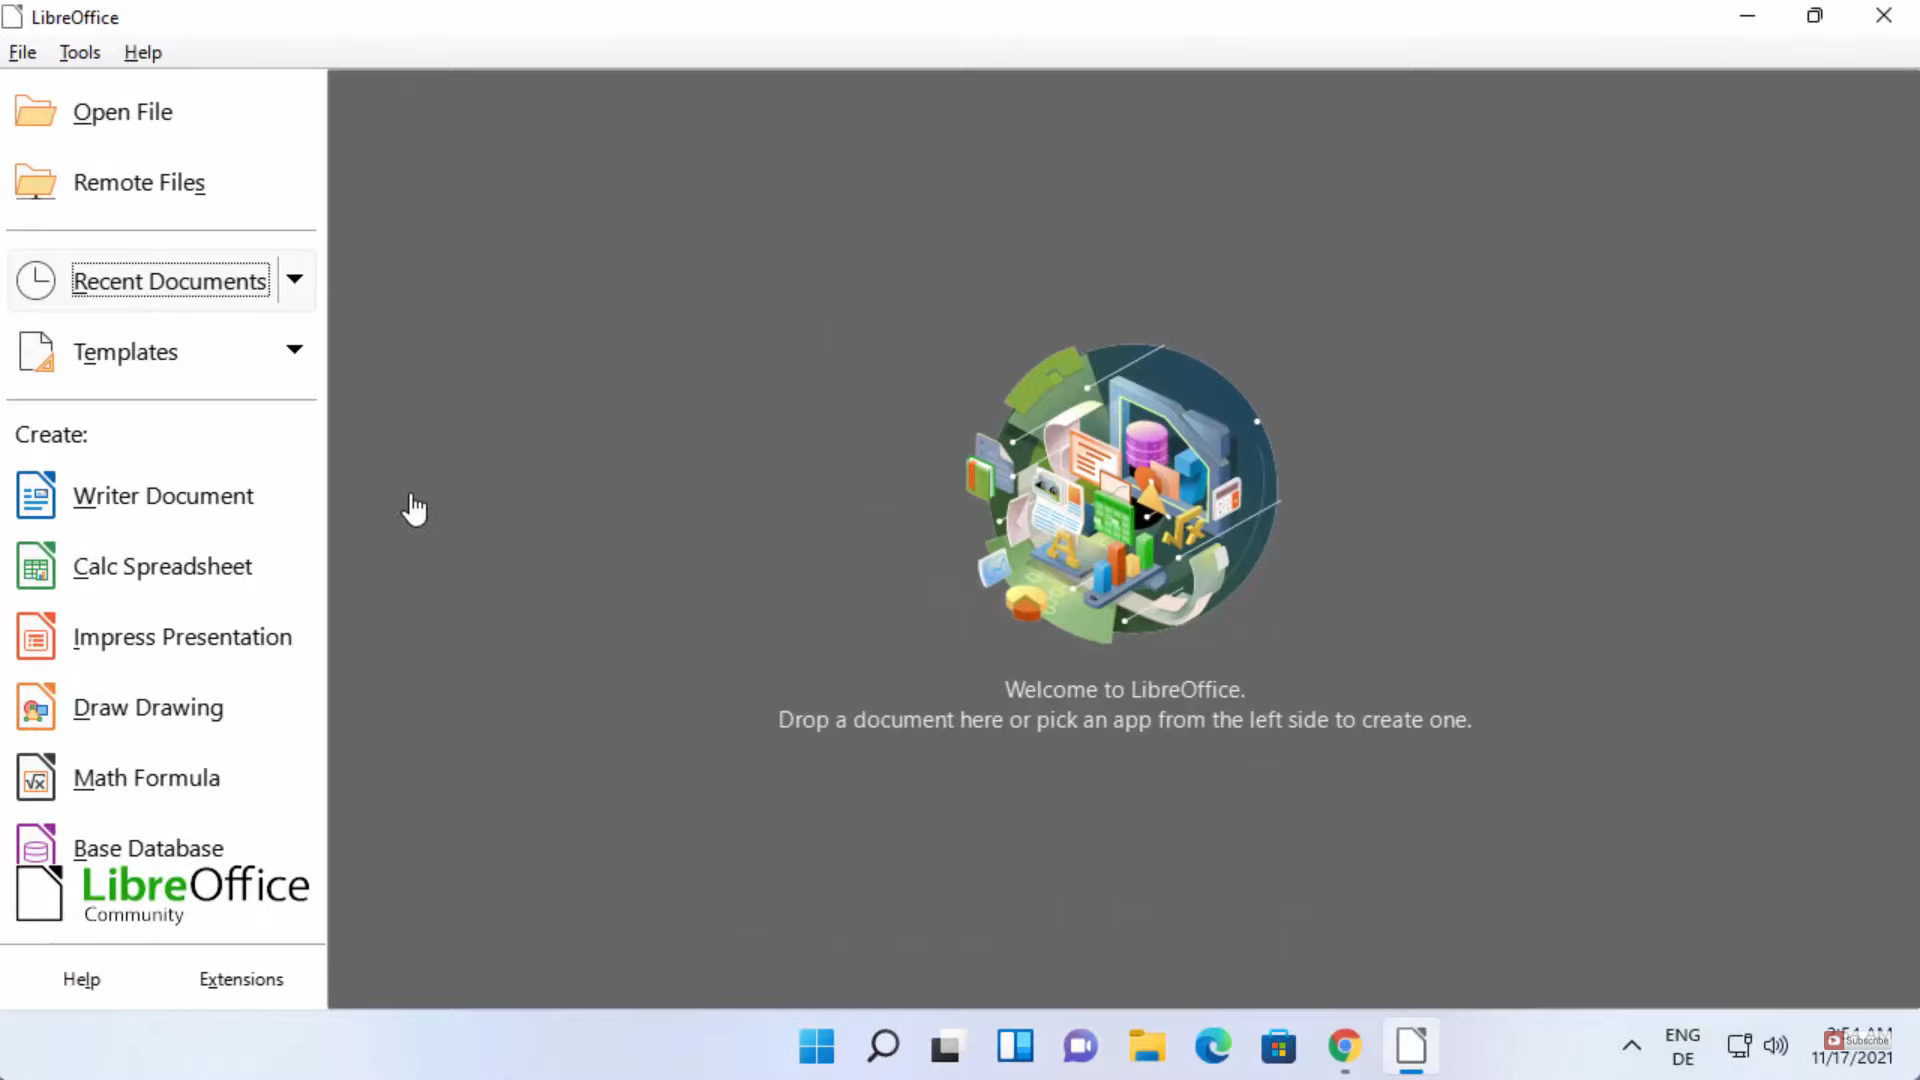
12. Here, you can create documents like MS word.
These are the steps for downloading and installing LibreOffice on your Windows 11 Operating System.
Leave a Reply