
In this blog post, I will give a detailed view of downloading and installing epic games launcher in your Windows 11 Operating System.
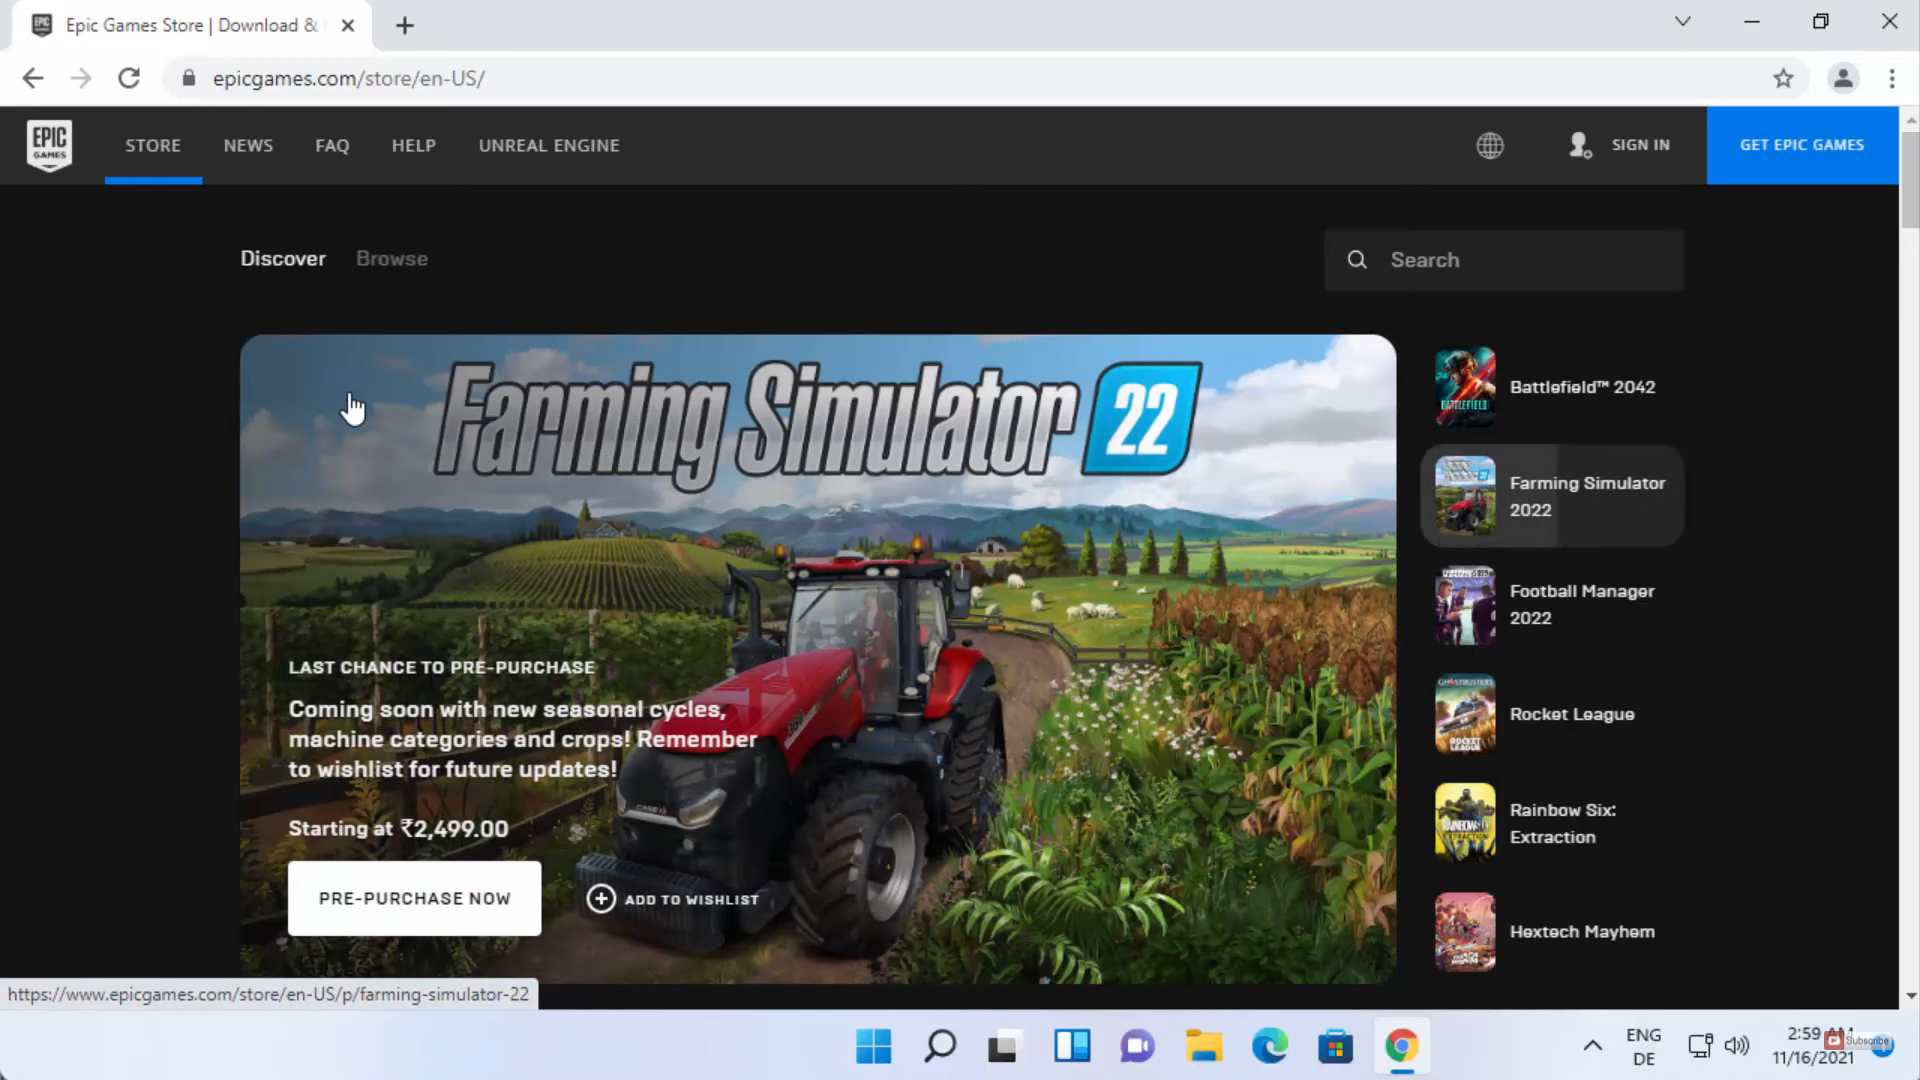
1. Open a web browser of your choice and search for epic games. The first link will appear from epicgames. Click on that link.

2. Once the link opens, you need to click on the get epic games button which will be available on the top. It will start to download the MSI file.
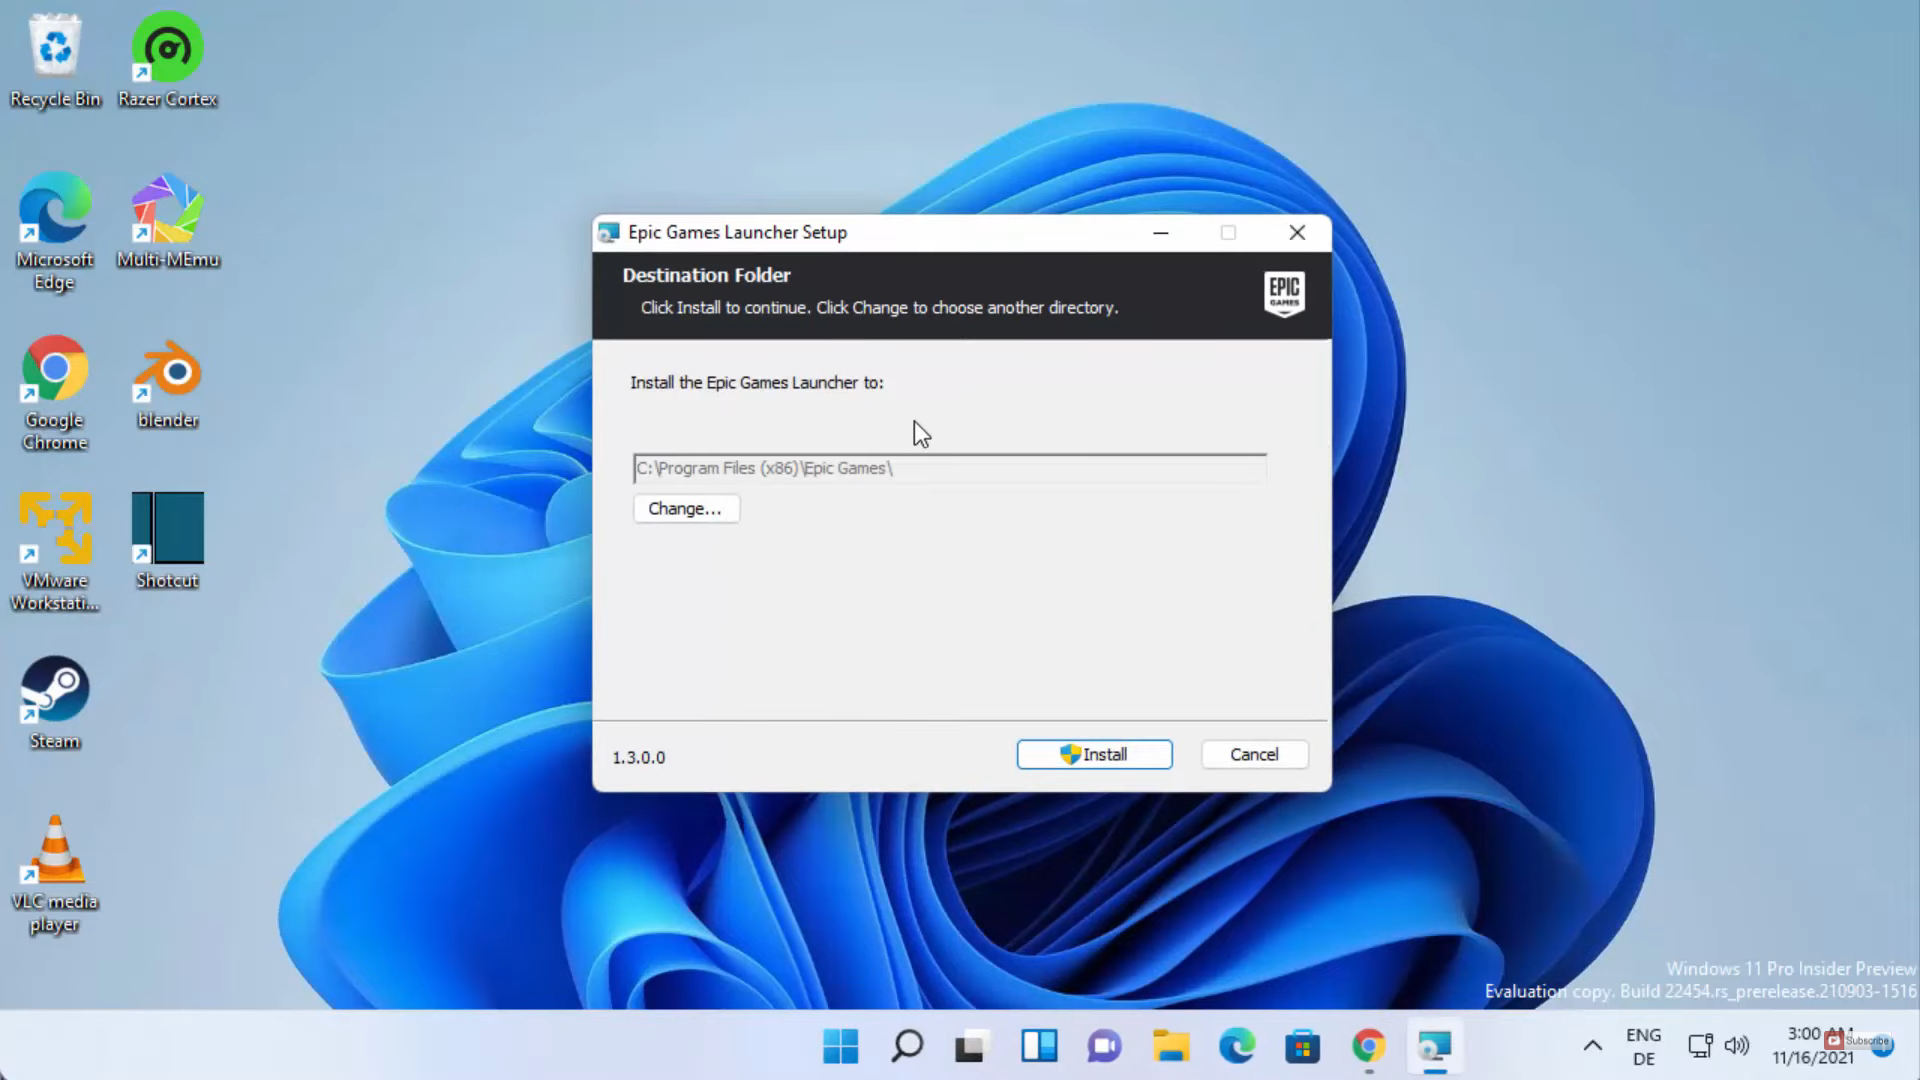
3. Once the download is complete, click on the MSI file and minimize the browser. It will start the installer for epic games.
4. This will be the default location where it will be installed. If you want you can change the location, by clicking on the Browse option. I am going to leave it as default. Click on Install.
5. It will start the installation. In between the installation process, it will show a warning, click on Yes.
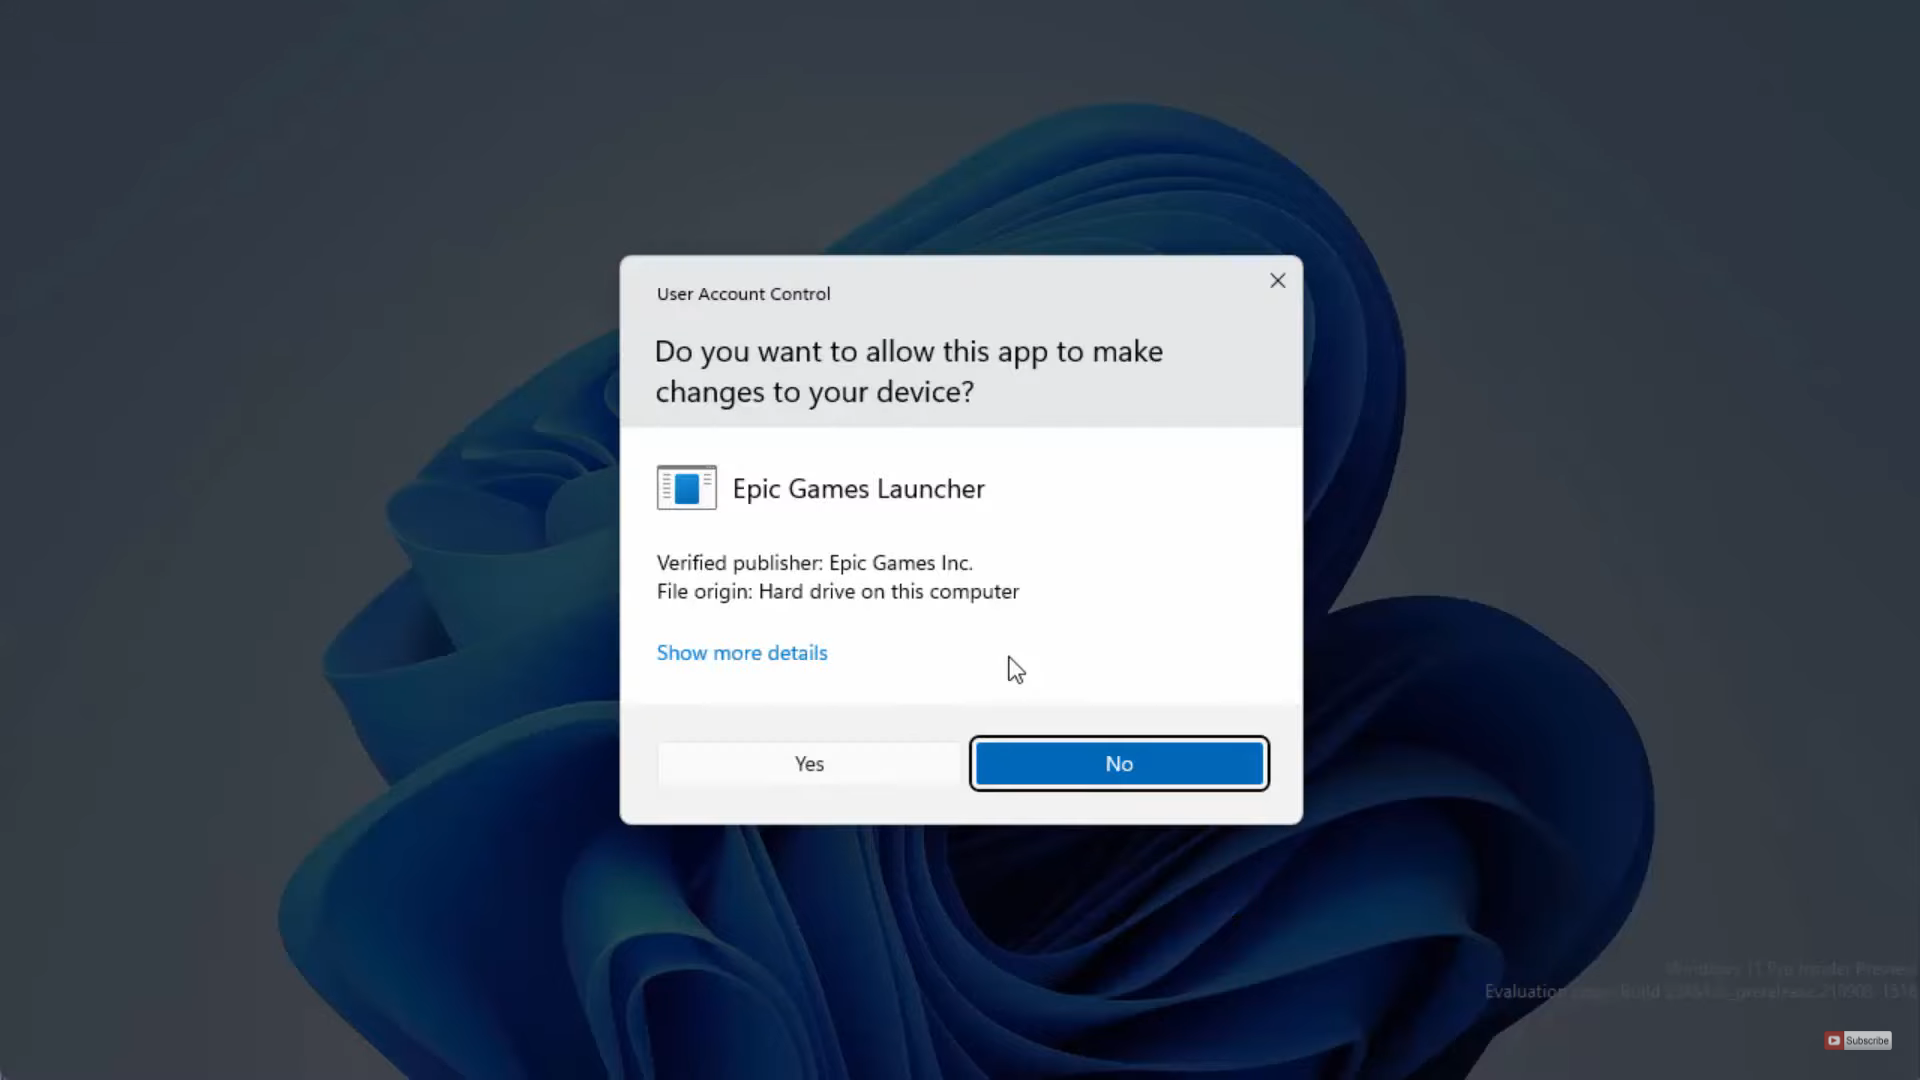
6. It will again show a warning in between. You need to click on Yes. You can also see the epic games shortcut icon on your desktop.
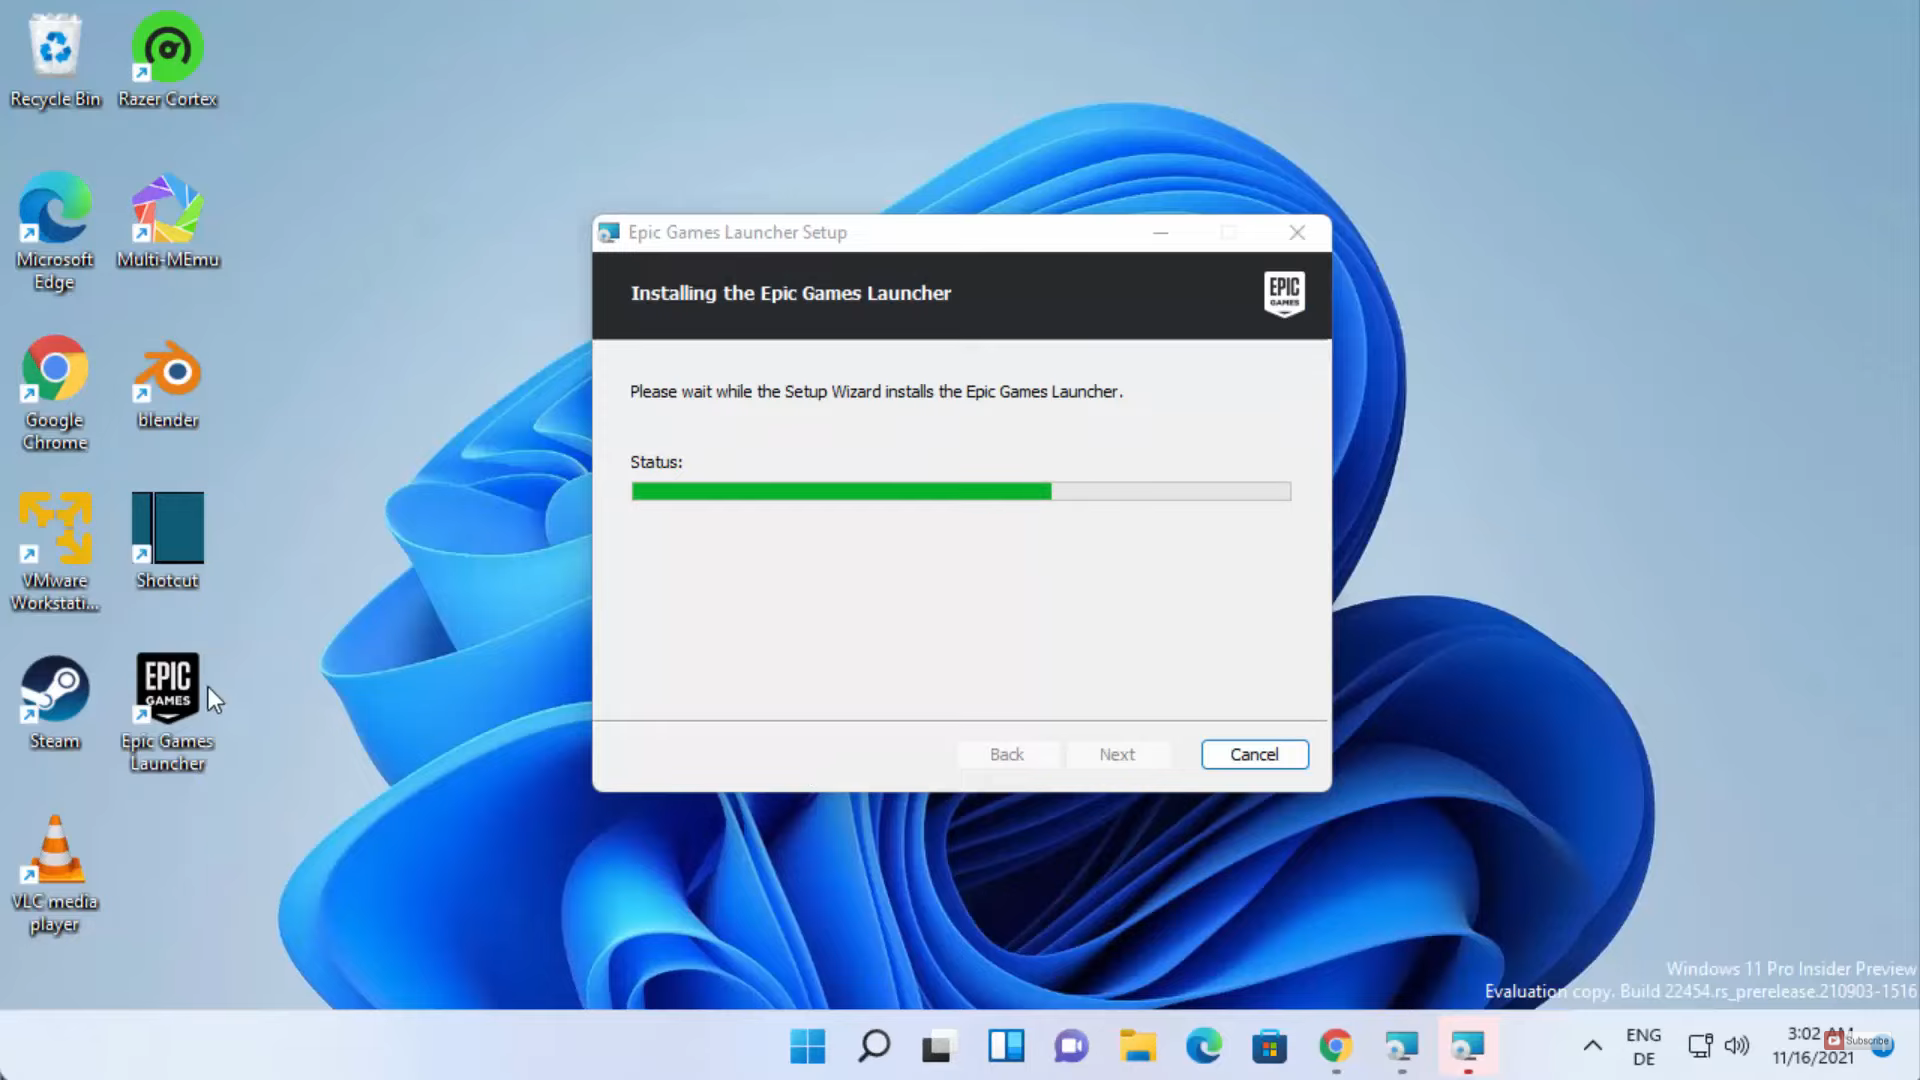
7. Click on that icon. It will start the epic game launcher. It will show a warning. Click on Yes. It will install some prerequisites.

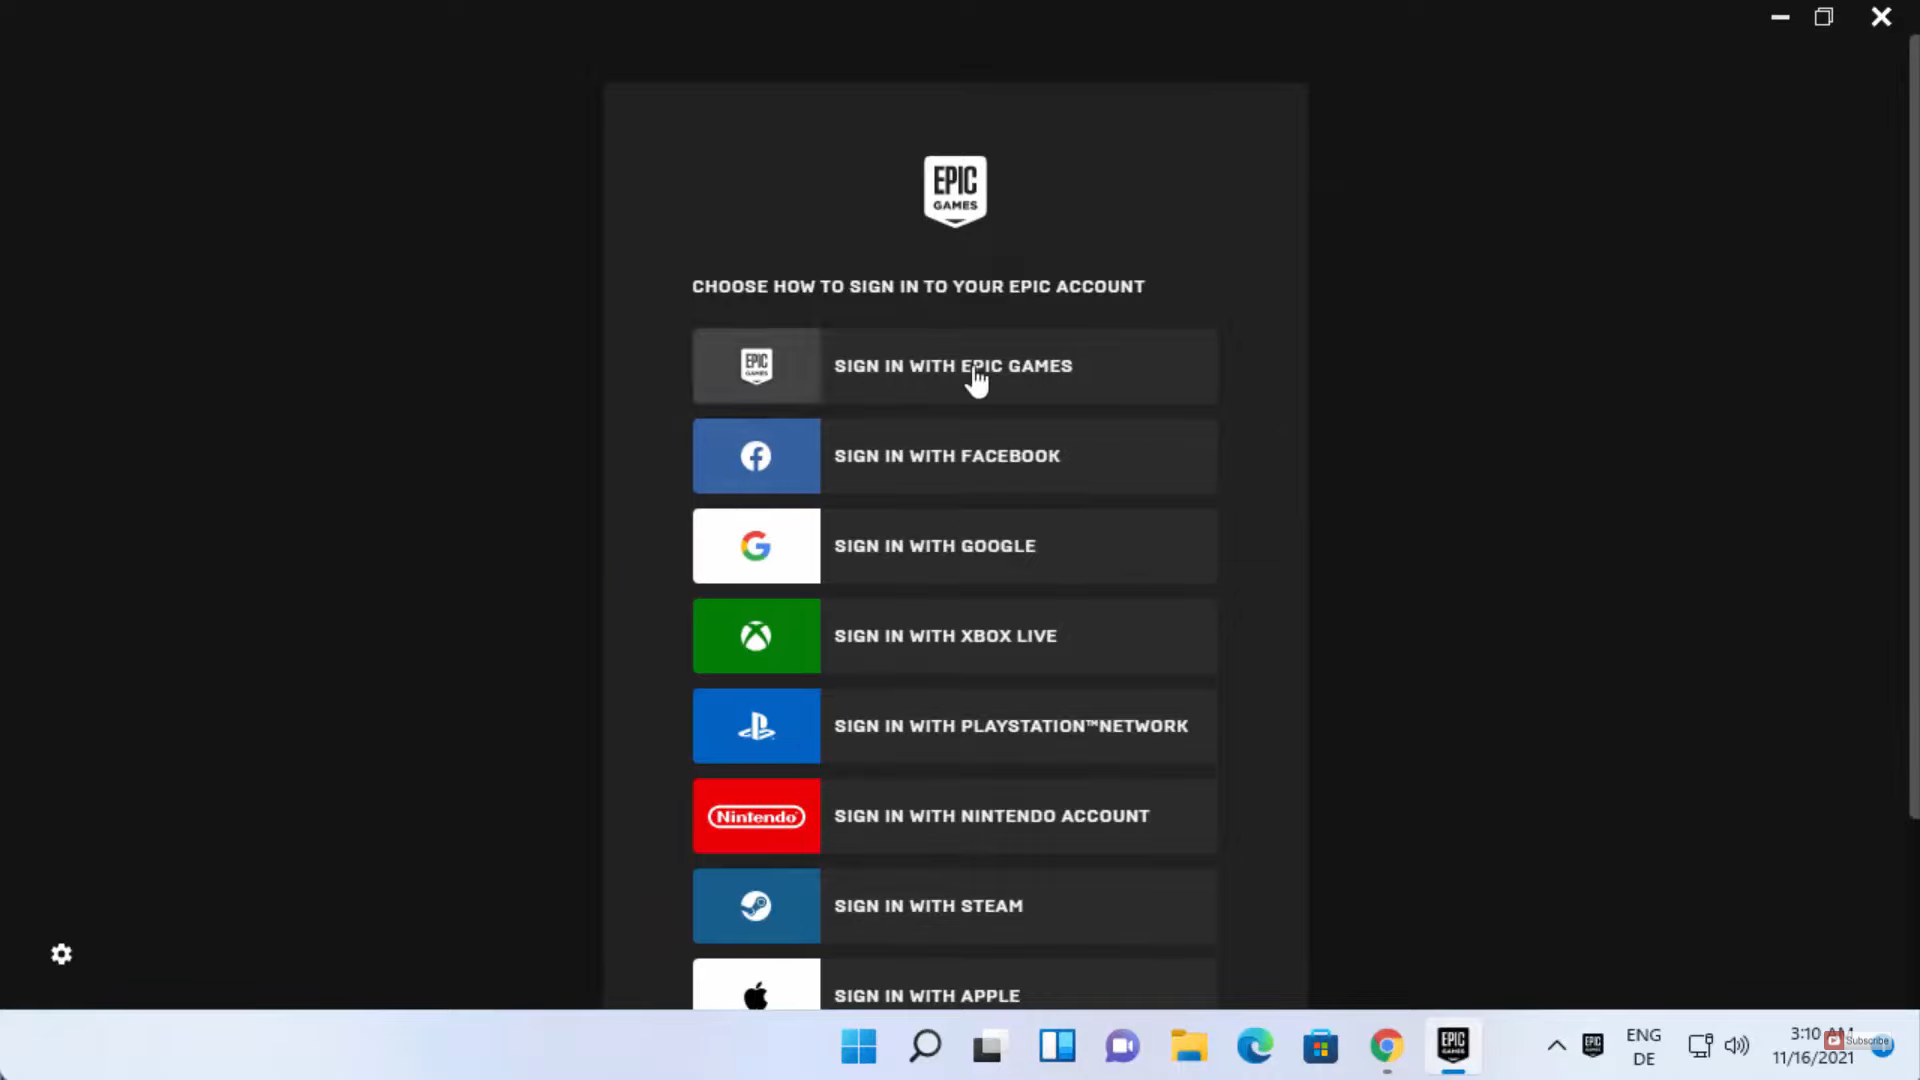
8. Now, the epic game launcher has been started. The first step is to log in with any one of your accounts. If you don’t have an account, then you need to click on Sign up. After you have signed up, you can start using the app.
These are the steps for downloading and installing epic games launcher in your Windows 11 Operating System.
Leave a Reply