In this blog post, I will provide a detailed view of how you can change your profile picture in the Windows 11 Operating System.
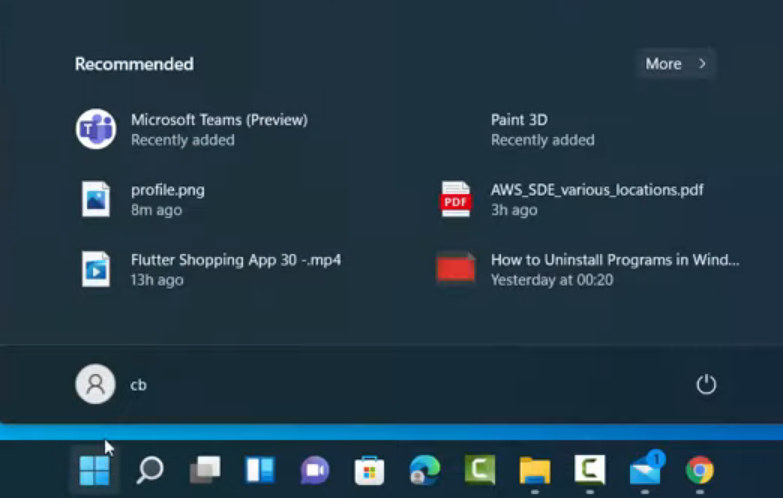
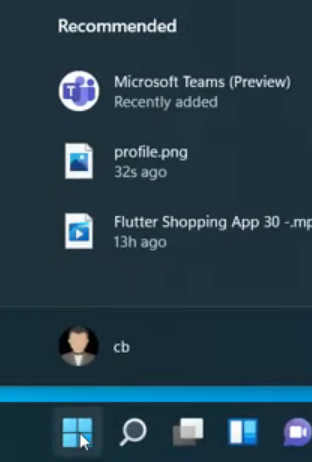
1. Click on the Windows icon in the taskbar. You can see your account at the bottom. Right now, it has no profile picture. Click on this.
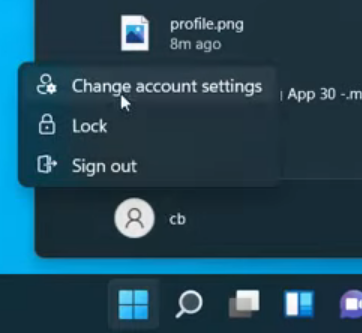
2. Then click on change account settings.
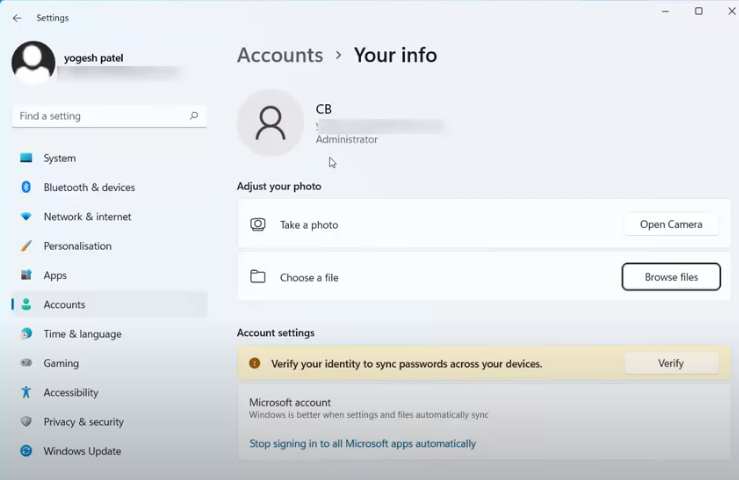
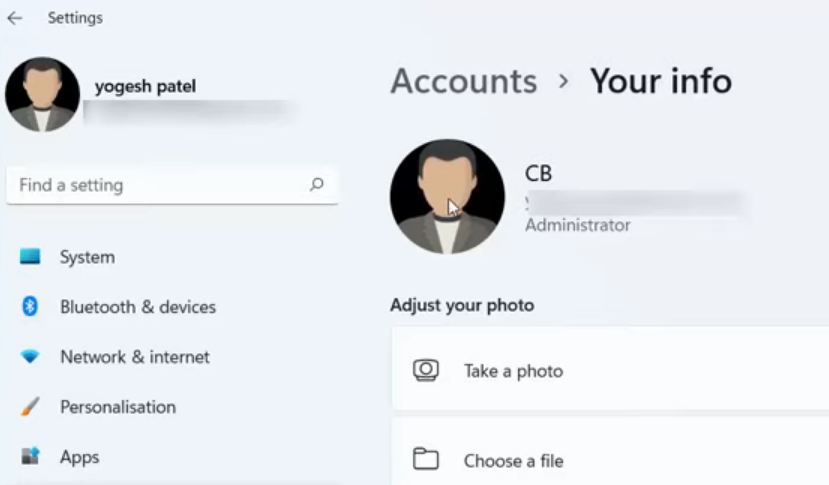
3. It will now take you to the Settings page. Here, you can see a section called Adjust your photo. Under that, you can see an option called Take a photo. You can take a photo from your camera with the help of your webcam. If you have a picture already, then you can choose the option called Choose a File.
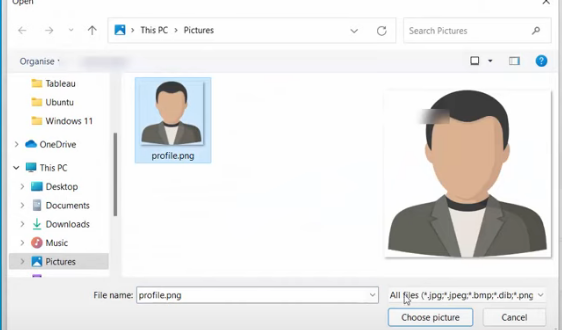
4. For choosing the file, click on Browse Files. Now you can select the file. Click on choose picture. It will add the profile picture. on your windows 11 operating system.
5. To see the changes, you will have to sign out of your account and sign in again. Once you sign in, you can see the Profile Picture on the login page.
6. When you close the settings window and click on the Windows icon in the taskbar, you can see the profile picture of your account.
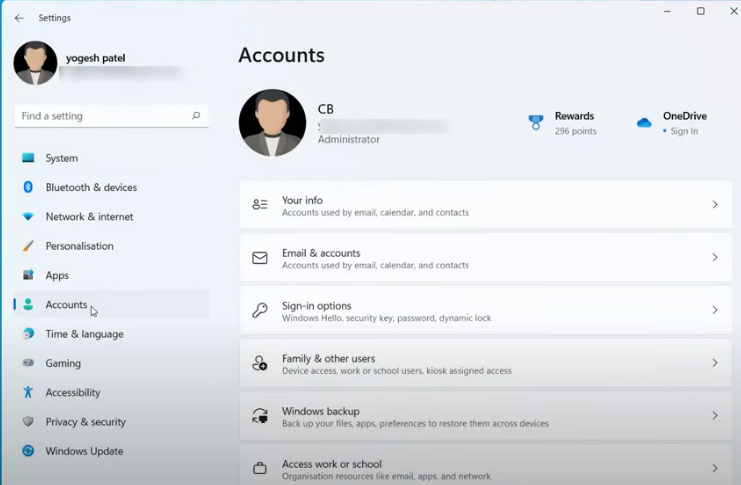
7. There is also another way available to change your profile picture. If you don’t see the change account settings option after clicking on your profile, then right-click on your Windows icon. Then, click on Settings.
8. Click on Accounts. Then click on Your info. You can see the same window for changing the profile picture which I have mentioned in the earlier method.
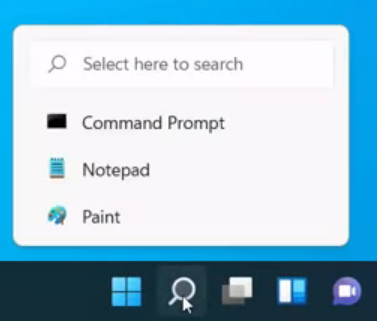
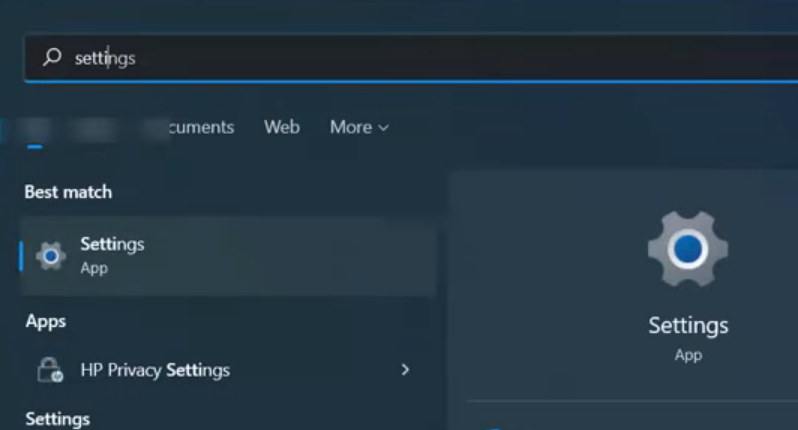
9. One more way of reaching this is by clicking on the Search icon and searching for the Settings app. Once the settings app opens, click on Account and click on Your info. You will be able to see the same window again for changing the profile picture. You can follow the previously mentioned steps.
These are the steps for changing the profile picture in Windows 11 Operating System.


Leave a Reply