
In this blog post, I will provide a detailed view of changing the User Name of your account in Windows 11.
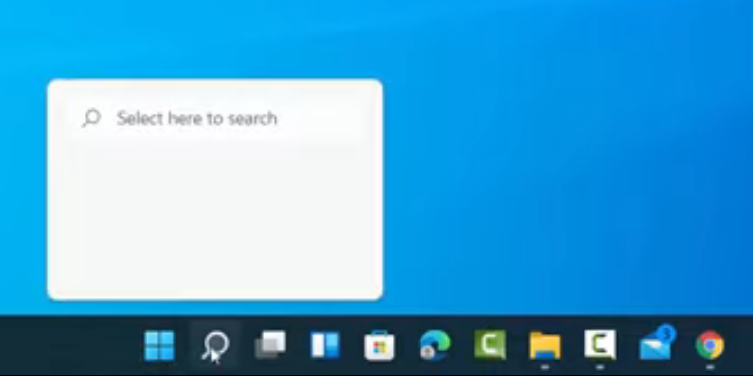
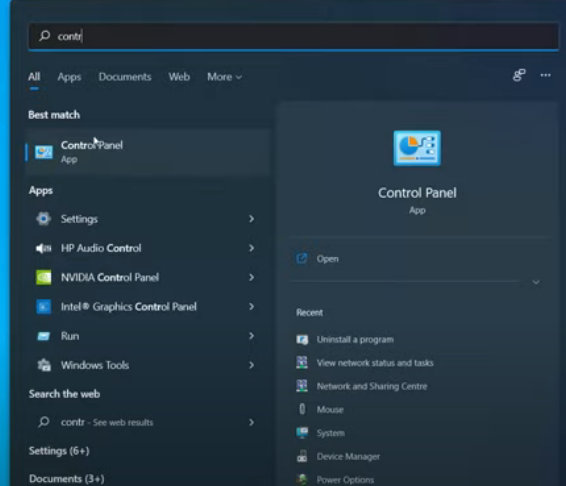
1. In the search bar, search for Control Panel. Once you see the control panel app in the search result, click on it.
The control panel window will open.
2. On the top right corner, you will be able to see the view by Category option. Click on it.
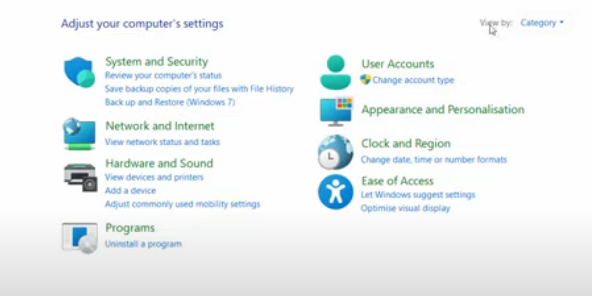
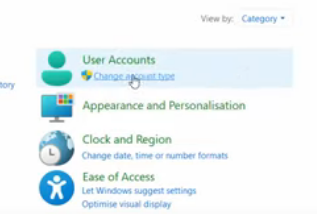
3. You will be able to see an option called User Accounts on the right side. Under that option, you will be able to see Change Account Type. Click on it.
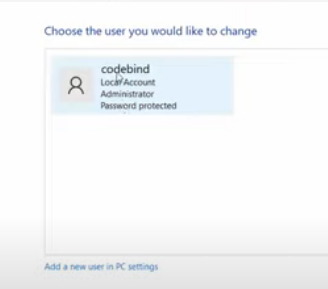
4. Here, I have only one account. To change your user account, you need to click on it. It will provide a list of options.
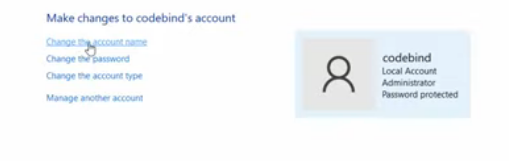
5. The first available option is to change the account name. Click on it.
6. It will give you a space where you can enter your new account name. My current account name is codebind. Now you need to write your new account name.
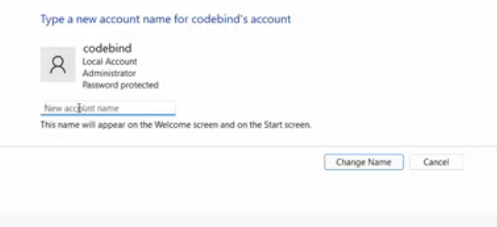
7. I am going to change the new account name to cb which stands for codebind. Once you have typed the new account name, click on the Change Name button.
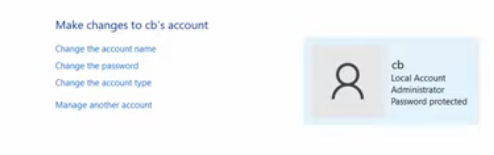
8. Now, your User Name has been changed.
9. You can also verify this by clicking on the Windows icon. To see the changes, you need to sign out of your account and then sign in again.

These are the steps to change your User Name in Windows 11.
Leave a Reply