
In this blog post, I will give a detailed view of assigning a static IP address to your Windows 11 Operating System.
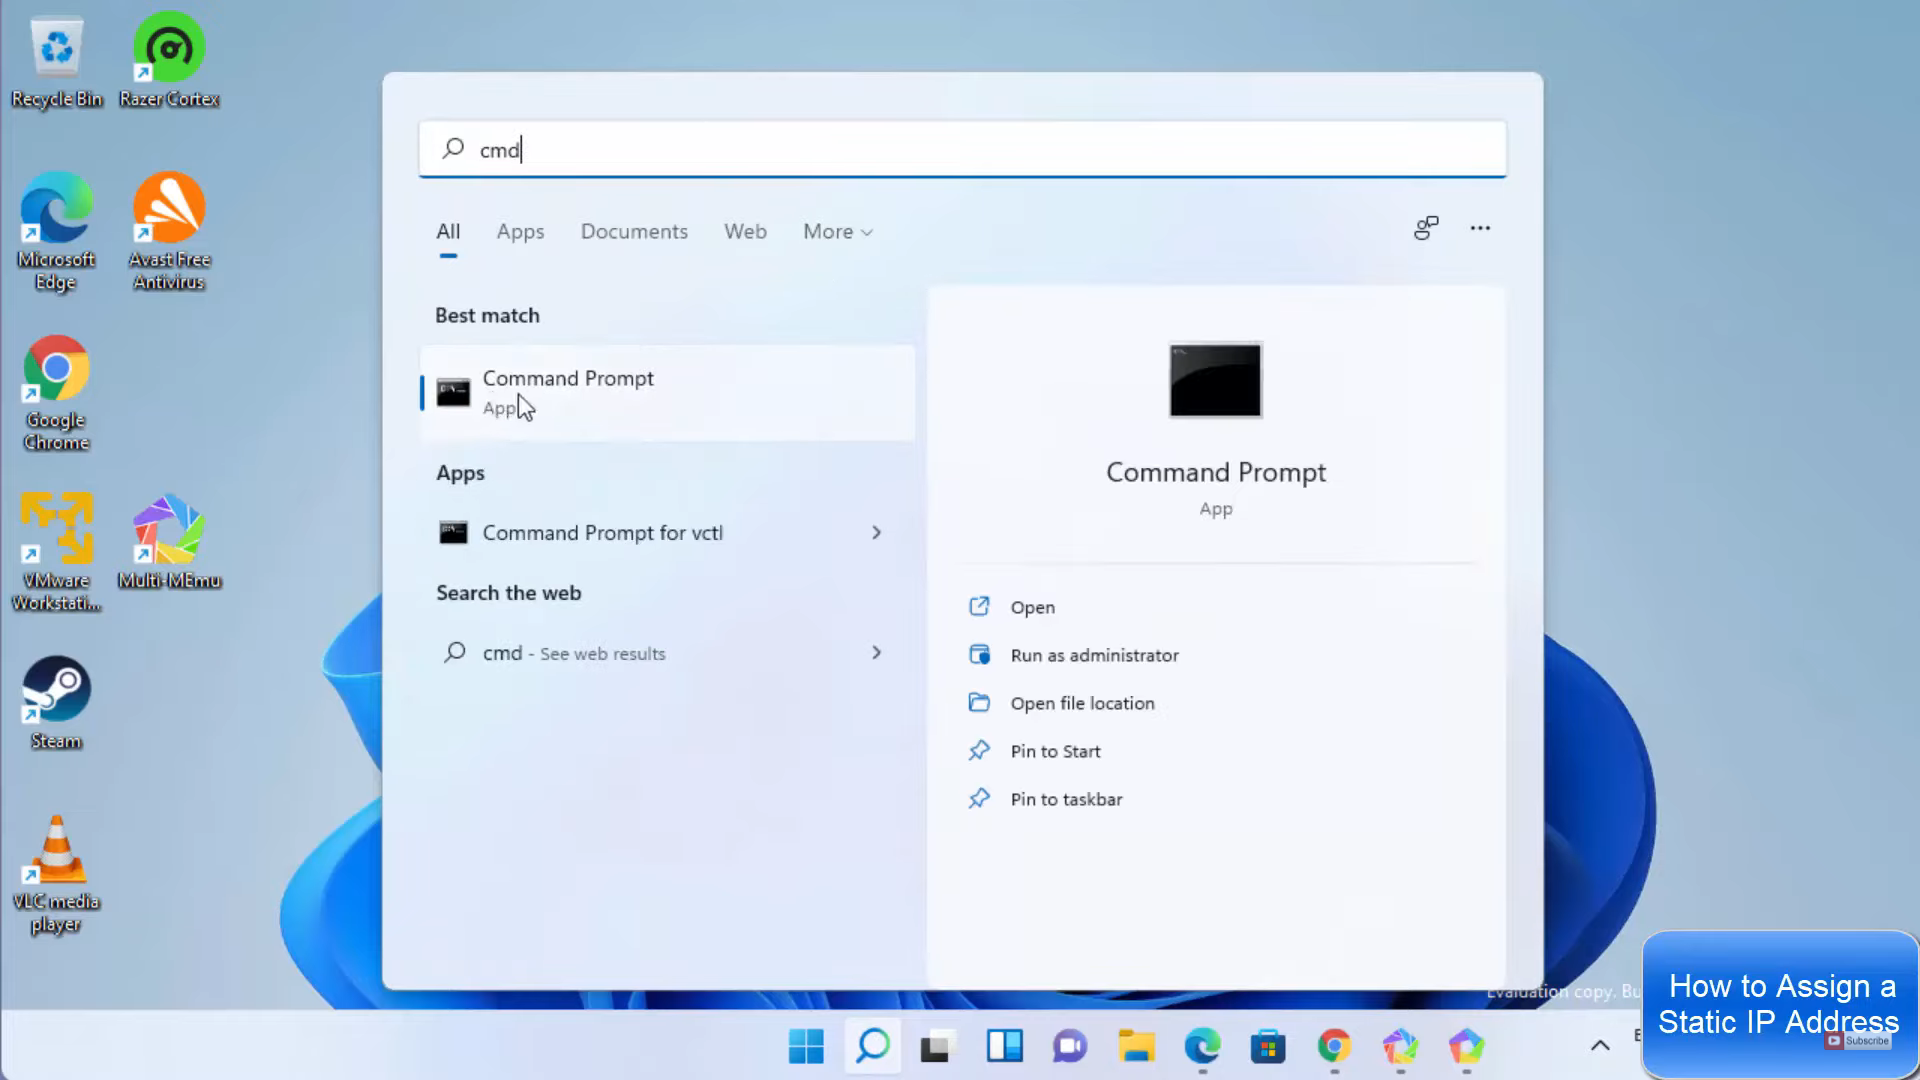
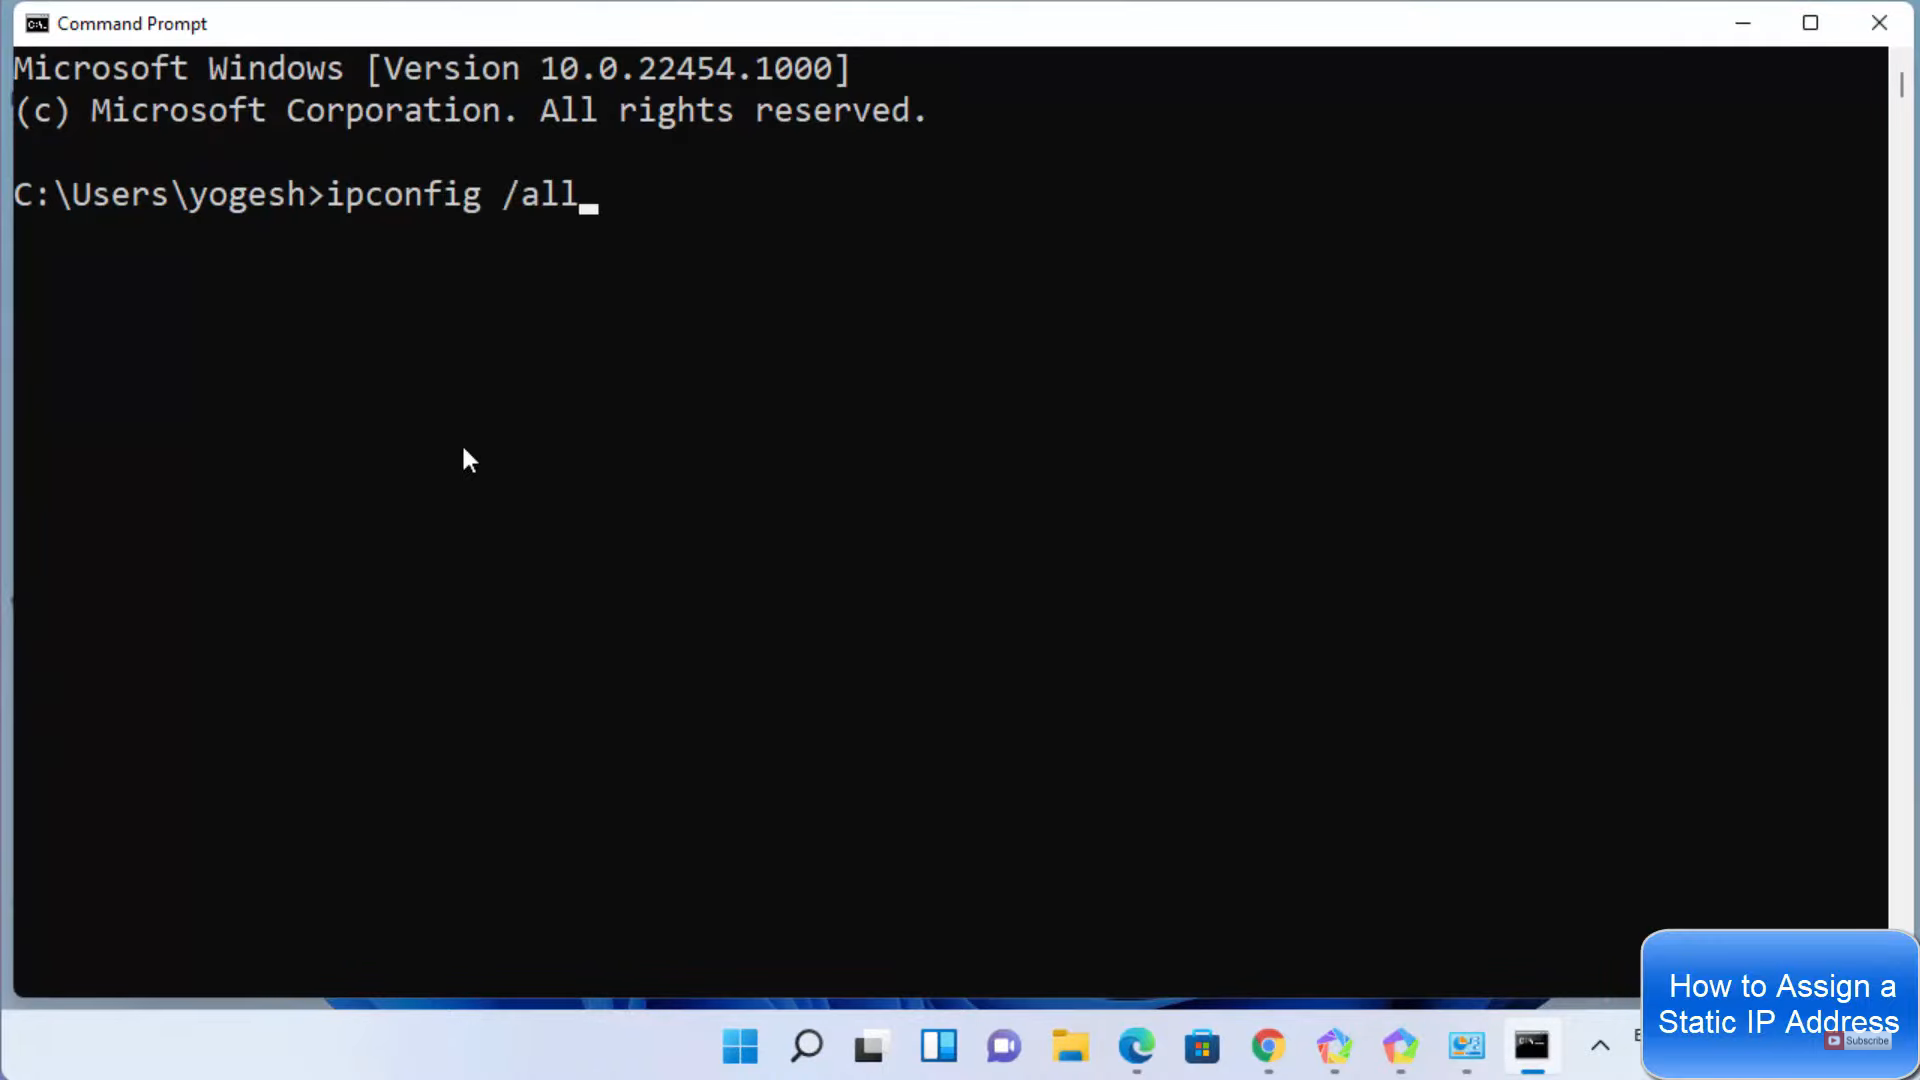
1. Click on the search icon and search for cmd. Click on the command prompt from the search result.
2. Here, you need to type ipconfig /all and press enter.

3. It will show you some information. From this information, you need to choose the network adapter for your device. Wherever you see the local domain in front of a connection-specific DNS suffix, that is your PC’s network-related information. This is the IP address that is dynamically allocated to your Windows 11 Operating System. This information should be noted down.

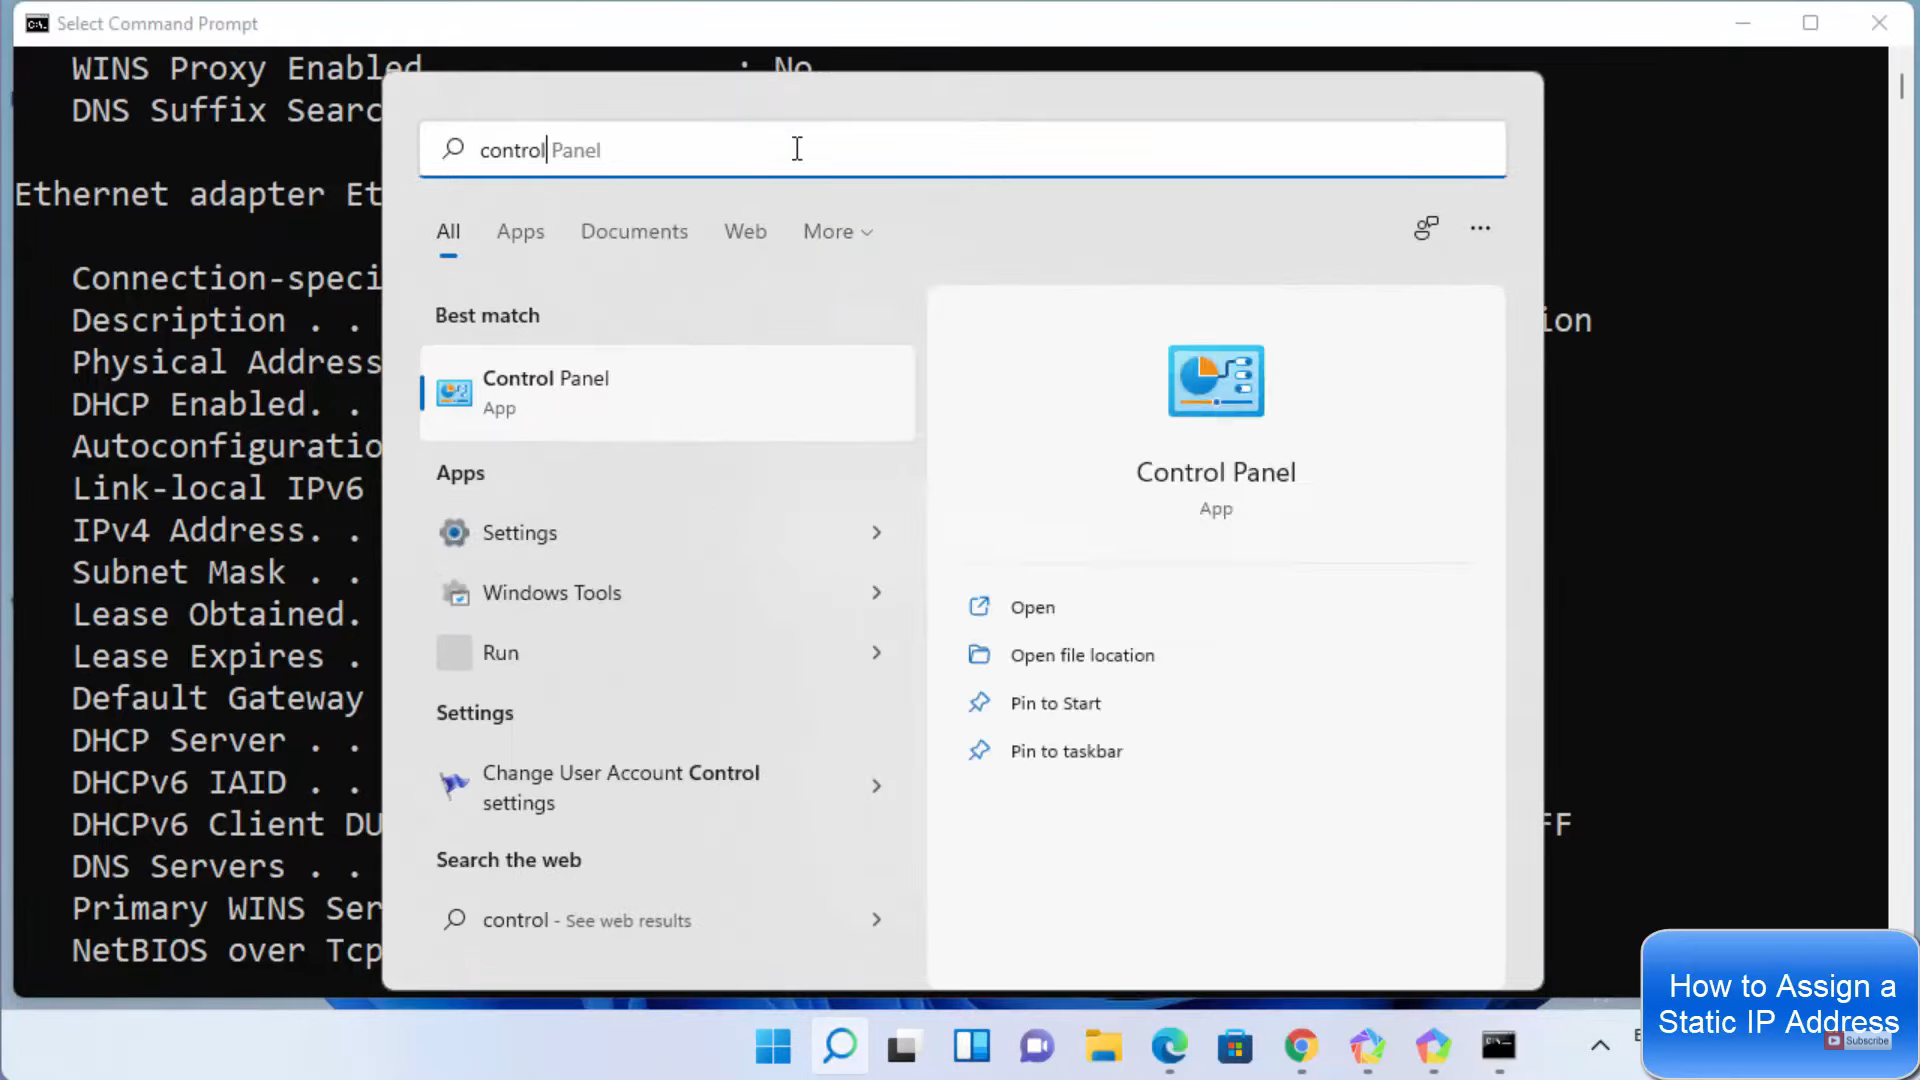
4. Then, click on the search icon and search for the control panel app. Click on the control panel in the search result.
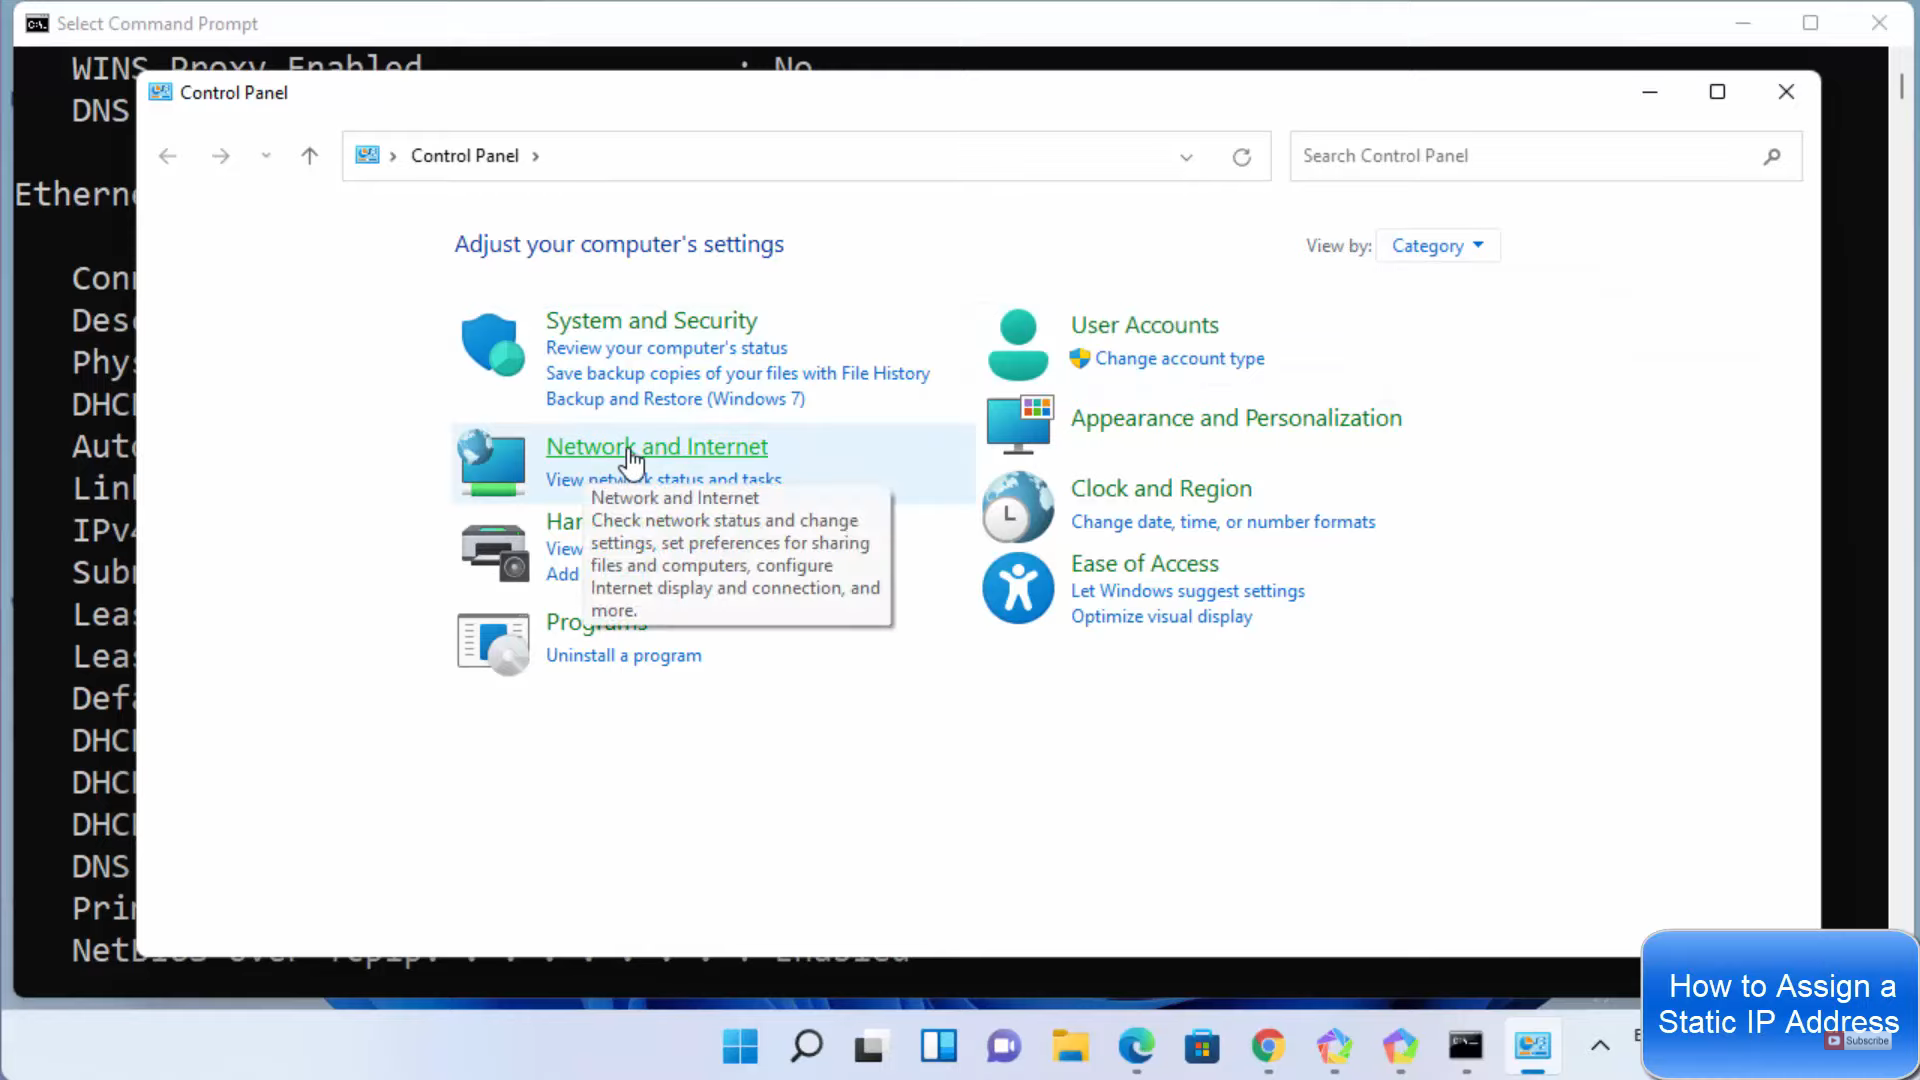
5. In the control panel window, you need to view it by category. Then, click on Network and Internet.
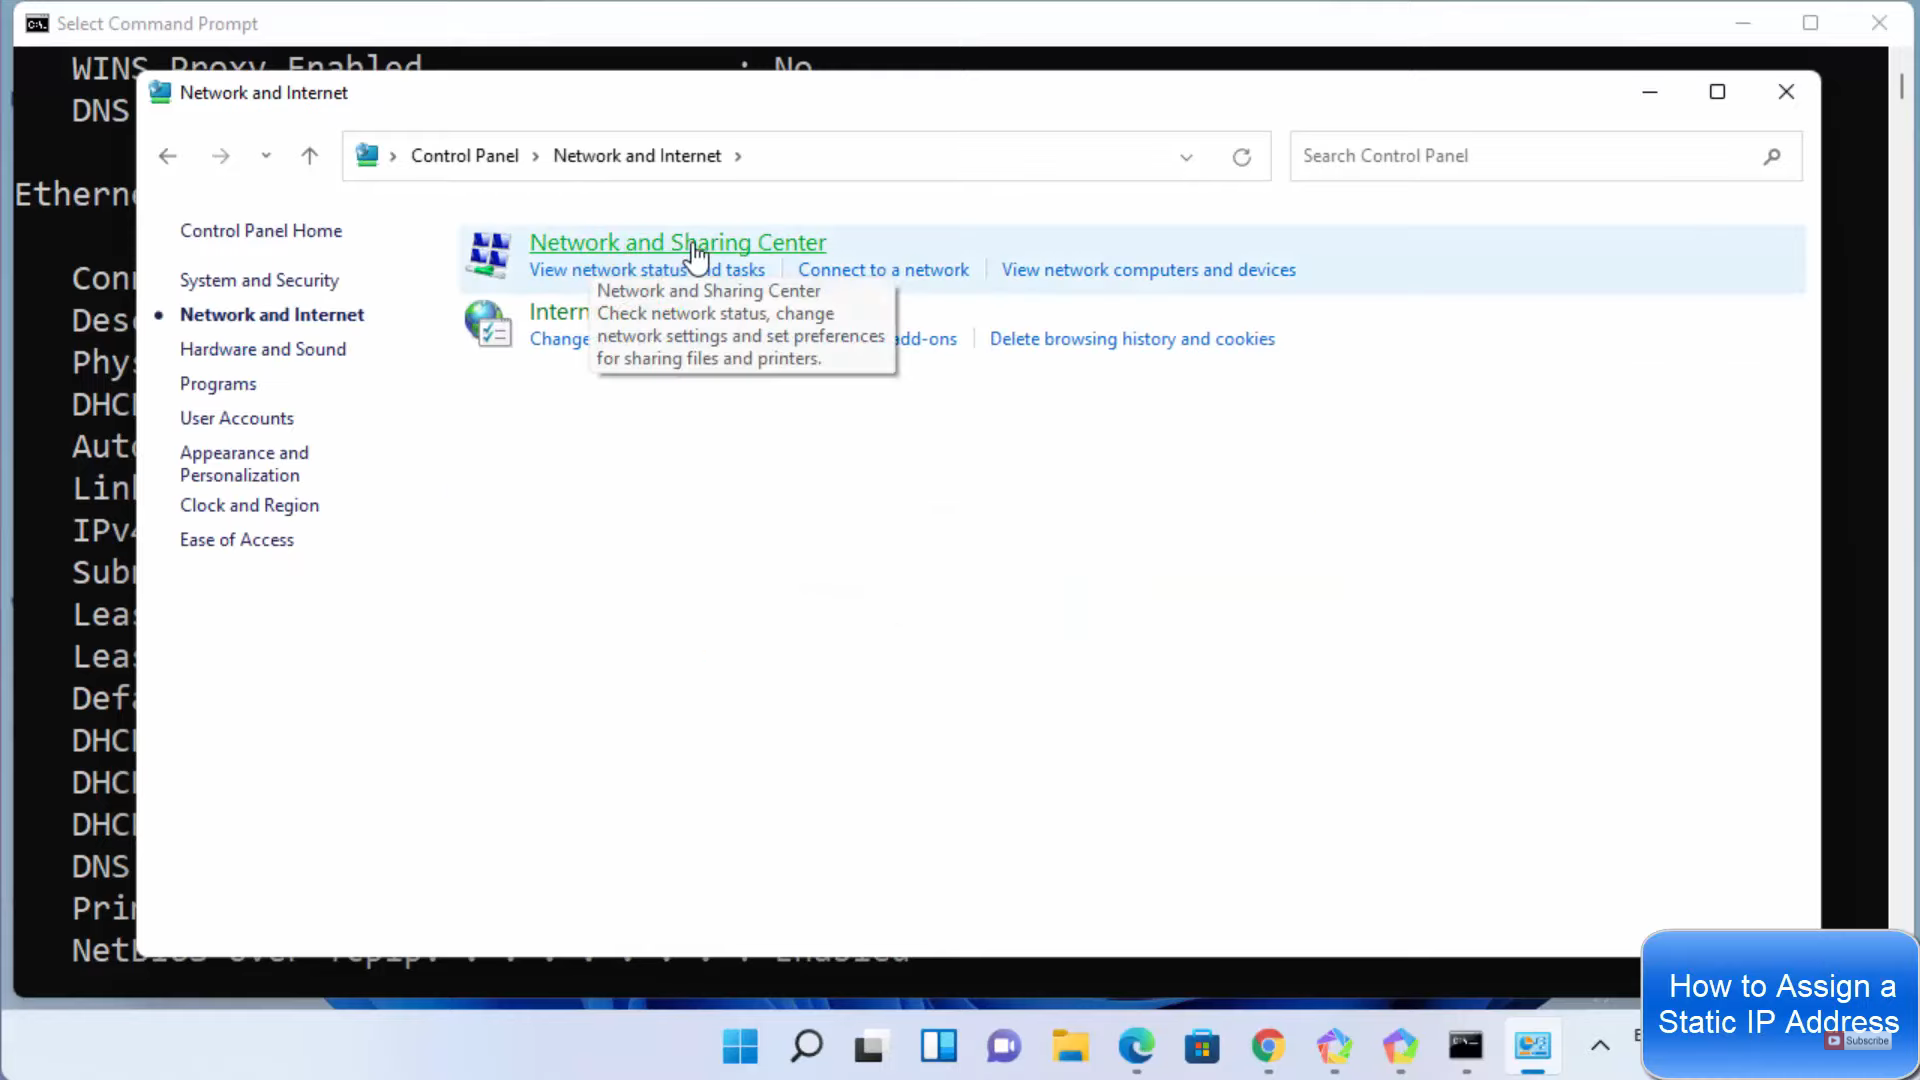
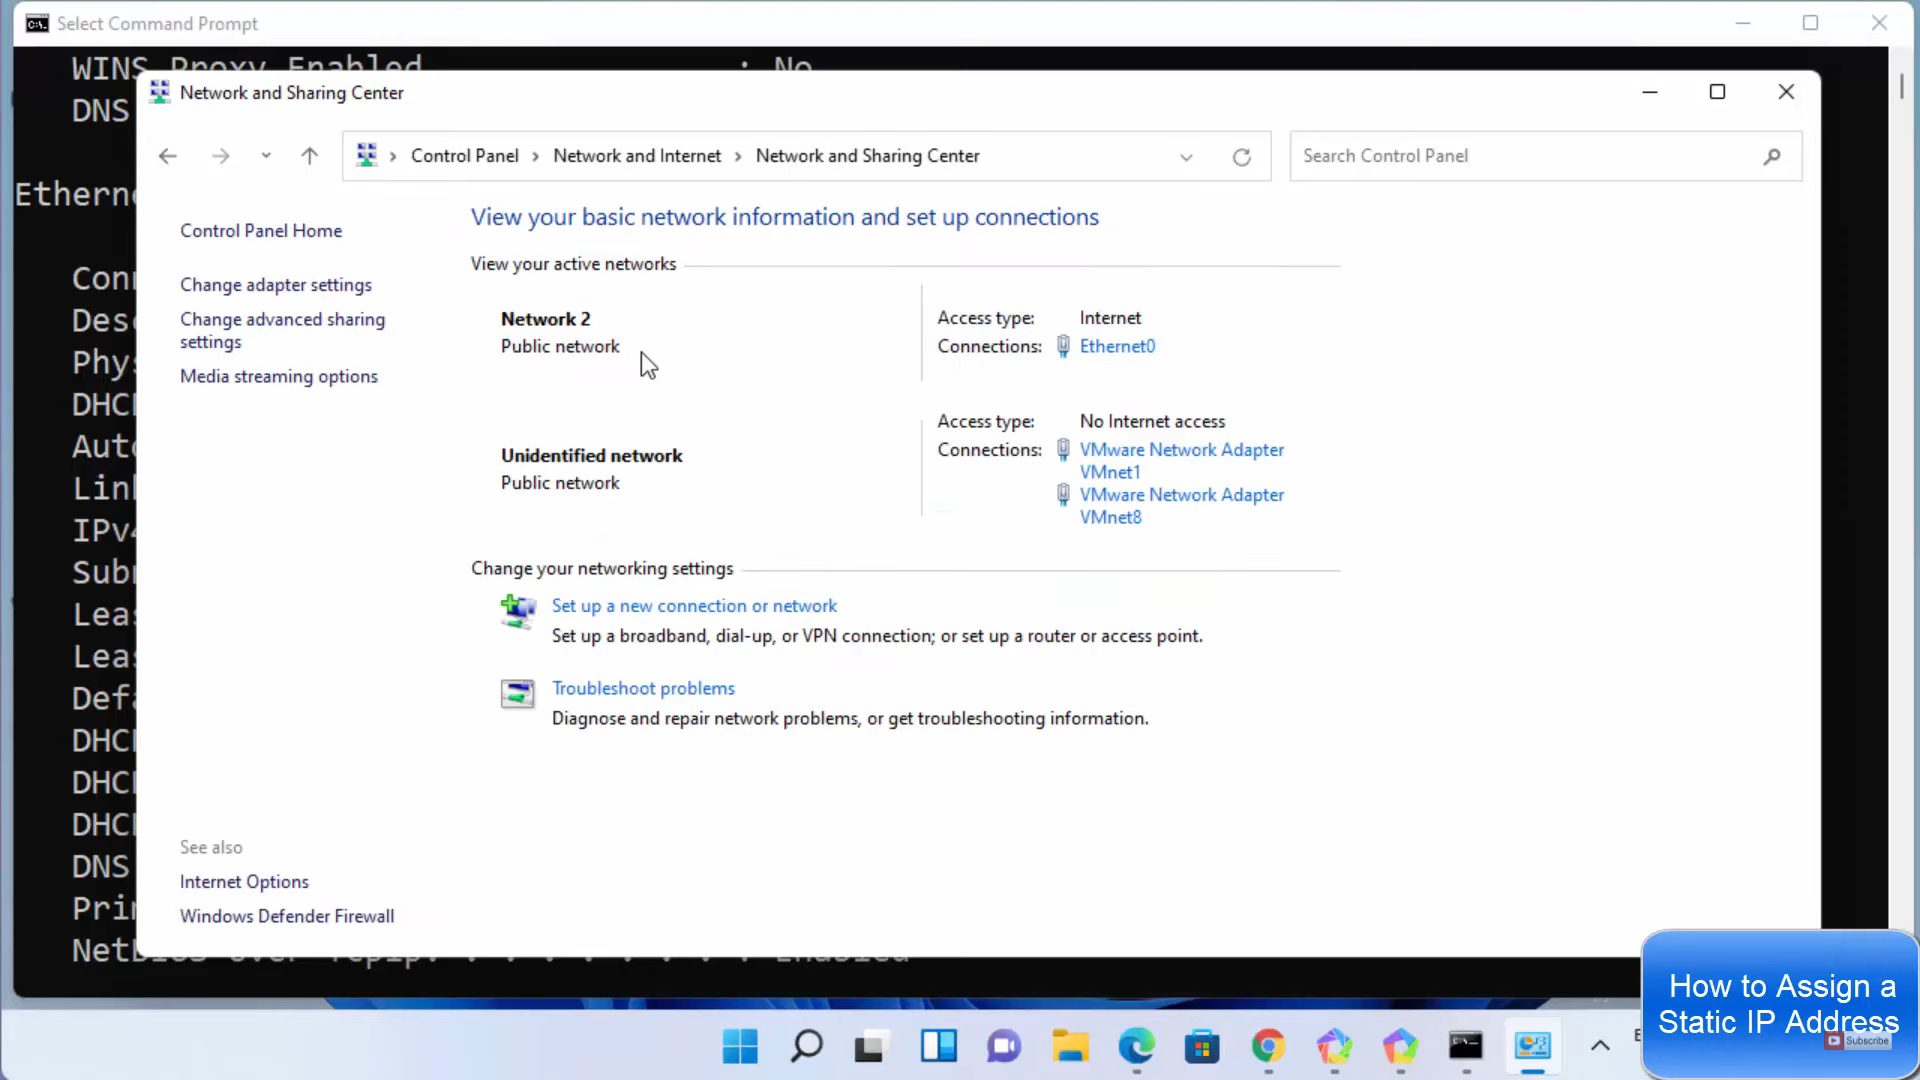
6. Then, click on Network and sharing center.
7. Here, you will be able to see the connections and it is ethernet (0). Click on that option and click on properties.
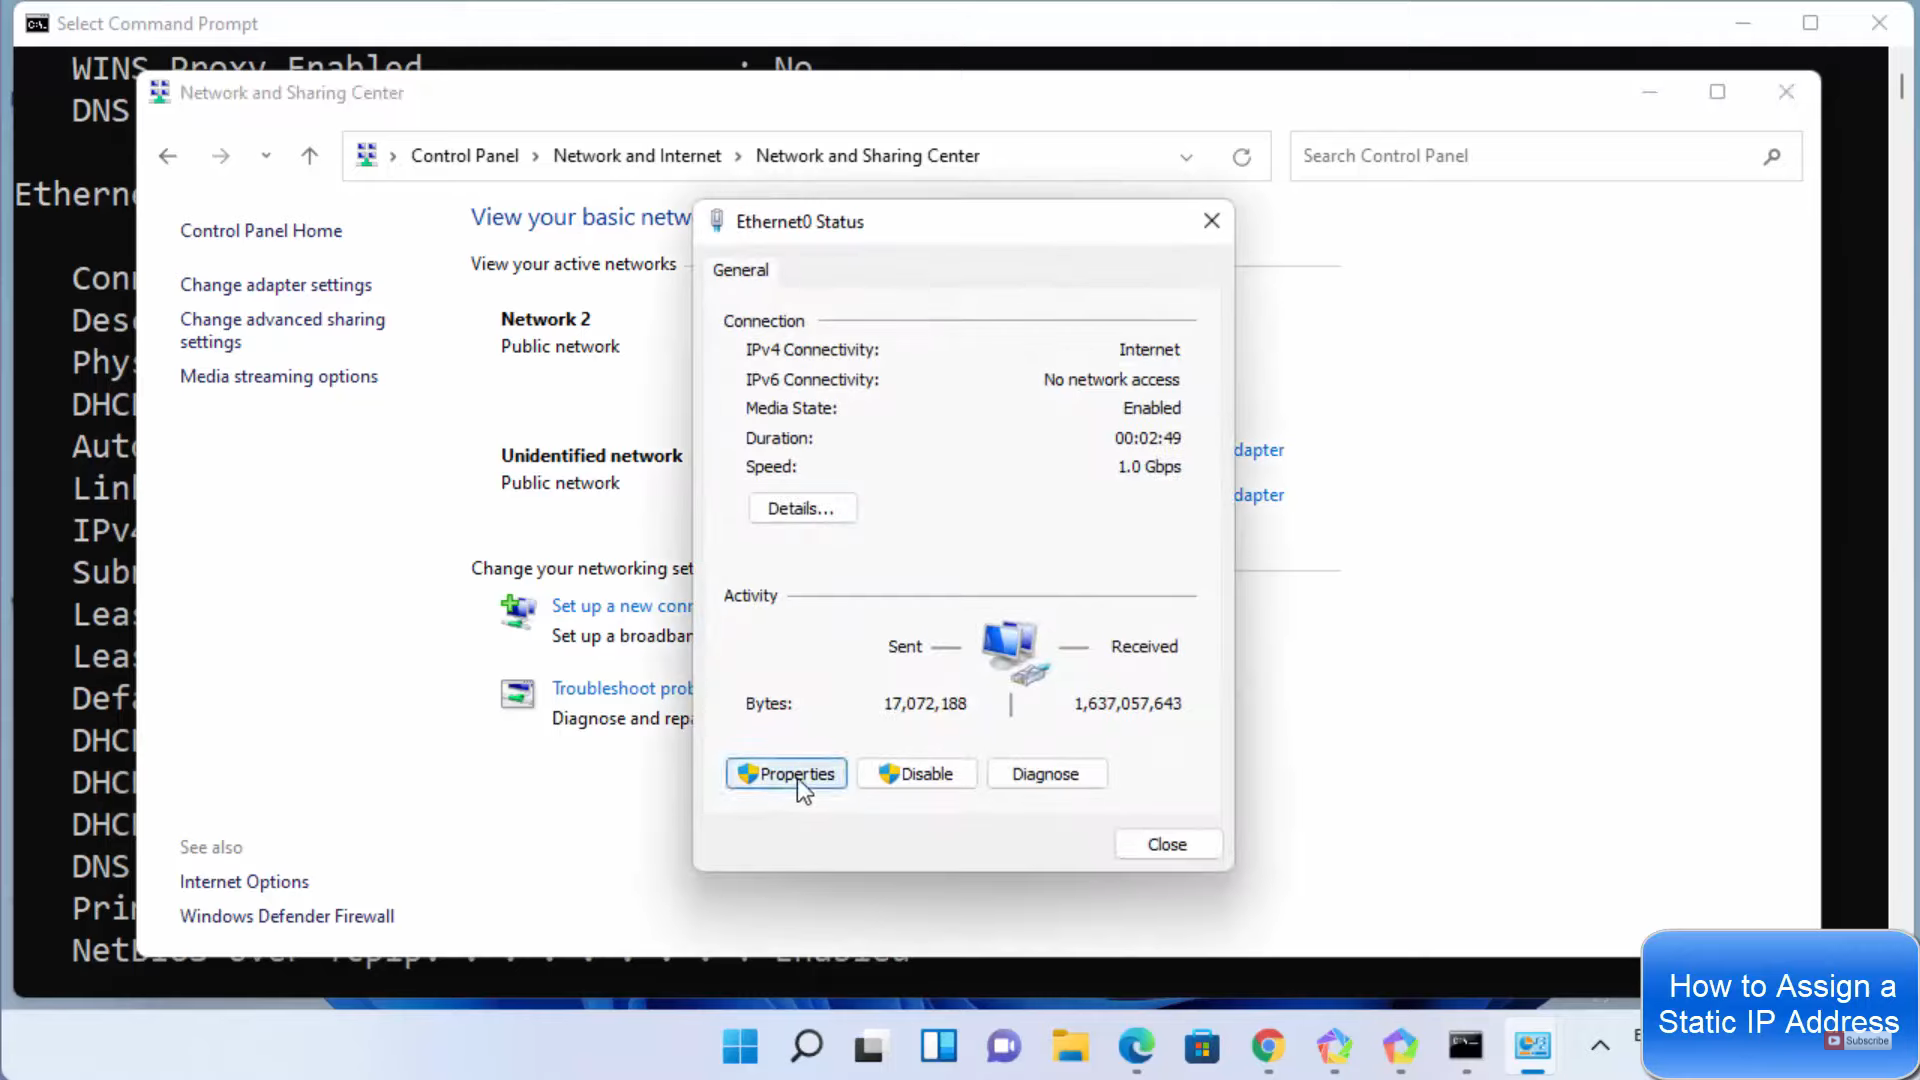
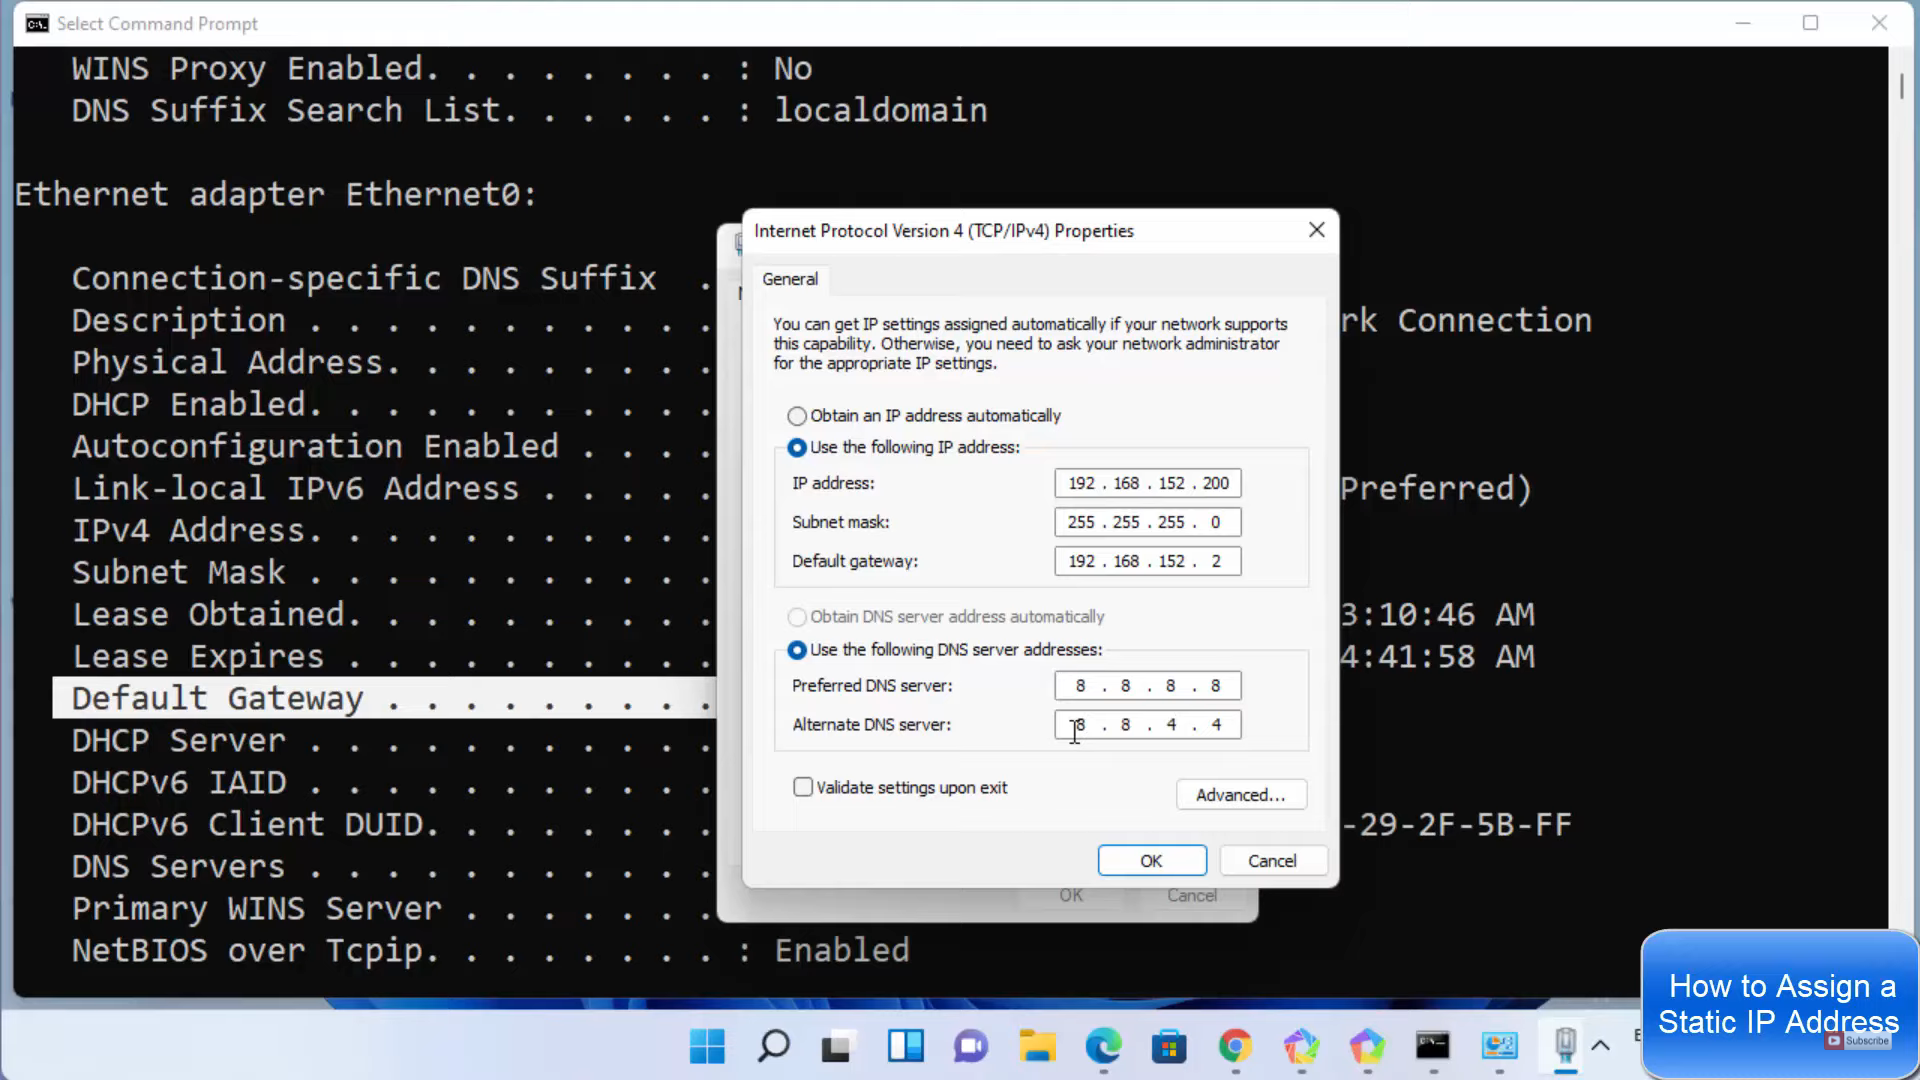
8. Click on Internet protocol version 4. Then, click on Properties.

9. You need to select the second option. Then, type the IPv4 address we saw in the command prompt. I generally take the first three numbers and for the fourth option, I choose some higher number. When you click on the subnet mask, it will automatically assign. You need to enter the default gateway by seeing the command prompt. You need to provide the preferred DNS server and alternate DNS server by searching for it in google. After entering everything, you need to click on Ok. Now, you have successfully assigned a static IP address.
10. You can also get network-related information using the settings app. In the settings app, click on Network & Internet option. Then, click on the Ethernet option.
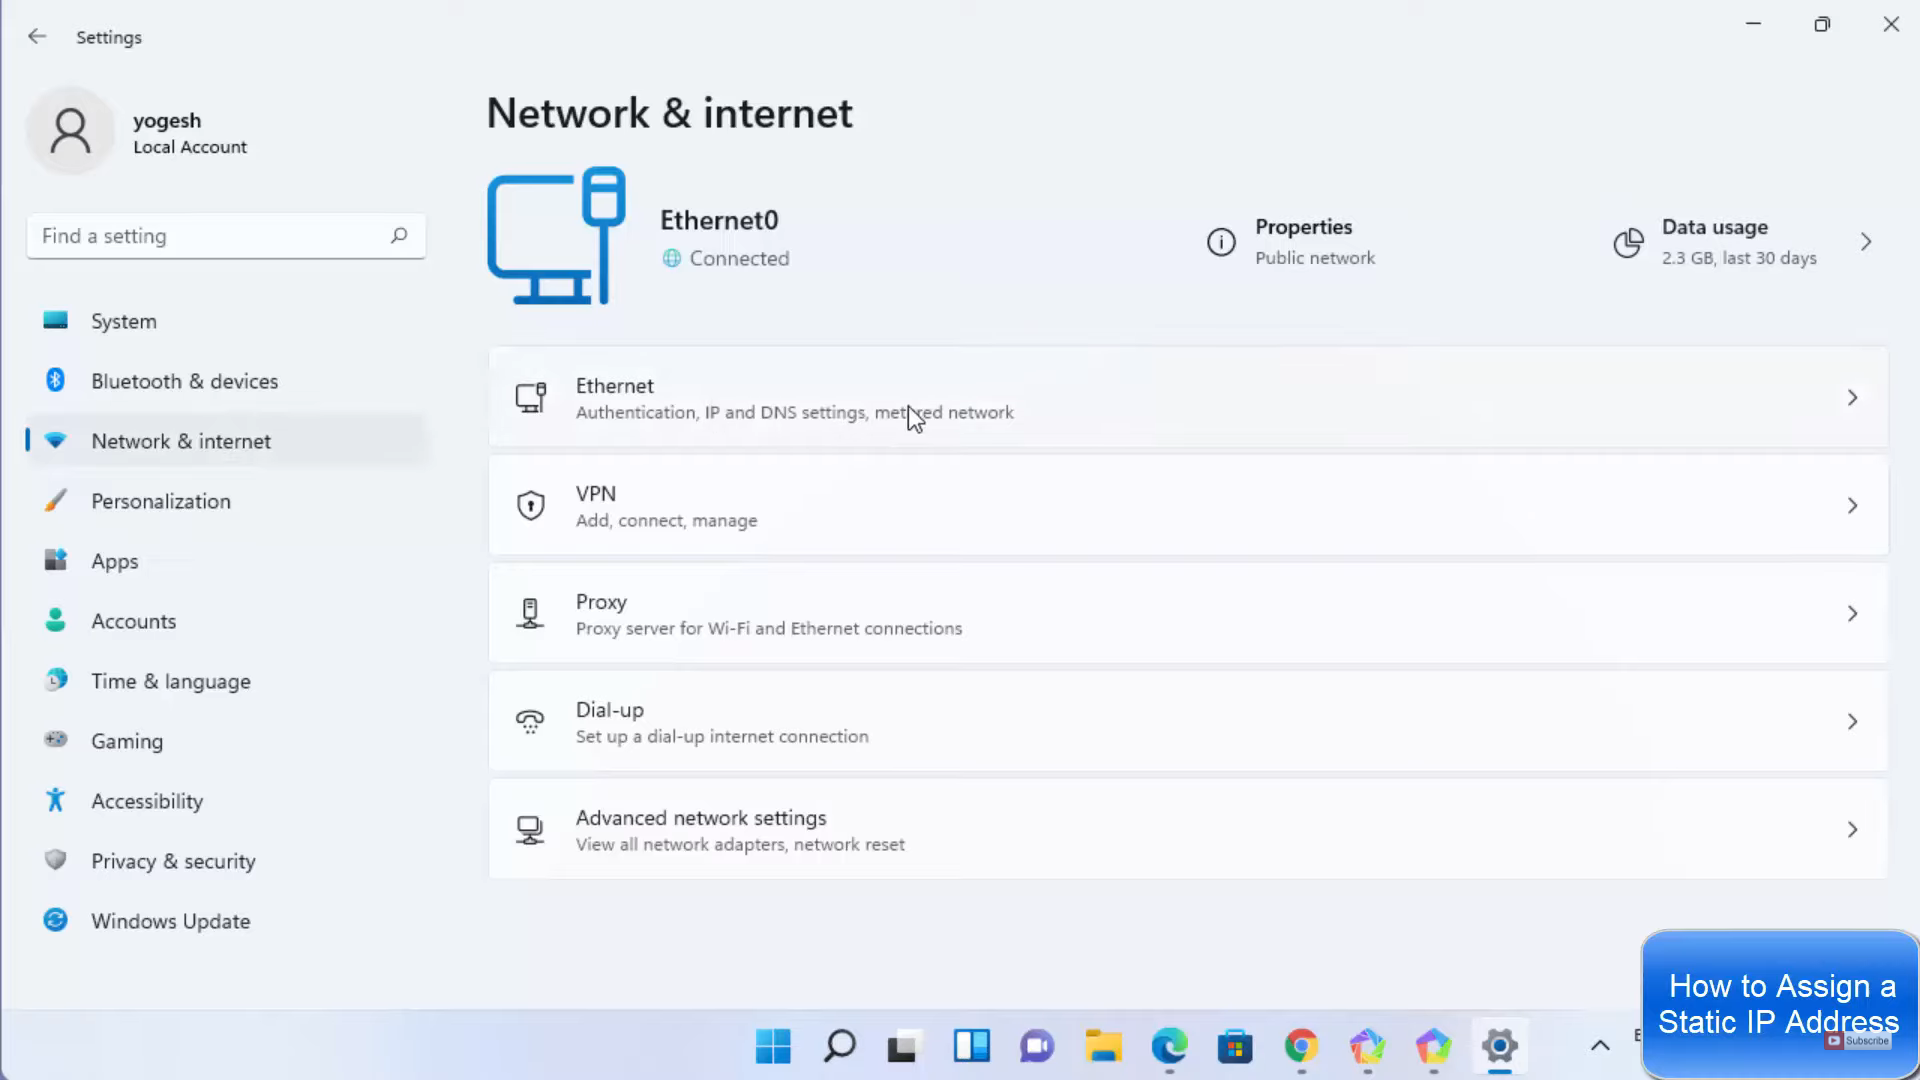
11. Here, you can see all the IPs related to my network. You can also edit this by clicking on the edit option.

12. Right now, it’s manual. When you click on automatic, it will assign the automatic IP address.

13. You can also get this information in Windows Powershell. Click on the search icon and search for PowerShell. Once the PowerShell opens, you need to type Get-NetIPConfiguration. Then press enter. It will also provide the same information which we saw in the command prompt.
These are the steps for assigning a static IP address to your Windows 11 Operating System.
Leave a Reply