
In this post we will see How to Install OpenCV in Ubuntu for C/C++.Here we will be looking at step by step process to install OpenCV.
1.First open your terminal and update the repository using command: $ sudo apt update

After entering your password your update will be done
2.Once your update is done now you can upgrade , here we will be replacing upgrade with update in previous command.
Command : $sudo apt upgrade
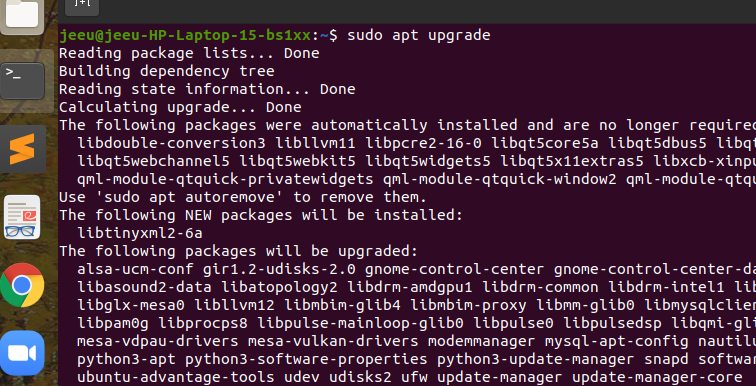
Your upgrade will be completed like this .During the process it will ask for one permission where you can type “y” ,as it can be seen in the above image.
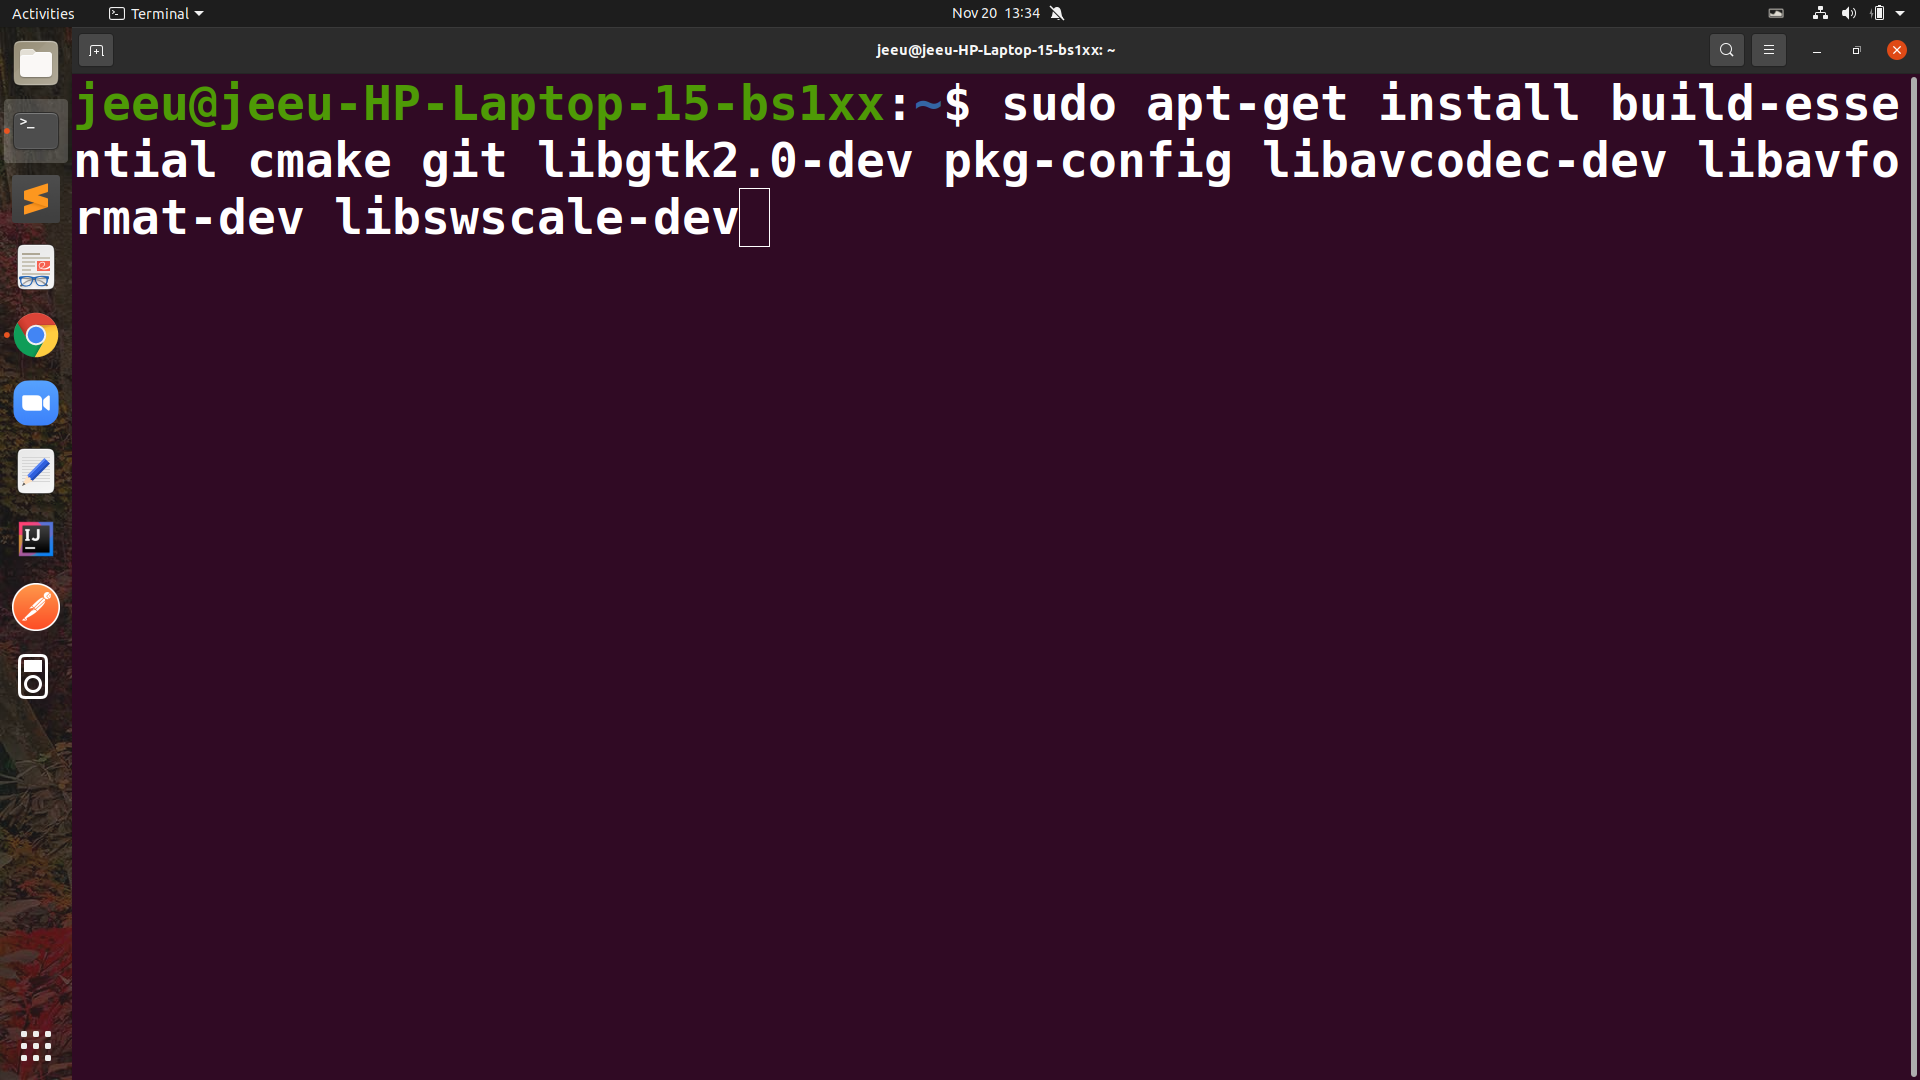
3. Next step to install all the dependencies which are build essentials for C++,C , C make.To do this type the following commands :a)$ sudo apt-get install build-essential cmake git libgtk2.0-dev pkg-config libavcodec-dev libavformat-dev libswscale-dev
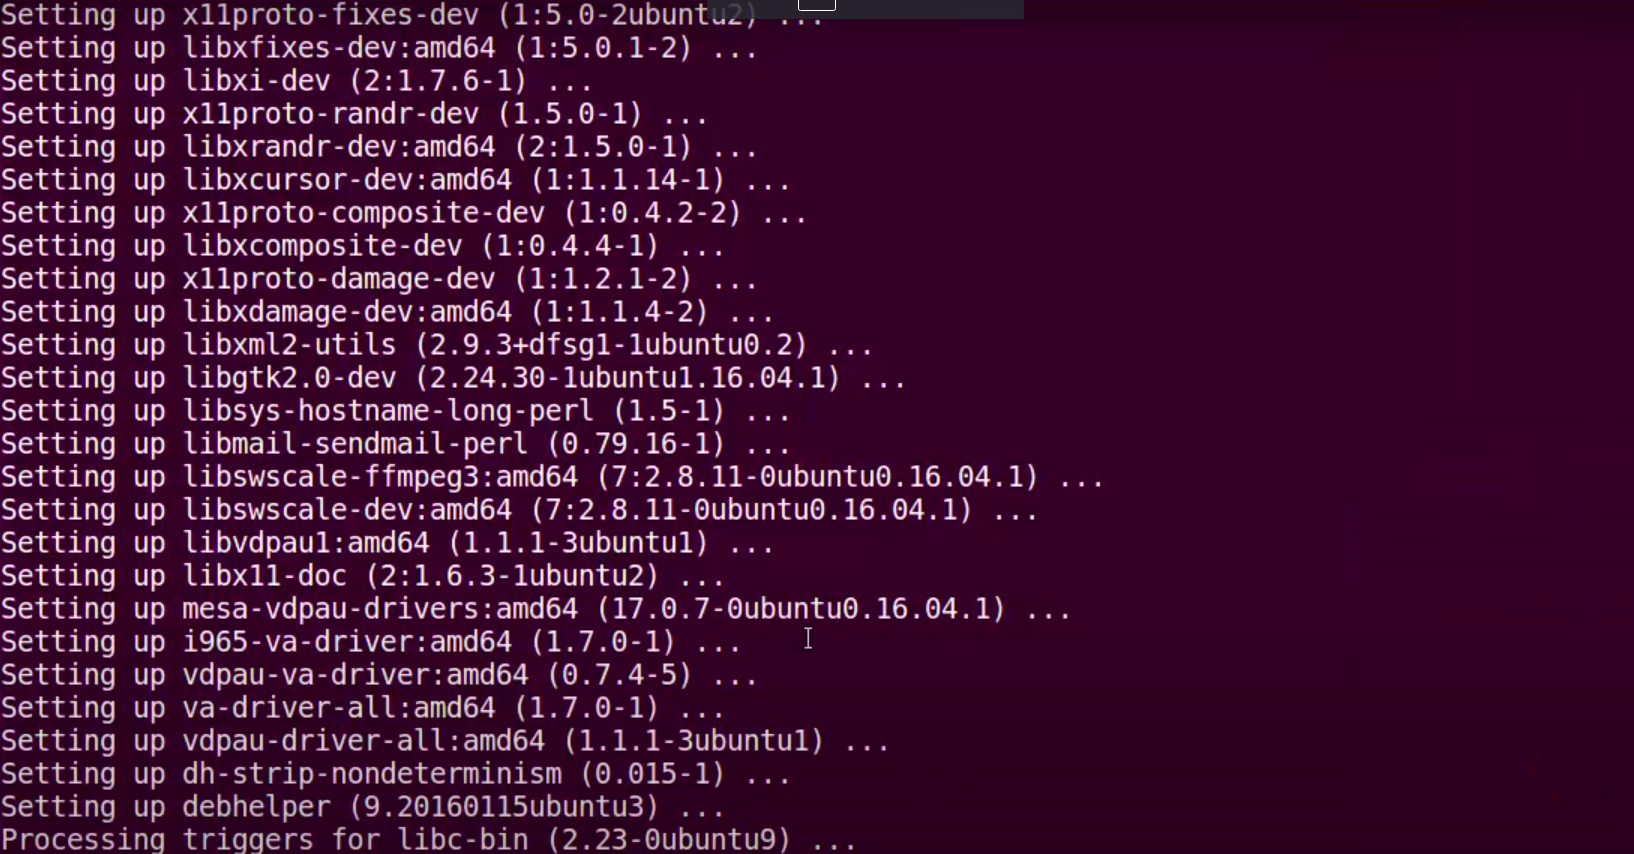
You will see the above picture after completion.
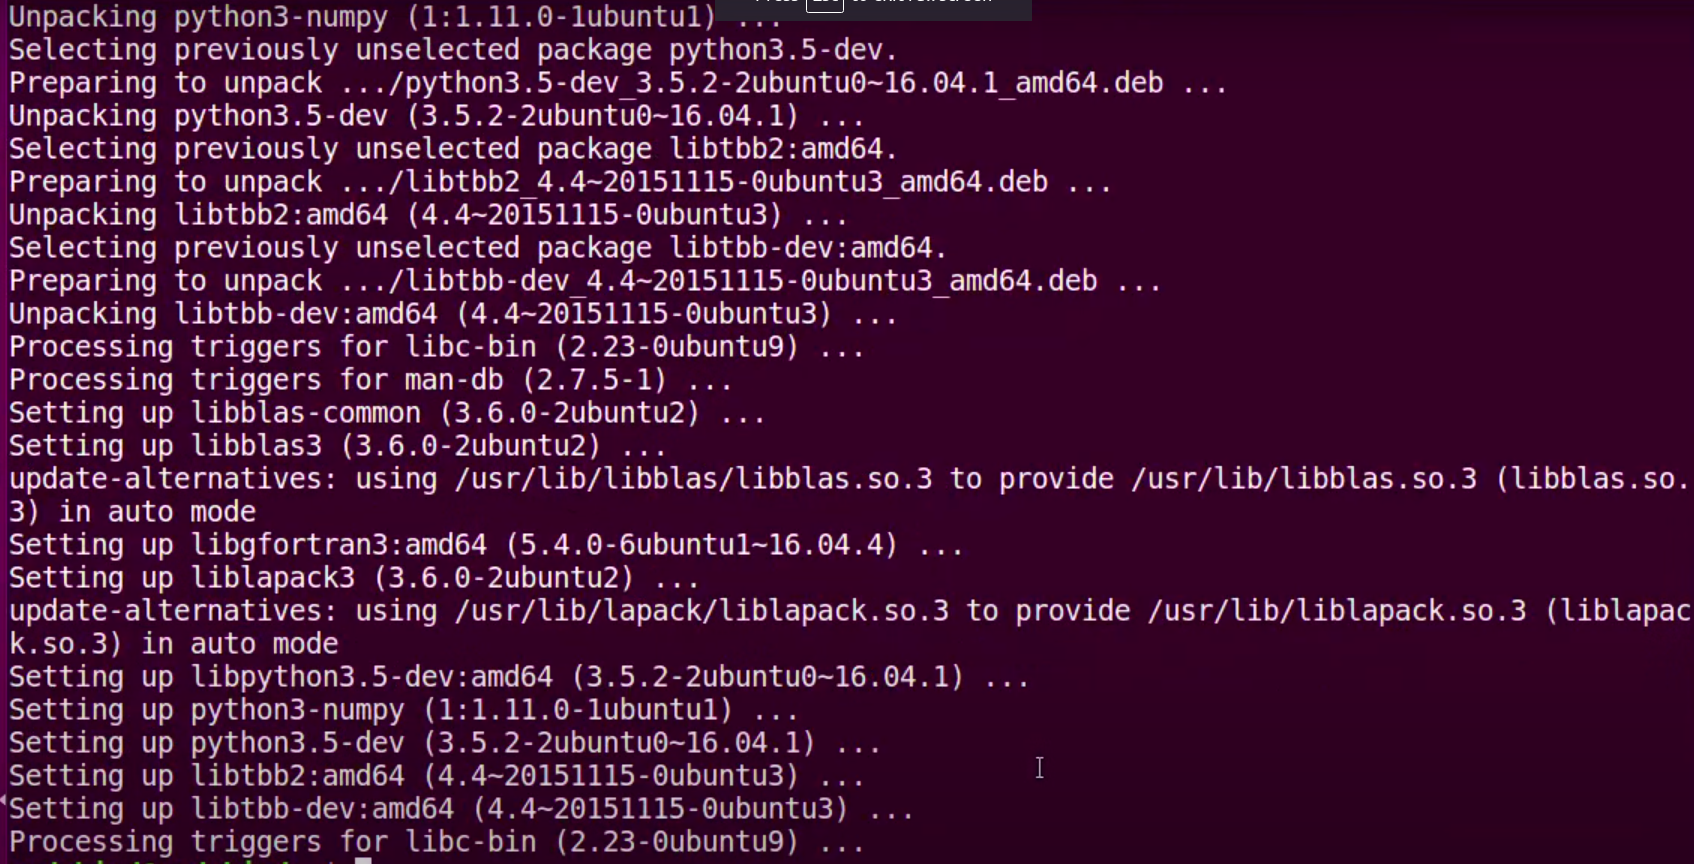
b) 2nd Command : $ sudo apt-get install python3.5-dev python3-numpy libtbb2 libtbb-dev

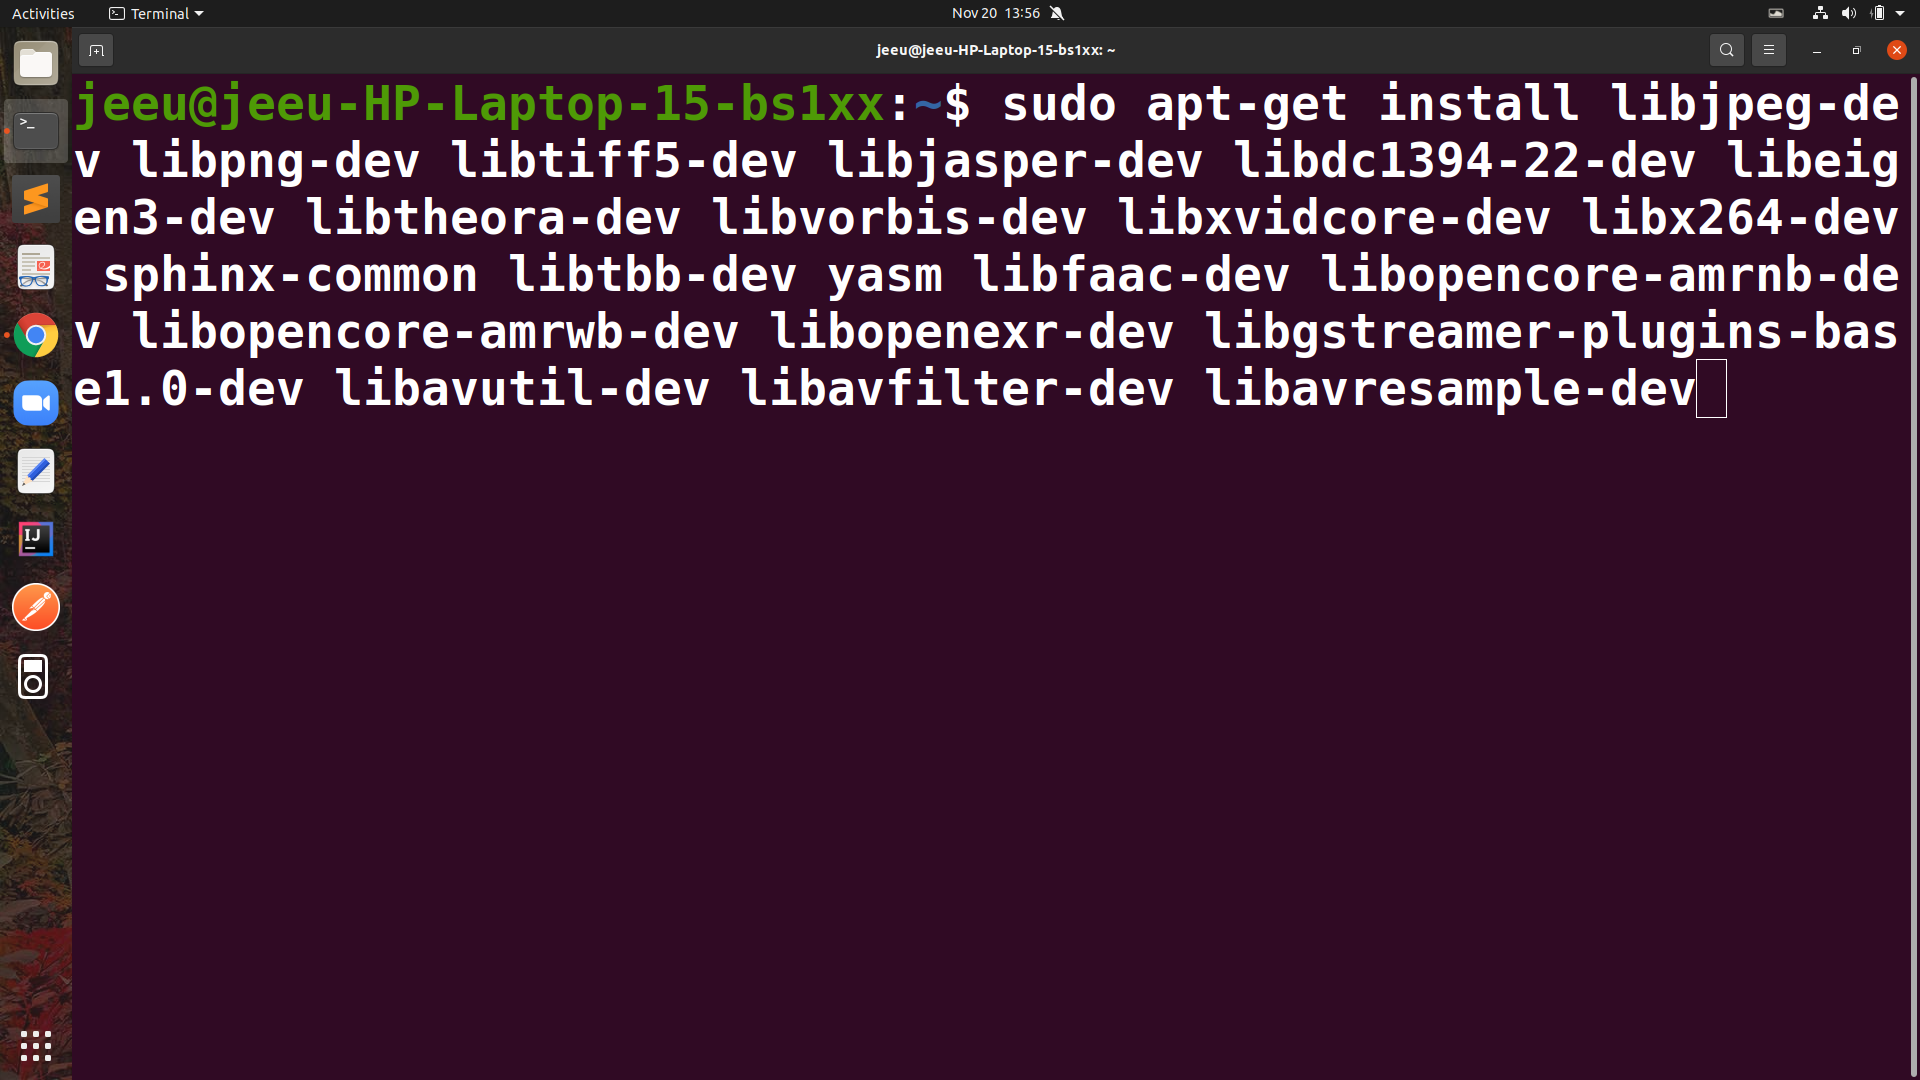
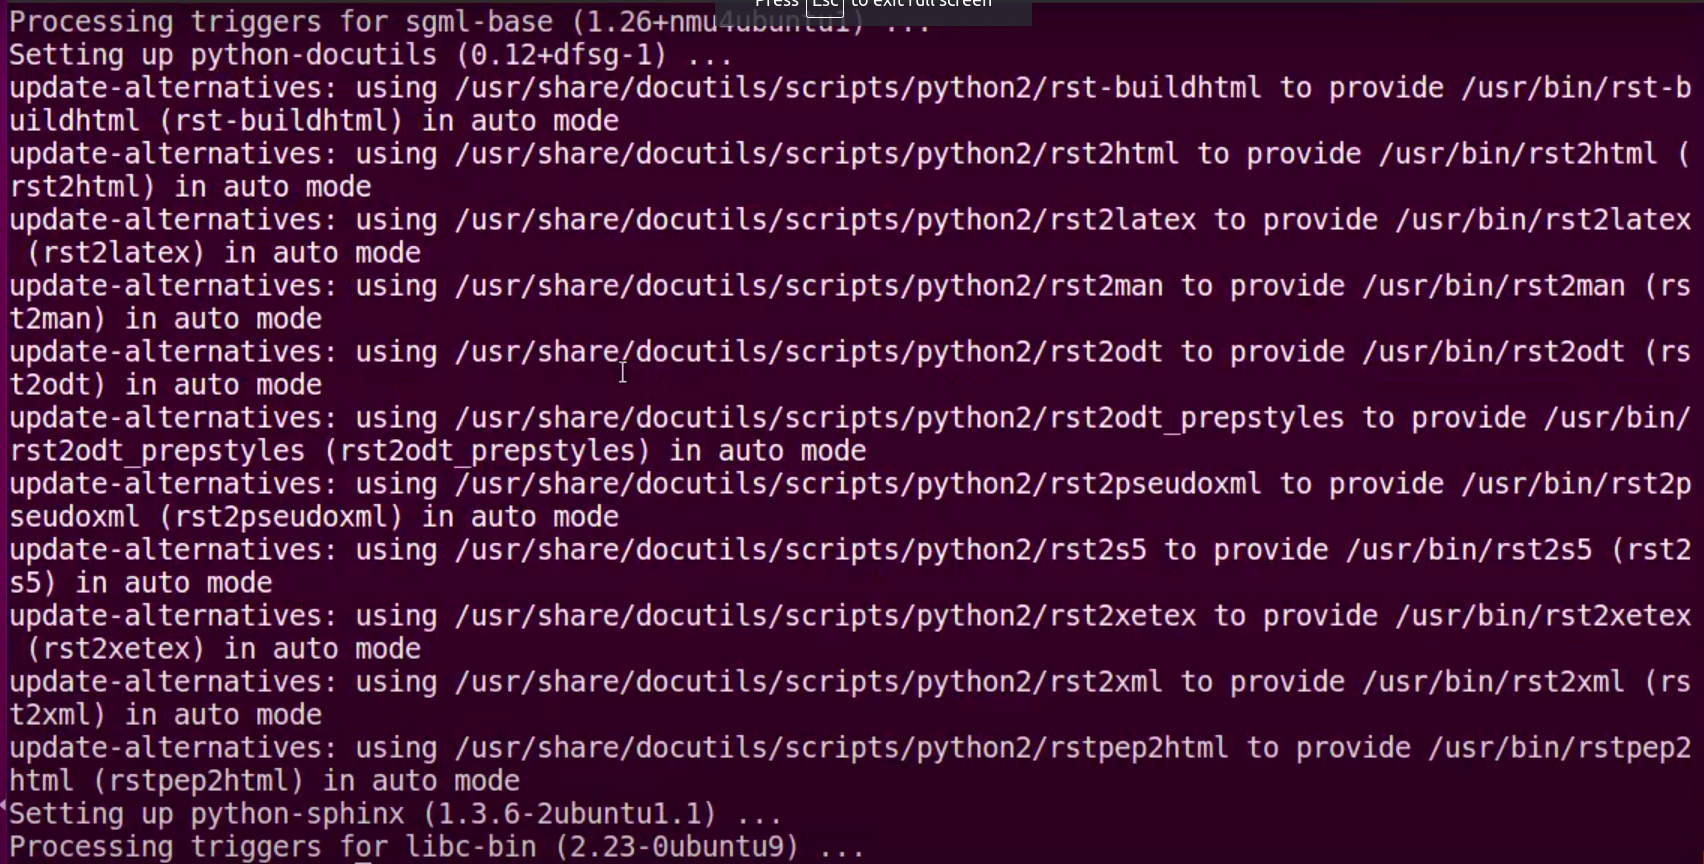
c)3rd command : $sudo apt-get install libjpeg-dev libpng-dev libtiff5-dev libjasper-dev libdc1394-22-dev libeigen3-dev libtheora-dev libvorbis-dev libxvidcore-dev libx264-dev sphinx-common libtbb-dev yasm libfaac-dev libopencore-amrnb-dev libopencore-amrwb-dev libopenexr-dev libgstreamer-plugins-base1.0-dev libavutil-dev libavfilter-dev libavresample-dev
4.In the next step we are going to get the opencv and these OpenCV repositories are hosted on the github by the username Itseez and OpenCV.
Give the $sudo su command because we are going to go inside our opt folder which requires sudo privileges.Then we are going to go to the $cd /opt opt folder. Now we are going to clone the repositories.
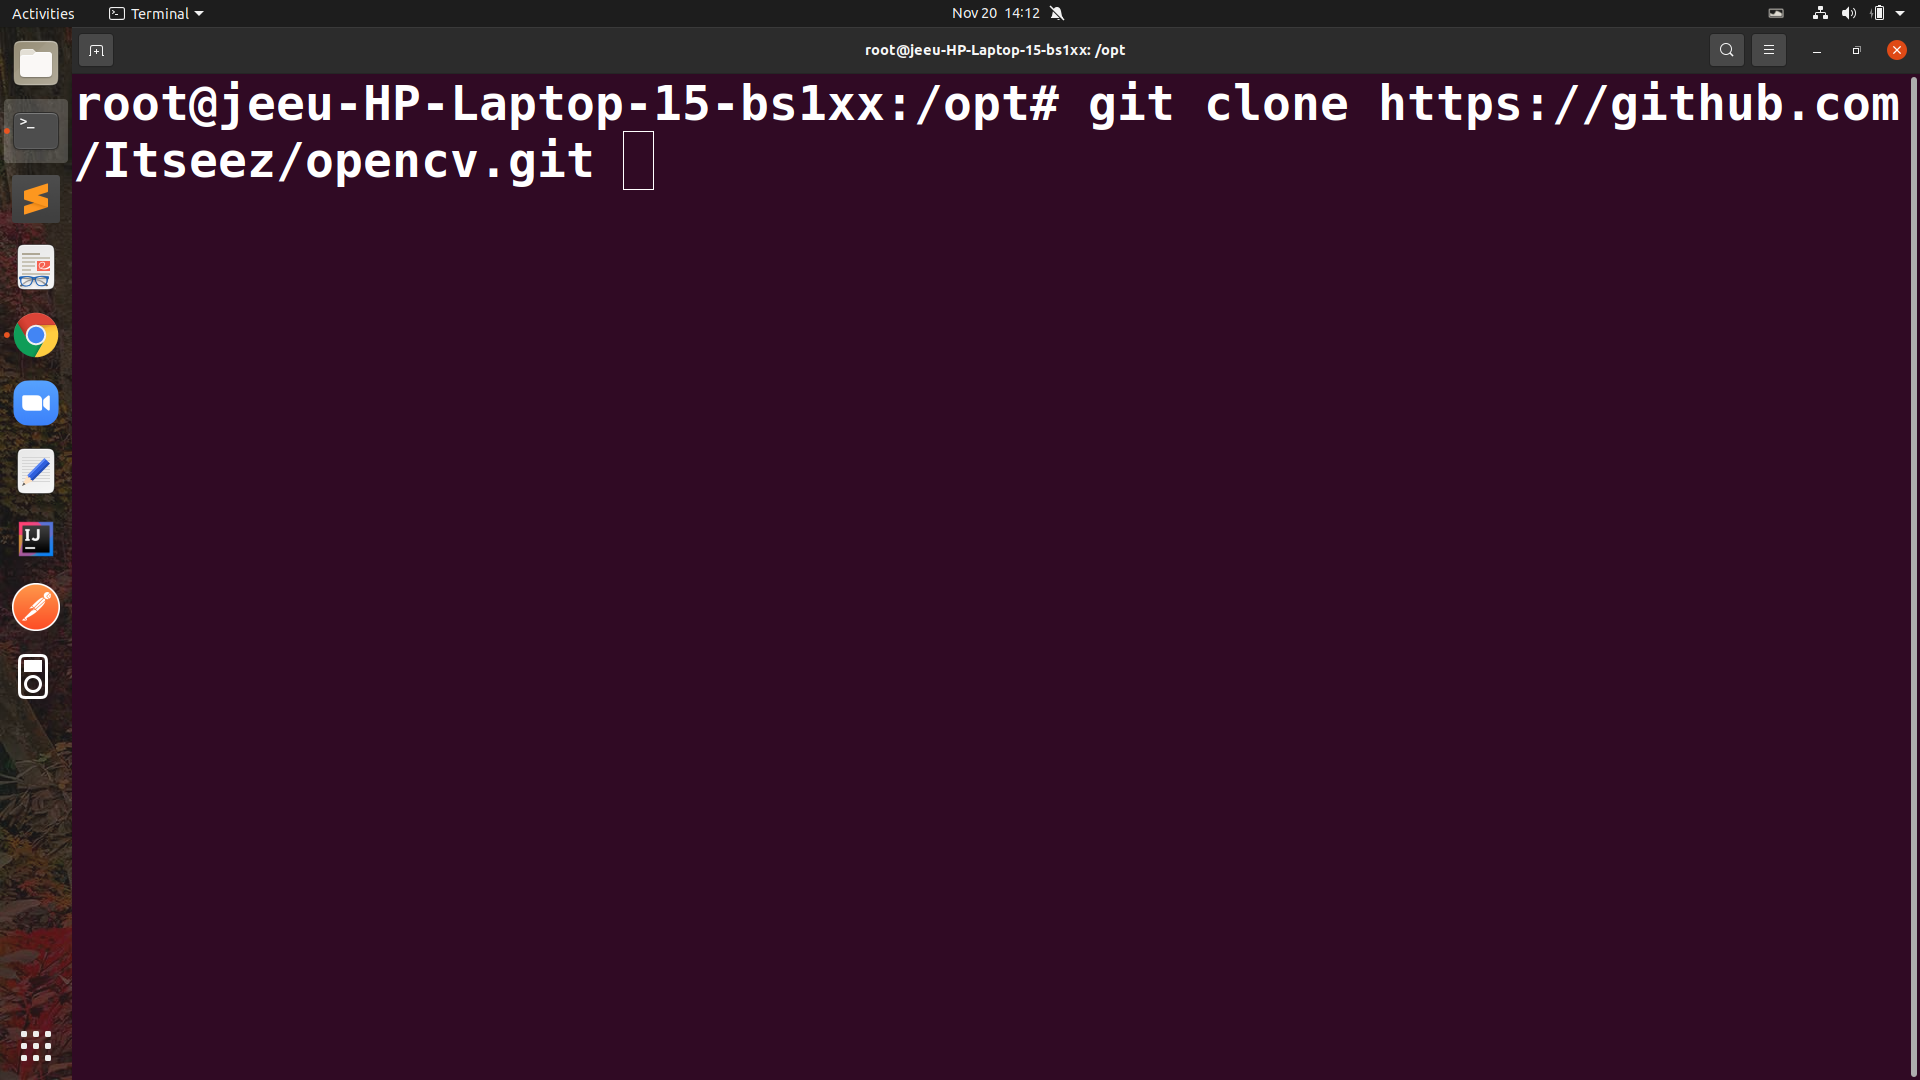
Commands to clone the repositories : /opt $ git clone https://github.com/Itseez/opencv.git
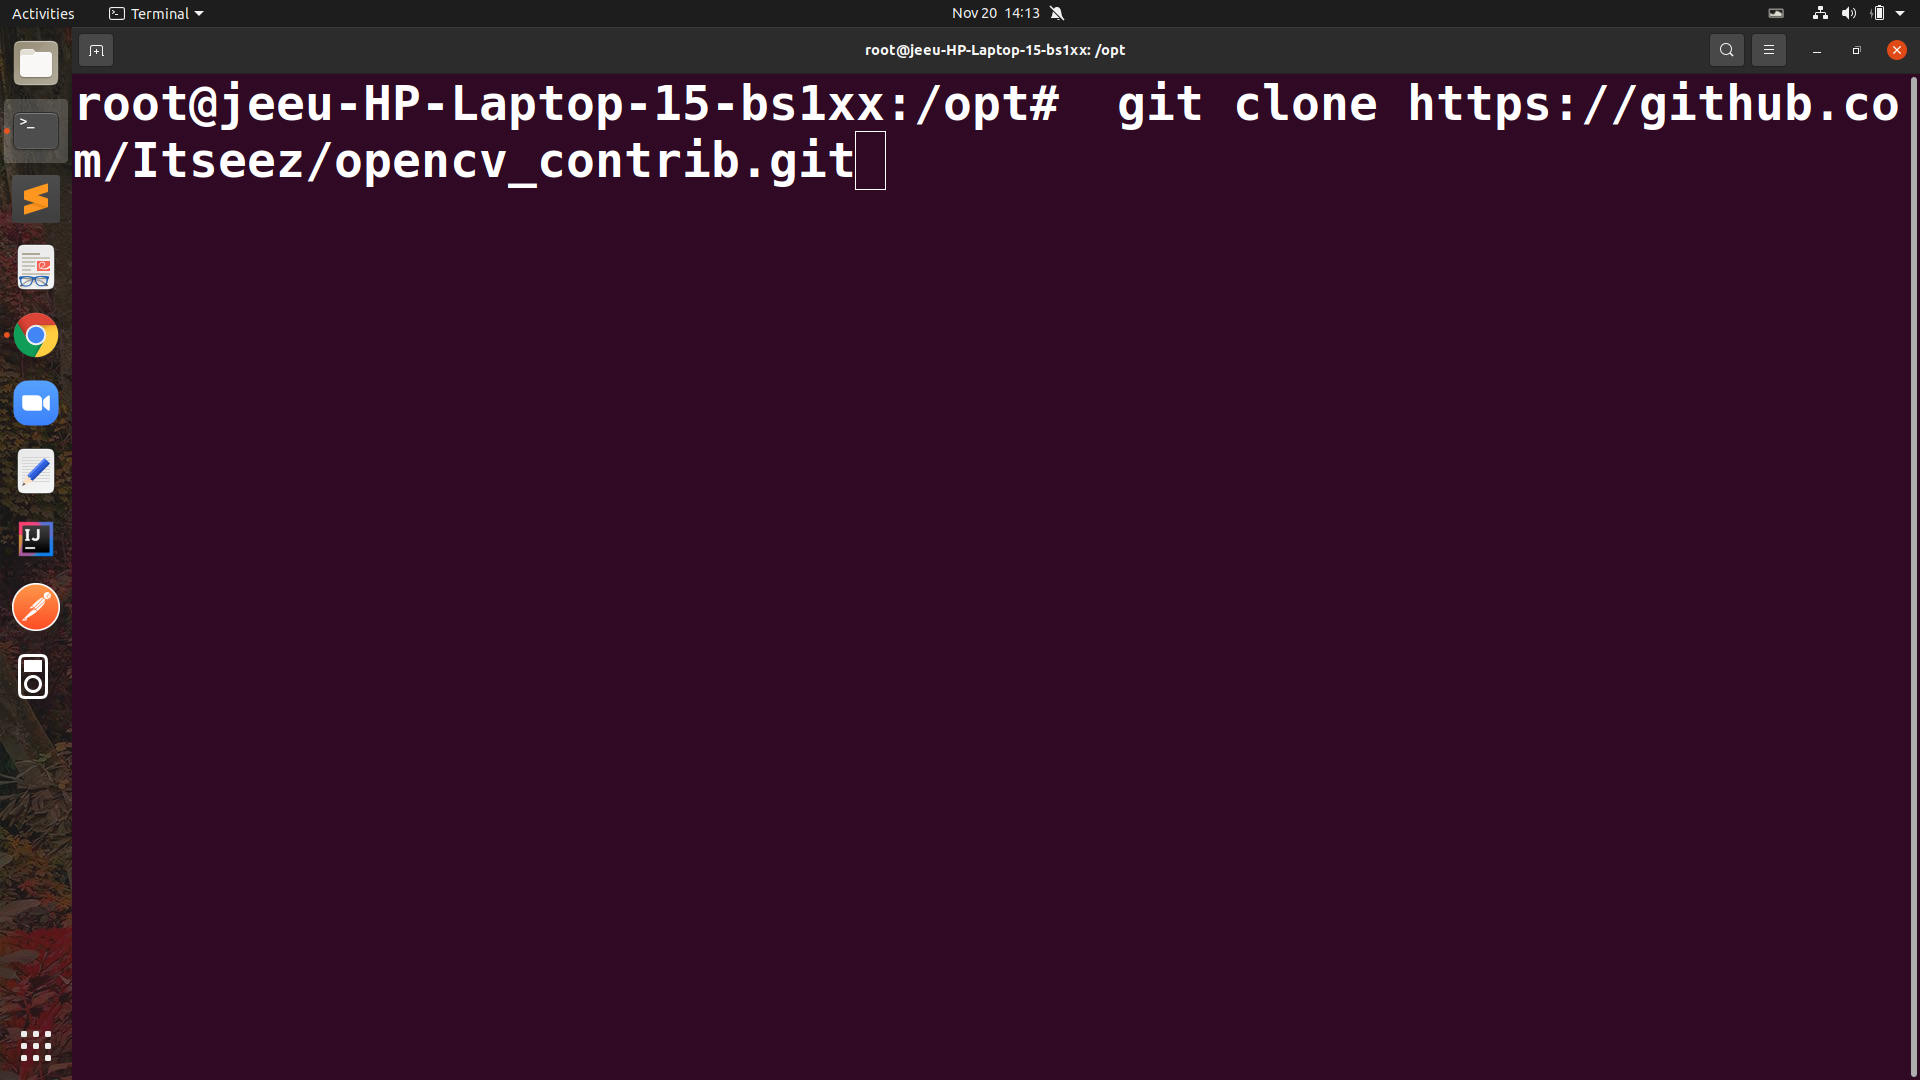
/opt $ git clone https://github.com/Itseez/opencv_contrib.git

First cloning :

Second cloning command :

5.Once both the repositories are cloned now we just need to build and install OpenCV.
Commands to build and install the OpenCV are listed :
/opt$ cd opencv

/opt/opencv$ mkdir release

/opt/opencv$ cd release

/opt/opencv/release$ cmake -D BUILD_TIFF=ON -D WITH_CUDA=OFF -D ENABLE_AVX=OFF -D WITH_OPENGL=OFF -D WITH_OPENCL=OFF -D WITH_IPP=OFF -D WITH_TBB=ON -D BUILD_TBB=ON -D WITH_EIGEN=OFF -D WITH_V4L=OFF -D WITH_VTK=OFF -D BUILD_TESTS=OFF -D BUILD_PERF_TESTS=OFF -D CMAKE_BUILD_TYPE=RELEASE -D CMAKE_INSTALL_PREFIX=/usr/local -D OPENCV_EXTRA_MODULES_PATH=/opt/opencv_contrib/modules /opt/opencv/

/opt/opencv/release$ make -j4

/opt/opencv/release$ make install

/opt/opencv/release$ ldconfig

/opt/opencv/release$ exit

/opt/opencv/release$ cd ~
6.Steps to test your OpenCv :
Create a C++ program
Follow the commands
$ mkdir cpp_test

$ cd cpp_test

$ touch main.cpp
The above command will create a folder called cpp_test and create a main.cpp file inside it
Now place any .jpeg image inside the cpp_test folder.
So Now your cpp_test folder will contain two files as follows
.├── sample.jpeg
└── main.cpp
Now open the main.cpp and add the following code
#include <opencv2/highgui.hpp>
#include <iostream>

int main( int argc, char** argv ) {

  cv::Mat image;
  image = cv::imread("sample.jpeg" , CV_LOAD_IMAGE_COLOR);

  if(! image.data ) {
      std::cout <<  "Could not open or find the image" << std::endl ;
      return -1;
    }

  cv::namedWindow( "Display window", cv::WINDOW_AUTOSIZE );
  cv::imshow( "Display window", image );

  cv::waitKey(0);
  return 0;
}
Now compile your code with the following command
g++ main.cpp -o output `pkg-config --cflags --libs opencv`Now run the C++ program with the following command
$ ./outputpress ESC to exit
In this way , following these steps you will be able to install OpenCV and use it.
Leave a Reply