
In this post we will see How to Install Java with Apt in Ubuntu 20.04 .Here we will be looking at step by step process to do this.
1.First open your terminal and update the repository using command: $ sudo apt update

After entering your password your update will be done
2.Once your update is done now you can upgrade , here we will be replacing upgrade with update in previous command.
Command : $sudo apt upgrade
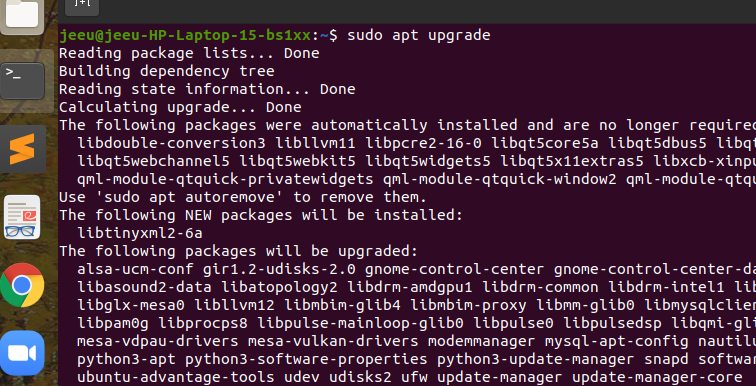
Your upgrade will be completed like this .During the process it will ask for one permission where you can type “y” ,as it can be seen in the above image.
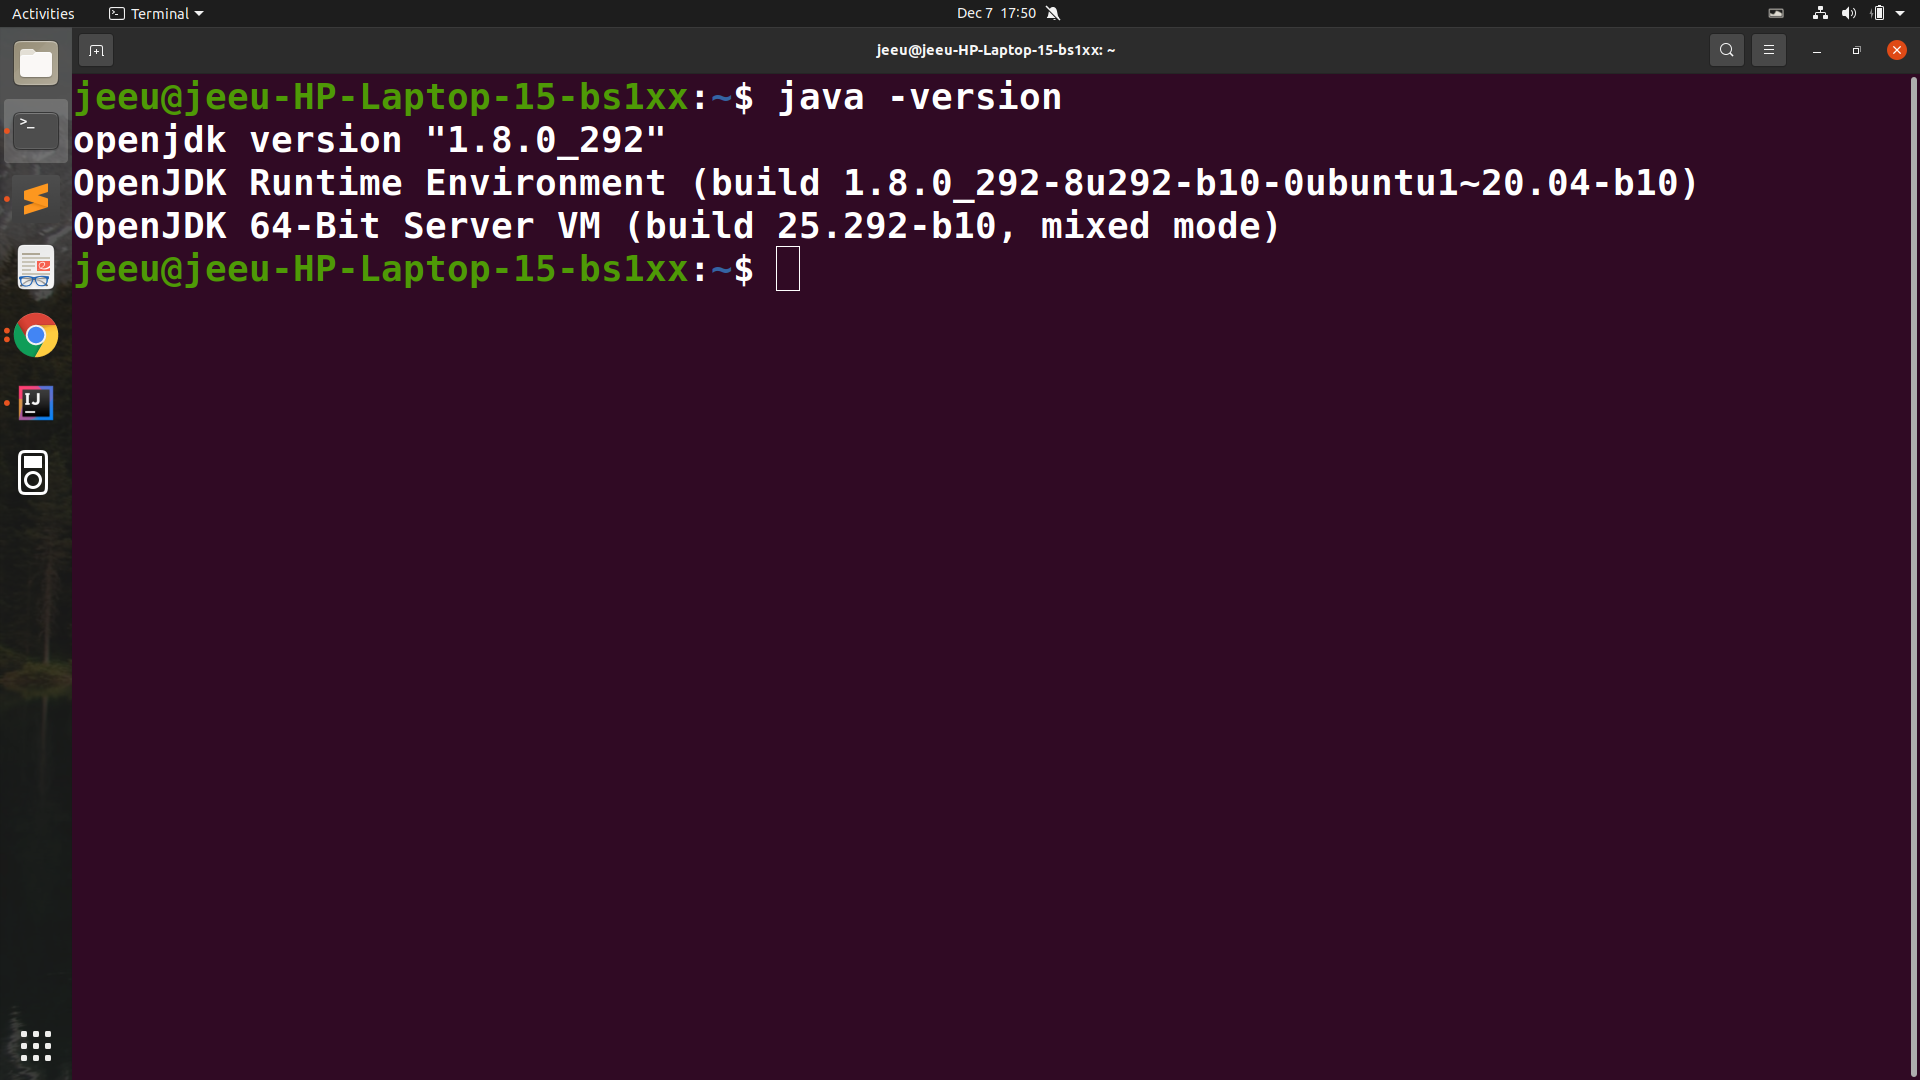
3.Execute the following command to install the default Java Runtime Environment (JRE) .Command : $sudo apt install default -jre The JRE will allow you to run almost all Java software. Verify the installation with: $java -version .You’ll see output similar to the following:
4.You will need JDK also along with this to run some specific Java-based software .To do this type the following command : $sudo apt install default-jdk .
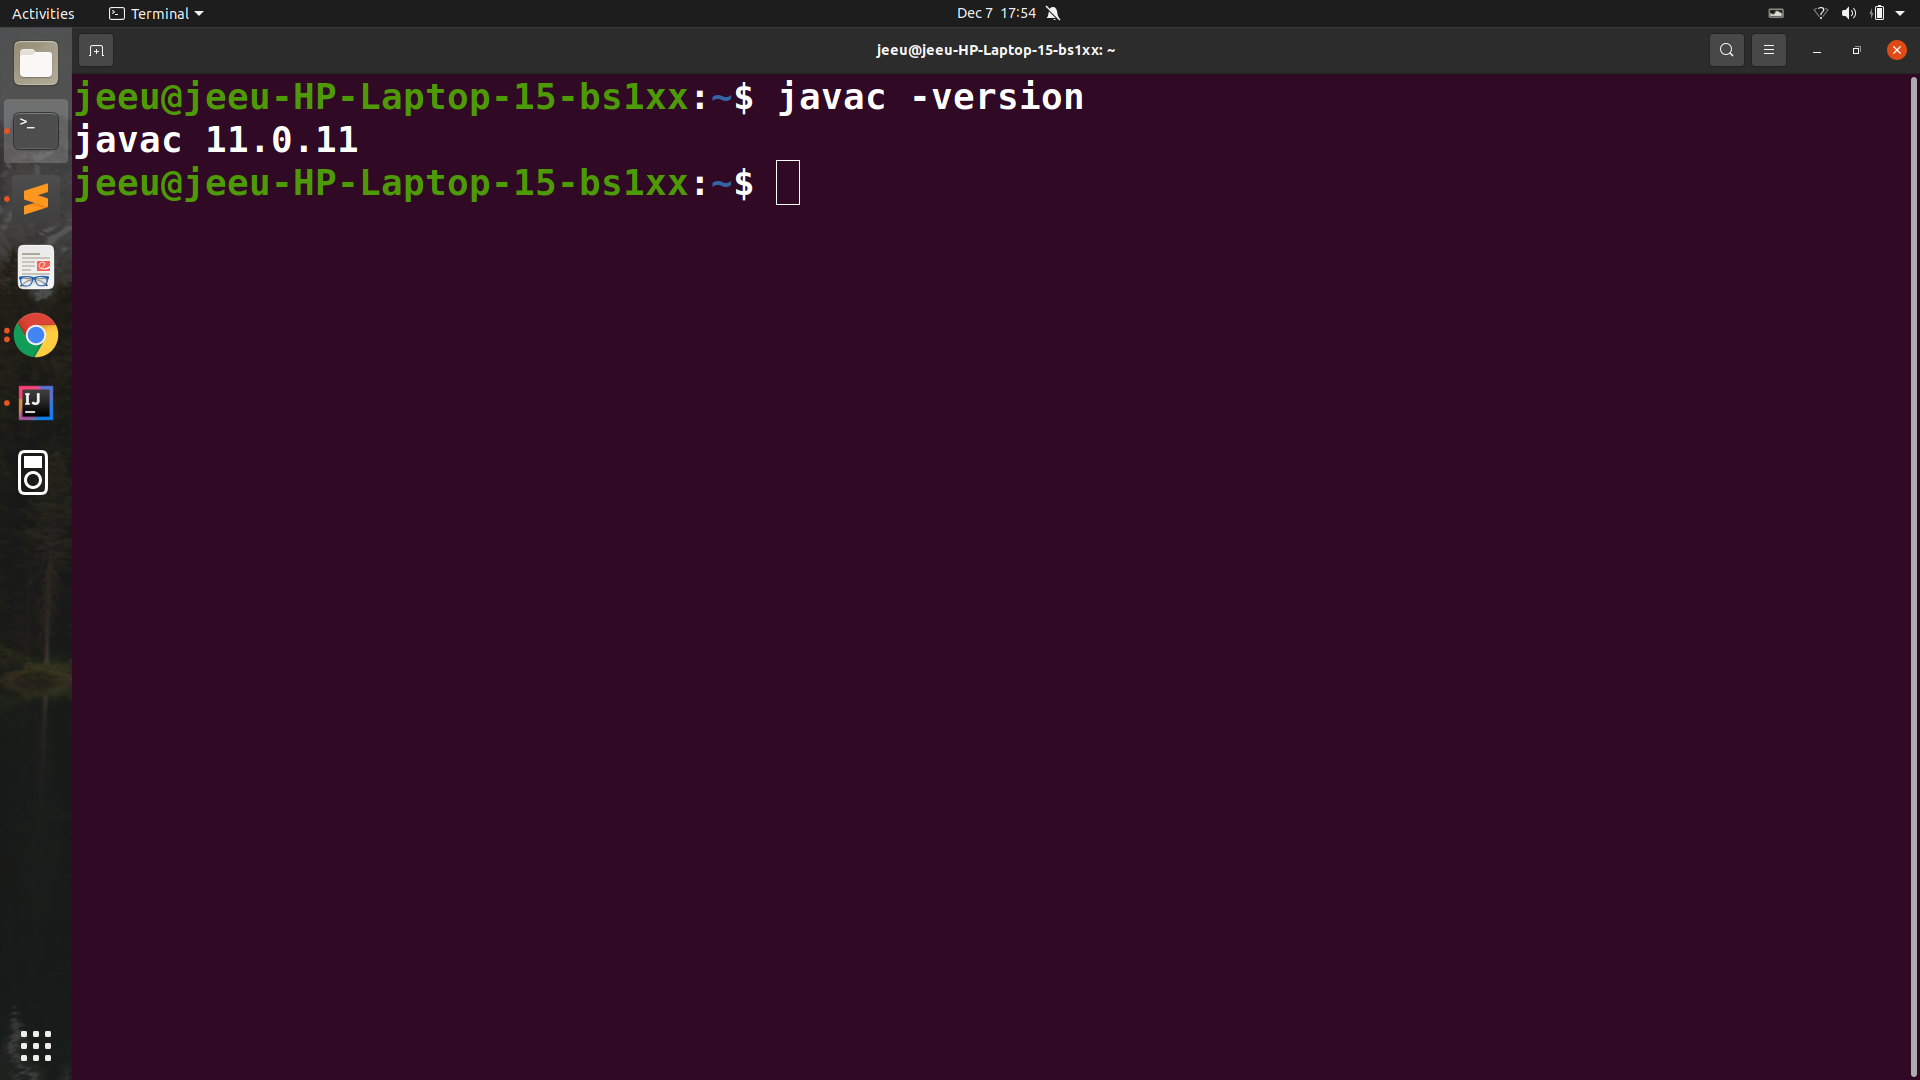
5.Verify that the JDK is installed by checking the version of javac, the Java compiler.Command to do this : $ javac -version .You will see output like this :
In this way , following these steps you will be able to install Java with apt and use it.
Leave a Reply