
In this blog post, I will give a detailed view of installing Zoom on your Windows 11 Operating System.
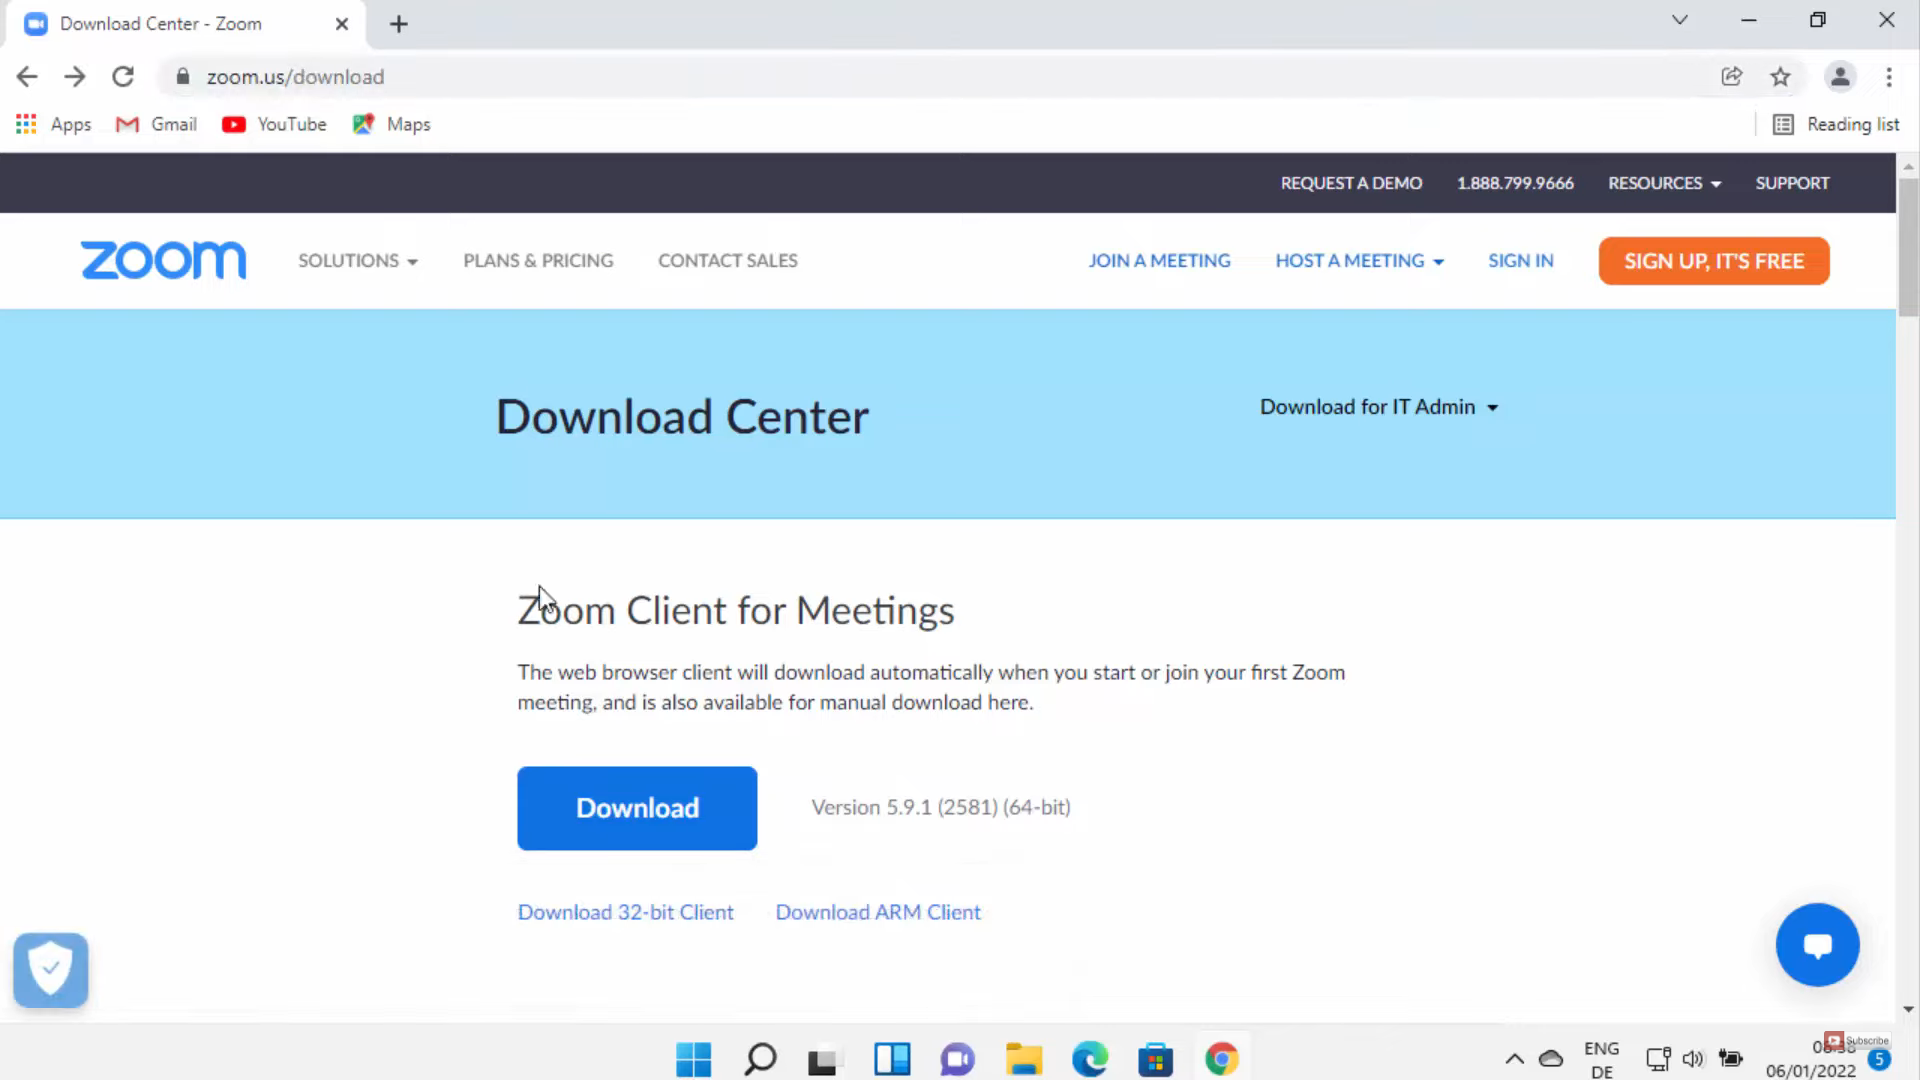
1. Open a web browser of your choice and search for zoom download. Click on the first link.

2. Once the link opens, you will be able to see the Download option for zoom client meetings. Click on that button. It will start to download.
3. Once the download is complete, click on the exe file and minimize the browser. After some time, you will be able to see the installation’s successful message. You need to leave the checkbox as checked and click on Done.
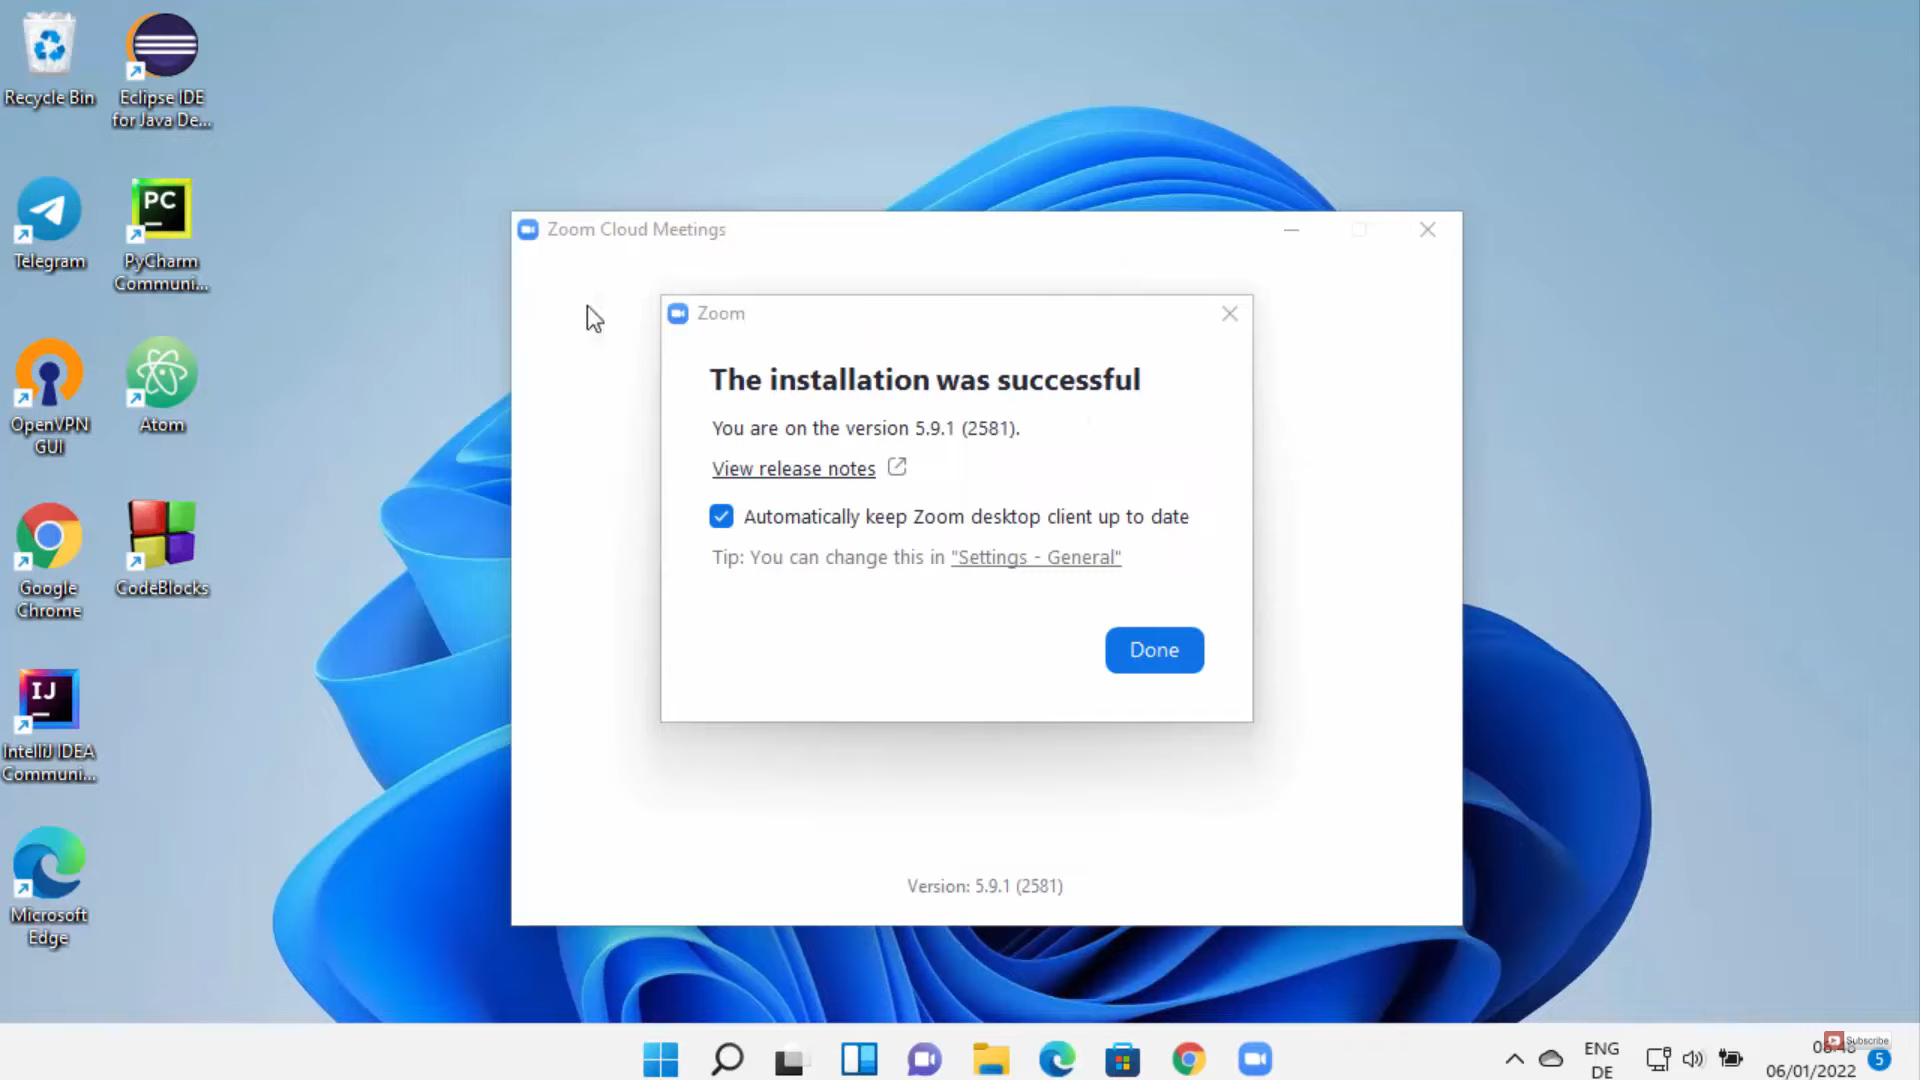
4. Now, the zoom app has been started.

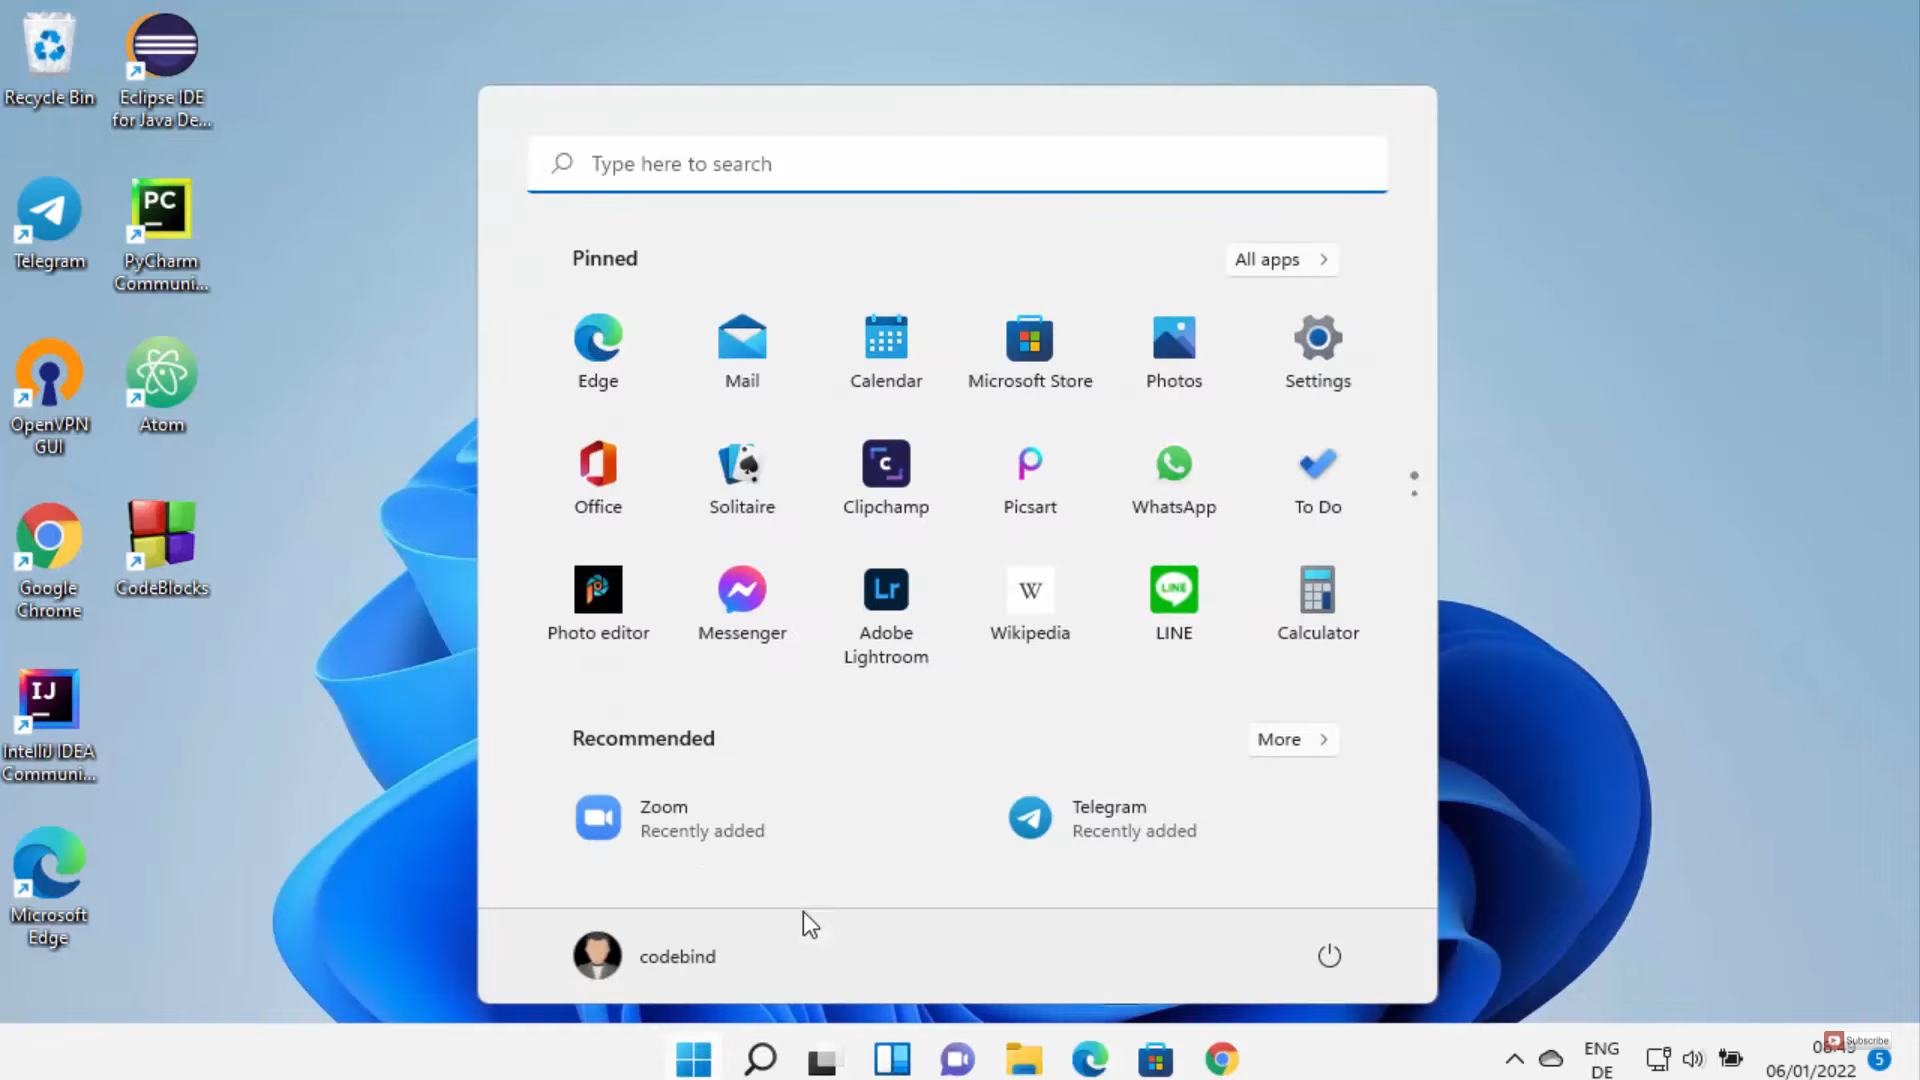
5. You can also open the zoom by clicking on the windows start menu. You will be able to see the app.
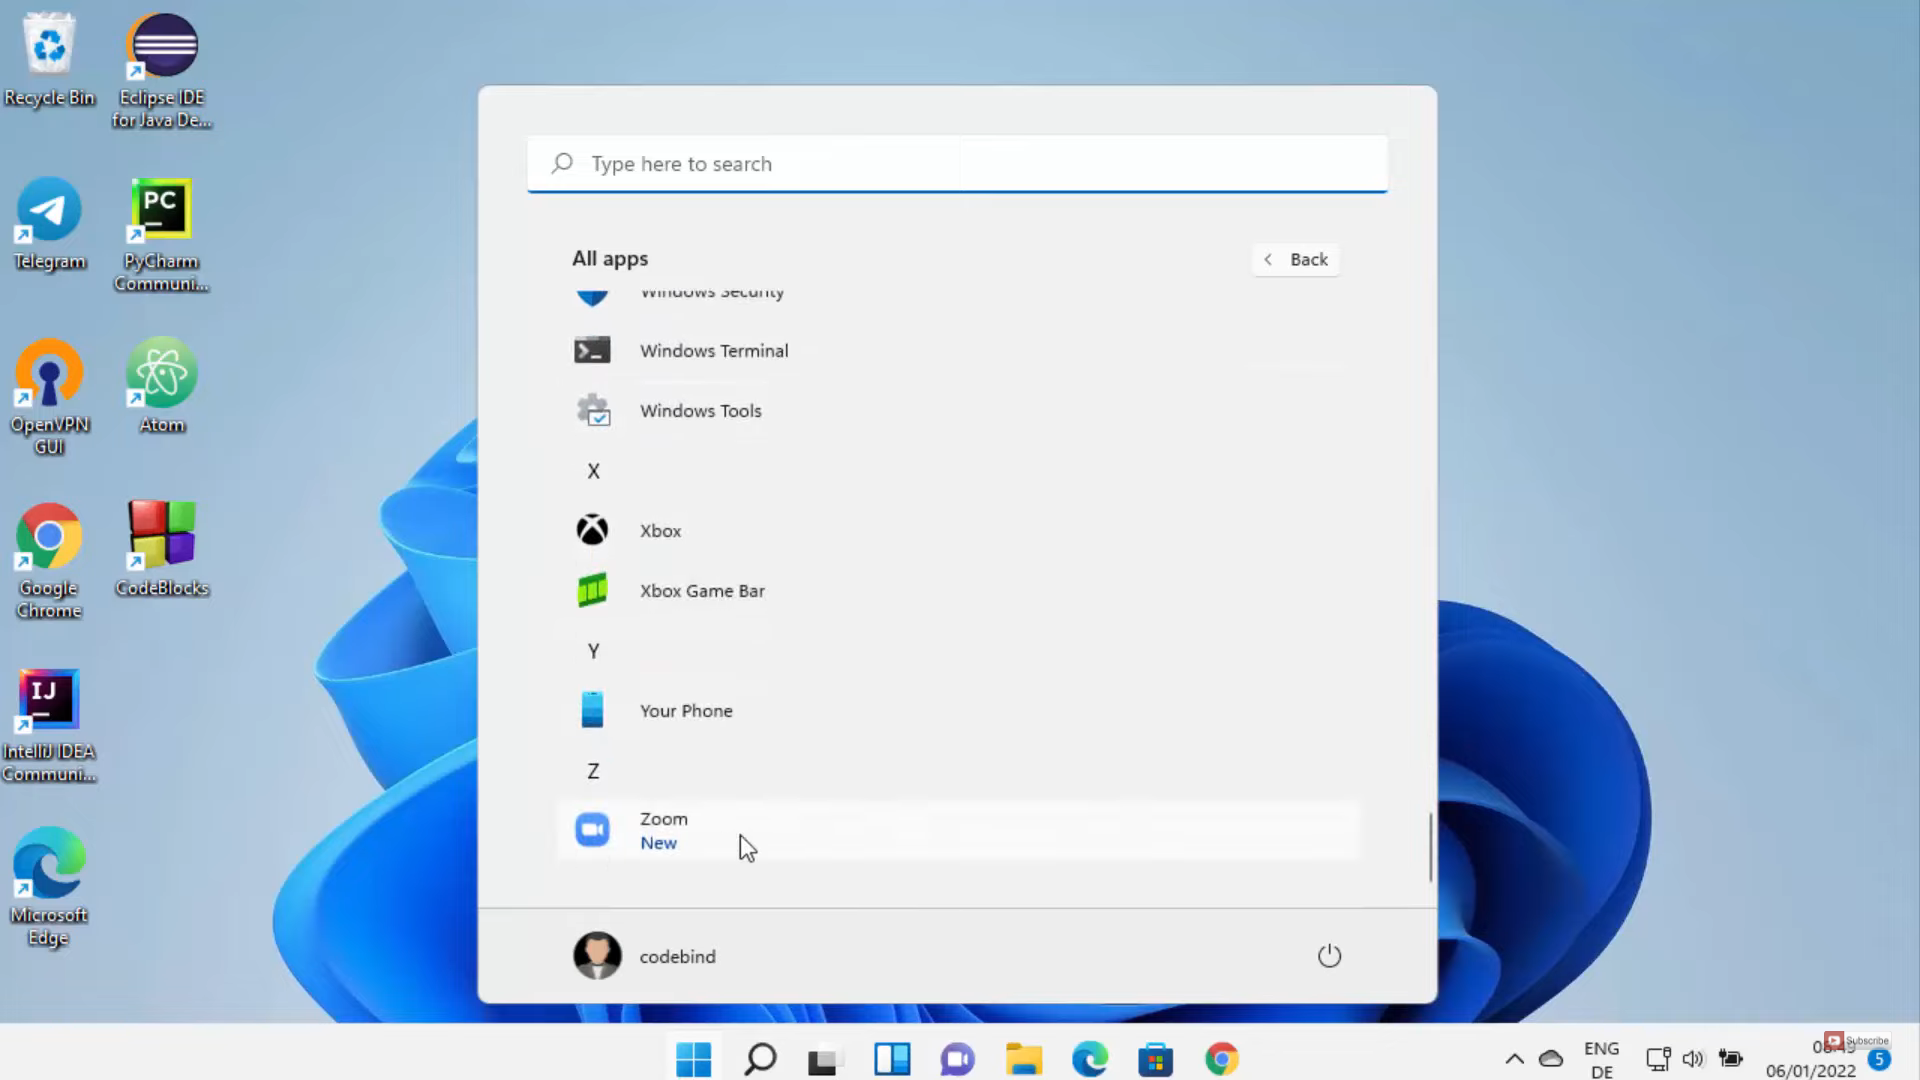
6. Otherwise, you can click on all apps. Scroll down and you will be able to find the zoom app. You can open the zoom app from there as well.
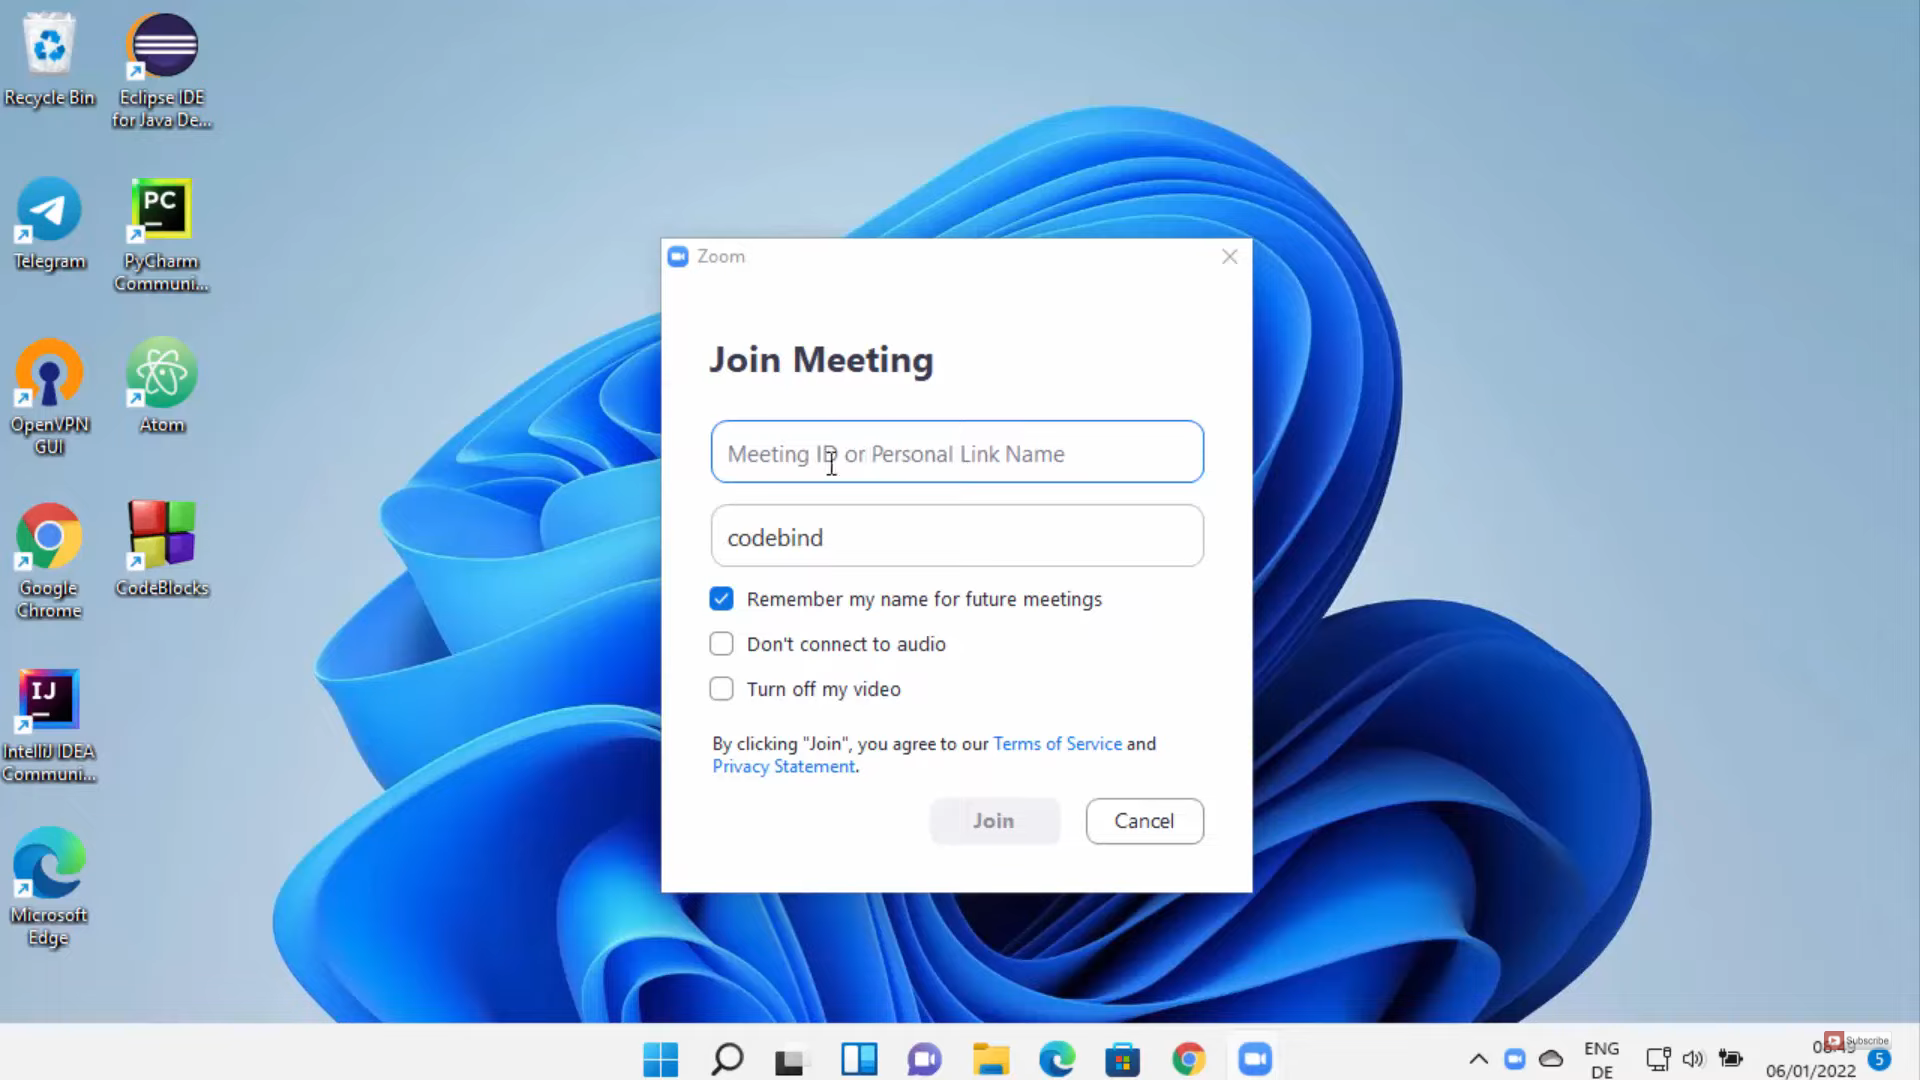
7. Once the zoom app opens, you can join a meeting. Somebody could have provided the link for you to join a meeting. You have to enter those credentials there.
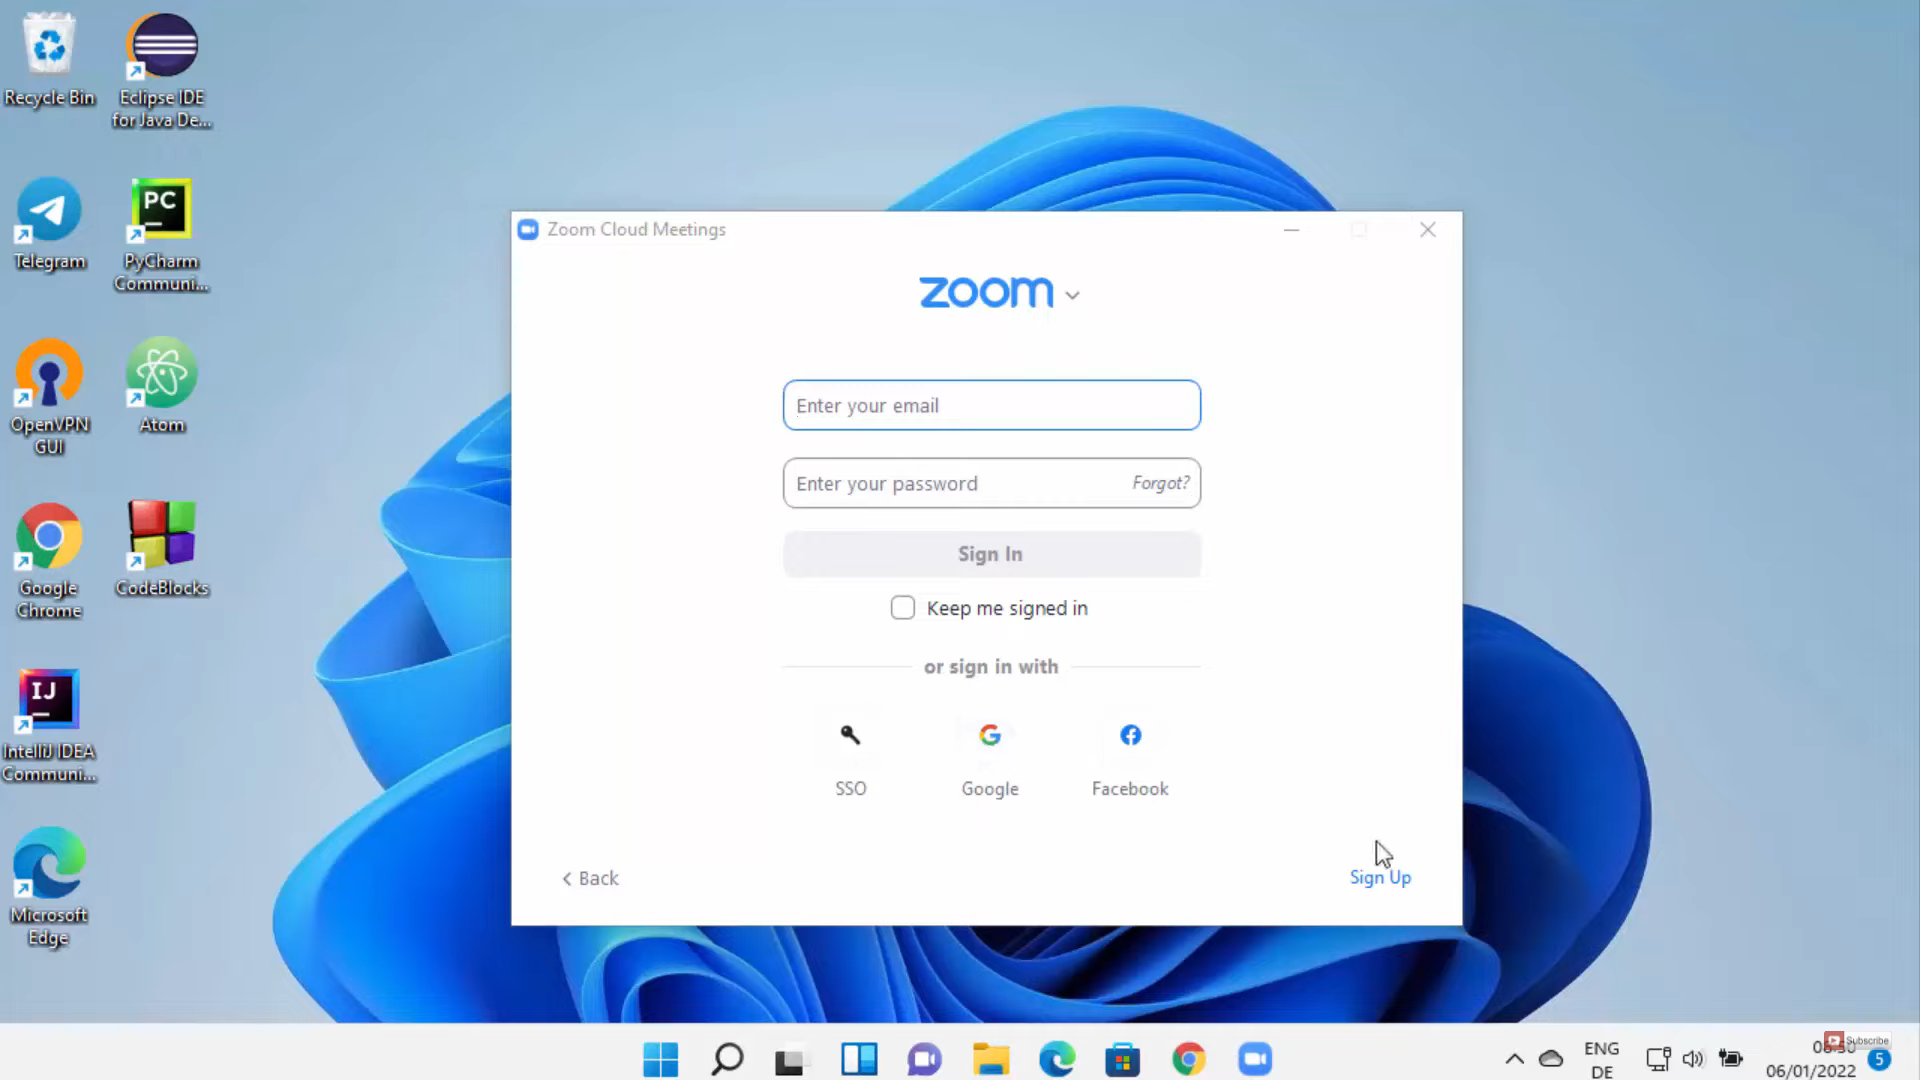
8. If you don’t want to join a meeting, you can click on the sign-in option. If you don’t have a zoom account, you can log in using Google or Facebook. You can also sign up with your email id.
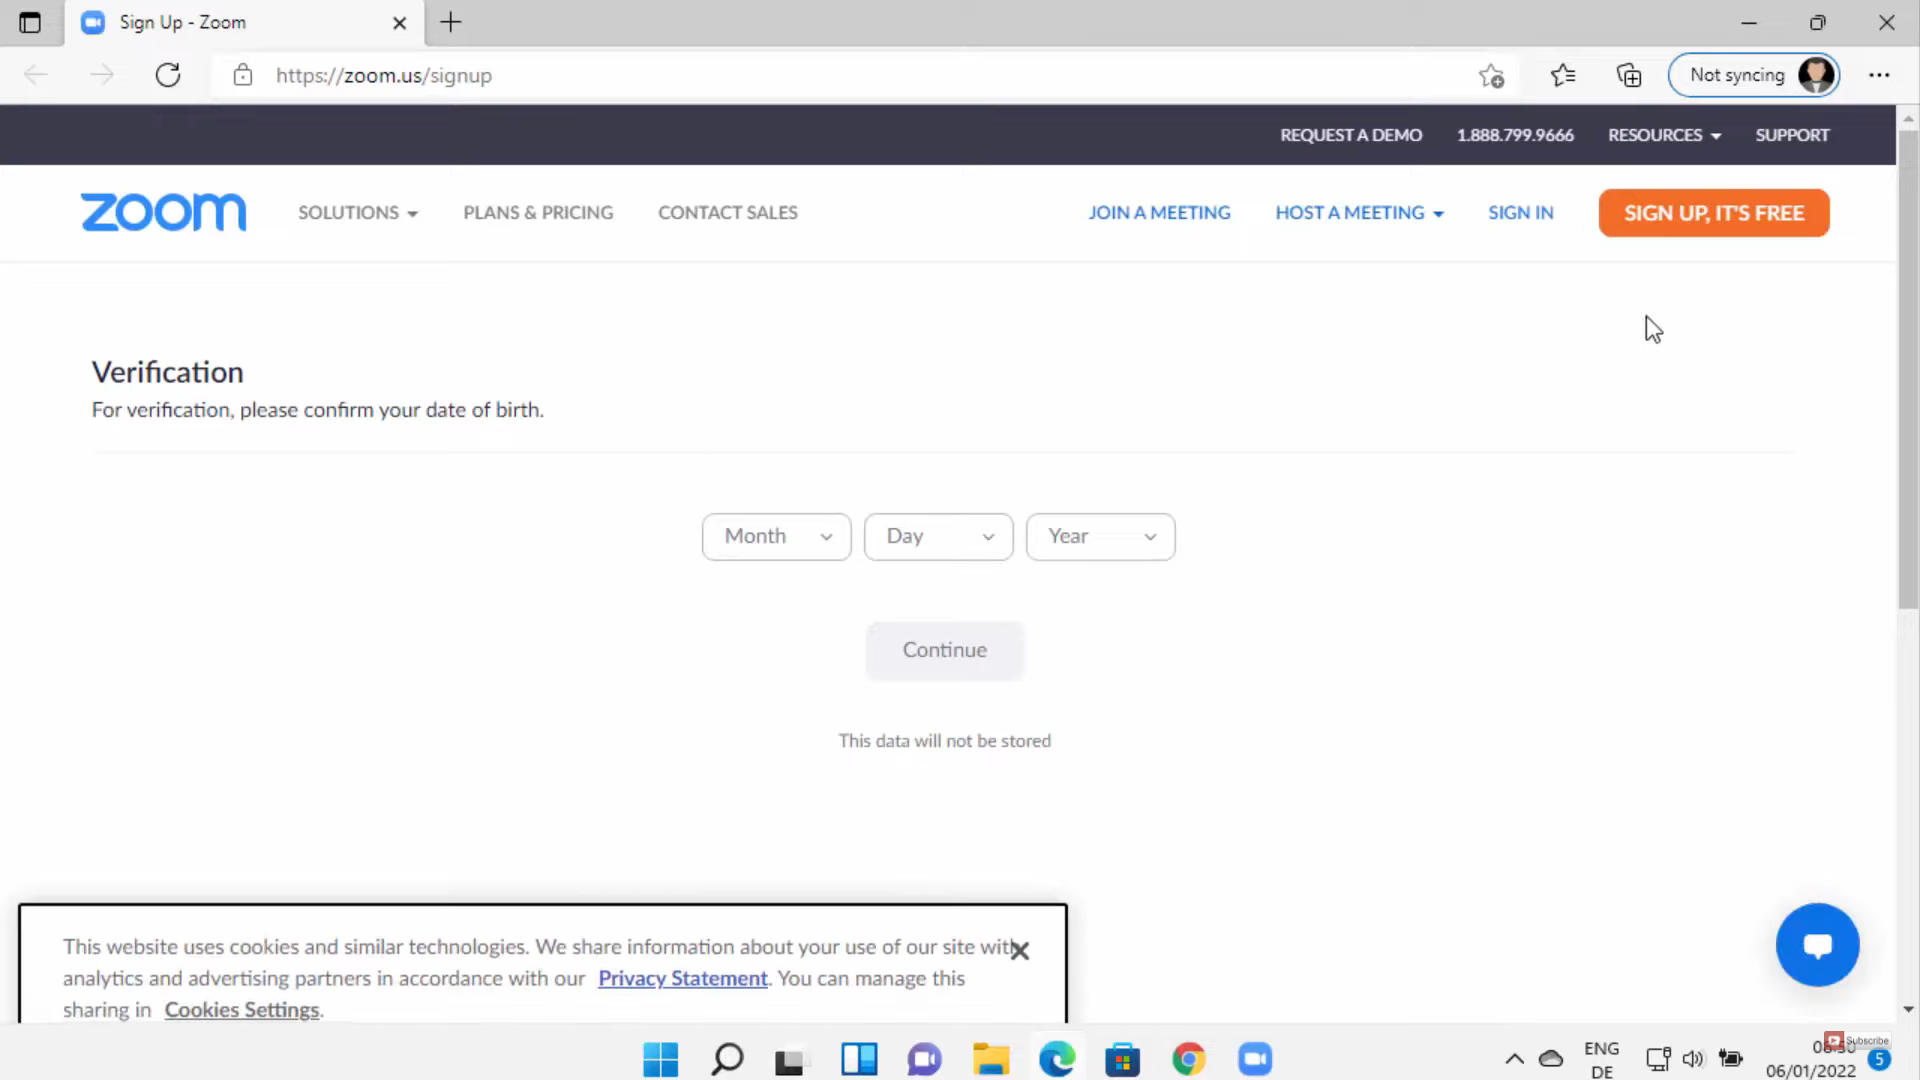
9. When you click on sign up, it will redirect you to the zoom website. From here, you can sign in to your zoom account.
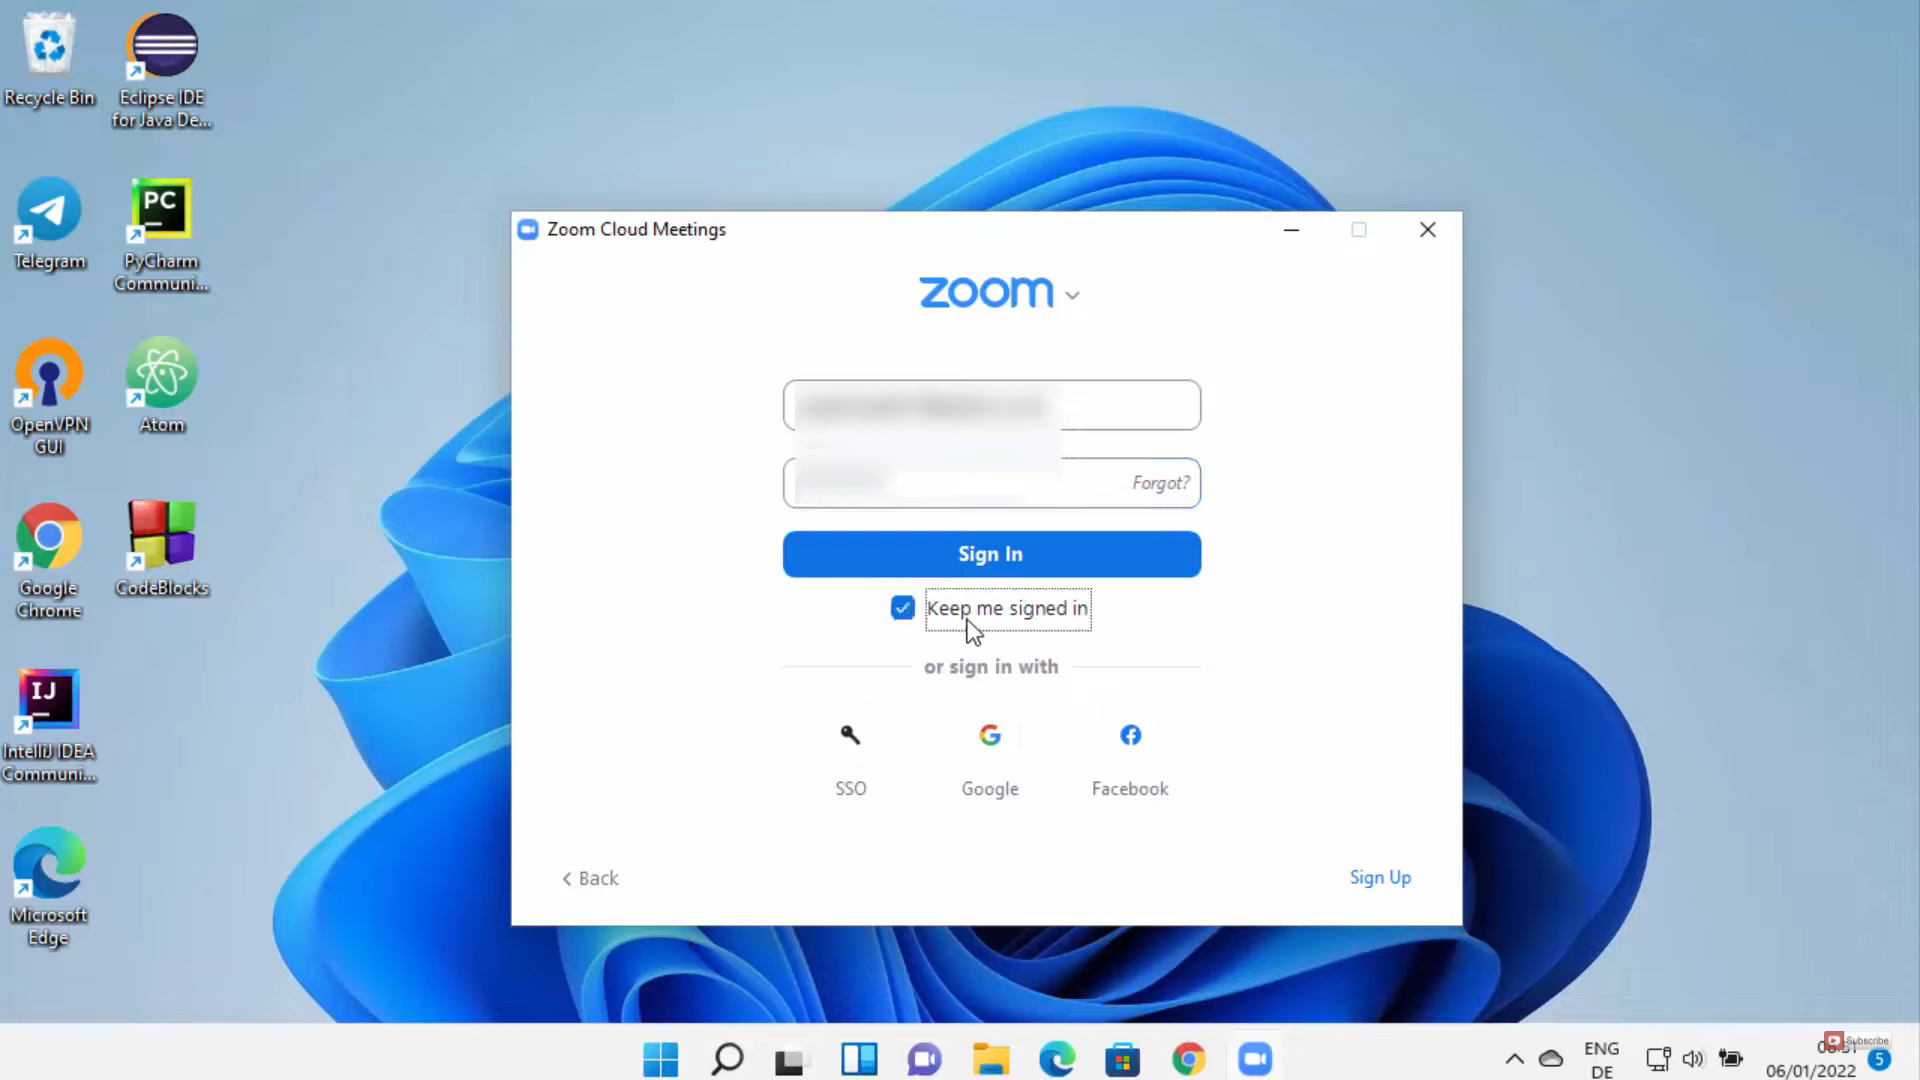
10. Once you have the zoom account, you can log in with that account. I already have the account so I am going to log in using that. Once you have entered everything, click on the Sign-in option.
11. You will be signed in to your zoom account. From here, you can join a new meeting, schedule a meeting, and share your screen.

These are the steps for installing zoom on your Windows 11 Operating System.
Leave a Reply