
In this blog post, I will give a detailed view of installing the NetBeans IDE and java JDK on your Windows 11 Operating System.
1. Before the installation, we need to check whether java is installed or not. Click on the search icon and search for cmd.

2. Once the command prompt opens, type java -version and press enter. If you see this kind of message which is displayed in the image below, then java is not installed in your Windows 11 Operating System.

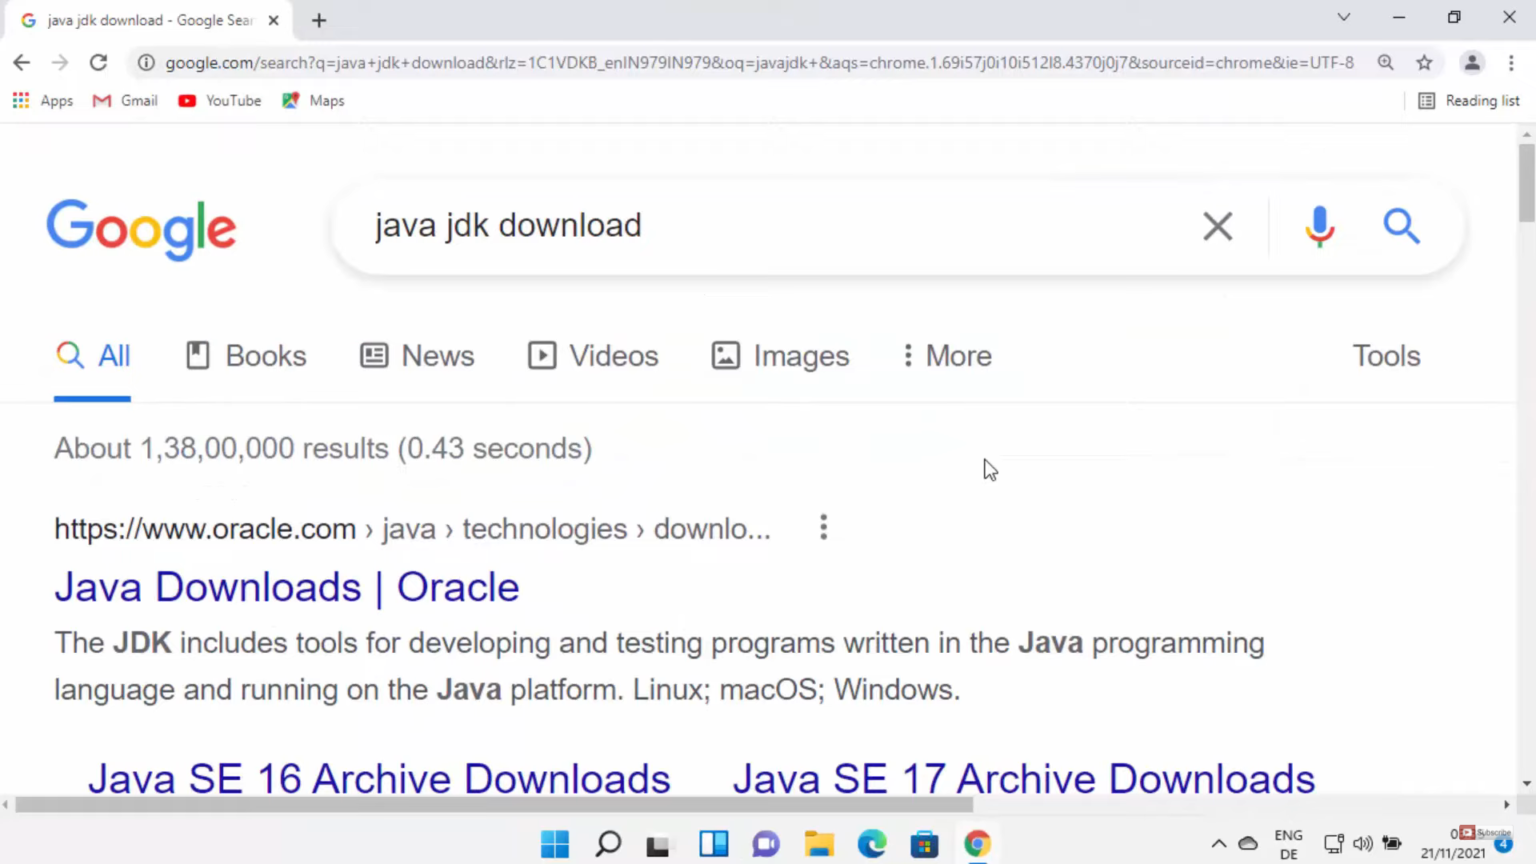
3. To install java, open a web browser of your choice and search for java JDK download. Click on the first link.
4. Once the link opens, scroll down and click on Windows. Then click the link next to x64 Installer. It will start to download.

5. Once the download is complete, click on the exe file and minimize the browser. It will show a warning. Click on Yes.

6. In the installer window, click on Next.

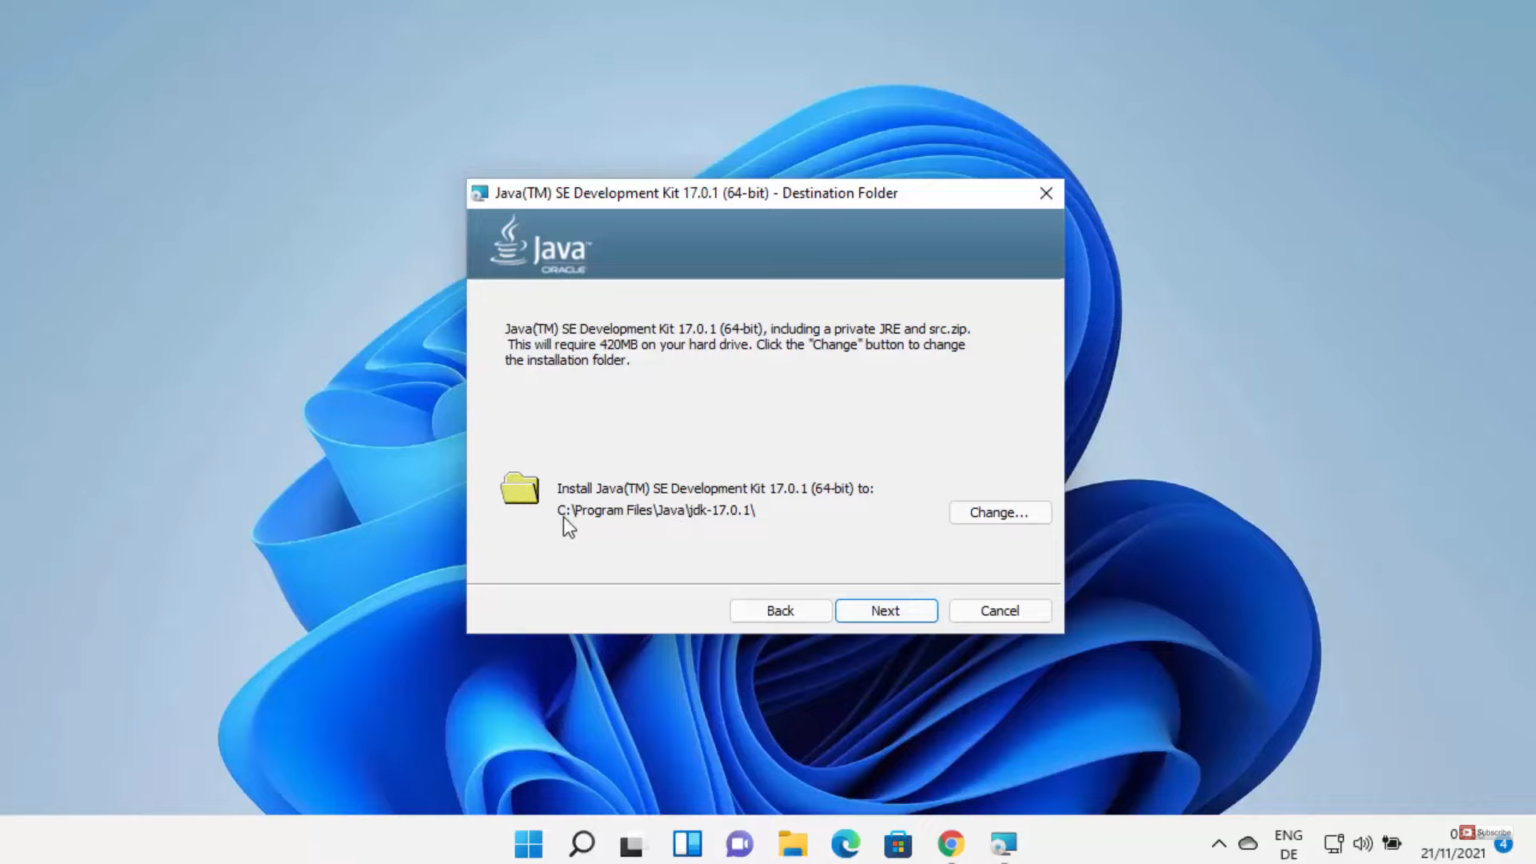
7. This will be the location where java will be installed. If you want to change the location, then click on the Change option. I am going to leave it as default and click on Next.
8. It will start the installation process. It will display the installation successful message. Click Close on that window.

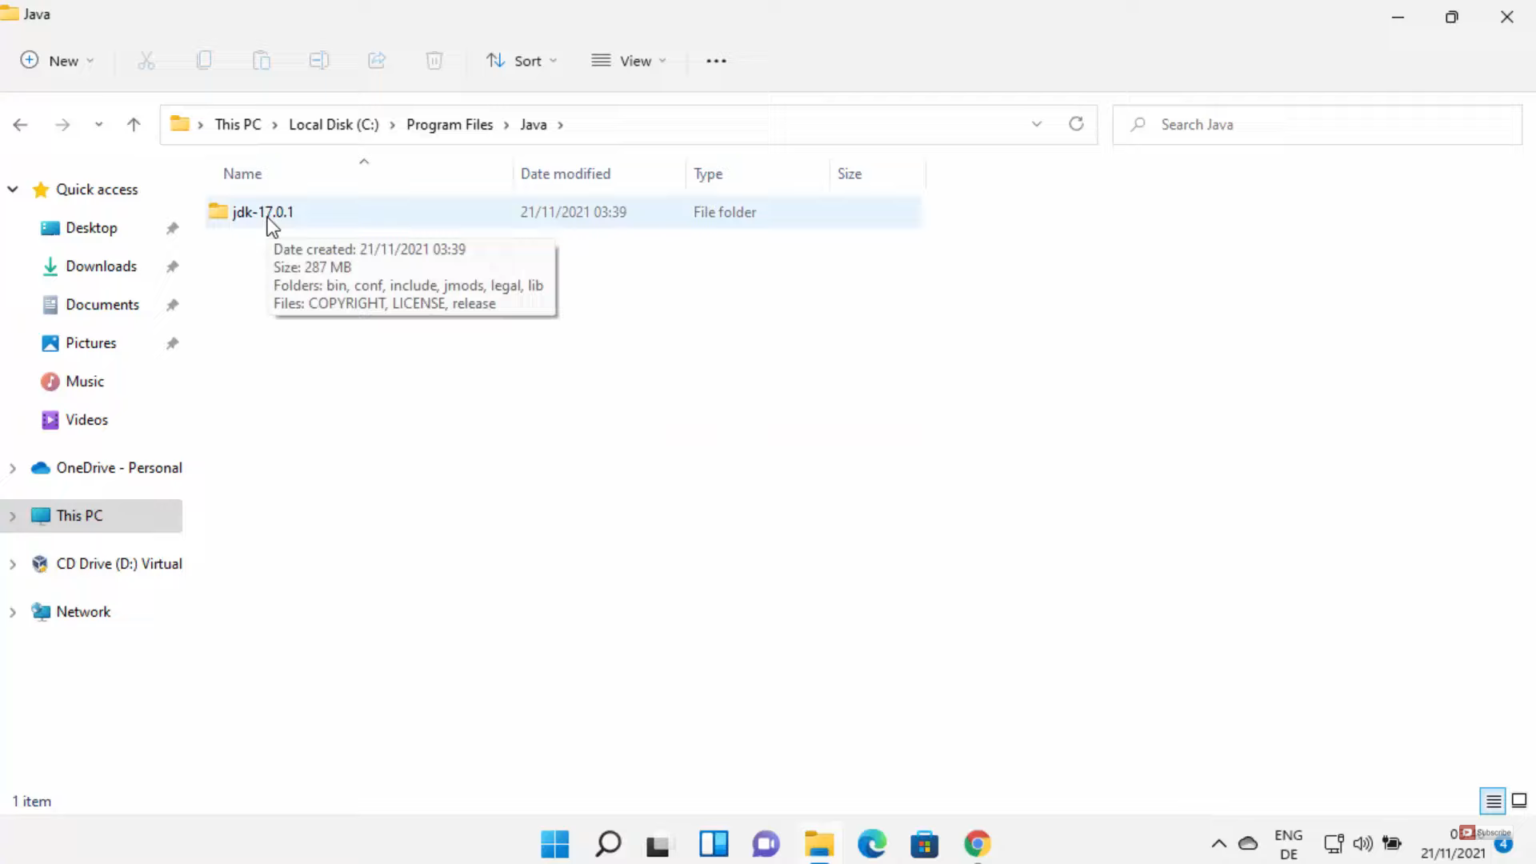
9. Now, open File Explorer and go to the location where java is installed. Click on the java folder.
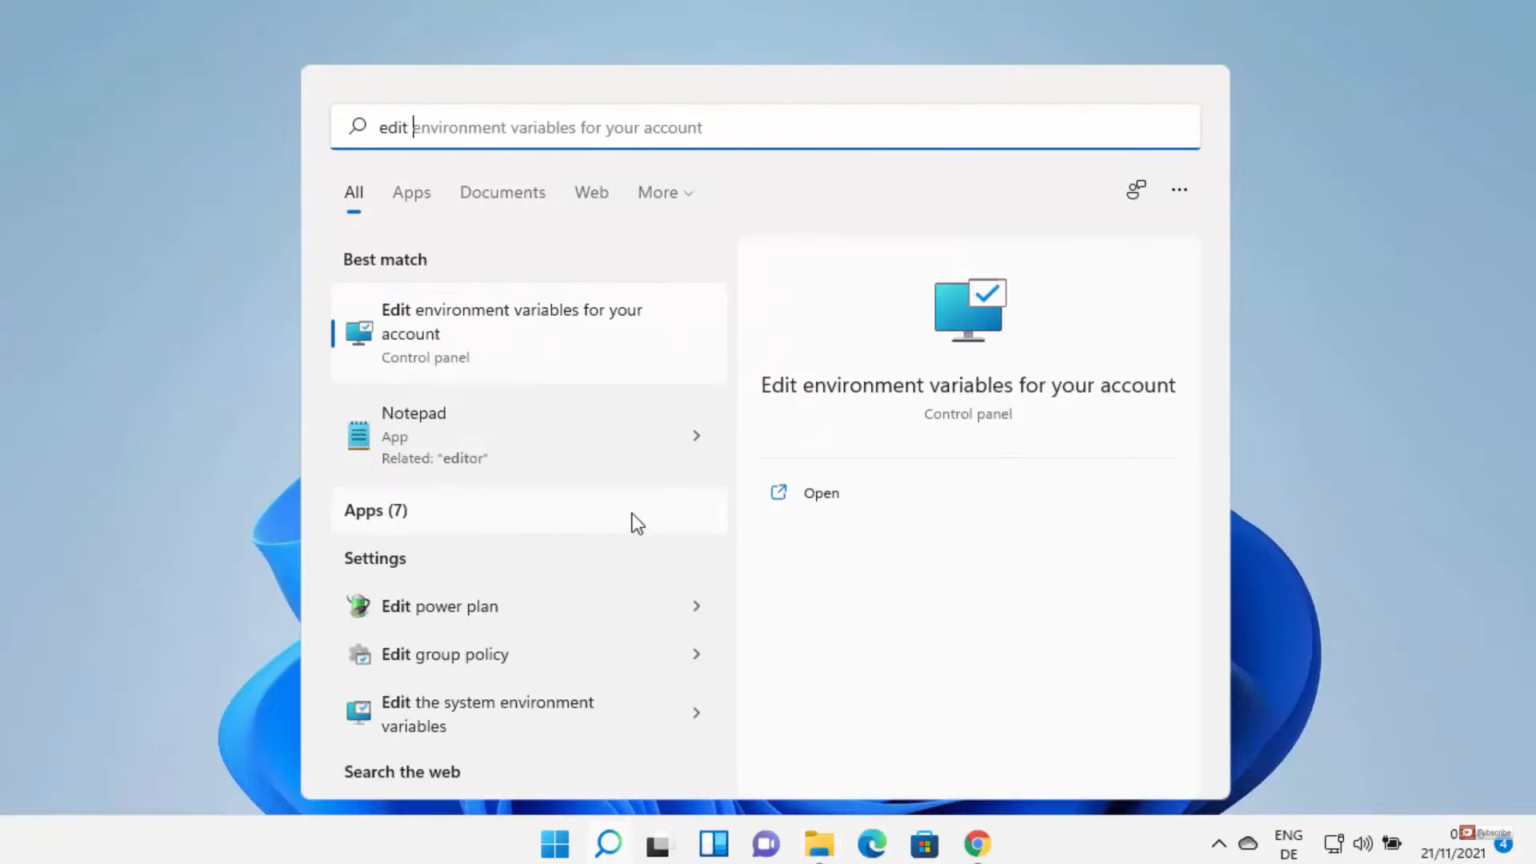
10. To set the environment variable for java, click on the search icon and type Edit Environment and click on the search result.
11. It will open this kind of window. Click on the path under system variables. Then, click on Edit. Here, you need to add the path. Go to the bin folder and copy the path. You can either double click or click on New. Then, paste the path. Press Enter. It will add the path. Then, click on Ok. Some applications need java home environment variables.

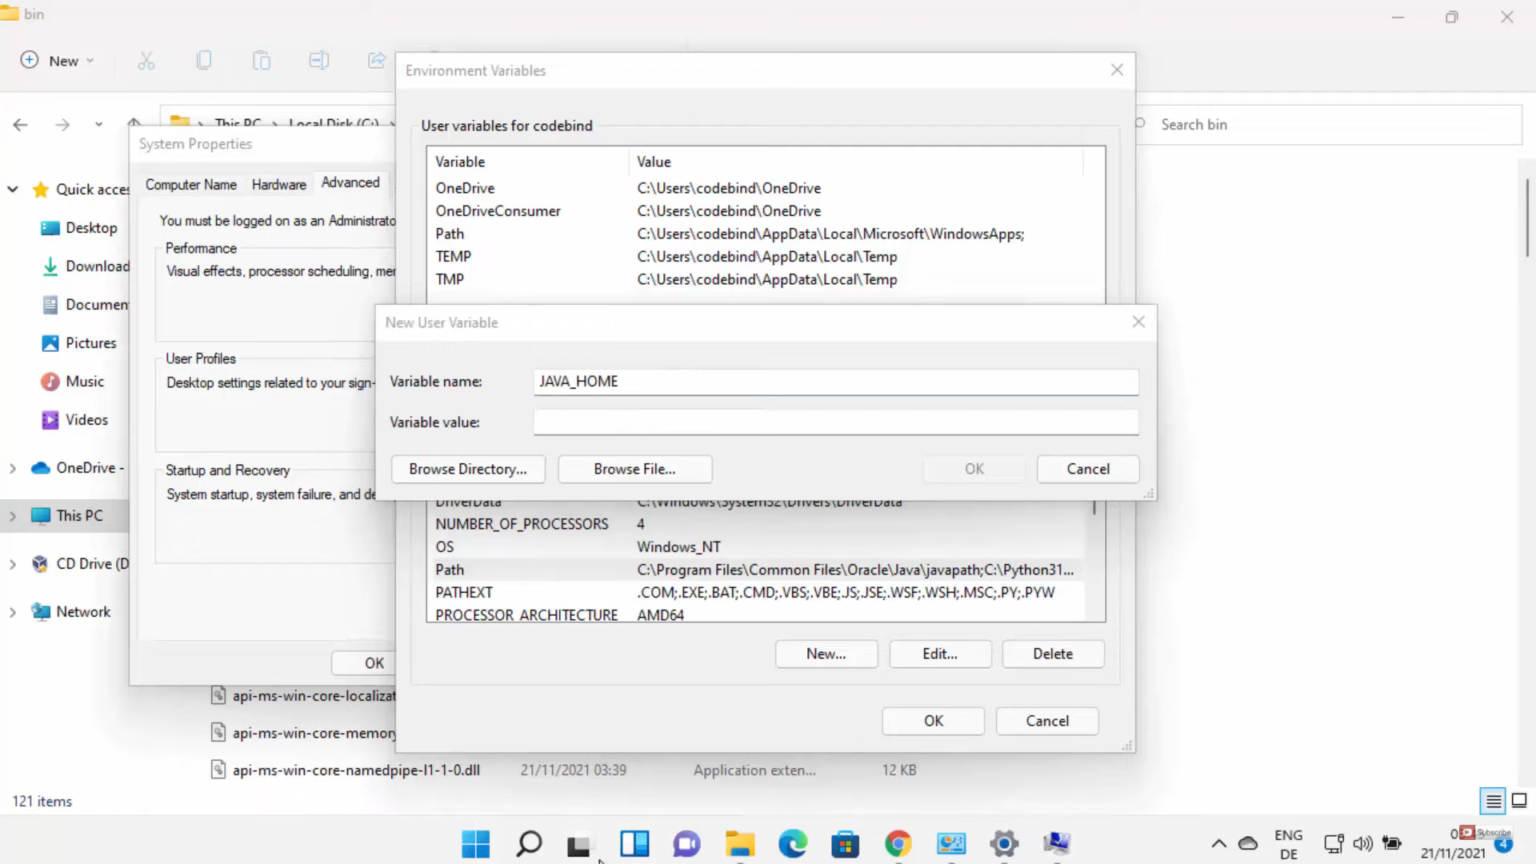
12. To set a home environment variable, you need to click on the New under the user variable section.

13. Here, you need to provide the variable name as JAVA_HOME and the variable value will be the folder. Just copy the path until the JDK folder and don’t go inside the bin folder. Paste that path in variable value. Click on Ok.
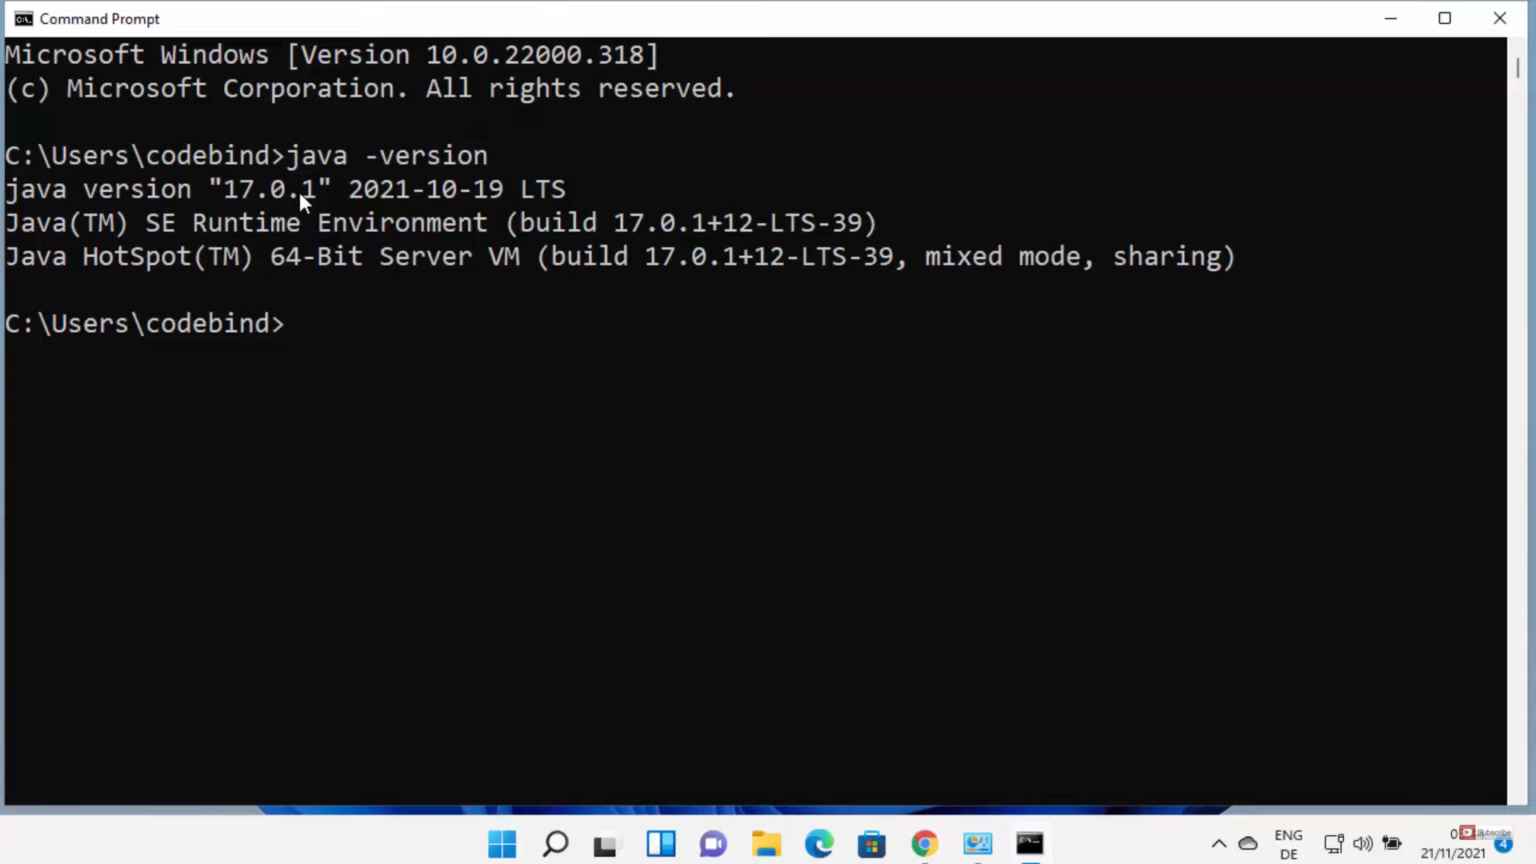
14. Once you have installed java and the environment variable, you can view java in the command line. Click on the search icon and type cmd. Once the command prompt window opens, type java -version and press enter. You will be able to see the latest version of java.
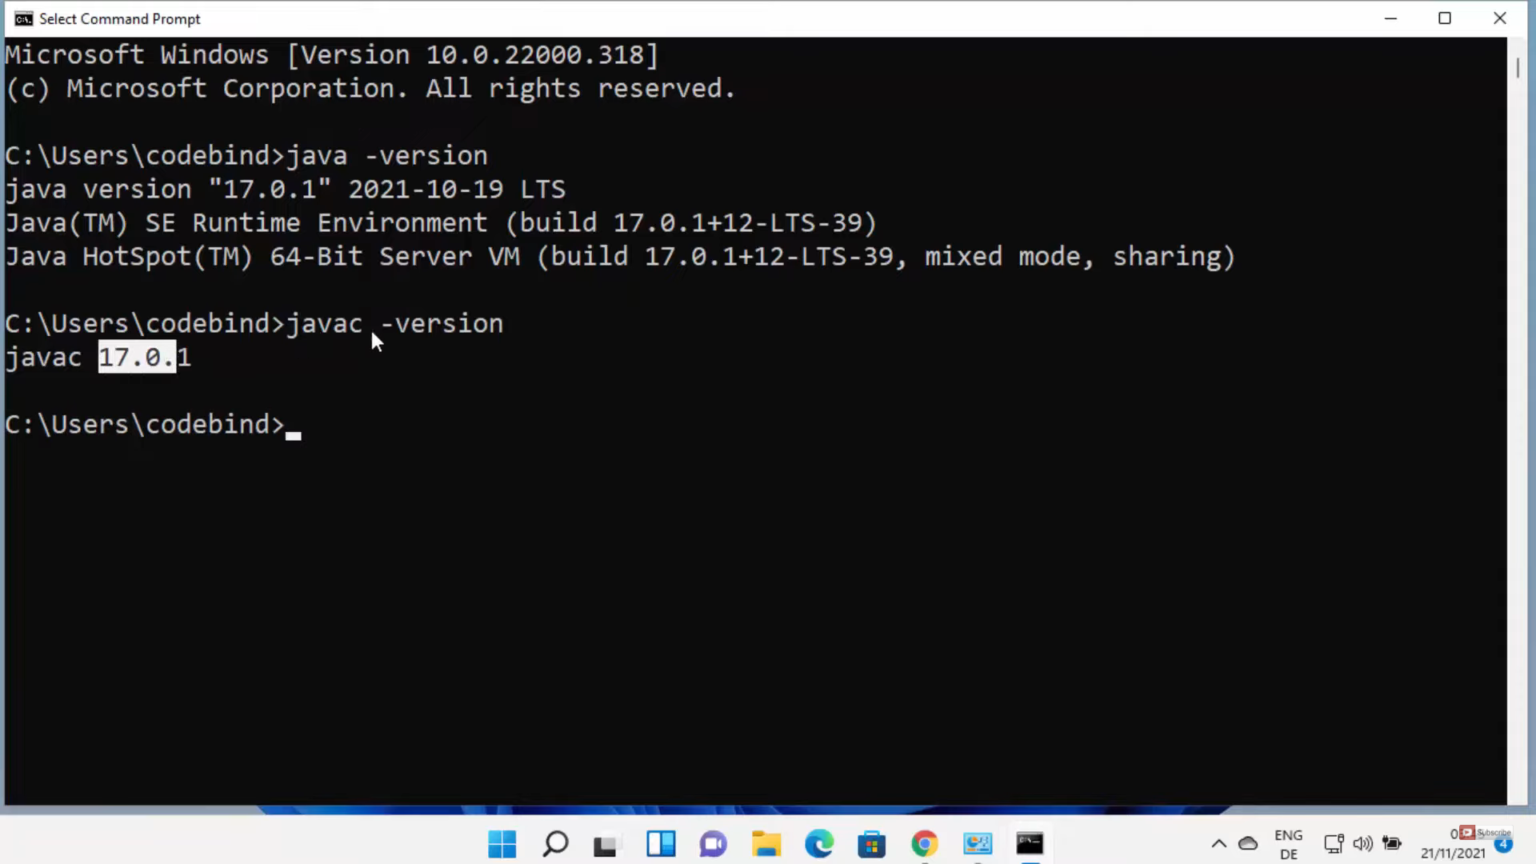
15. To compile a java file, you need to use the javac command. Type javac -version and press enter. You will be able to see the javac version on the screen.
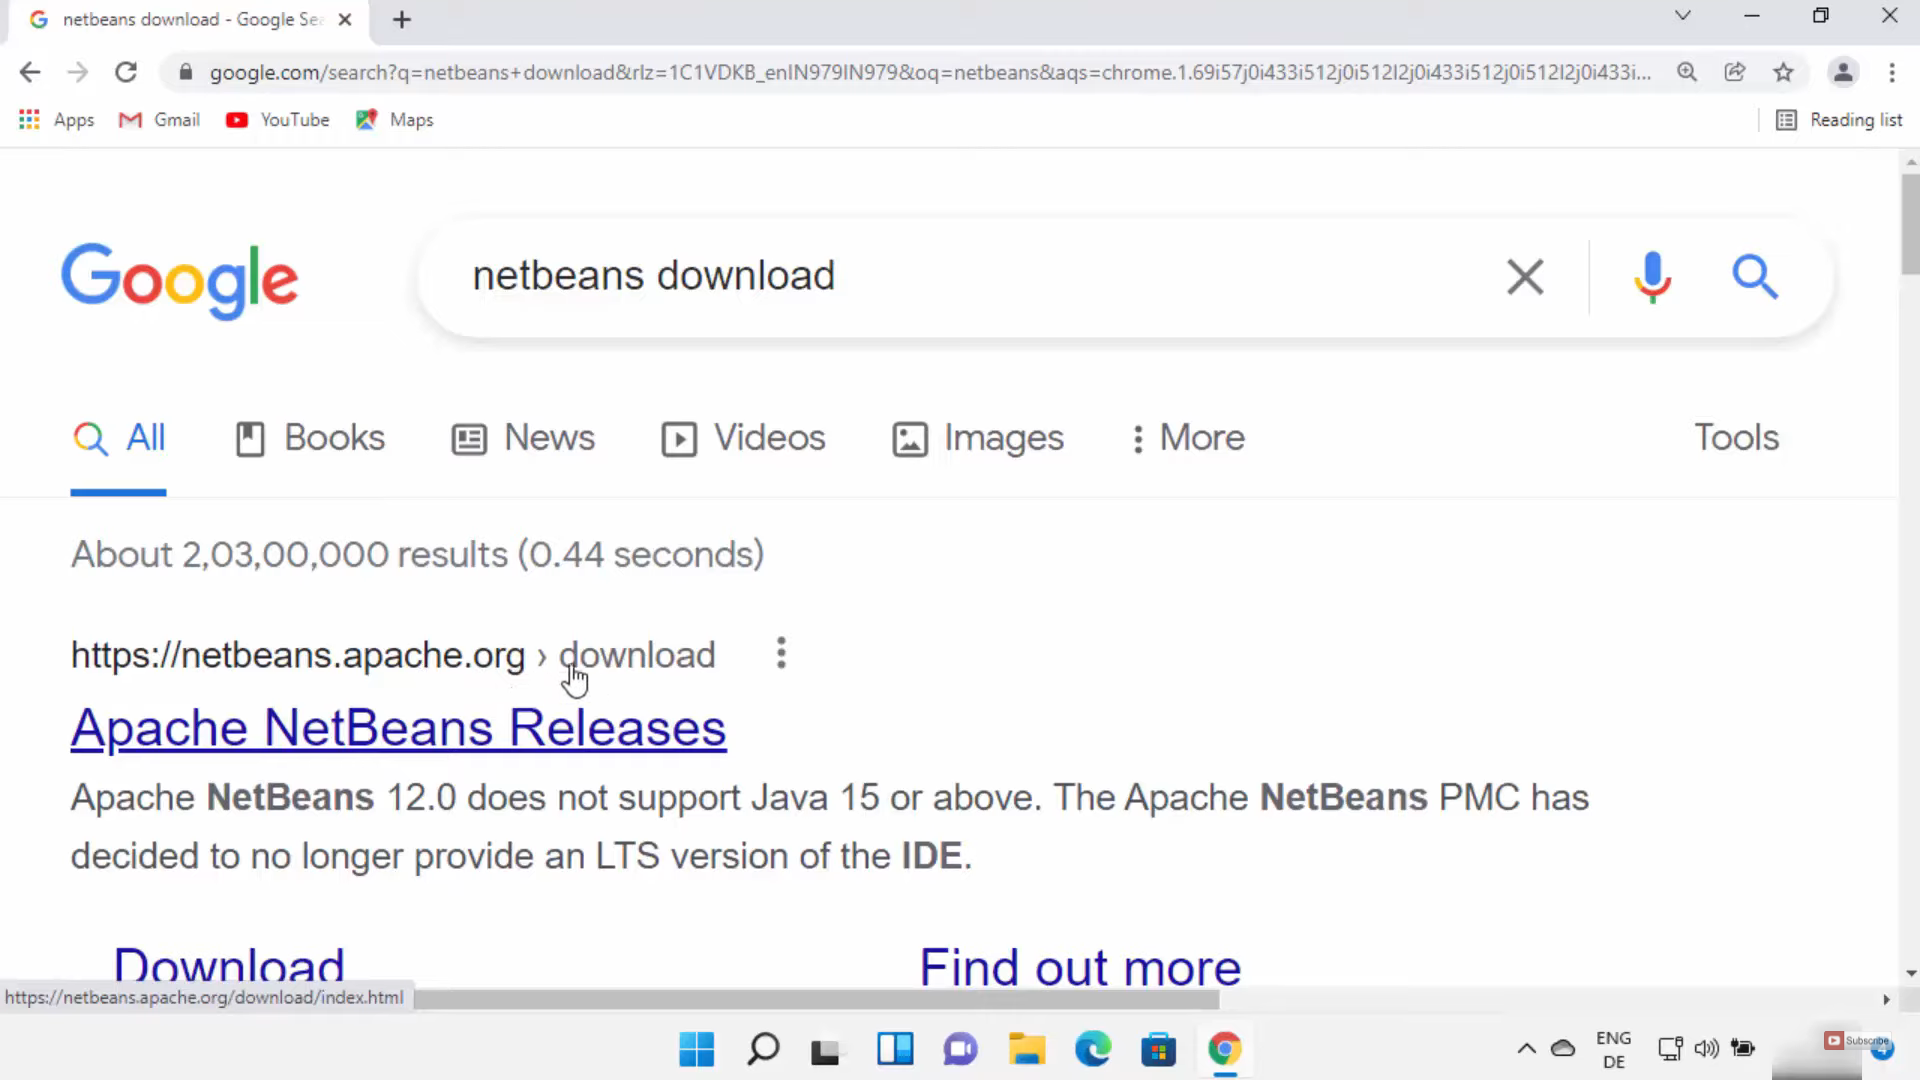
16. To install Netbeans IDE, open a web browser of your choice and search for Netbeans download. Click on the first link.
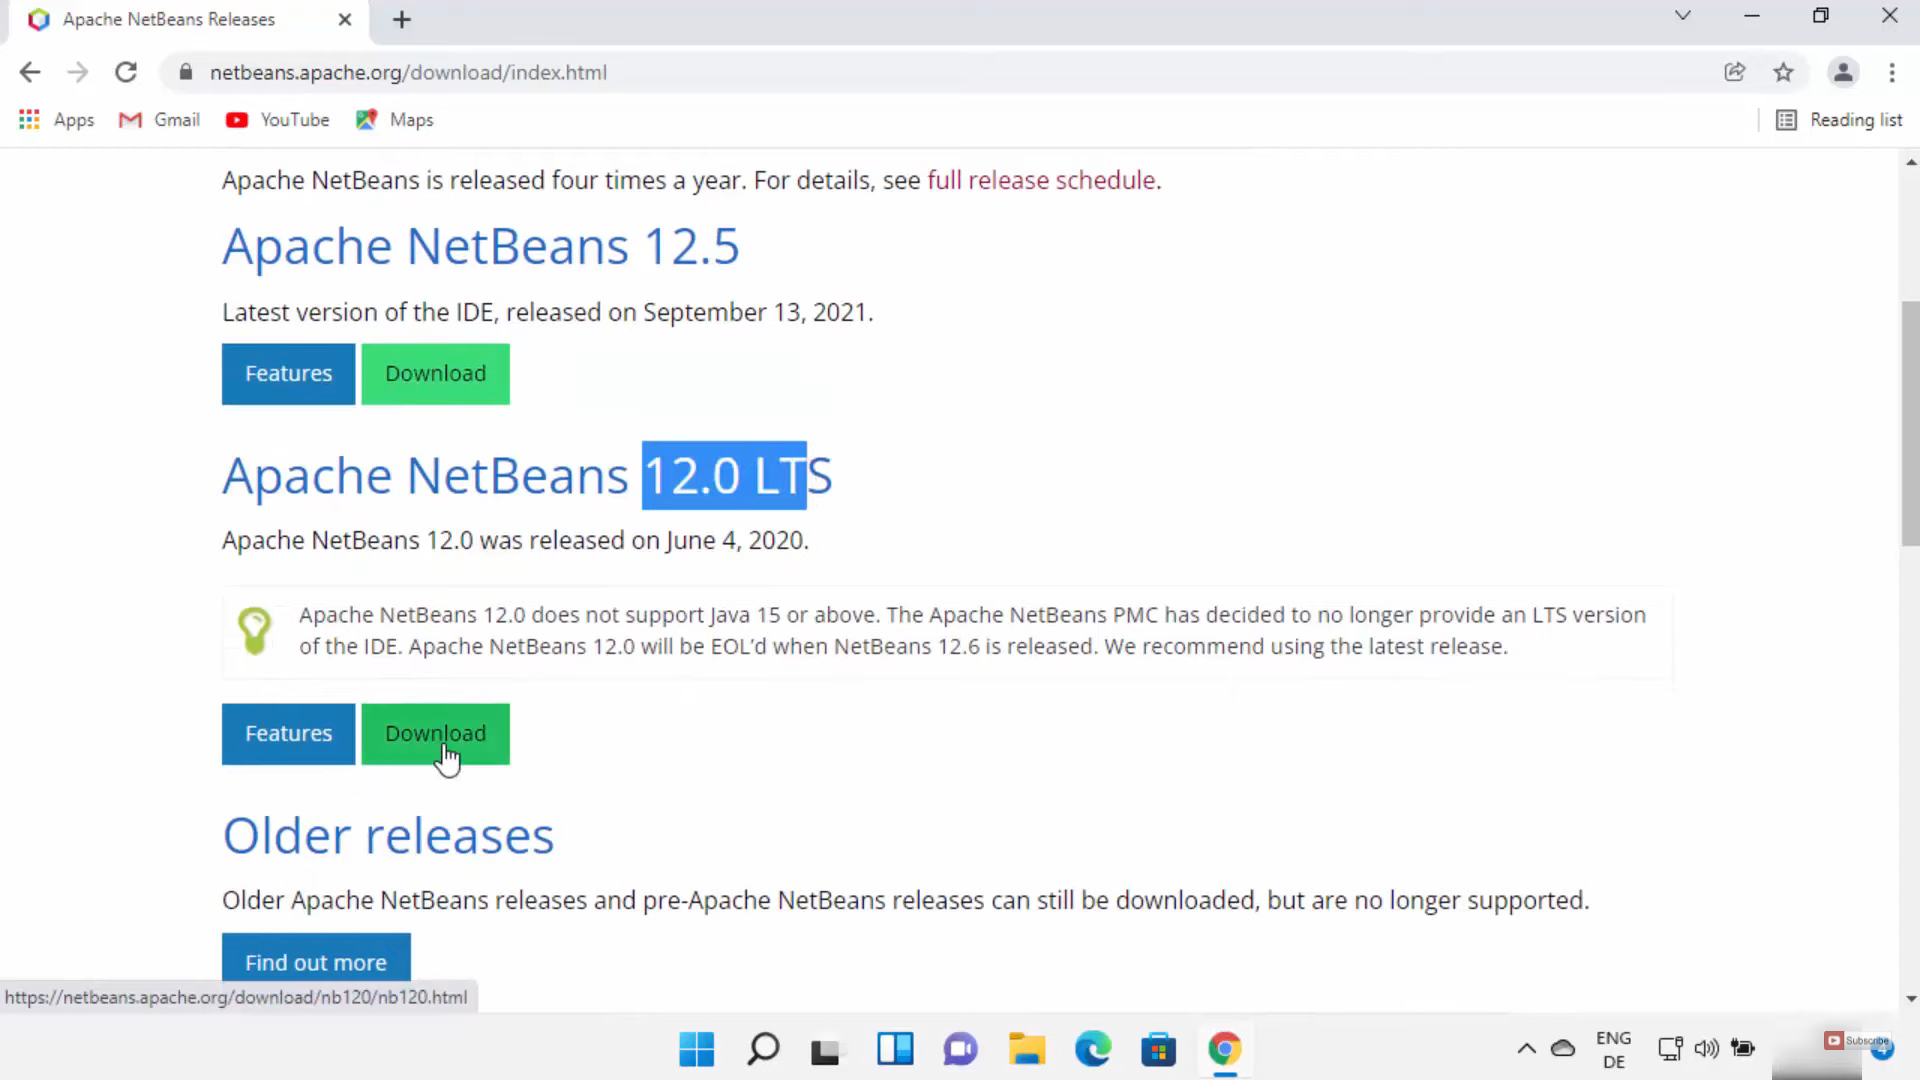
17. Once the link opens, you will be able to see the latest versions of NetBeans releases. Click on the LTS version. Click on Download.
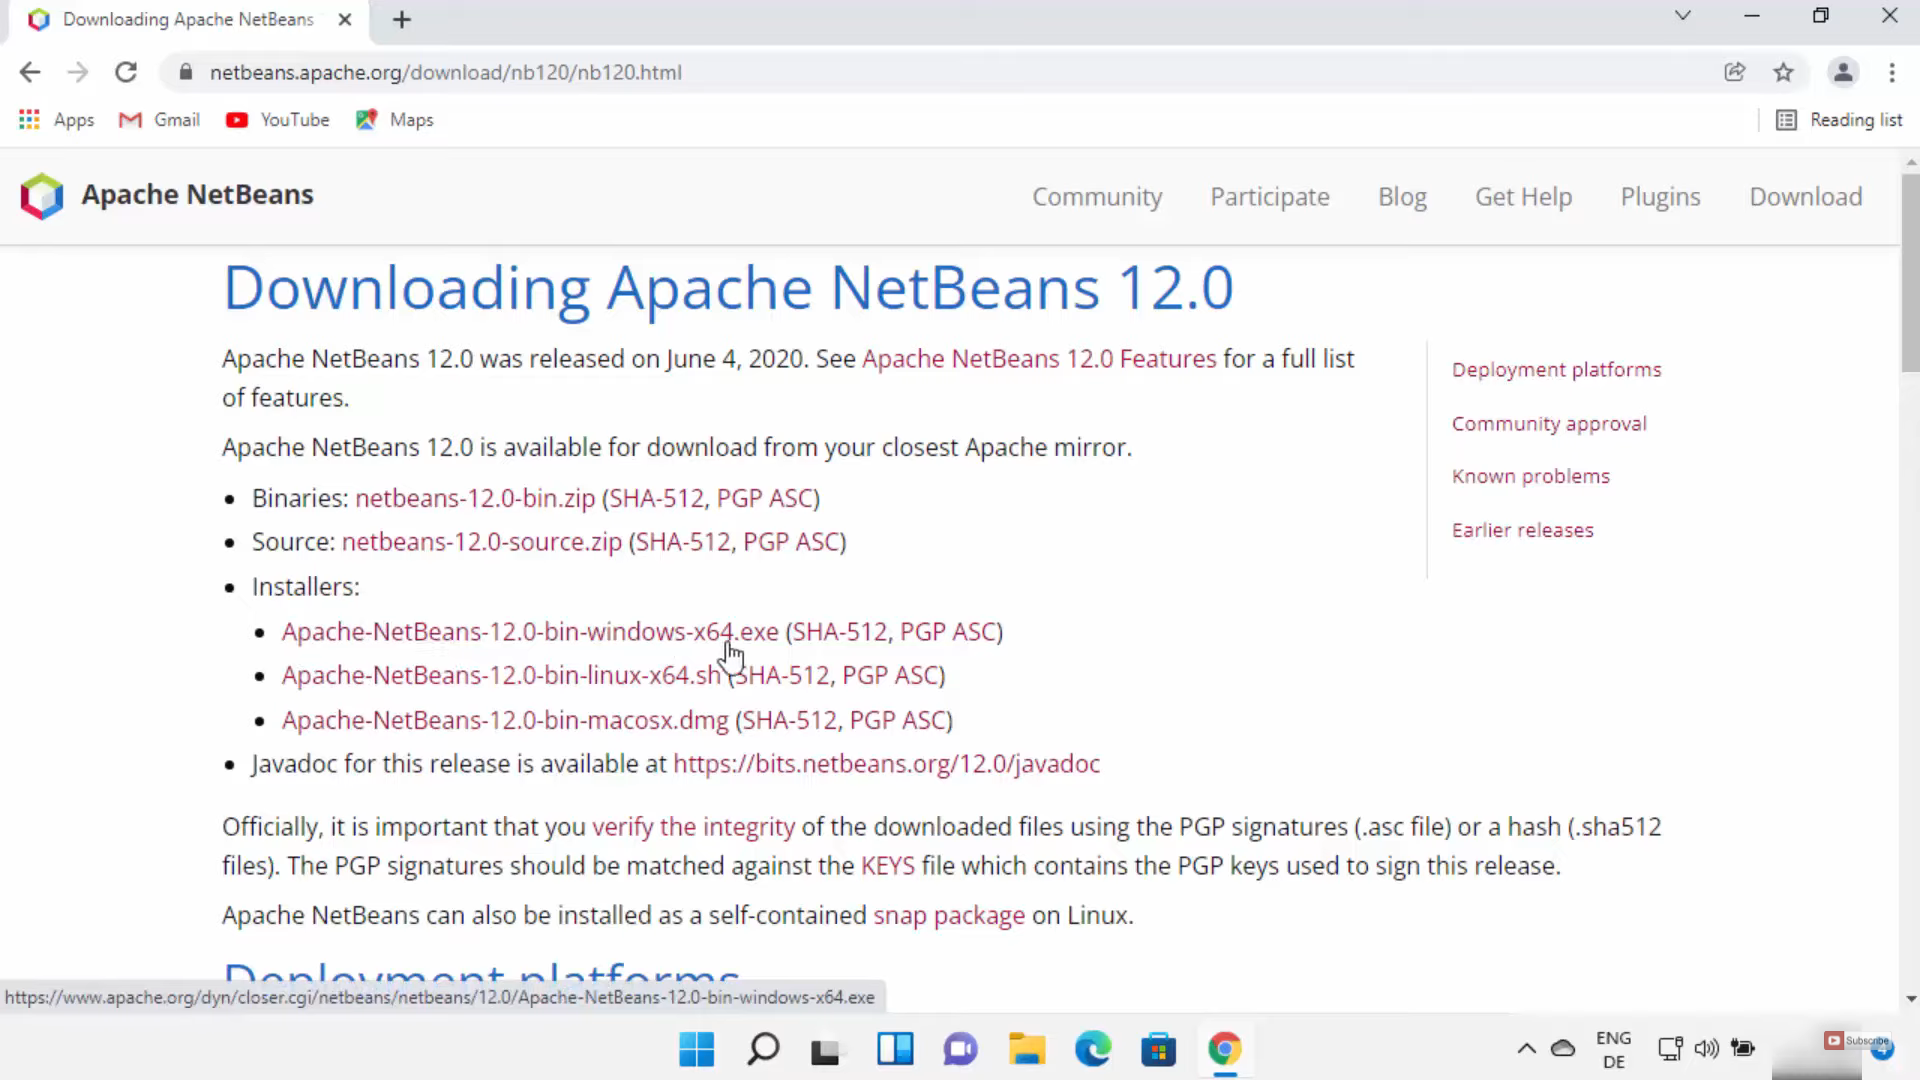
18. It will redirect you to another page. You need to choose the first link under Installers.
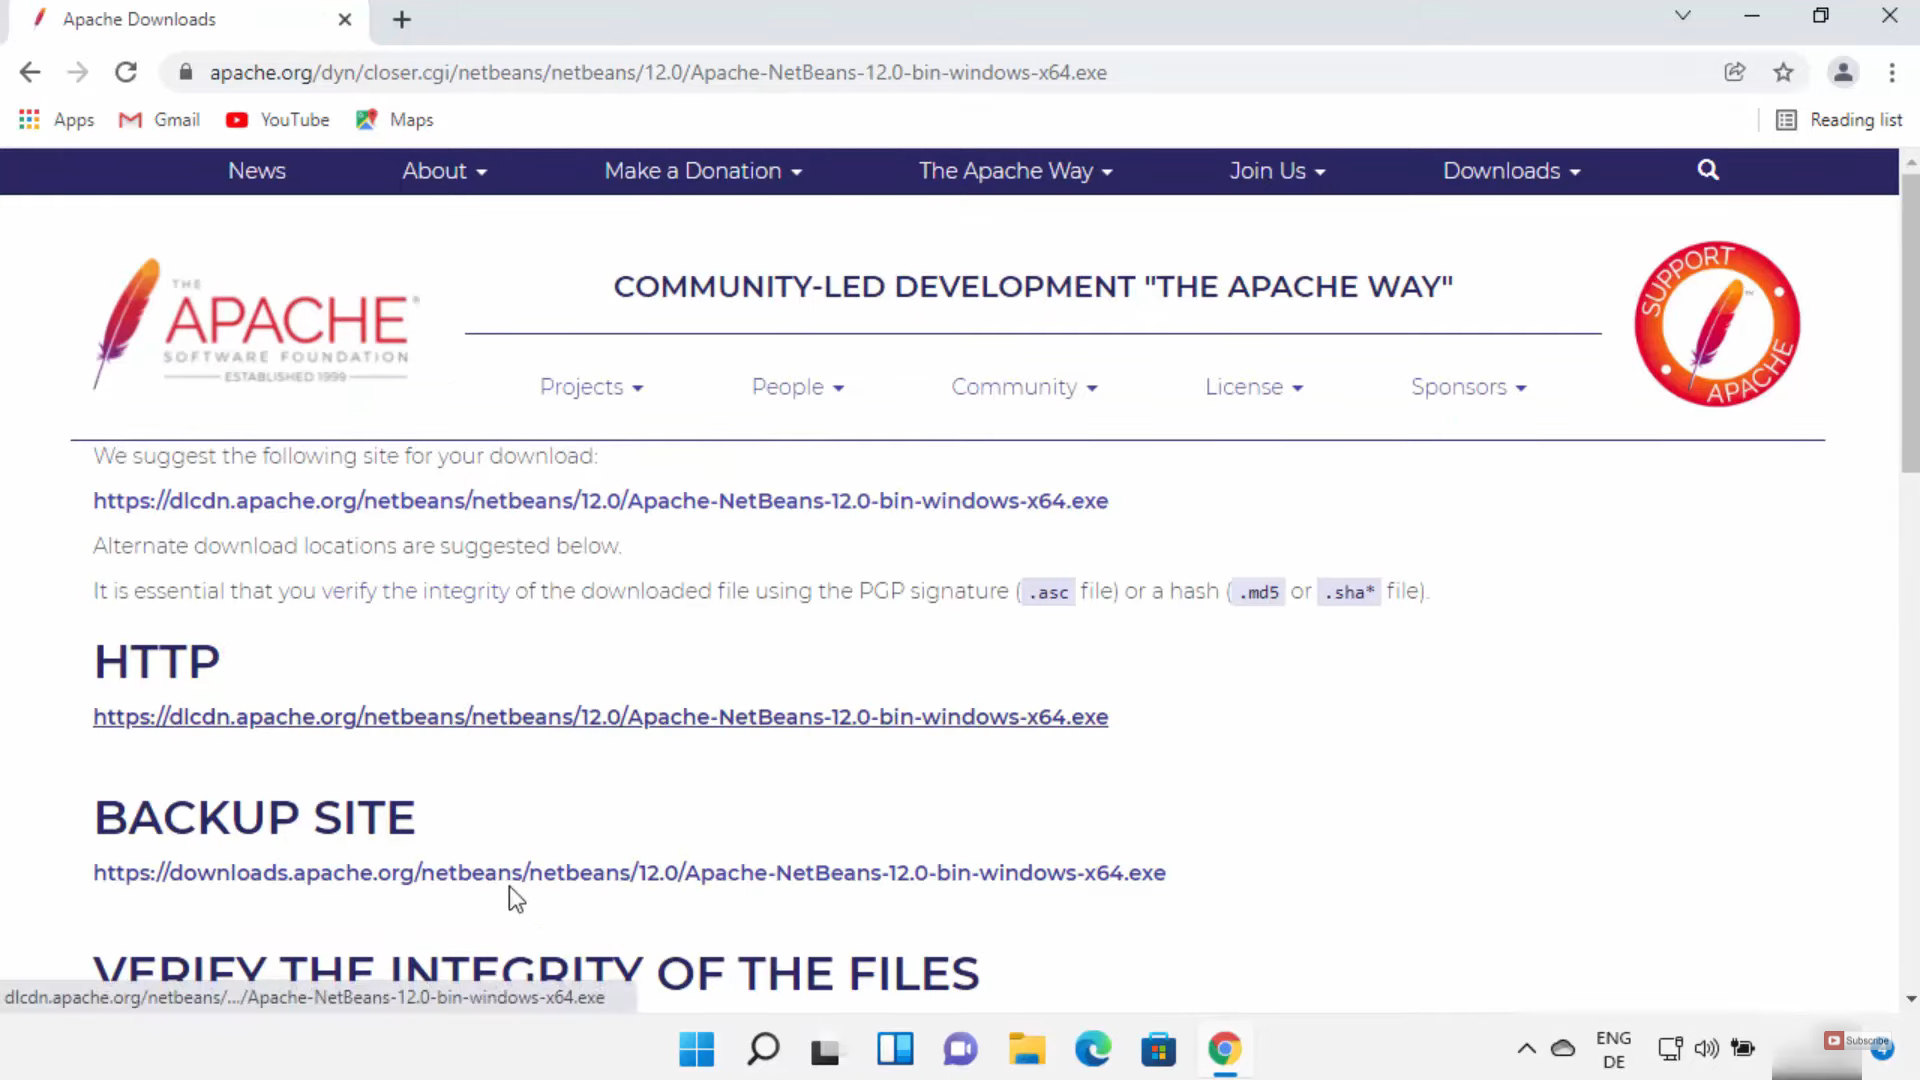
19. It will take you to another page. Here, you can choose any one of the links. I am going to choose the first link. It will start to download.
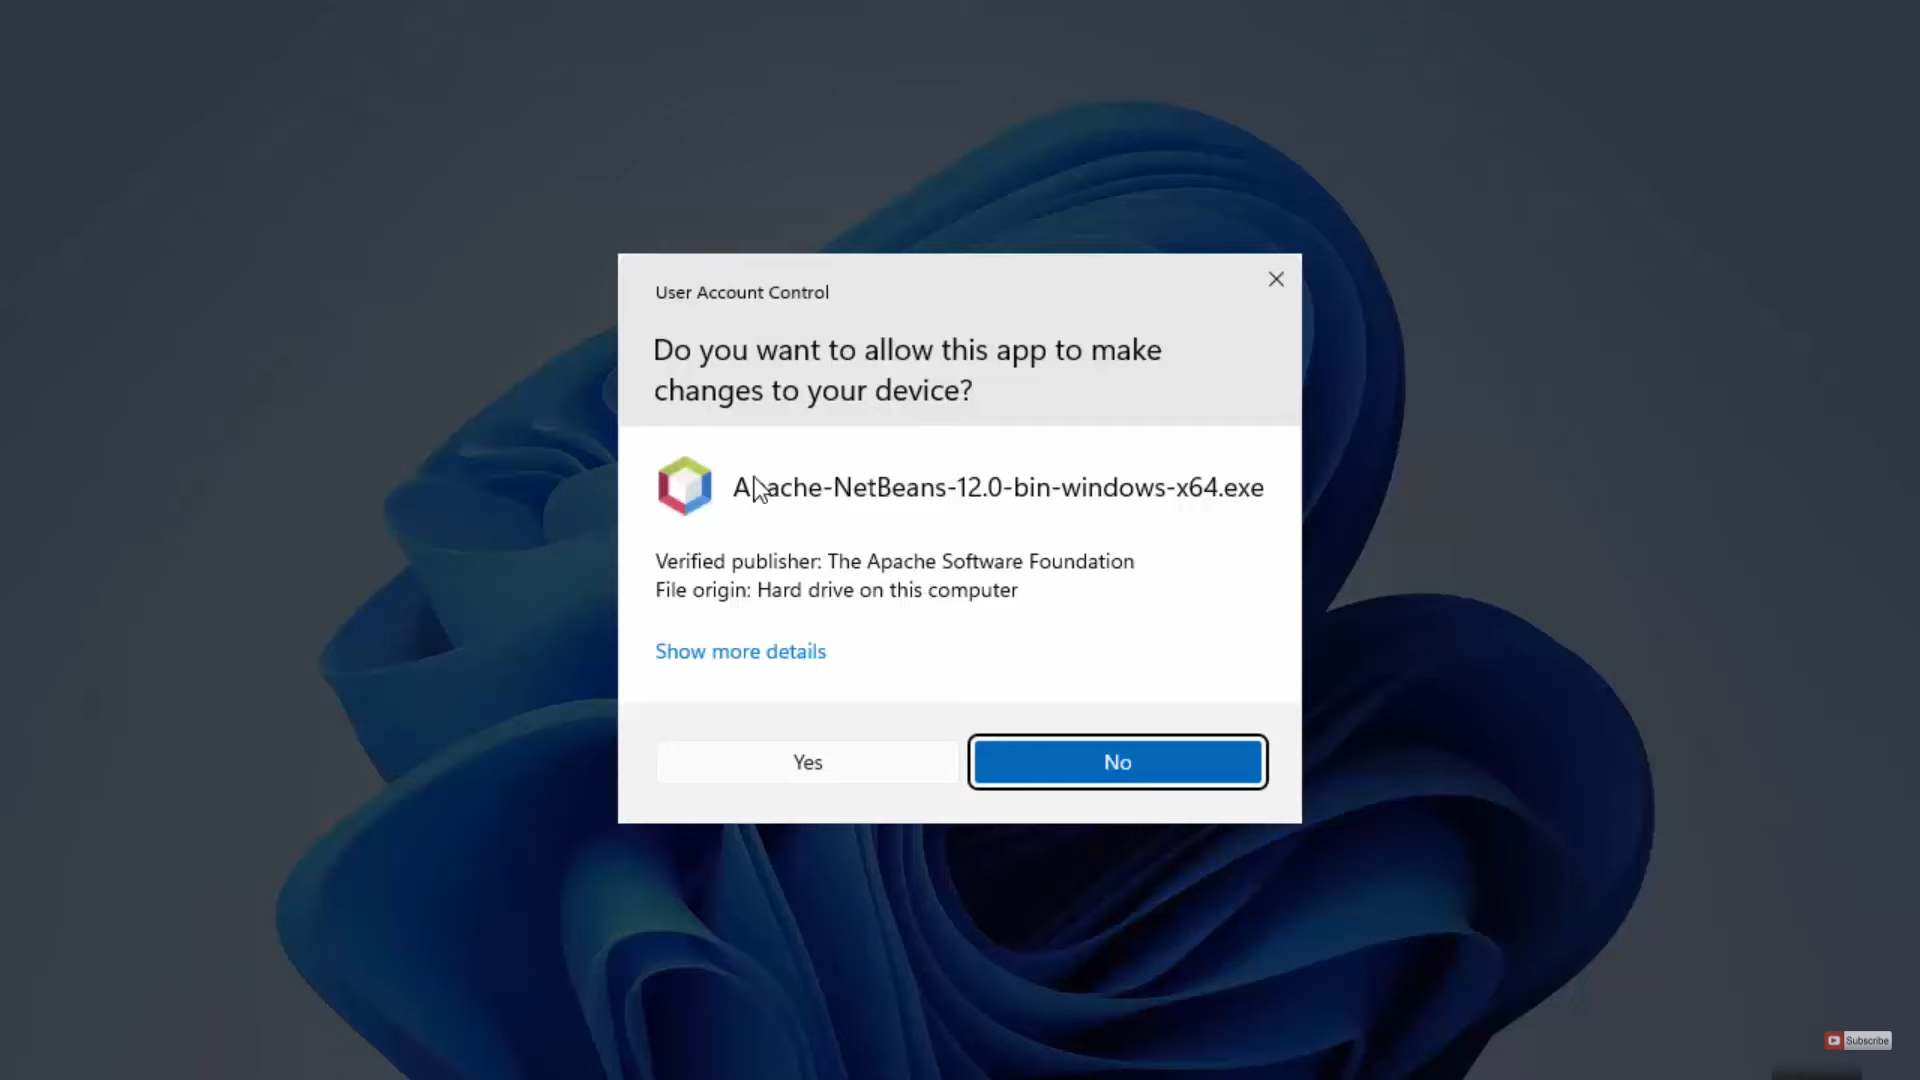
20. Once the download is complete, click on the exe file and minimize the browser. It will show you a warning. Click on Yes.
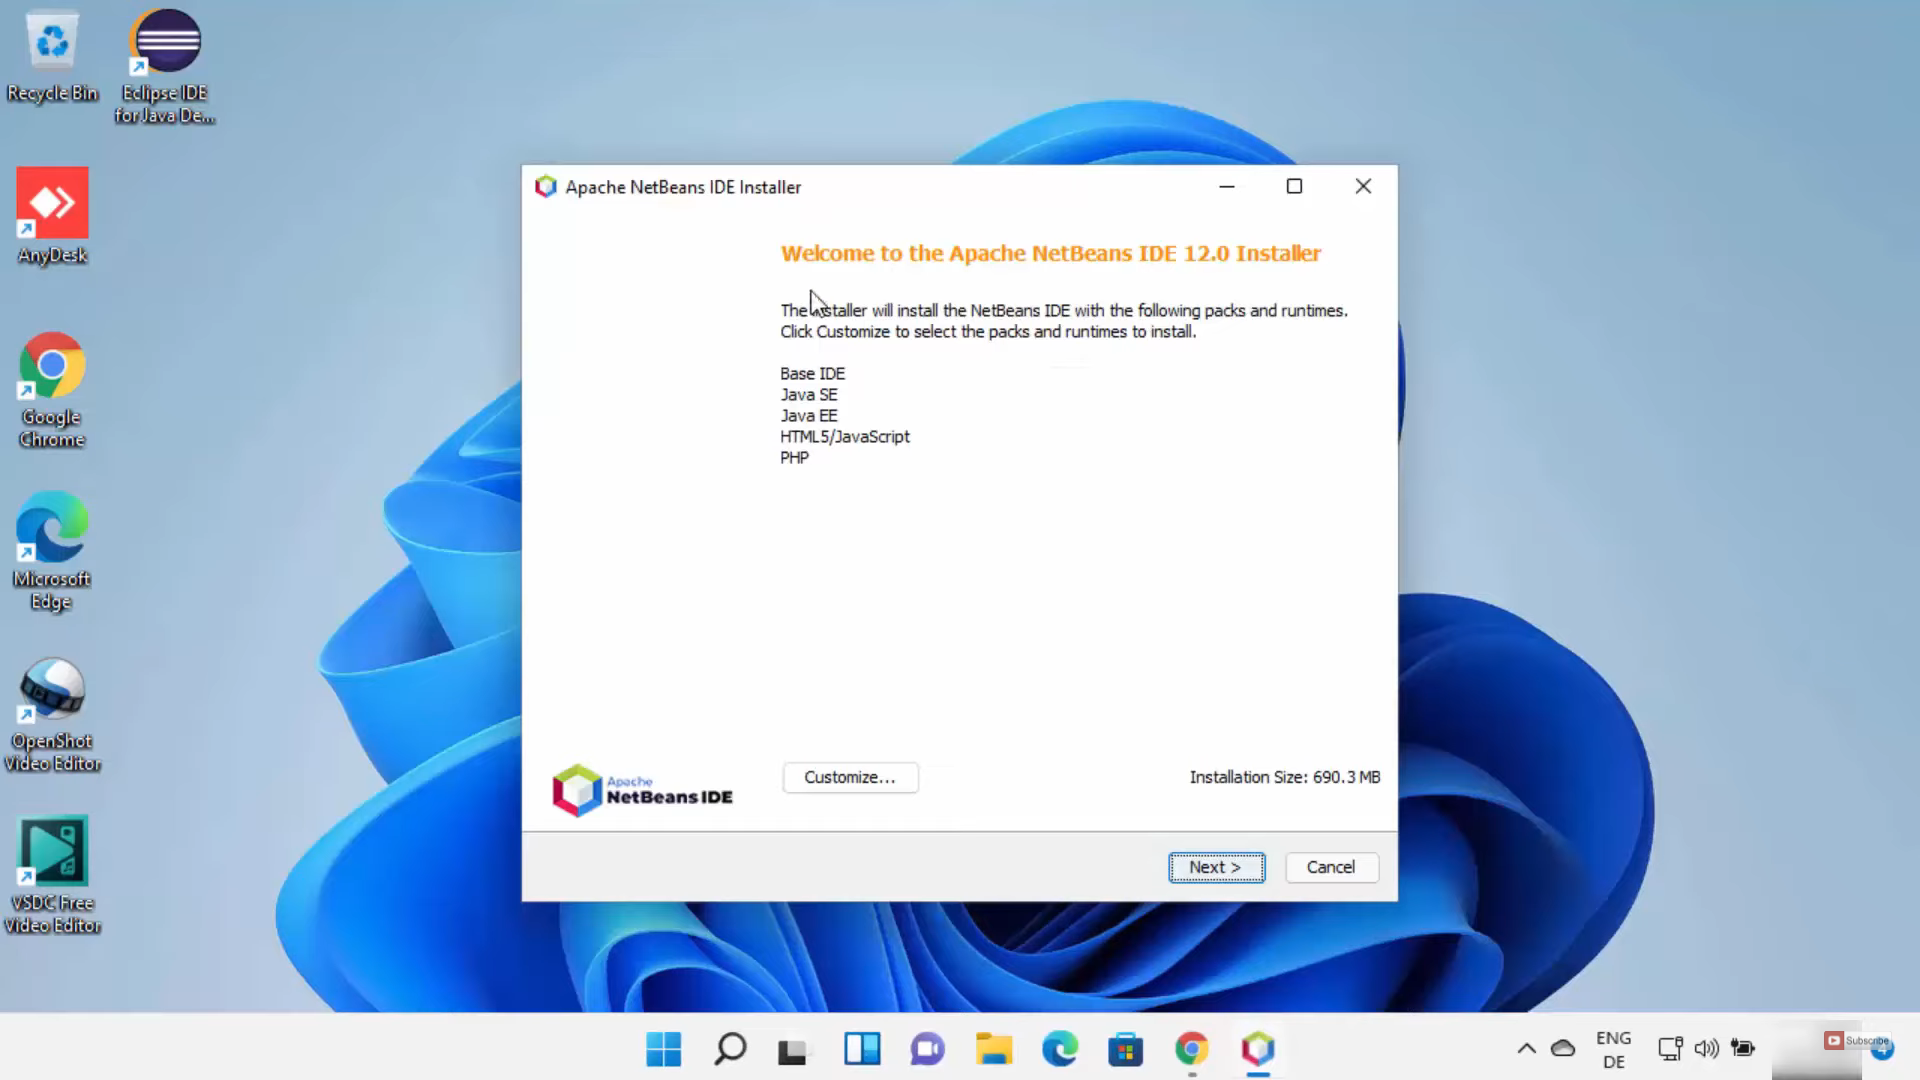
21. The installer has been started. In this window, click on Next.
22. In the license agreement window, you need to accept the agreement and click on Next.

23. This will be the location where it will be installed. If you want you can change the location. I am going to leave it as default and click on Next.

24. In this window, click on Install.

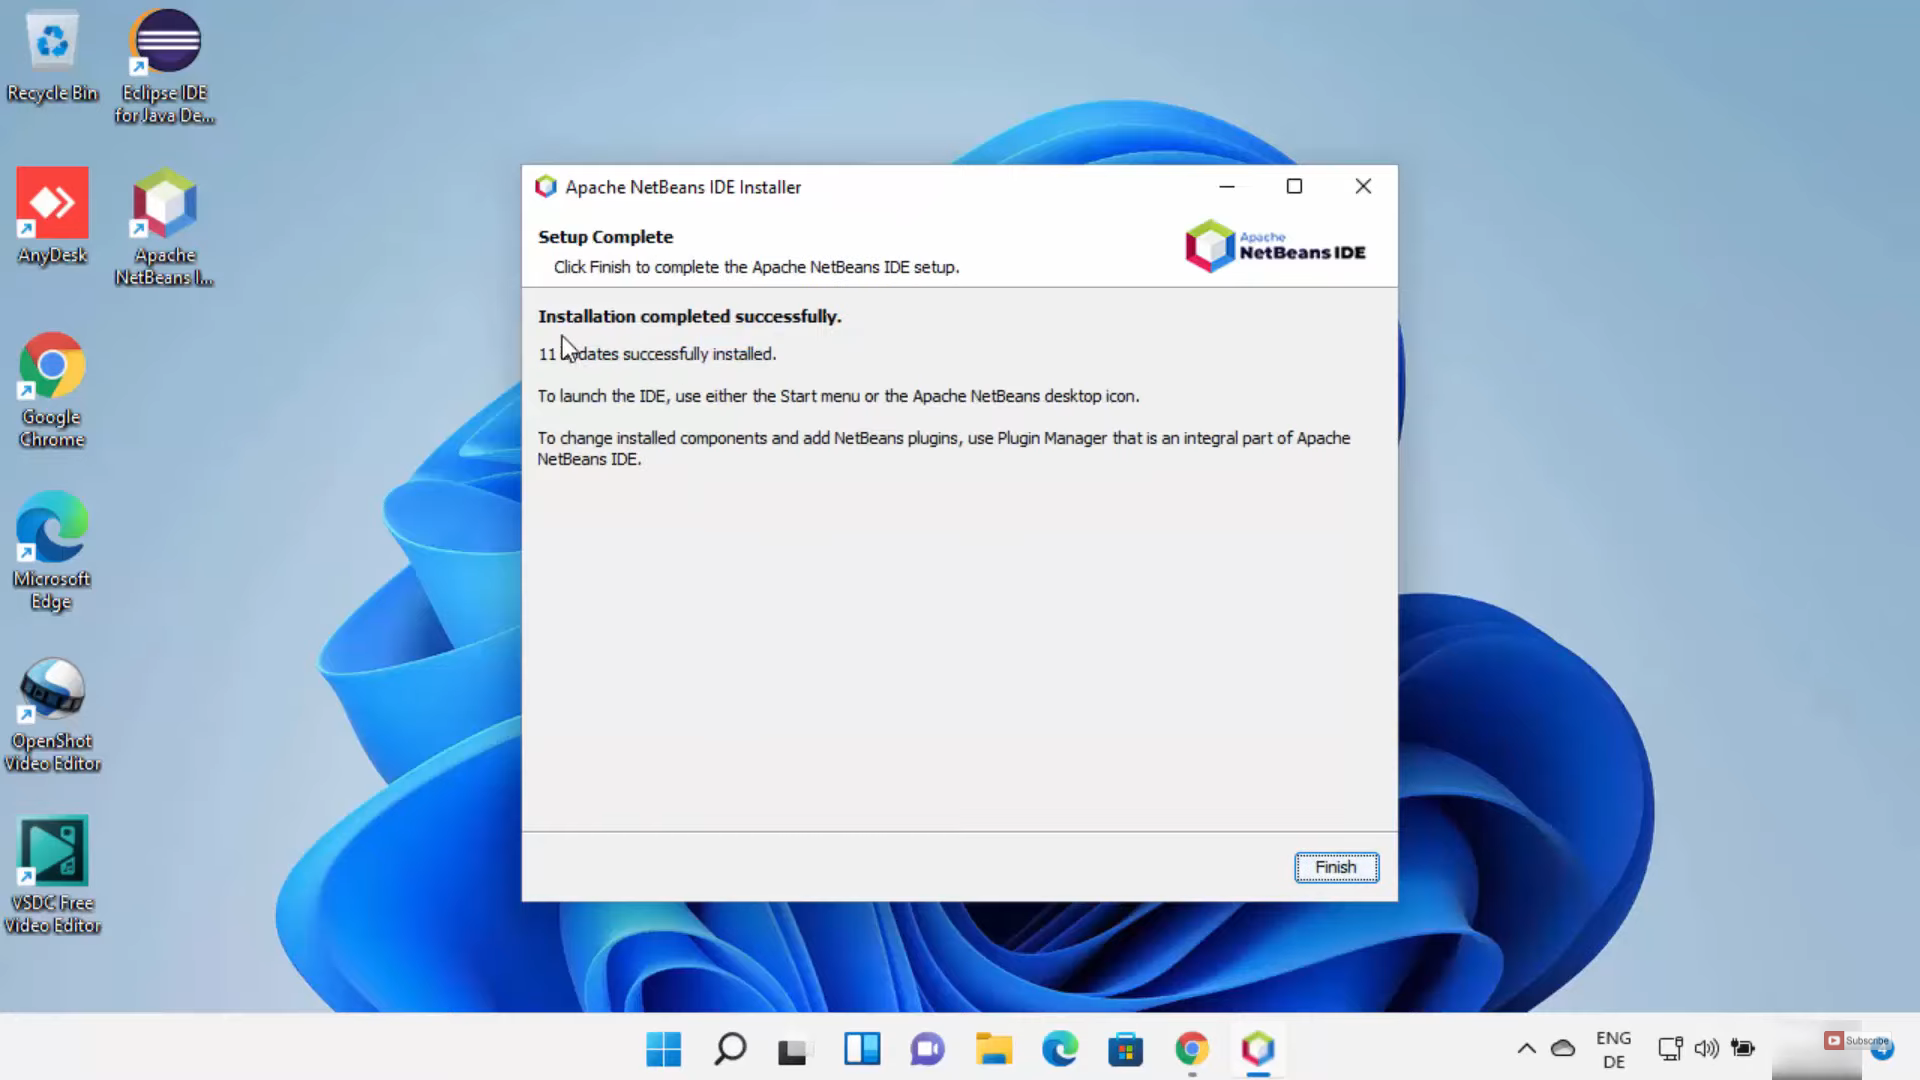
25. It will start the installation process. Once the installation is completed, you will be able to see the shortcut icon. In this window, click on Finish.
26. Click on the shortcut icon. Now, it has been launched. I am going to create a java project. For that click on the file and click on New project.

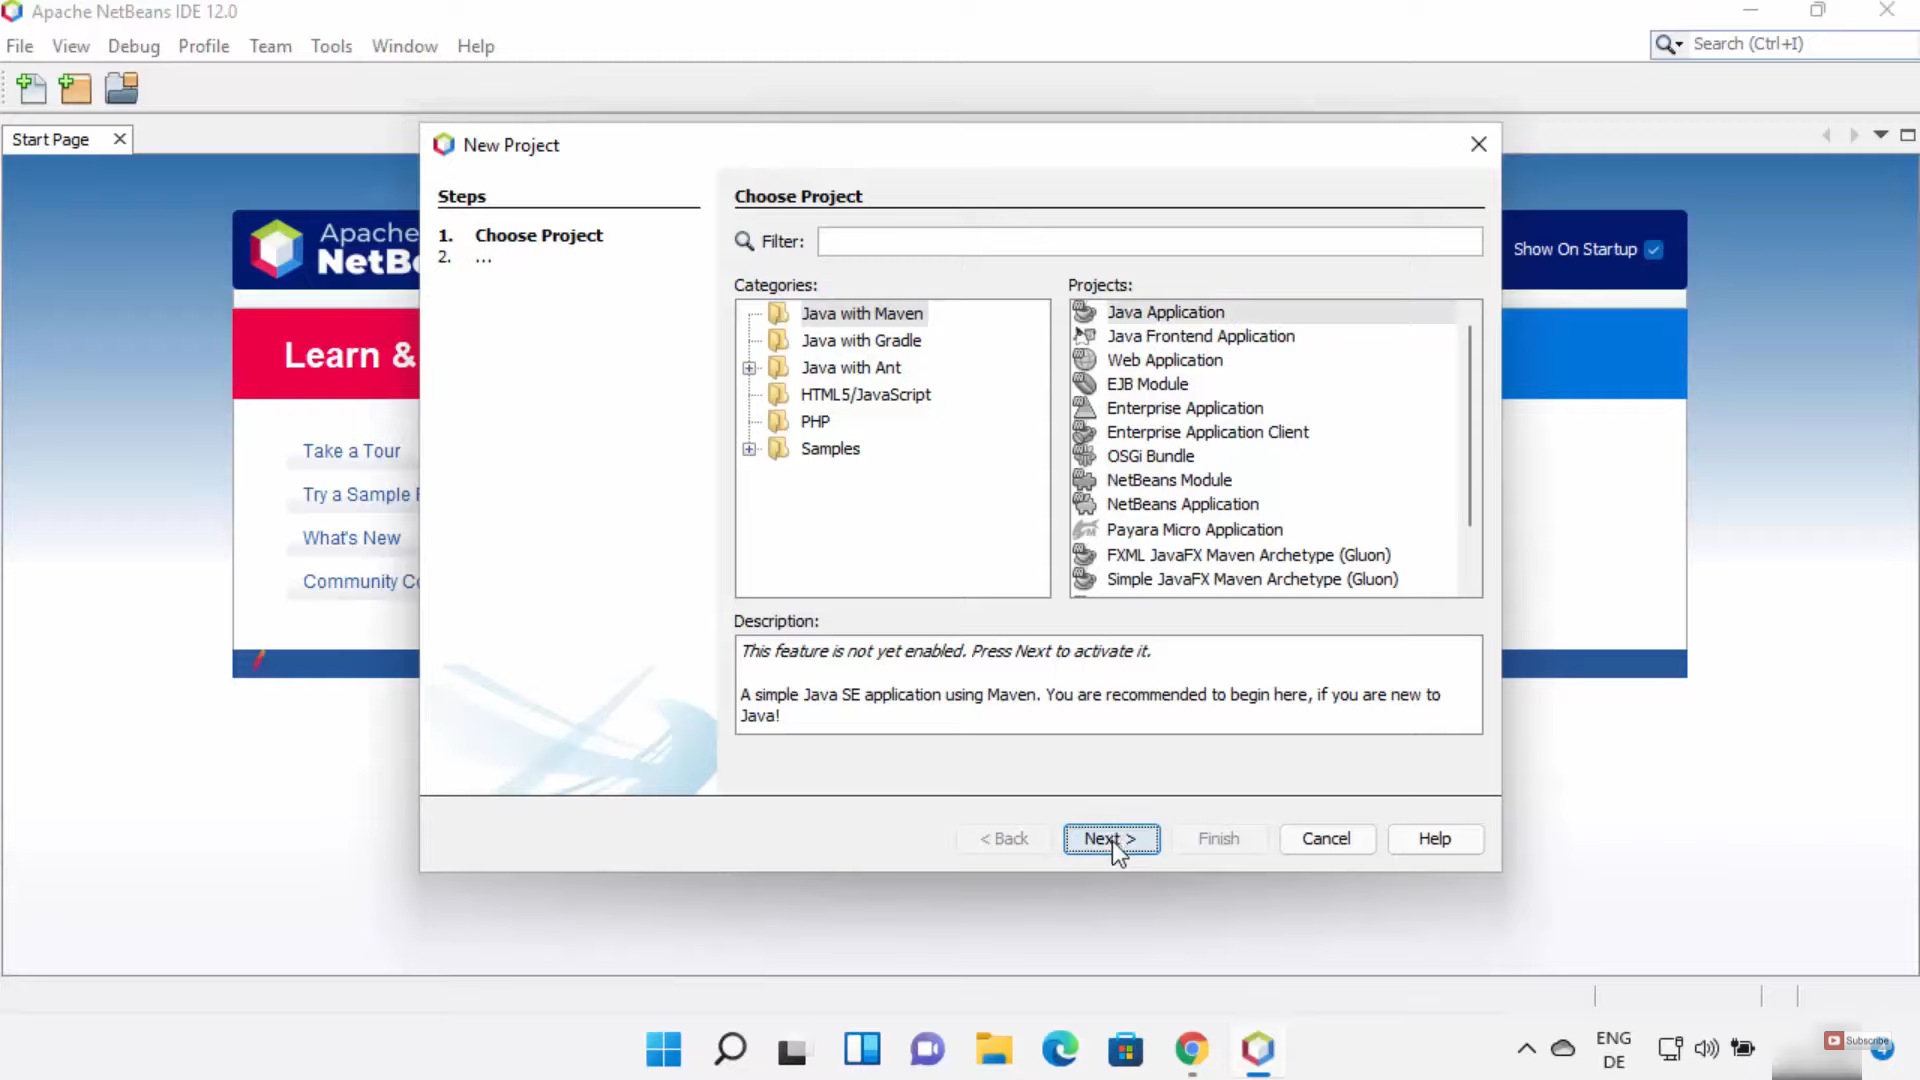
27. From here, I can choose any one of the options. I am going to select Java with maven. Under projects, I am going to select Java application. Then, click on Next.
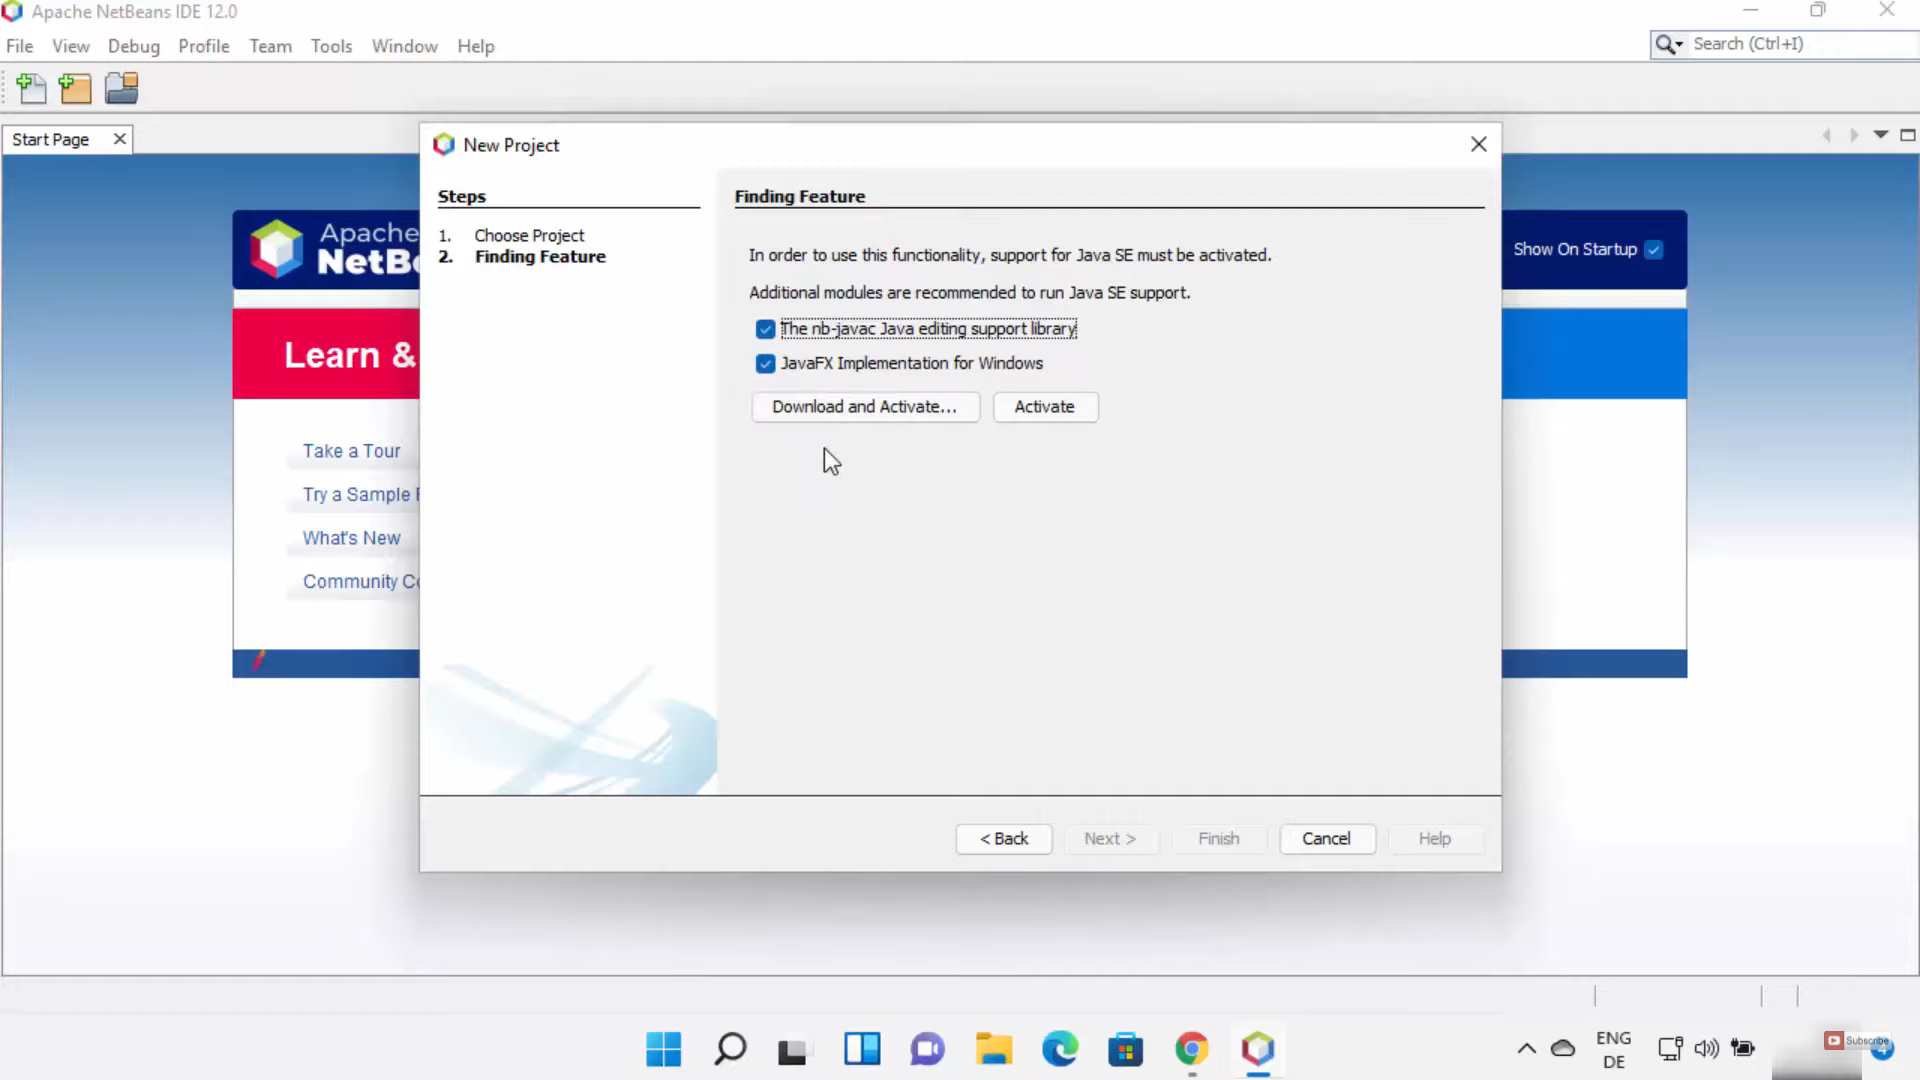
28. In the next window, I am going to check both the checkboxes. Then, click on Download and Activate.
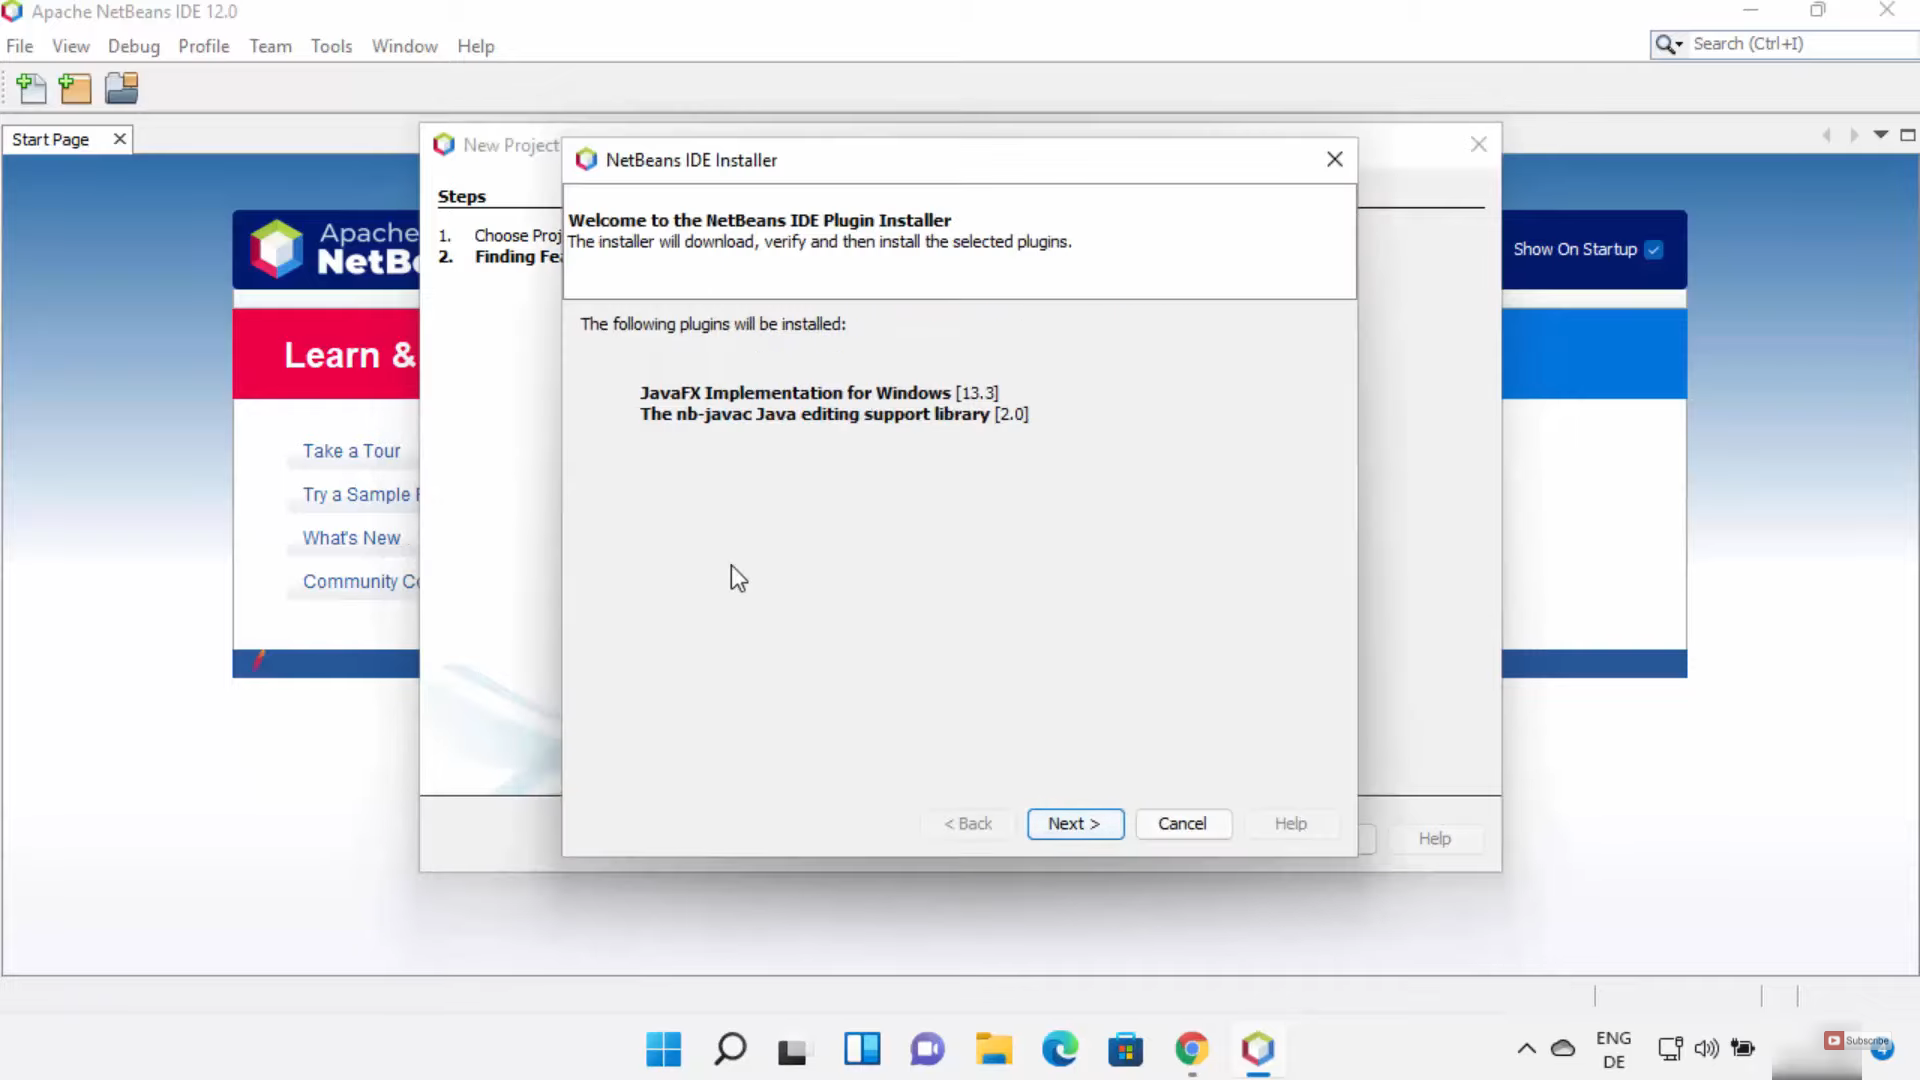
29. In this window, click on Next.
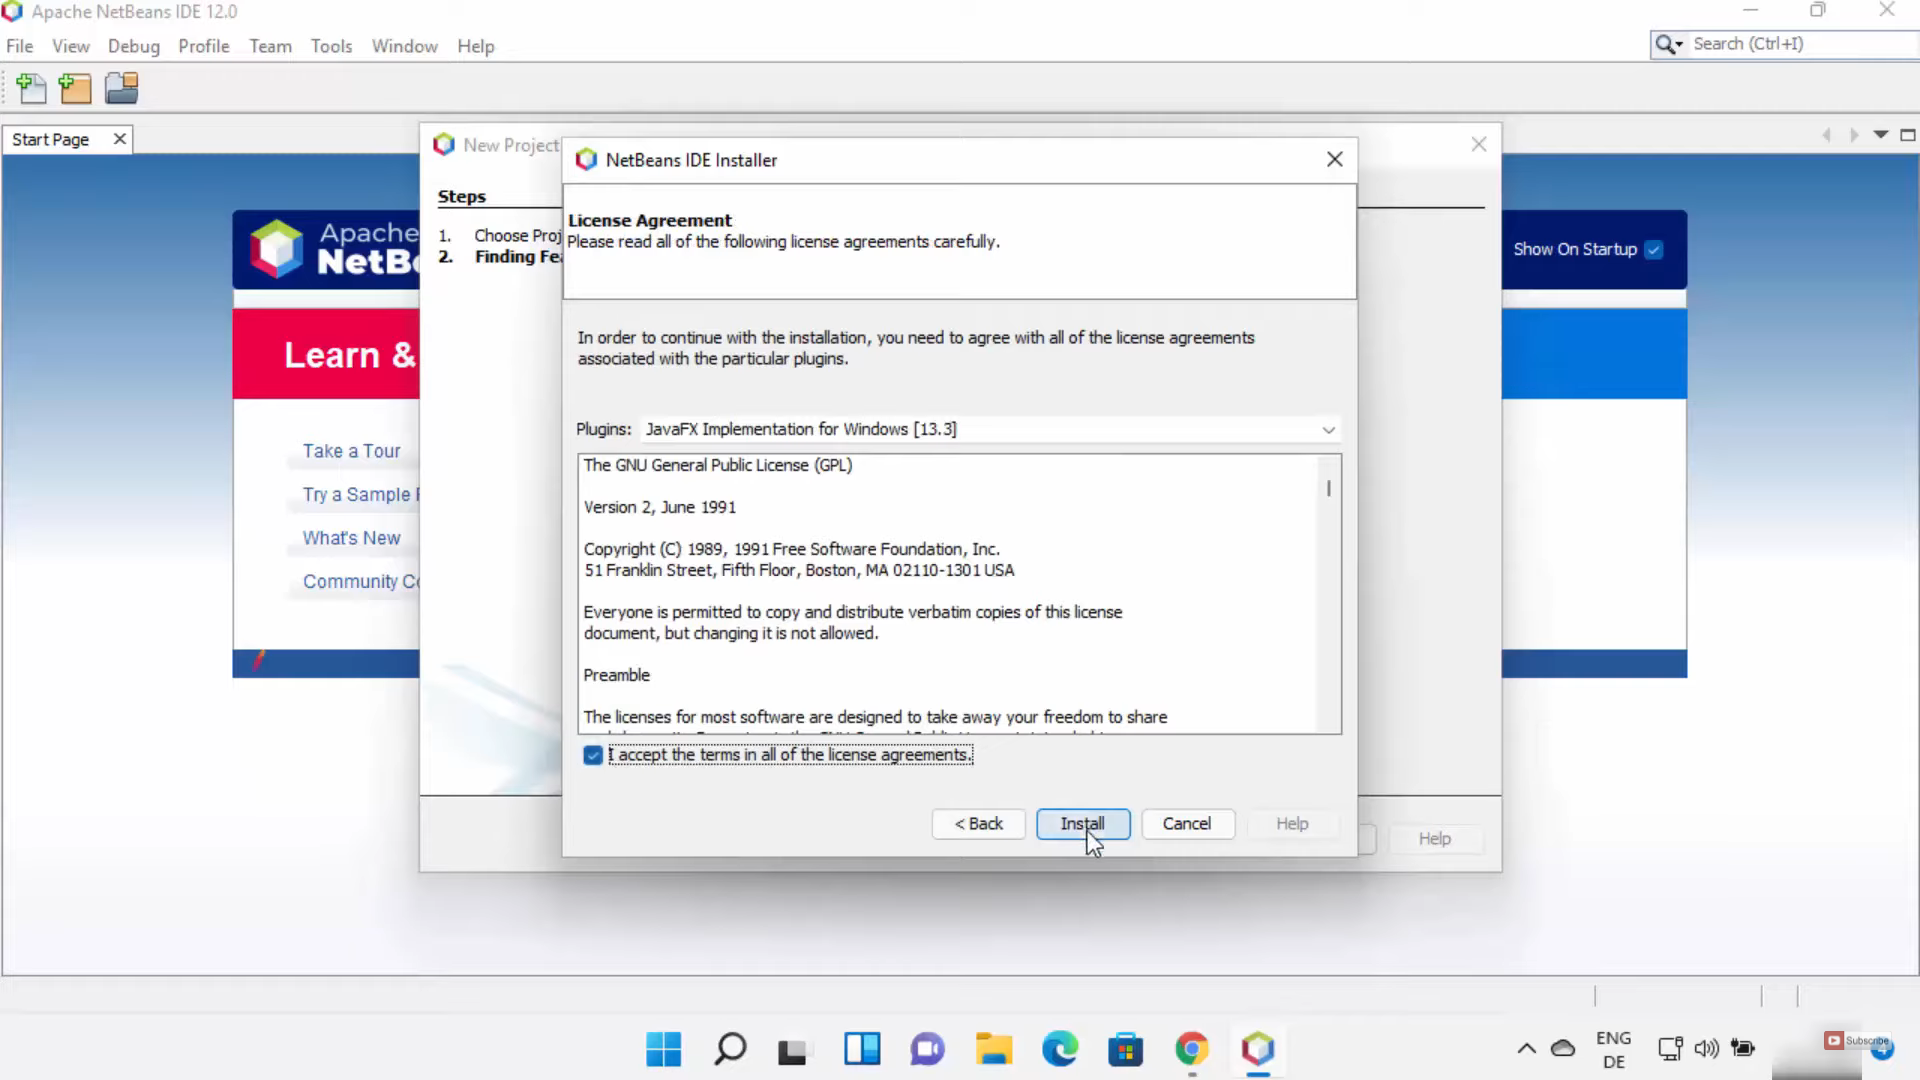
30. In the license agreement, you need to accept the agreement and click on Install.
31. Once it has been completed, click on Finish. Now, Netbeans will activate Java SE support.

32. In the next window, you can provide the project name. Since I am going to create a simple java project, I am going to leave everything as default.

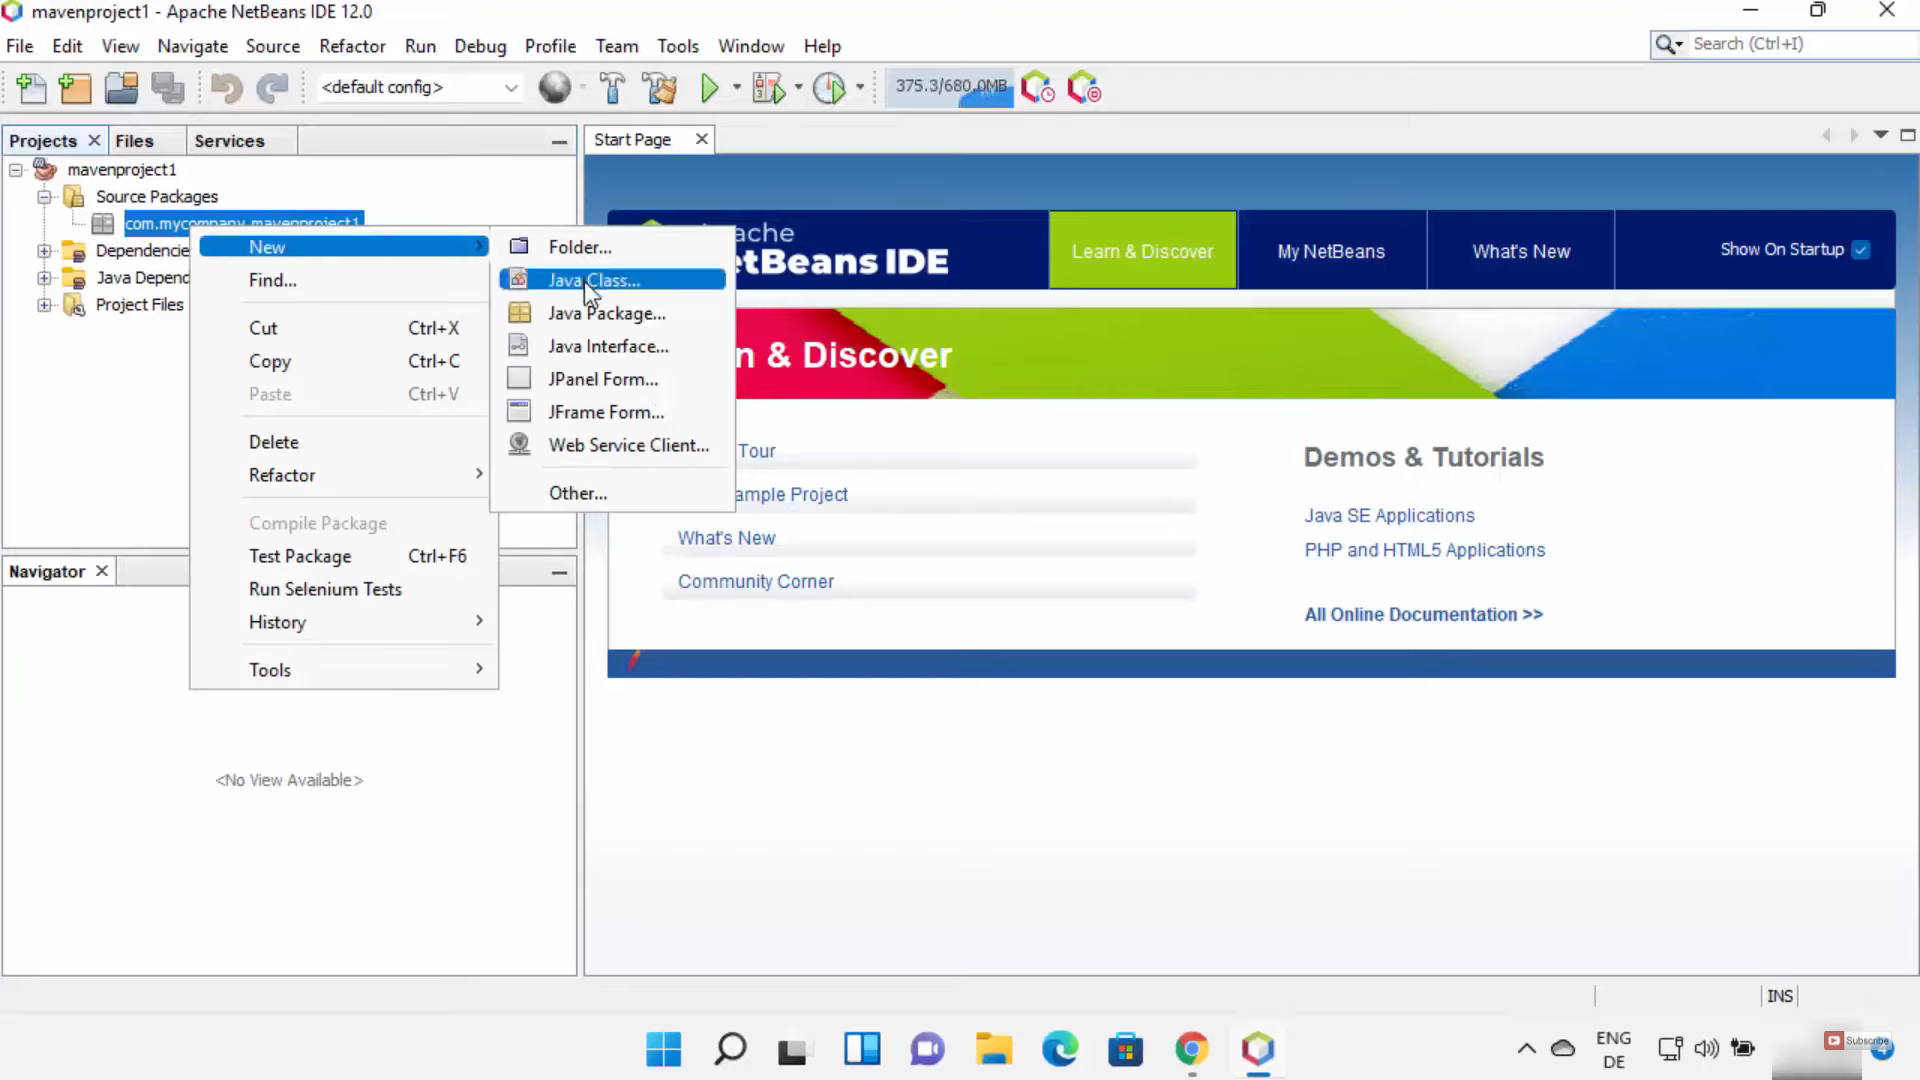
33. Now, the project has been created. When I expand this, I can see 4 folders. I am going to choose source packages. Right-click and click on new and click on Java class.
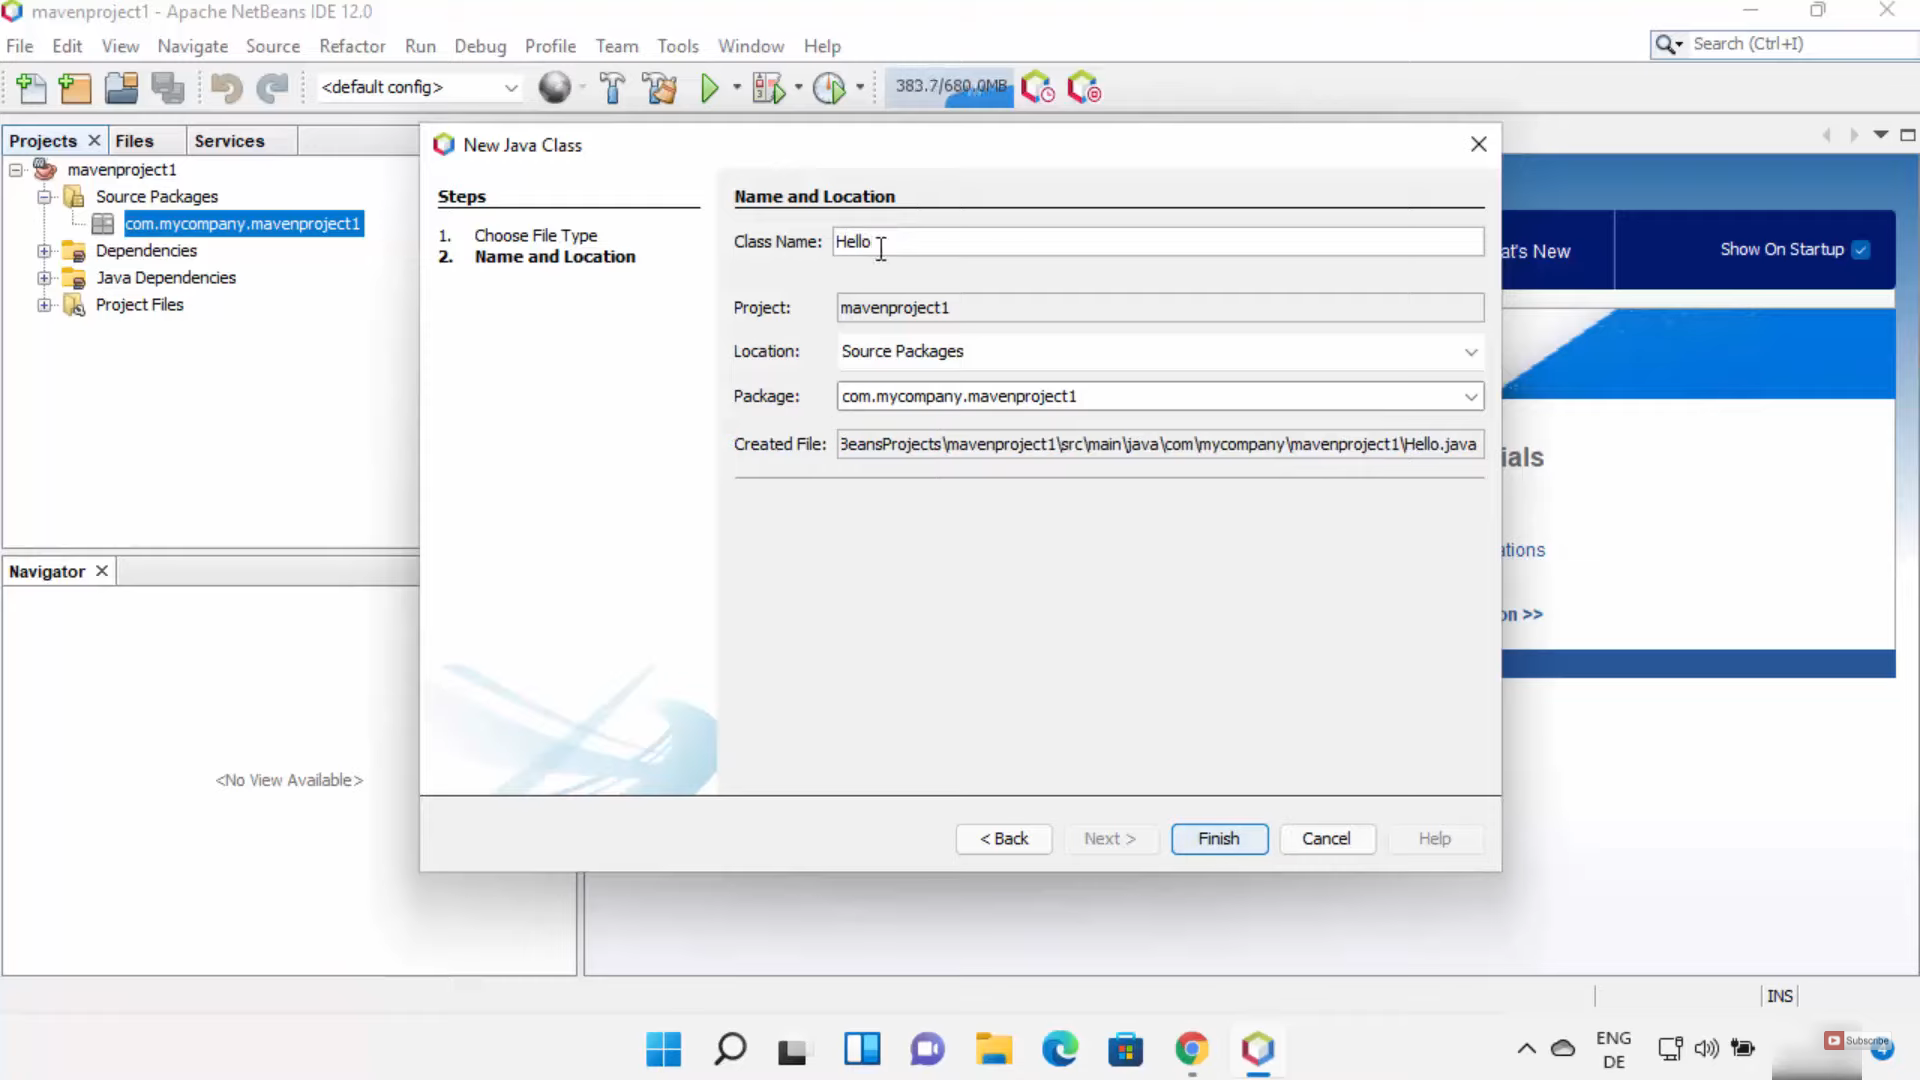
34. Here, you can give the name for the java class. Click on finish.
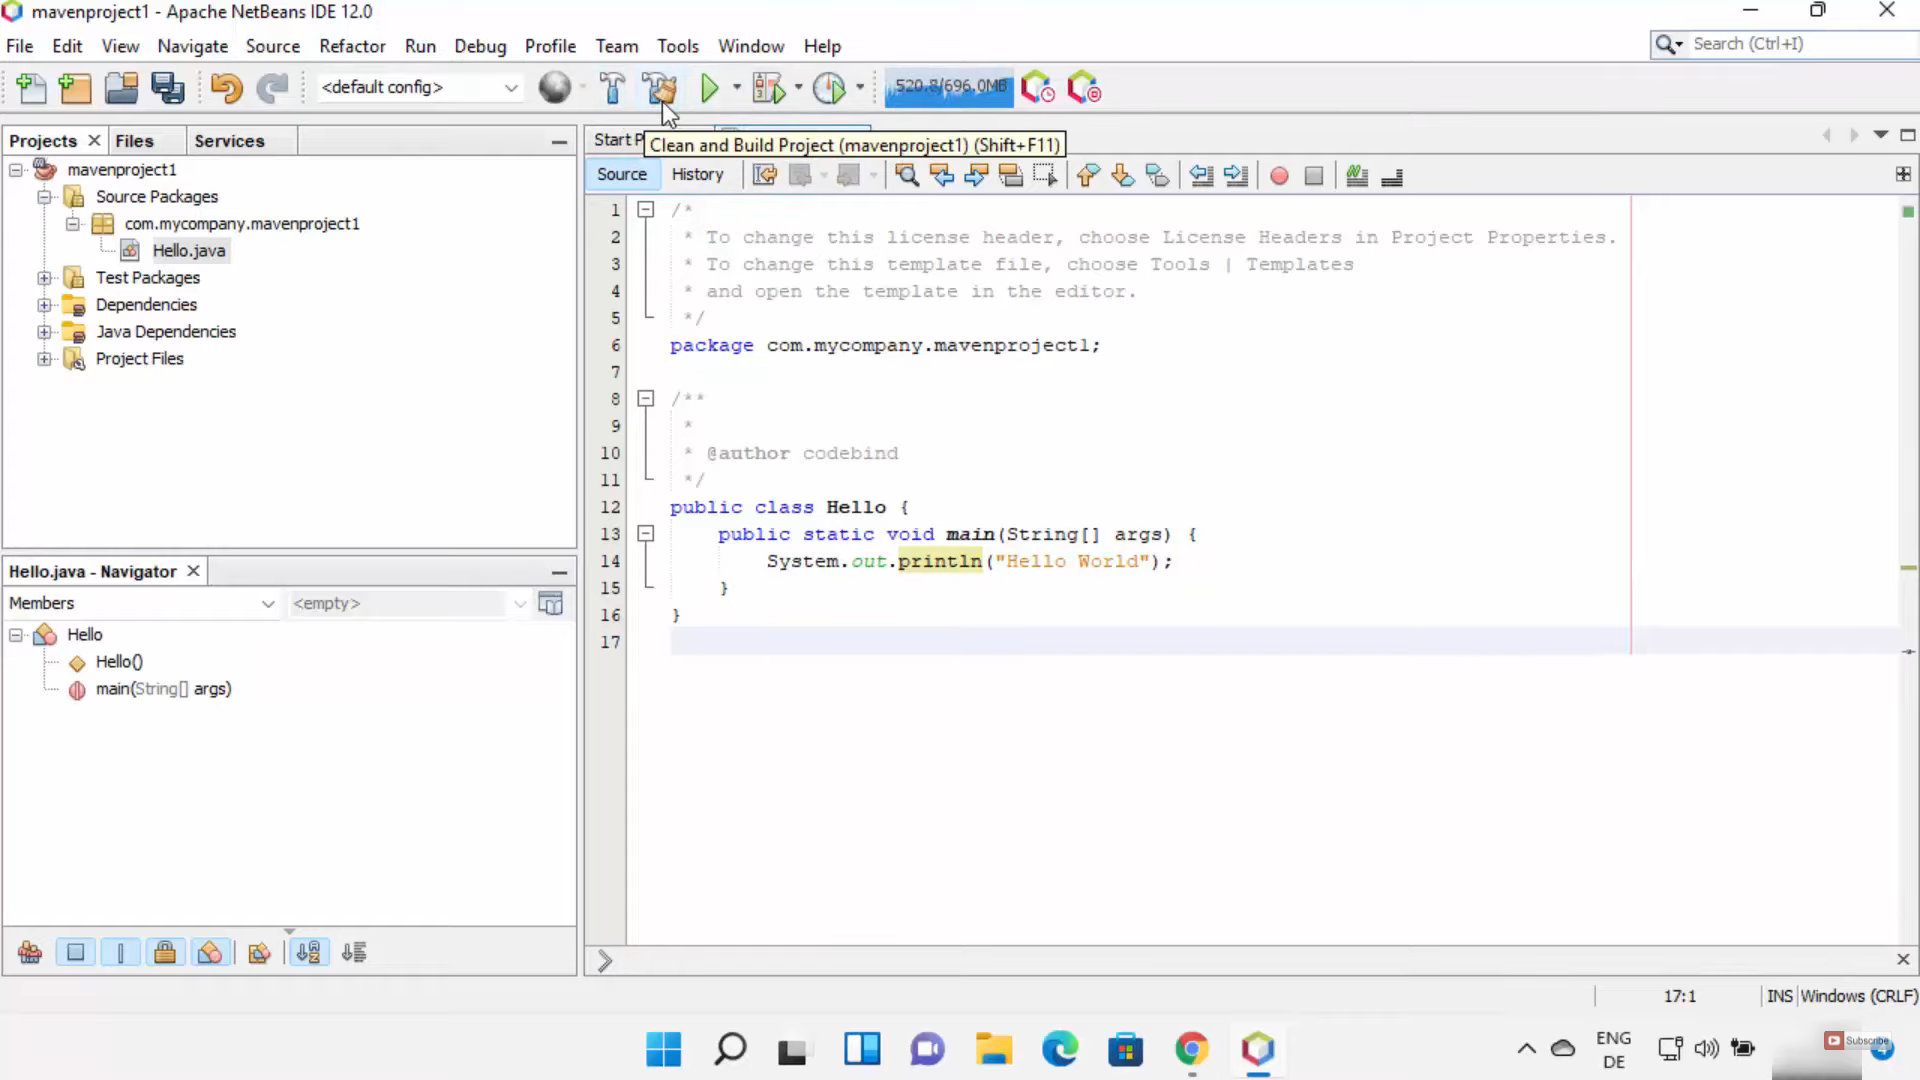
35. The file has been created. Under public class, type psvm and press ctrl space. Click on that, it will create a public static void main method. Now, write System.out.println(“Hello World”); and can run or build the project. I am going to click on build the project. Since I have created a maven project, it will download some packages.
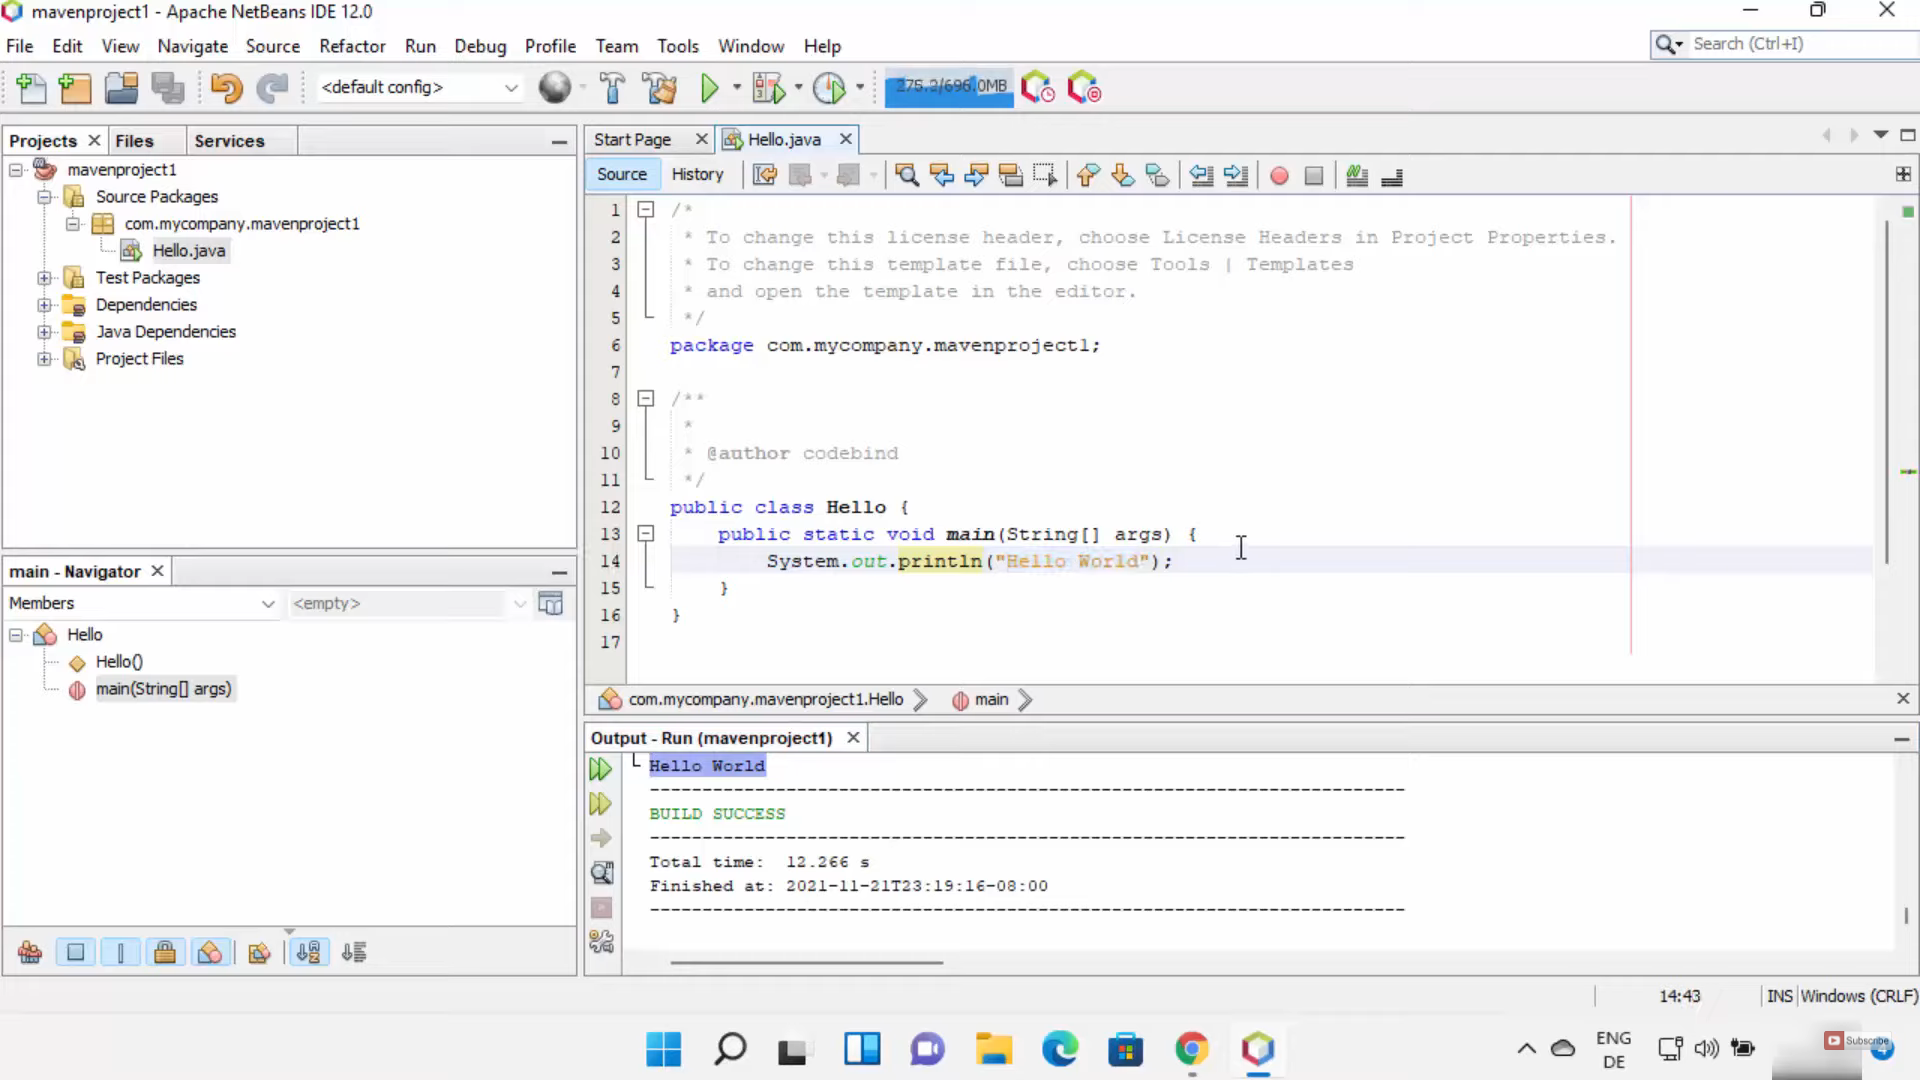
36. Once the build is successful, you will be able to see a build success message. Then, click on the Run button. Click on Select main class.

37. Then, you will be able to see the Hello World message.
These are the steps for installing the NetBeans IDE and Java JDK on your Windows 11 Operating System.
Leave a Reply