
In this blog post, I will give a detailed view of installing and setting up OpenVPN on your Windows 11 Operating System.
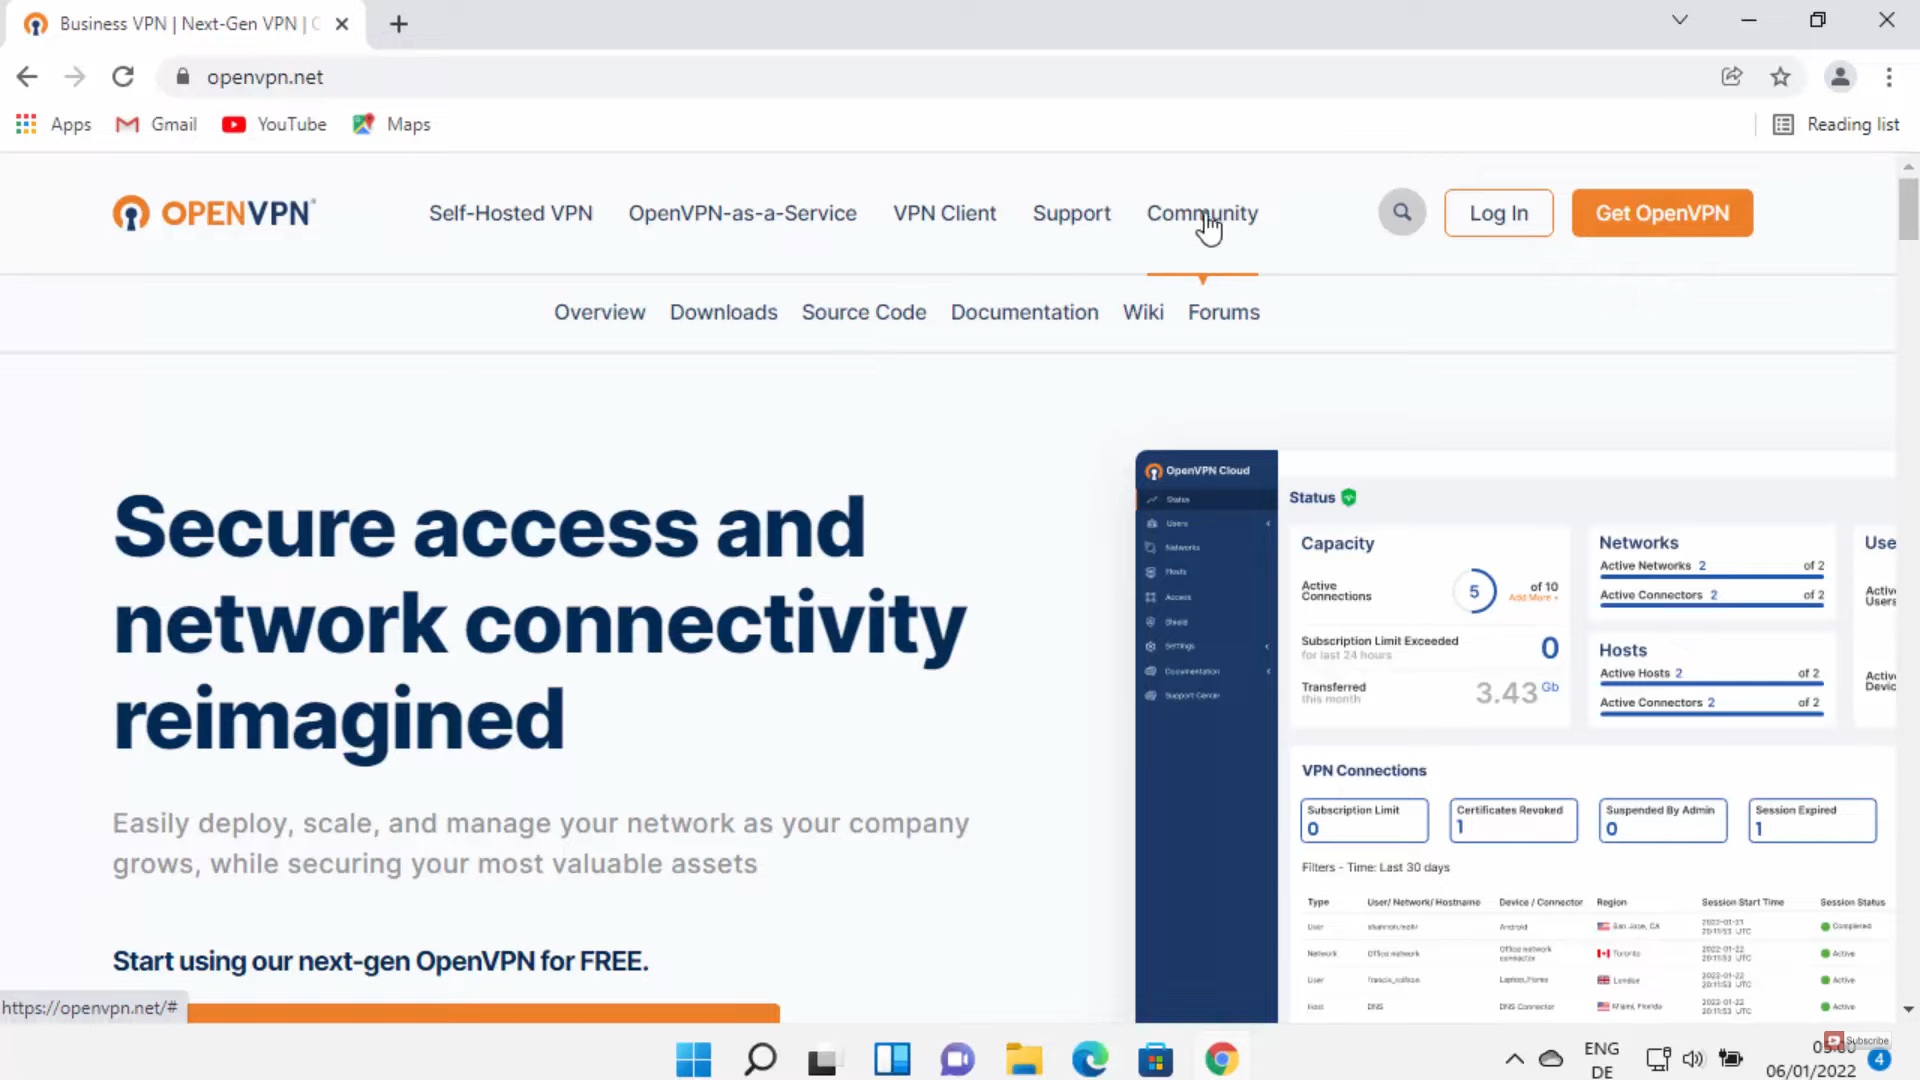
1. Open a web browser of your choice and search for OpenVPN. Click on the first link.

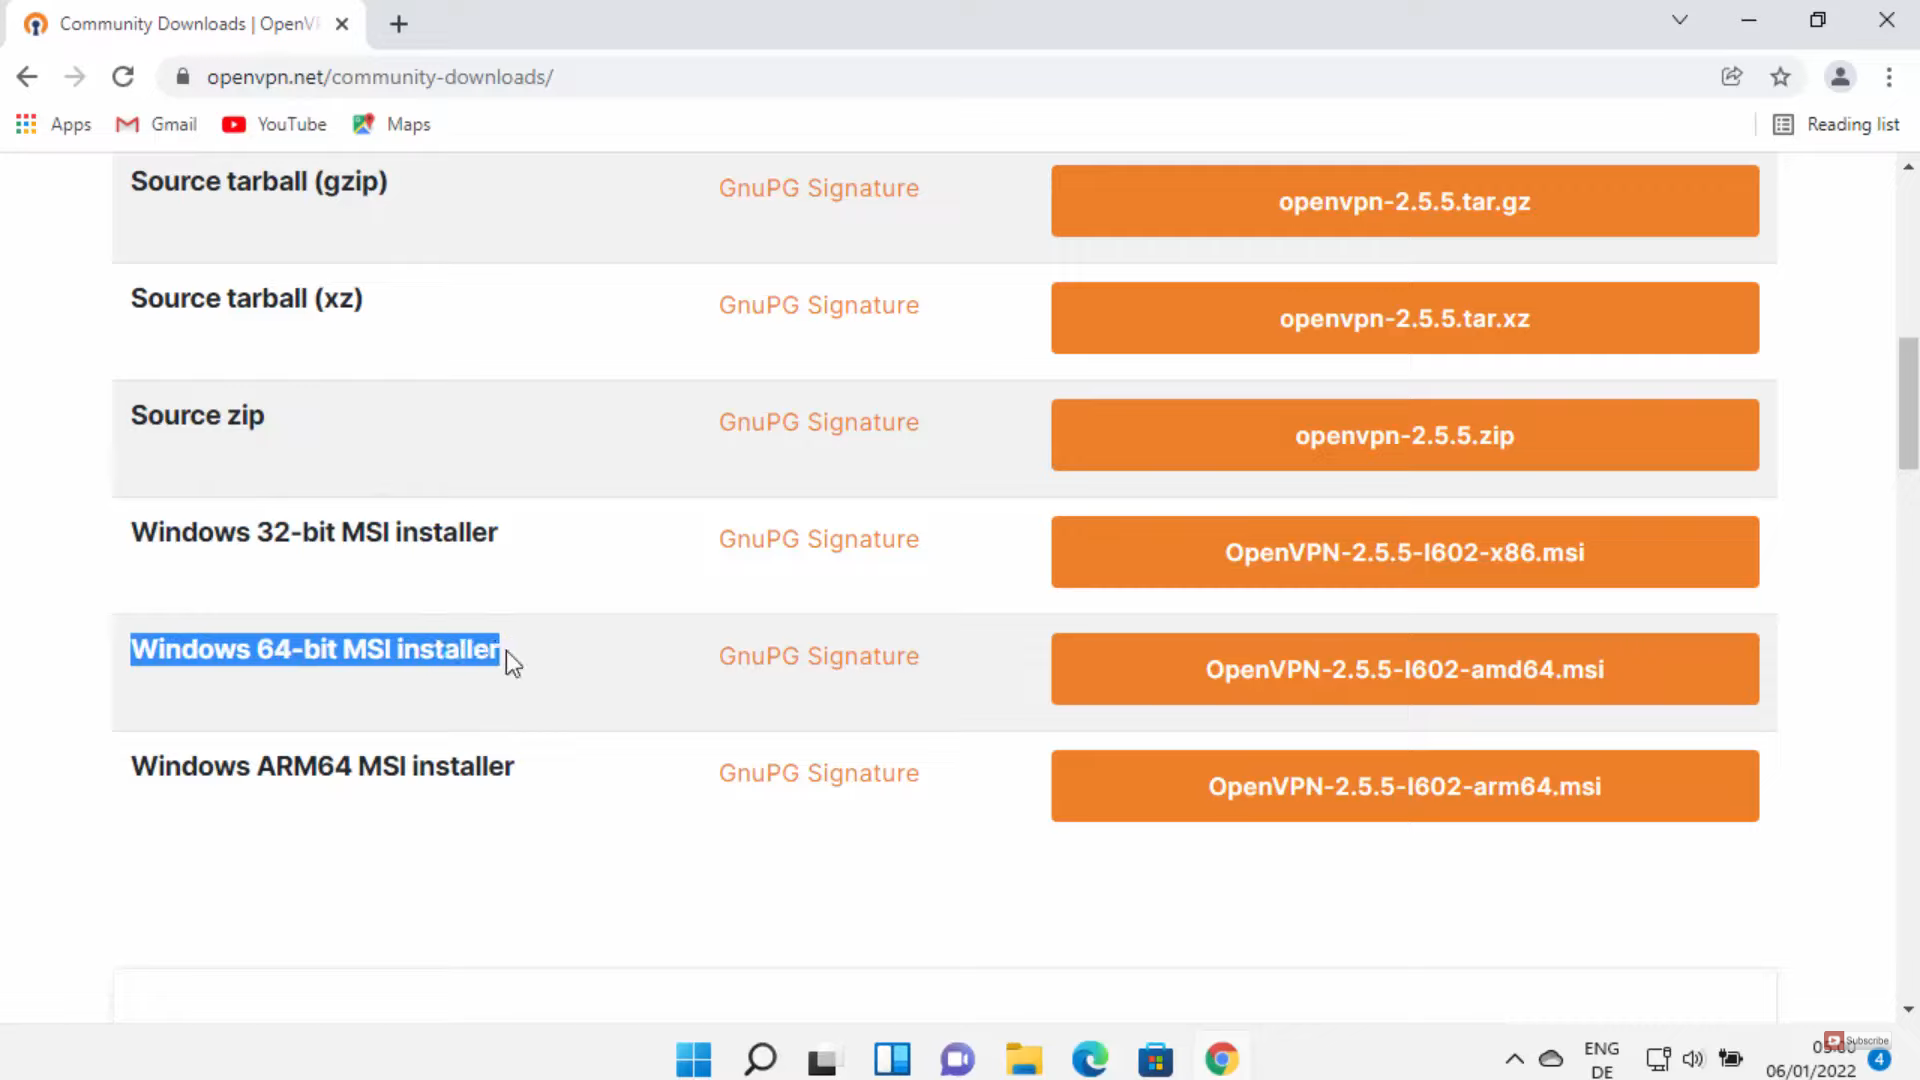
2. Once the link opens, hover over the community tab and click on the downloads option.
3. It will redirect you to another page. When you scroll down, you will be able to see the 64-bit installer. Click on that option. It will start to download.
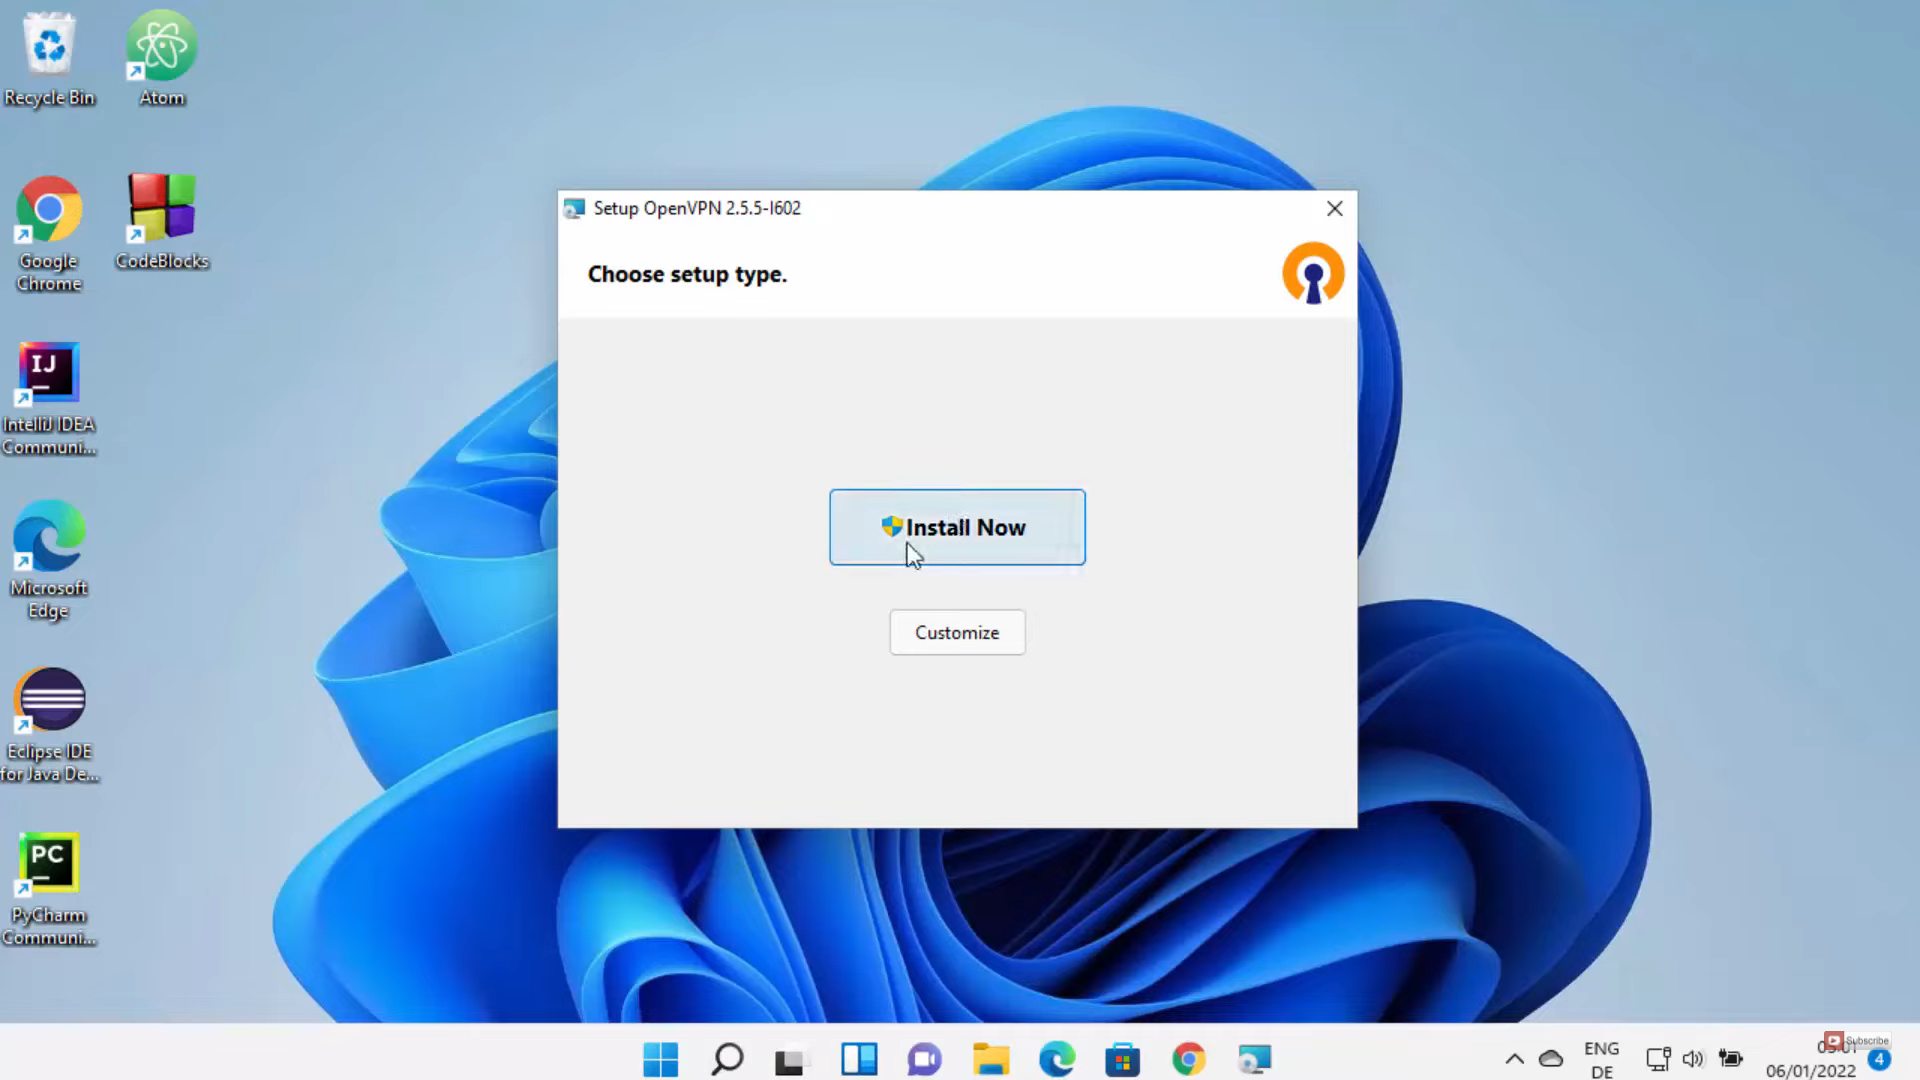
4. Once the MSI file is downloaded, click on that file and minimize the browser. Once the setup window opens, click on Install now button.
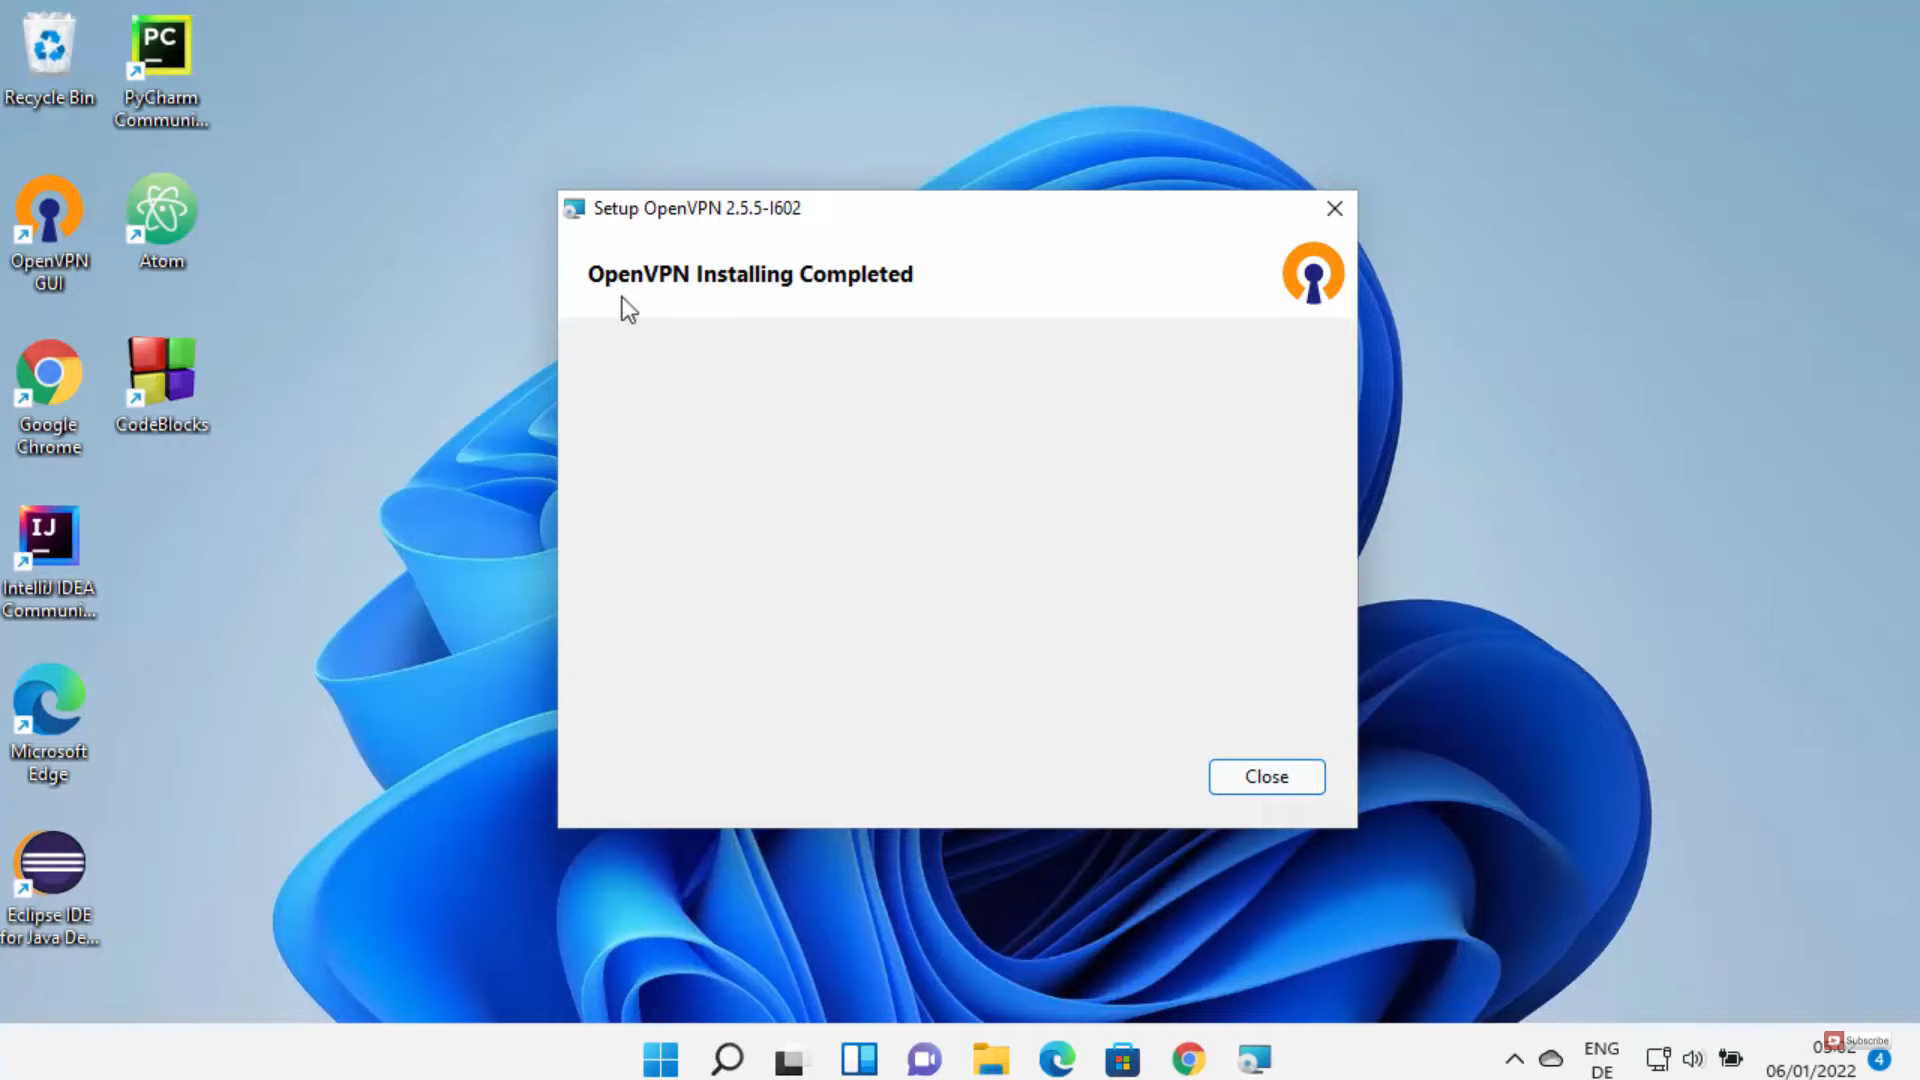
5. It will show a warning in between. Click on yes. Once the installation is completed, click on close. You can see the shortcut icon on the desktop. When you click on the start icon, you can search for OpenVPN and it will appear in the search result.

6. Immediately after the installation, it will show a message. Note down the 2 paths in that message. You might need them in the future. Click on Ok.
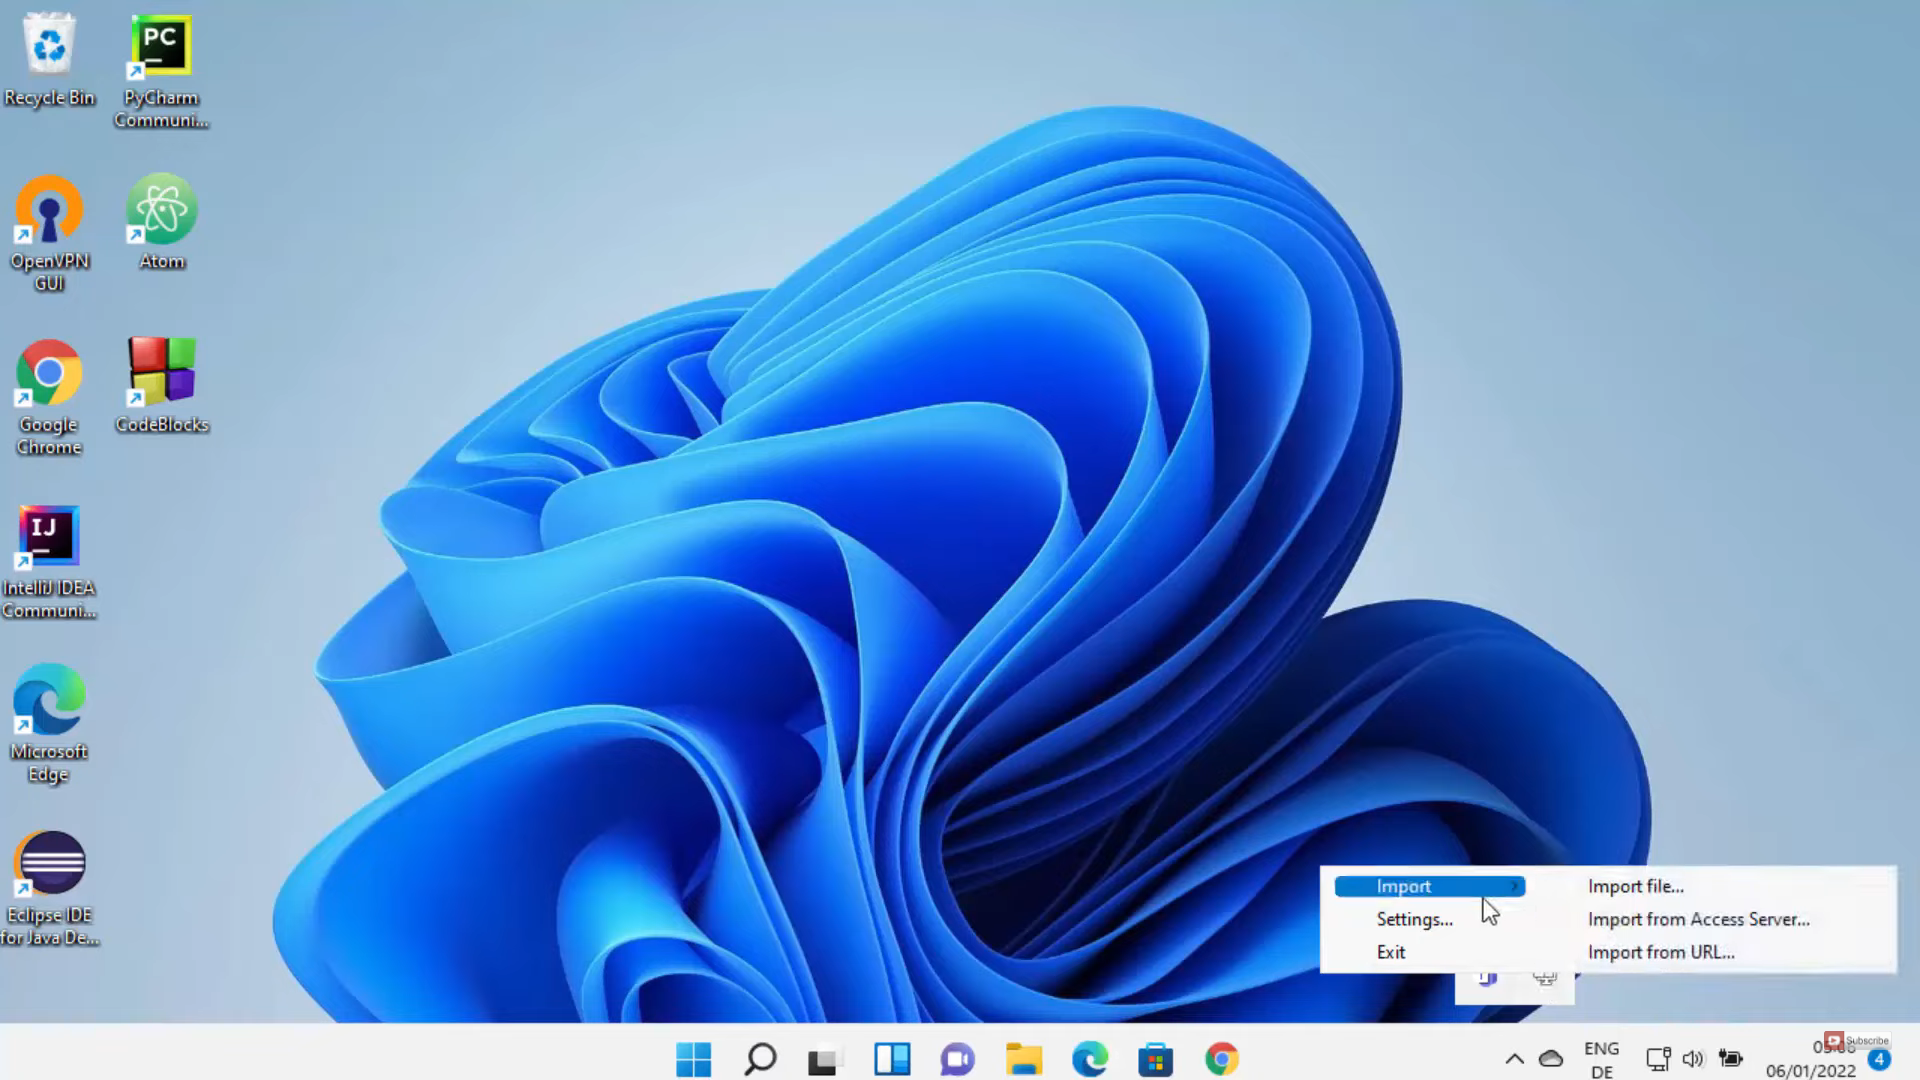
7. Click on the OpenVPN icon in the taskbar. Right-click on that icon, hover over import, and click on import file. If you have a file provided to you by your company or your friend for OpenVPN, you can use that. If you don’t have any files, then there are many websites available to test OpenVPN.
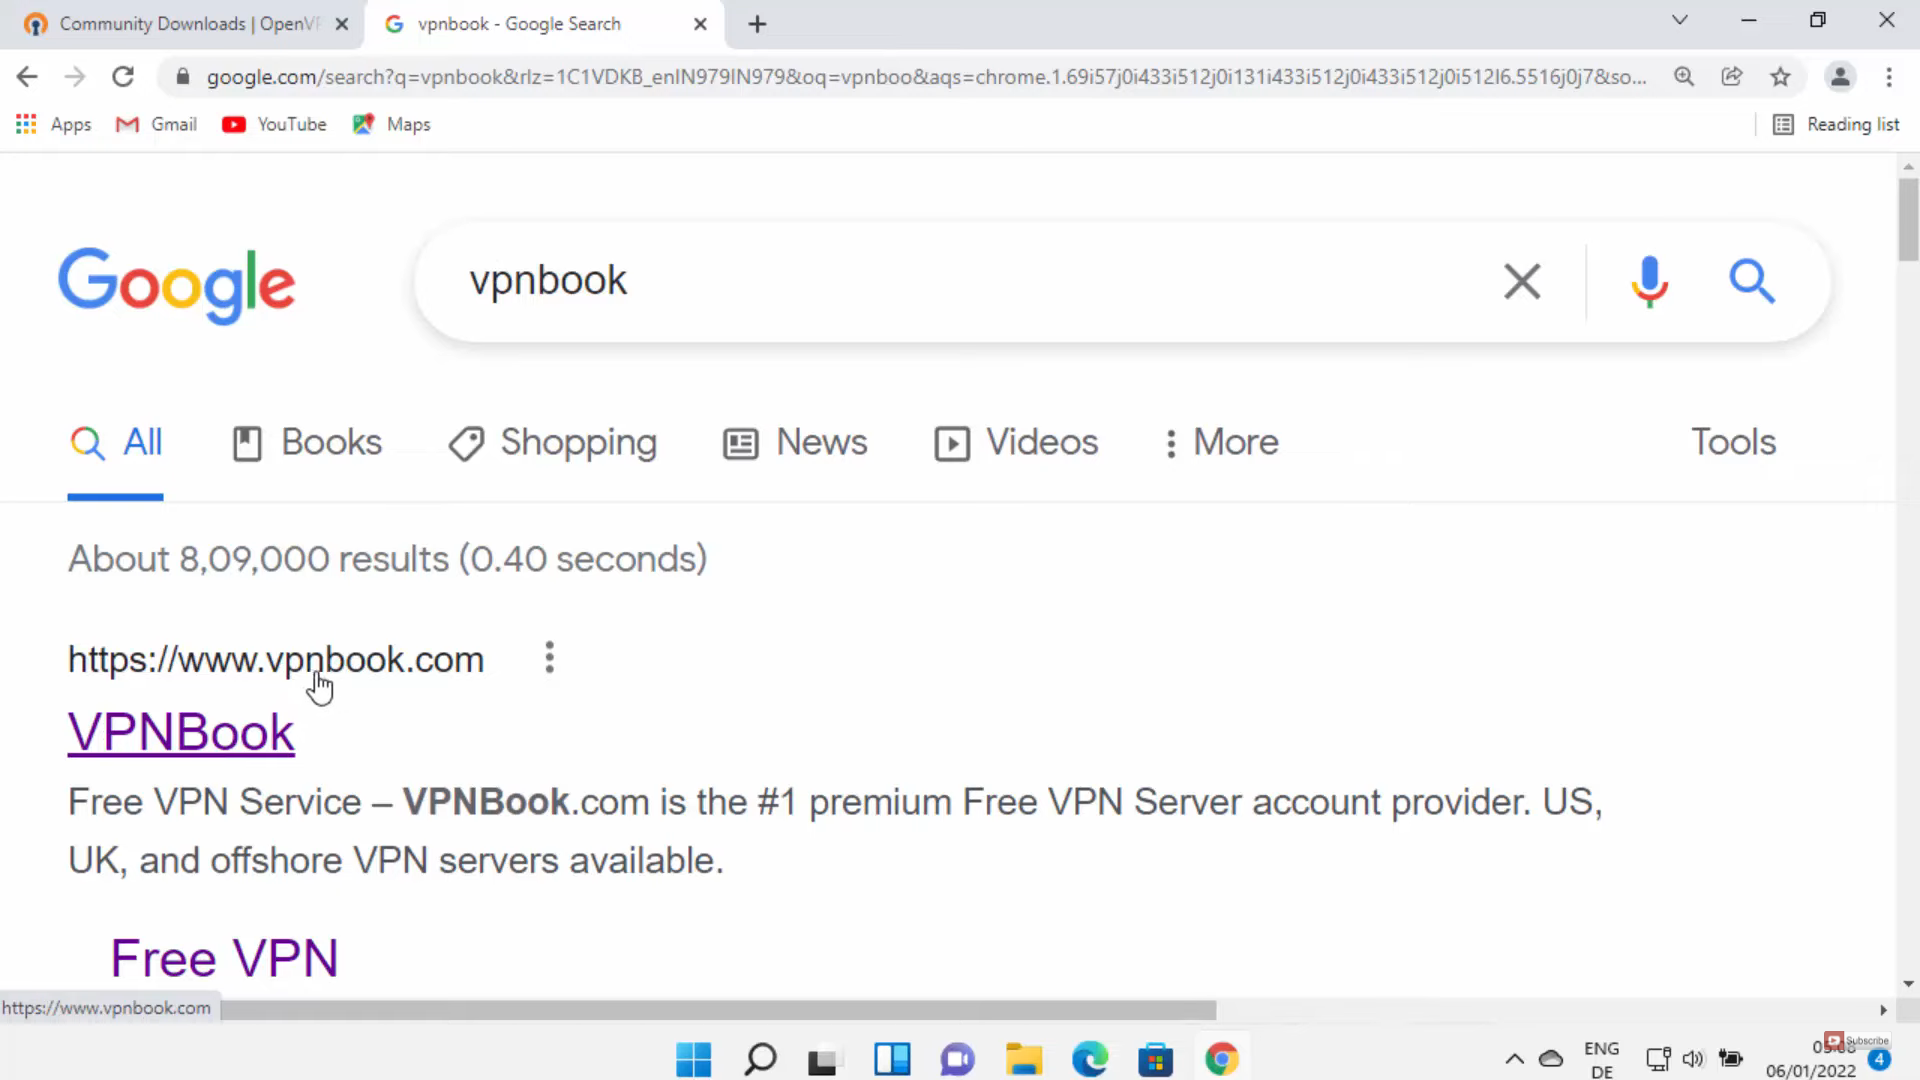
8. I use vpnbook which is a free VPN service. Open a web browser of your choice and search for vpnbook. Click on the first link.
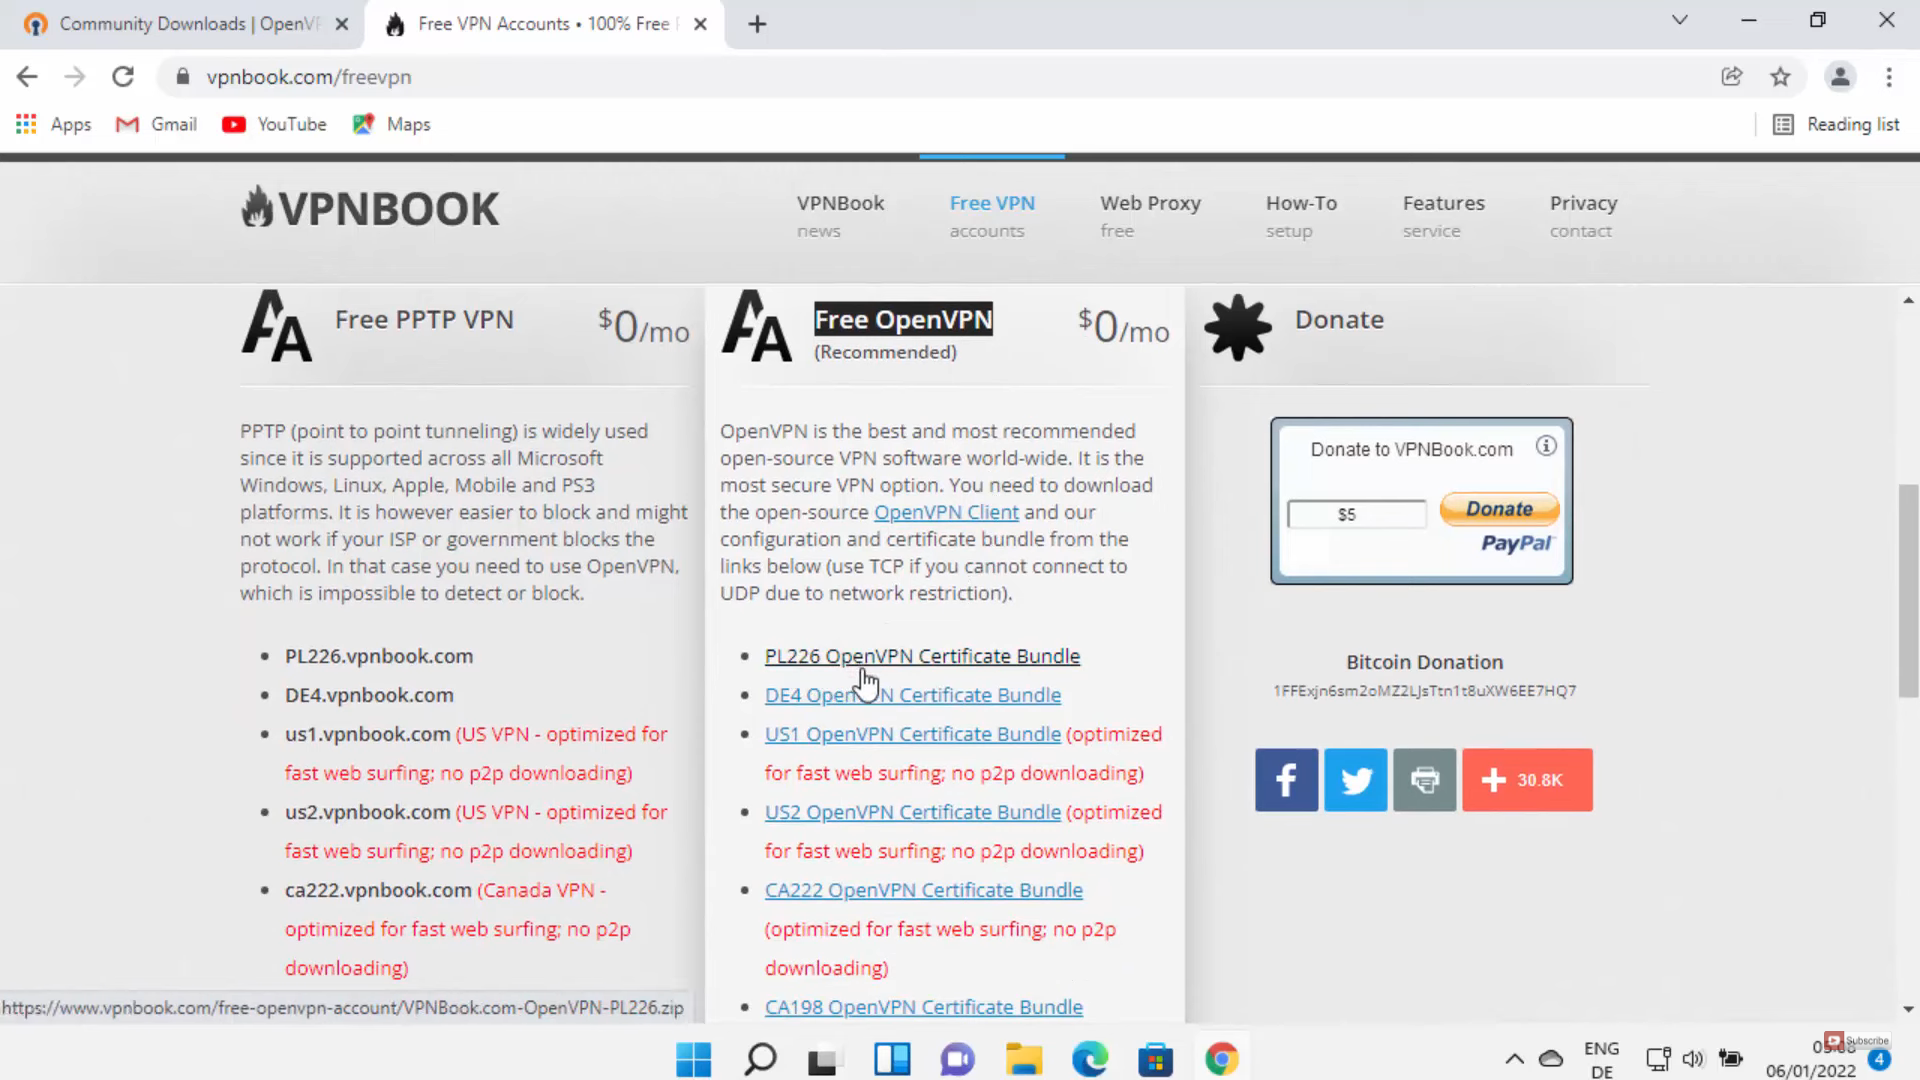
9. Once the link opens, click on the Free VPN tab. Scroll down and you will be able to see the second section. From here, you can download the VPN bundle file for different regions. For testing, you can select any of these bundles. I am going to select the third option. It will download a zip file.

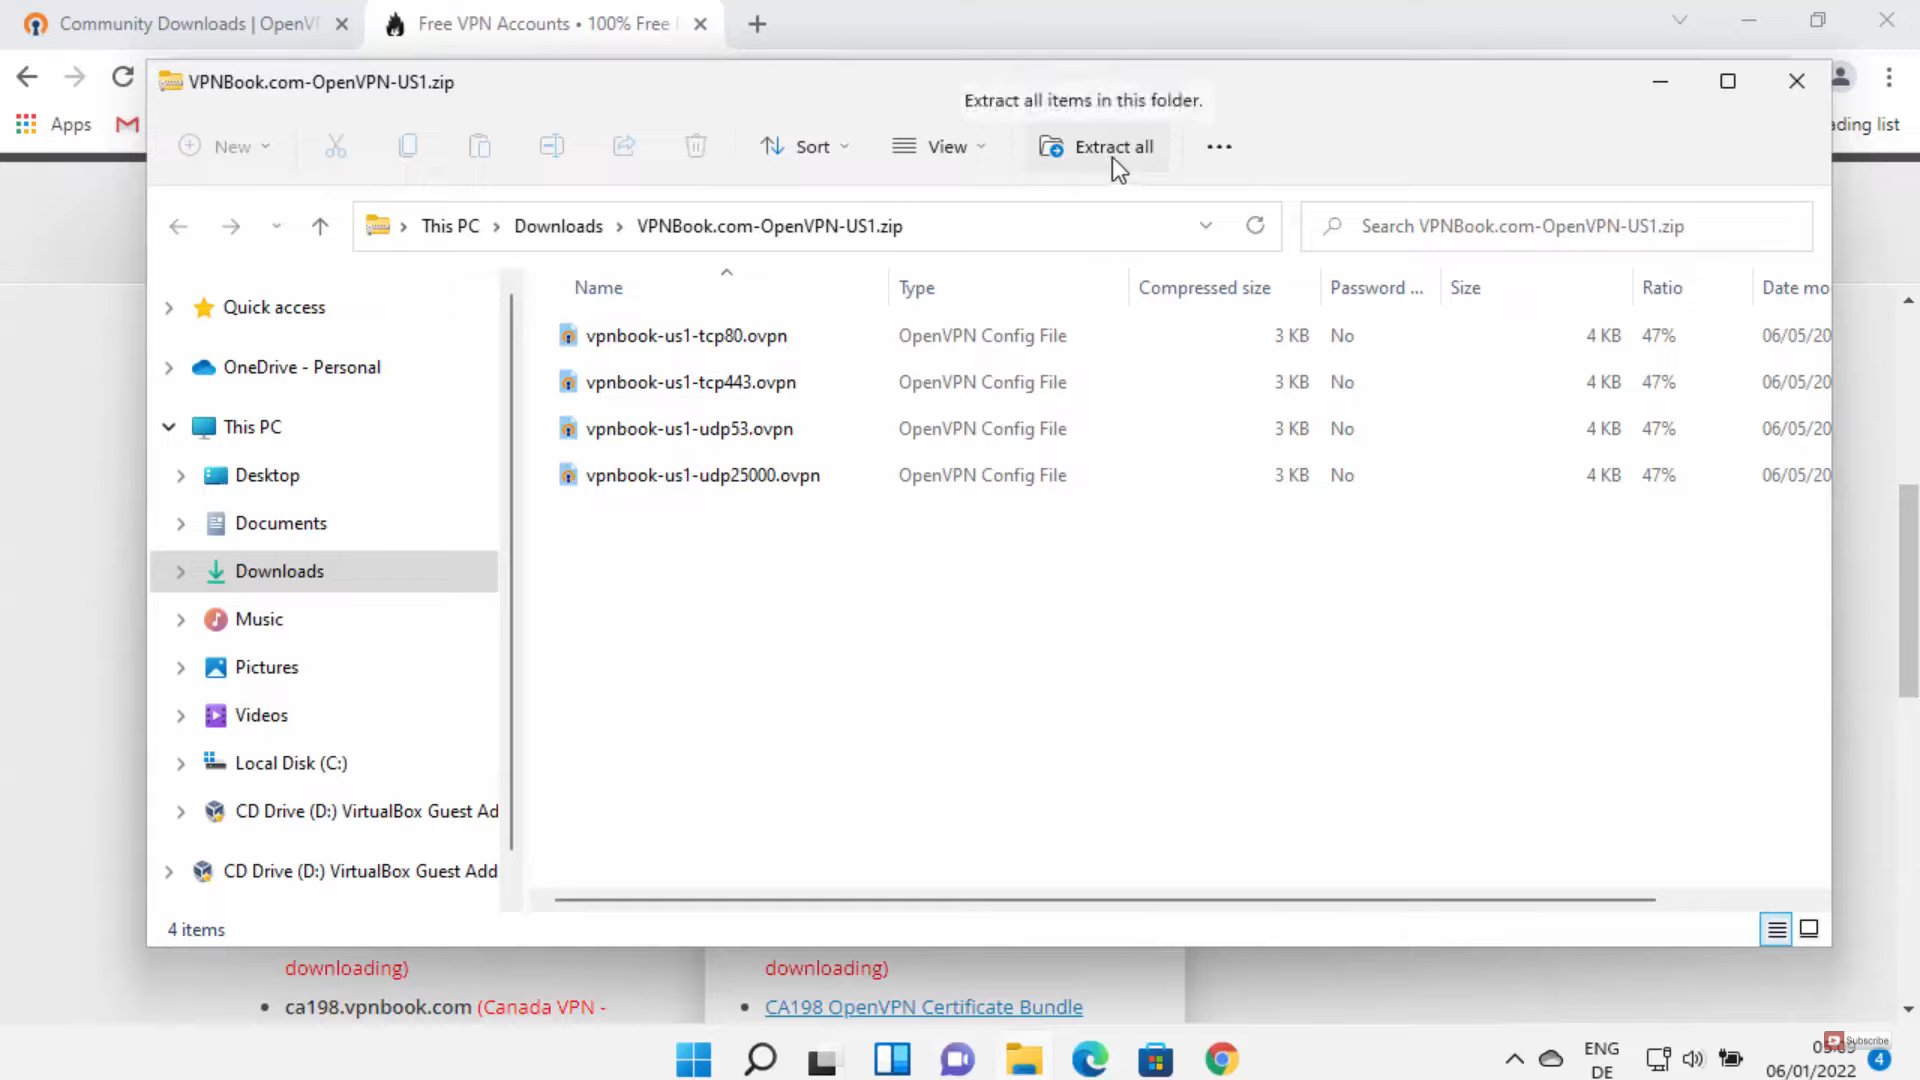
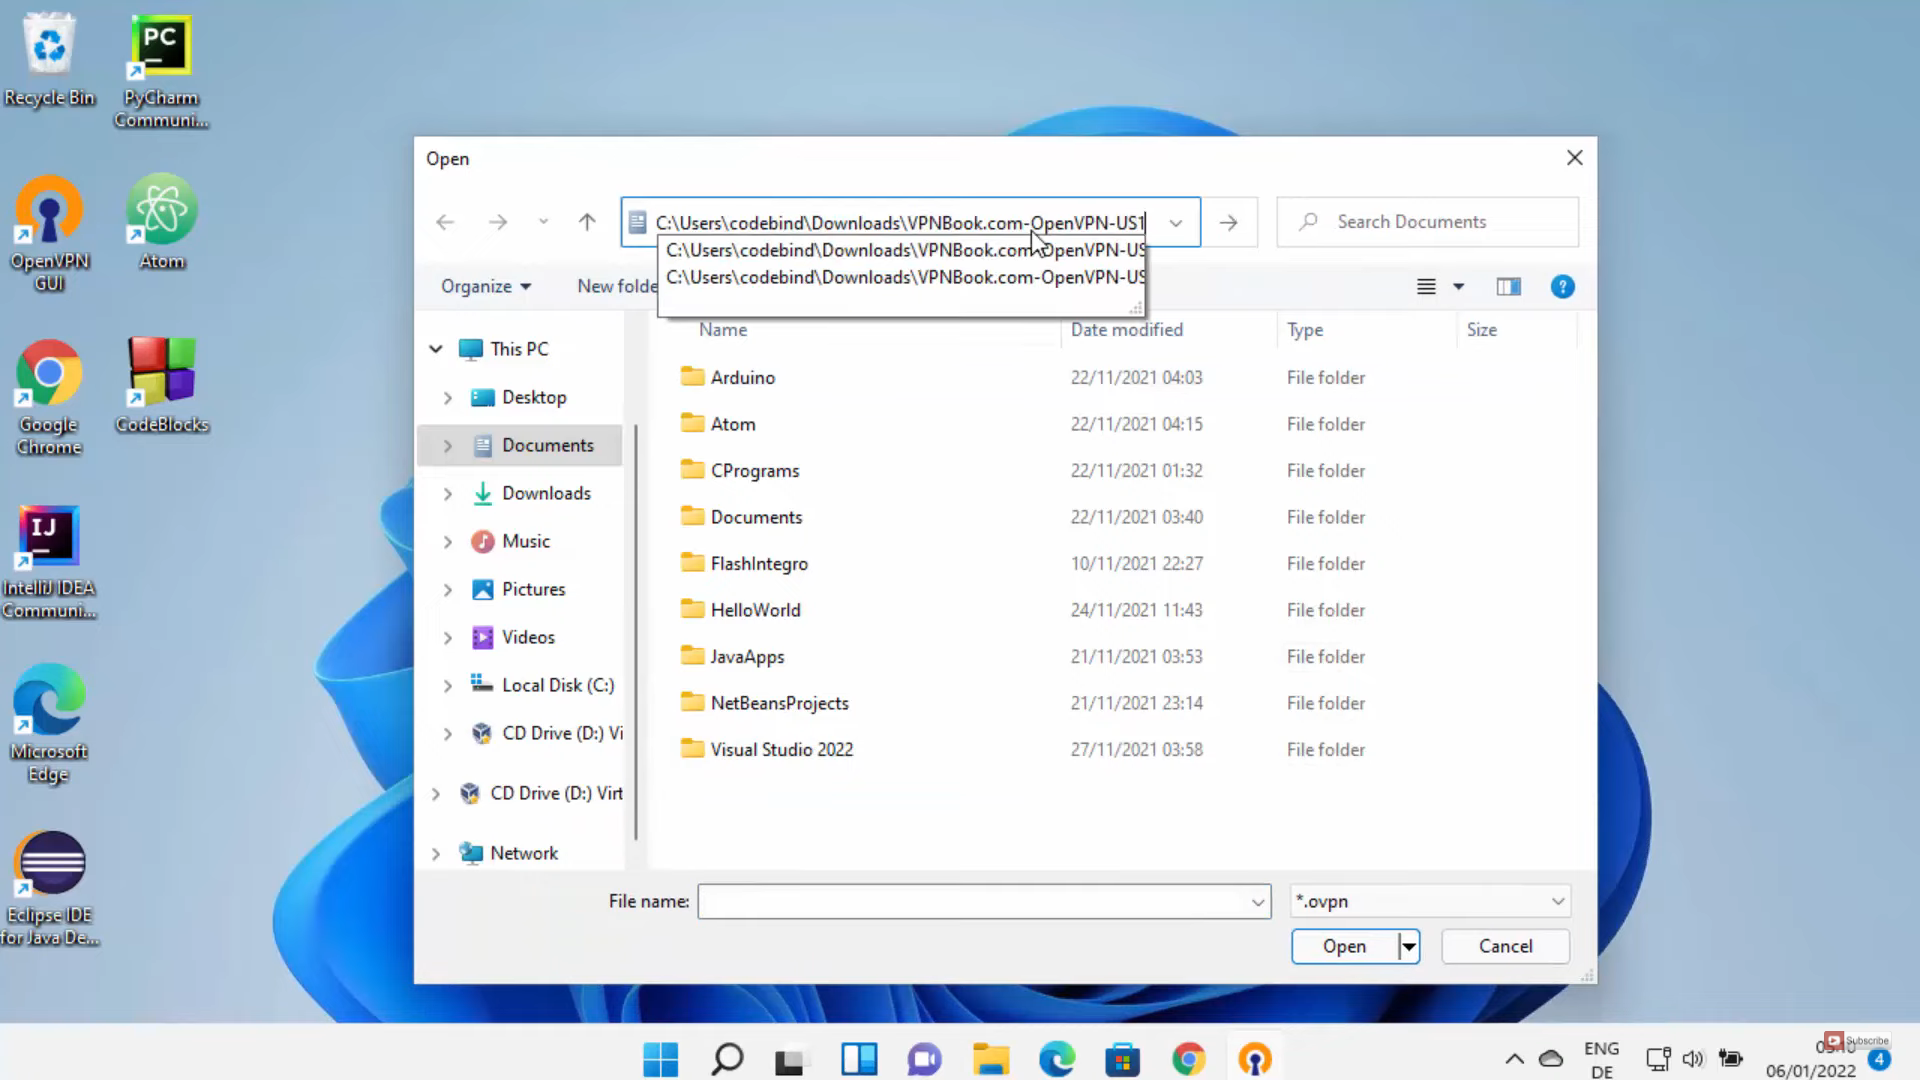
10. Open the zip file and extract the files. Copy the path of that folder. Once you have extracted the files, click on the OpenVPN icon on the taskbar, click on import and click on import file.
11. Paste the path that you have copied here. I am going to select the top file. Click on open.
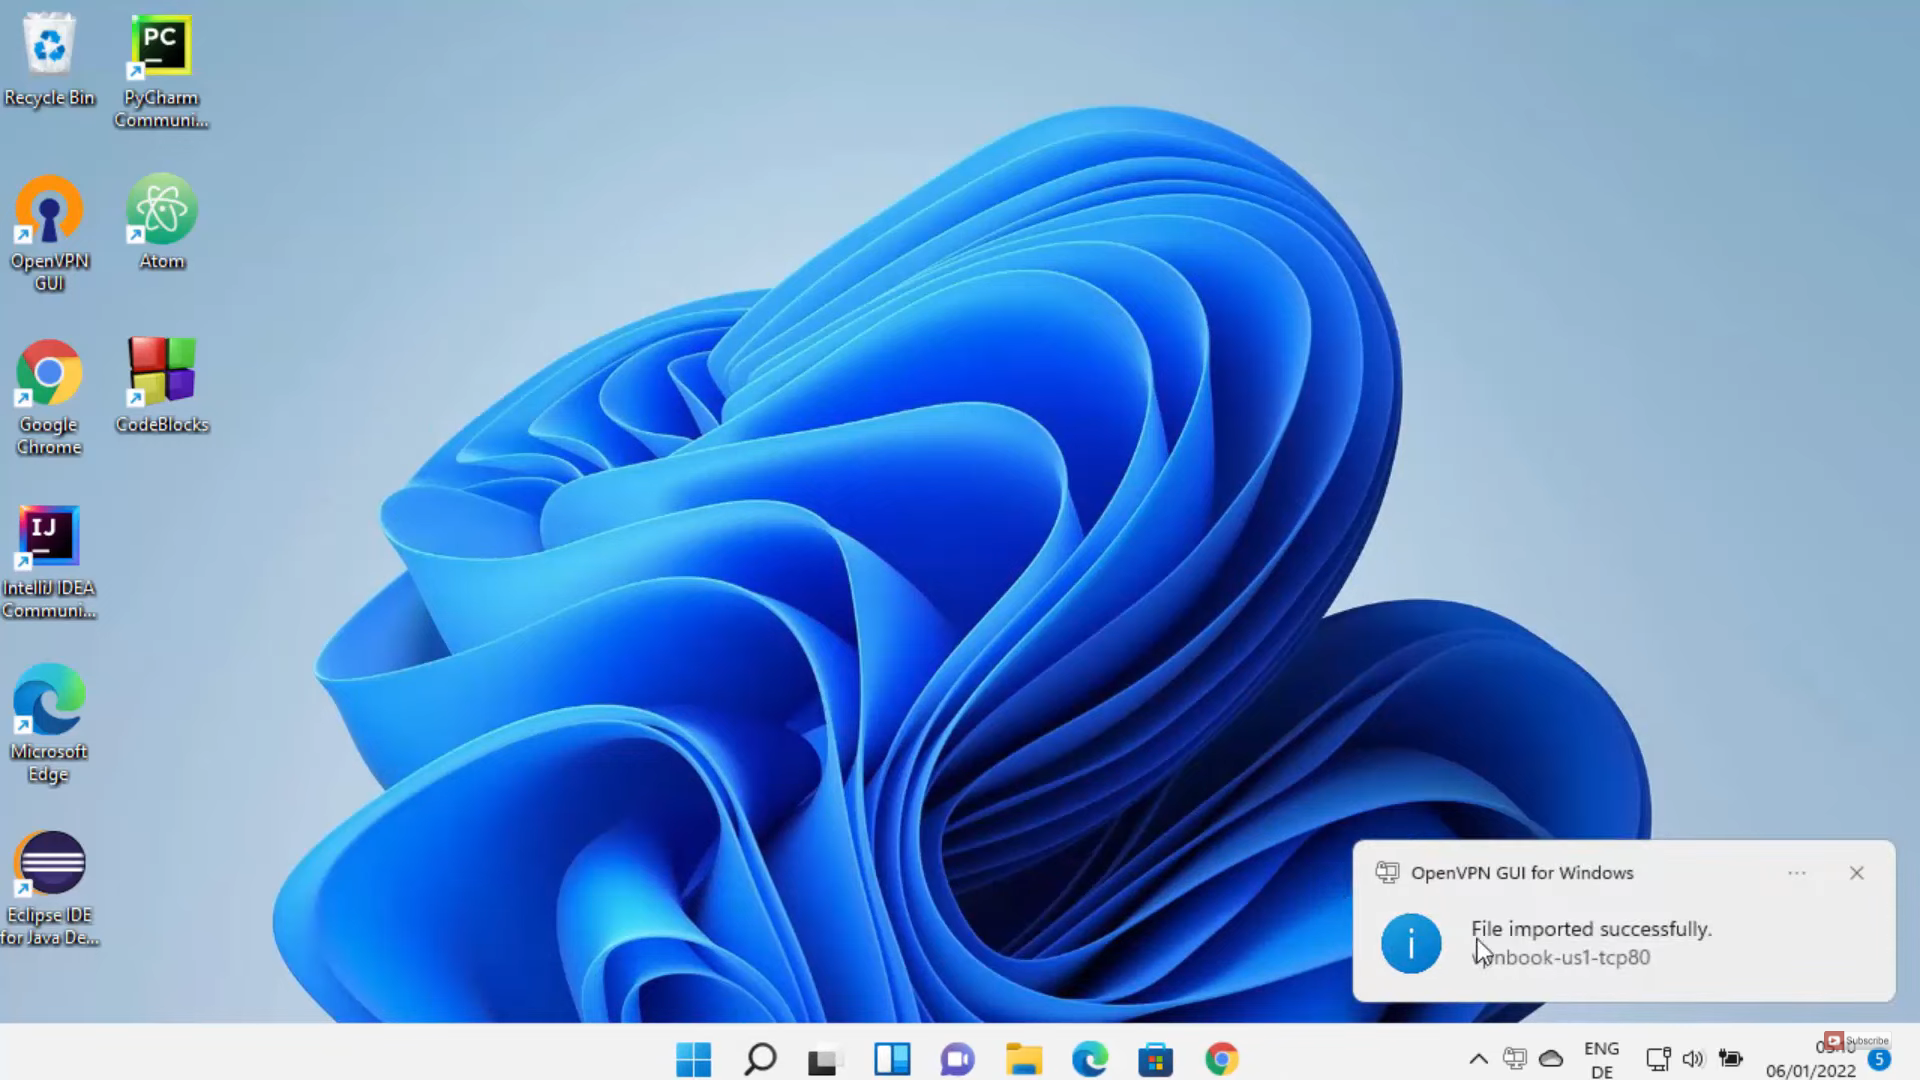
12. Once you click on open, it will show a notification saying that the file has been imported successfully.
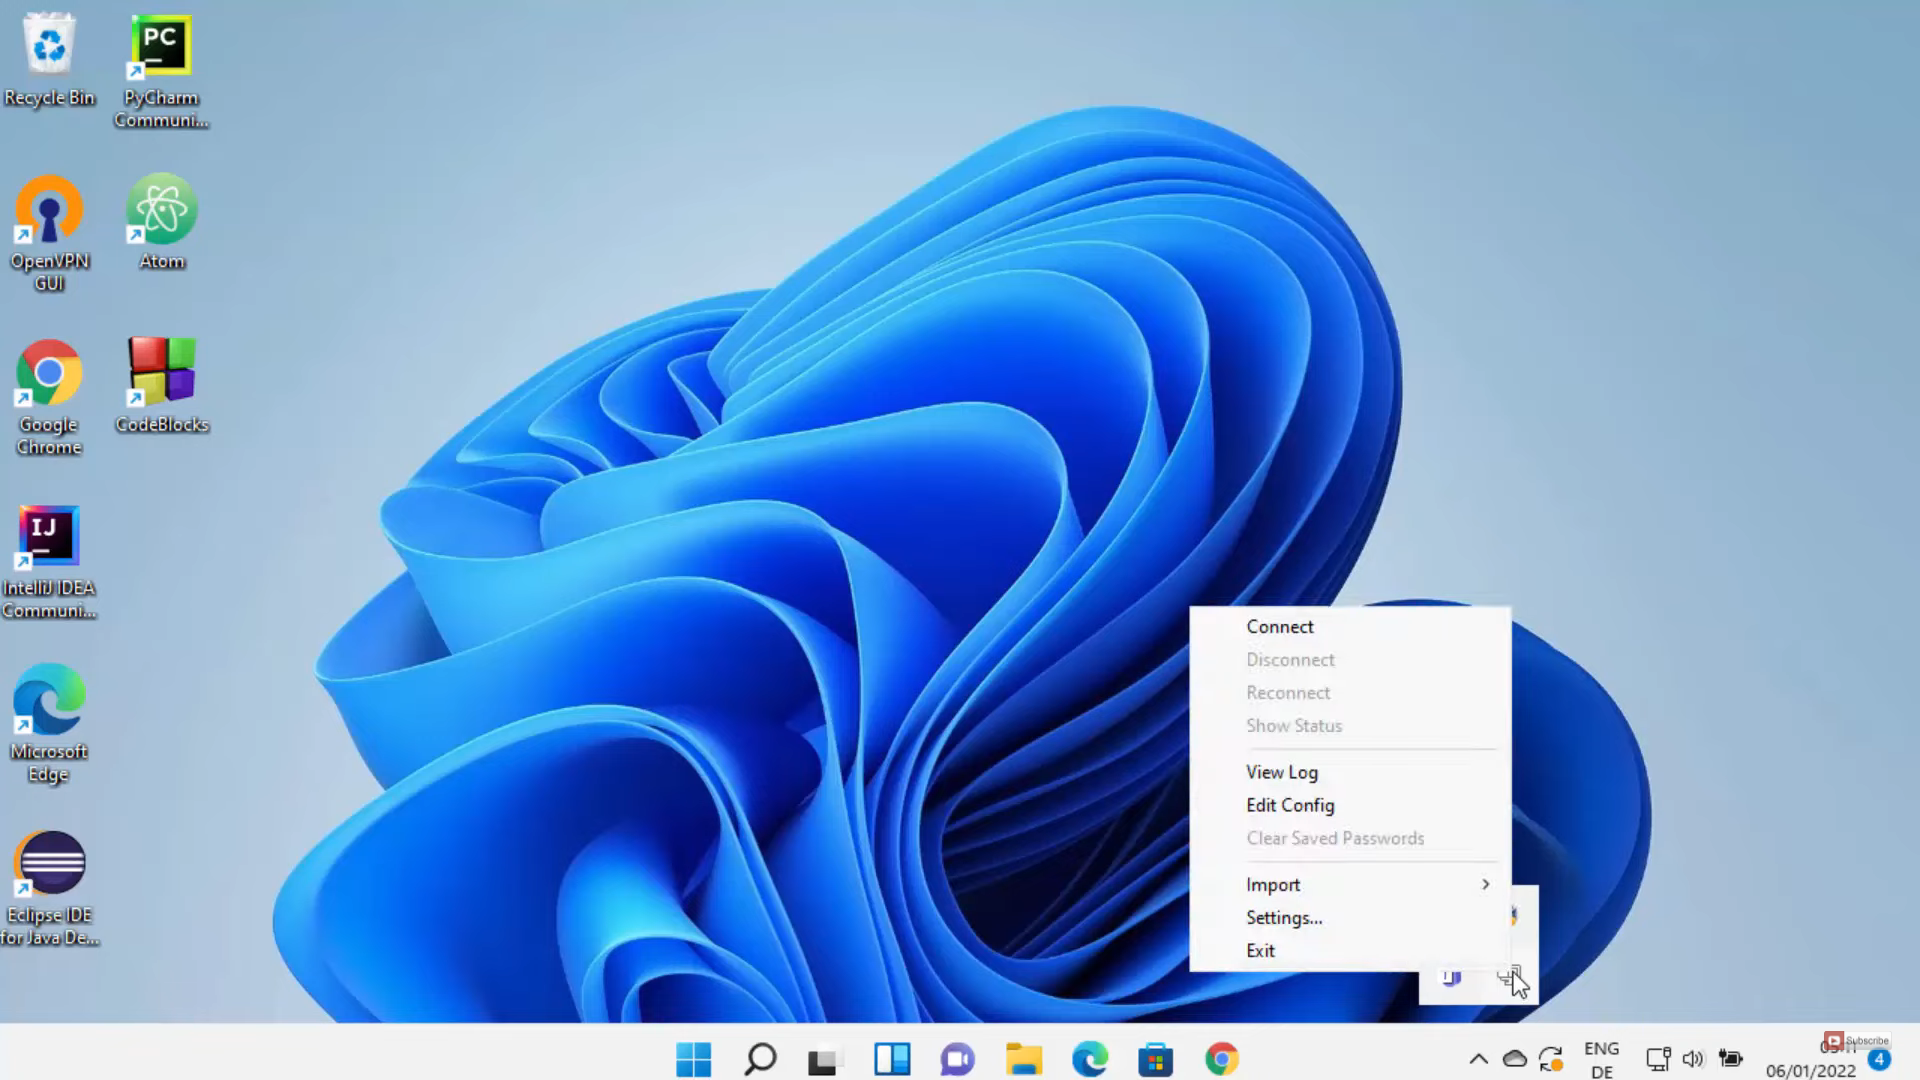
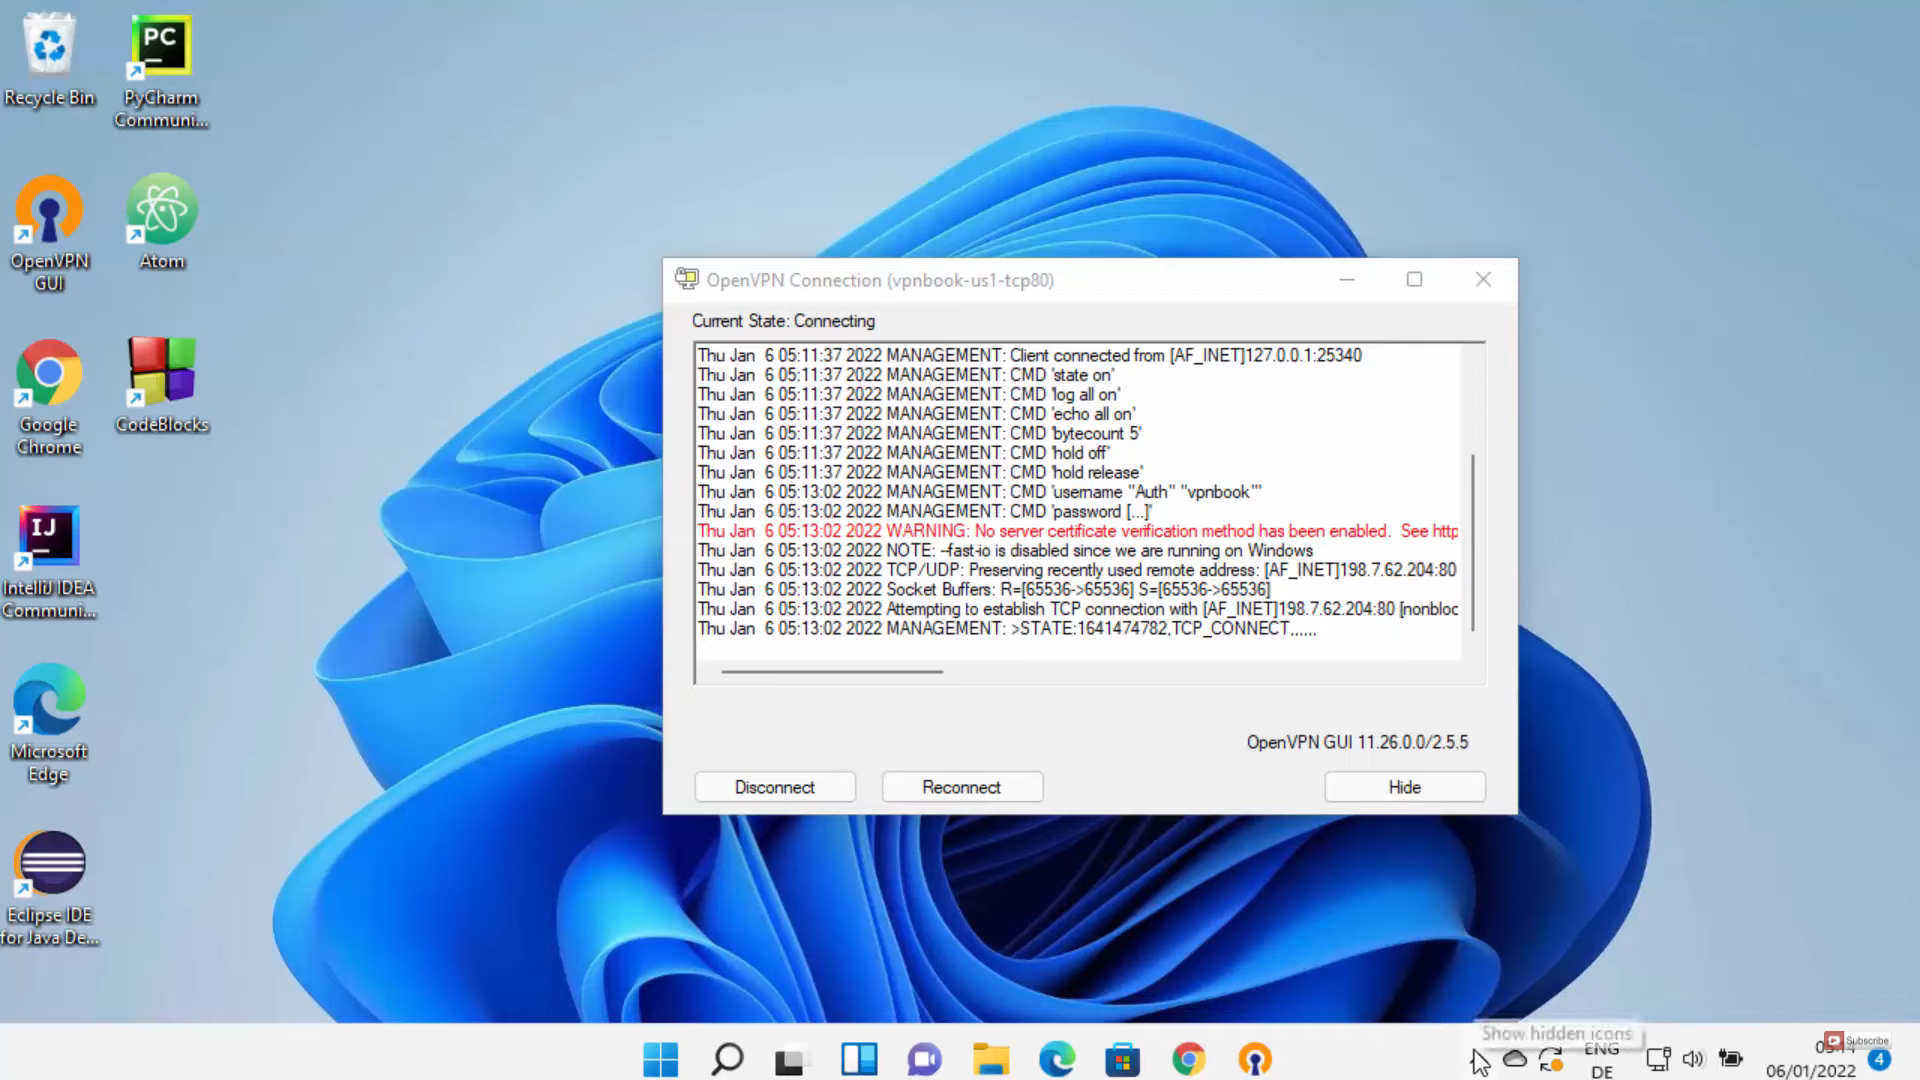
13. Now, right-click on the OpenVPN icon. Since I have imported the file, I can see more options now. I am going to click on connect. It will try to connect to the VPN server which we have provided.
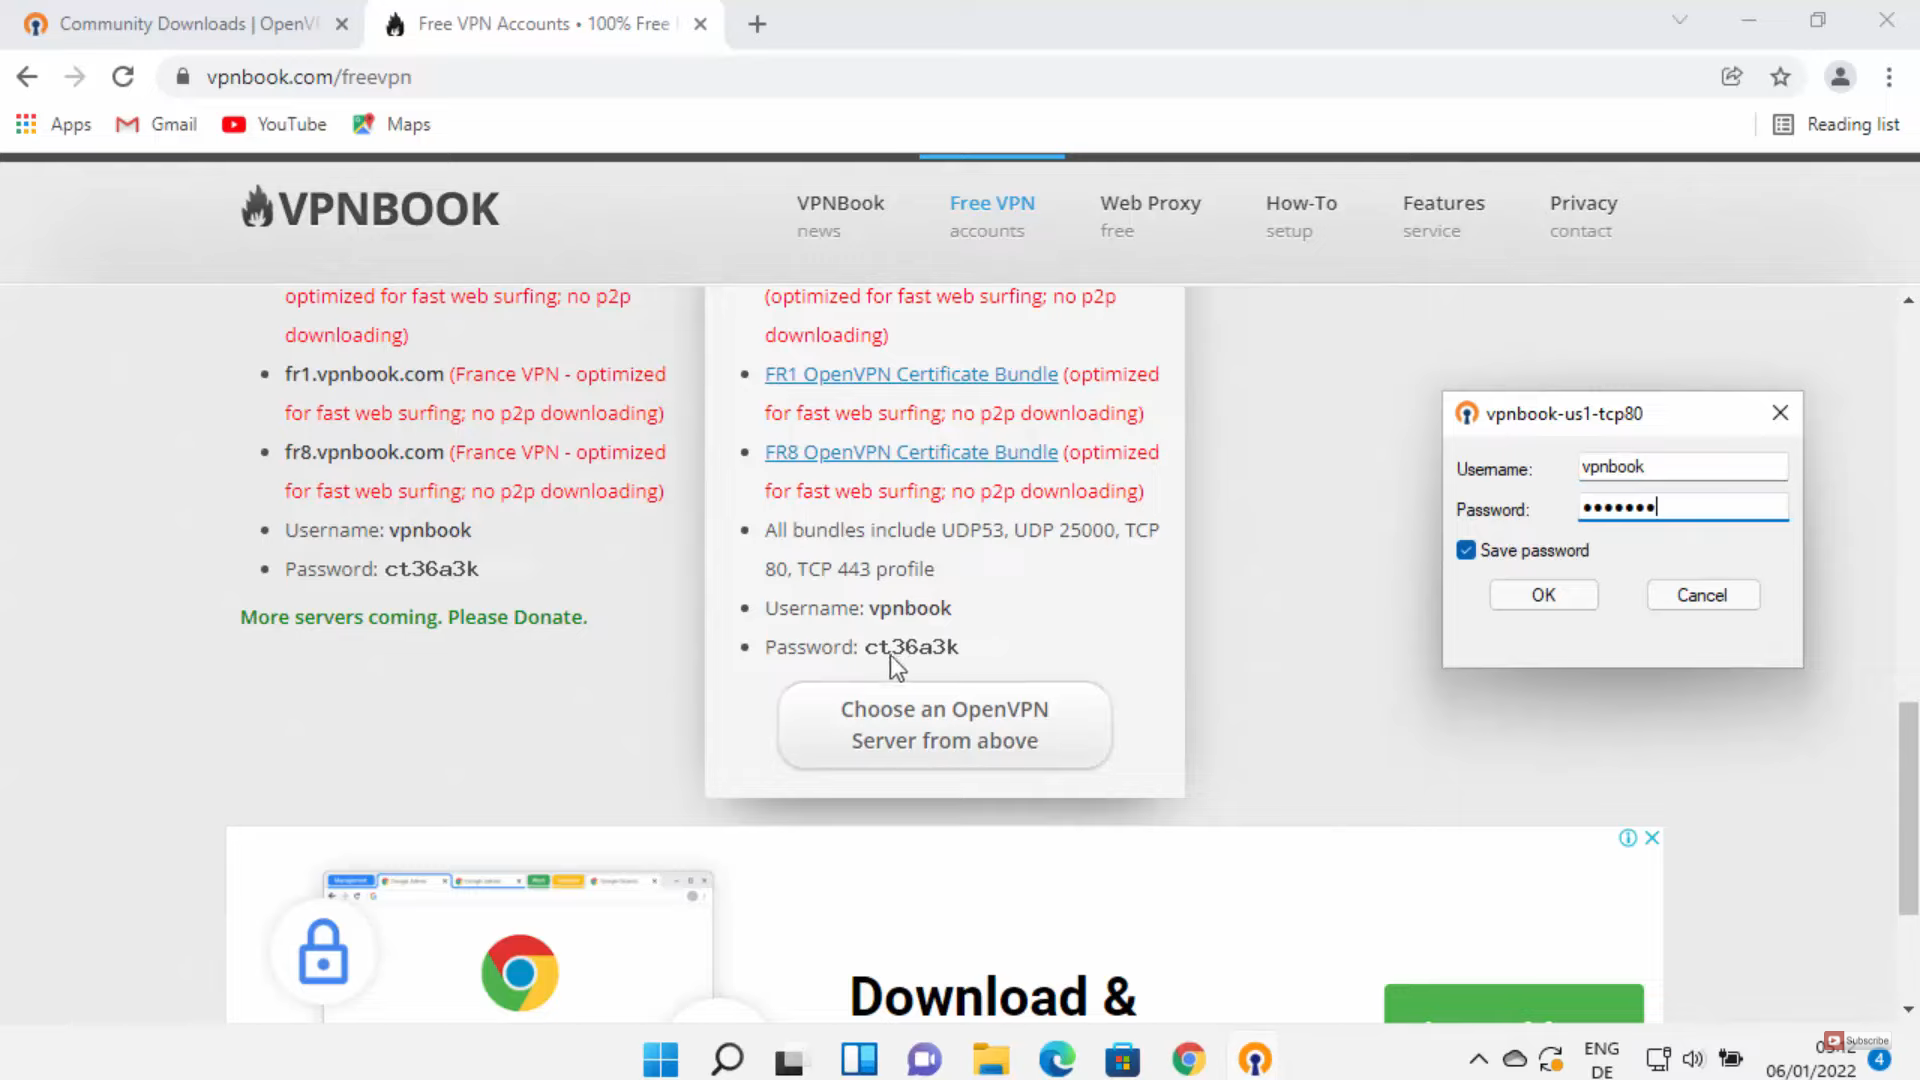
14. For username and password, you should go to the website, when you scroll down you will be able to see the username and password. Once you have entered them, click on Ok.
15. If everything has been connected and working correctly, you will be able to see the disconnect and reconnect options on the OpenVPN connection window.
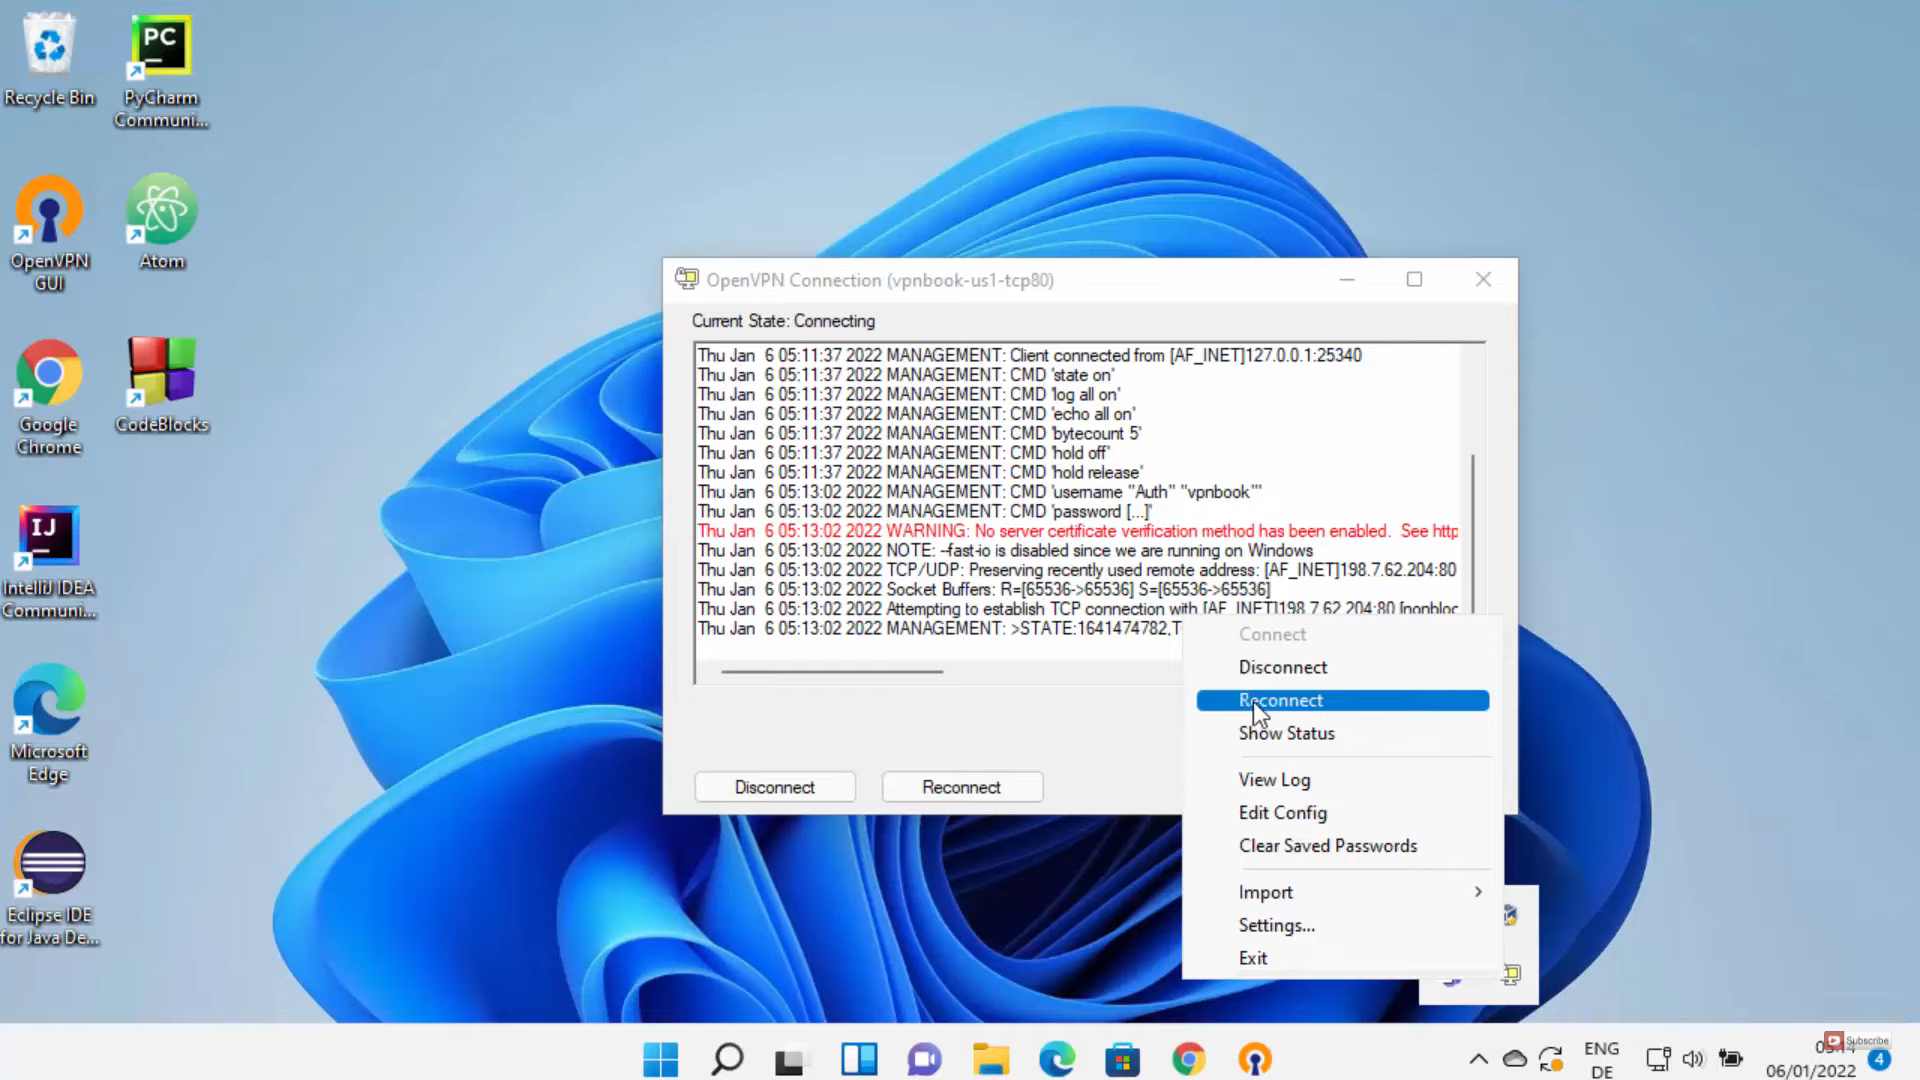
16. Once the connection is established and when you right-click on the OpenVPN icon in the taskbar, you will be able to see the disconnect and many other options.
These are the steps for installing and setting up OpenVPN on your Windows 11 Operating System.
Leave a Reply