
In this blog post, I will give a detailed view of enabling or disabling loudness equalization in your Windows 11 Operating System. There are few methods available. We will see them one by one.
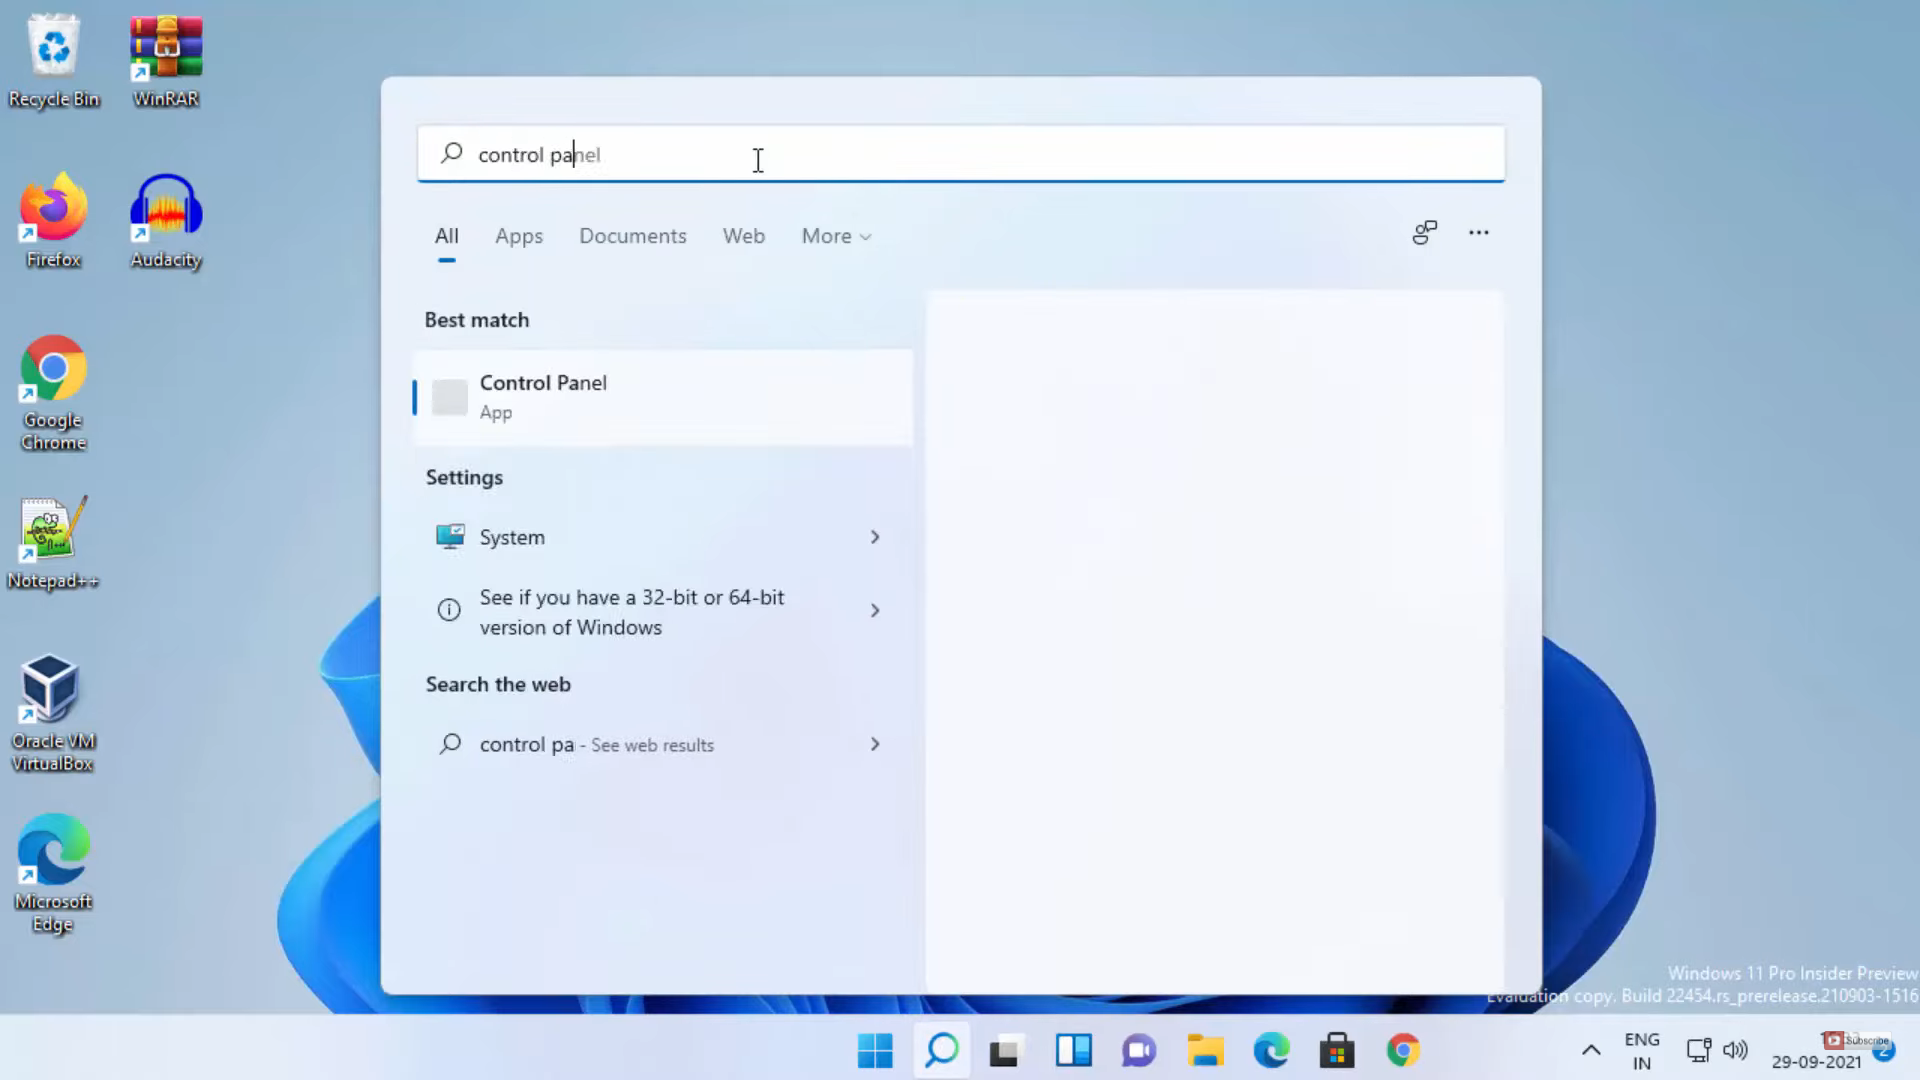
1. Click on the search icon and search for the Control panel app.
2. In the control panel window, you have to view it with Large icons.
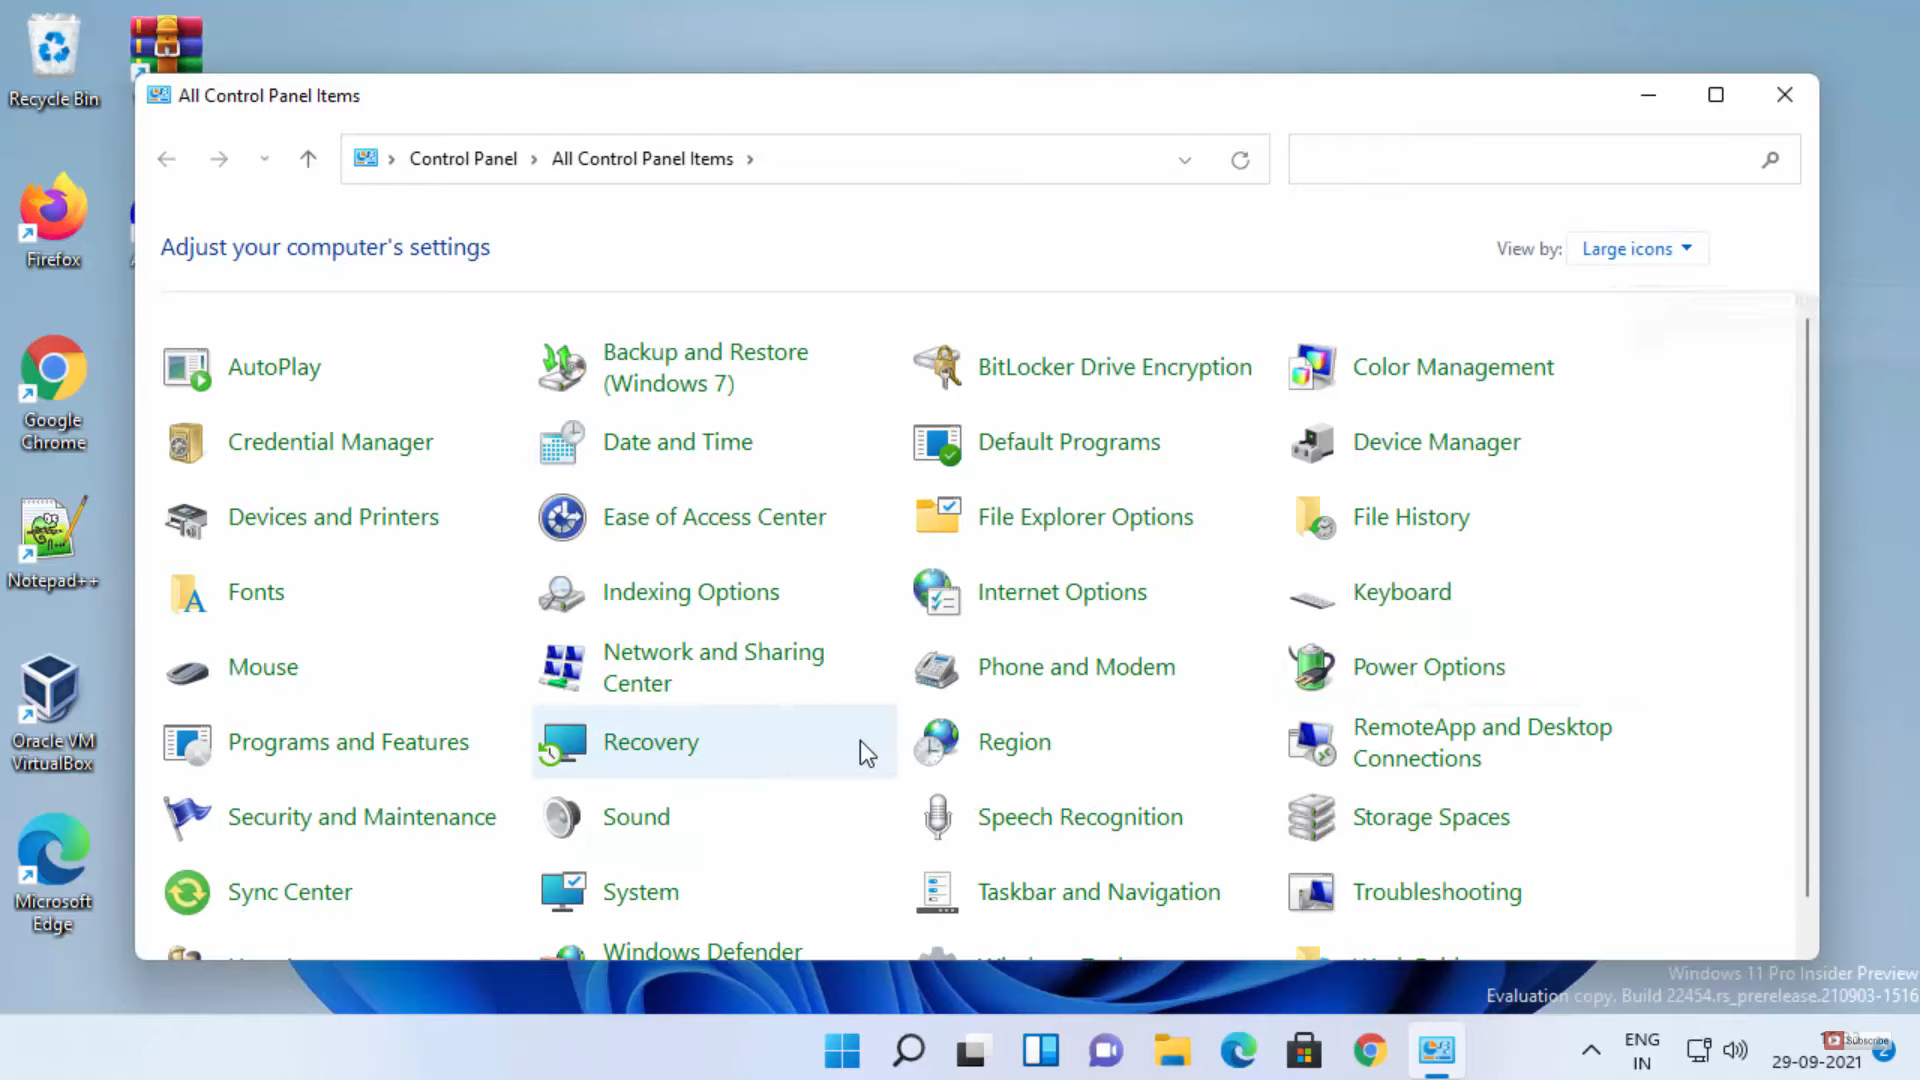
3. In this window, you need to select Speakers. And then click on Properties.

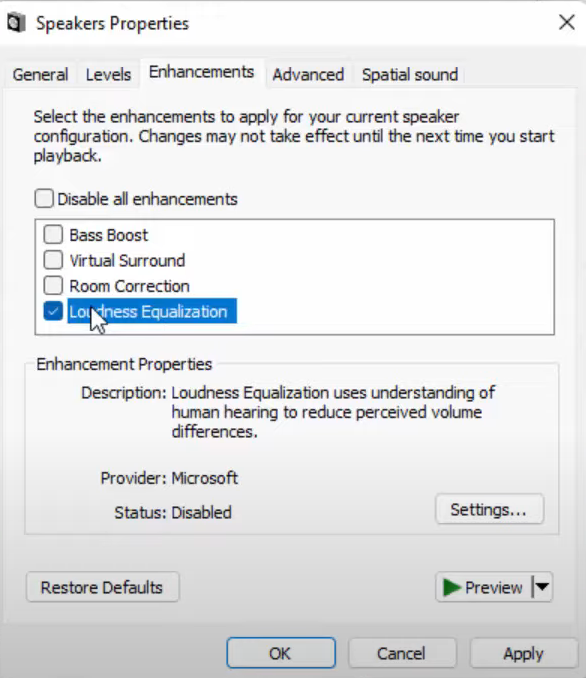
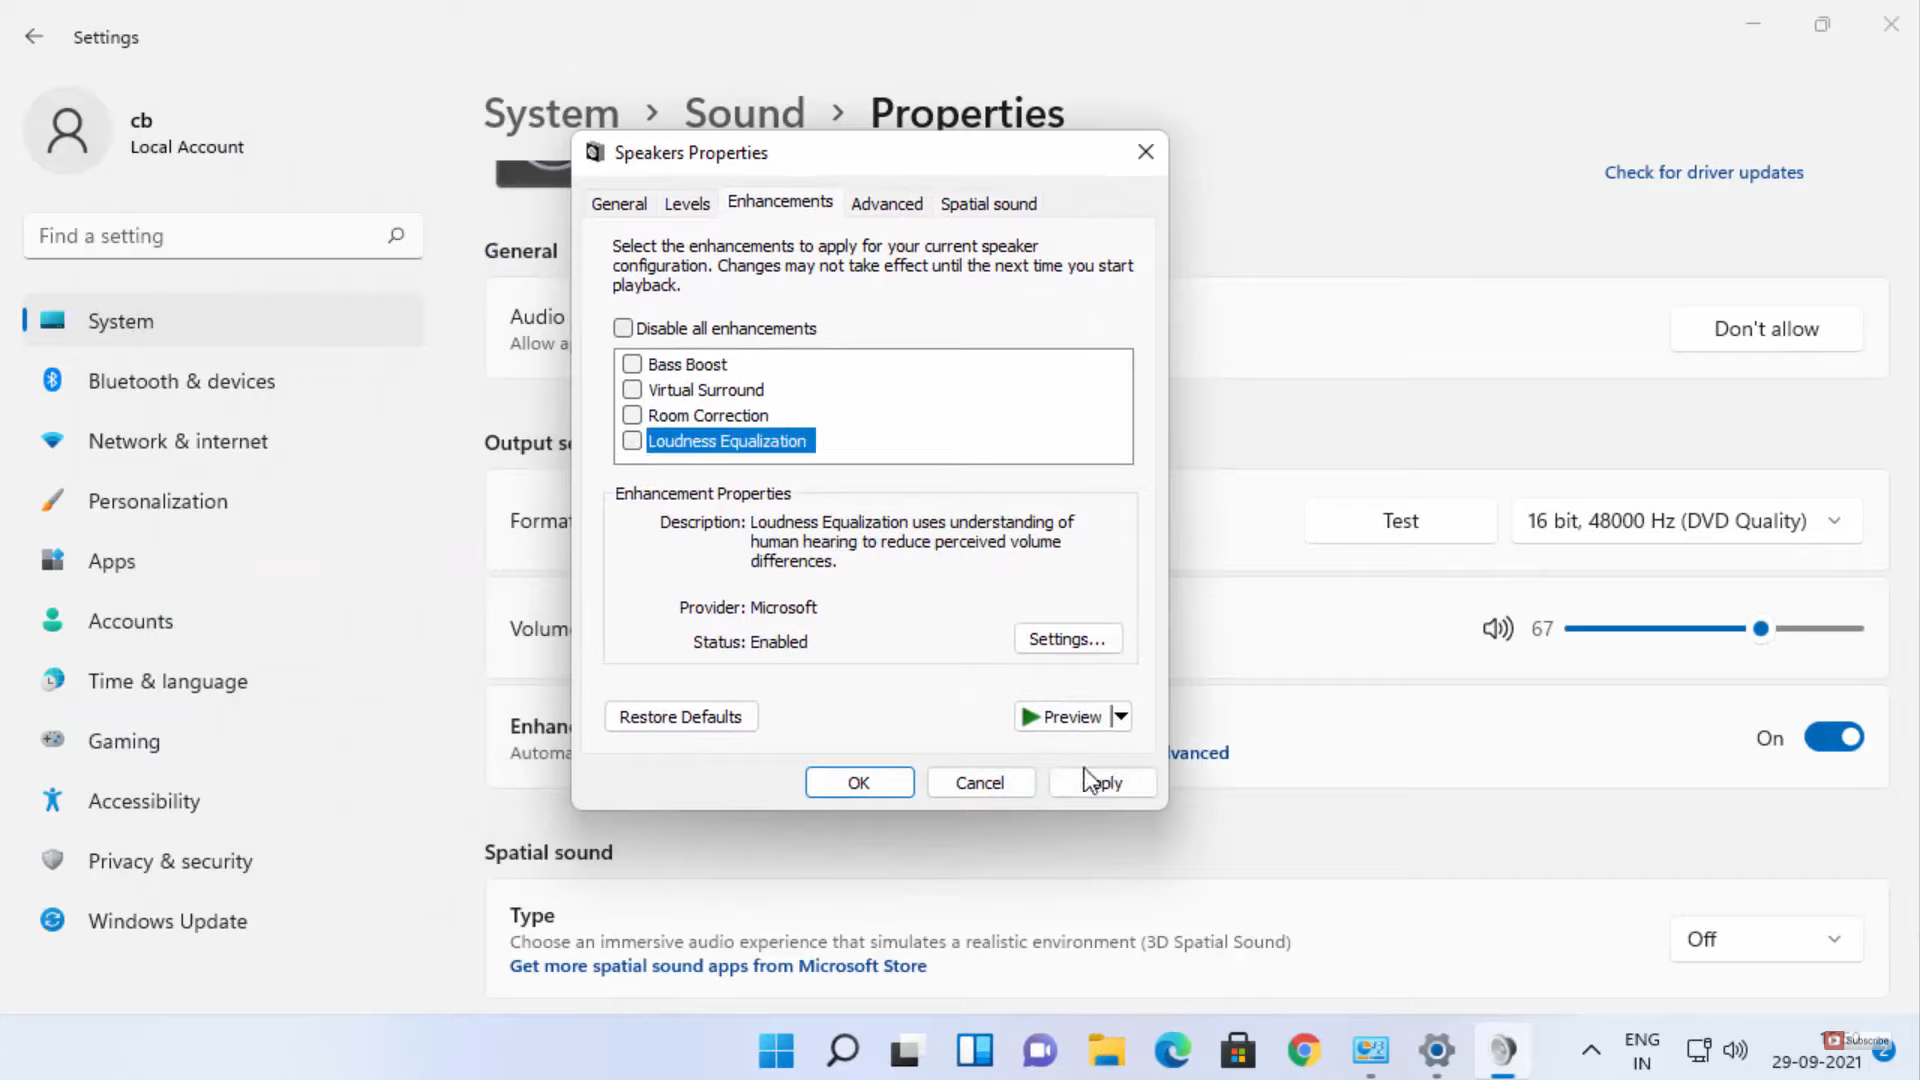
4. Here, you need to select the Enhancements option. Under disable all enhancements, you will be able to see an option called loudness equalization. Right now, it is enabled. If you want to disable it, you need to uncheck it. Then click on Apply. And click on Ok for all the windows.
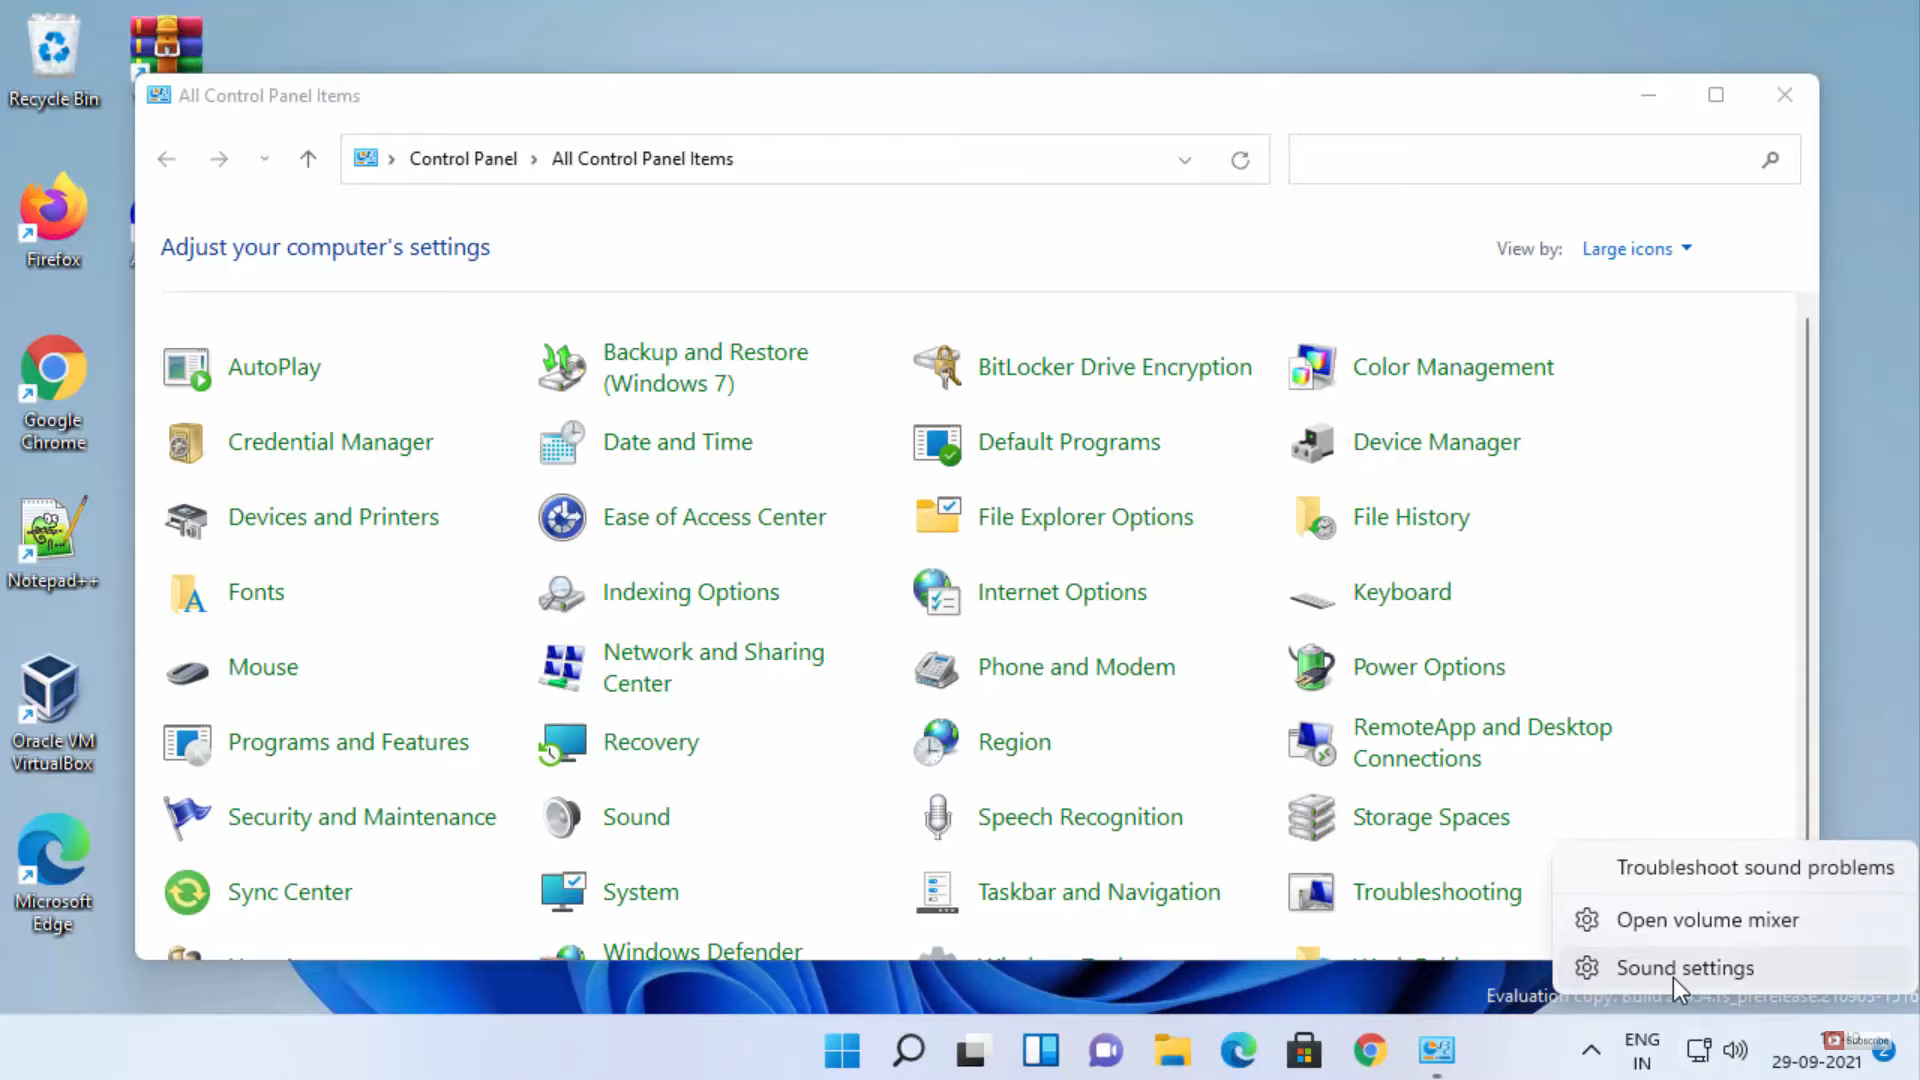
5. For the second method, right-click on your sound icon. Then, click on Sound settings.
6. Once it opens, select the speaker option.
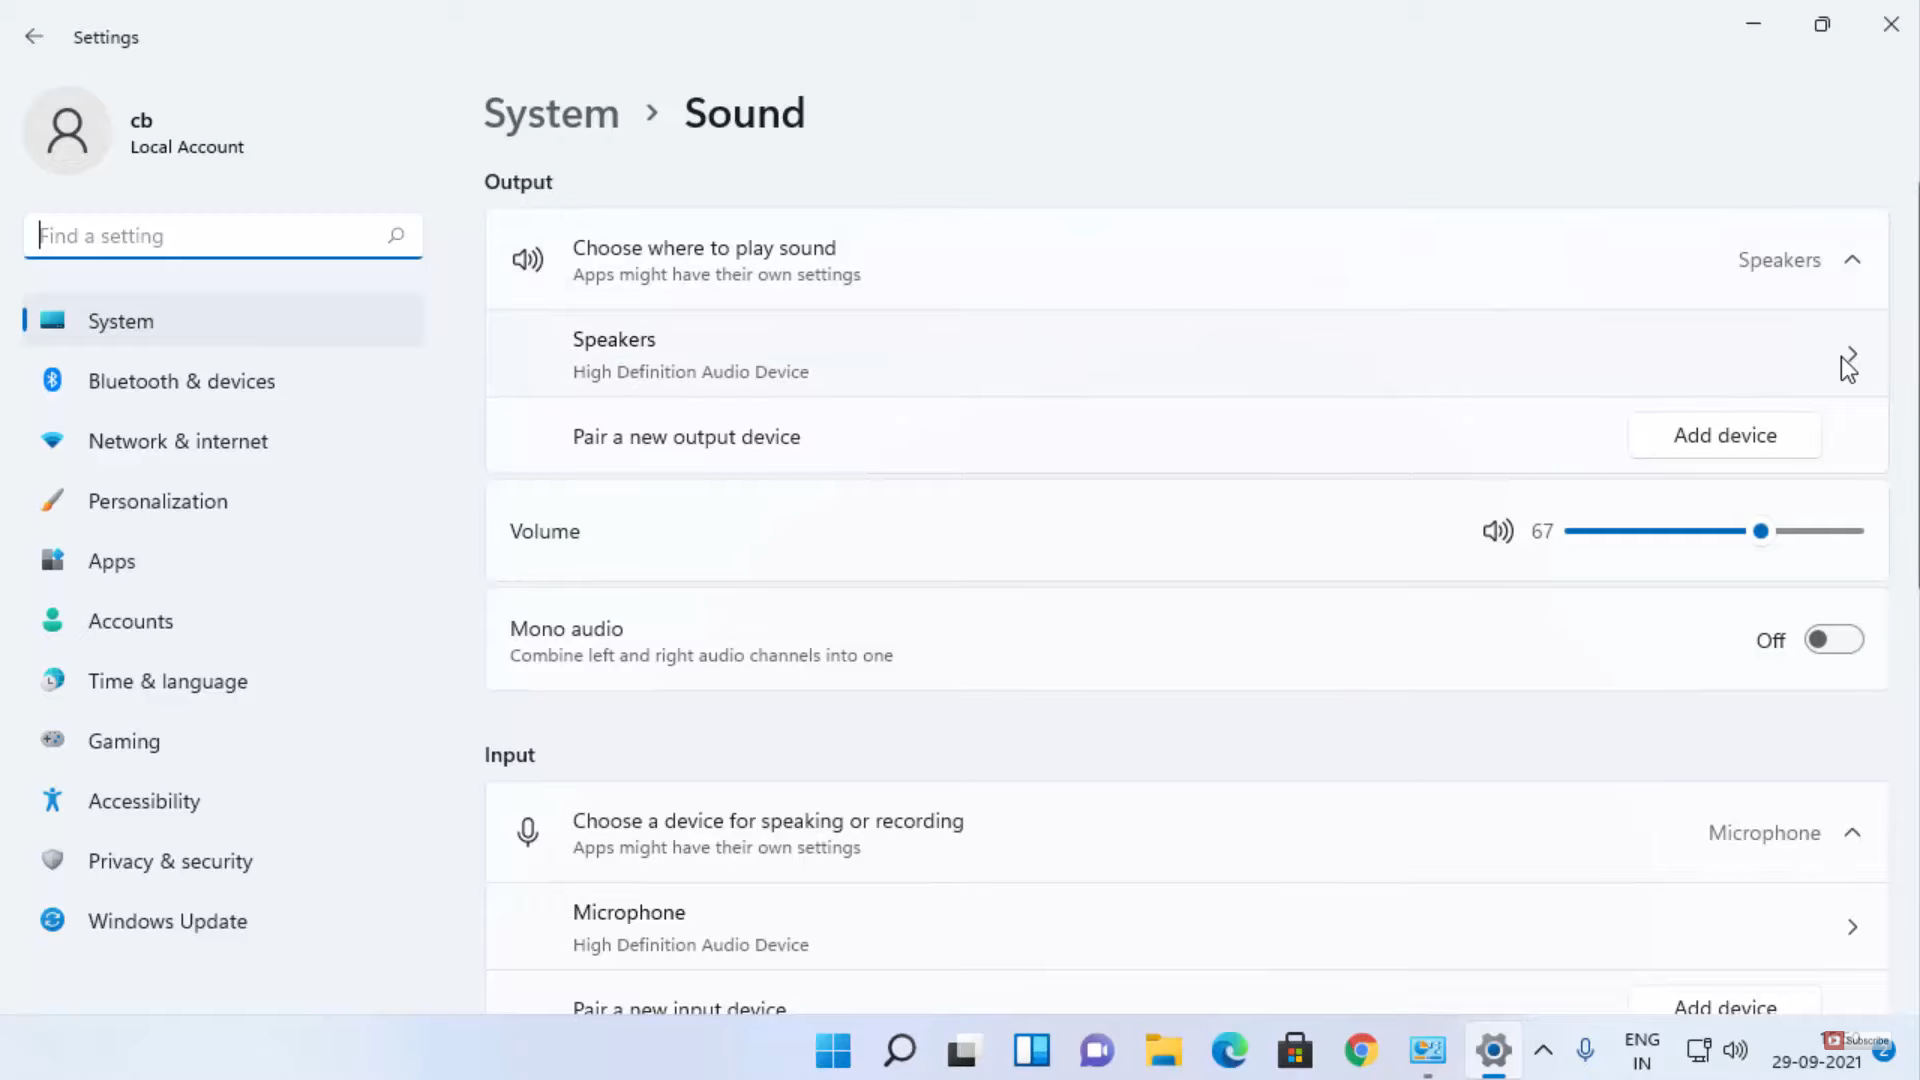
7. Scroll down and you will be able to see an option called Enhance audio. Right now, it is enabled.
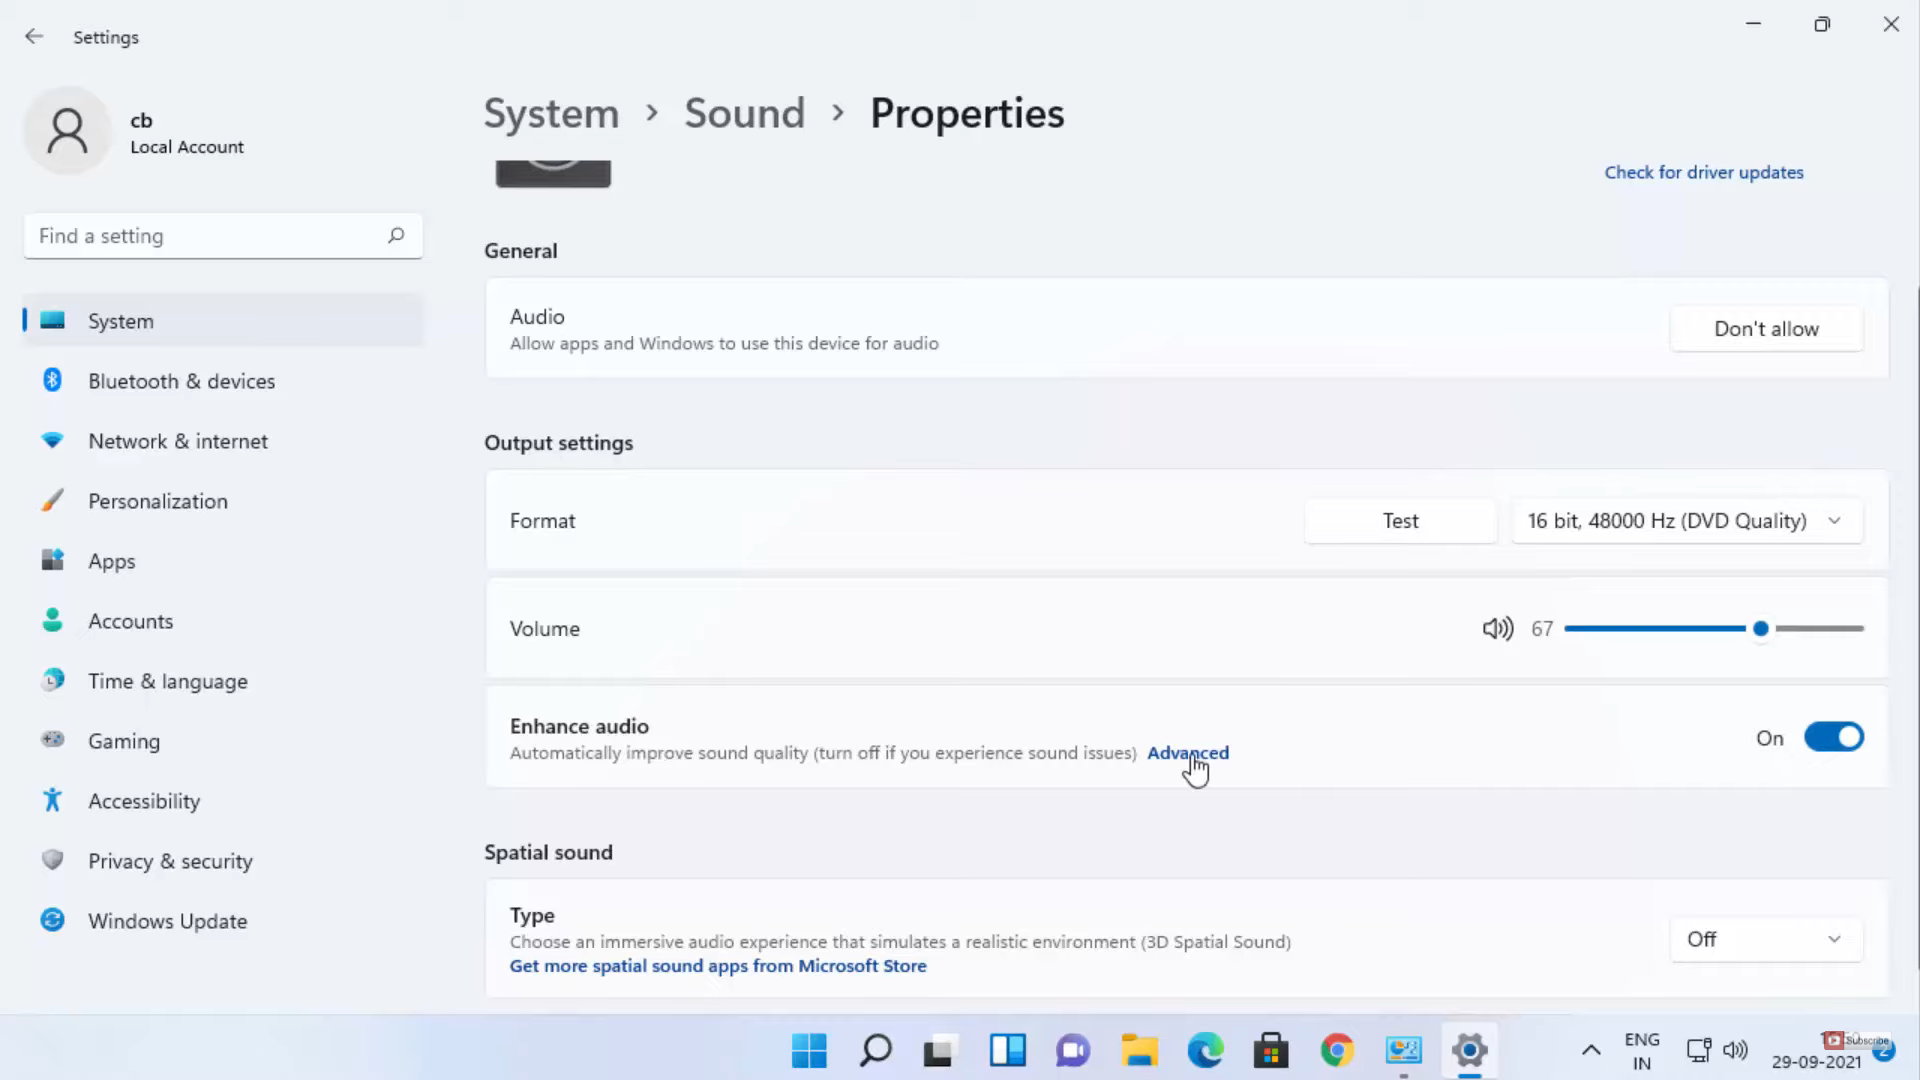
8. When you click on the Advanced option, it will take you to the same window which we saw earlier. You can follow the same method explained above for enabling or disabling loudness equalization.
These are the steps for enabling or disabling loudness equalization in your Windows 11 Operating System.
Leave a Reply