
In this blog post, I will give a detailed view of downloading and installing the WAMP server on your Windows 11 Operating System.
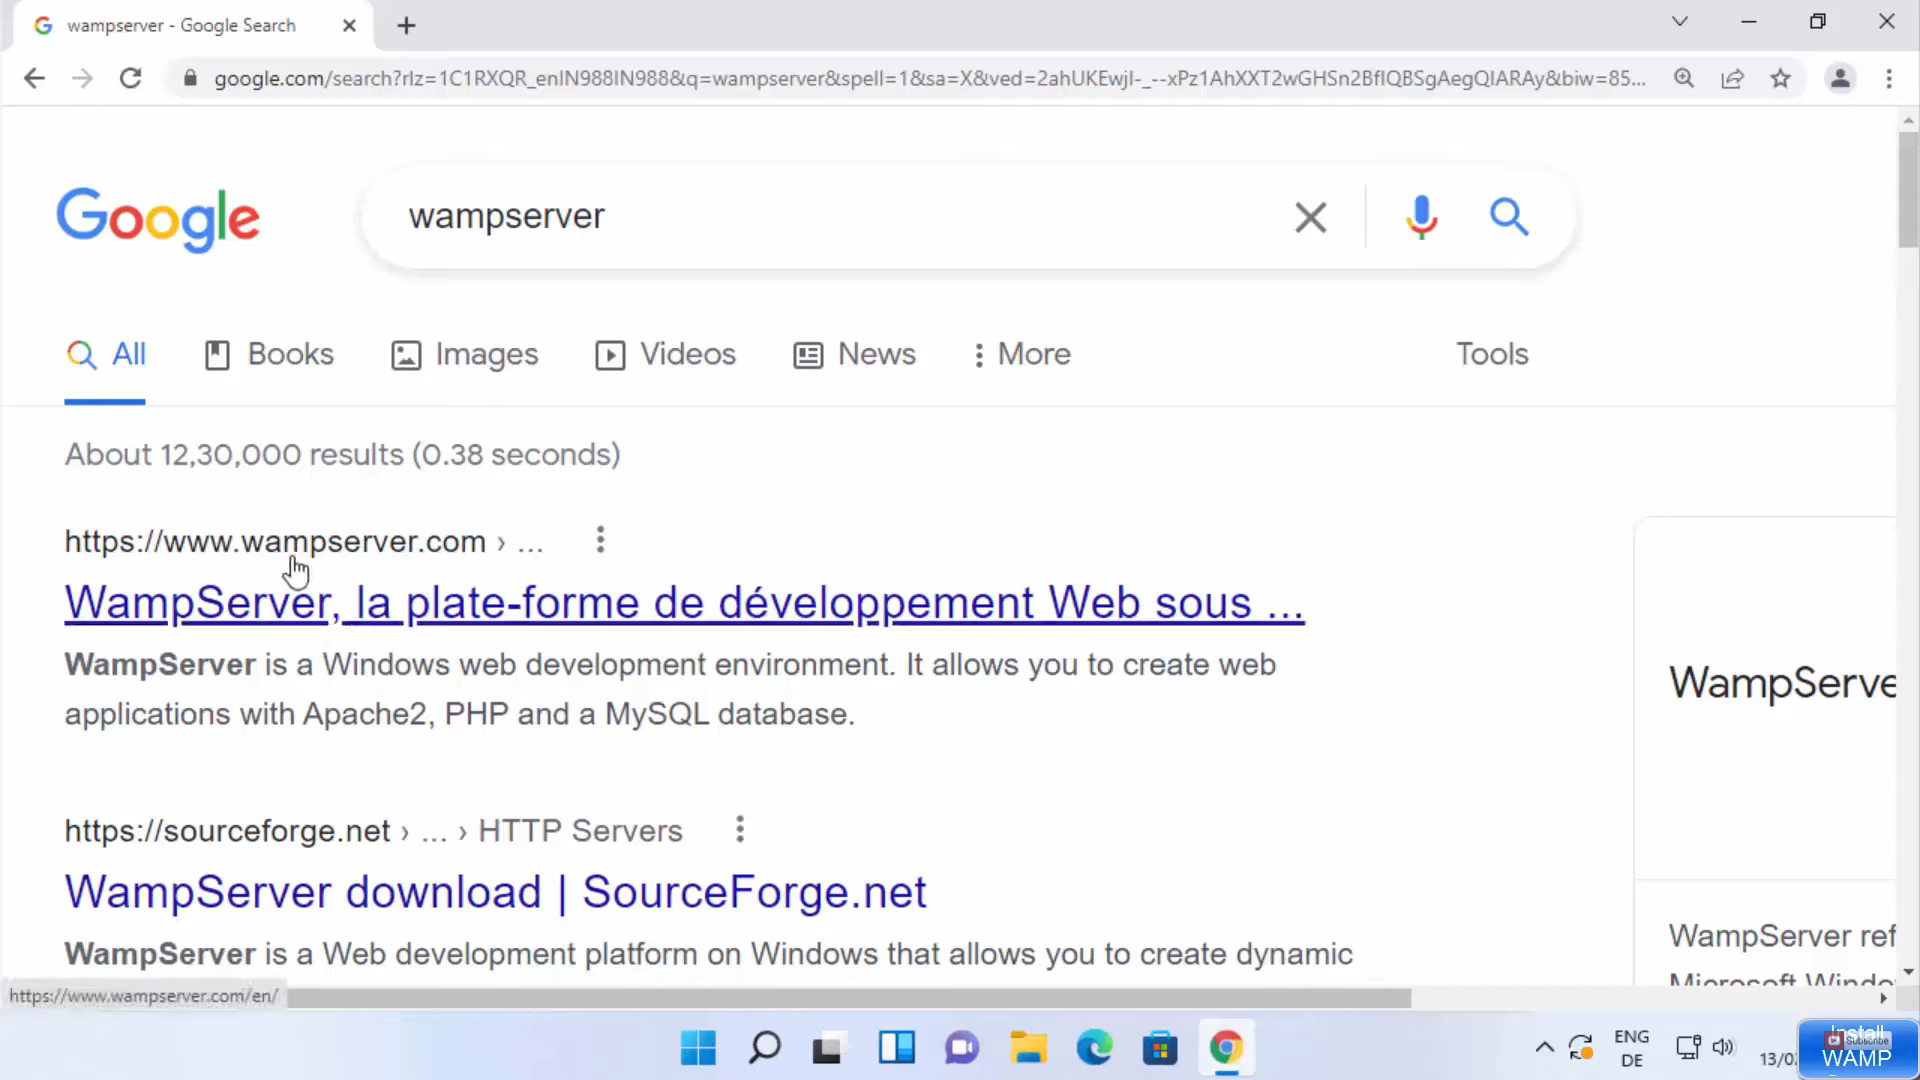
1. Open a web browser of your choice and search for wampserver. Click on the first link.
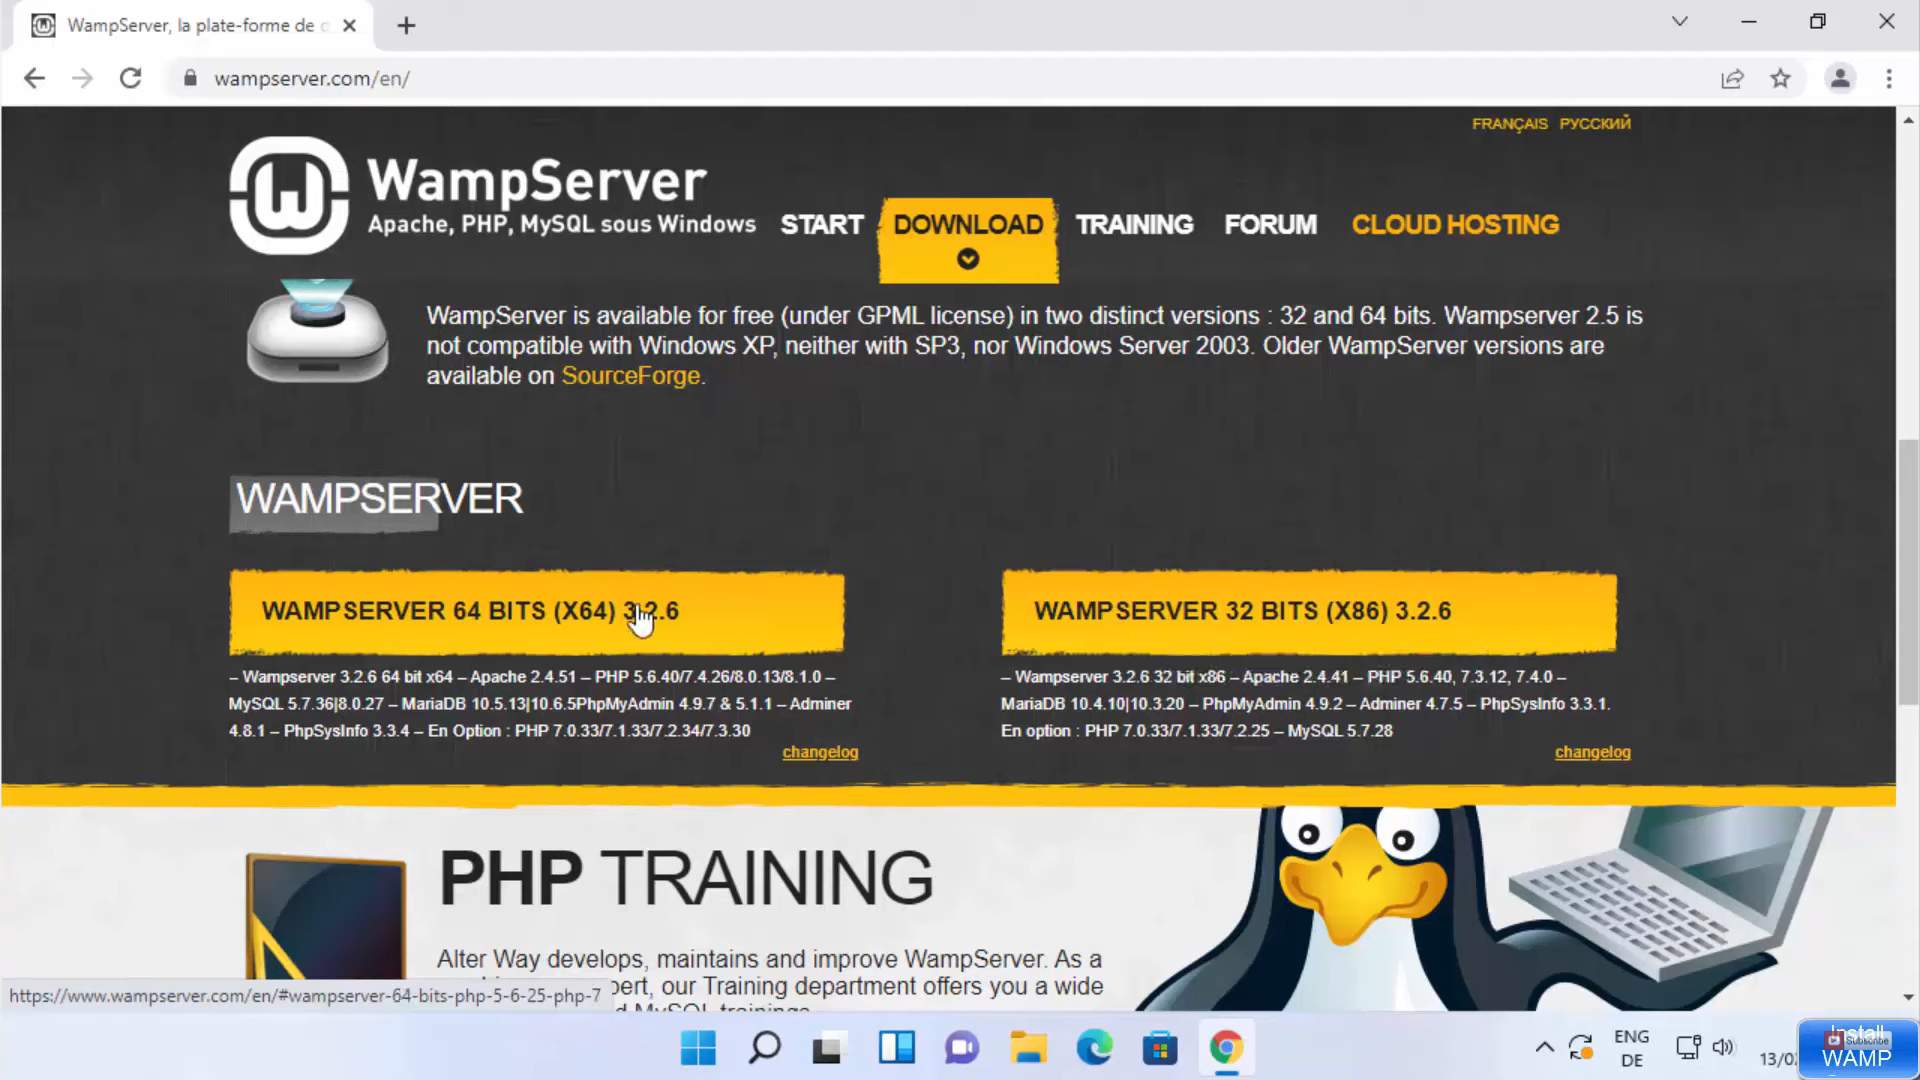
2. Once the link opens, click on the Download tab. Click on 64-bit download.
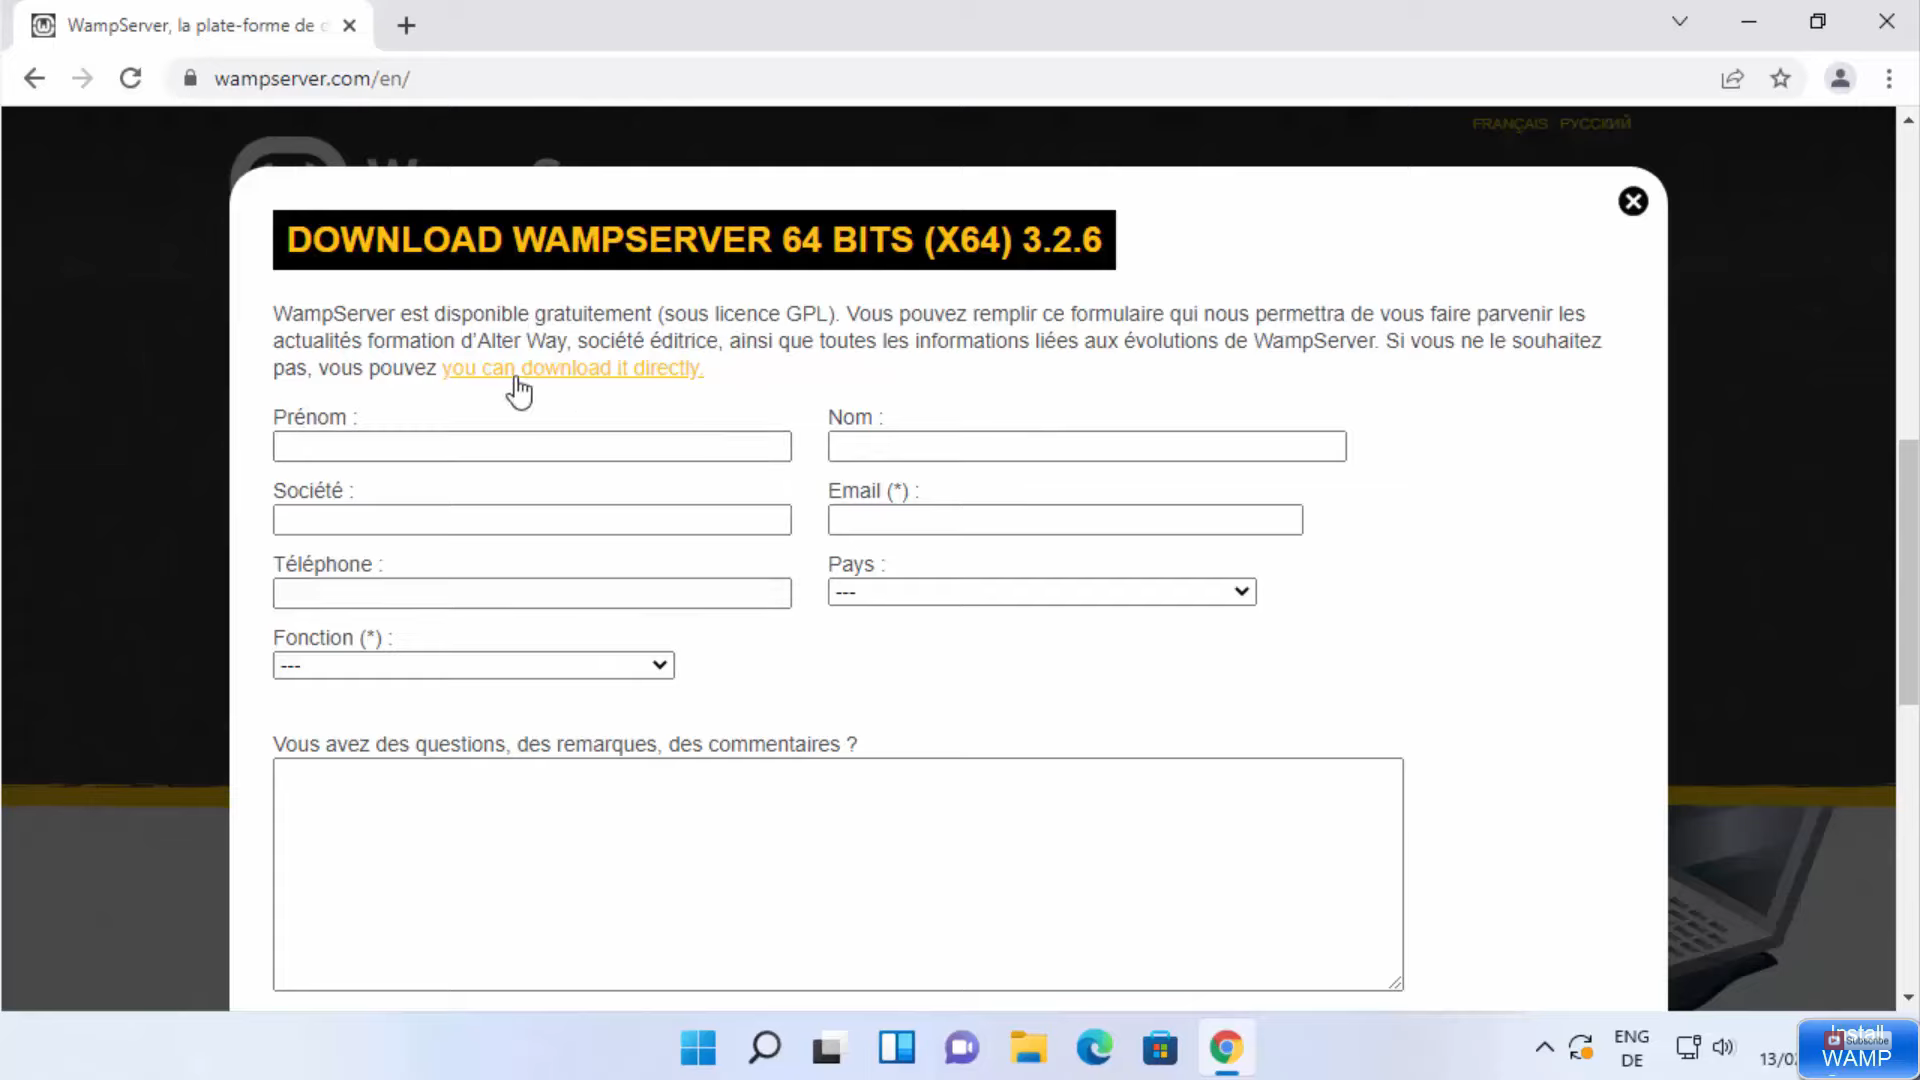
3. It will ask you to provide some information. If you don’t want to provide any information, click on the download it directly link. It will redirect you to Sourceforge and the download will start.
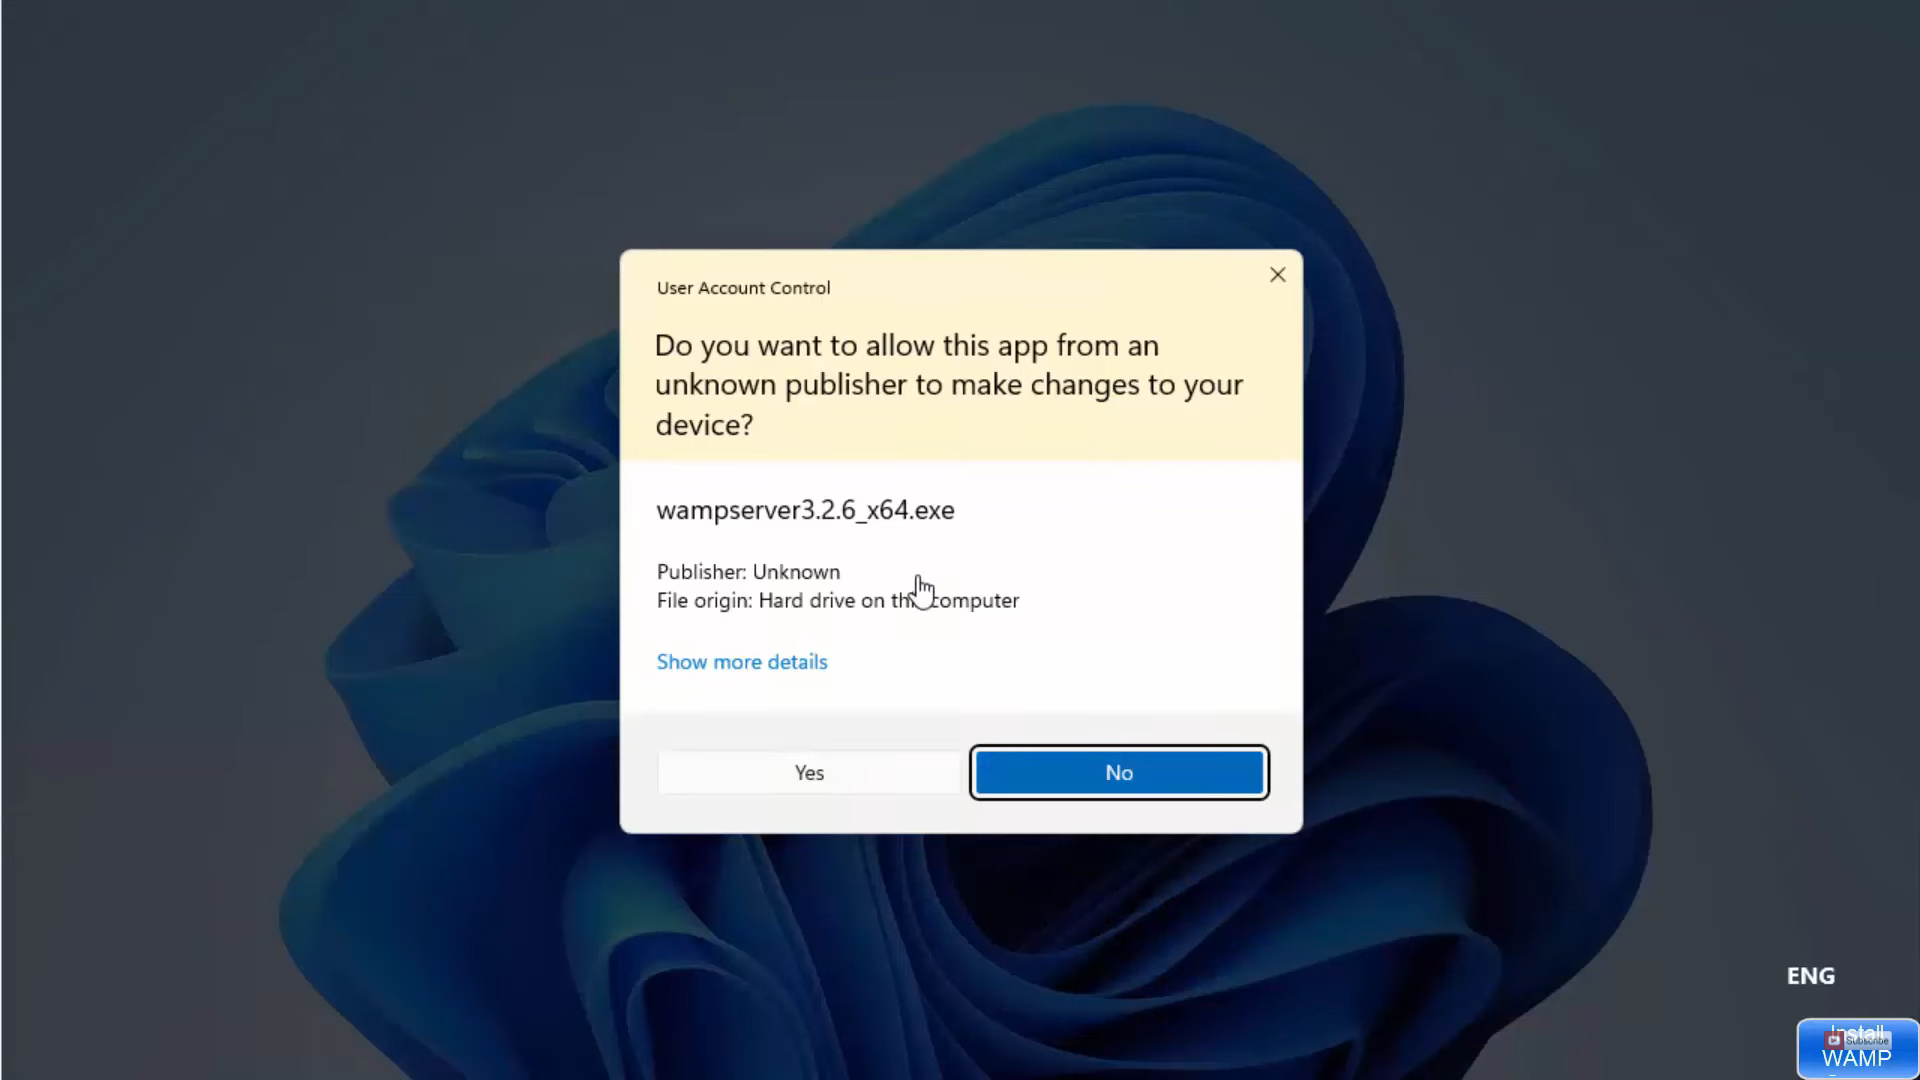
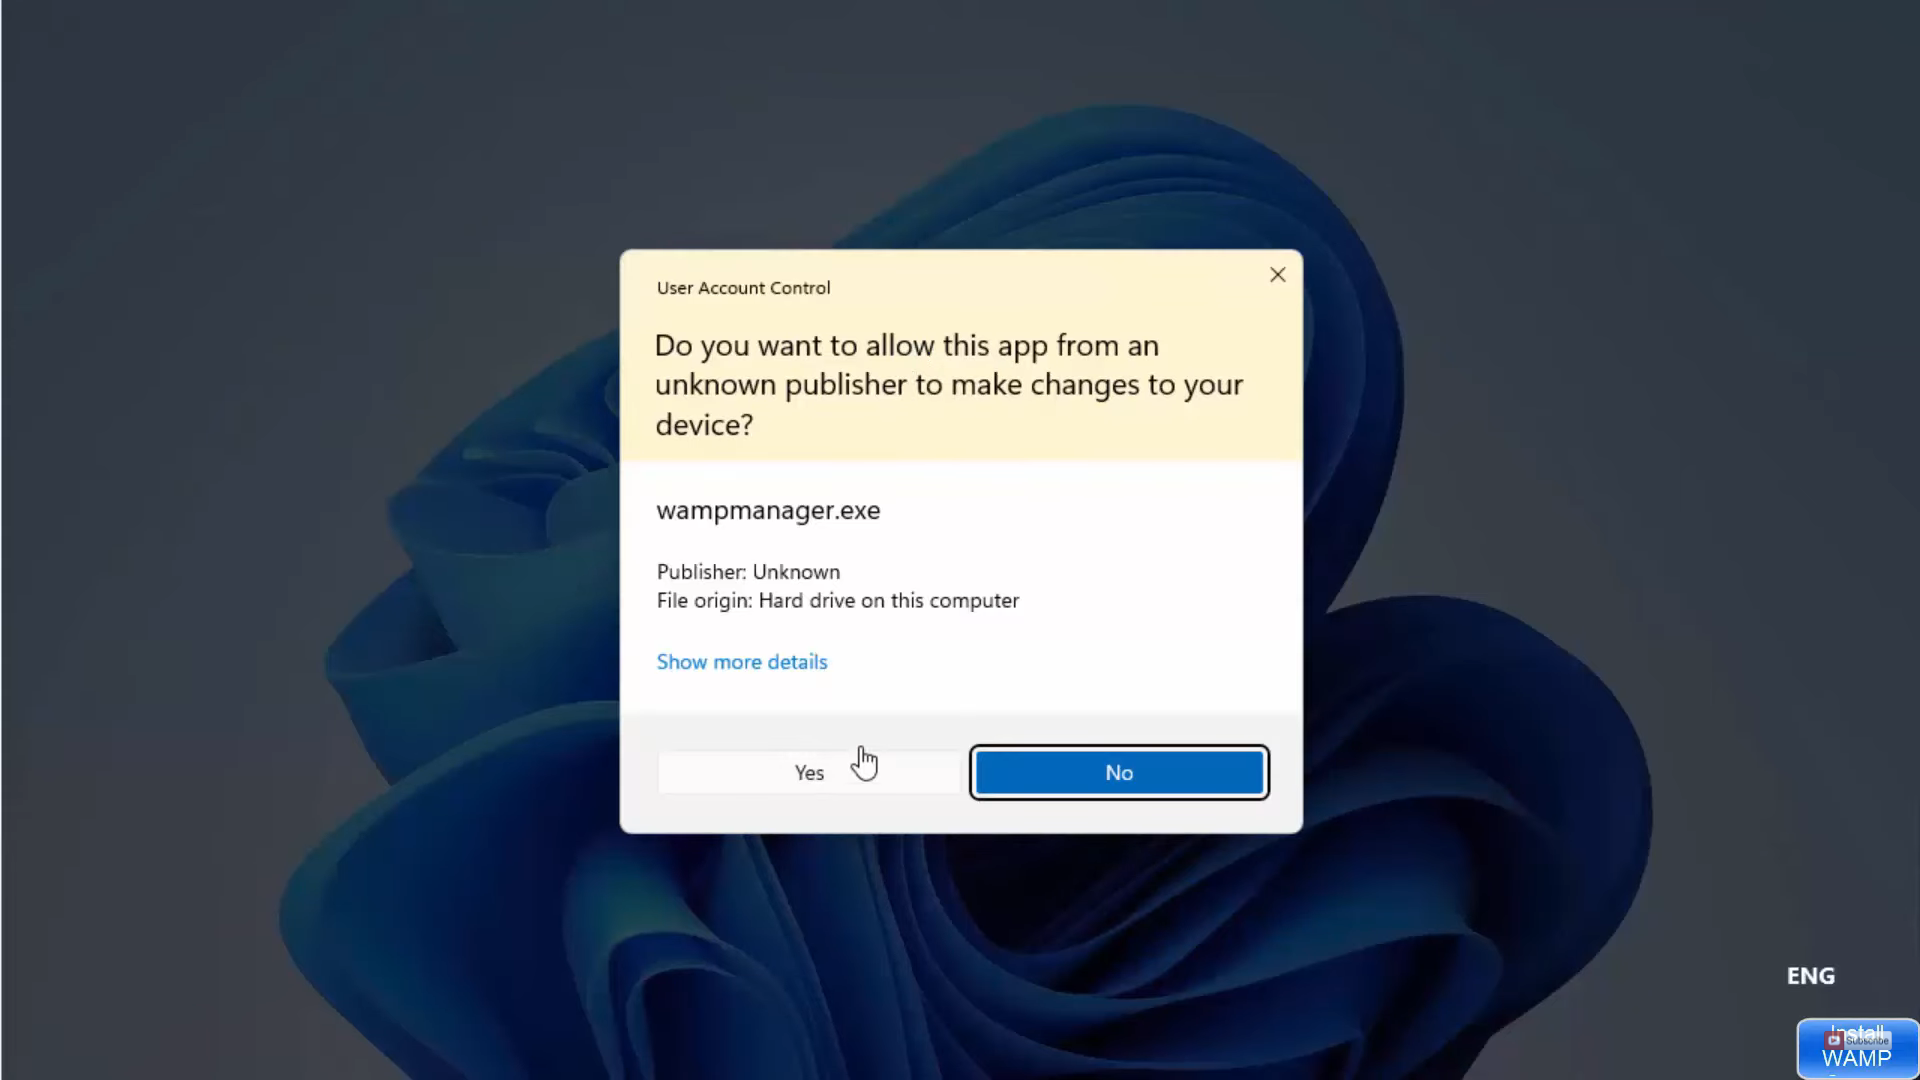
4. Once the exe file is downloaded, click on the exe file and minimize the browser. It will show a warning. Click on Yes.
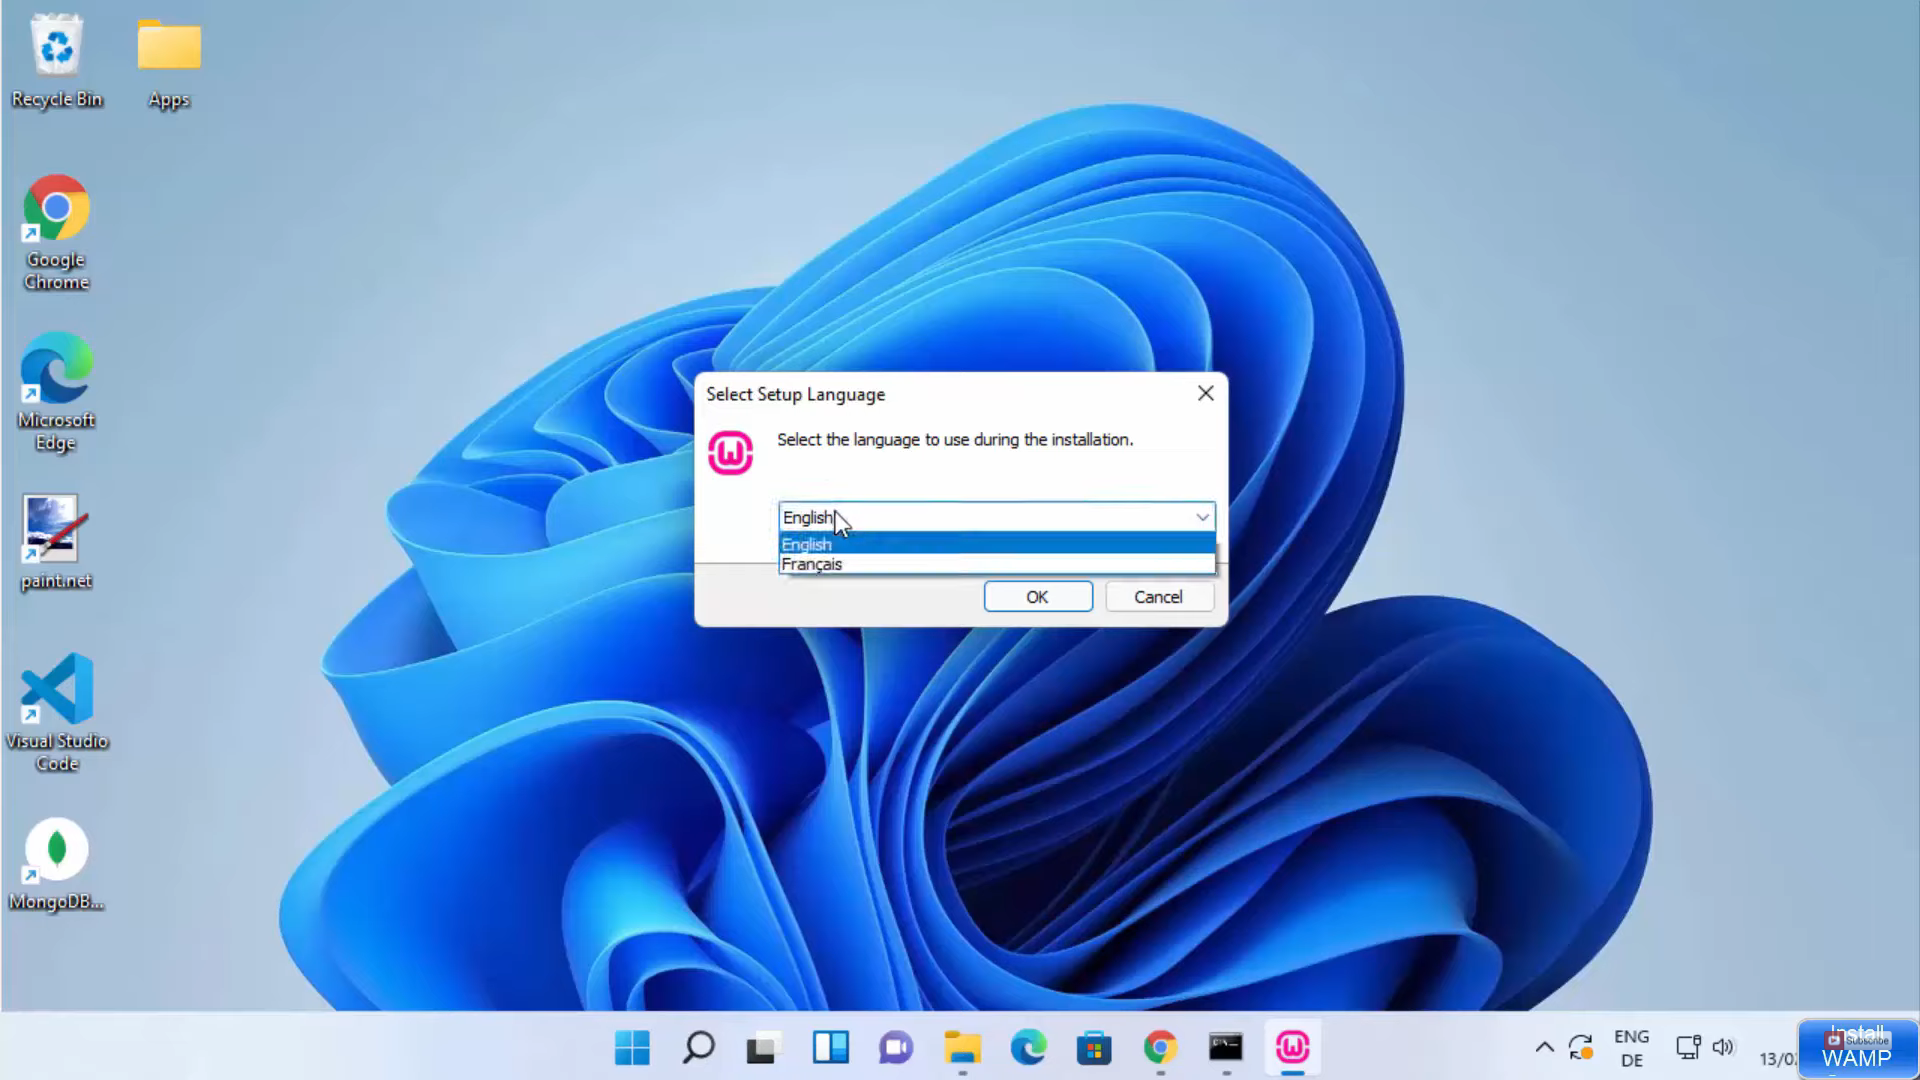
5. In the language window, I am going to choose English. Then, click on Ok.
6. In the license agreement window, accept the agreement and click on Next.

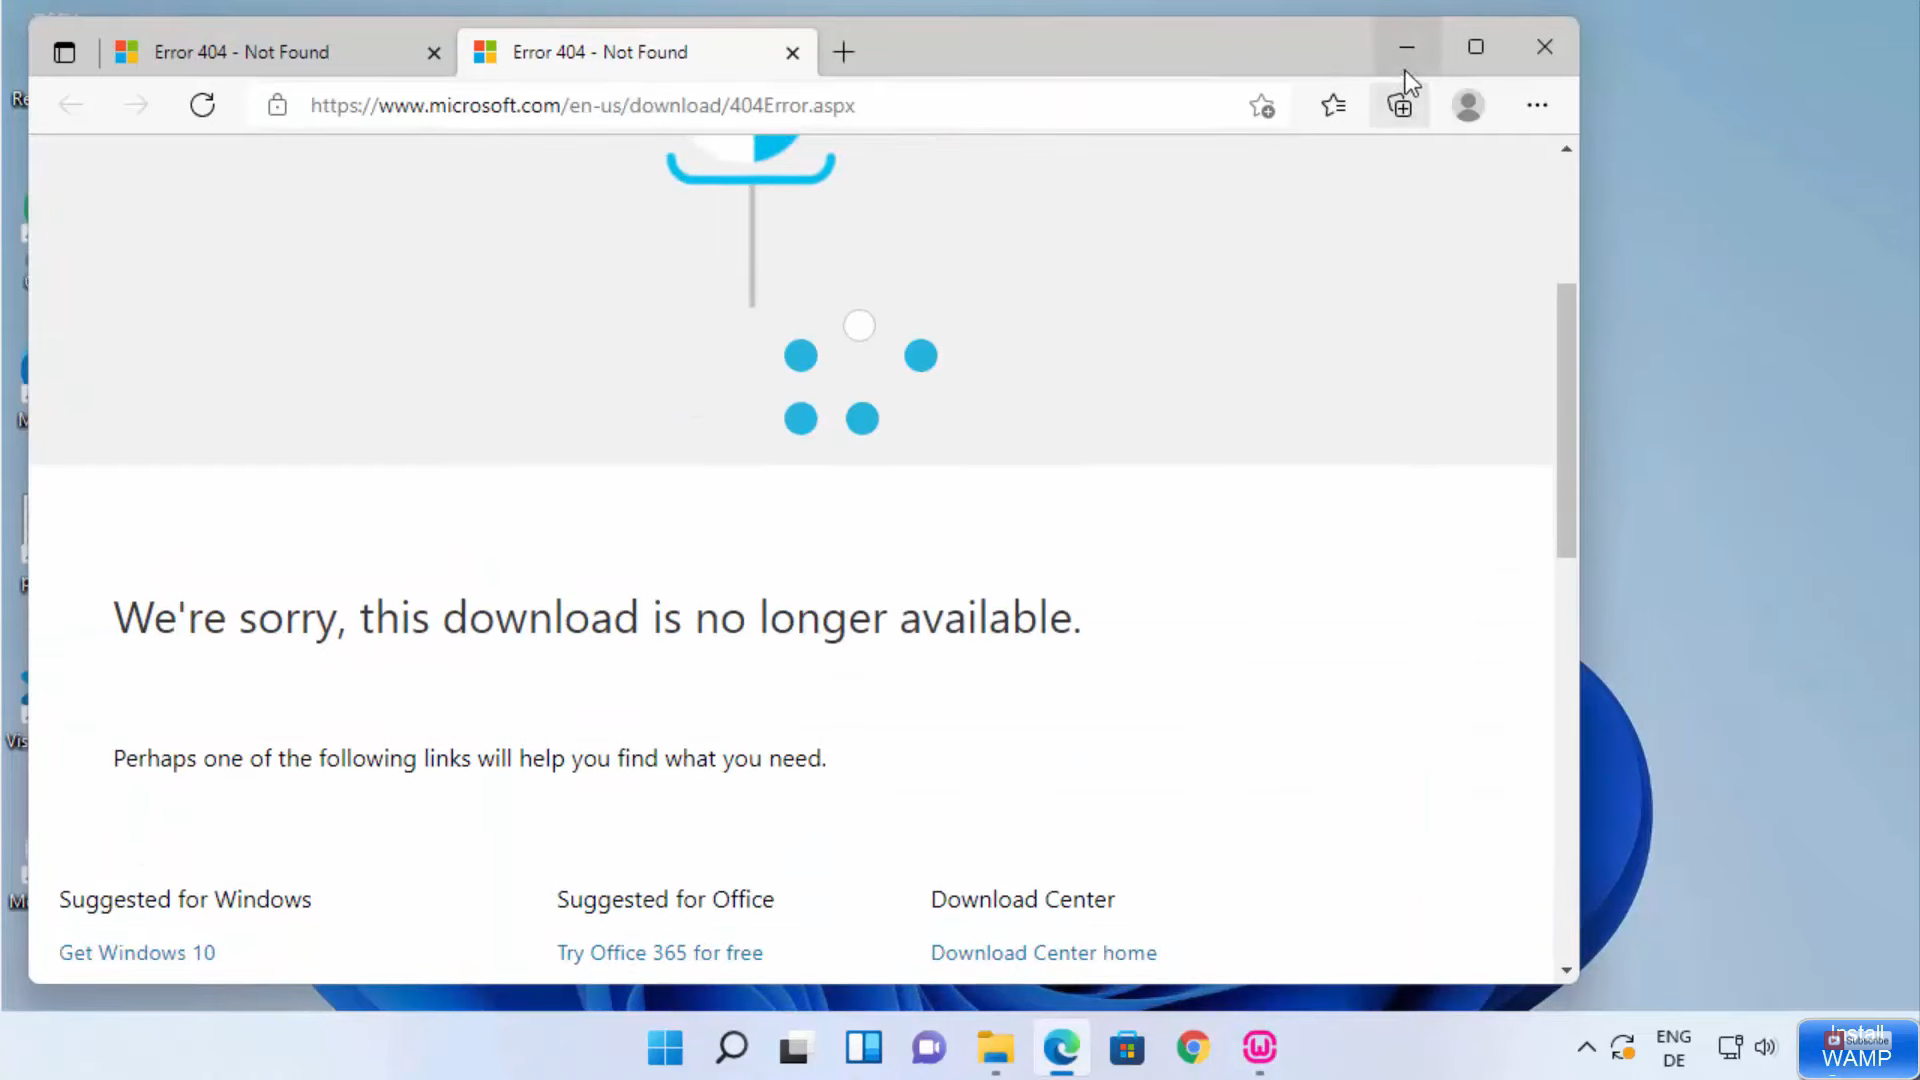
7. In the next window, it will show a warning. It will ask you to install some packages. Click on the first link. Sometimes, the link will be no longer available. In that case, go to the next link. Since the next link is also not available, I am going to the third link.
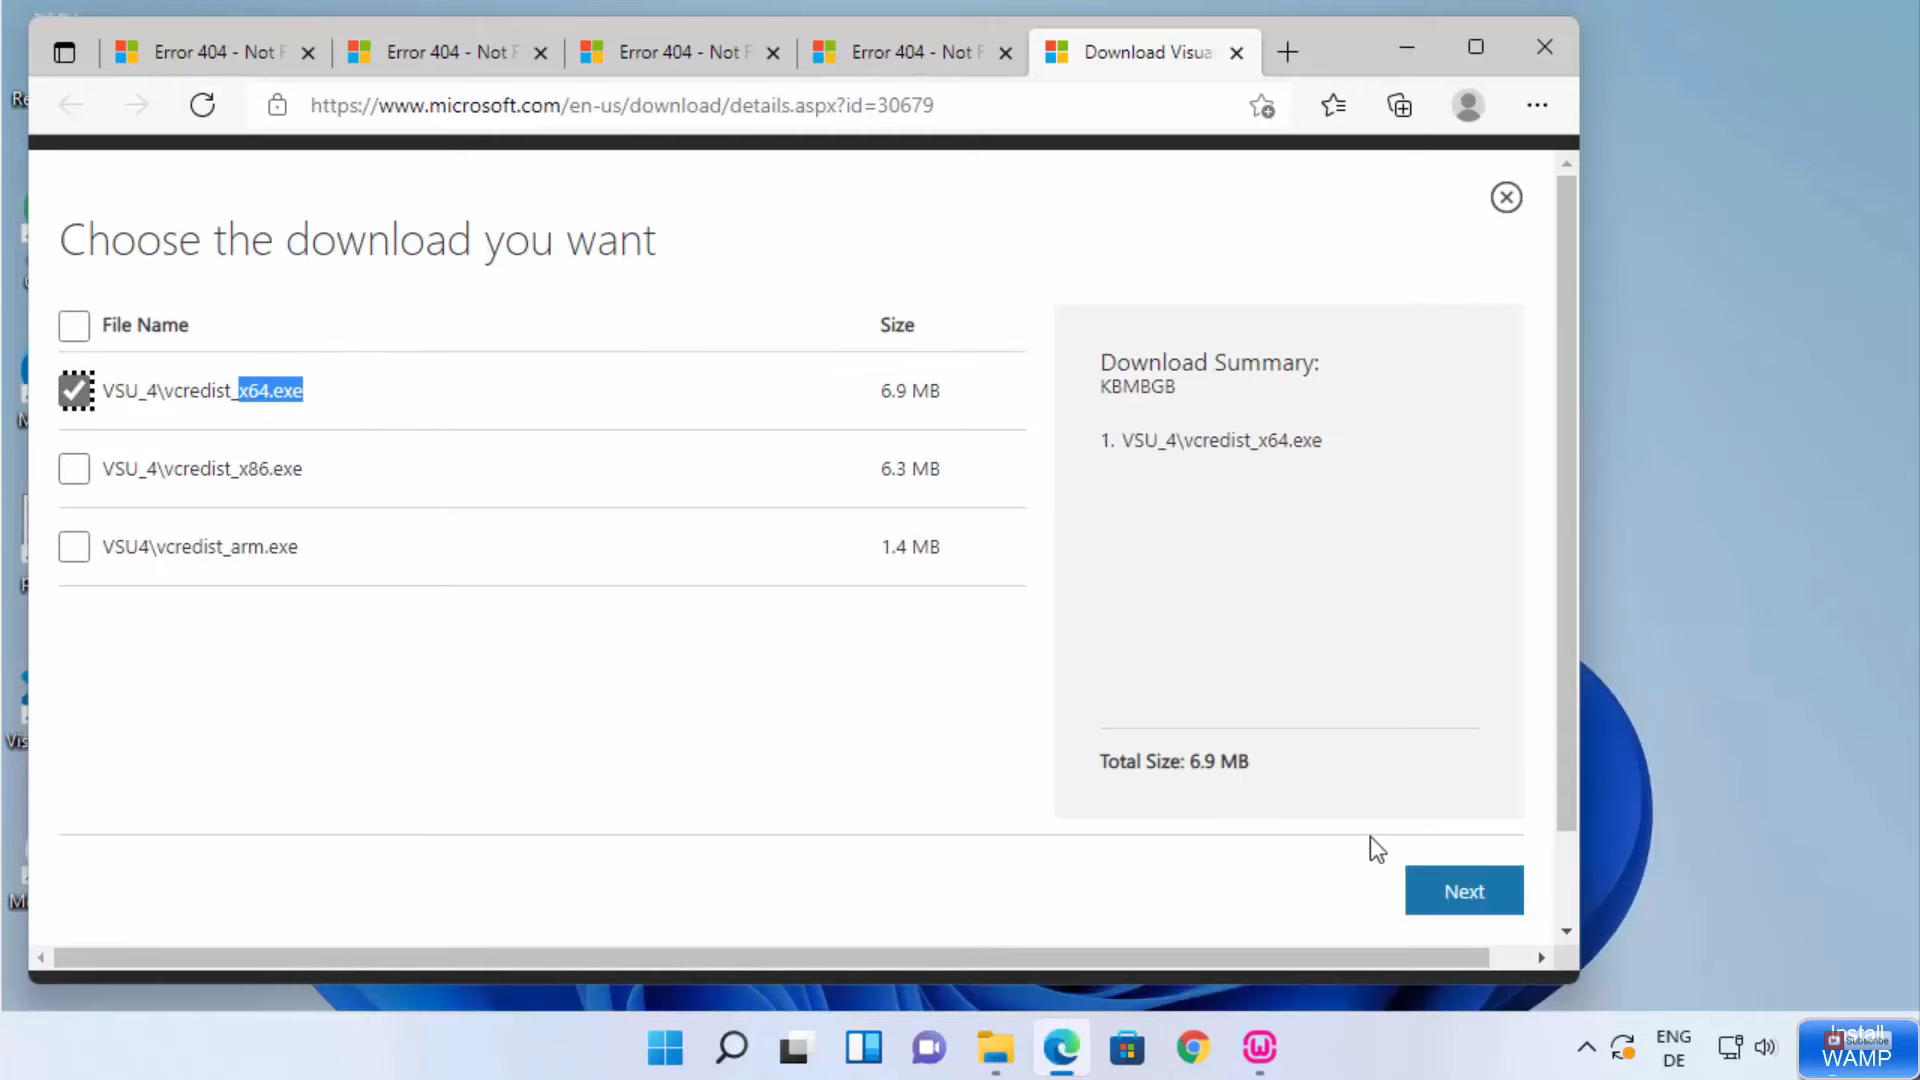
8. The third link is available. Choose the language and click on download.

9. I am going to download the 64-bit version. Check that checkbox and click on Next. It will start to download the exe file. Then, click on Install. You need to do the same for all the packages.
10. Once you have downloaded all the packages, click on Next.
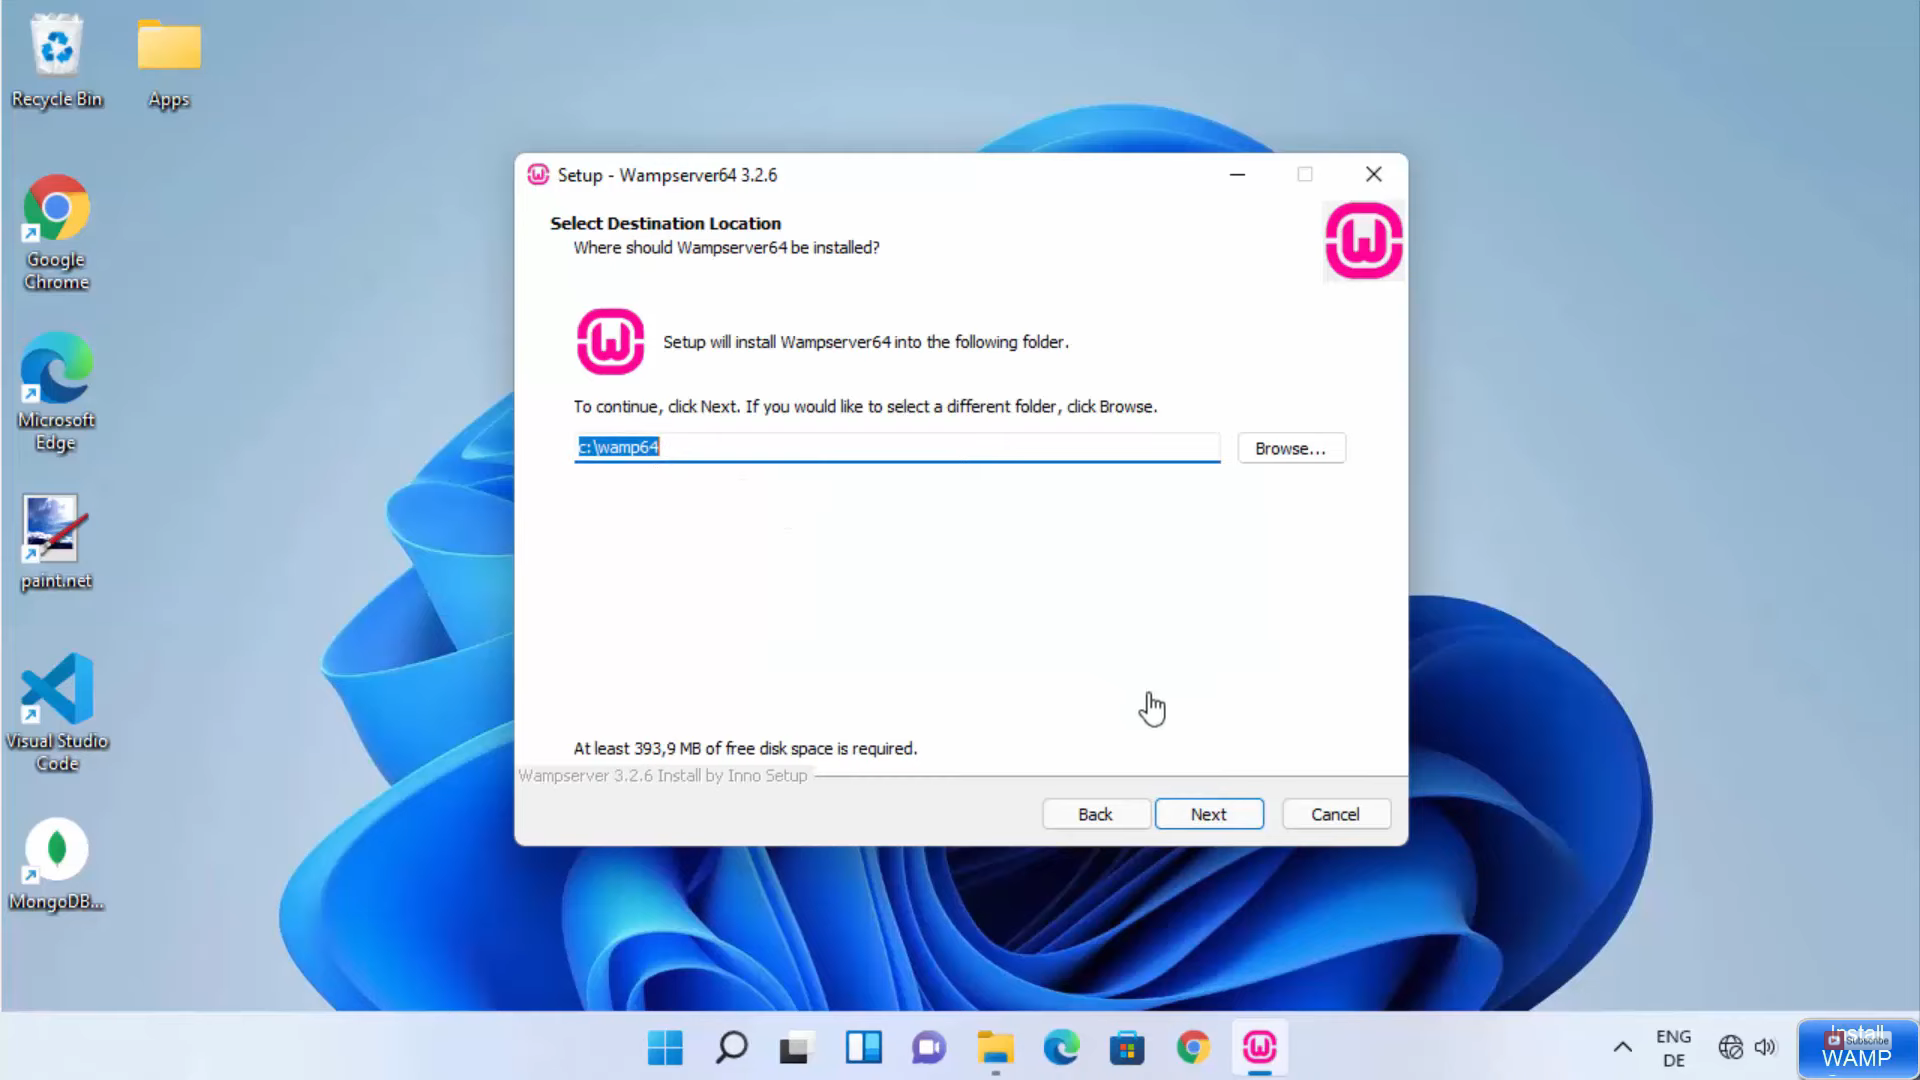
11. This will be the location where it will be installed. I am going to leave it as default and click on Next.
12. In this window, if you need some extra packages, you can select them and click on Next.

13. It will ask you to select the start menu folder. I am going to leave it as default and click on Next.

14. In the next window, click on Install.

15. In between, it will show some warning. Click on yes.
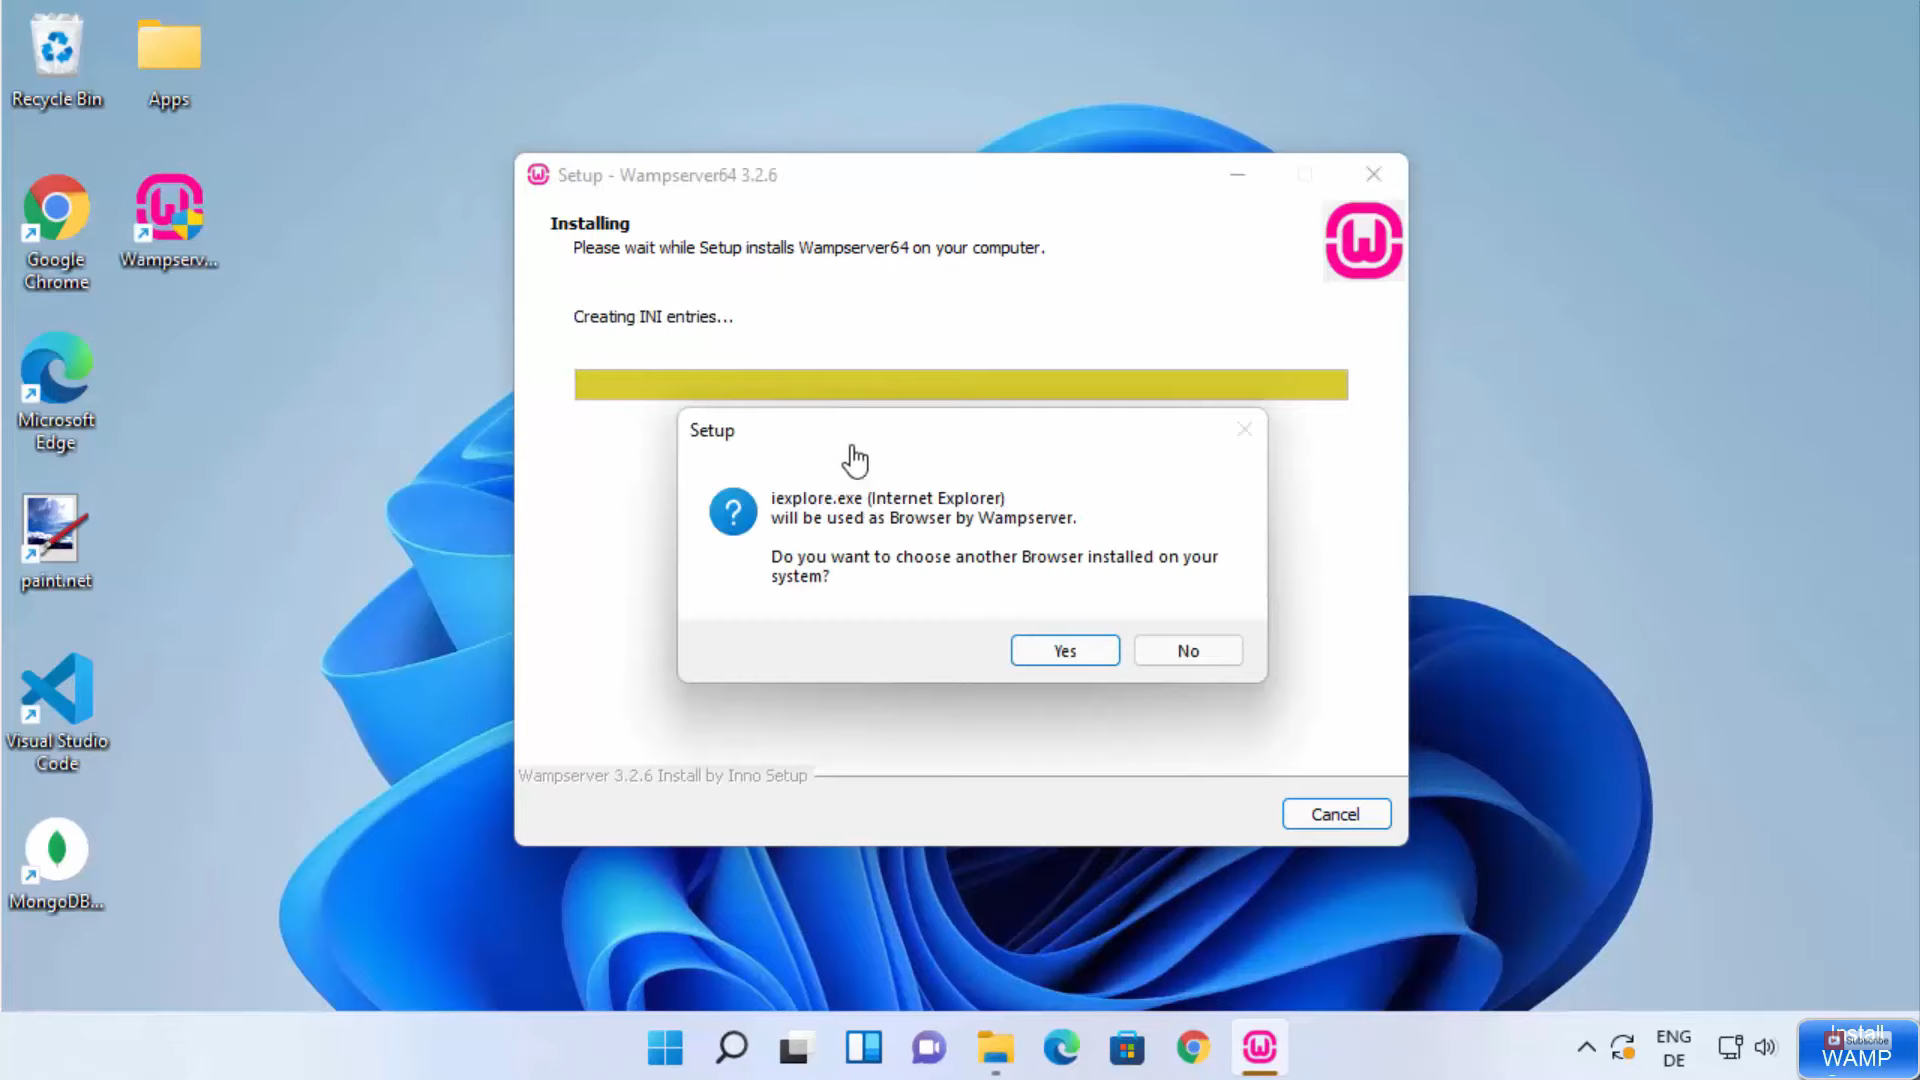
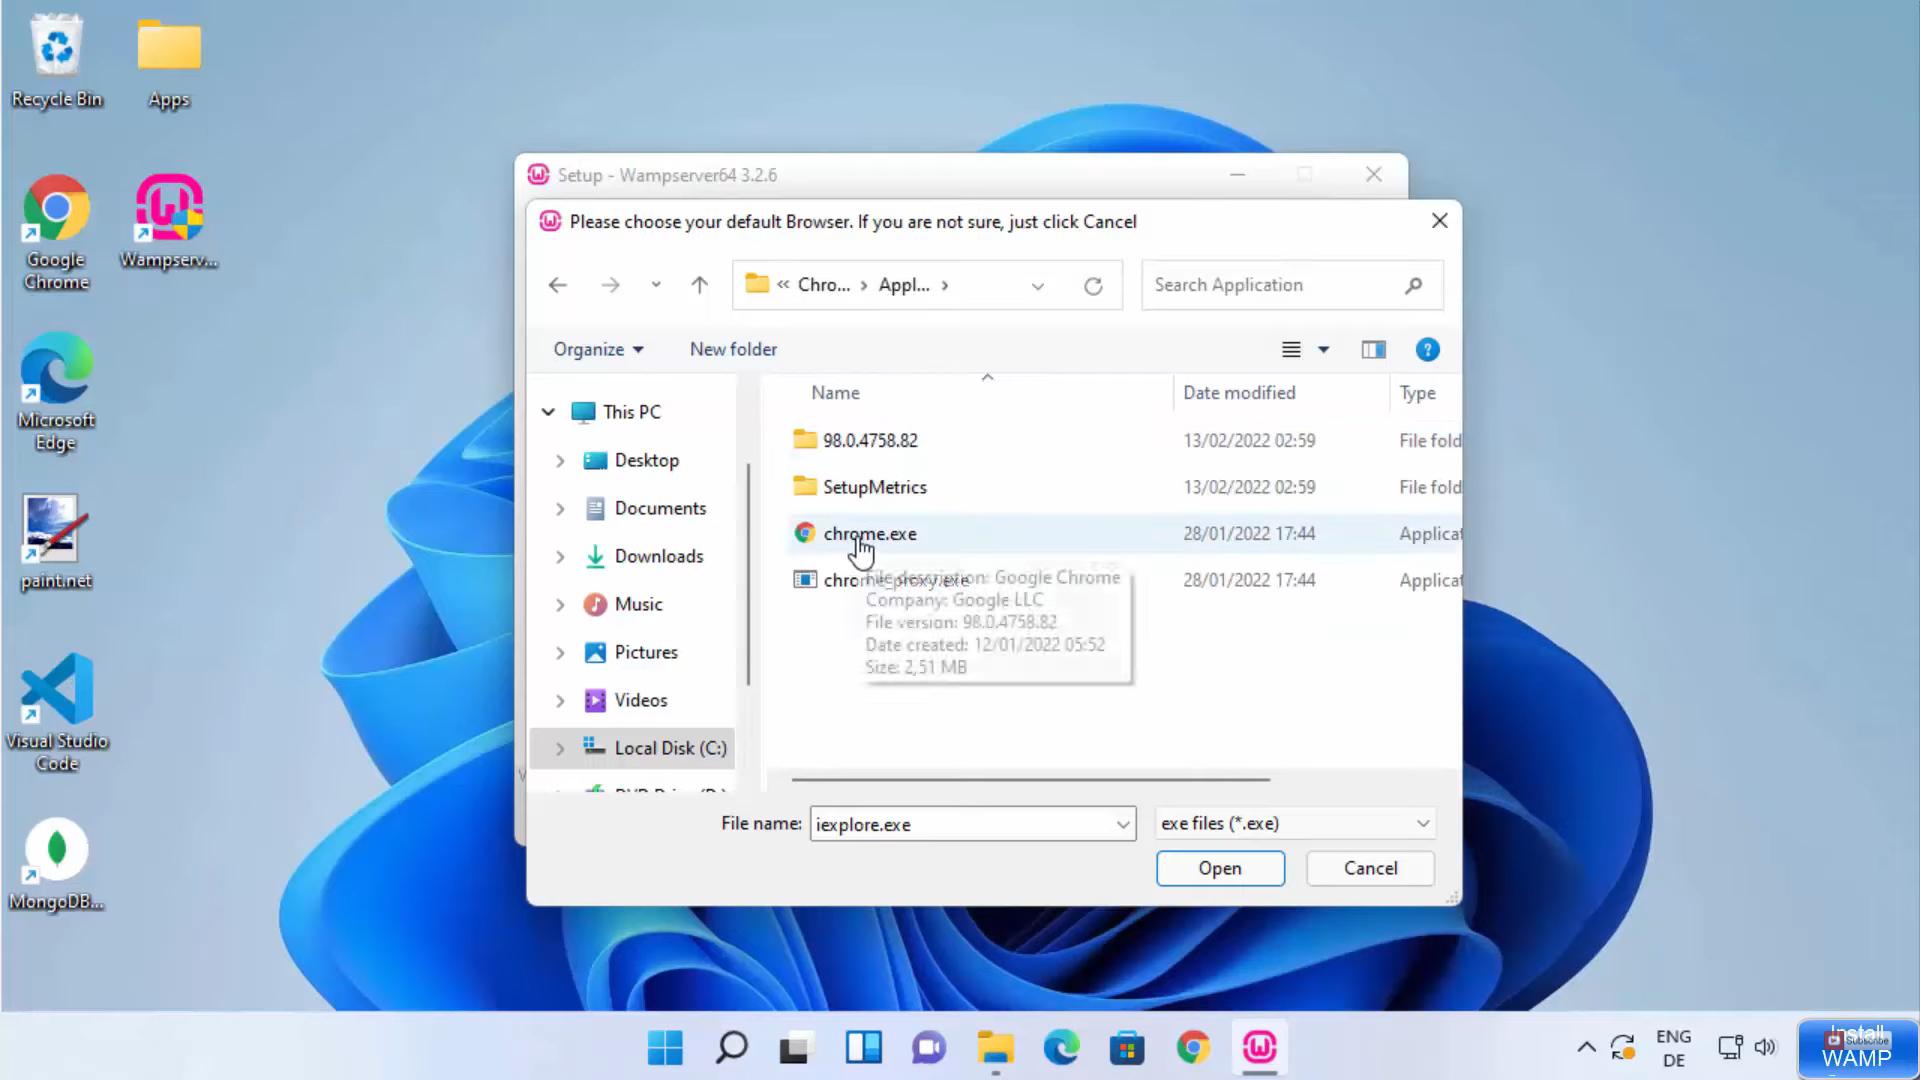
16. I am going to use the chrome browser. It’s available in the C directory. Go to that location. Click on chrome.exe and click on Ok.
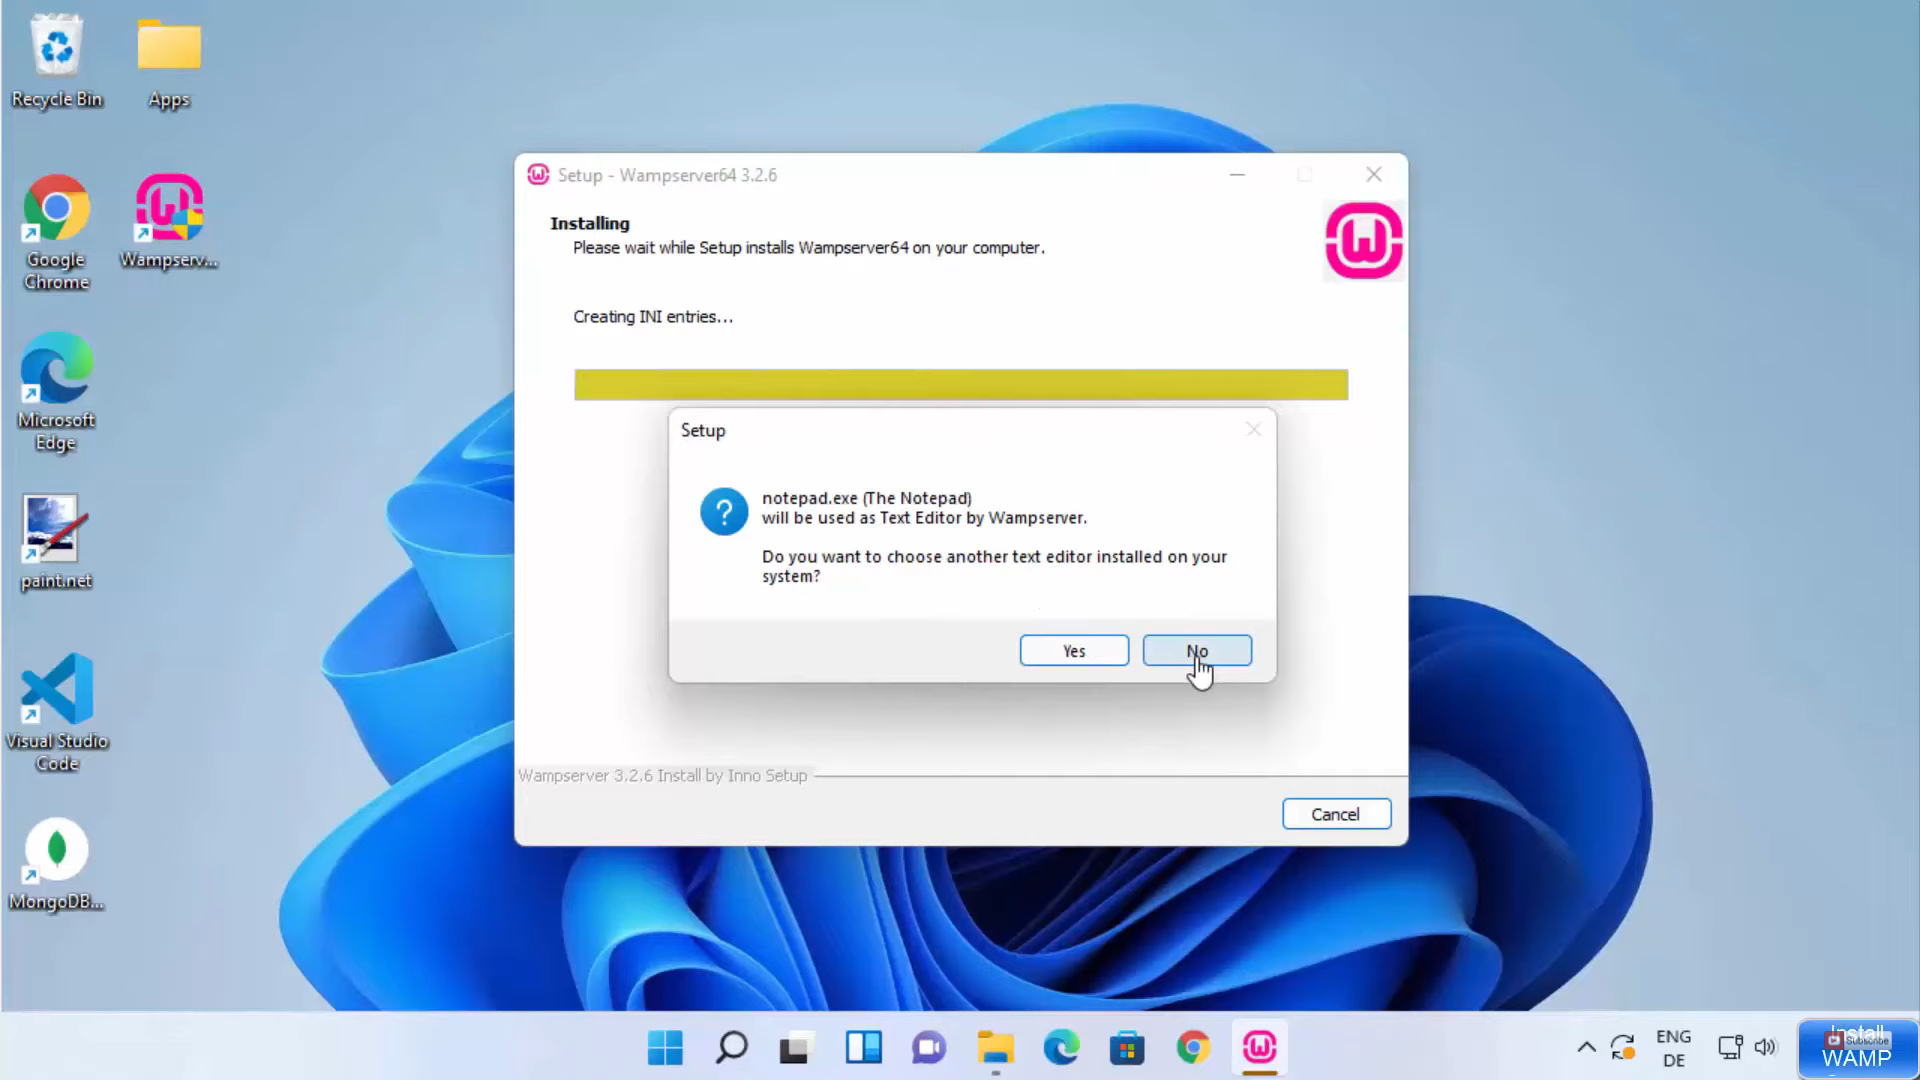
17. This time it will ask about notepad. I am going to click on No for that.
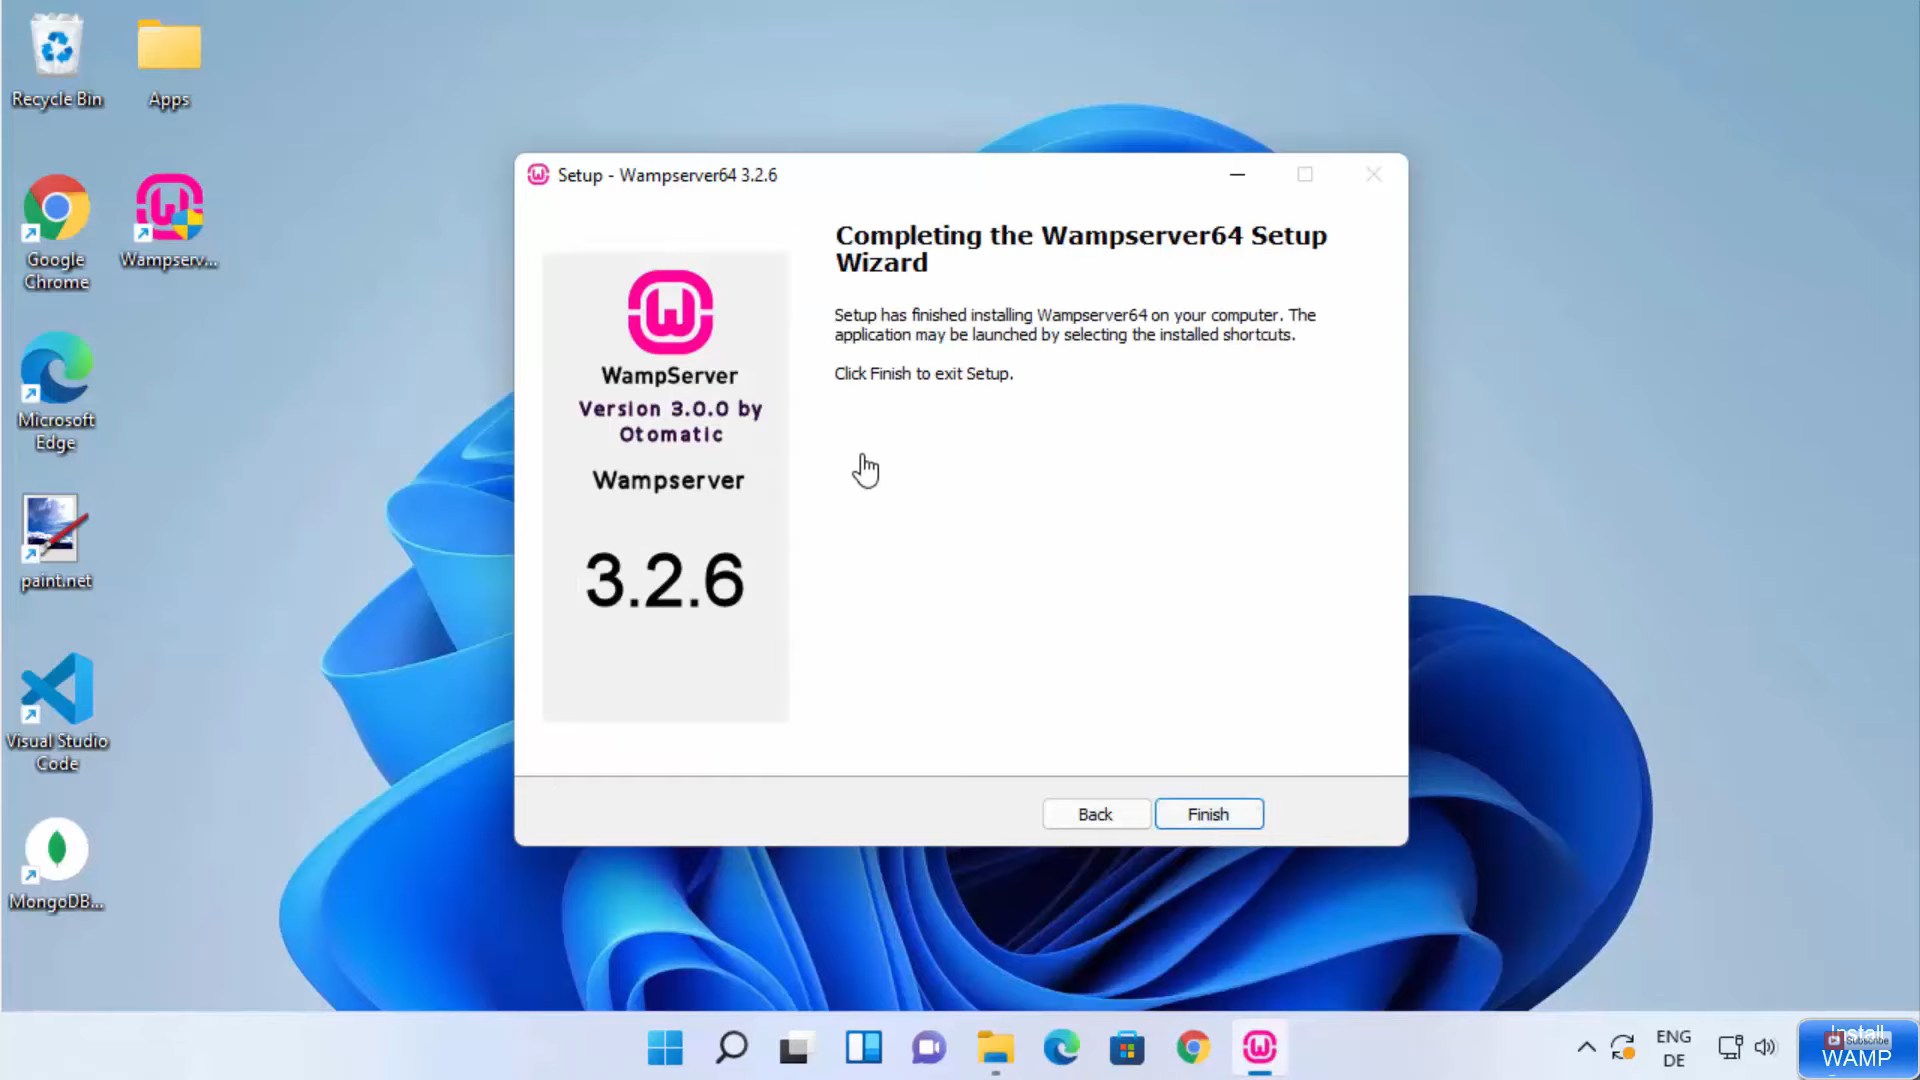
18. In the information window, click on Next.

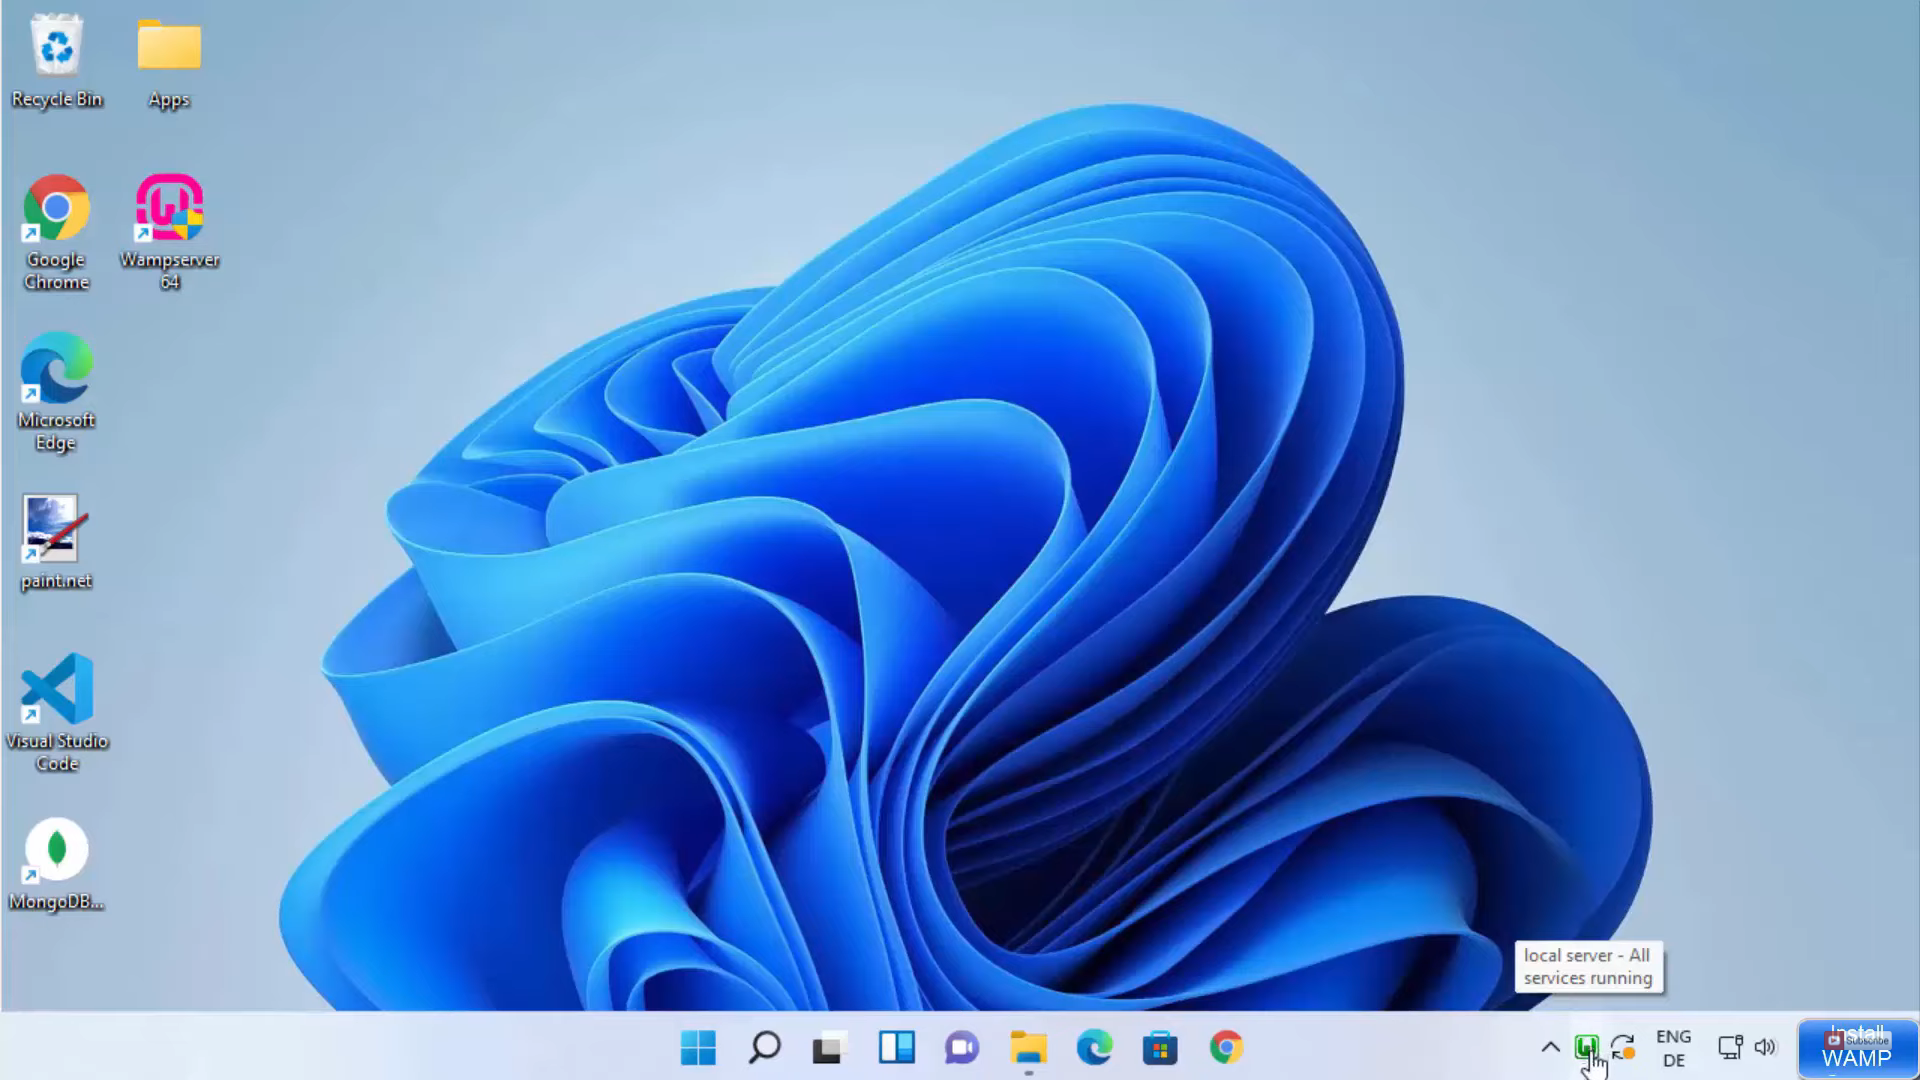
19. In the next window, click on Finish. You can also see the shortcut icon on the desktop.
20. When the wamp server starts, you will be able to see the wamp server in the taskbar list. If it didn’t start, click on the wamp server icon on the desktop. It will show a warning. Click on yes.
21. It will start the wamp server. You can also see the wamp server icon in the taskbar. If it is not running, it will be in red color. If it is running, the color of the wamp icon will change to green. If it turns green, then it means the wamp server is running successfully.
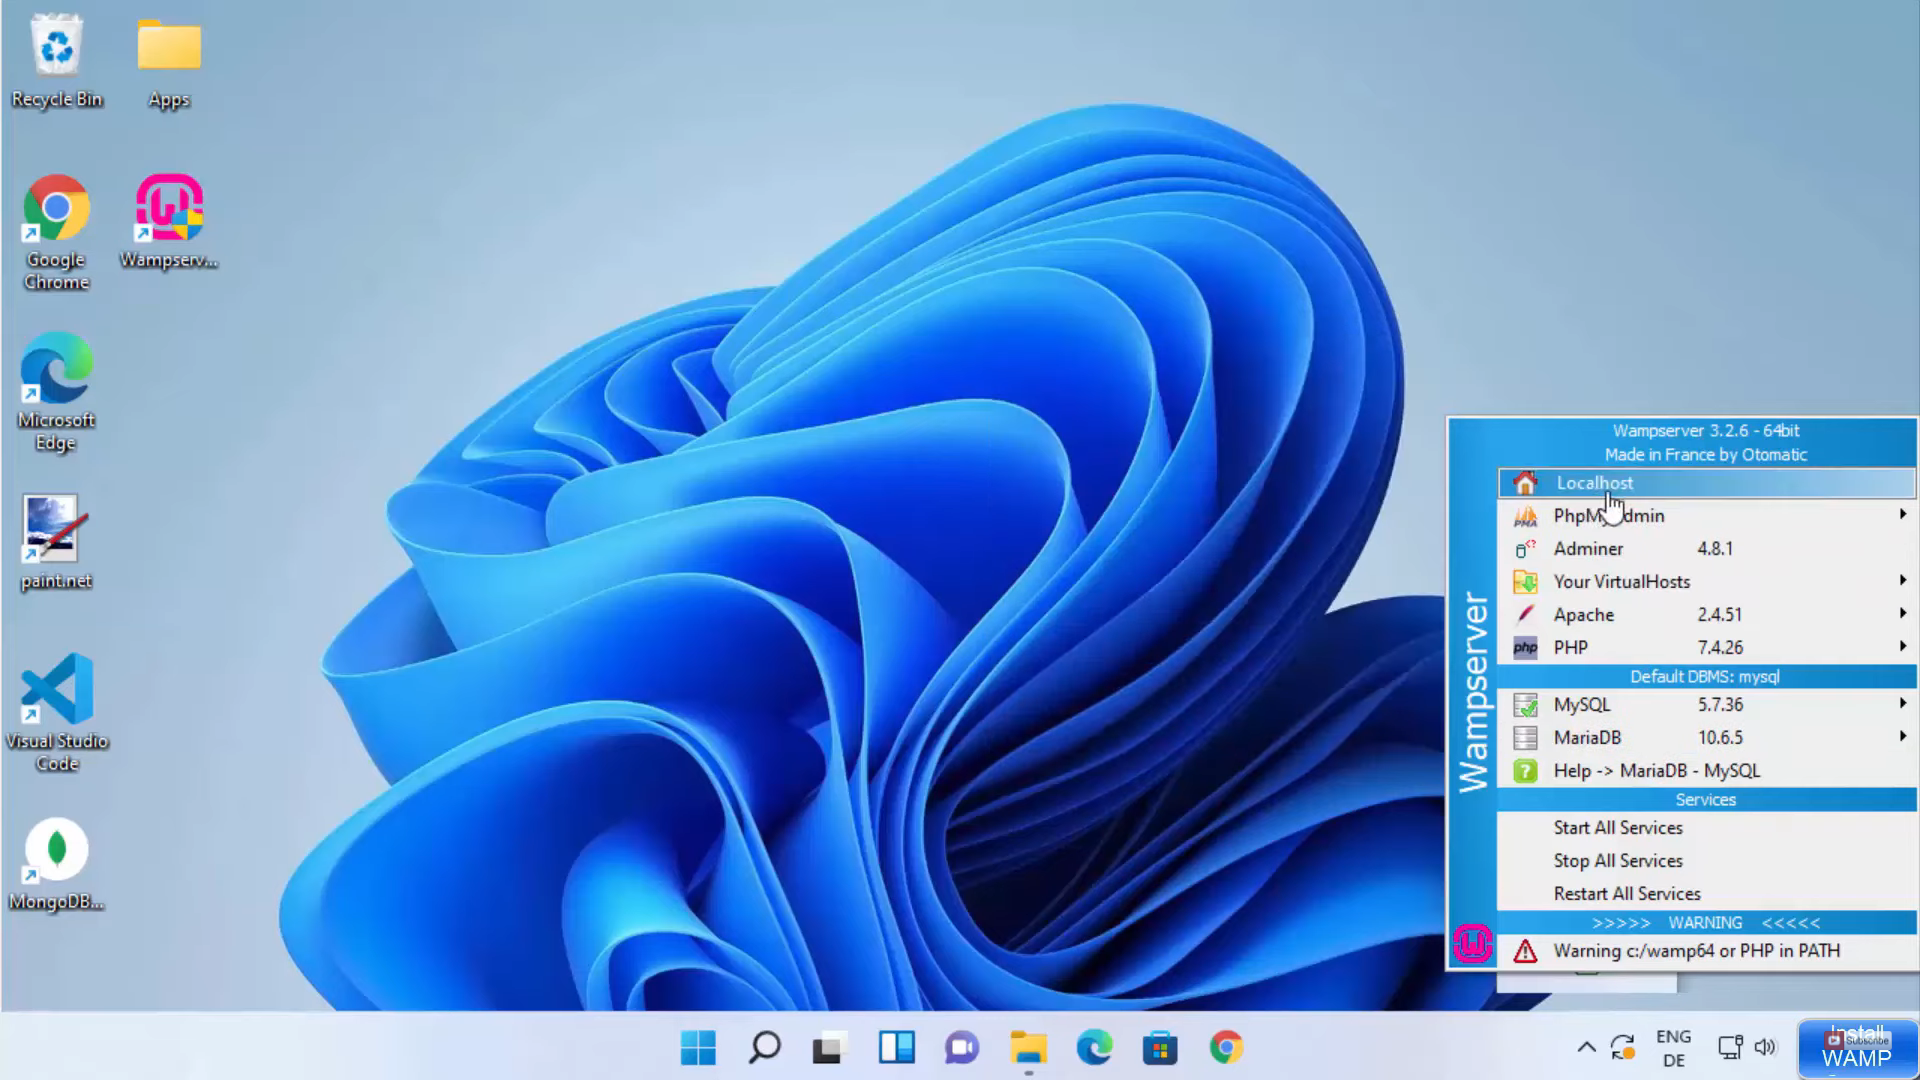
22. Click on the arrow in the taskbar and click on the wamp server icon. It will display all the options related to the wamp server. I am going to open localhost.
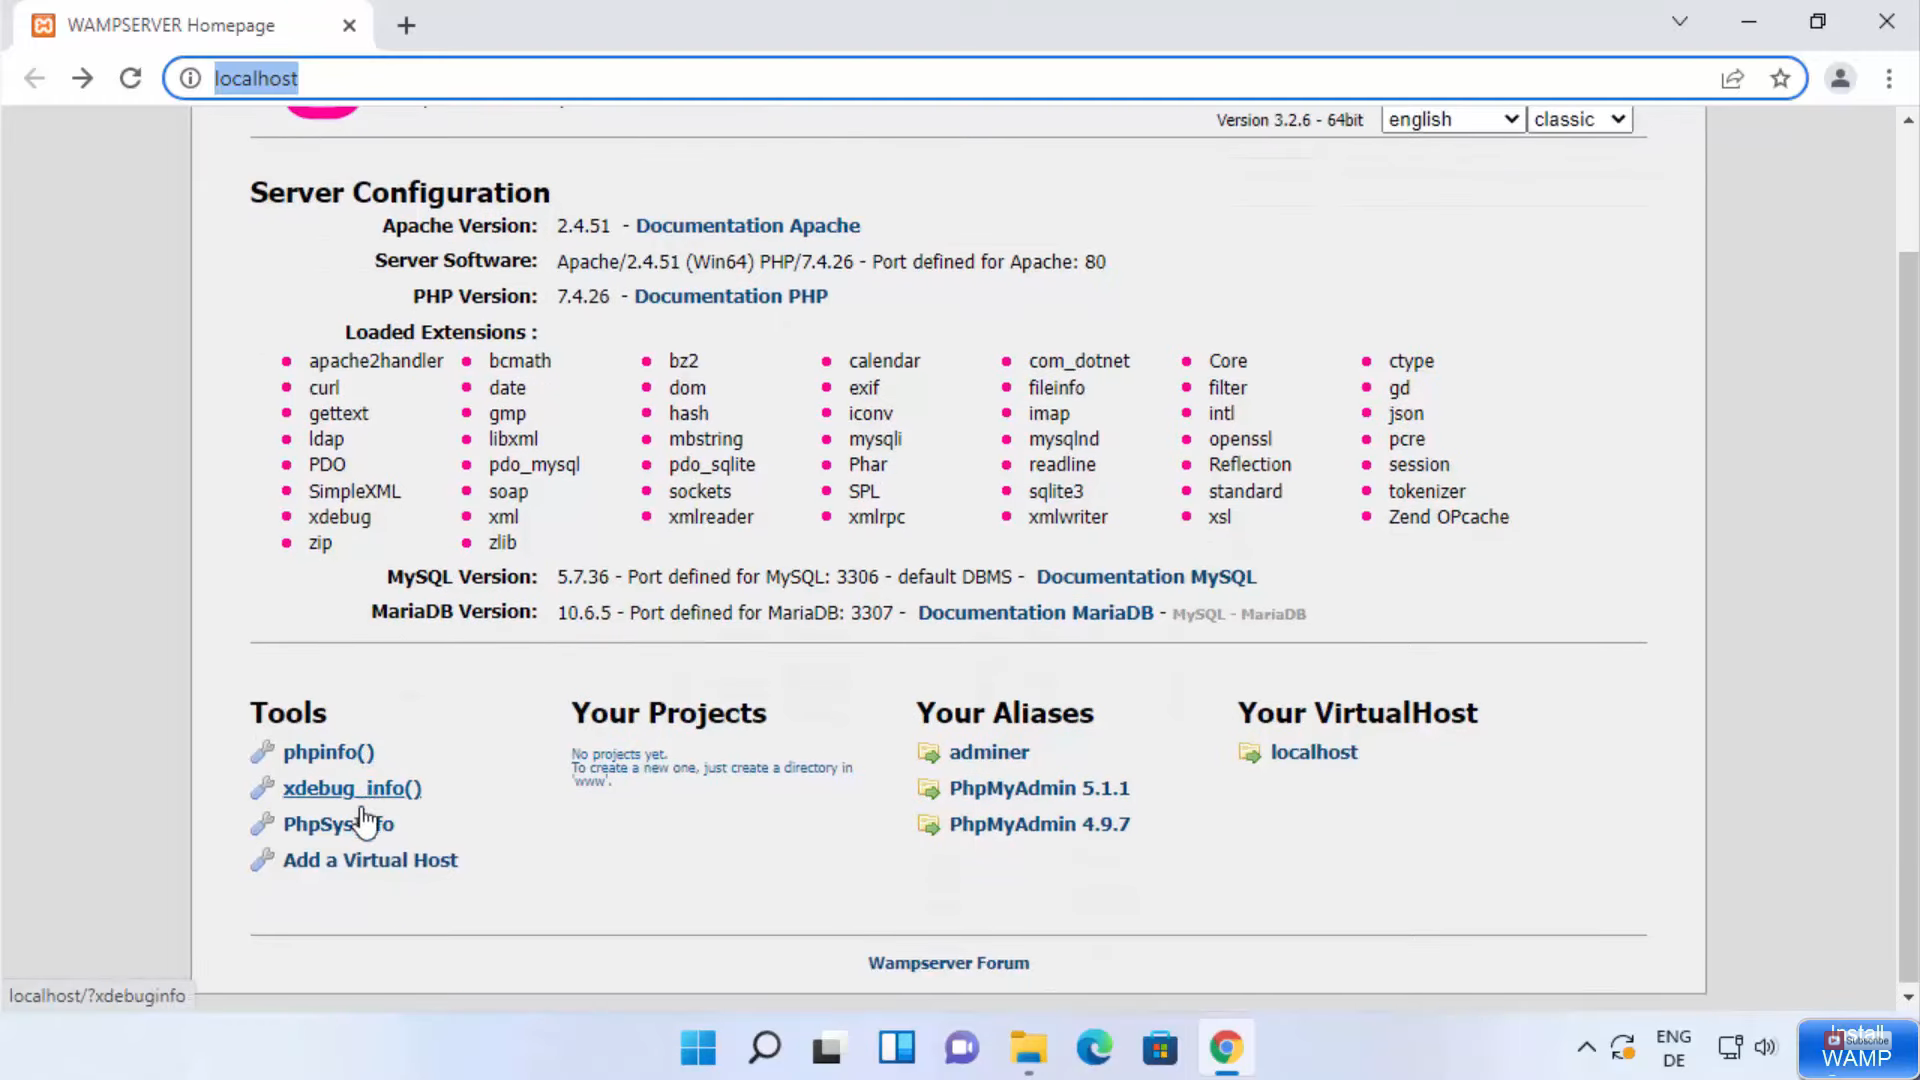
23. It will open localhost in your chosen browser. In my case, I have chosen google chrome. If you see this kind of window which is provided in the image below, then the wamp server is running successfully. There are two versions of phpmyadmin available. I am going to open the first version in a new tab.
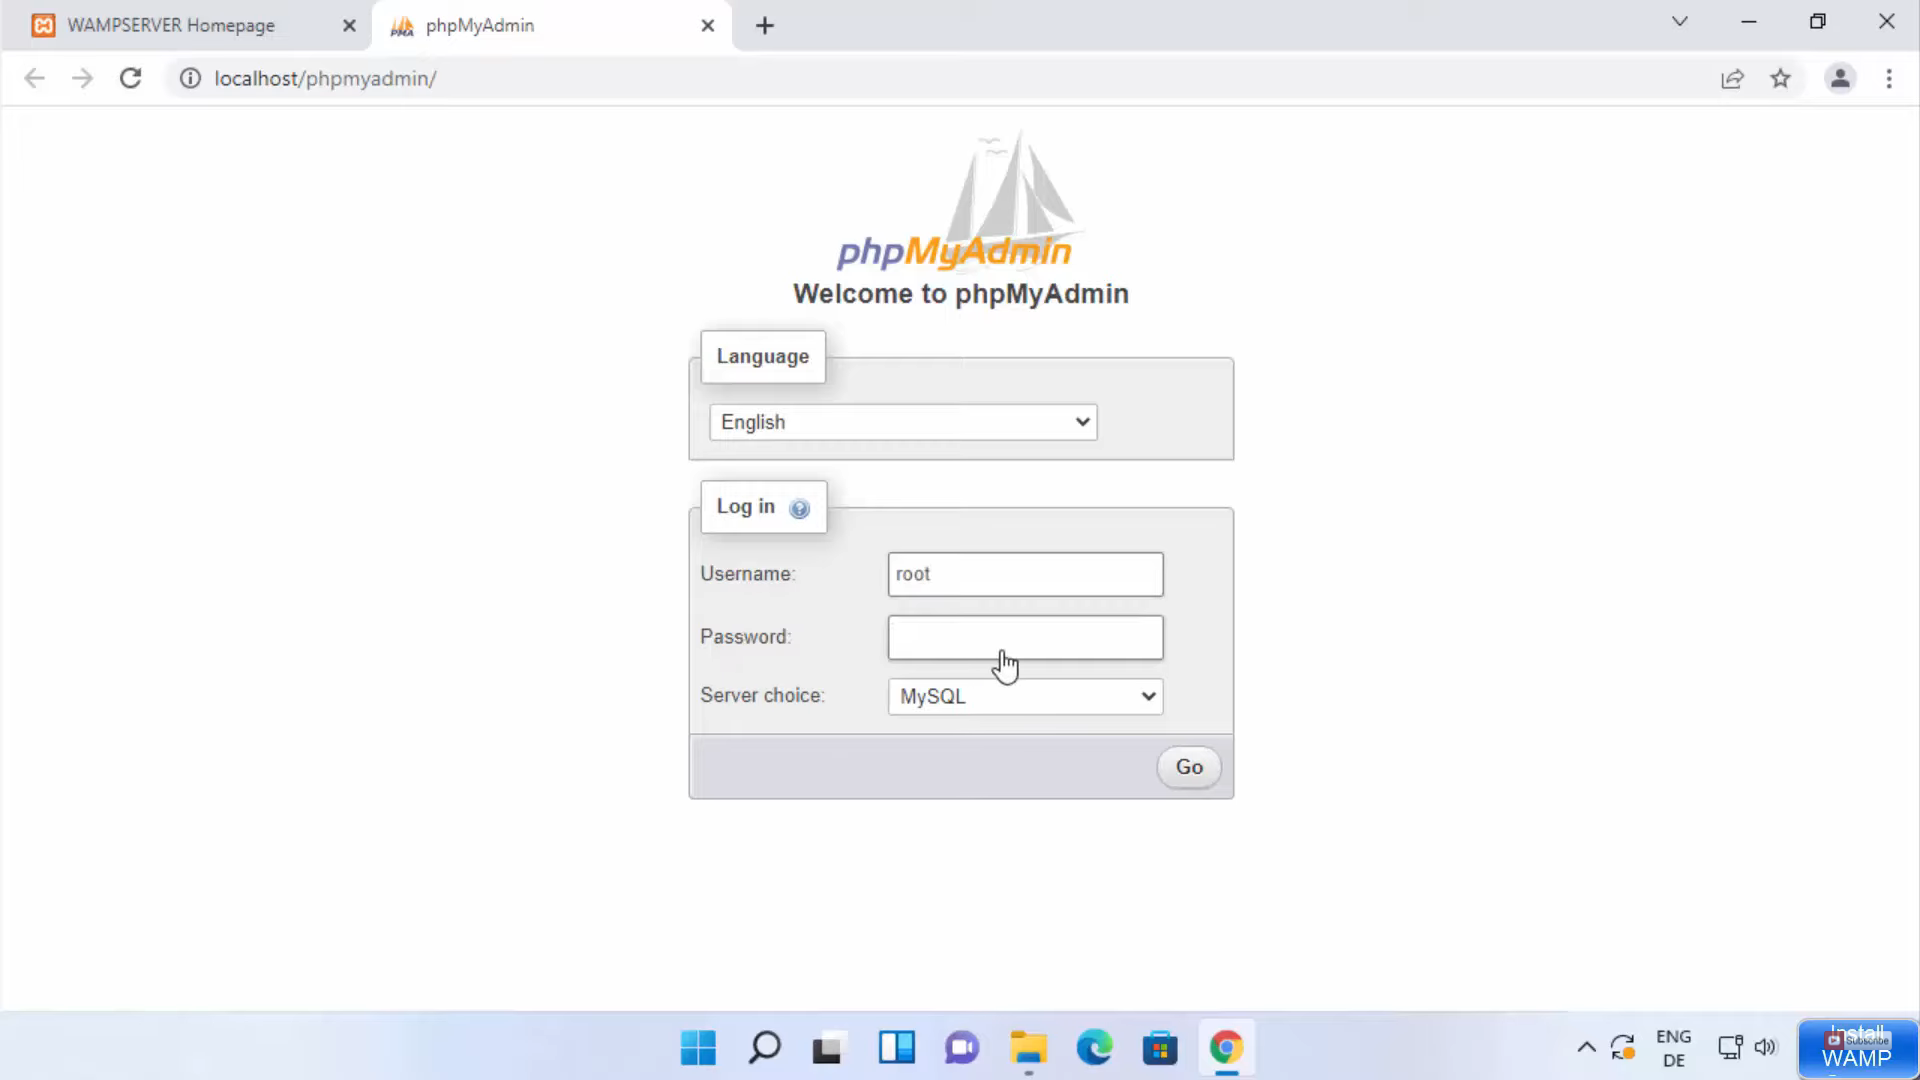
24. Once it starts, the default username is the root, and the password is blank. Then, click on Go.
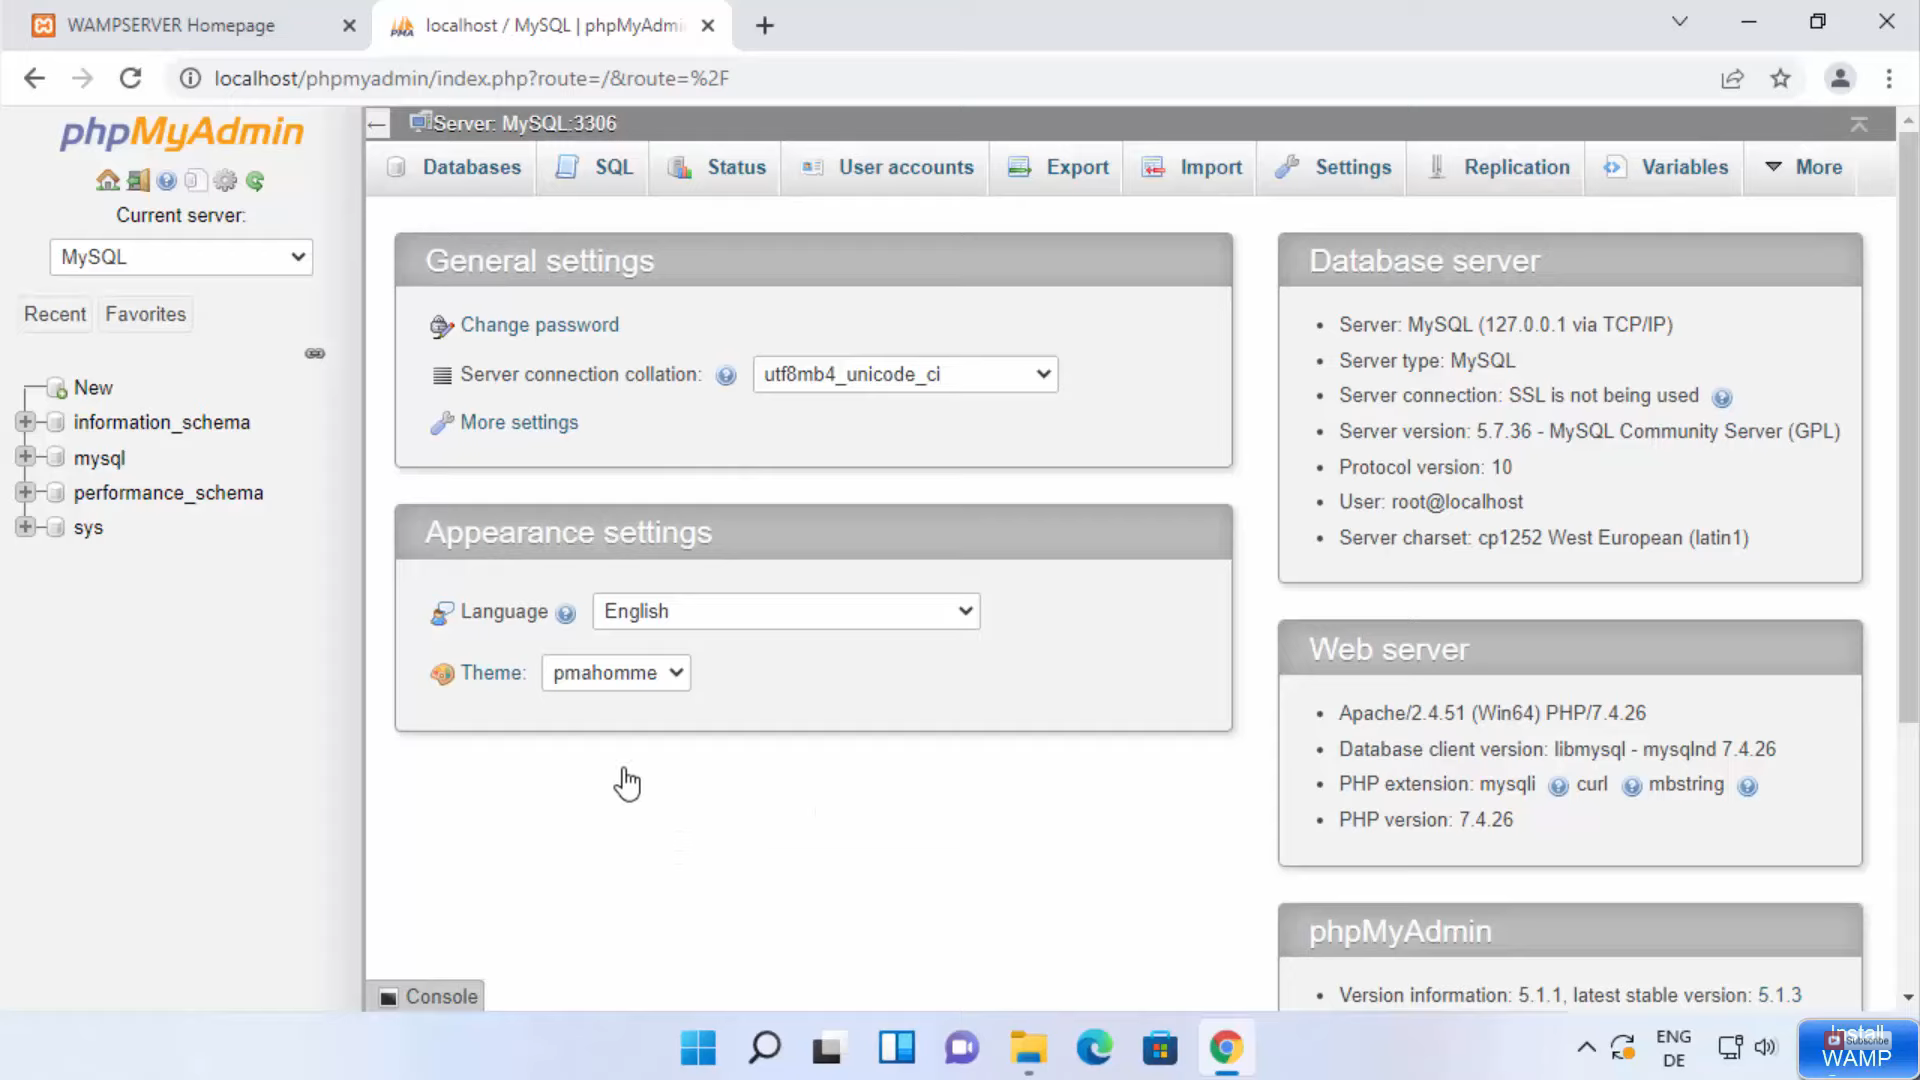
25. It will start phpmyadmin. You can start using the wamp server.
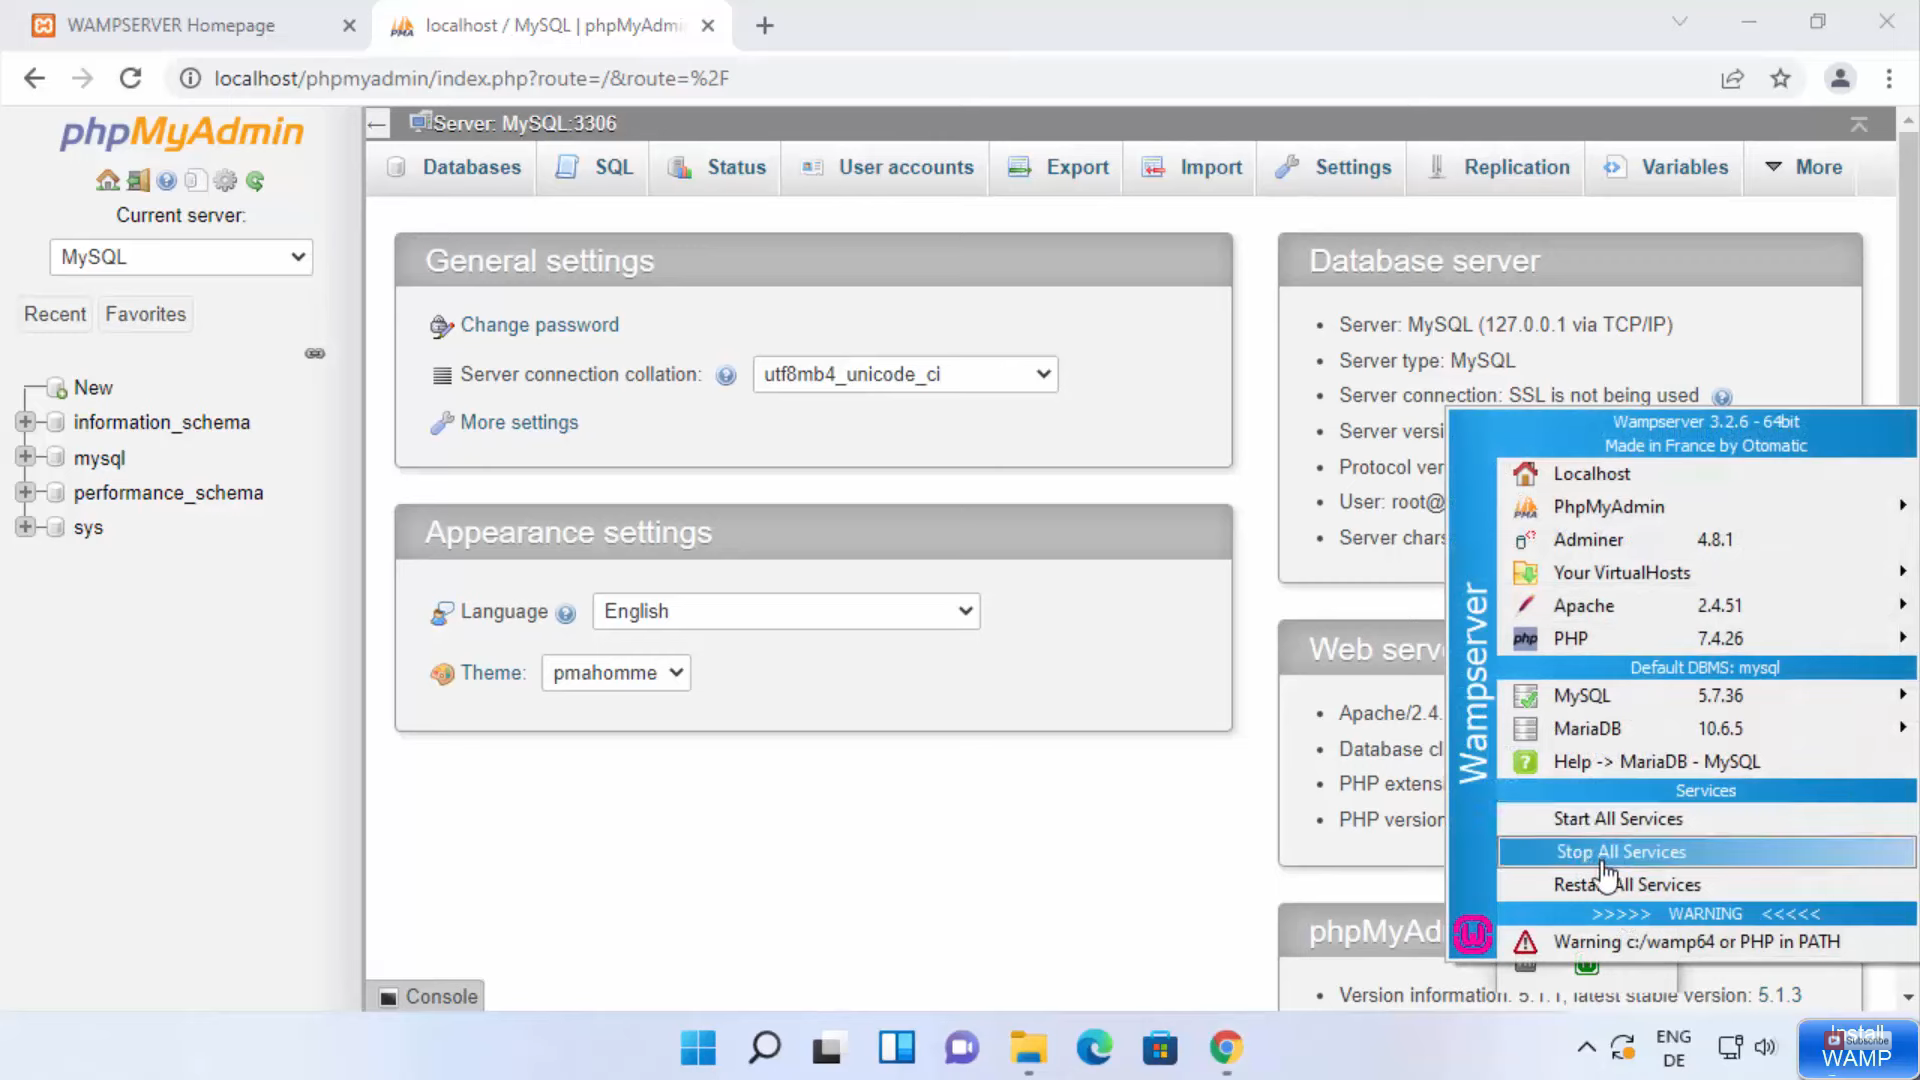
26. Once you are done, click on the wamp icon in the taskbar and click on stop all services.
27. When you want to quit, right-click on that icon and click on Exit. It will exit the wamp server on your Windows 11 Operating System.

These are the steps for downloading and installing the WAMP server on your Windows 11 Operating System.
Leave a Reply