
In this blog post, I will give a detailed view of downloading and installing the NoxPlayer Android emulator on your Windows 11 Operating System.
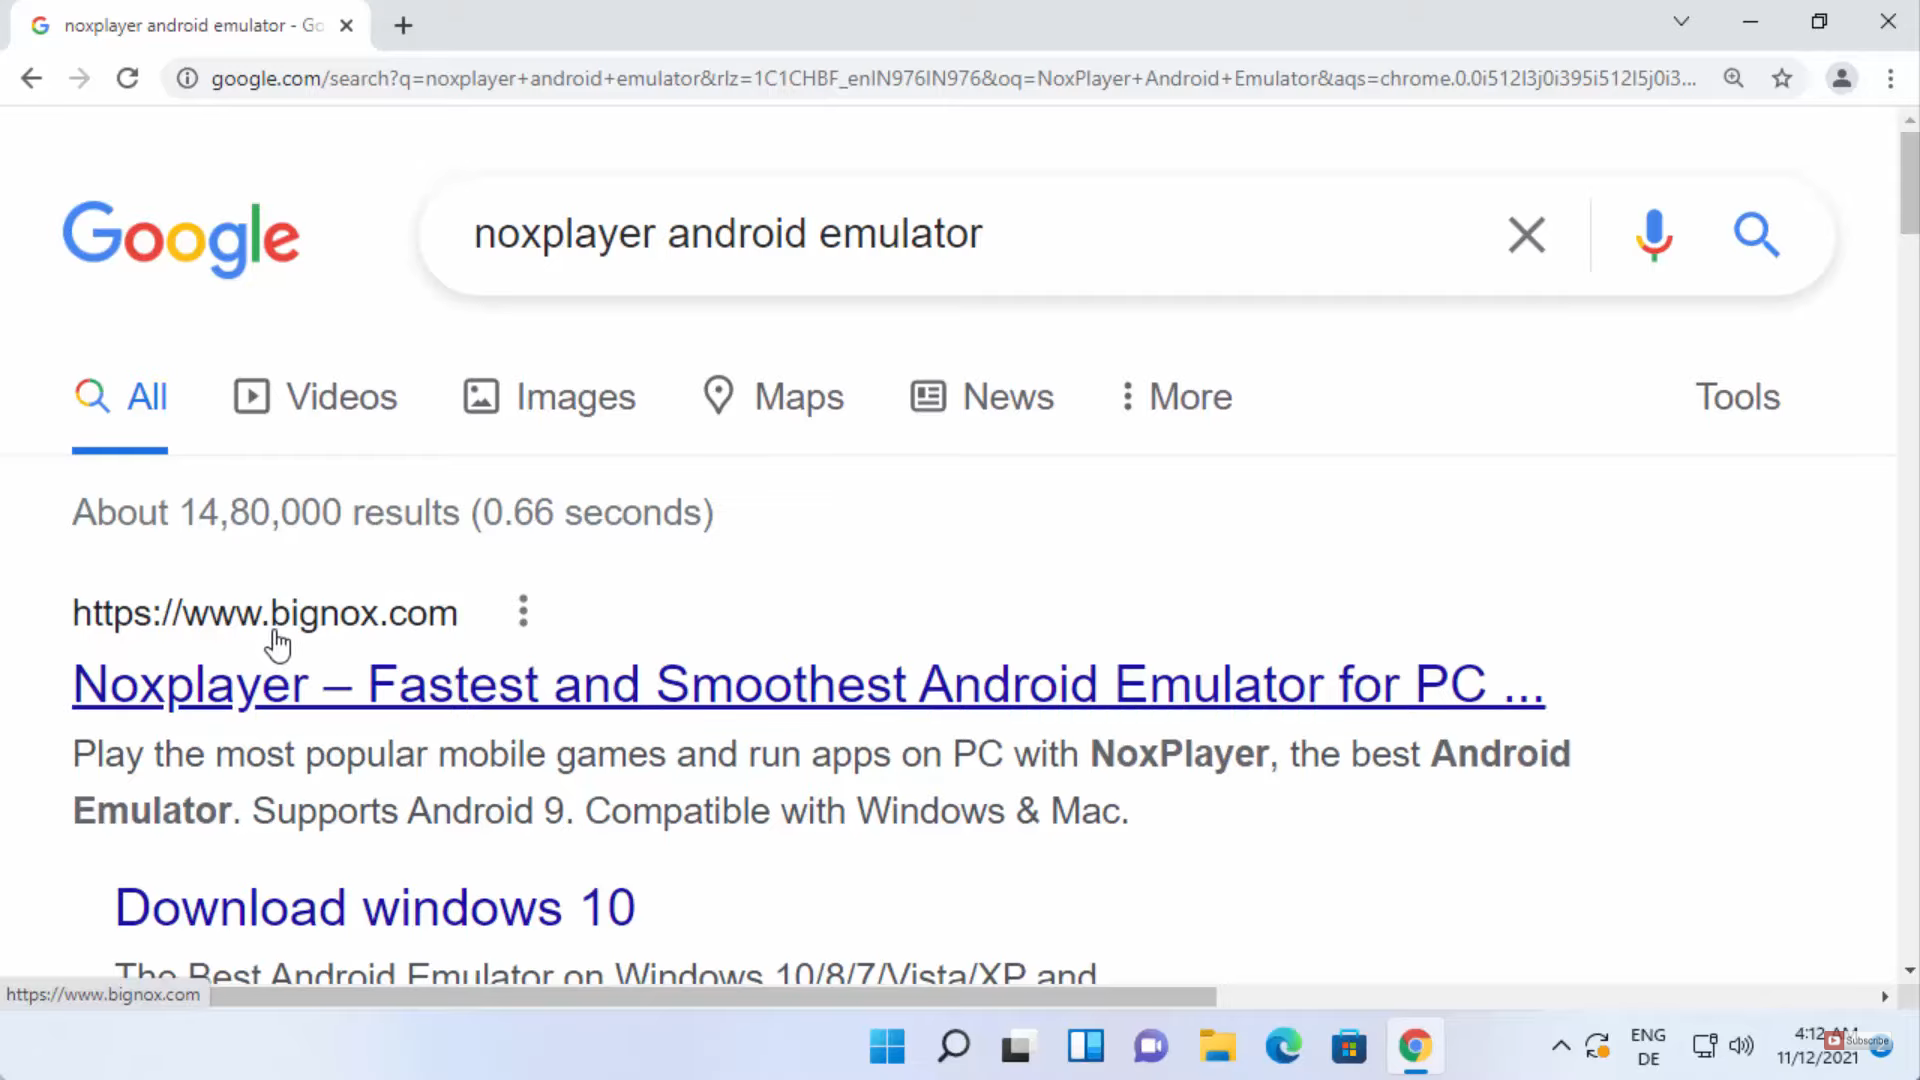
1. Open a web browser of your choice and search for a noxplayer android emulator. The first link will be from bignox. Click on that link.
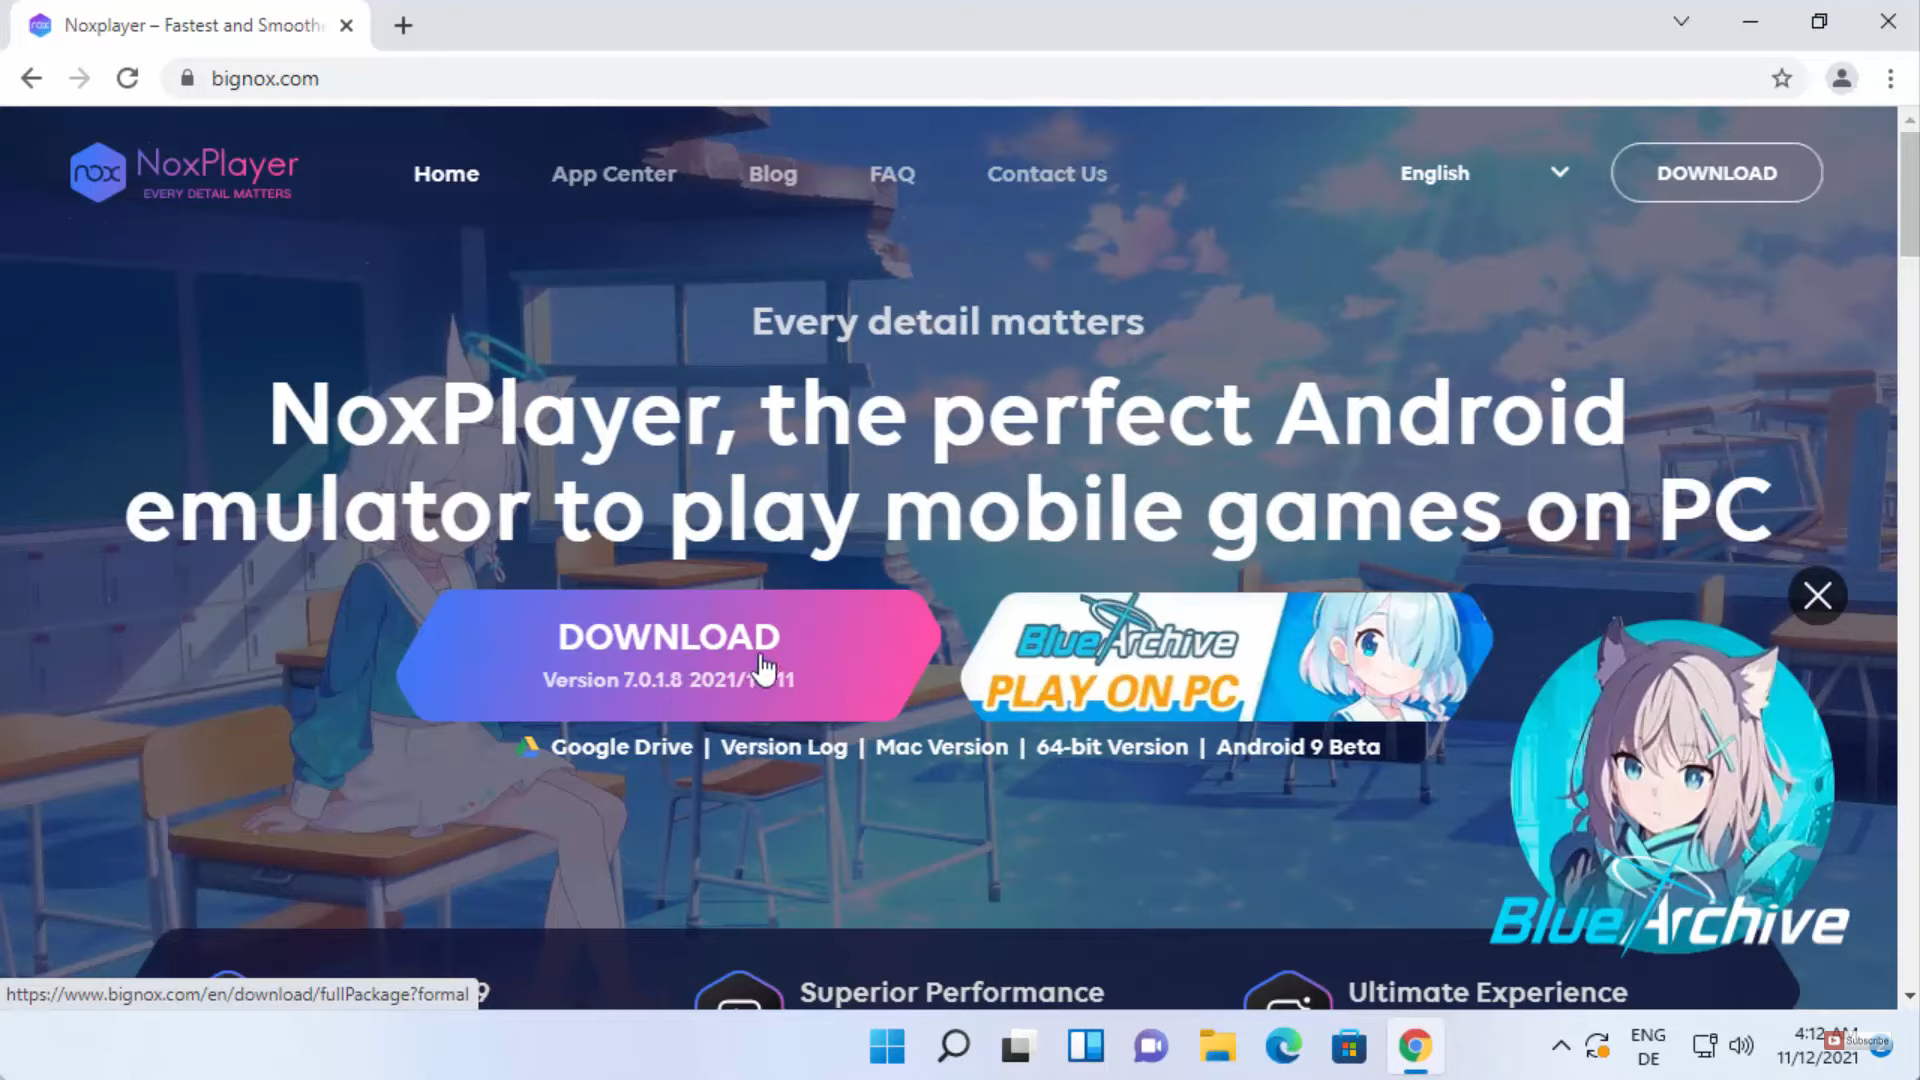
2. Once the website opens, you will be able to see the download button. Click on that button. It will start the downloading process.
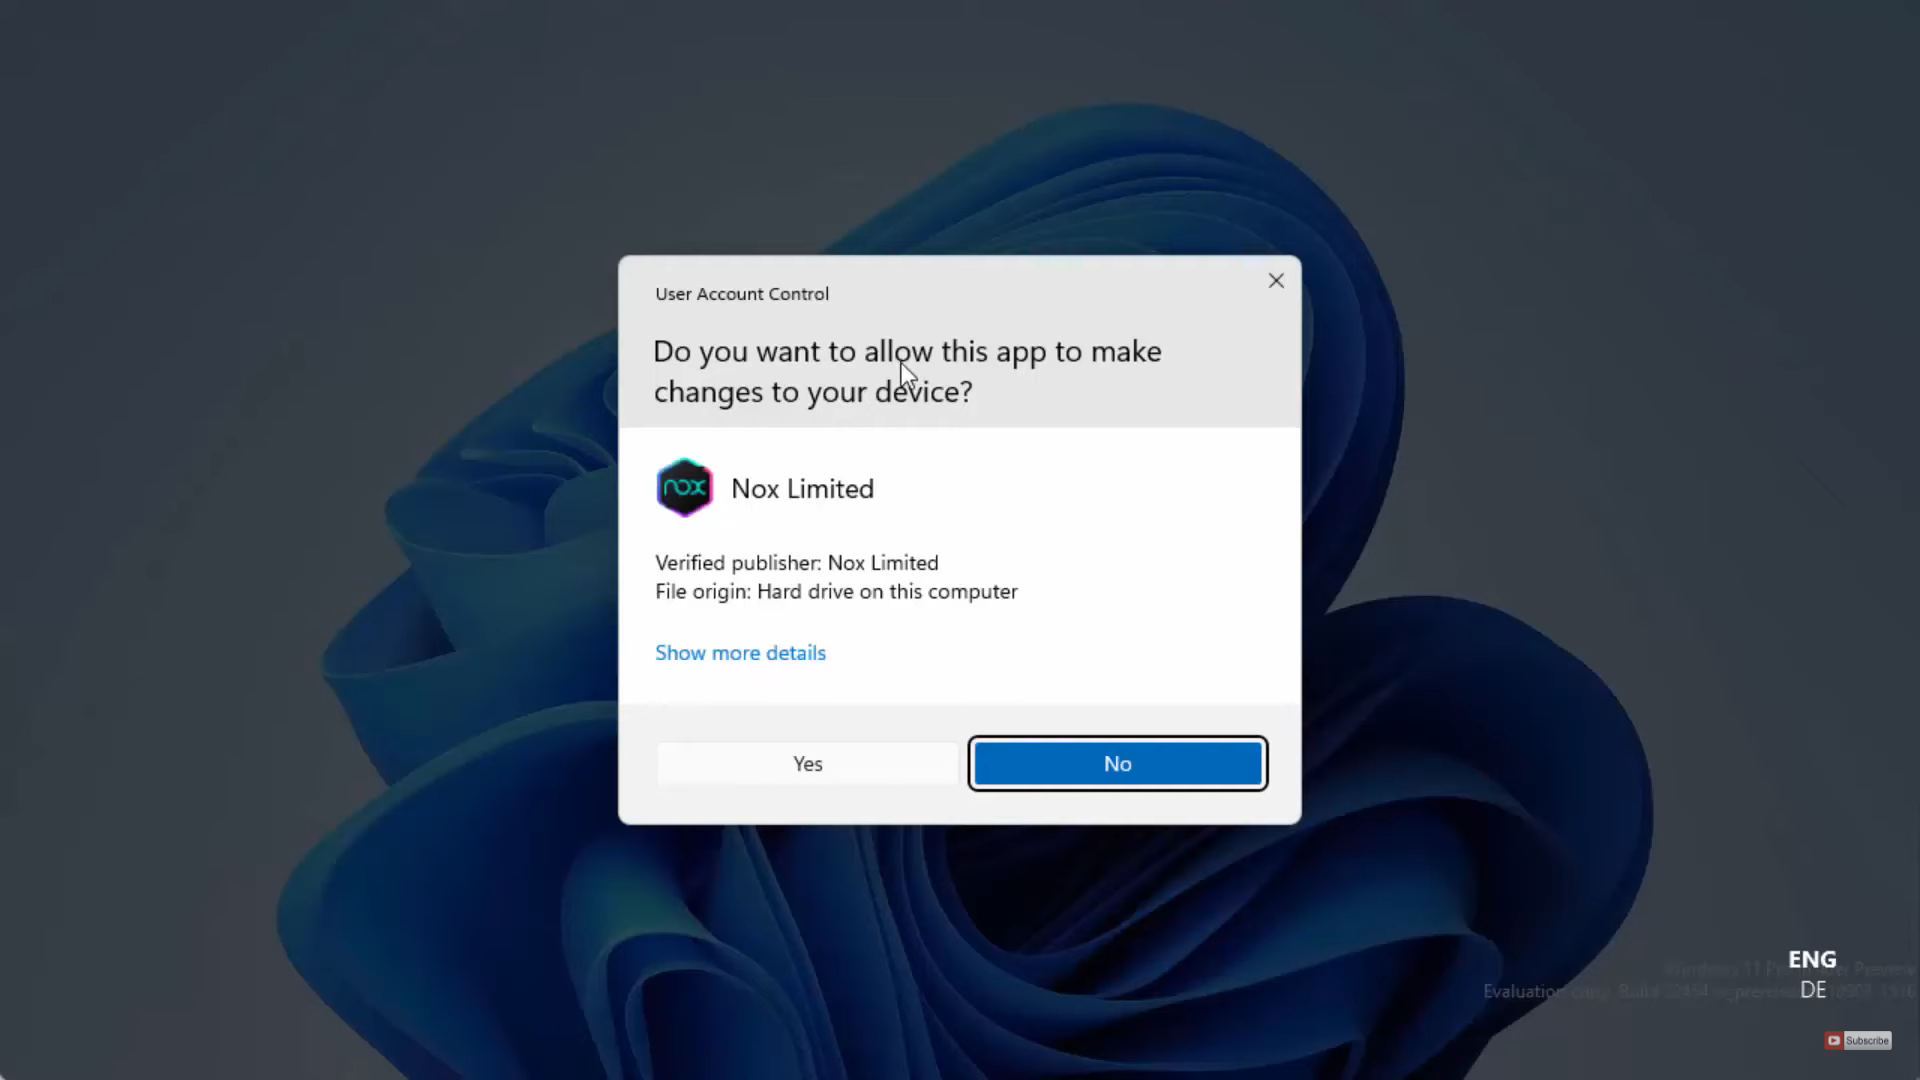
3. Once the download is complete, click on that exe file and minimize the browser. It will show a warning. Click on yes.
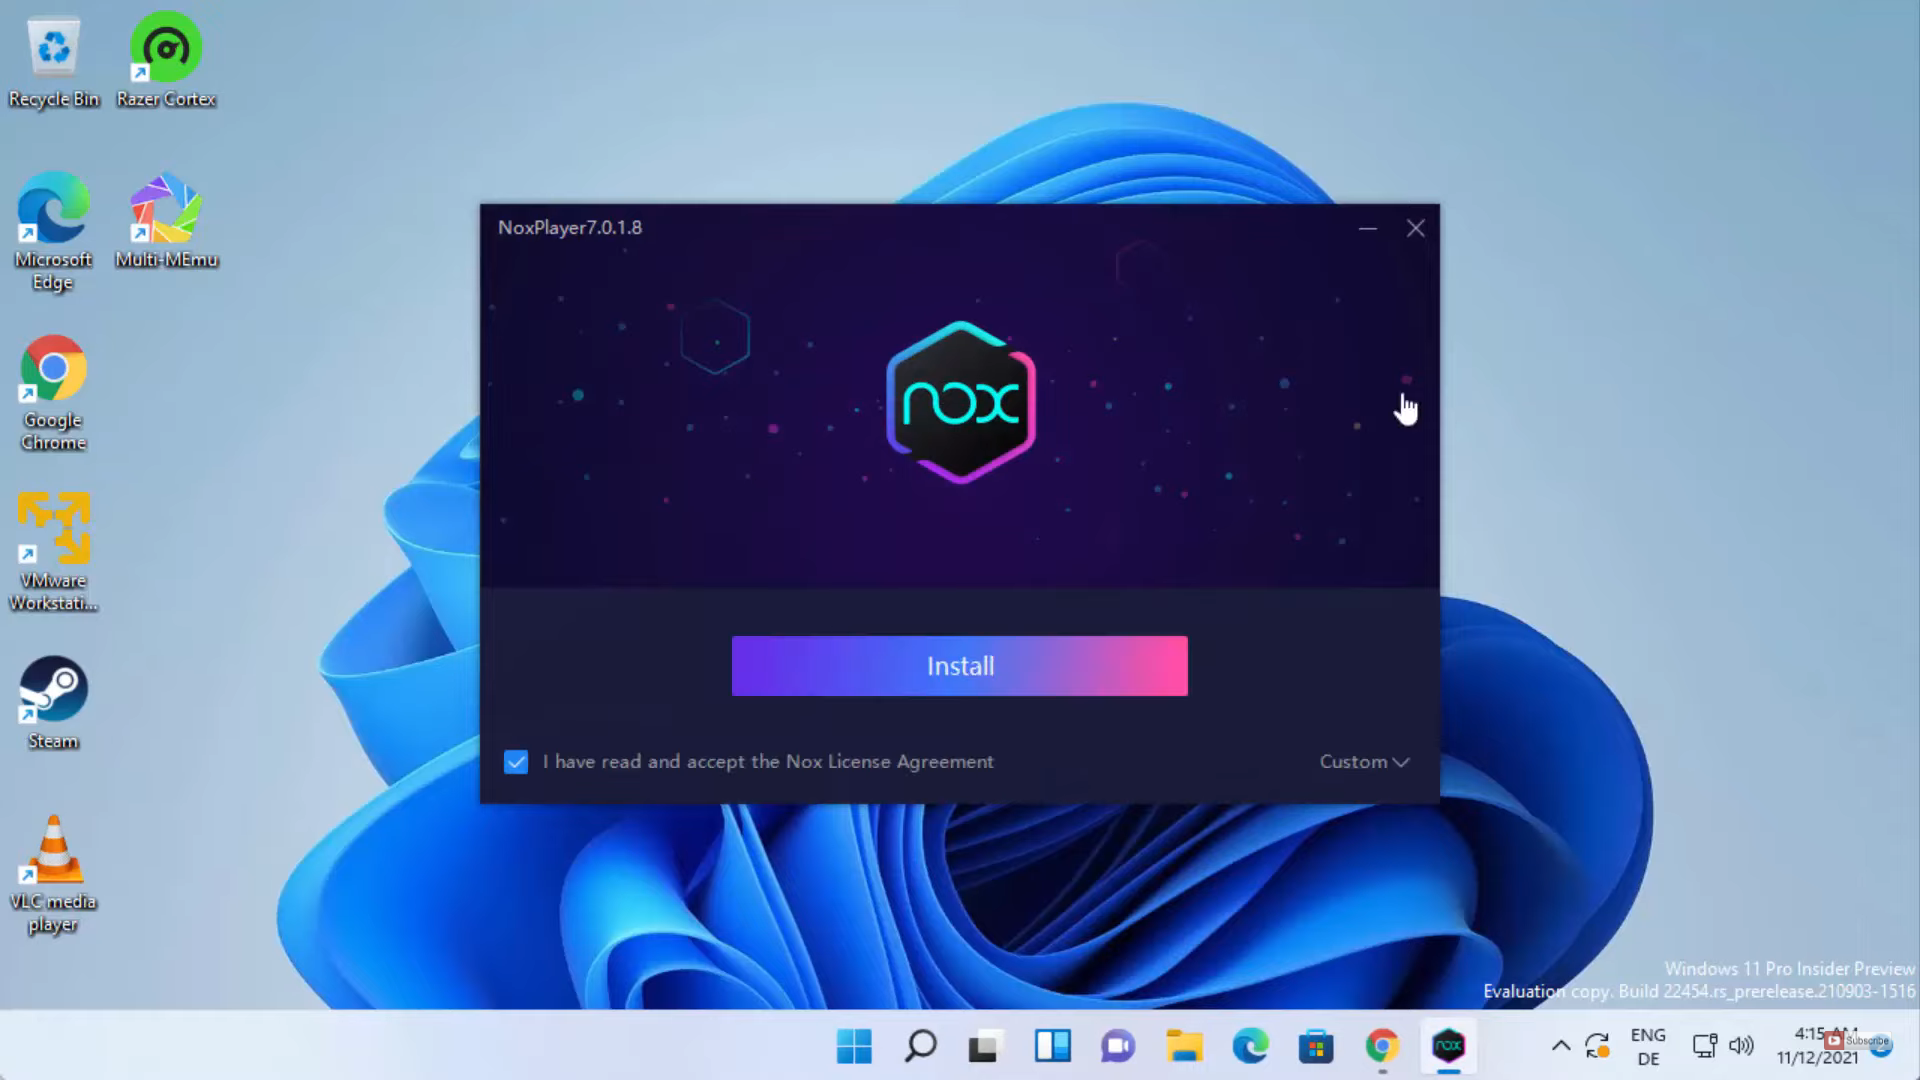
4. Once the installation wizard starts, click on the Install button.
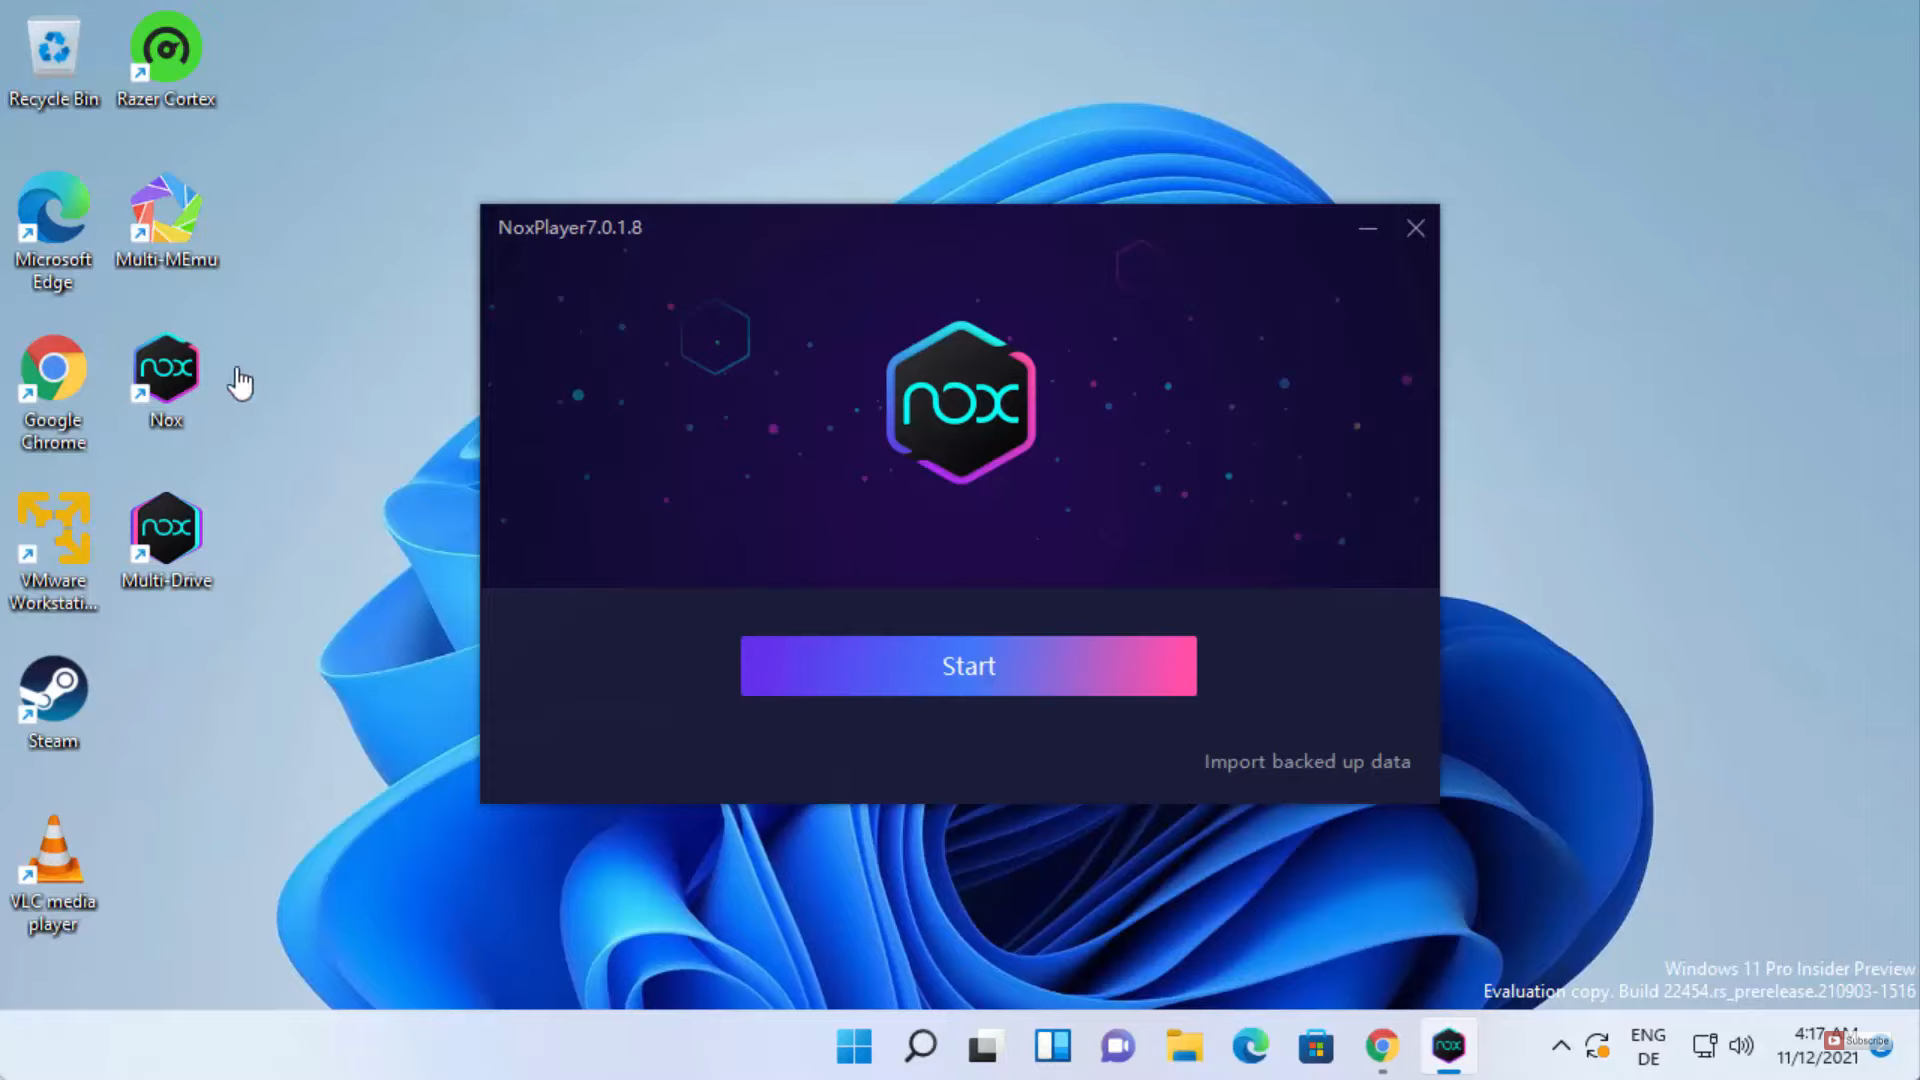
5. Once noxplayer is installed, you will be able to see 2 shortcut icons. Now, click on the Start button.
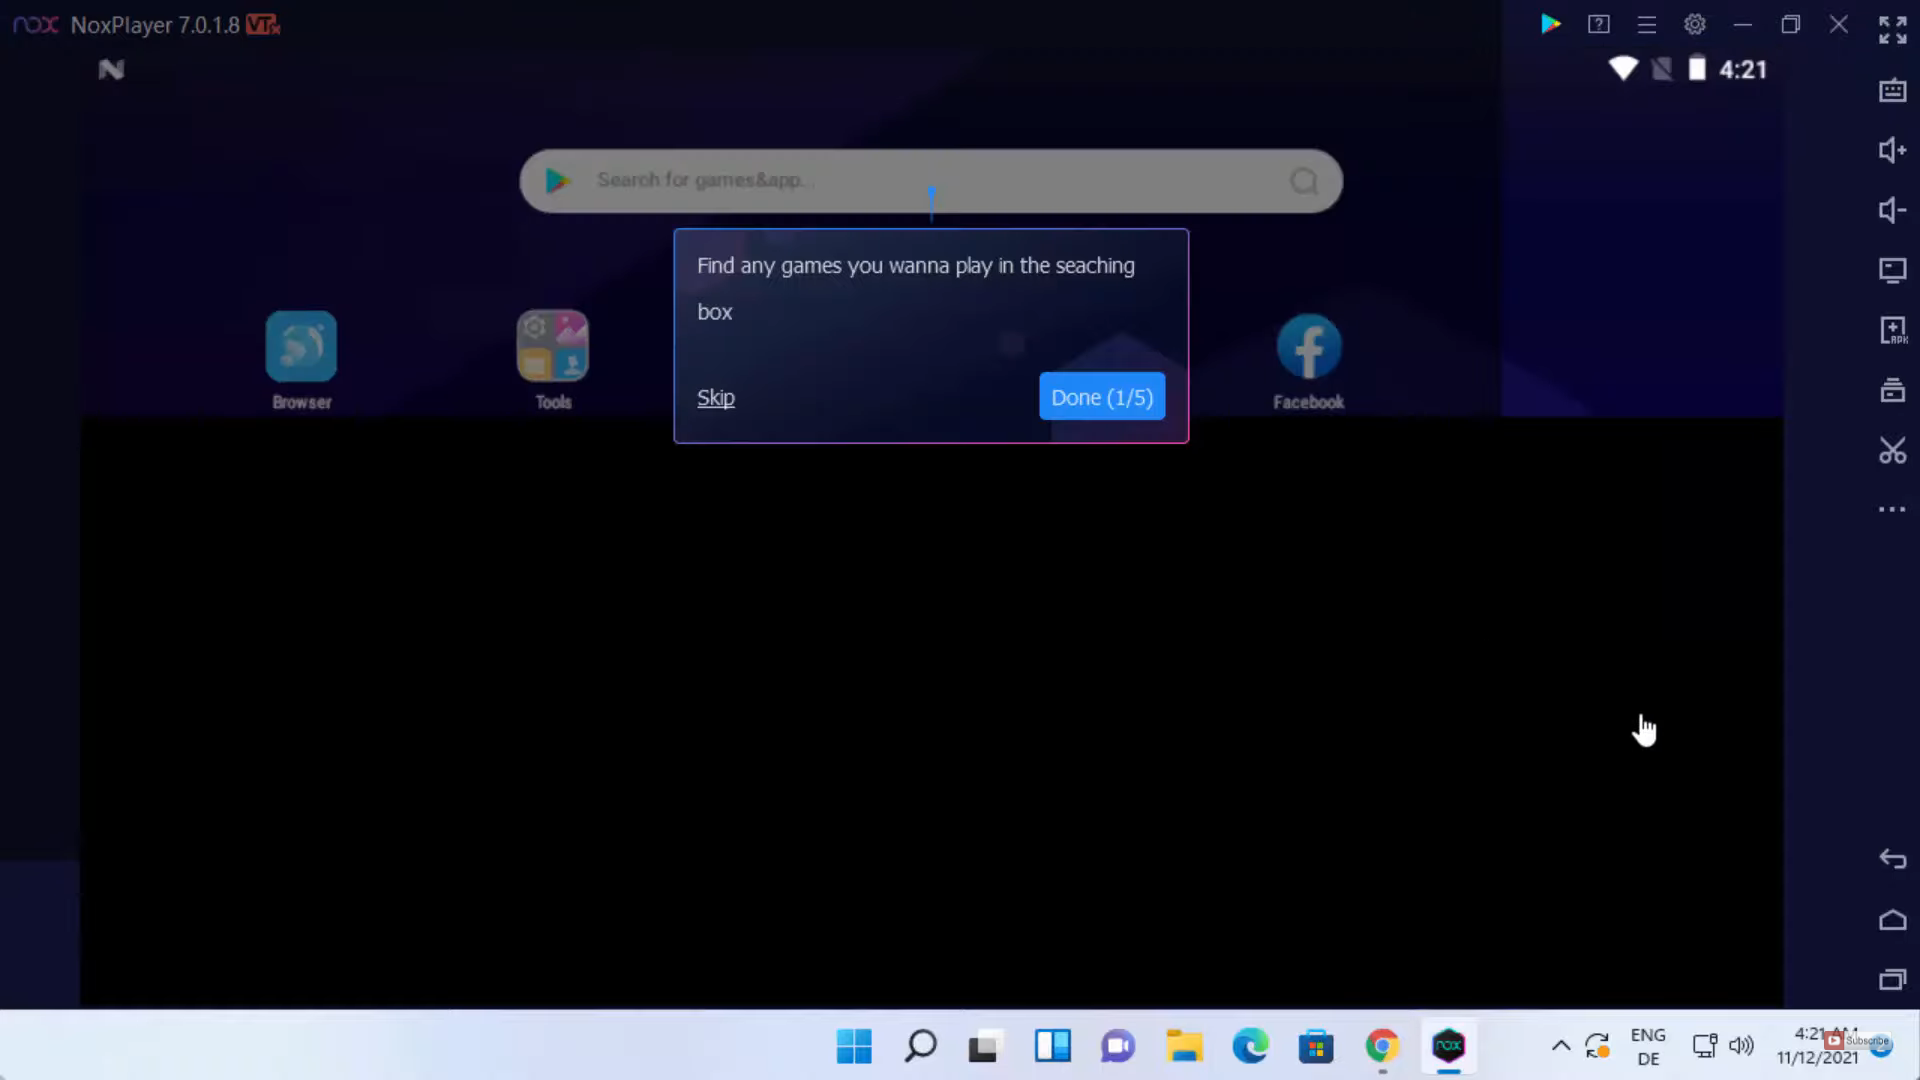
6. Noxplayer has been launched now. When you start it for the first time, it will show some hints. If you don’t want any hints, then click on Skip.
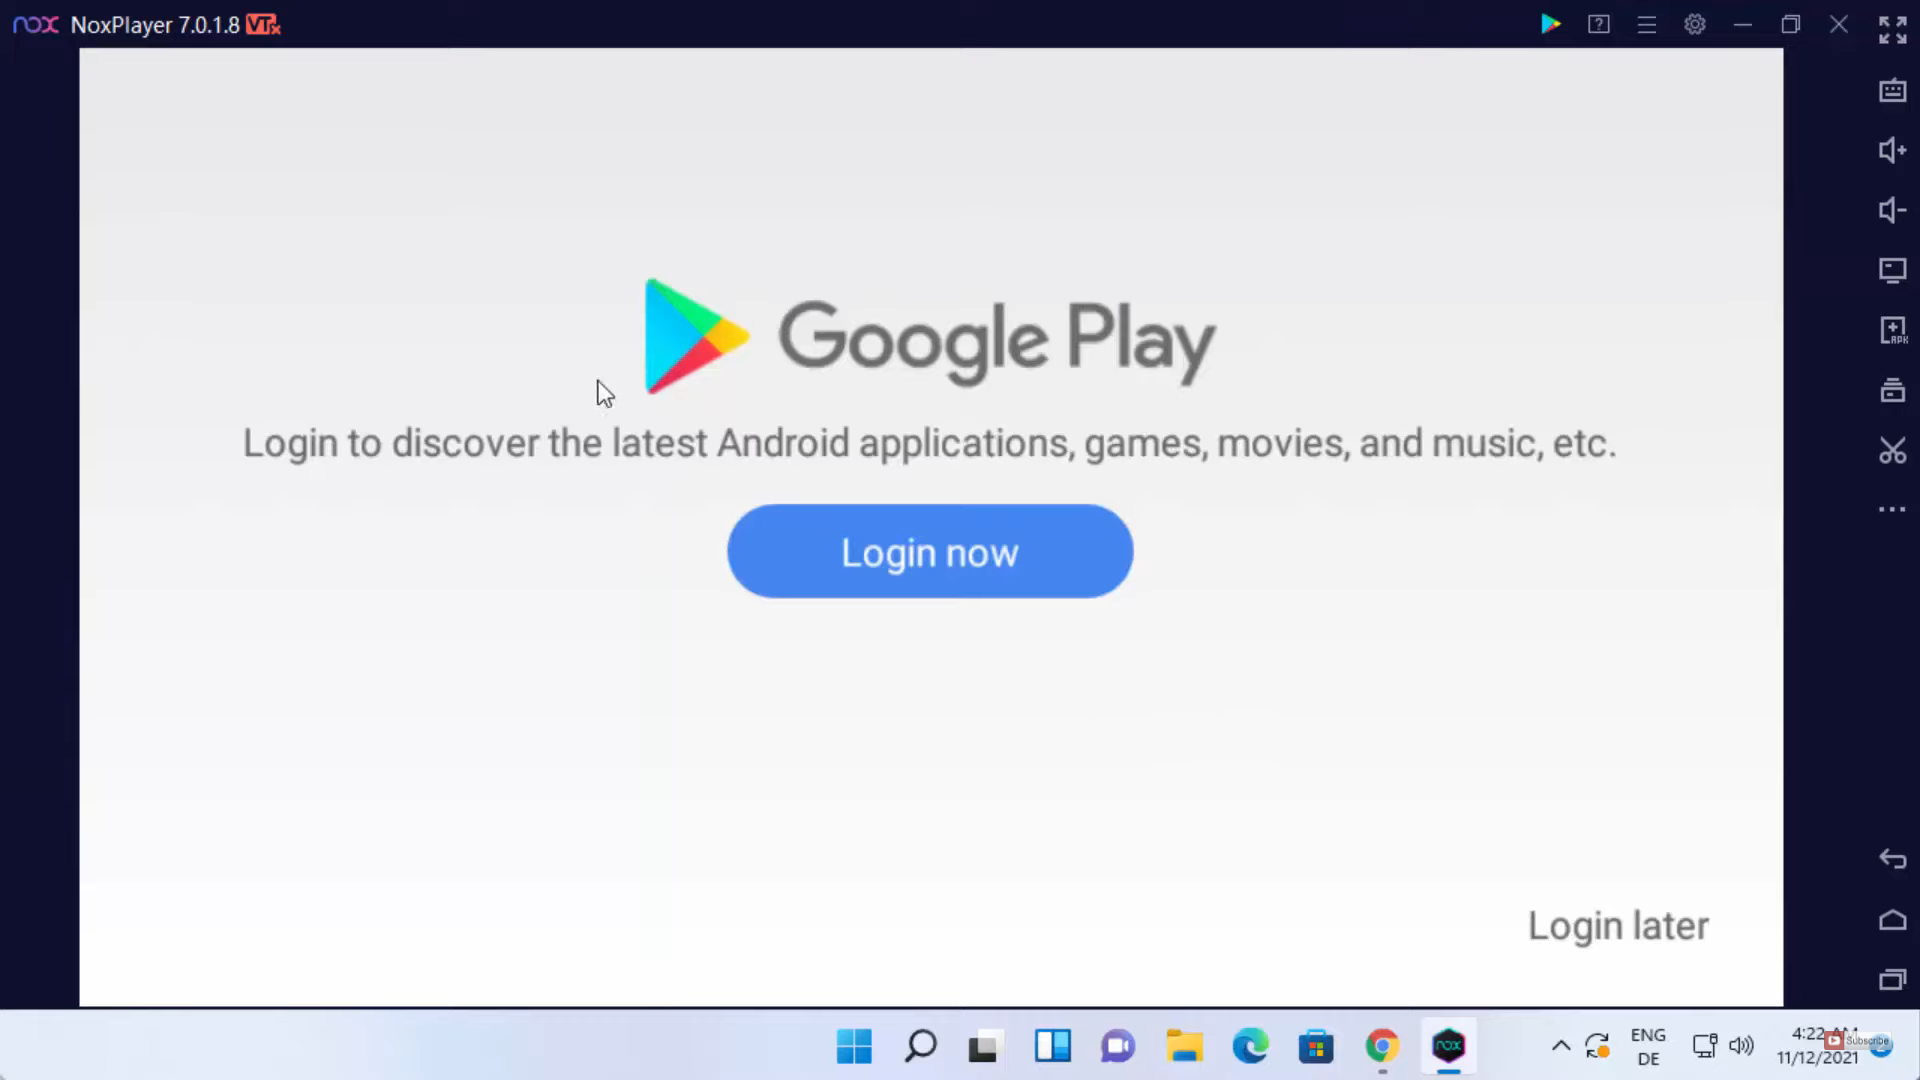
7. Before doing anything, you should log in with your Gmail account. You can also log in later. I am going to click on Login later button.
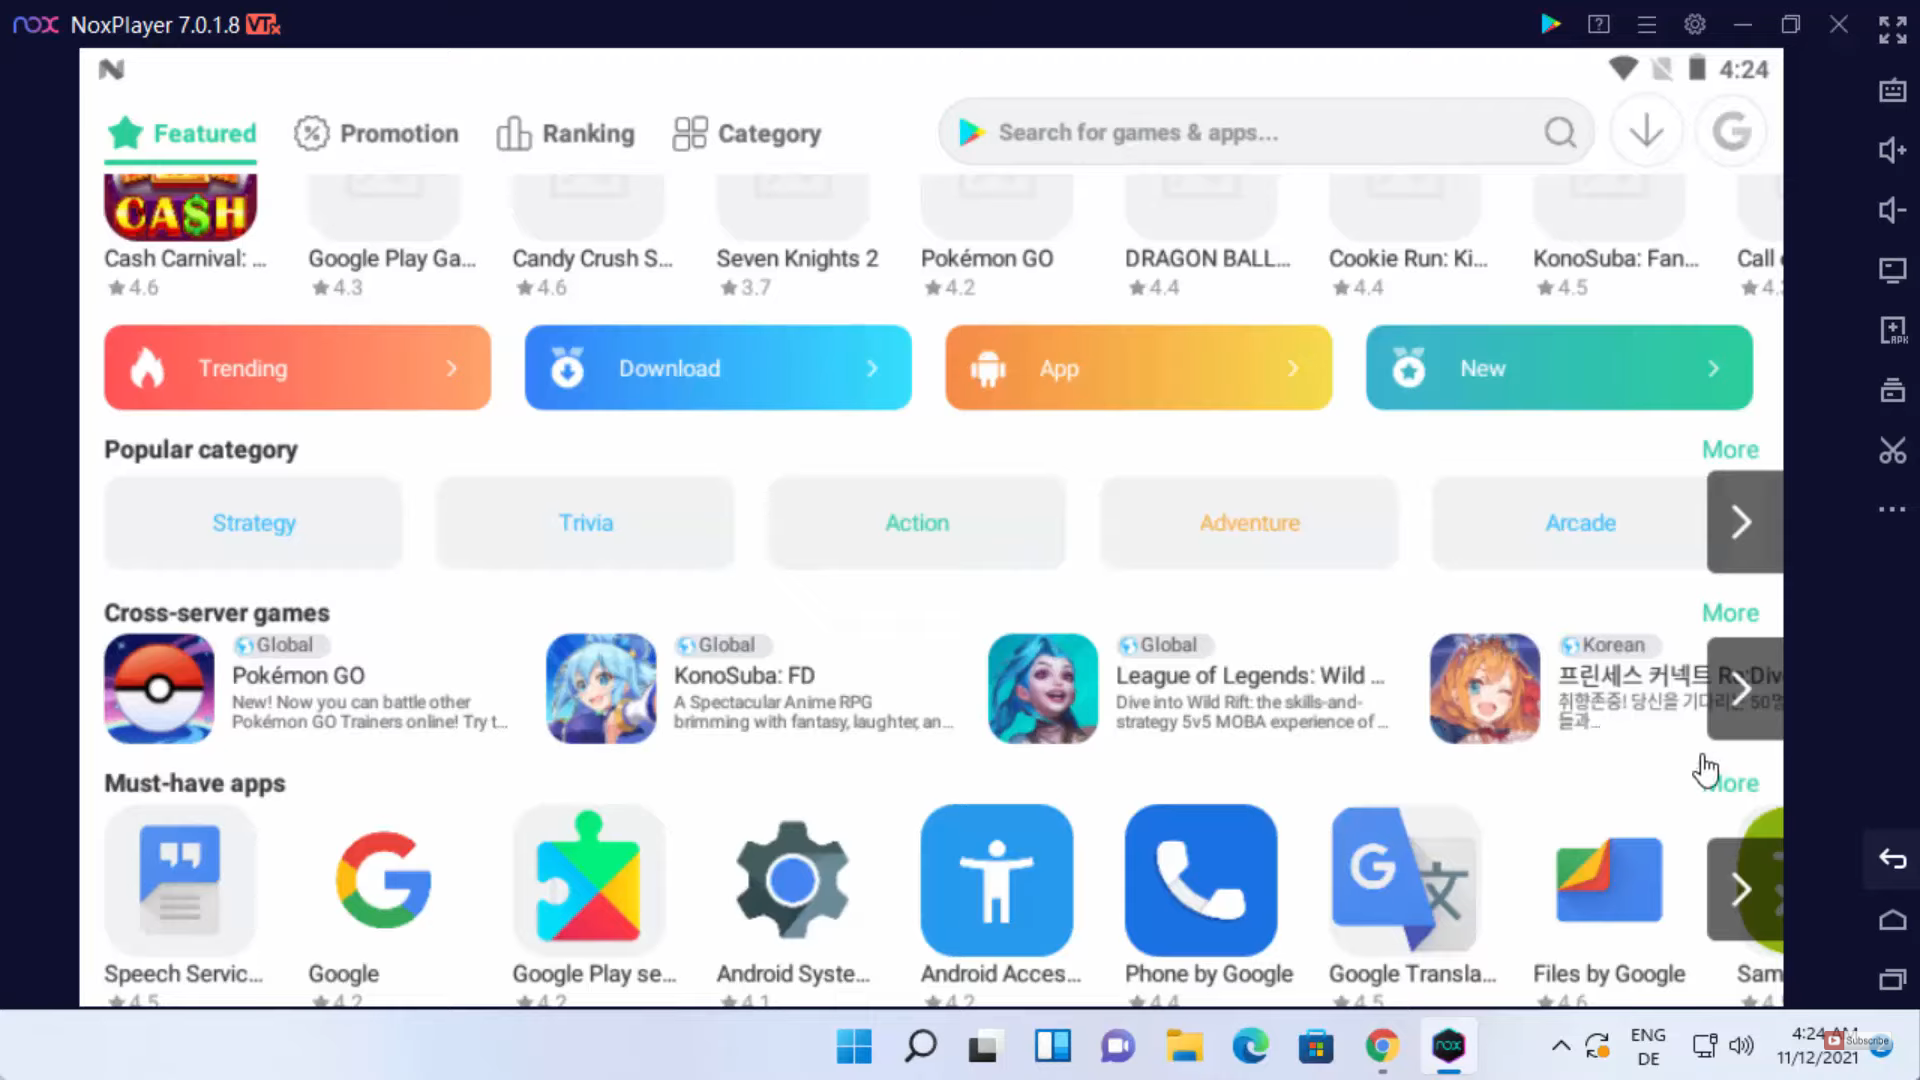
8. When I click on the App Center, it will show all the apps according to the category. Forgoing back, you need to click on the back button.
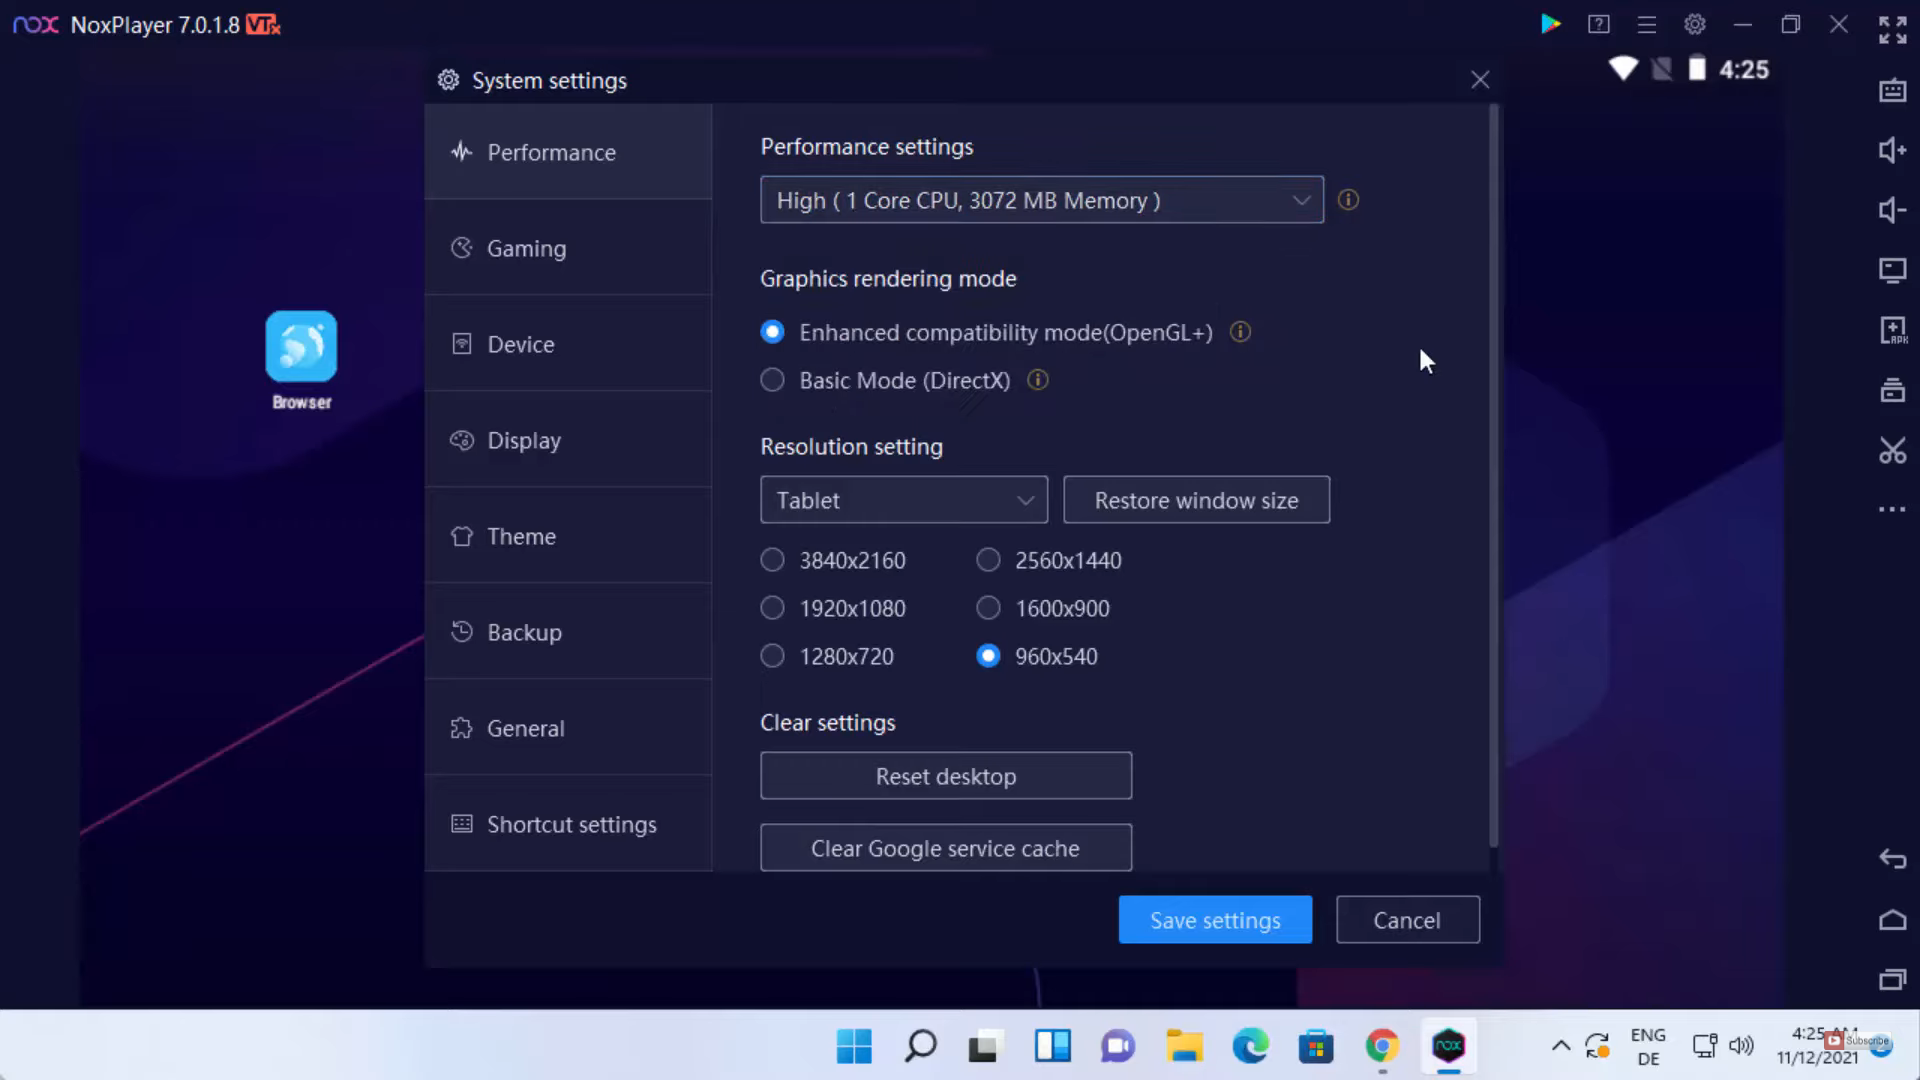
9. For changing some settings in the nox player, you can click on the settings icon. After making the changes, you need to click on Save Settings.
These are the steps for downloading and installing NoxPlayer Android Emulator on your Windows 11 Operating System.
Leave a Reply