
In this blog post, I will give a detailed view of downloading and installing C++ in your Windows 11 Operating System. For this, you need two things.
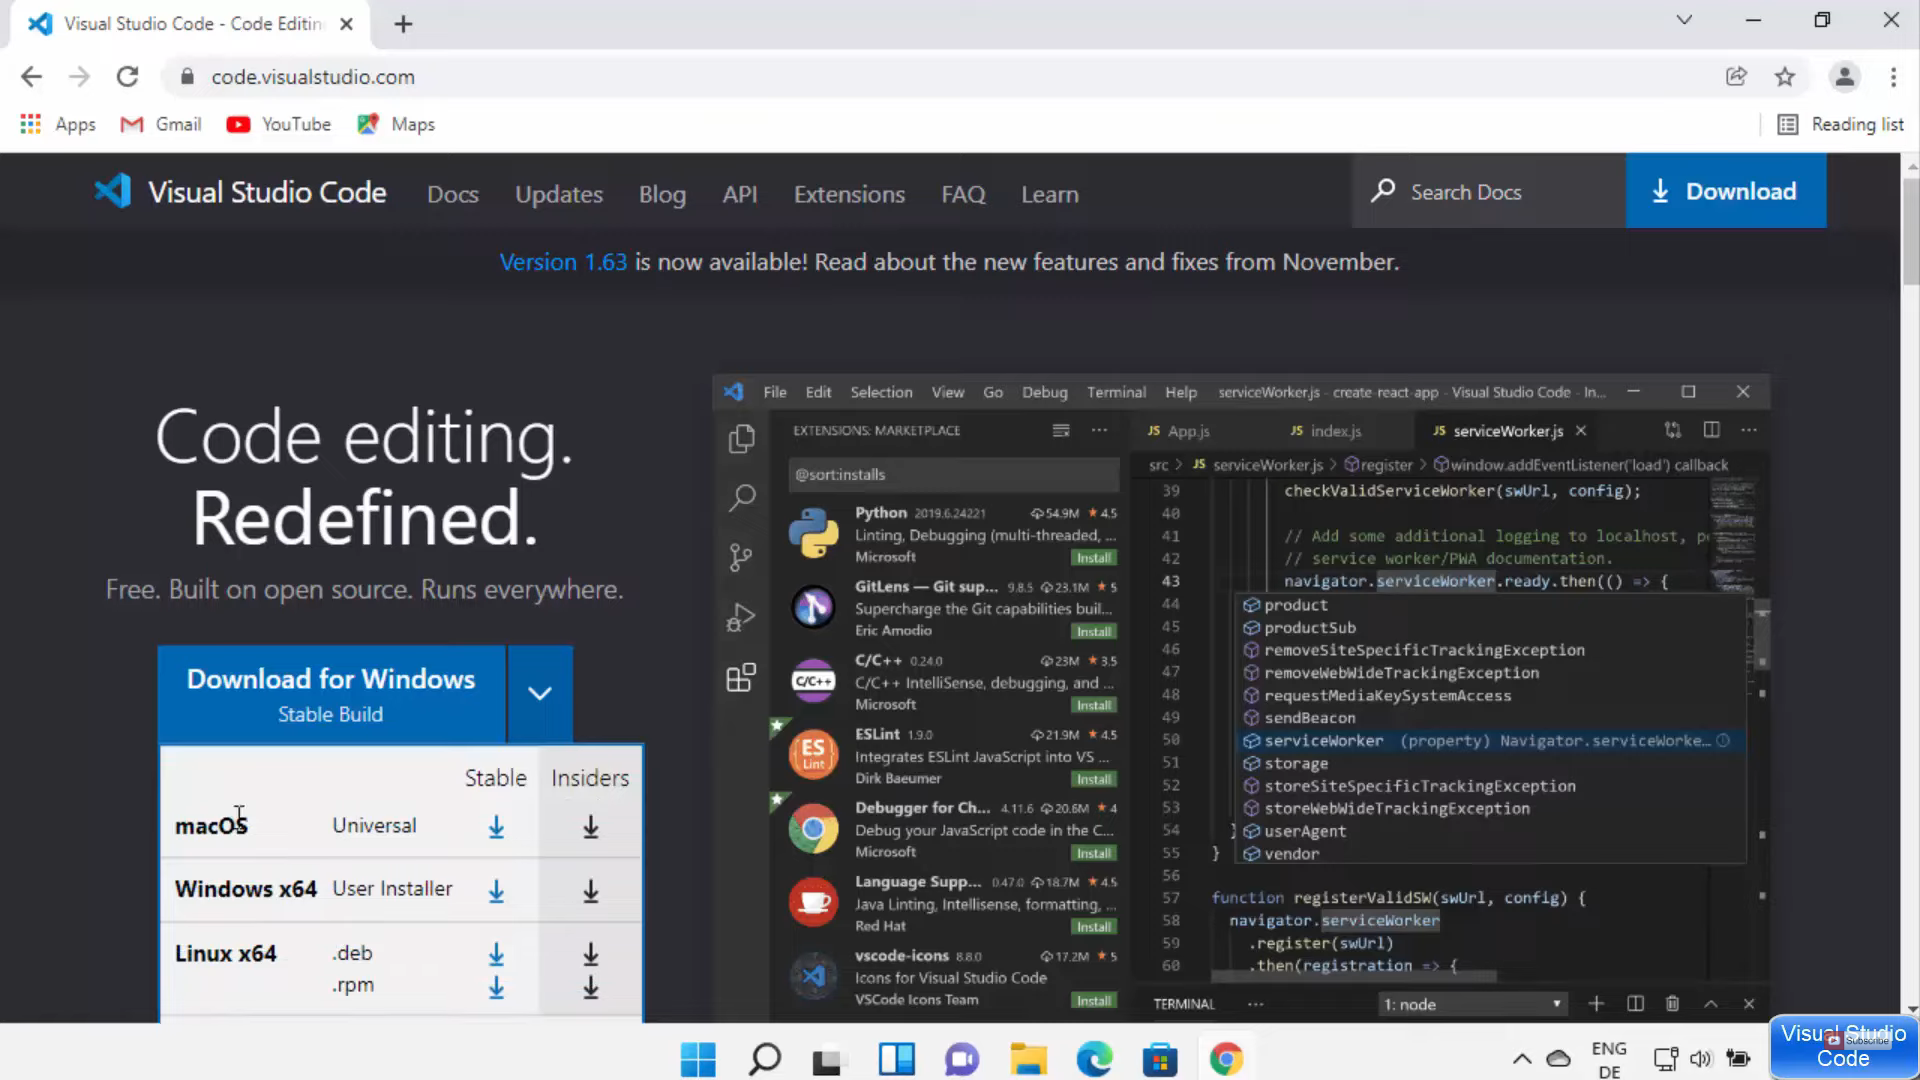
1. First you need visual studio code. Open a web browser of your choice and search for visual studio code. Click on the first link.

2. Once the link opens, click on the download button. When you click on the arrow, you will be able to see the option for windows. It will start to download.
3. Once the download is complete, click on the exe file and minimize the browser. In the license agreement window, accept the agreement and click on Next.

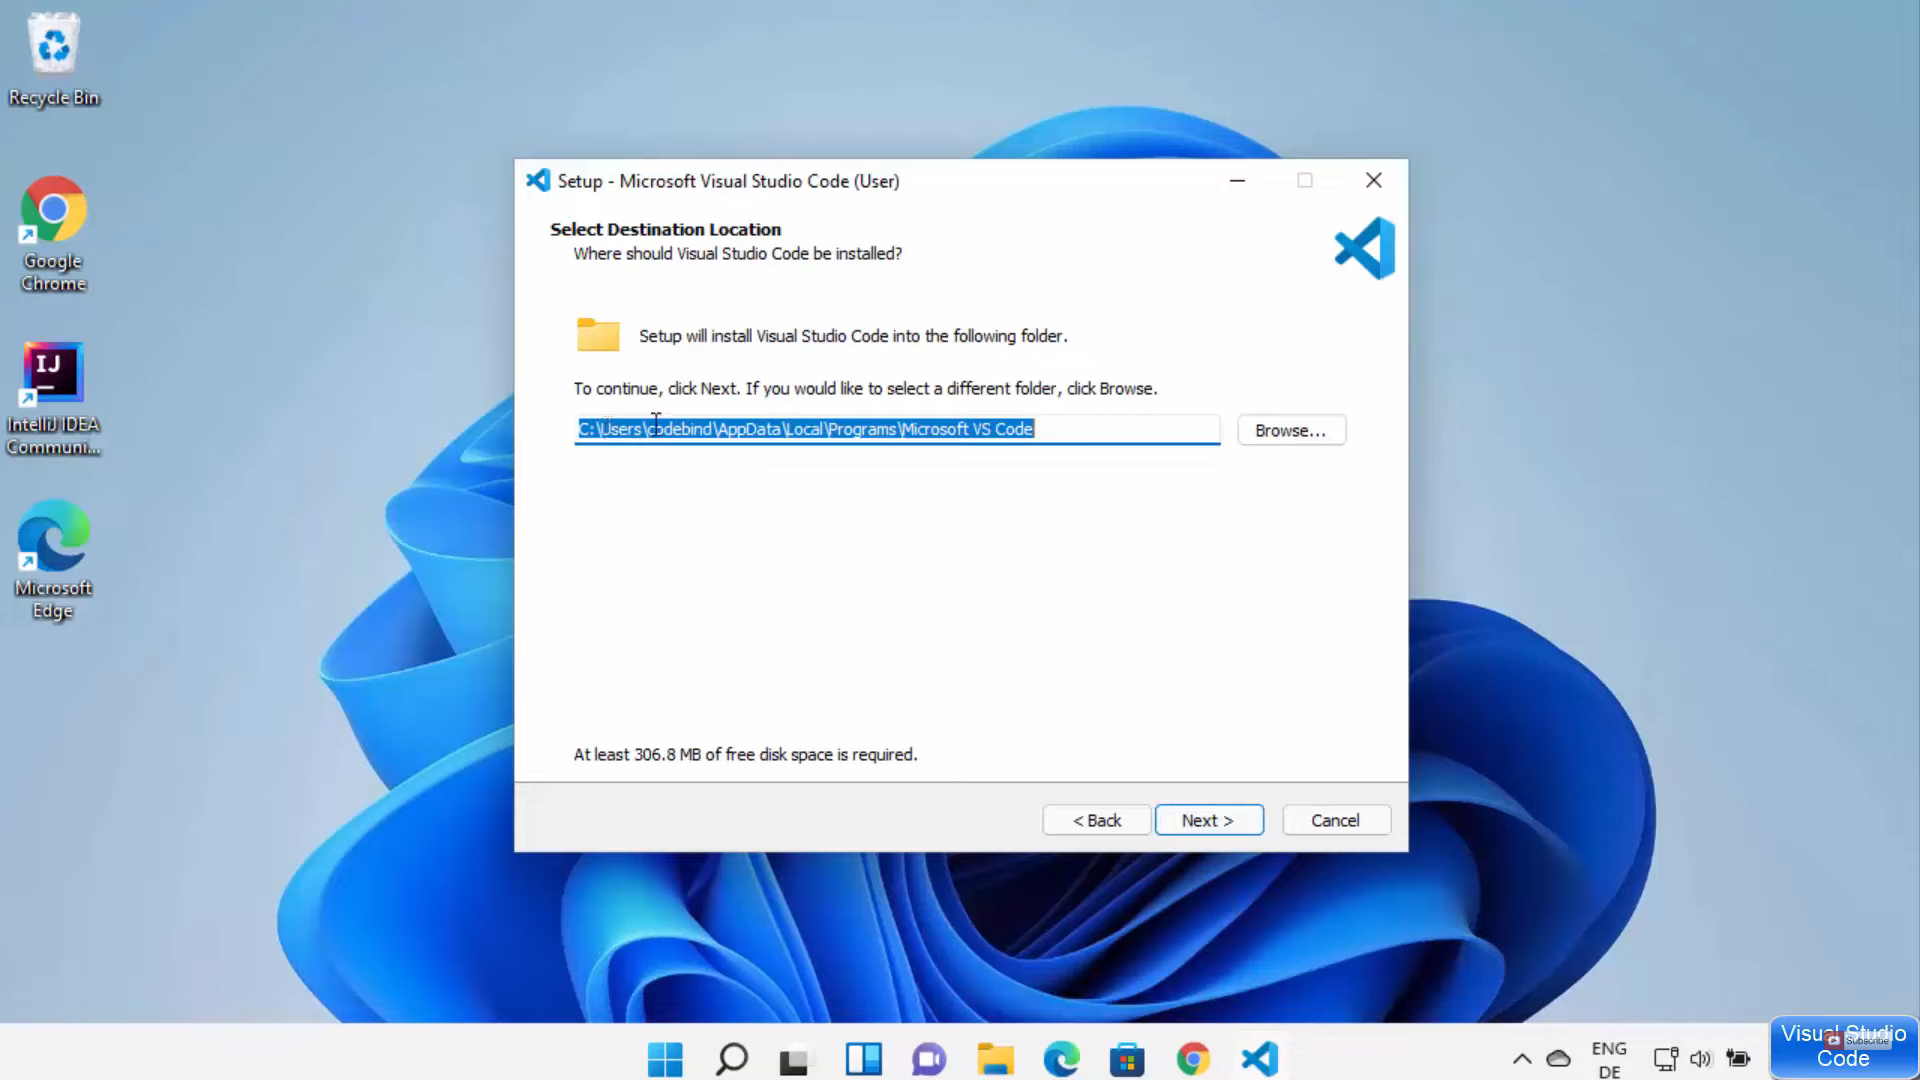
4. This will be the default location where it will be installed. If you want you can change the location using the Browse option. I am going to leave it as default. Click on Next.
5. In the next window, I am going to leave it as default and click on Next.

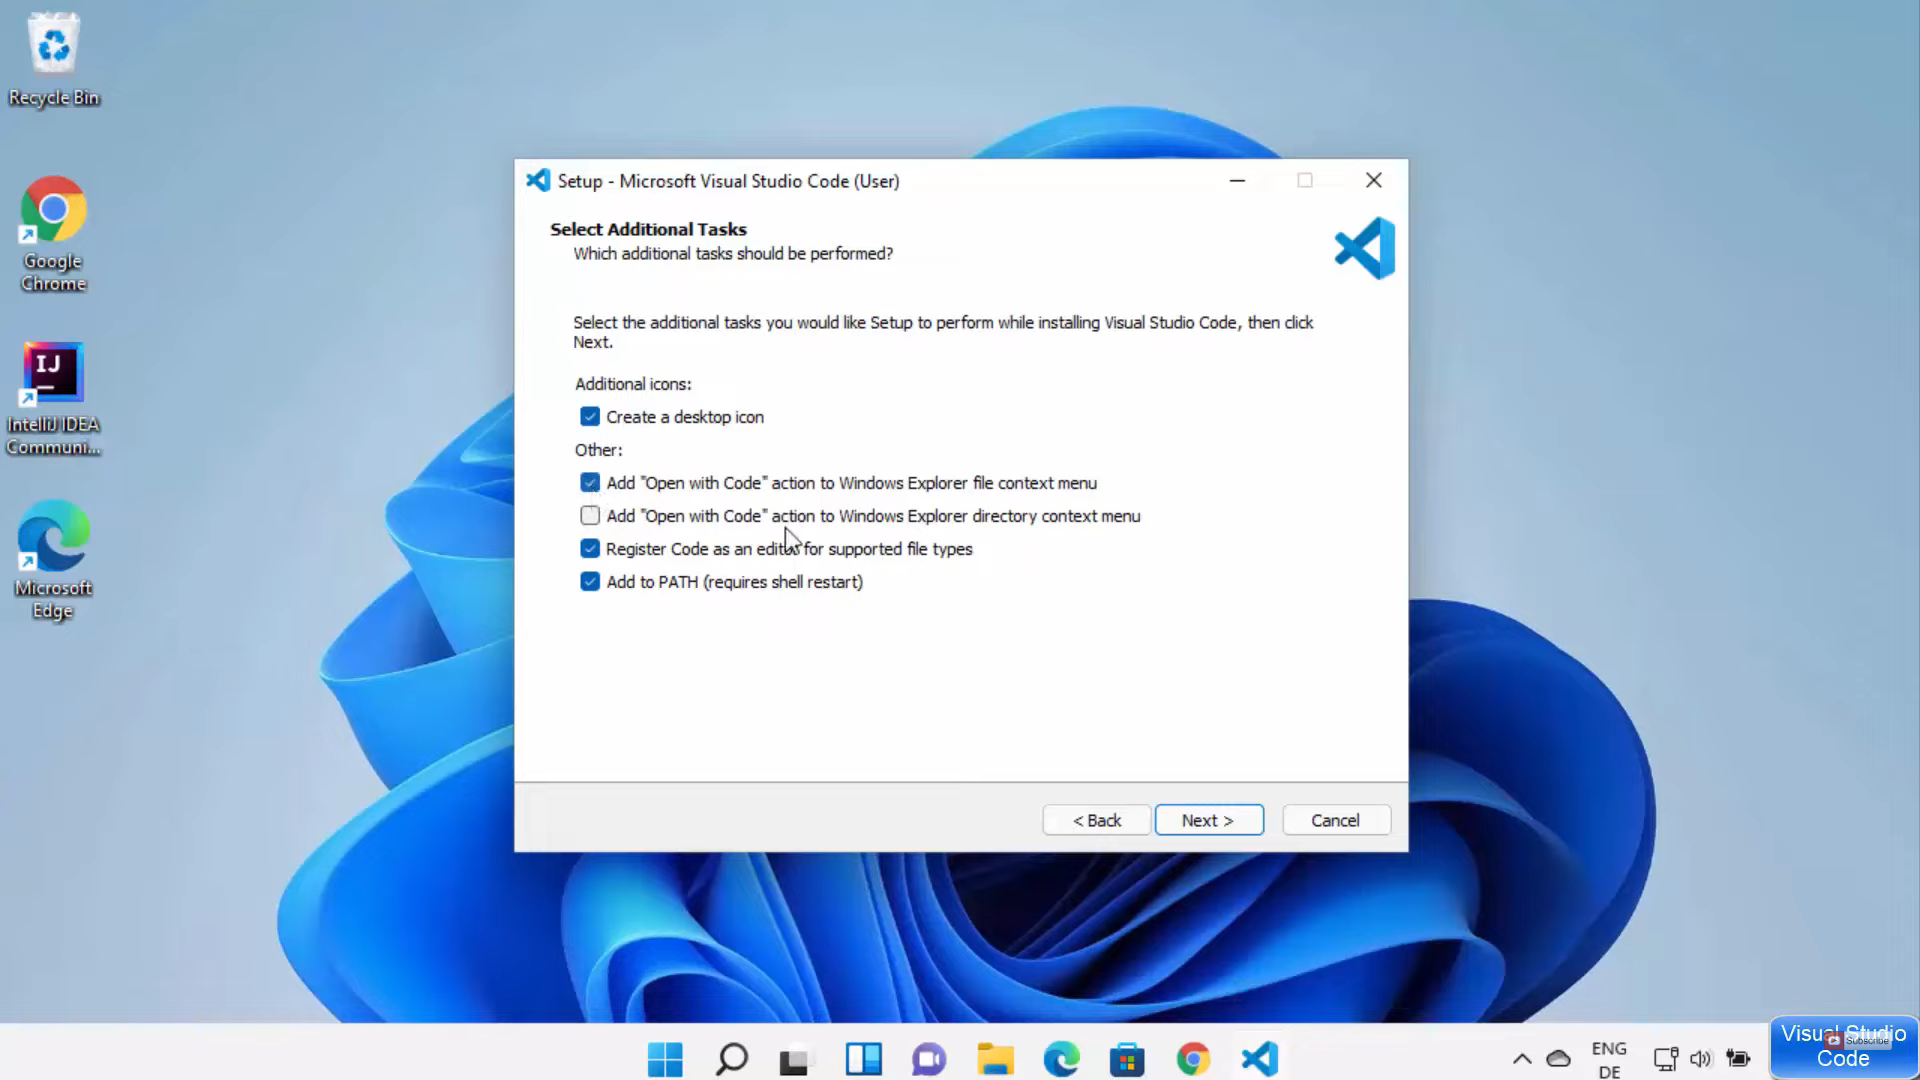
6. In the additional tasks, select the task that you want to create and click on Next.
7. In the next window, click on Install.

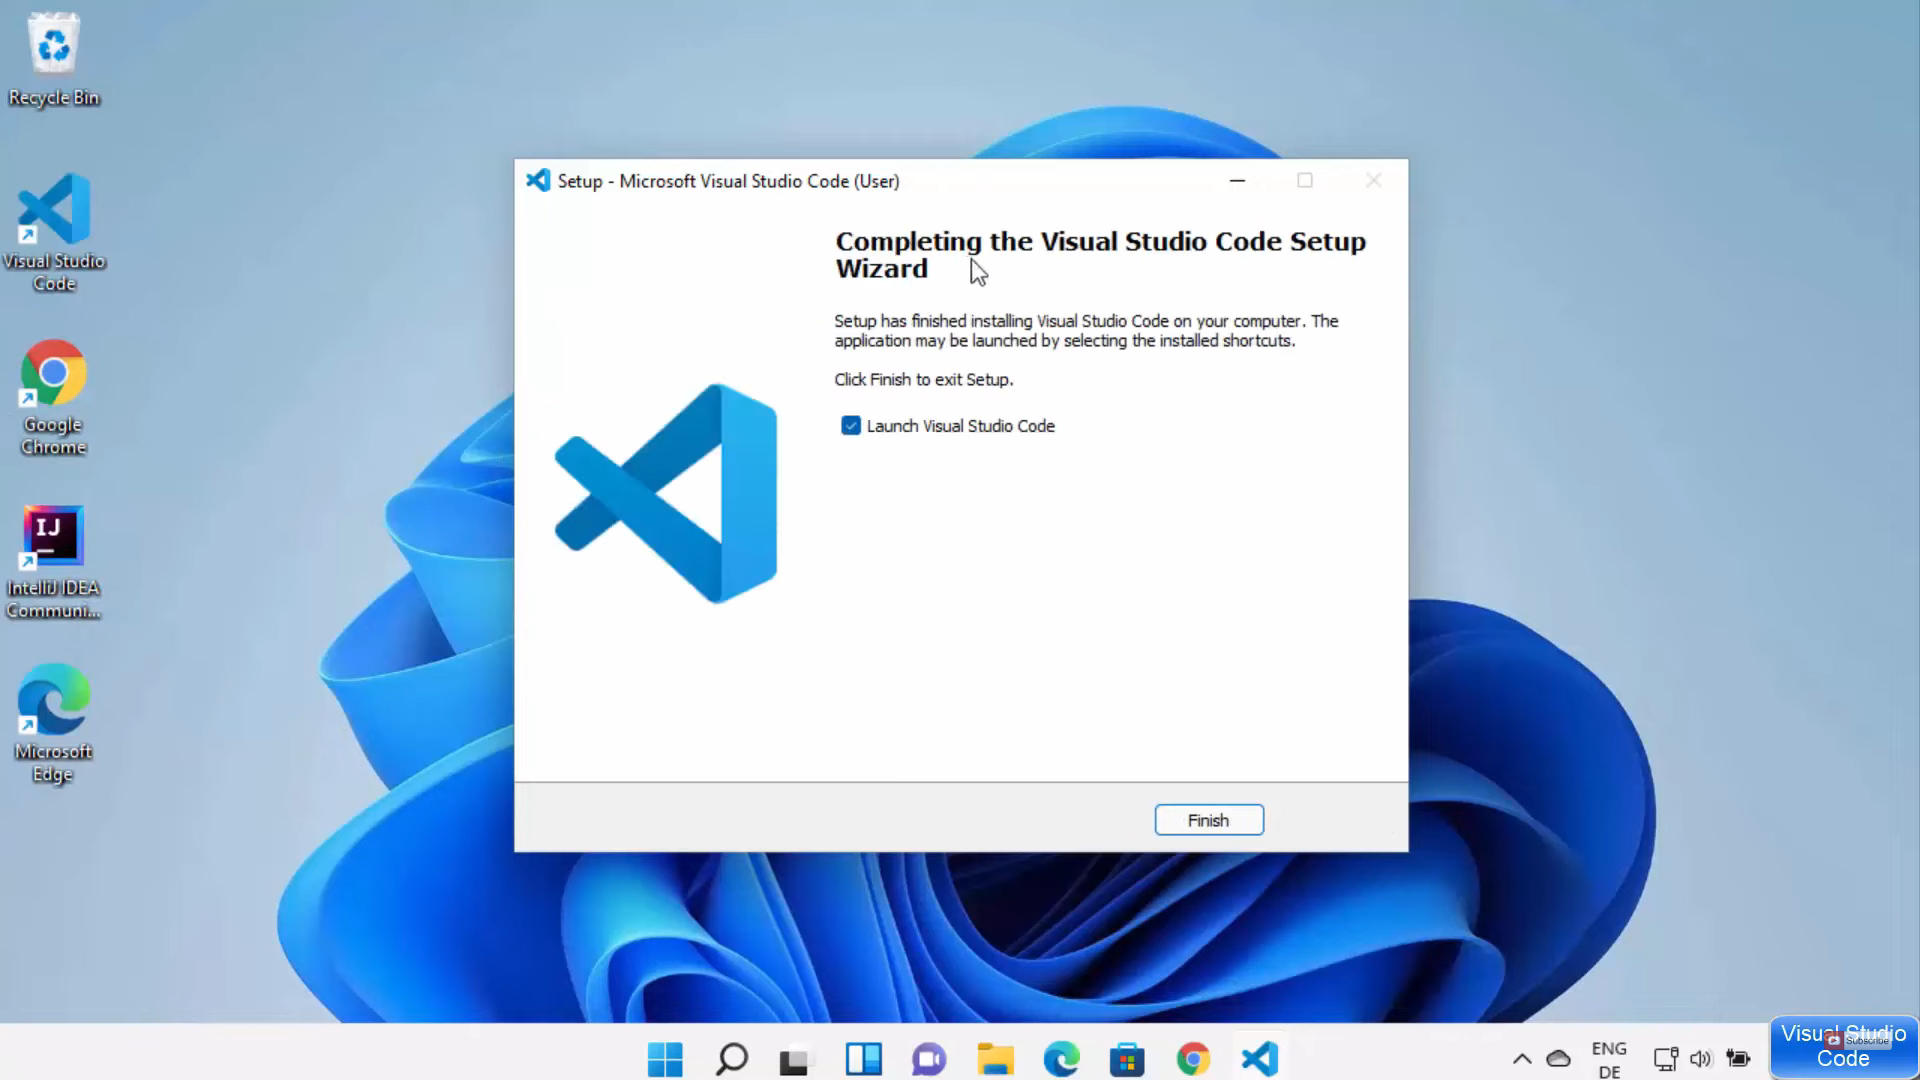
8. Once the installation is complete, click on Finish.
9. Once you have launched the visual studio code, we need a second tool called a compiler. Open your favorite browser and search for MinGW. Scroll down and click on the official website of MinGW.

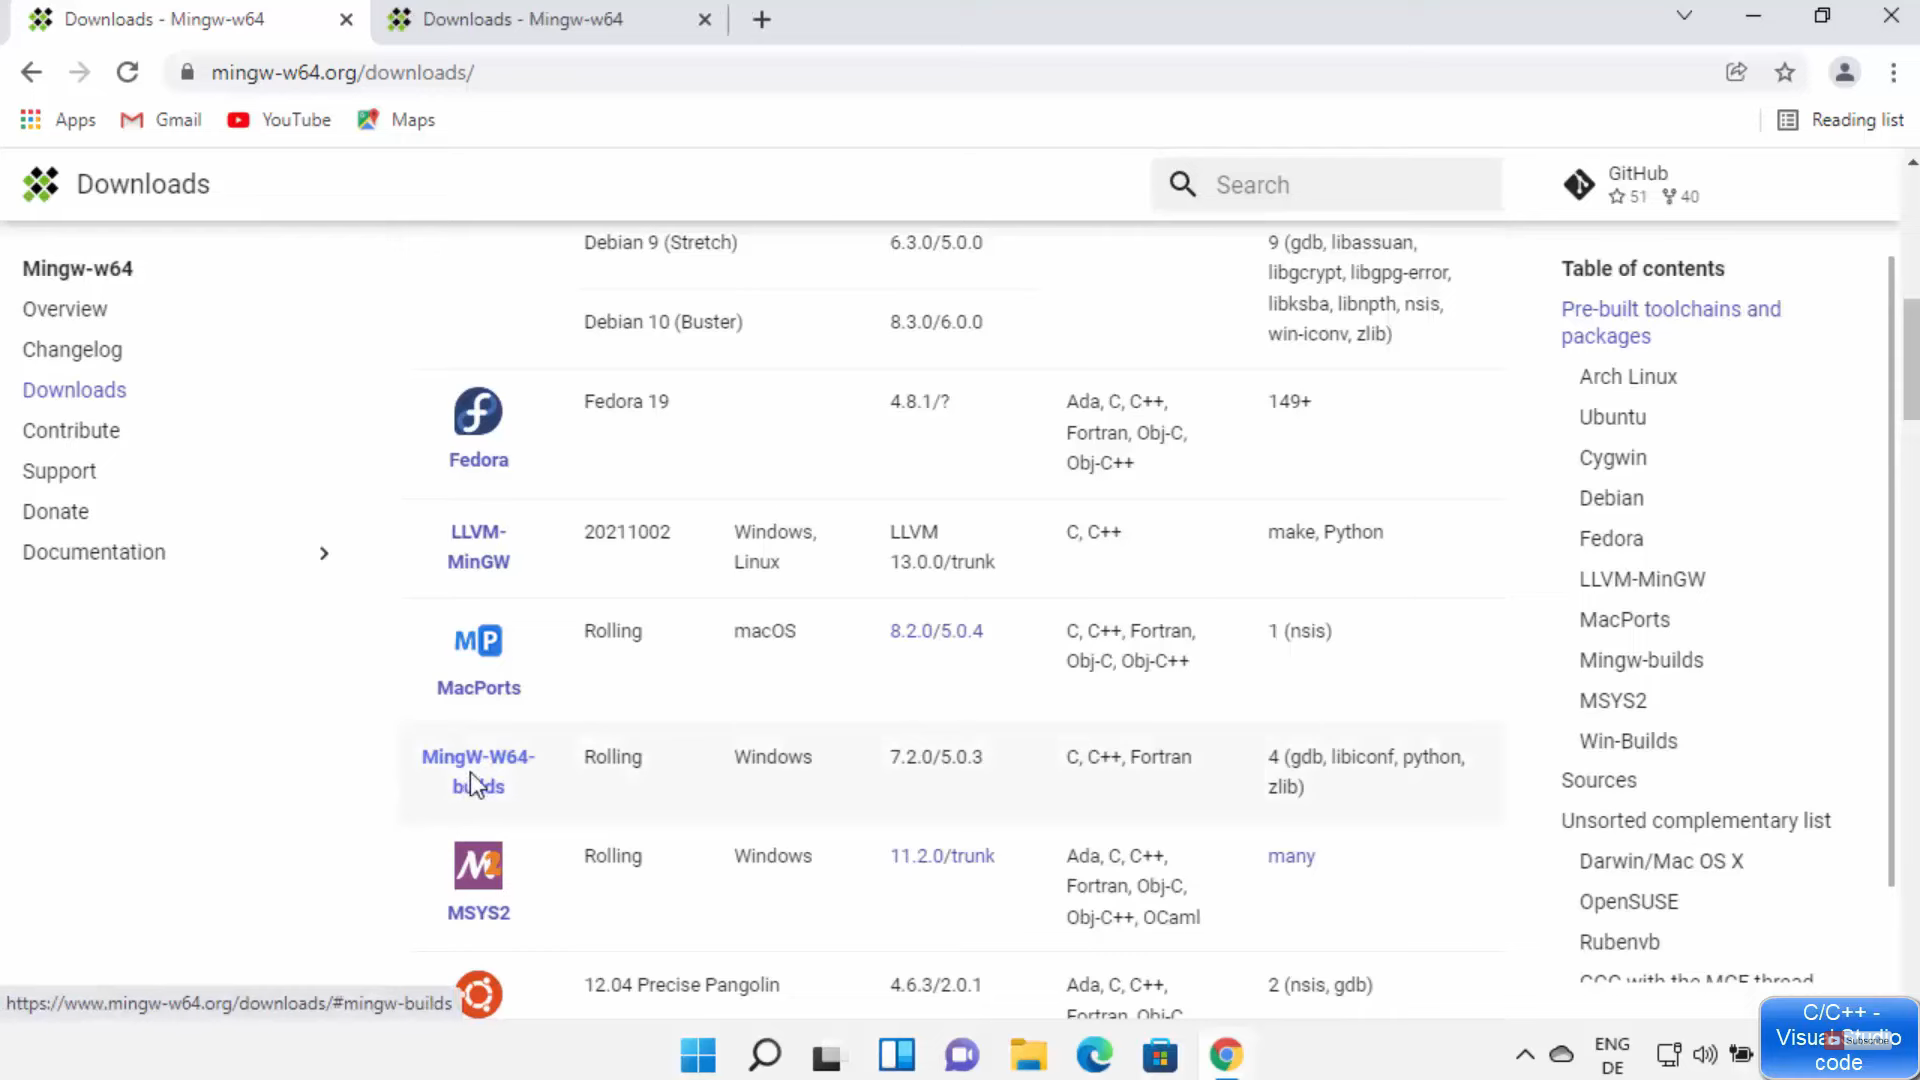
10. Once the link opens, click on the download link which is available on the left-hand side. Scroll down and click on the Windows version link.
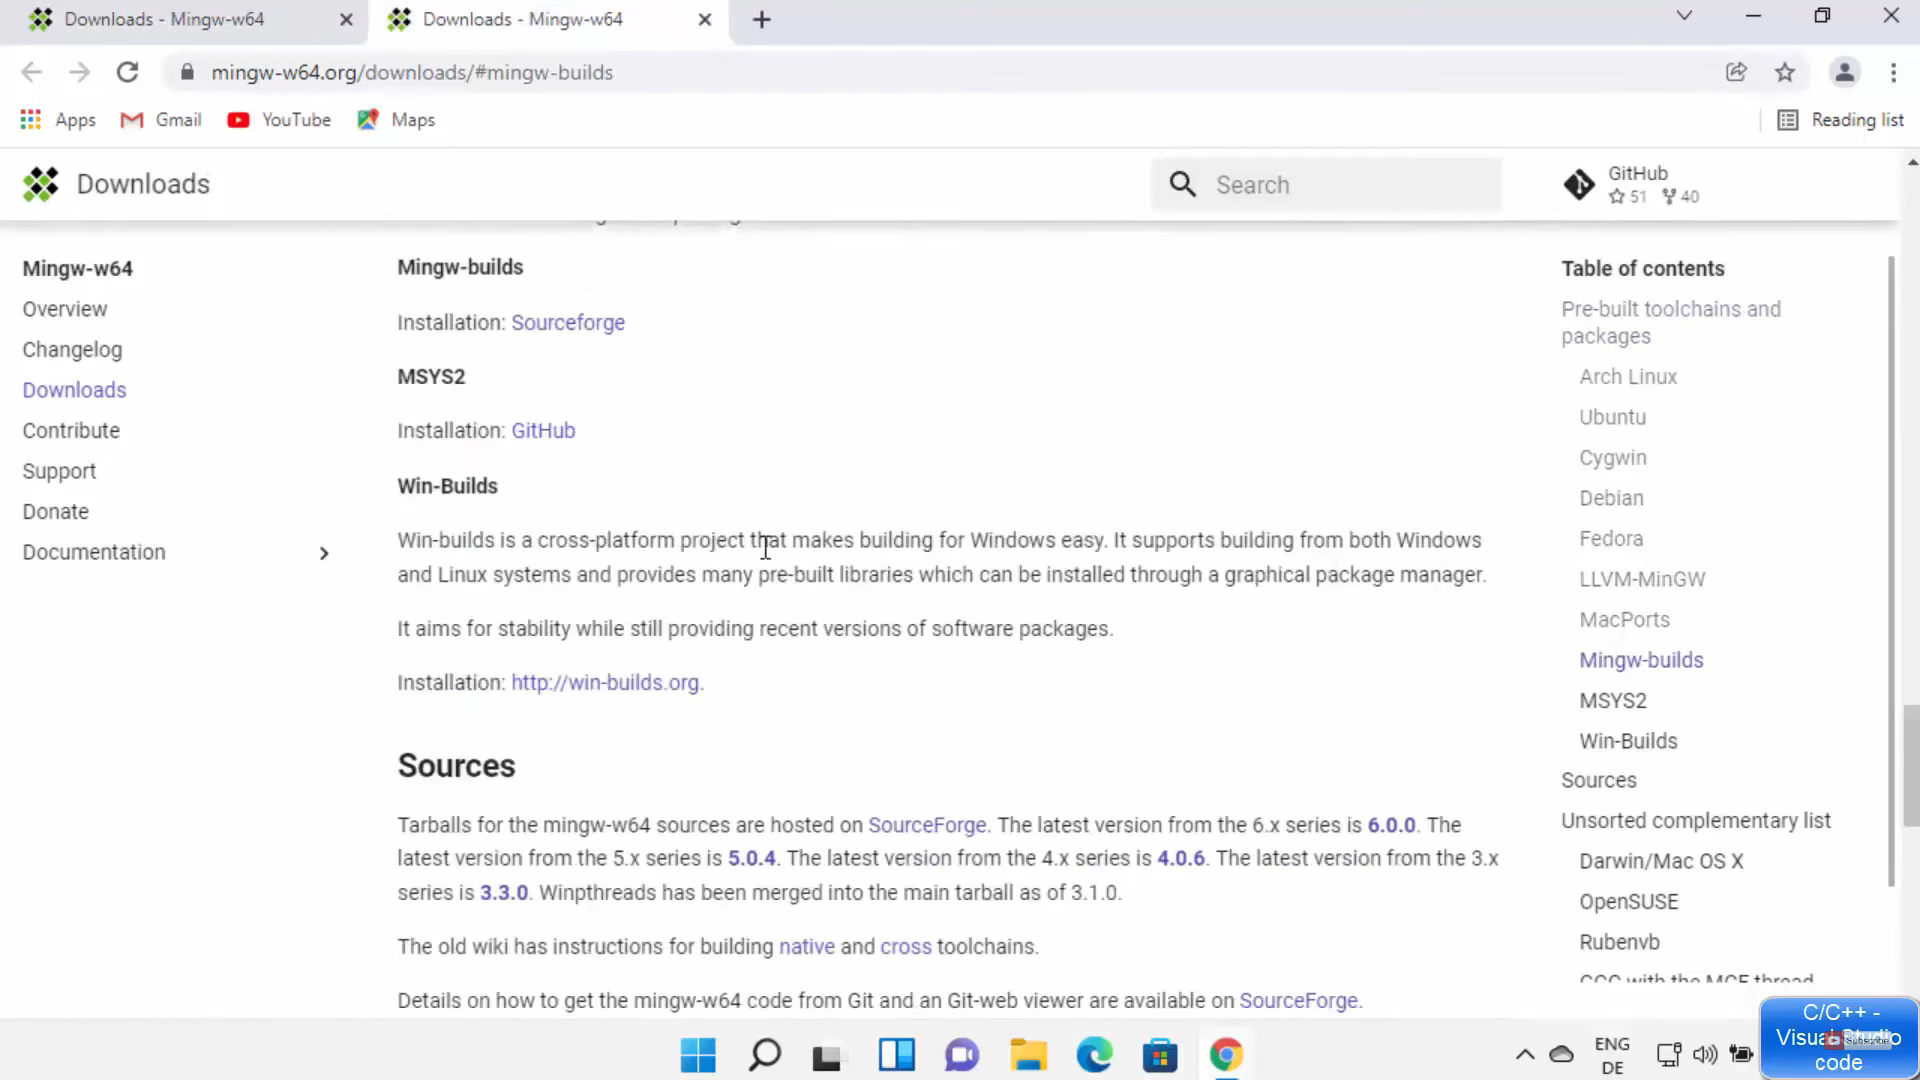
11. It will take you to another page. Here you need to click on the Installation link. It will start the installation.
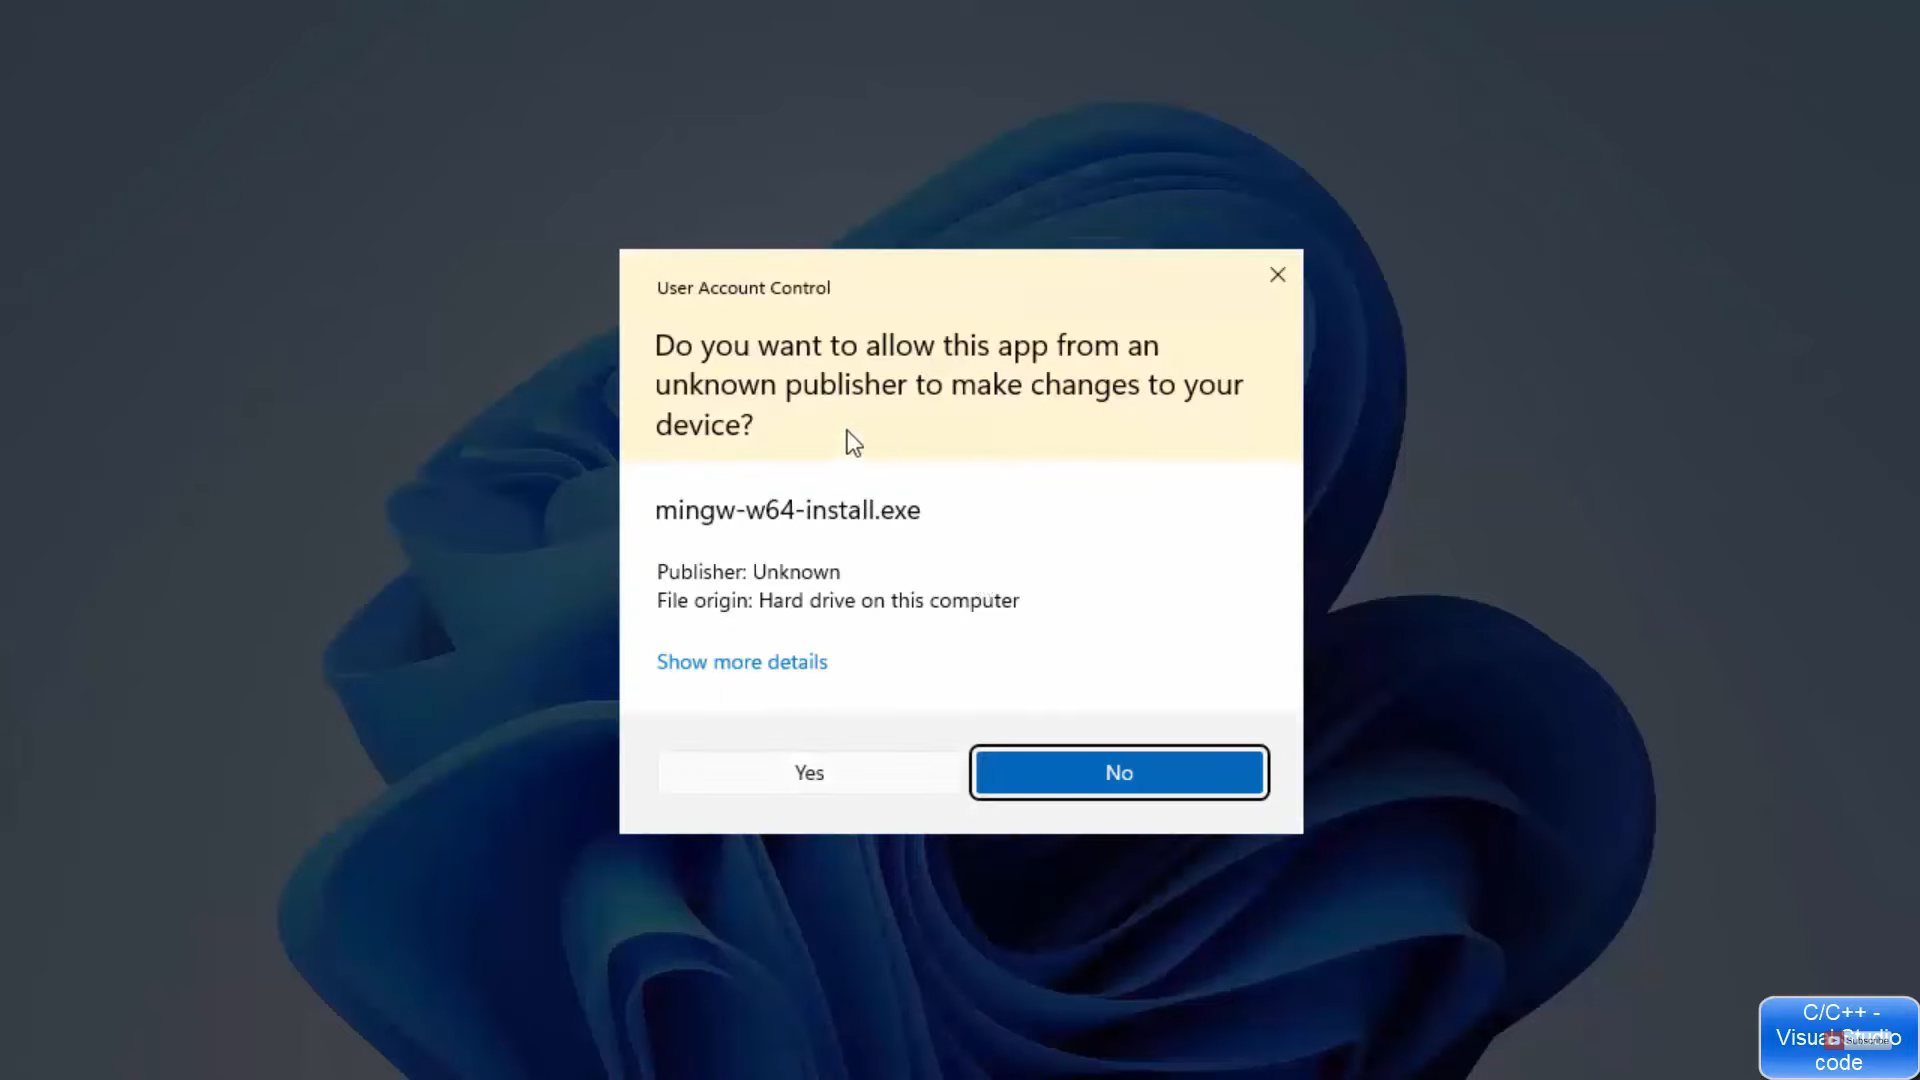
12. Once the installation is complete, click on the exe file and minimize the browser. It will show a warning. Click on yes.
13. In the next window, click on Next.

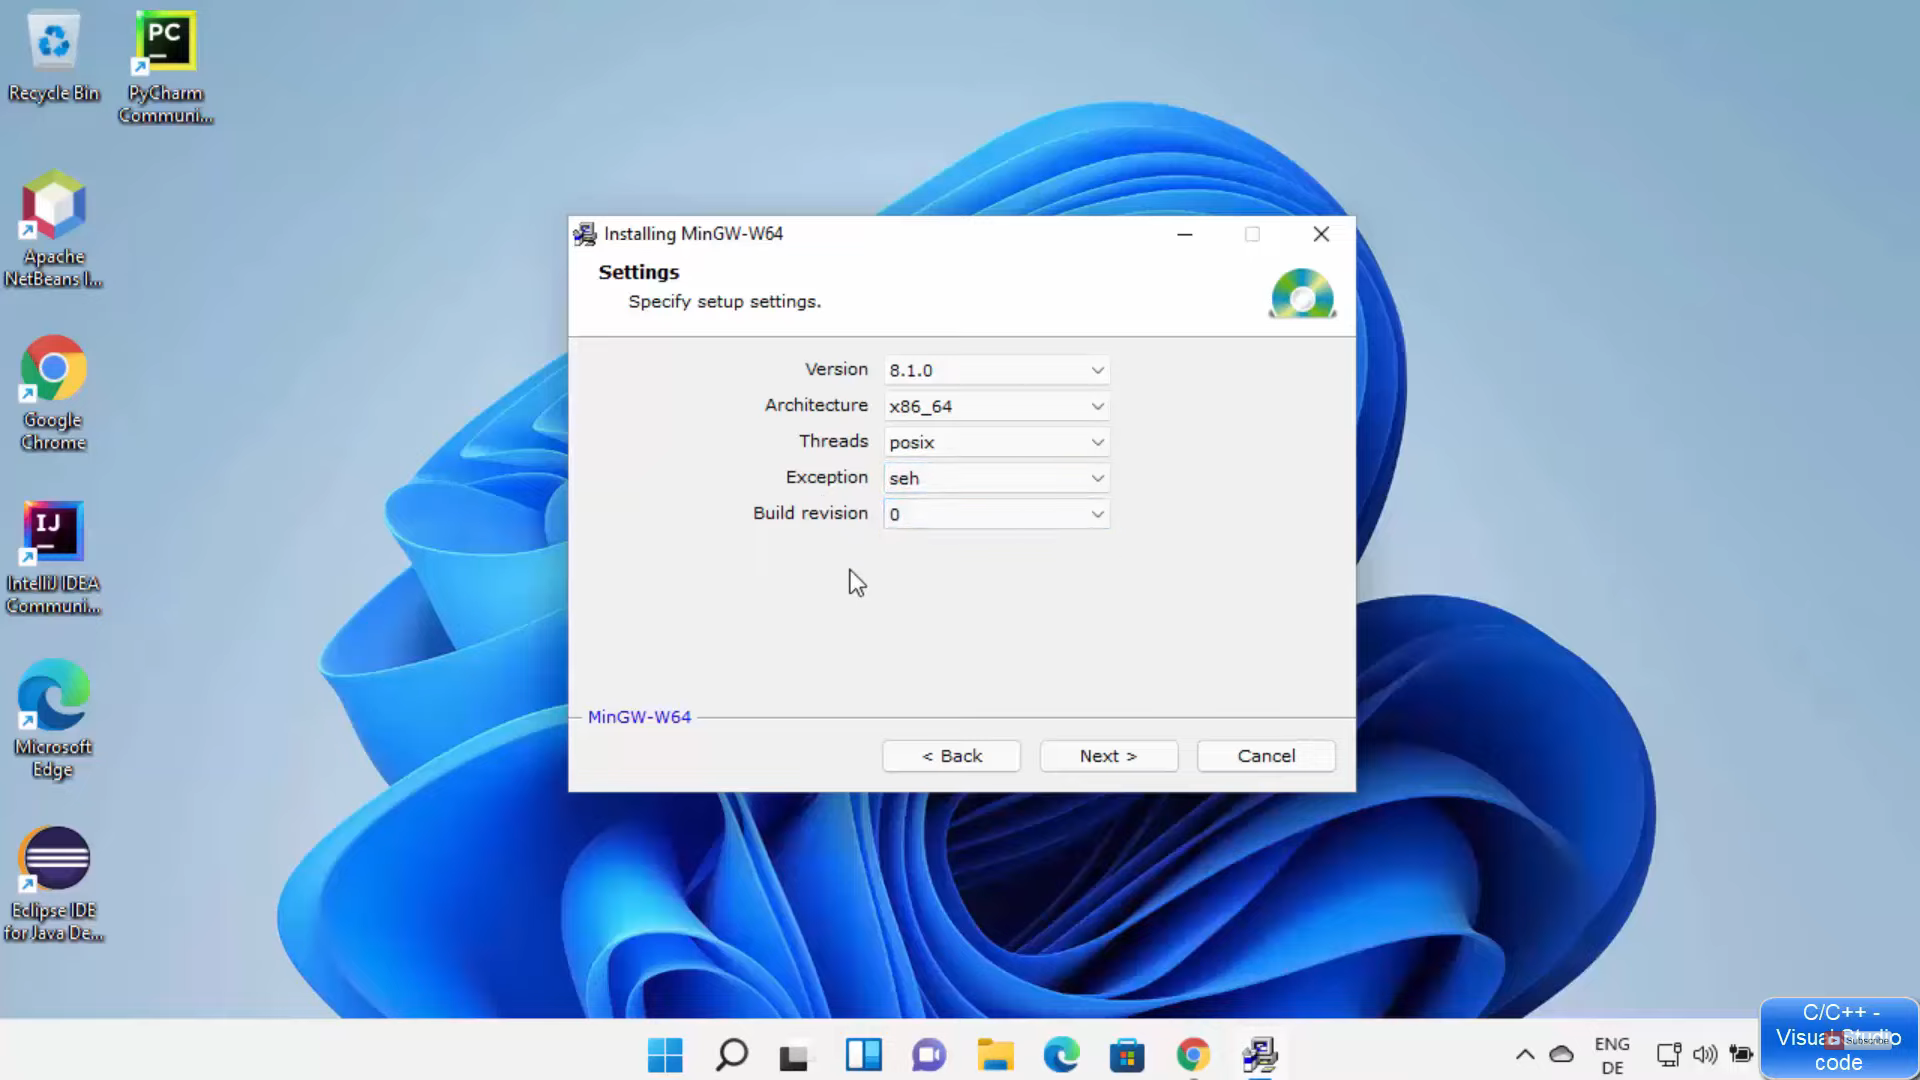
14. In the settings window, choose the settings which I have provided in the image below and click on Next.
15. This will be the location where it will be installed. If you want you can change the location using the Browse option. I am going to leave it as default and click on Next.

16. Once the installation is complete, click on Next.

17. In the next window, click on Finish.

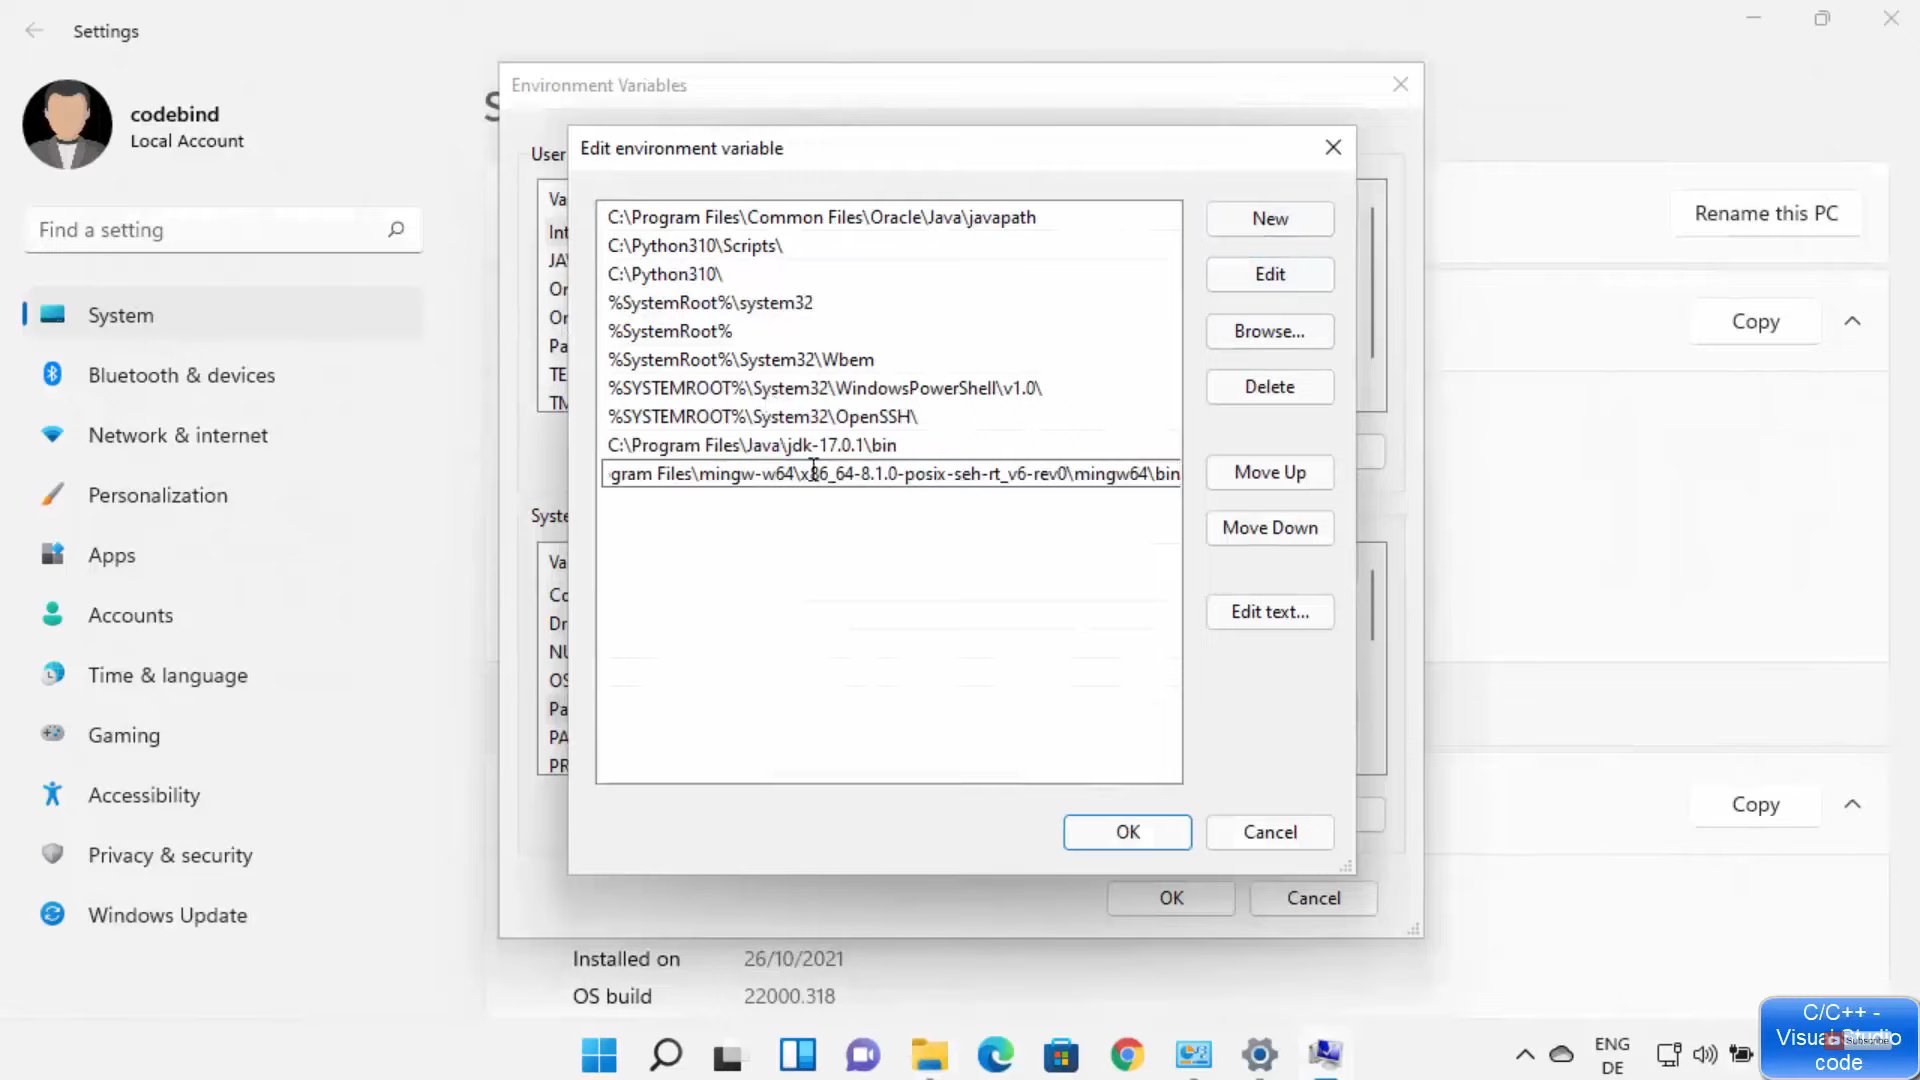
18. Once mingw is installed we need to know the location where it is installed. Go to the location where it is installed, go to the bin folder, and copy the path. Open the search icon and search for environment variables. Click on the path under system variables. Paste the path that you have copied and click on Ok in all the tabs.
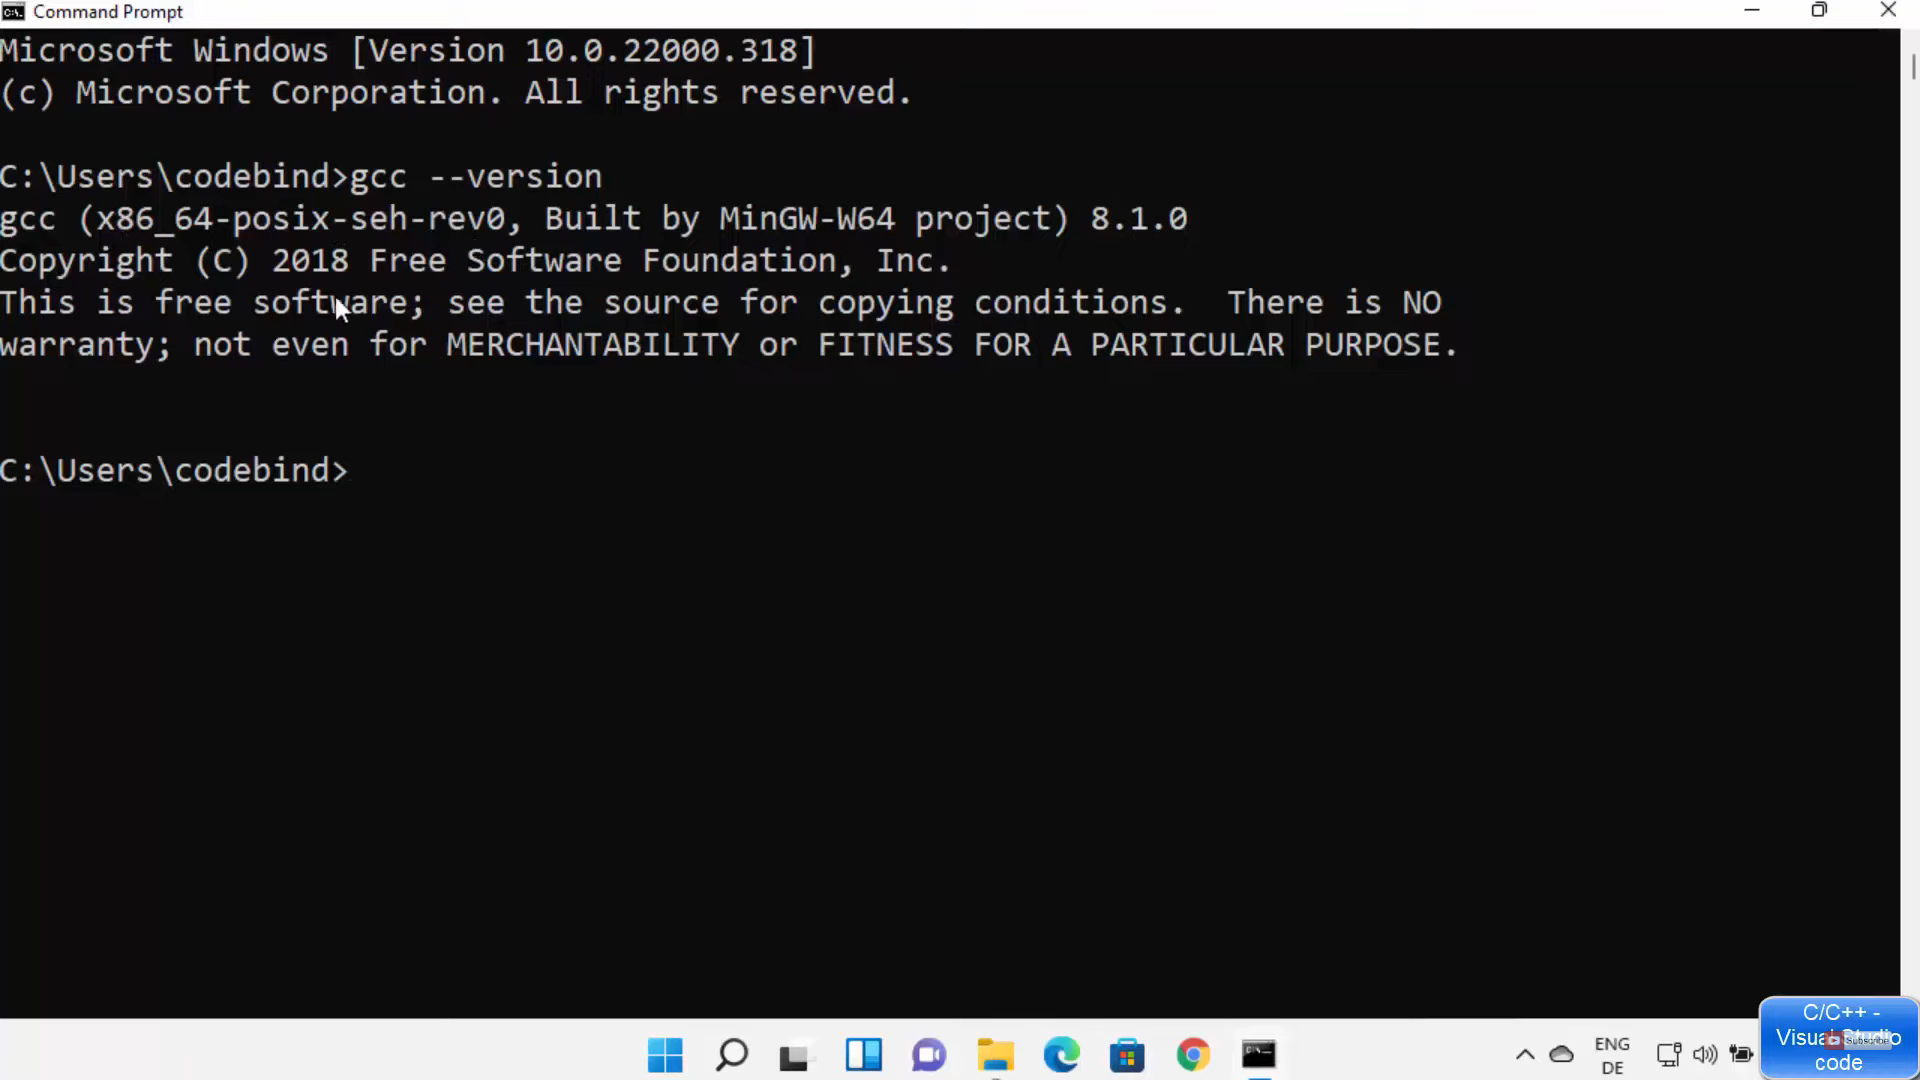
19. Click on the search icon and search for the command prompt. Once the command prompt opens, type gcc –version and press enter. If it gives the message which is displayed in the image below, then gcc is working properly.
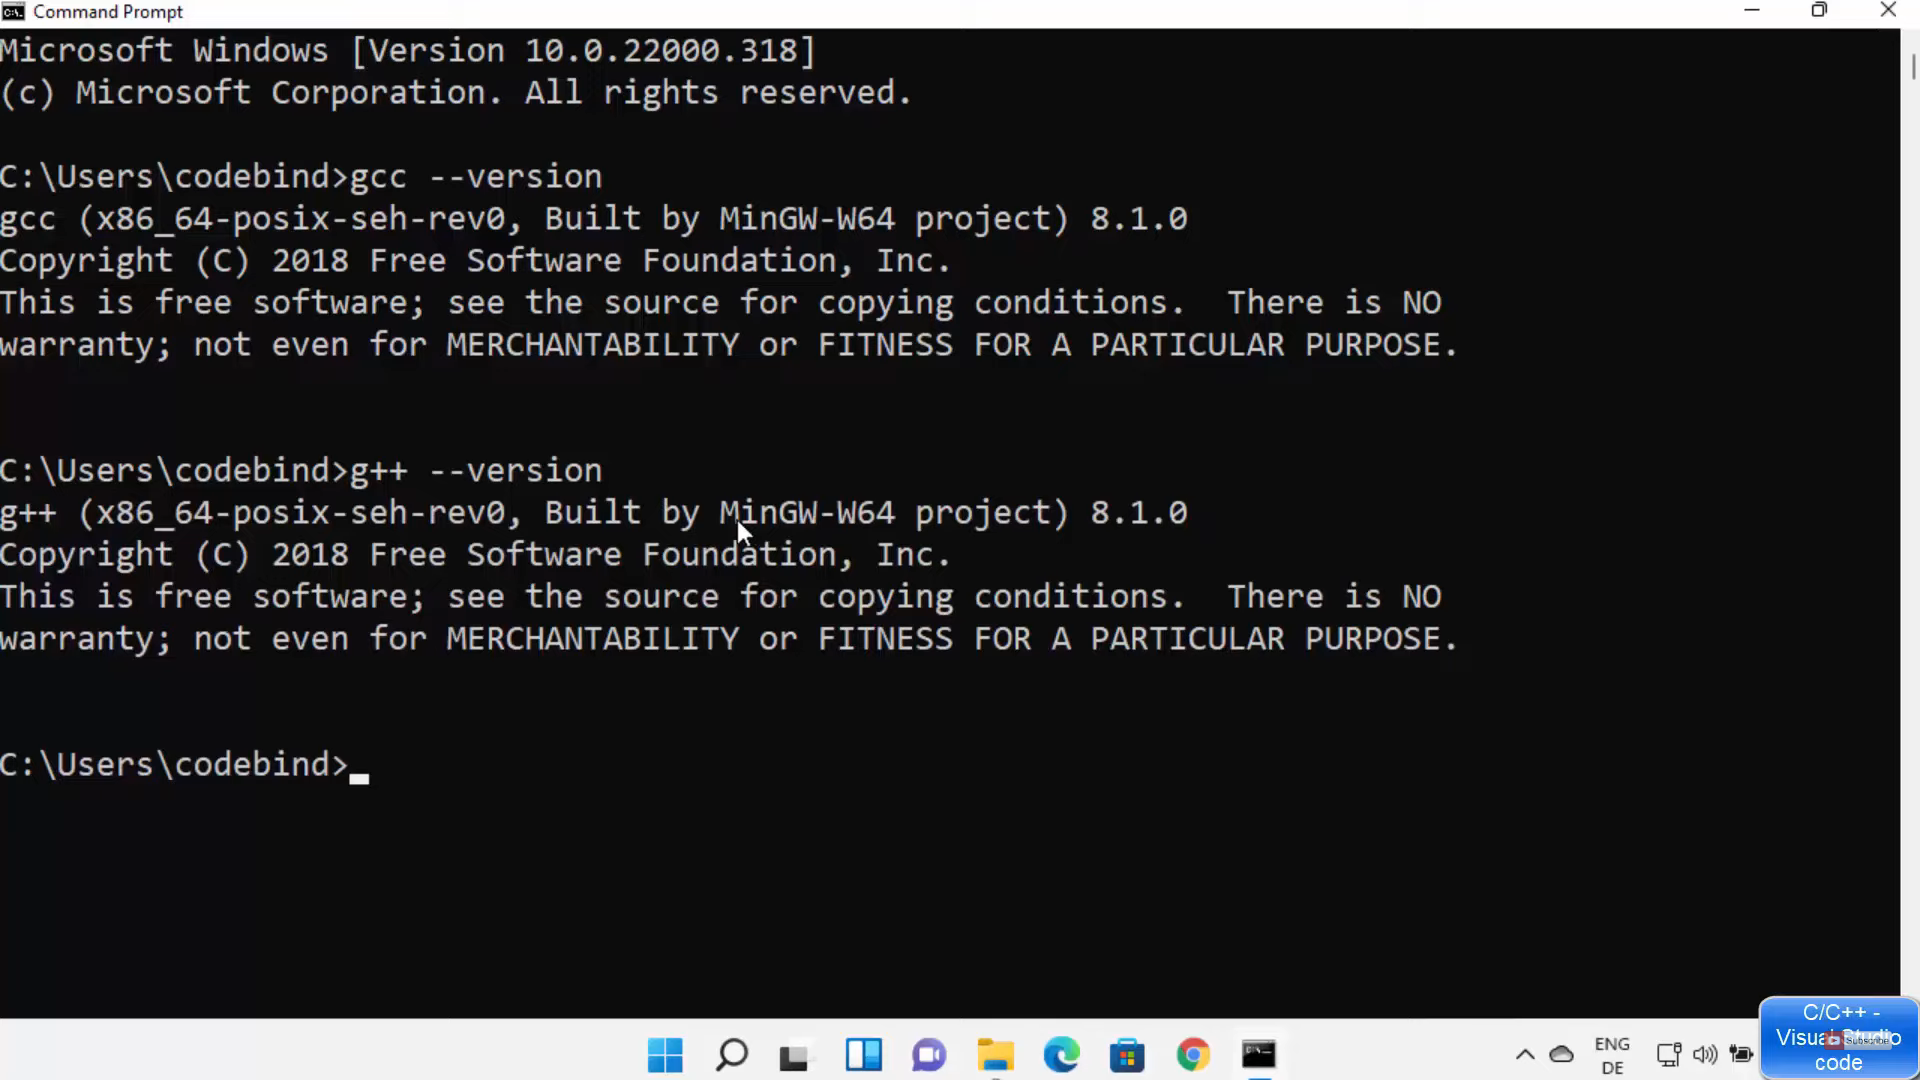
20. In the next line type, g++ –version, and press enter. If it displays the message which is provided in the image below, then g++ is working properly.
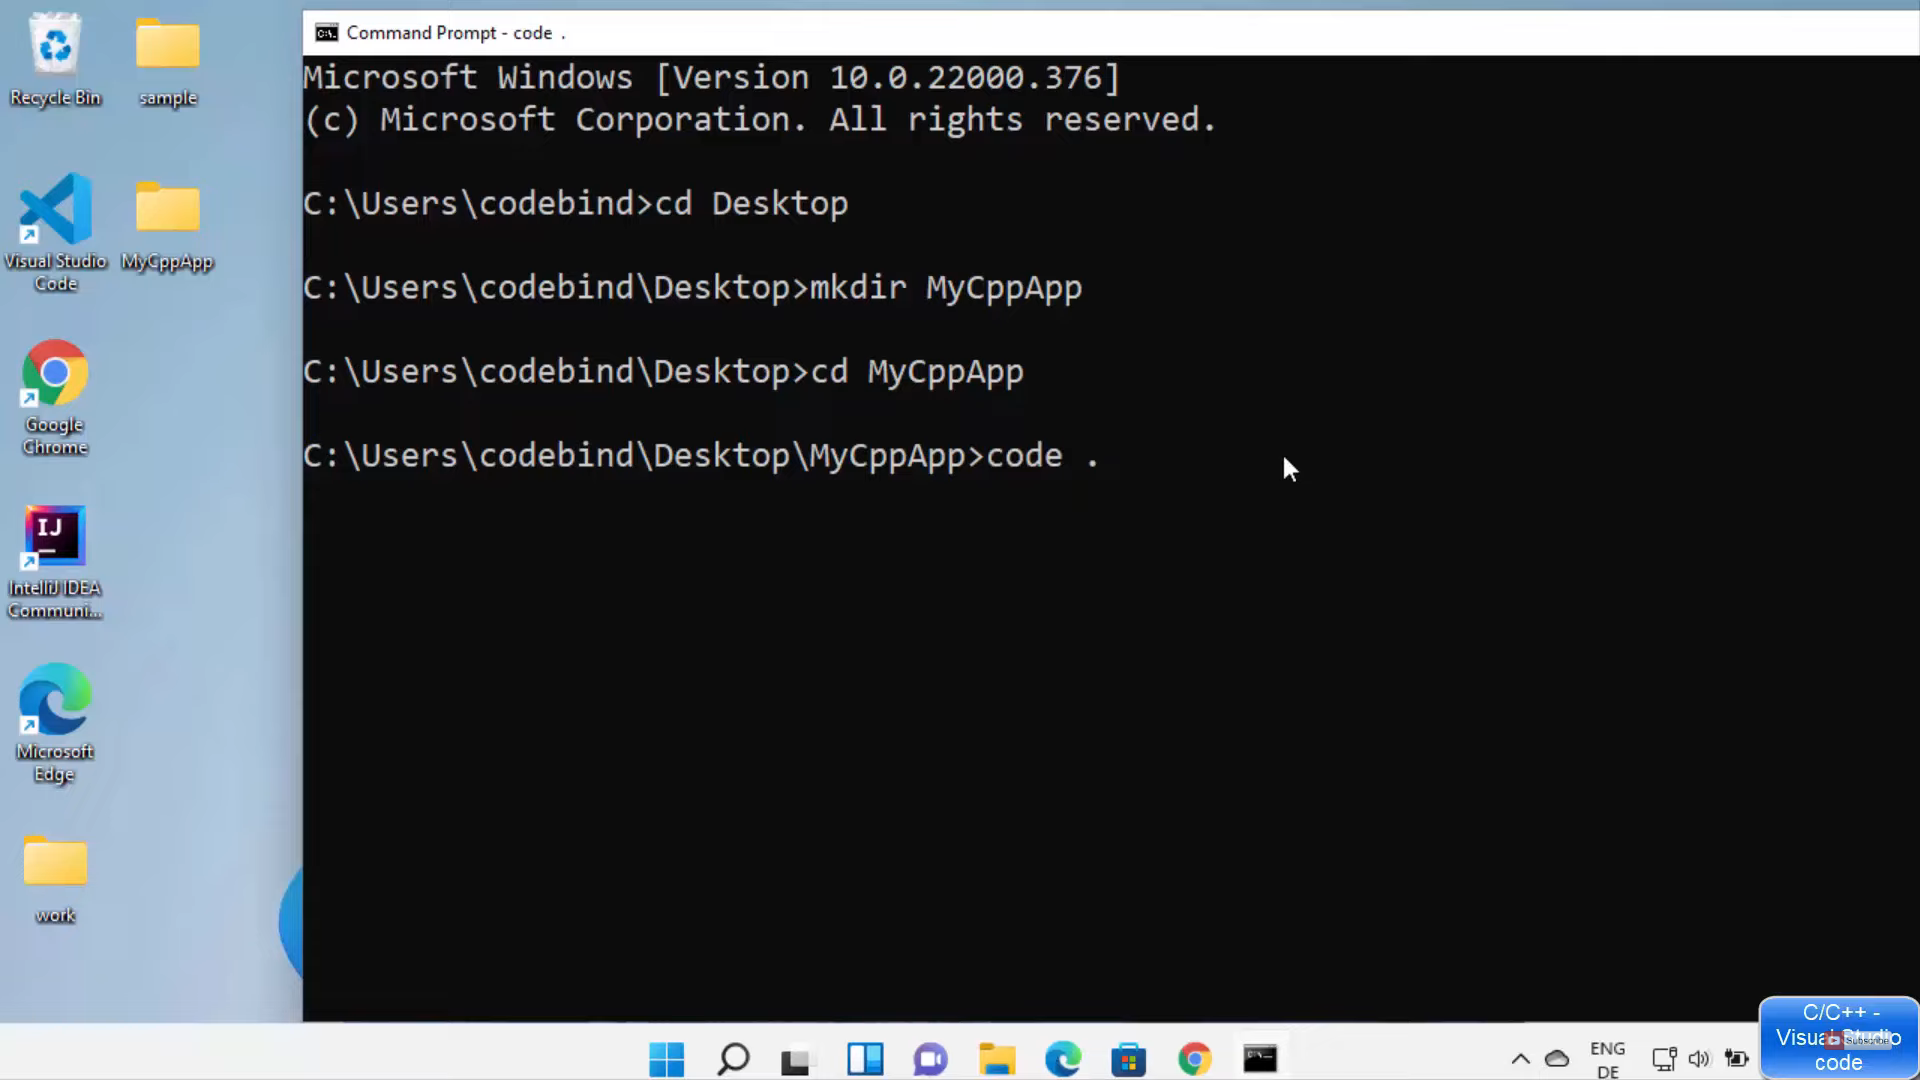
21. Once you have set the environment variables we can start writing the code. Click on the search icon and search for the command prompt. Once the command prompt opens, type cd Desktop and press enter. Then type the commands which are provided in the image below.
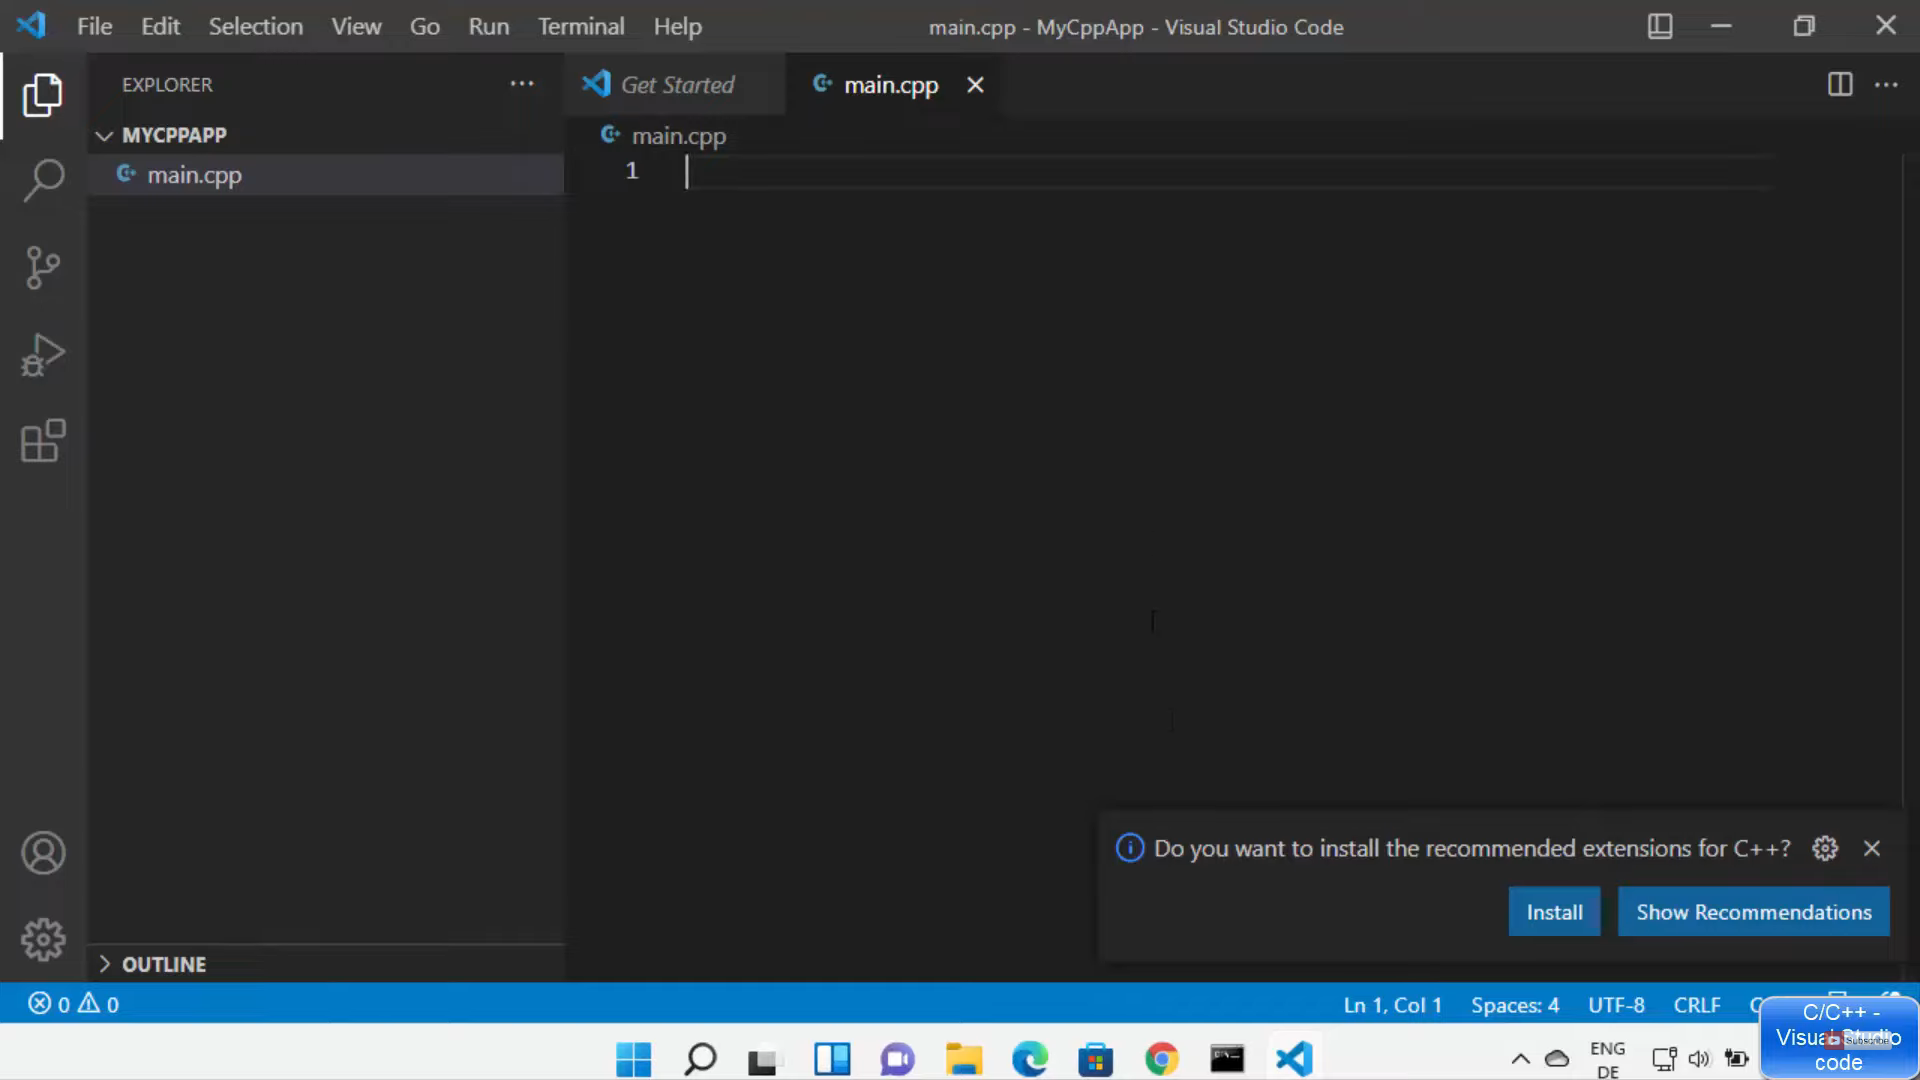
22. It will open visual studio code. In this, I am going to create a new file called main.cpp. It will ask whether you want any installations for c++. I am going to click on the show recommendations option. I am going to install the extension provided by Microsoft.
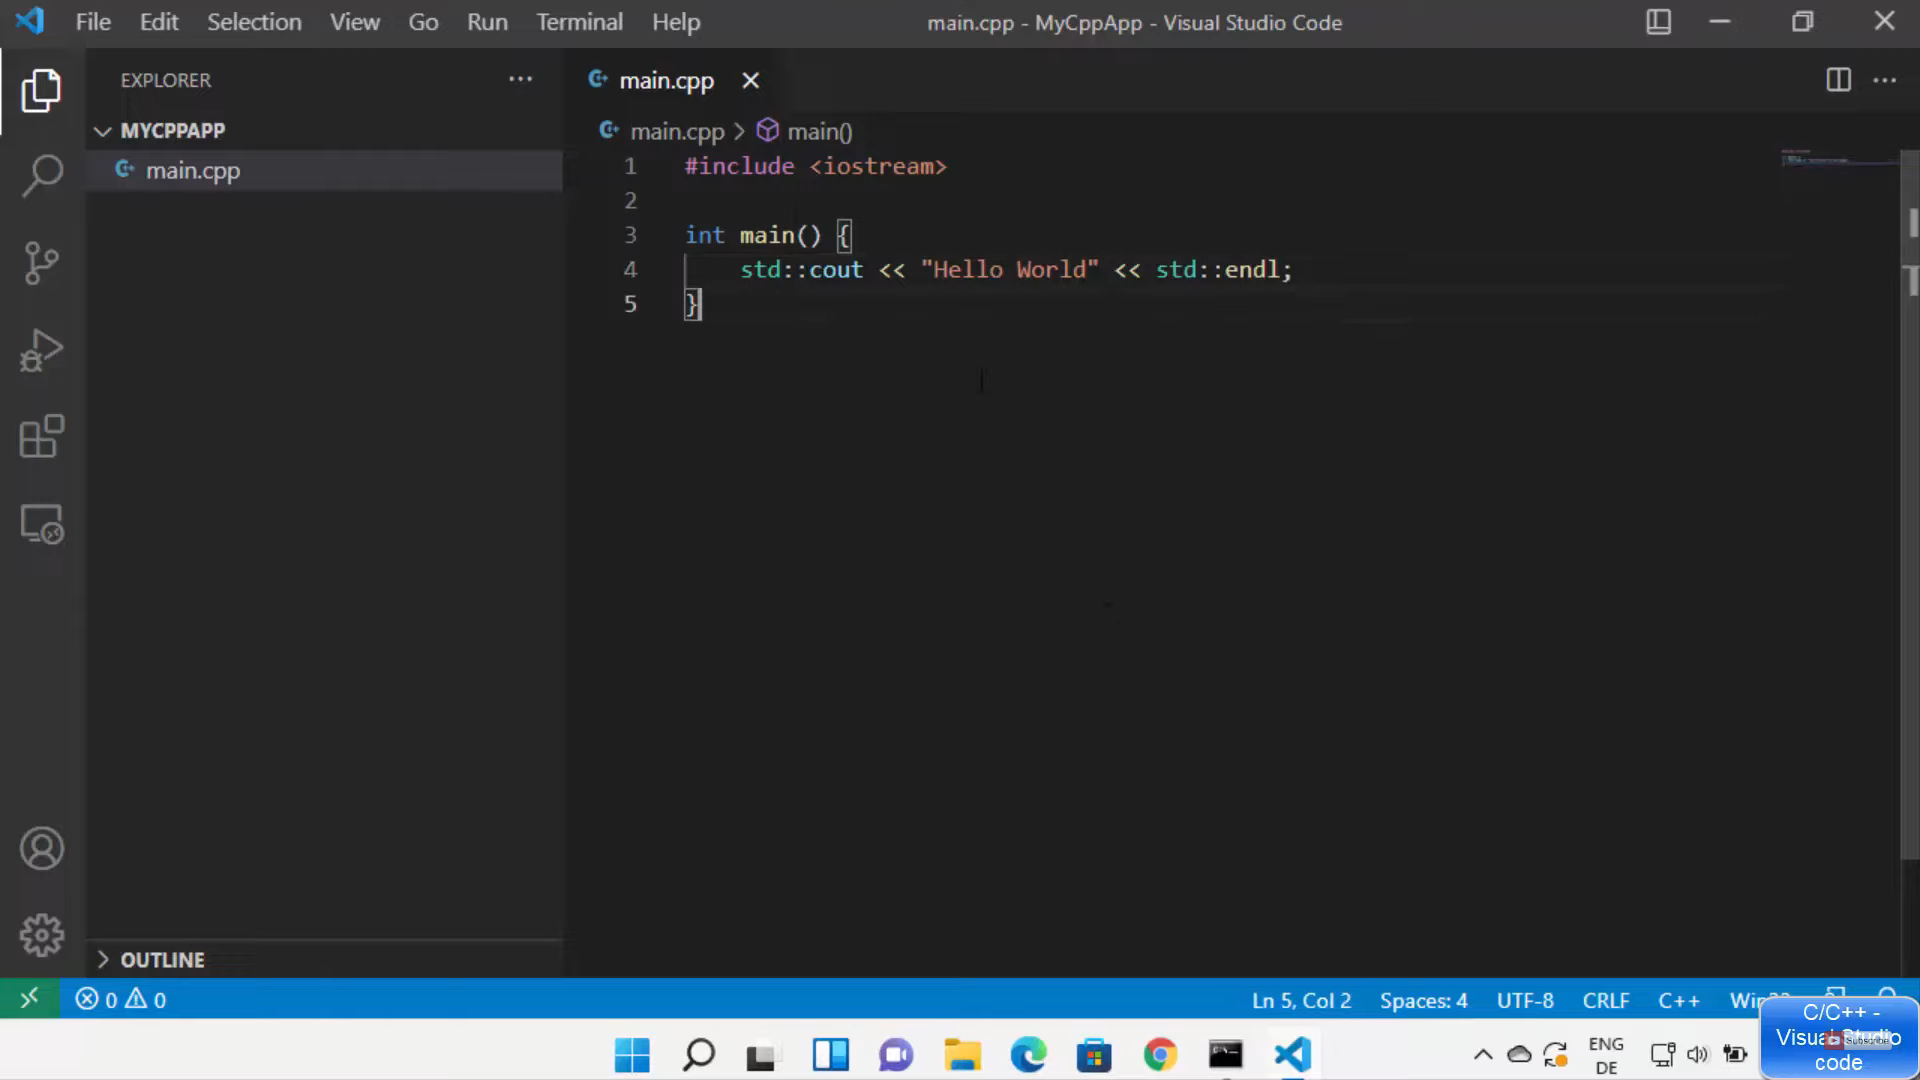
23. Once the installation is complete, write some code. Write the code which is provided in the image below.
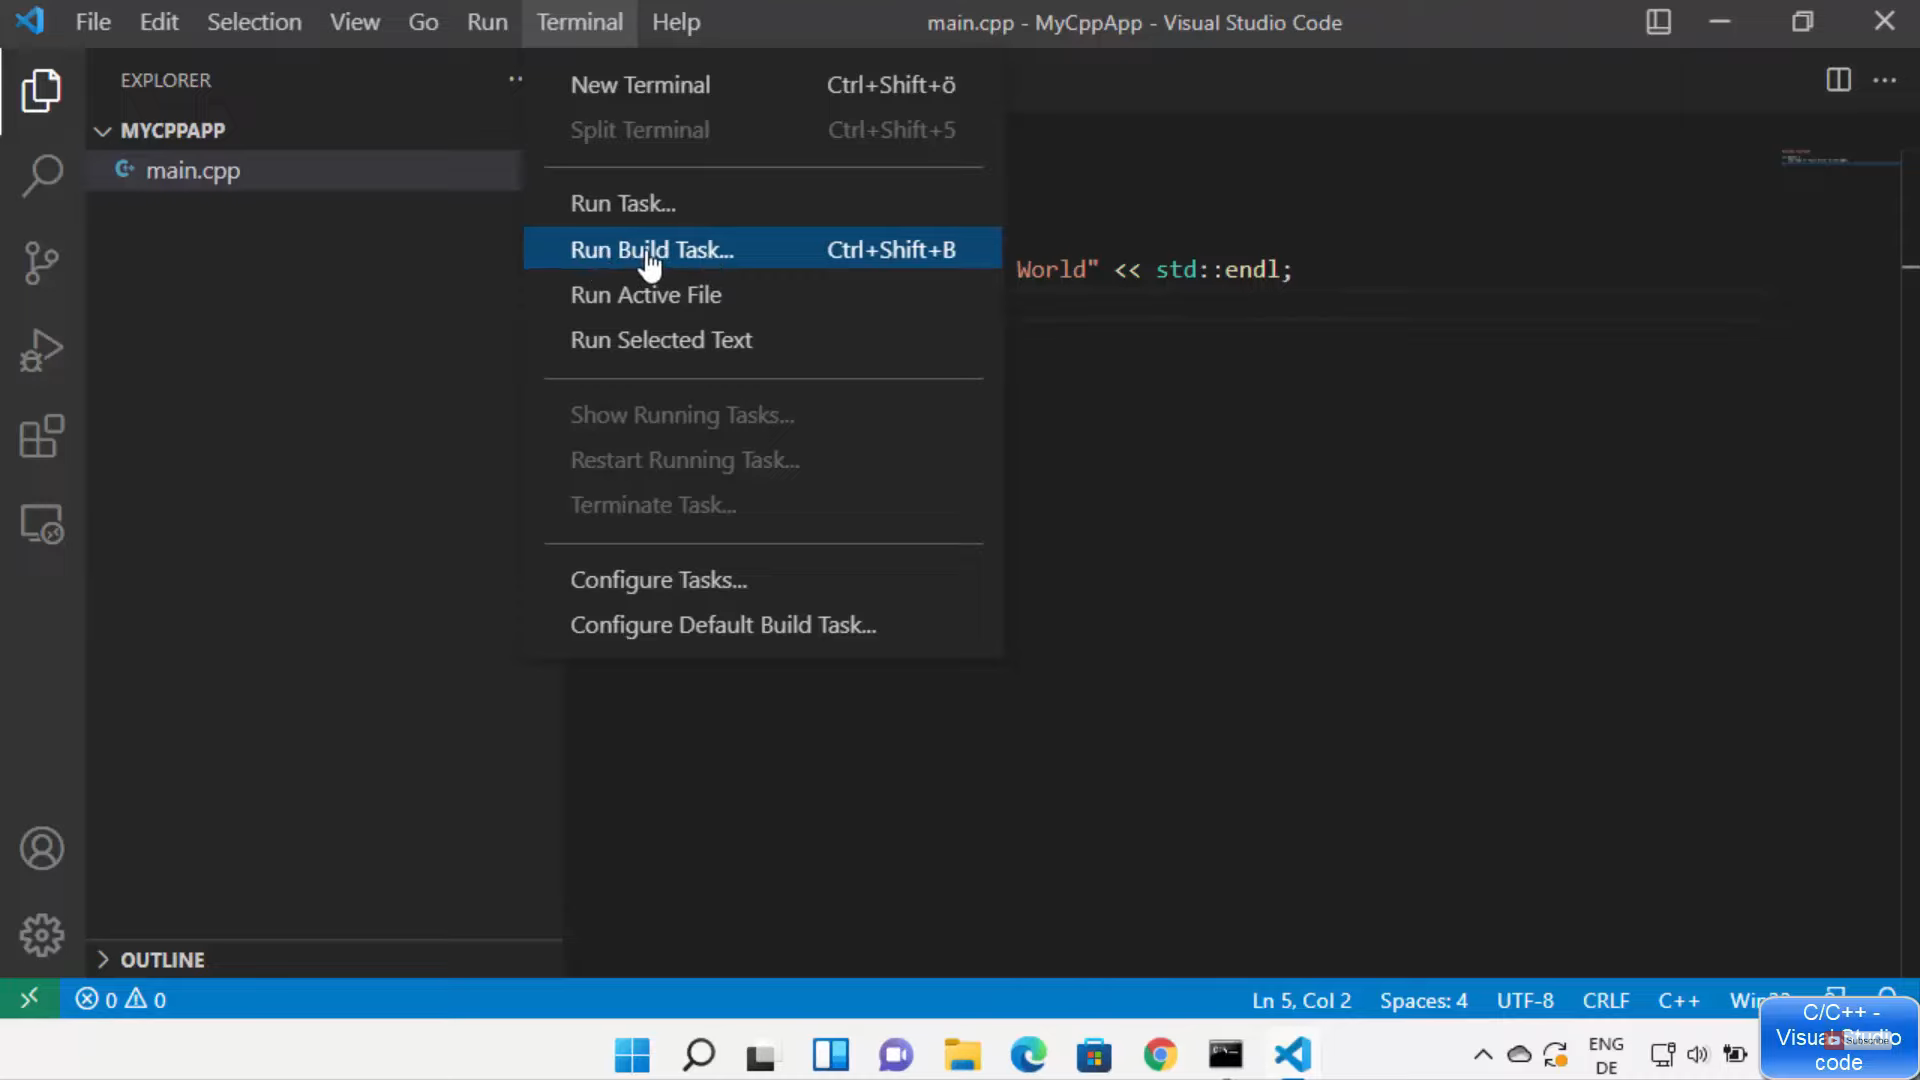
24. Once you have written the code, click on terminal and click on run build task.
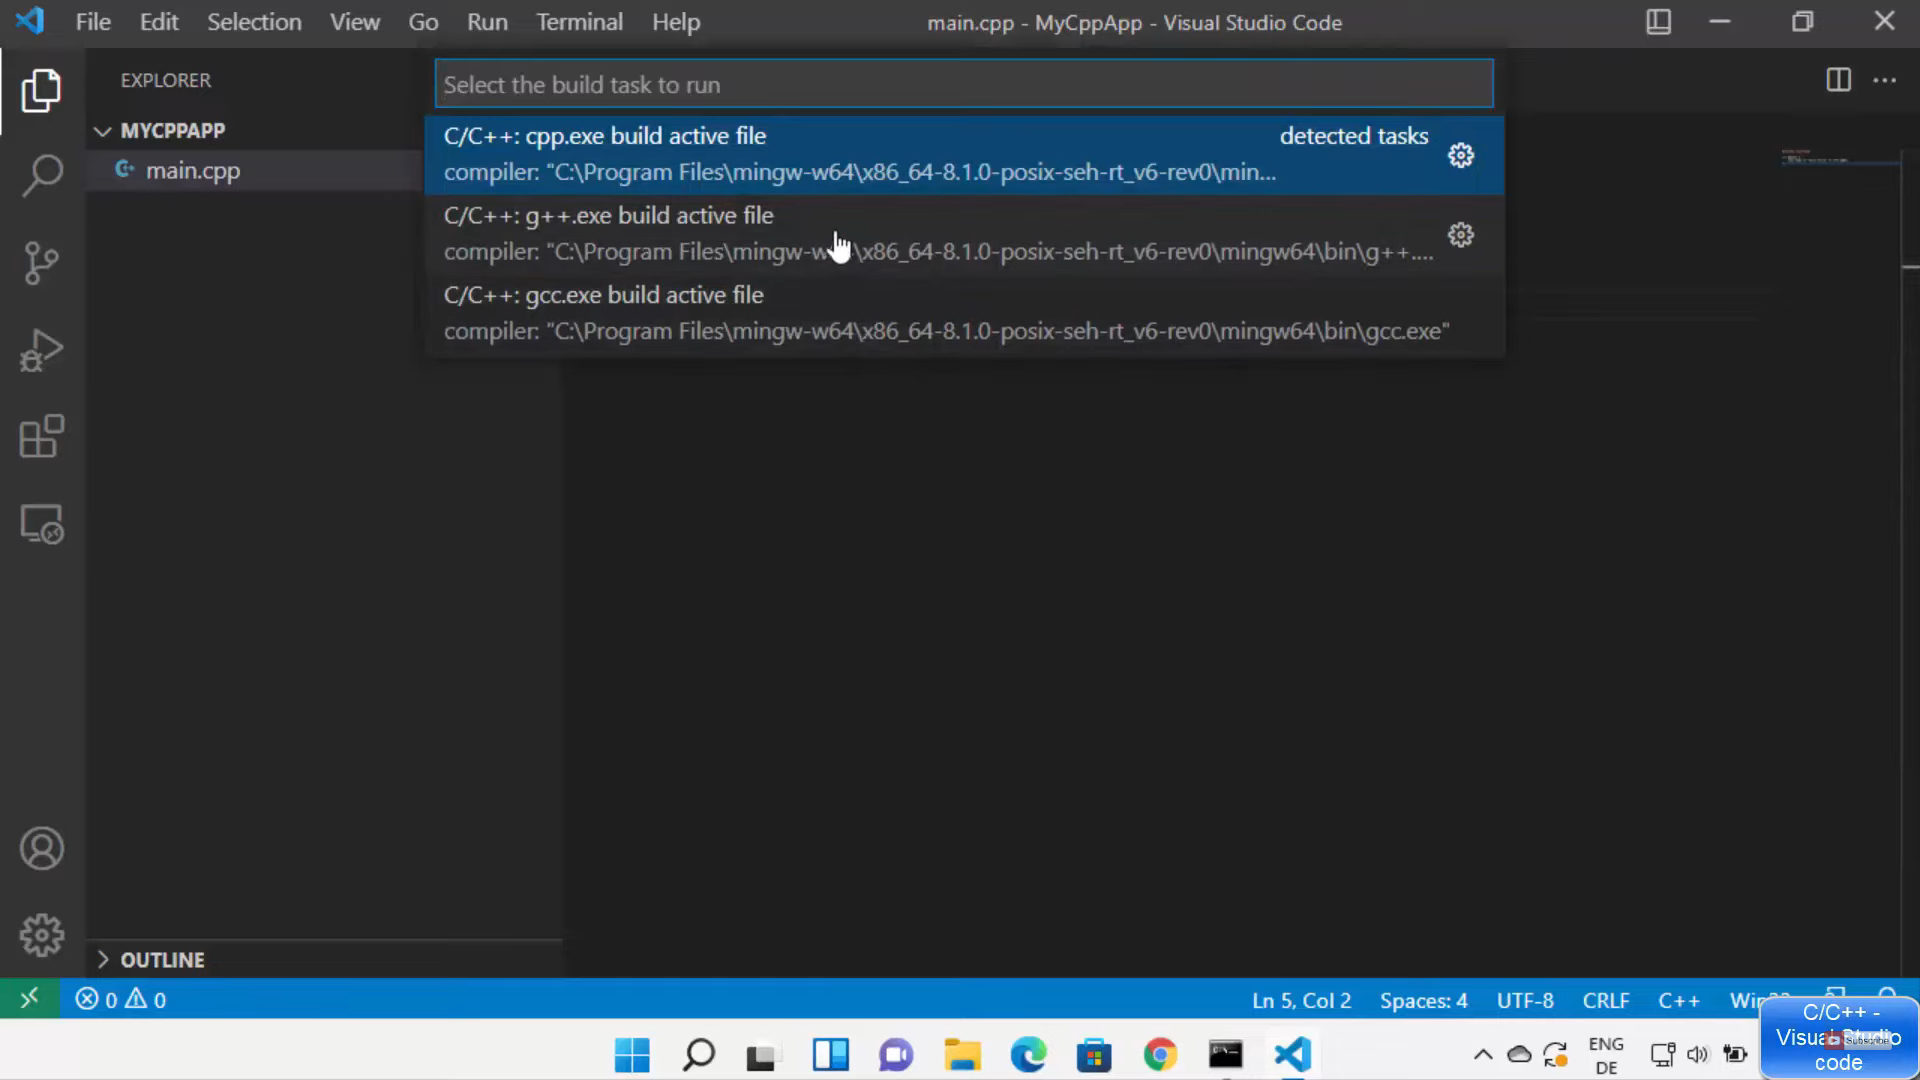
25. In the provided options, I am going to select g++ since this is a c++ program. Click on that option.
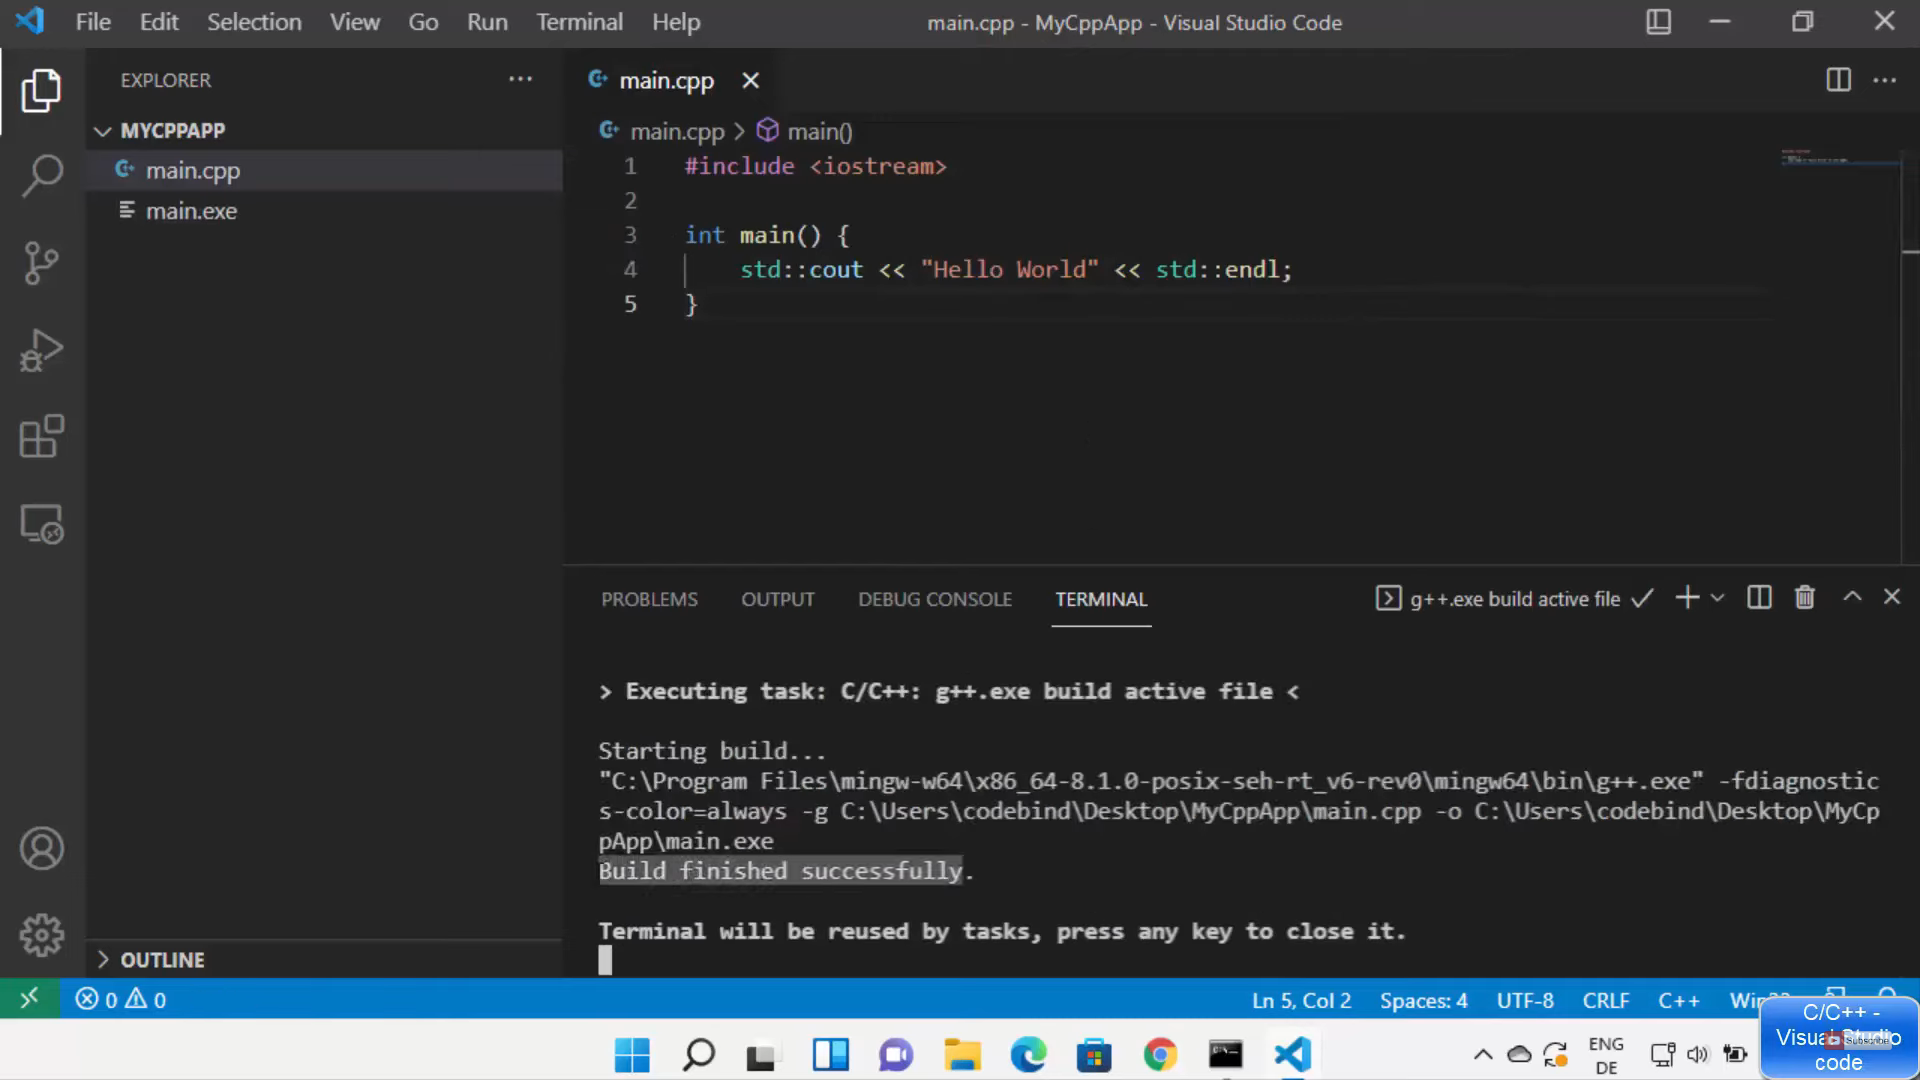
26. It will build your file and it will show the build successful message.
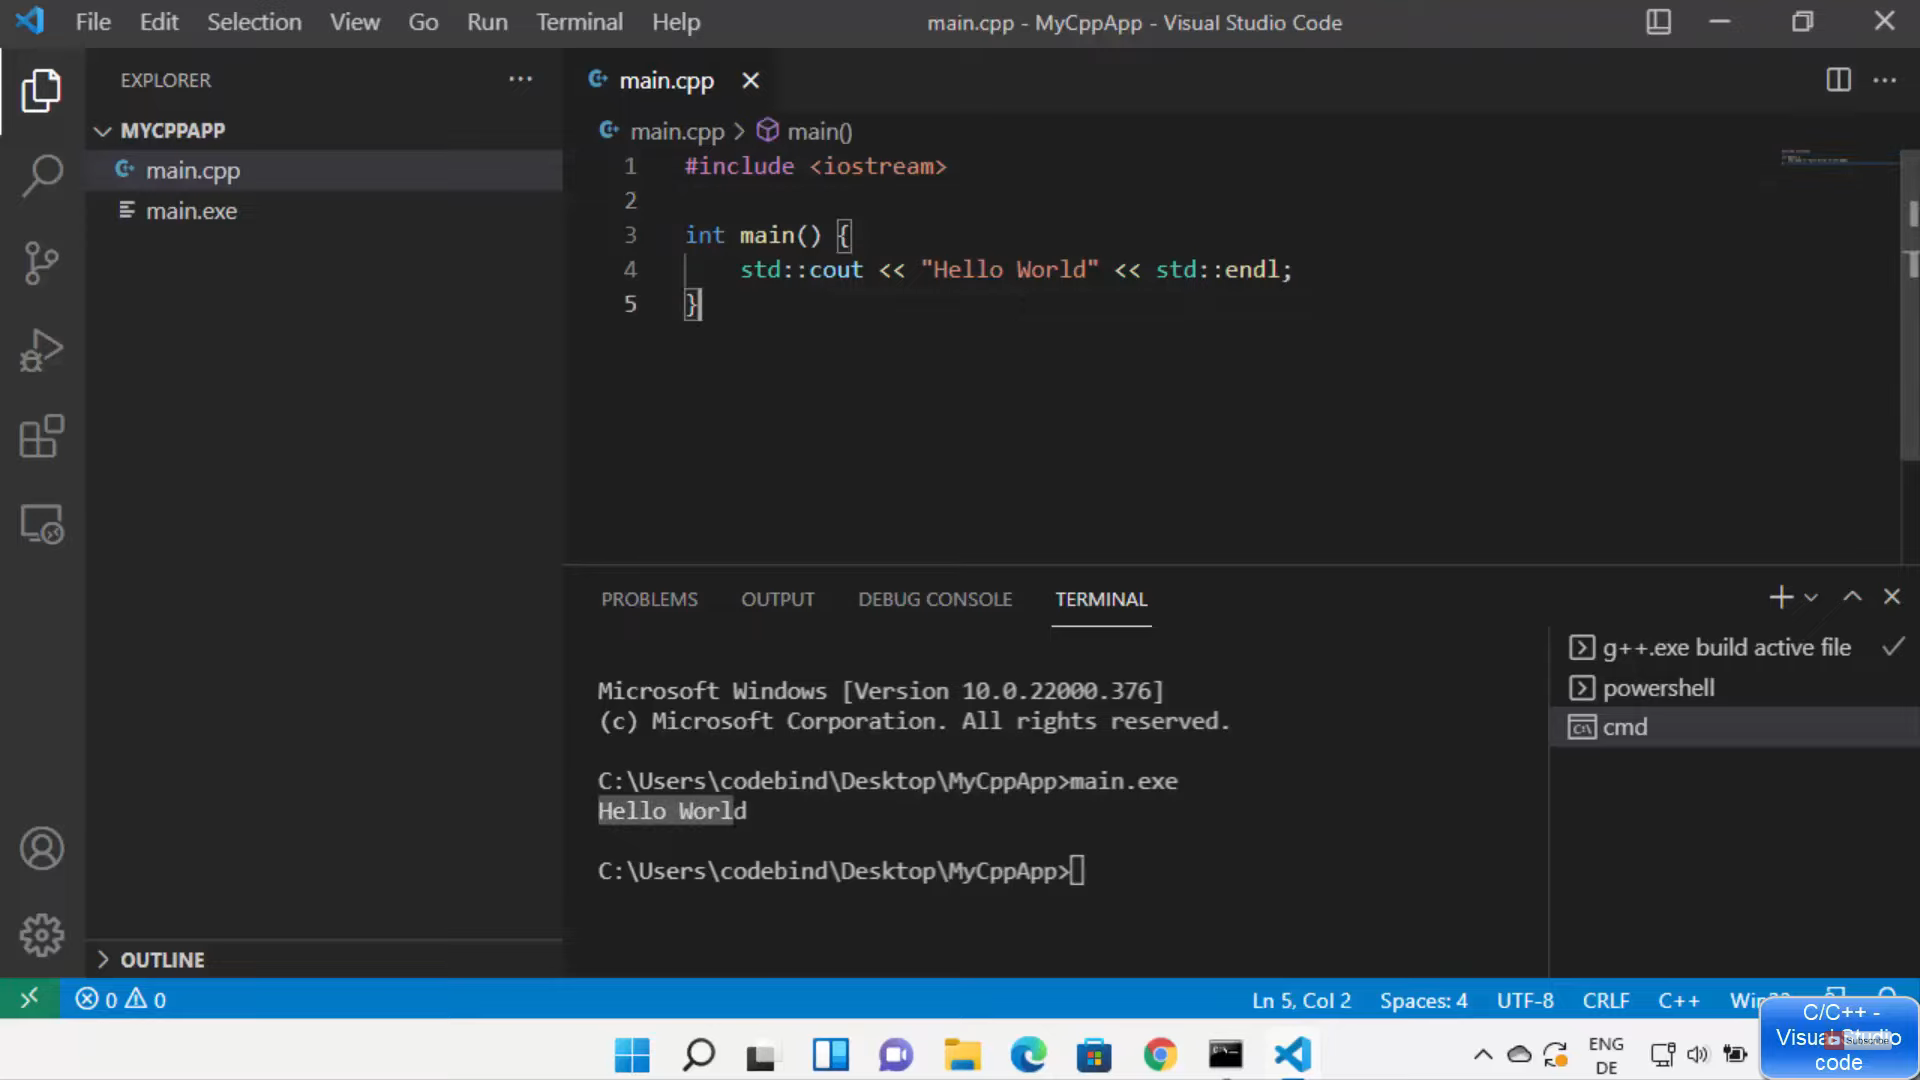
27. To see the output, you need to open a new terminal. Click on terminal and open a new terminal. By default, the terminal is Powershell. If you want you can open a command prompt. Here, you need to type the name of the file along with exe. In my case, it is main.exe and press enter. It will display the output.
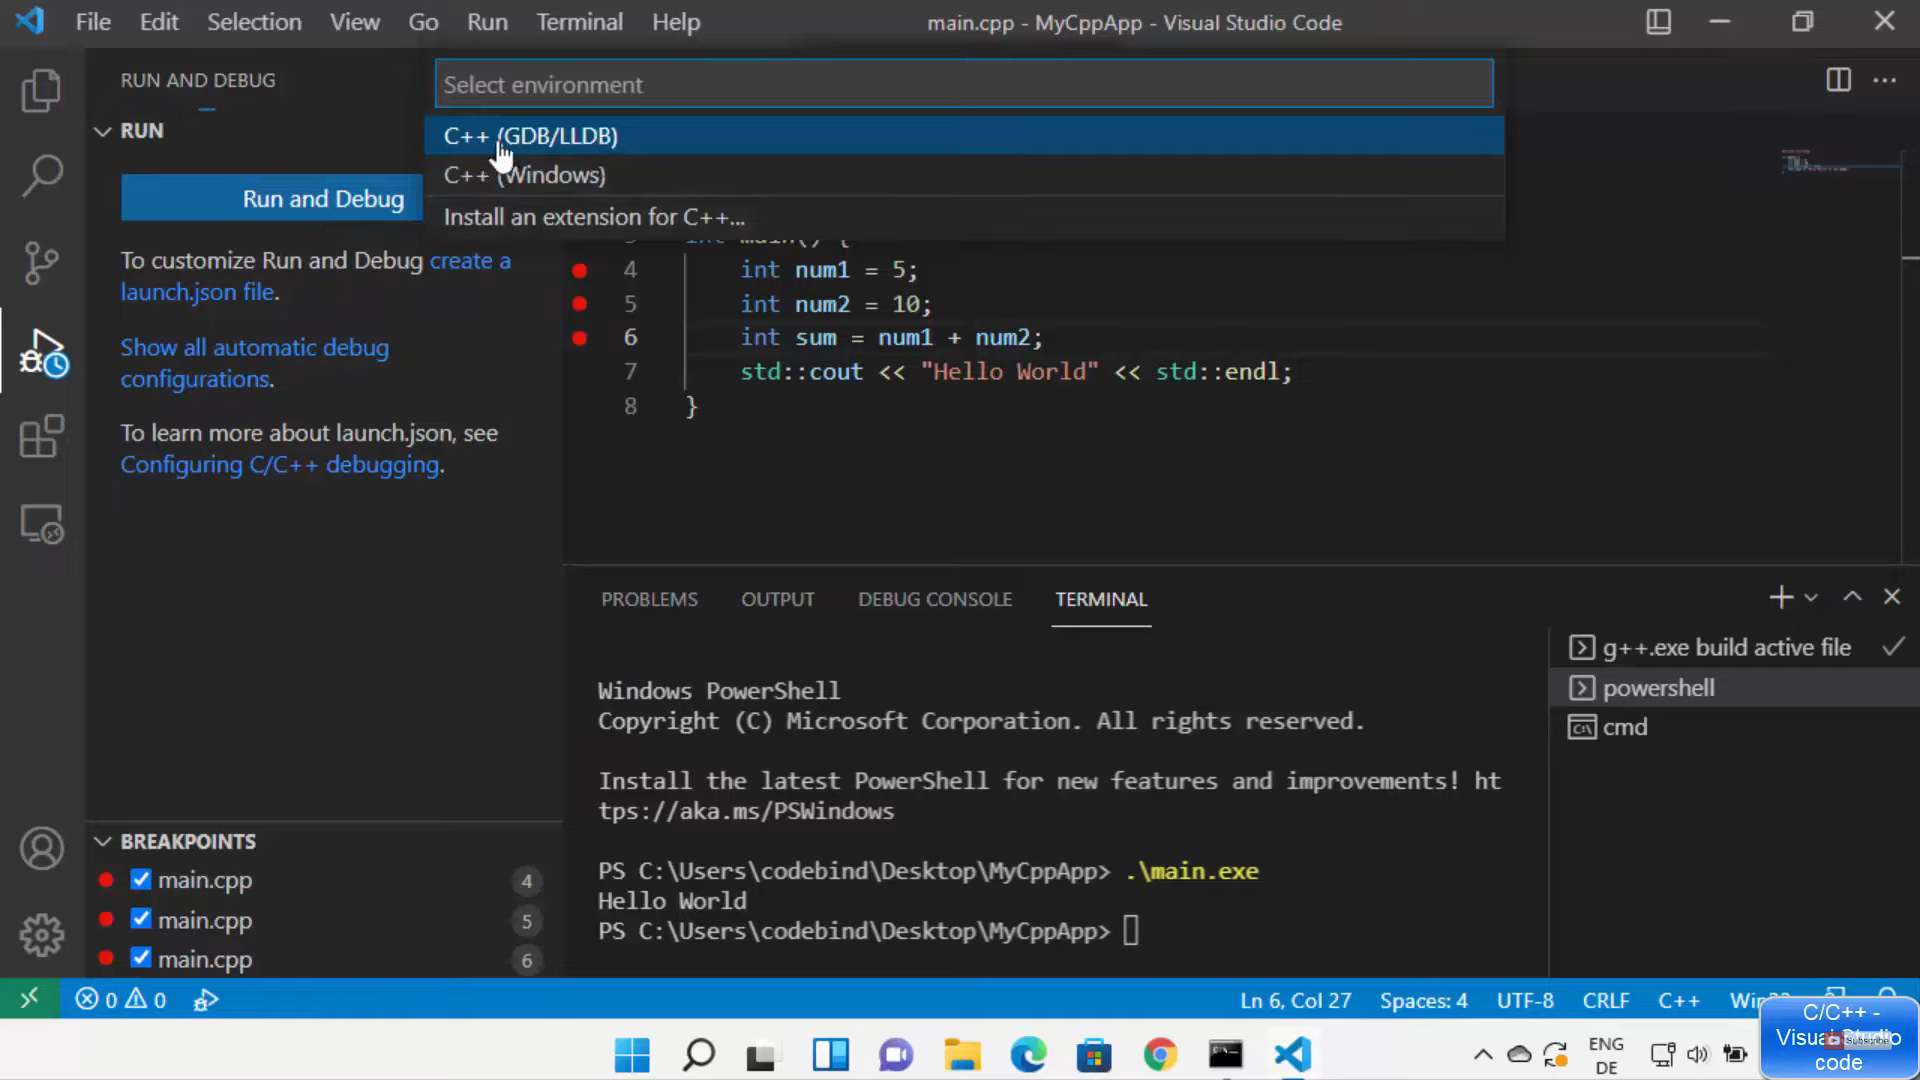
28. In order to run your c++ code, you need to click on run and debug option. It will show a few options. Click on Run and debug. I am going to add a few breakpoints to the program. You can disable all the breakpoints by clicking on the toggle active button. It will not remove them just disable them. When you click on run and debug, it will ask you to select from the list of options. Since we have installed the MinGW compiler, I am going to choose the first option.

29. It will again ask you to select an option. I am going to select the first option. It will run your program.
30. To know whether your program is in debugging code, see whether it is in orange color. It will display the output.

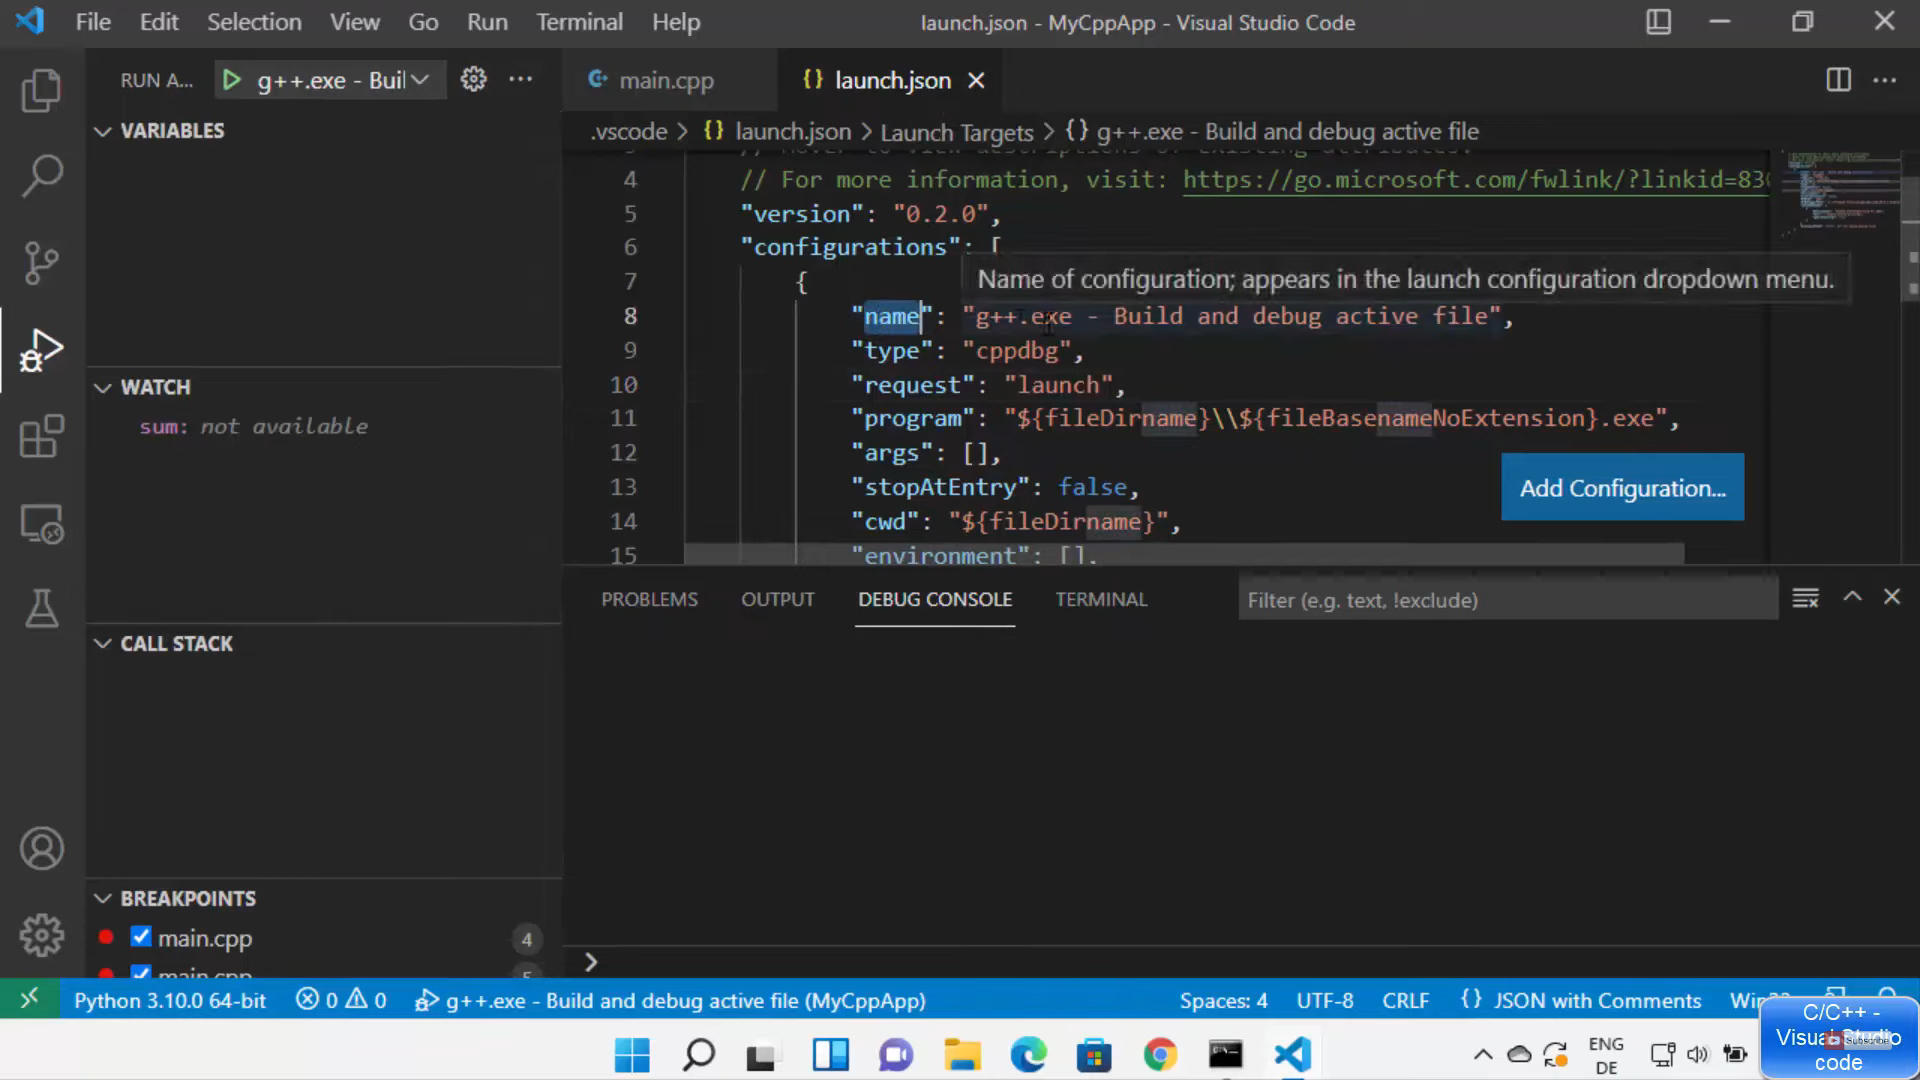
31. When you go to the explorer section, visual studio code will create a .vscode file. Here launch.json file is important. It will have all the options that we have chosen for debugging and everything will be saved.
These are the steps for downloading and installing C++ in your Windows 11 Operating System.
Leave a Reply