
In this blog post, I will give a detailed view of using python in visual studio code in your Windows 11 Operating System.
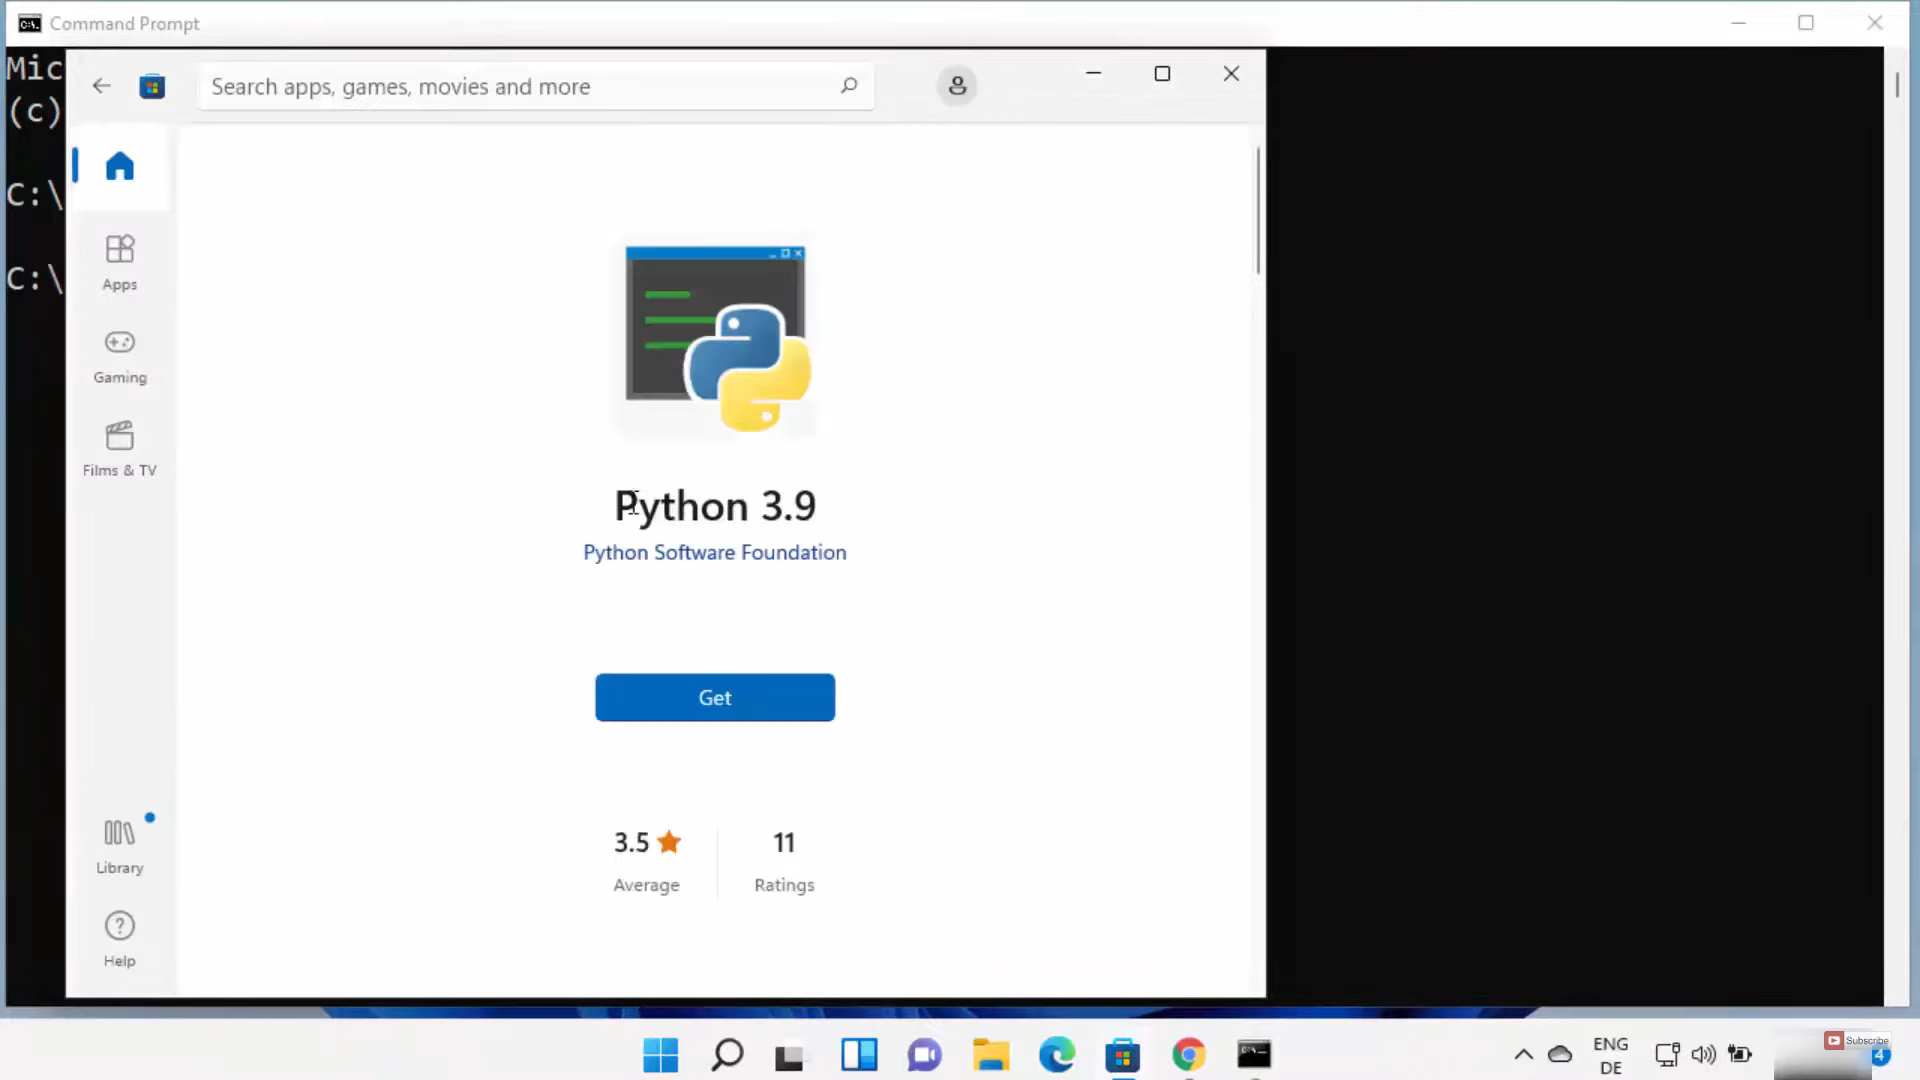
1. Before starting, we need to check whether your system already has python or not. Open your search bar and search for cmd. Once the command prompt opens, type python and press enter. If it takes you to the Microsoft store then python is not available. We have to download it.
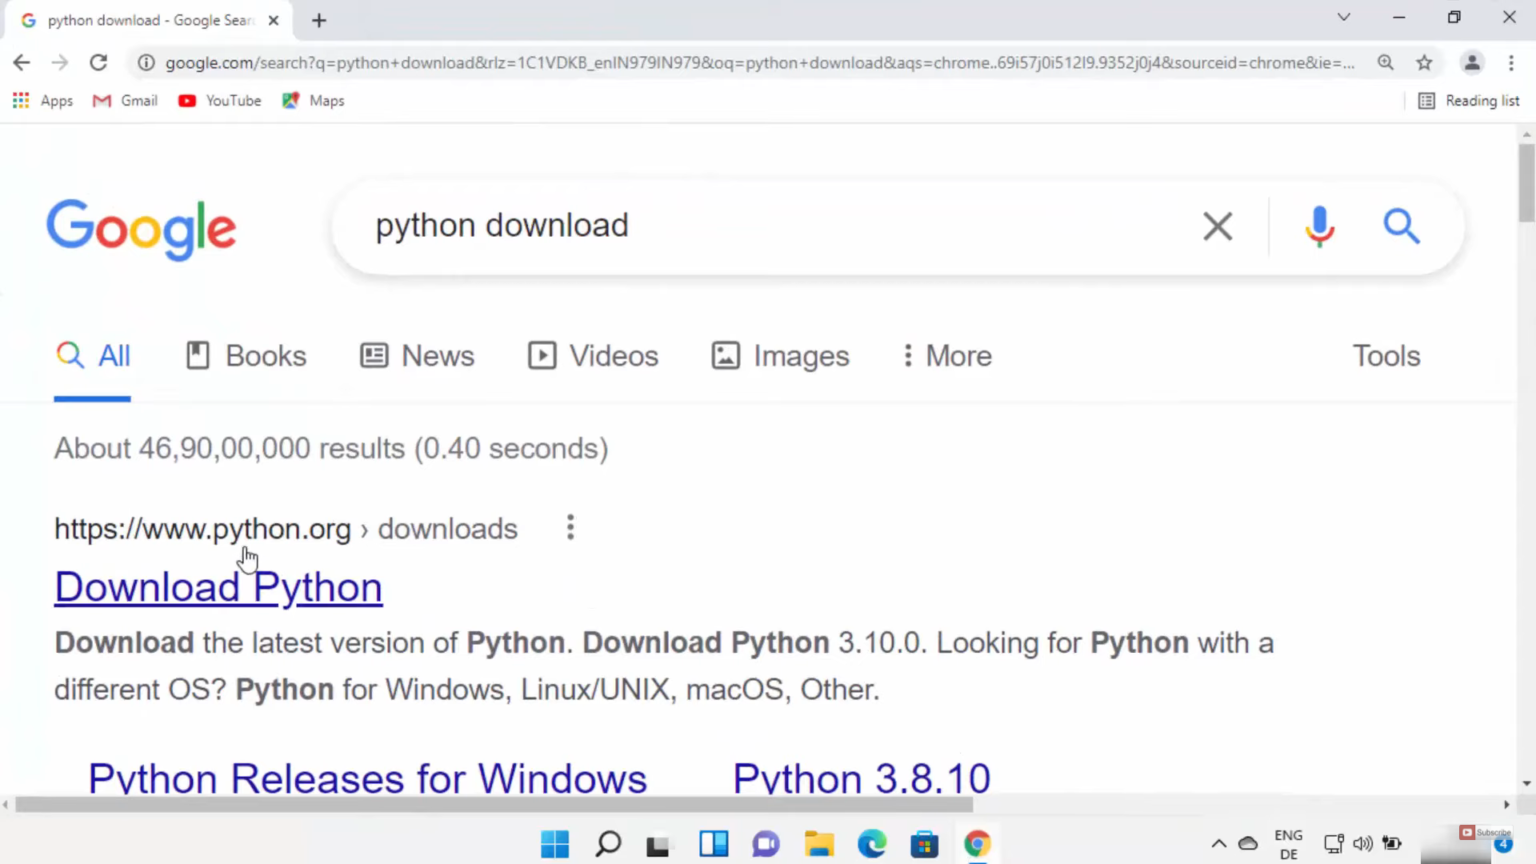
2. Open a web browser of your choice and search for python. Click on the first link.
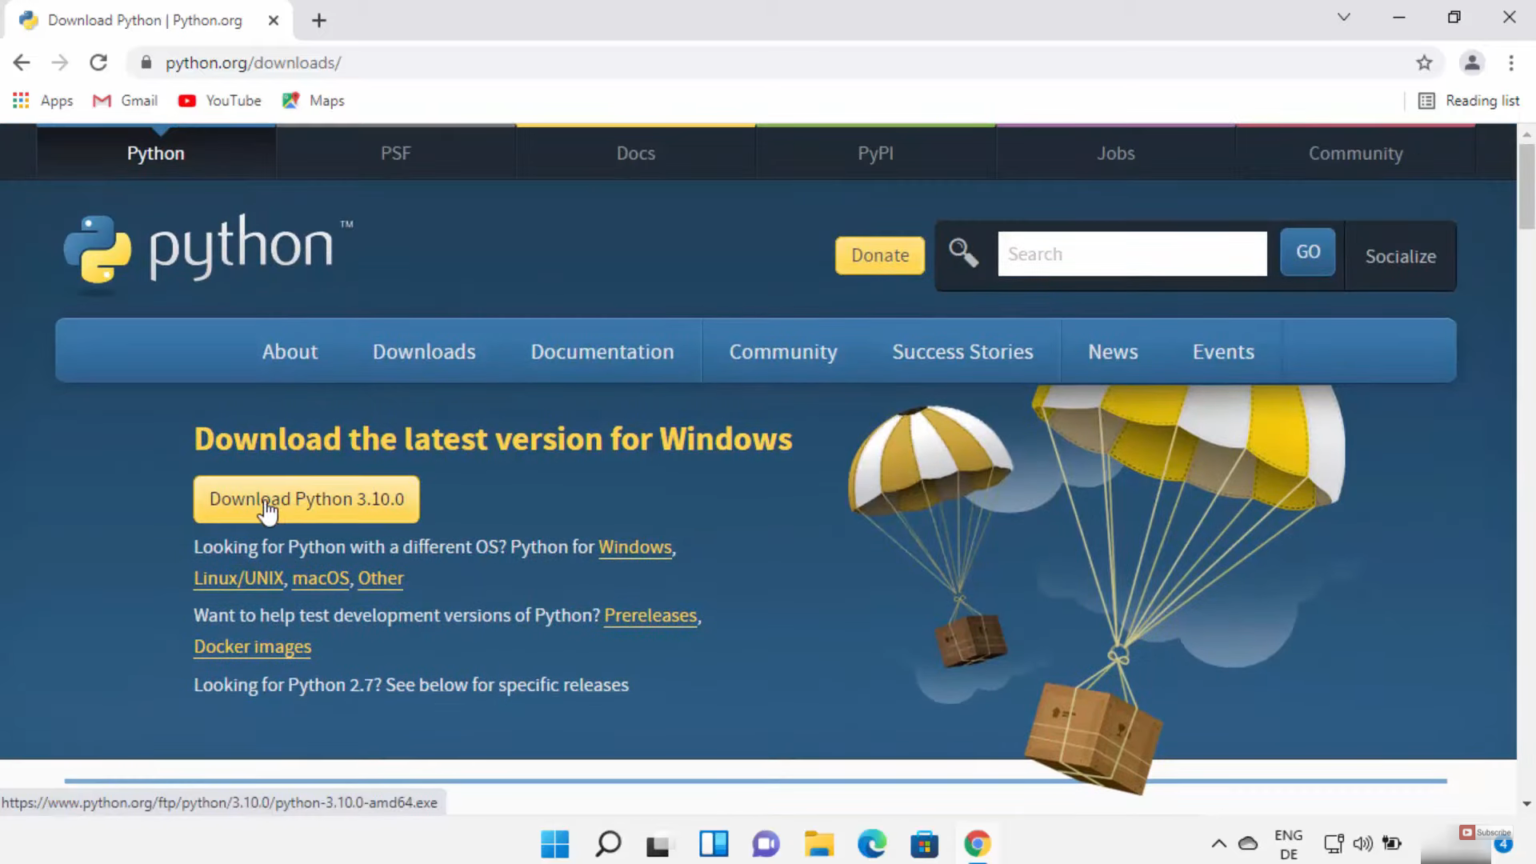
3. Once the link opens, you will be able to see download 3.10.0. This is the latest version available now. Click on that link. It will start to download.
4. Once the exe file is downloaded, click on that file and minimize the browser.
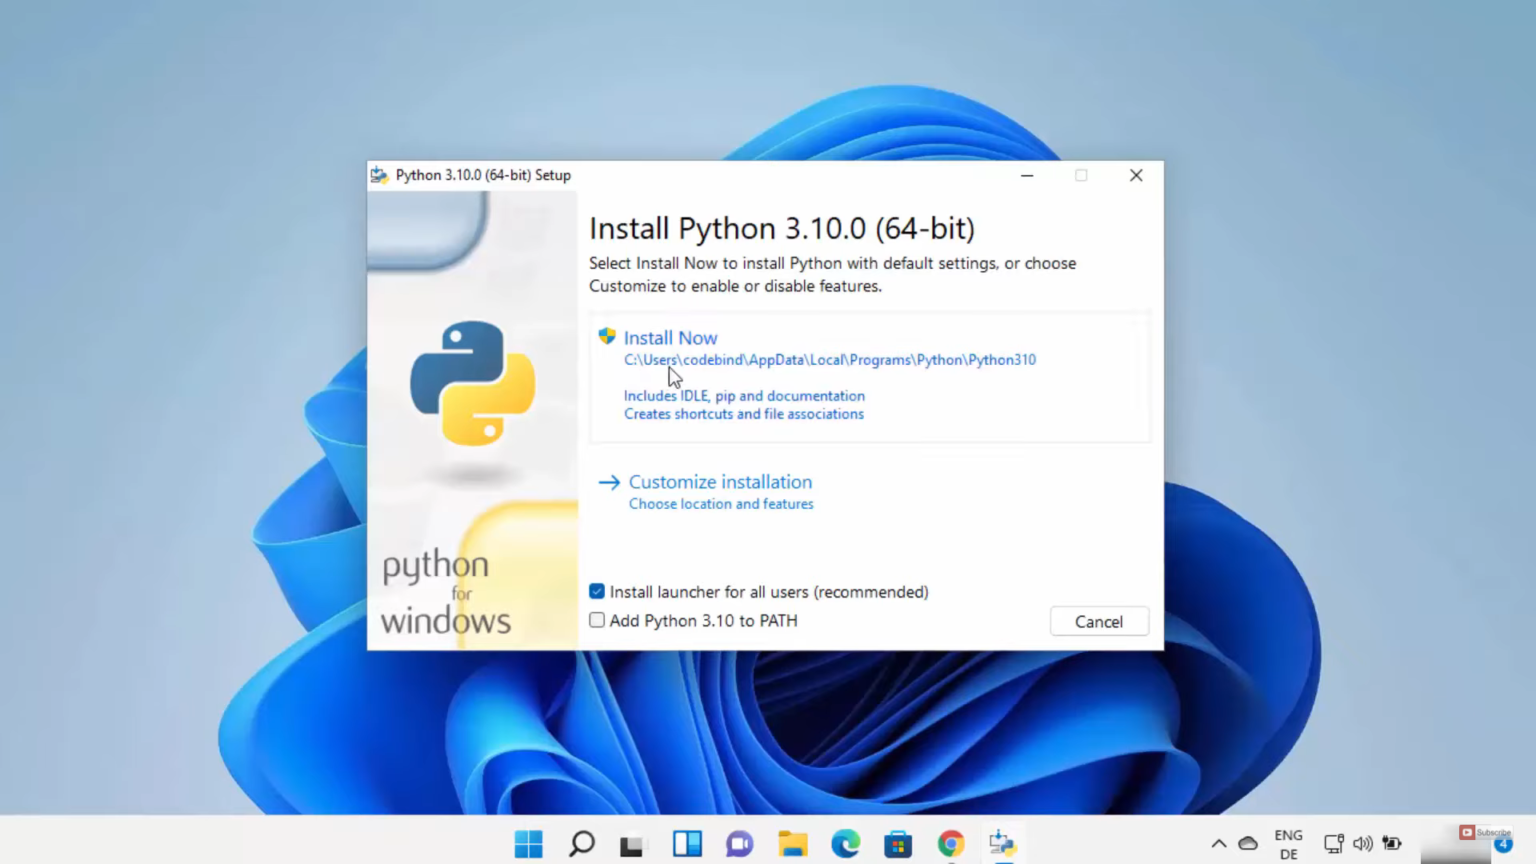
5. In the first window, I am going to choose to Customize installation since I want it to install directly on C. Before clicking that, you need to check the two checkboxes.
6. In this window, you need to leave everything as default and click on Next.

7. In the advanced options, I am going to check all the checkboxes. Then, click on Browse to select your favorite path. Once you have selected the path, click on Next.

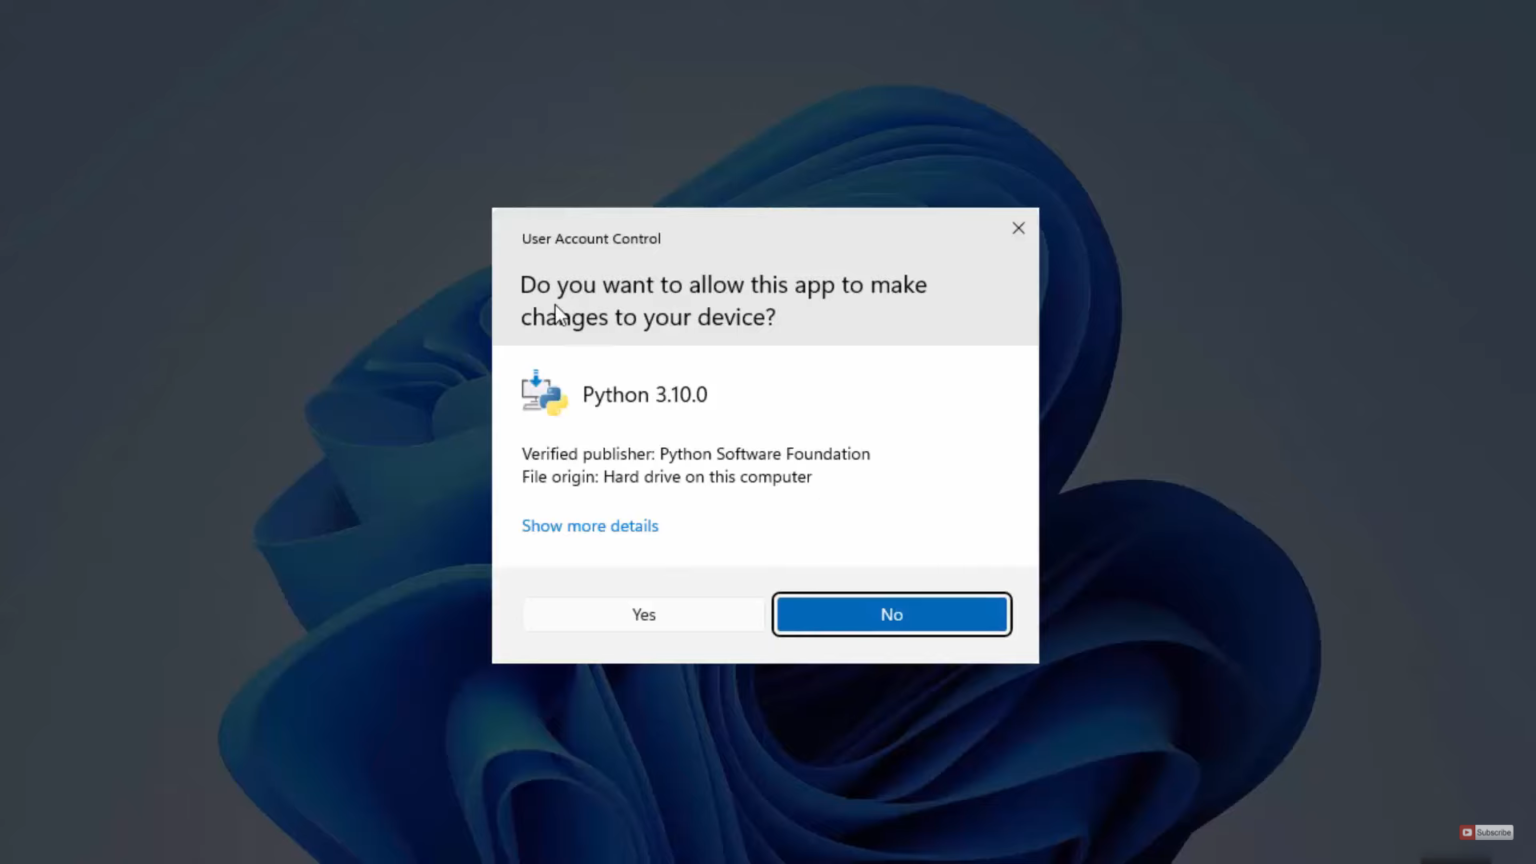
8. It will show a warning. Click on Yes.
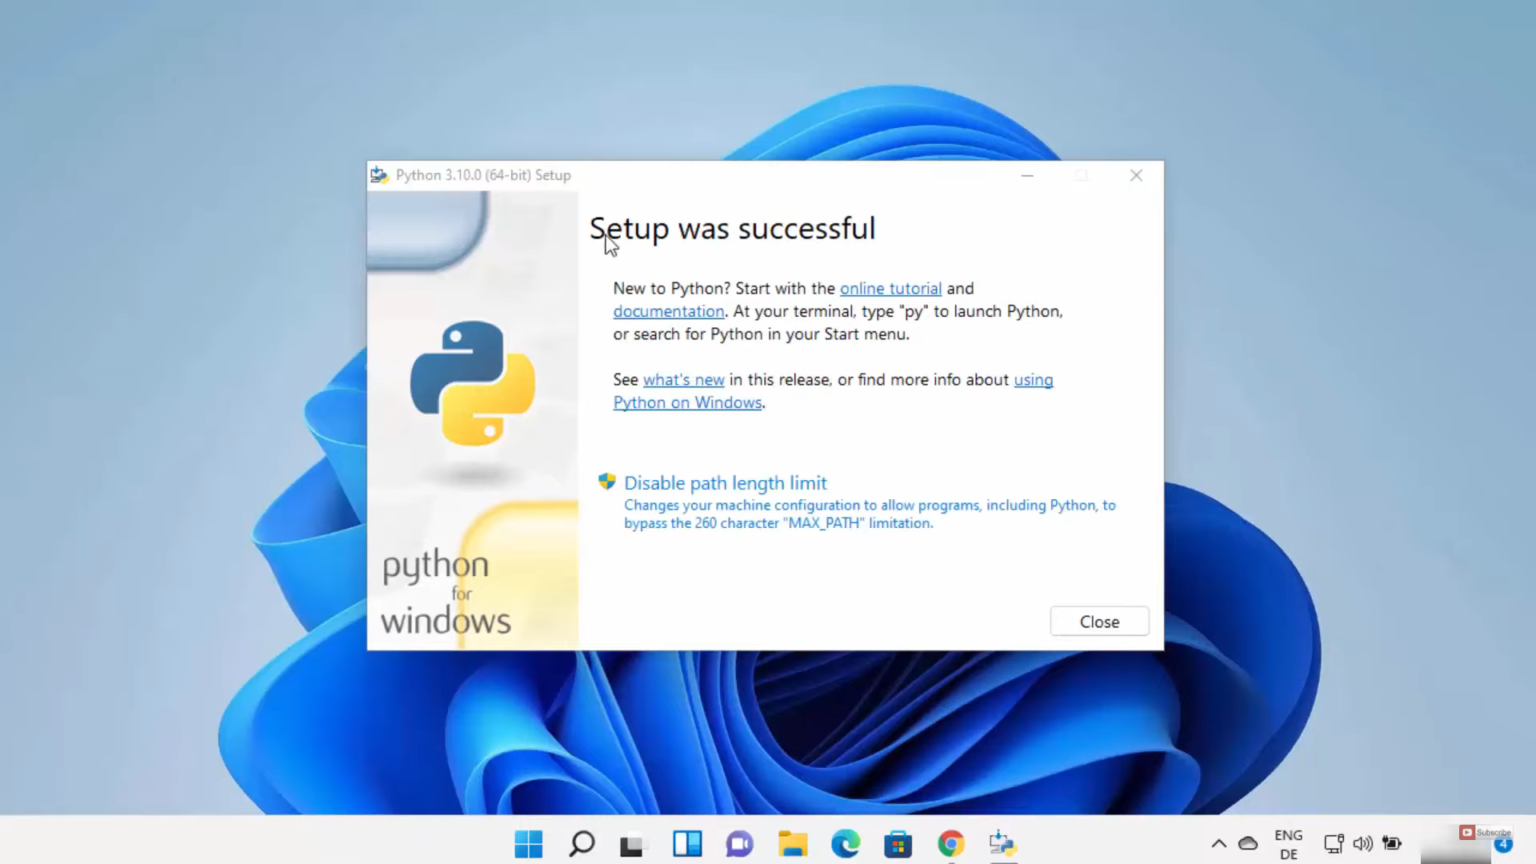
9. In the last window, click on Close.
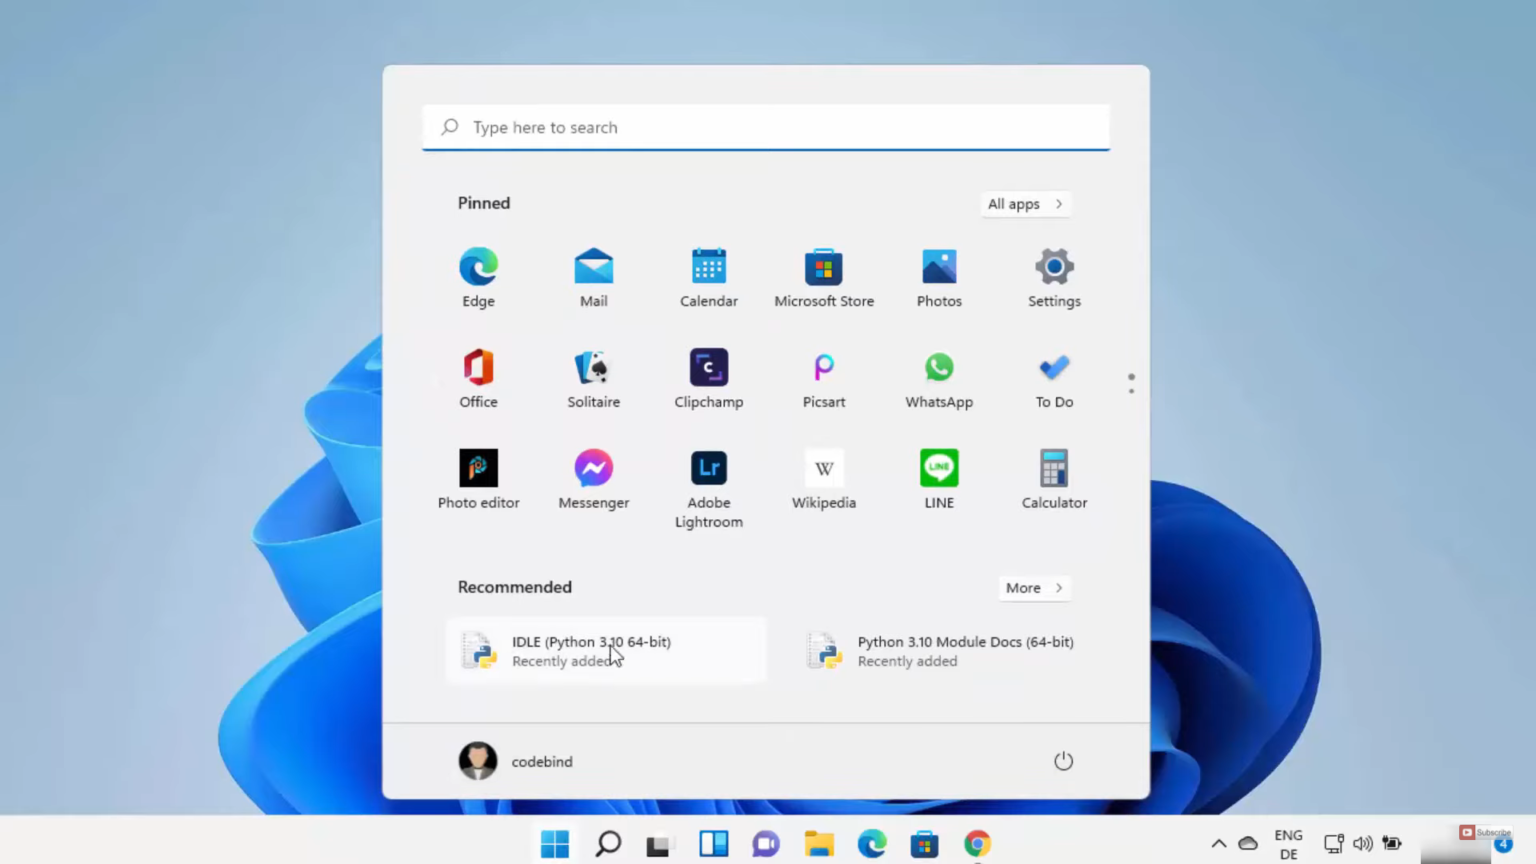
10. To check whether all the tools related to python are available or not, click on the Windows start icon and you will be able to see the recommended section.
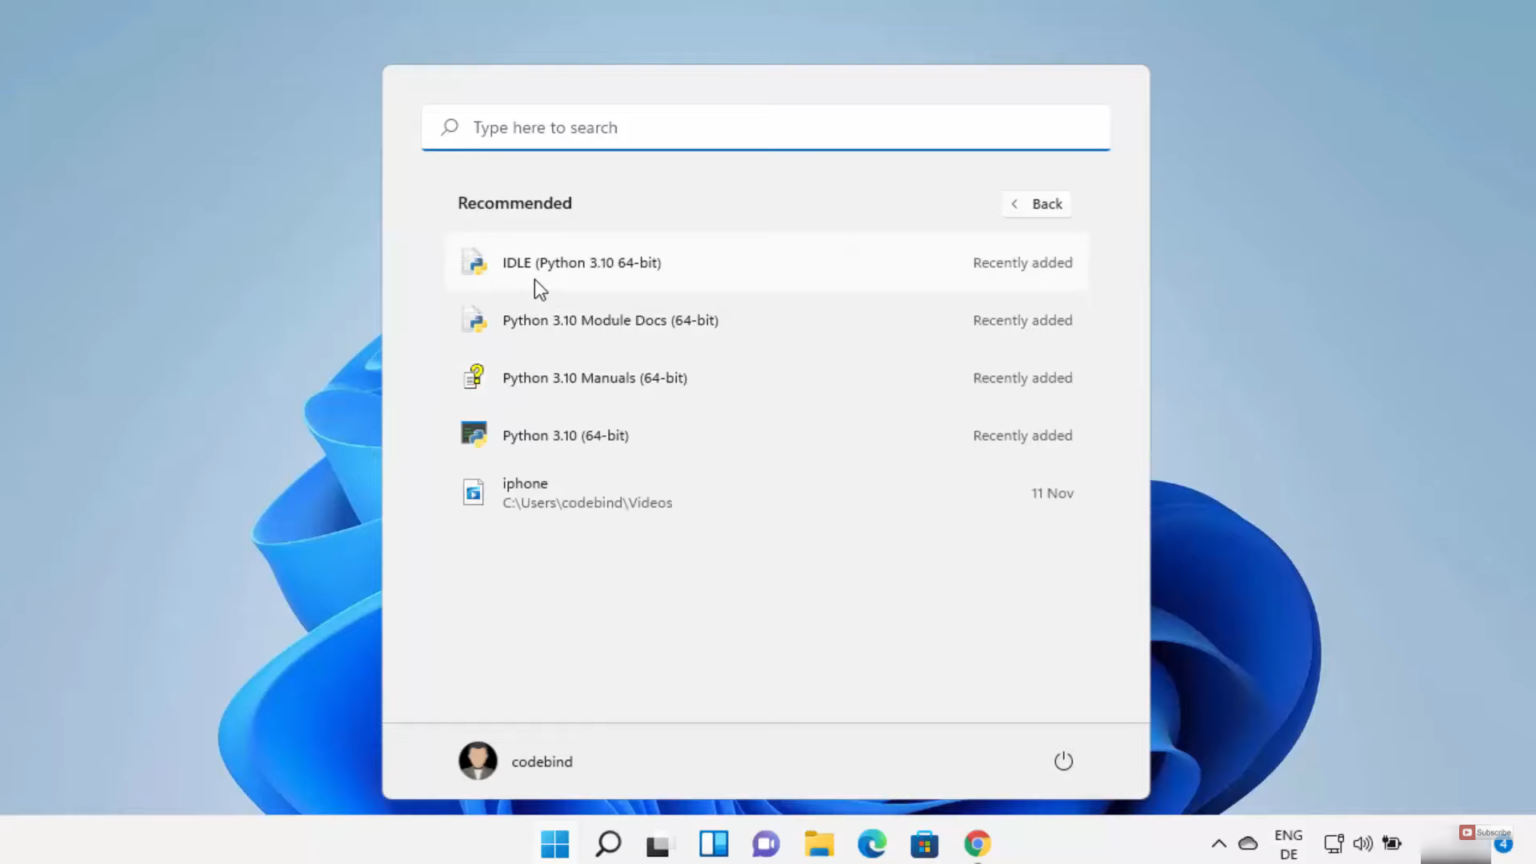
11. When you click on more, you will be able to see the recently installed tools.
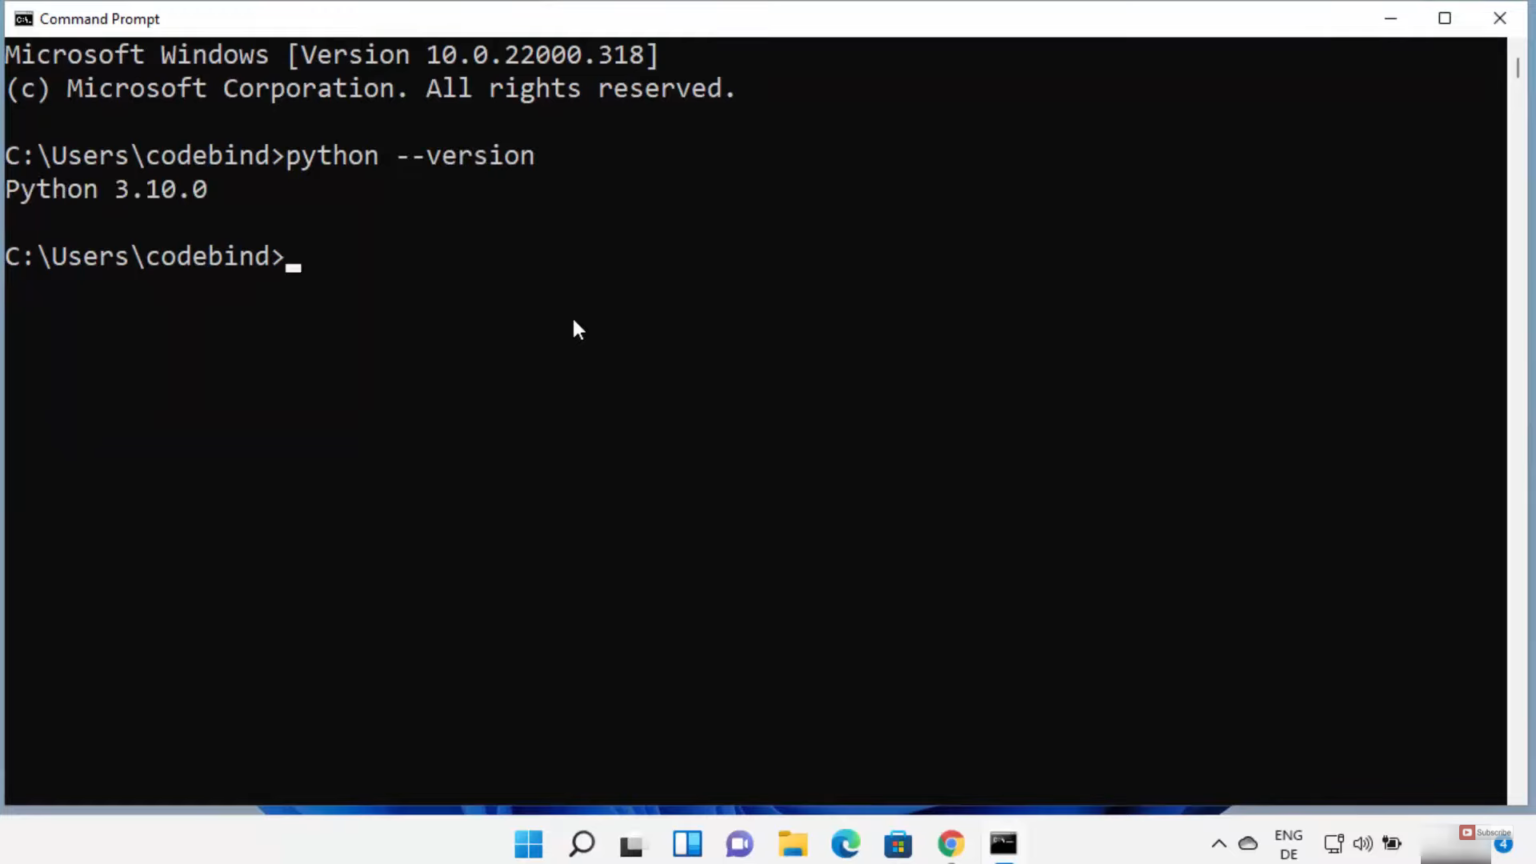
12. I am going to first check it with the command prompt. Search for cmd in the search icon. Once the command prompt opens, type python — version and press enter. It will show the version of python you have in your Windows 11 Operating System.
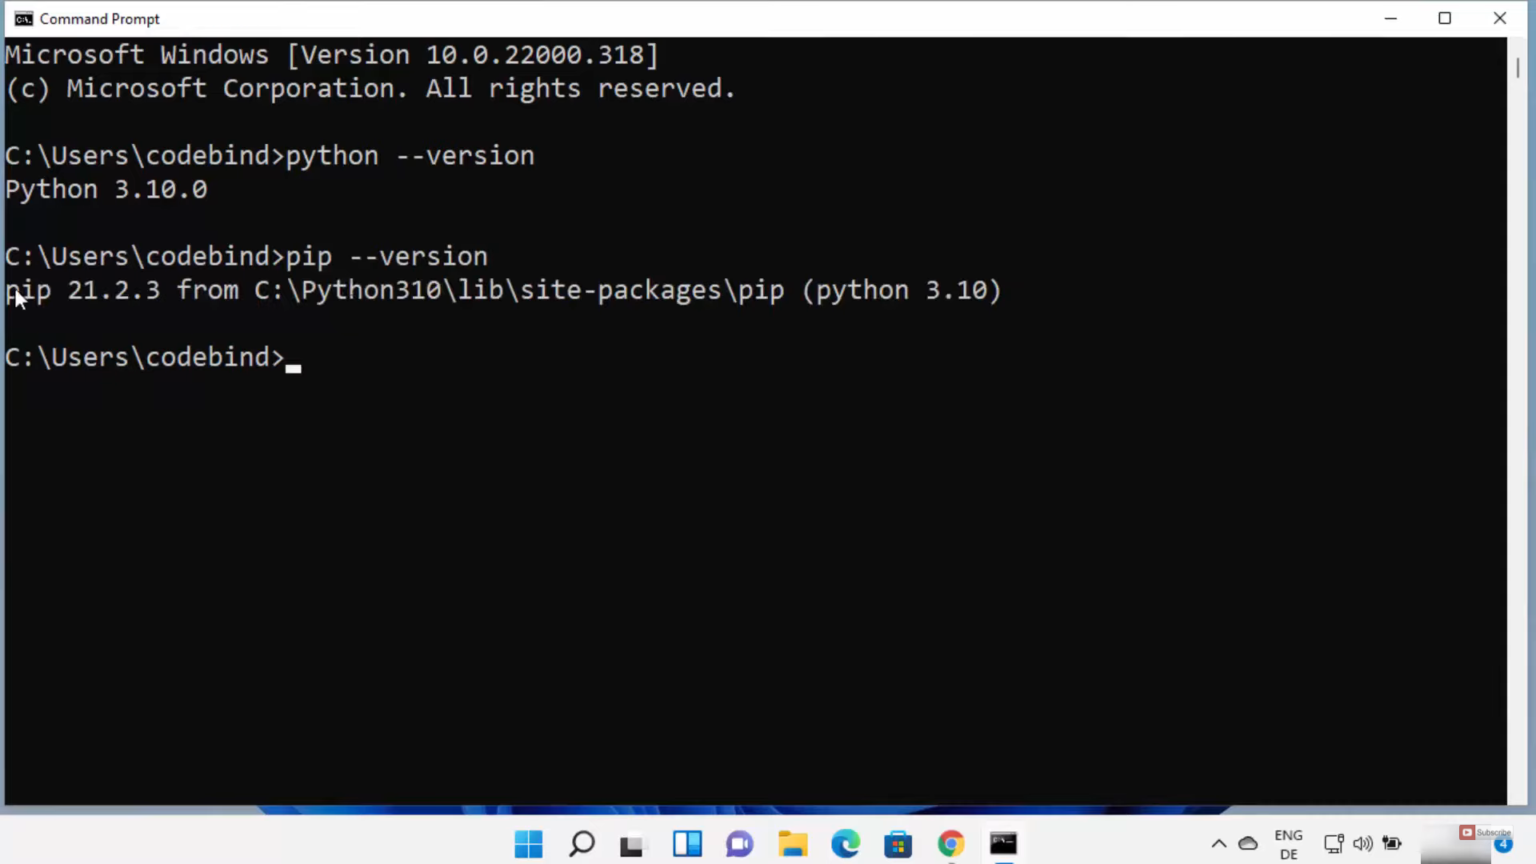
13. In the next line type, pip –version and press enter. It will show the version of pip installed in your Windows 11 Operating System.
14. Once you have installed python and visual studio, open the command prompt and type the commands provided in the image below.

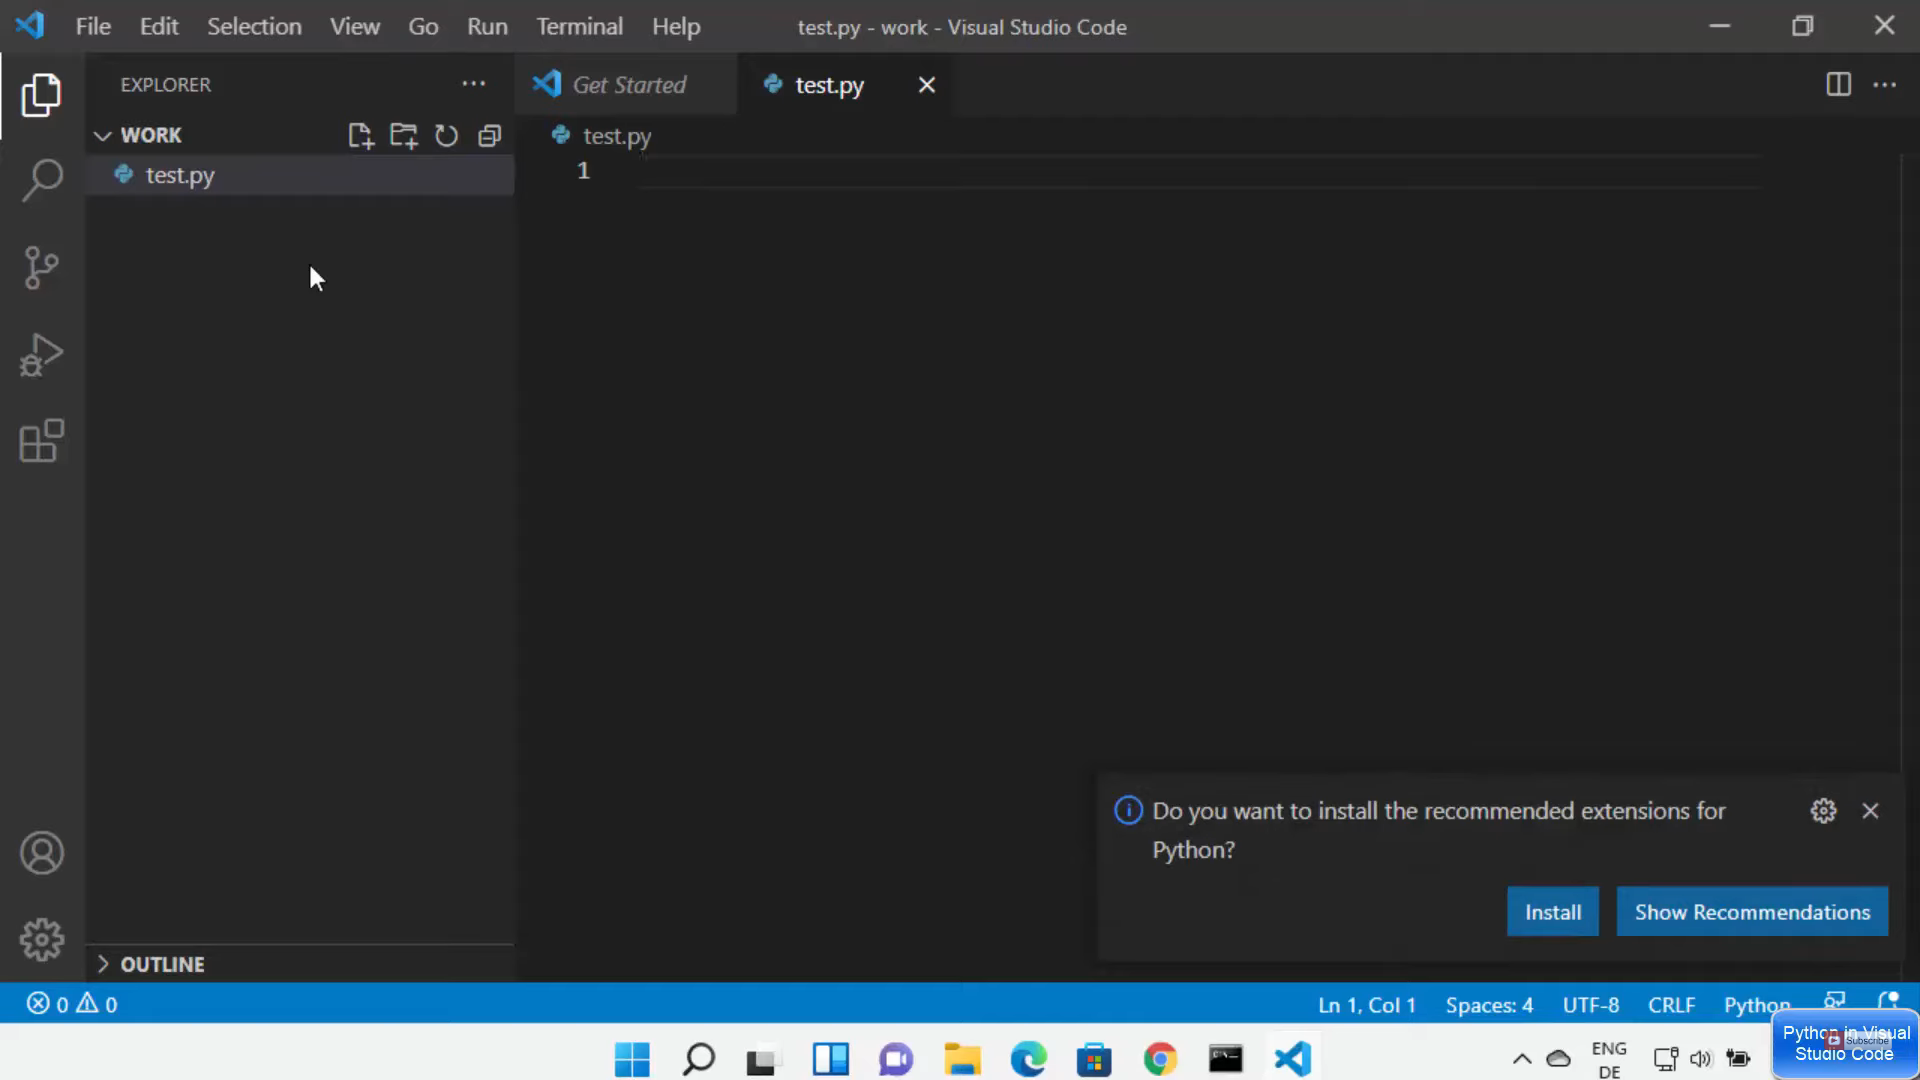
15. It will take you to visual studio code. In this, I am going to create a new file called test.py and save it. It will ask you whether you need any recommendations, I am going to click on the Install option.
16. Otherwise, click on the extensions option and search for python. Install the extension that is provided by Microsoft.

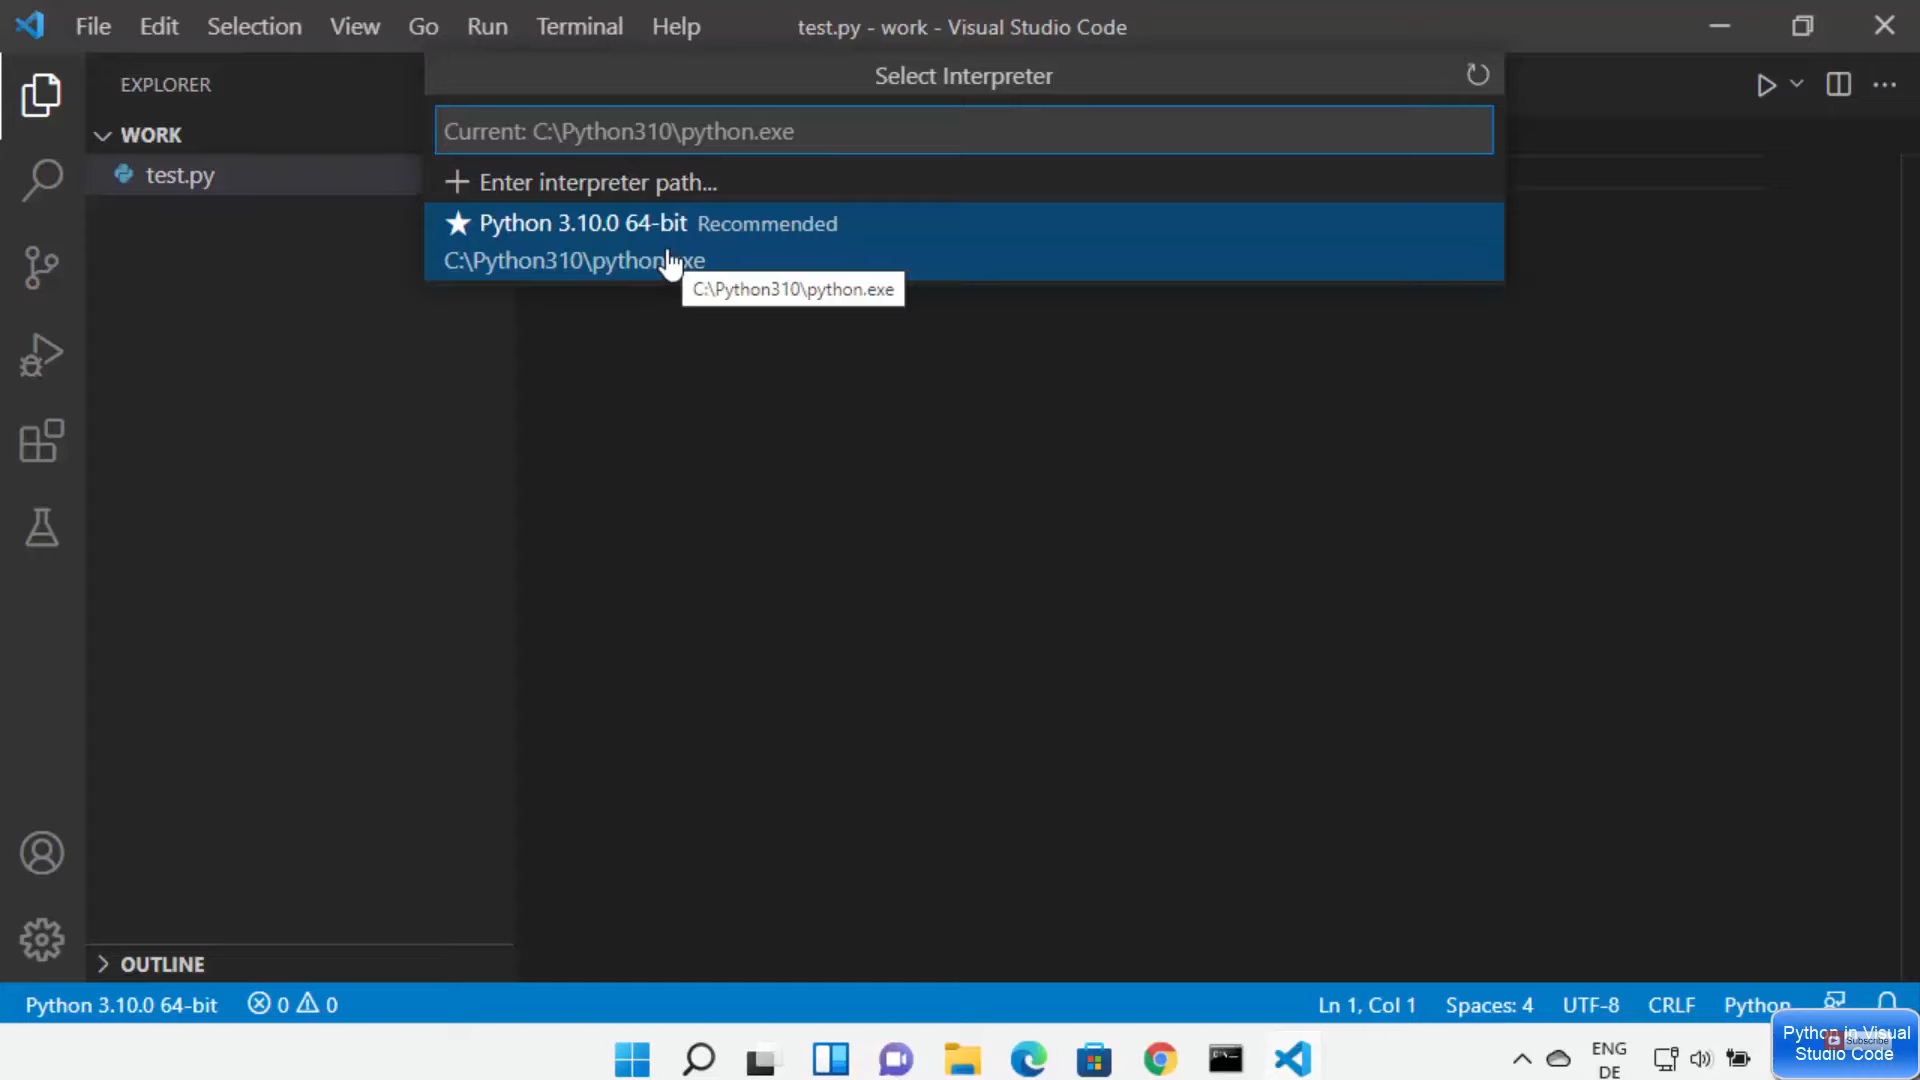
17. When I click on the interpreter option, I can see only one interpreter. But if I have installed multiple installations, then I will be able to select a particular interpreter option.
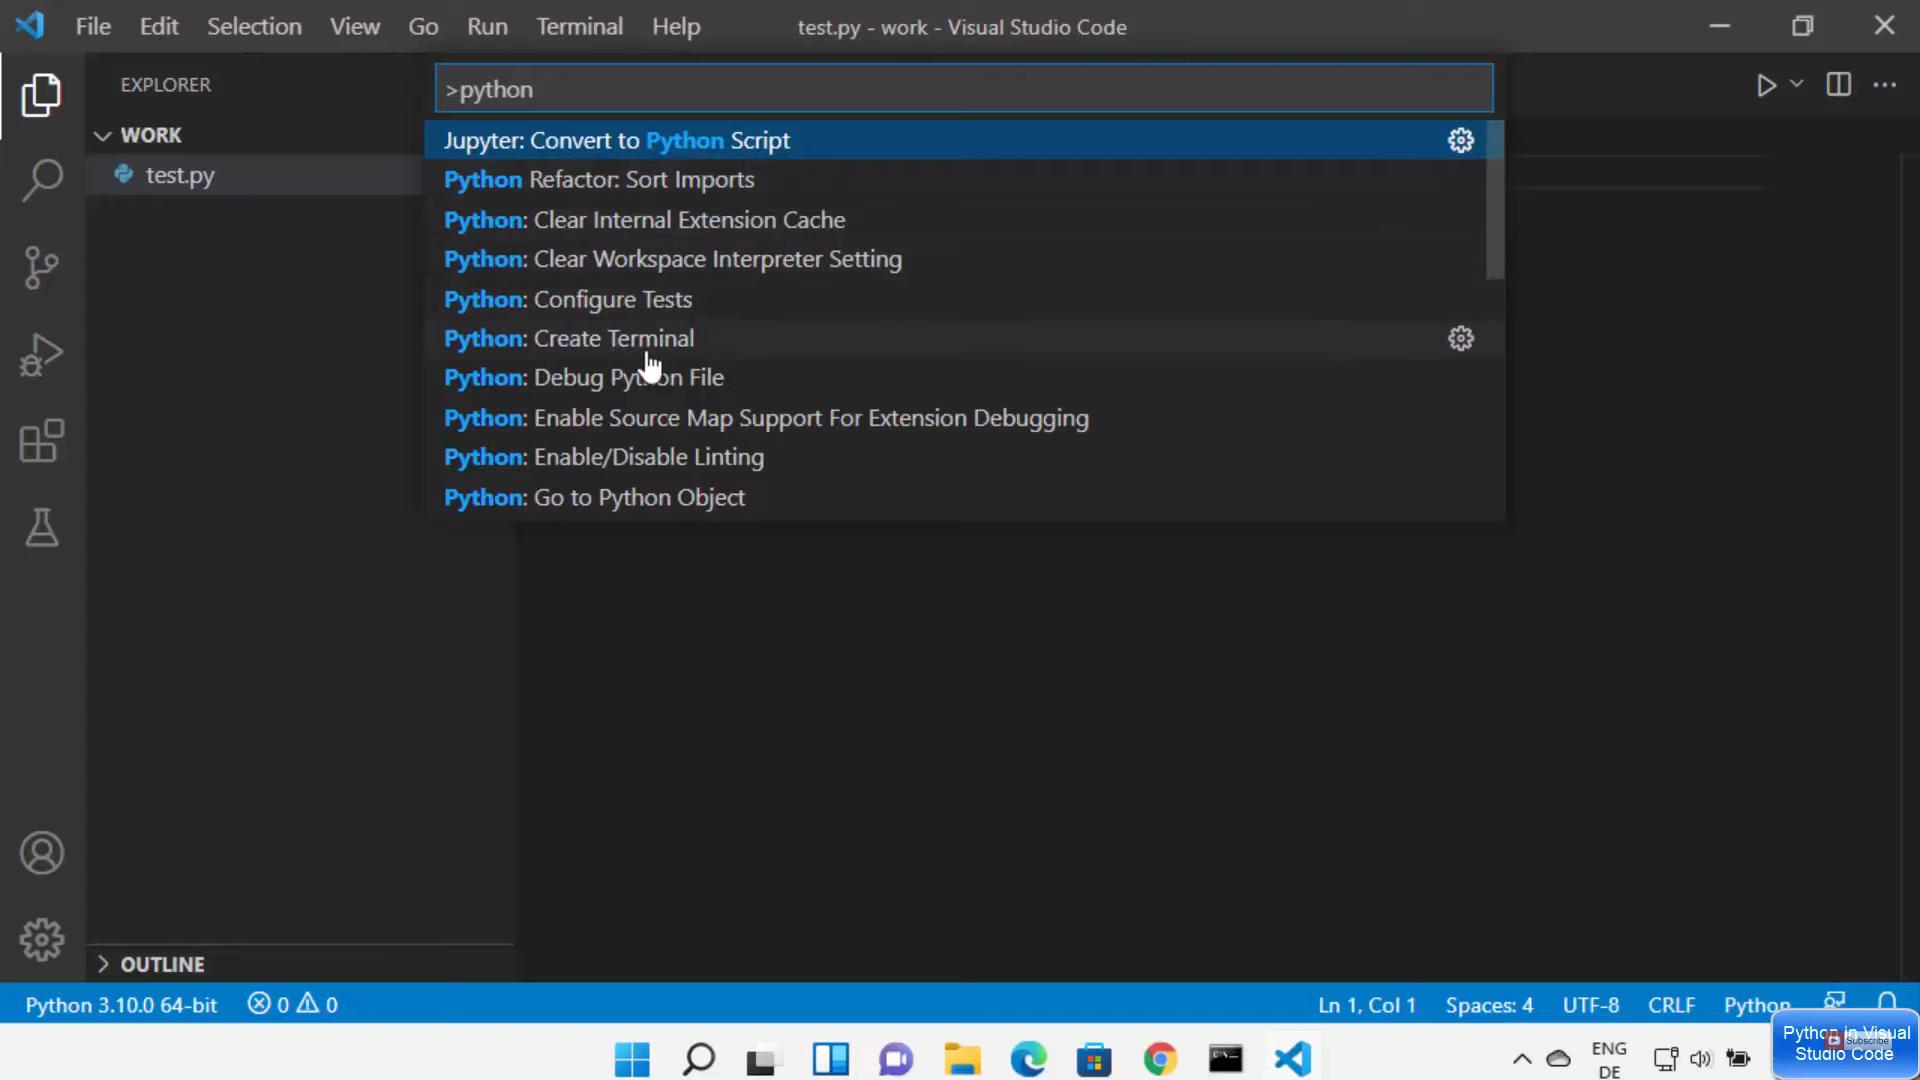
18. When you press ctrl+shift+p you will be able to see the search bar. When you type python, it will display all the options related to python.
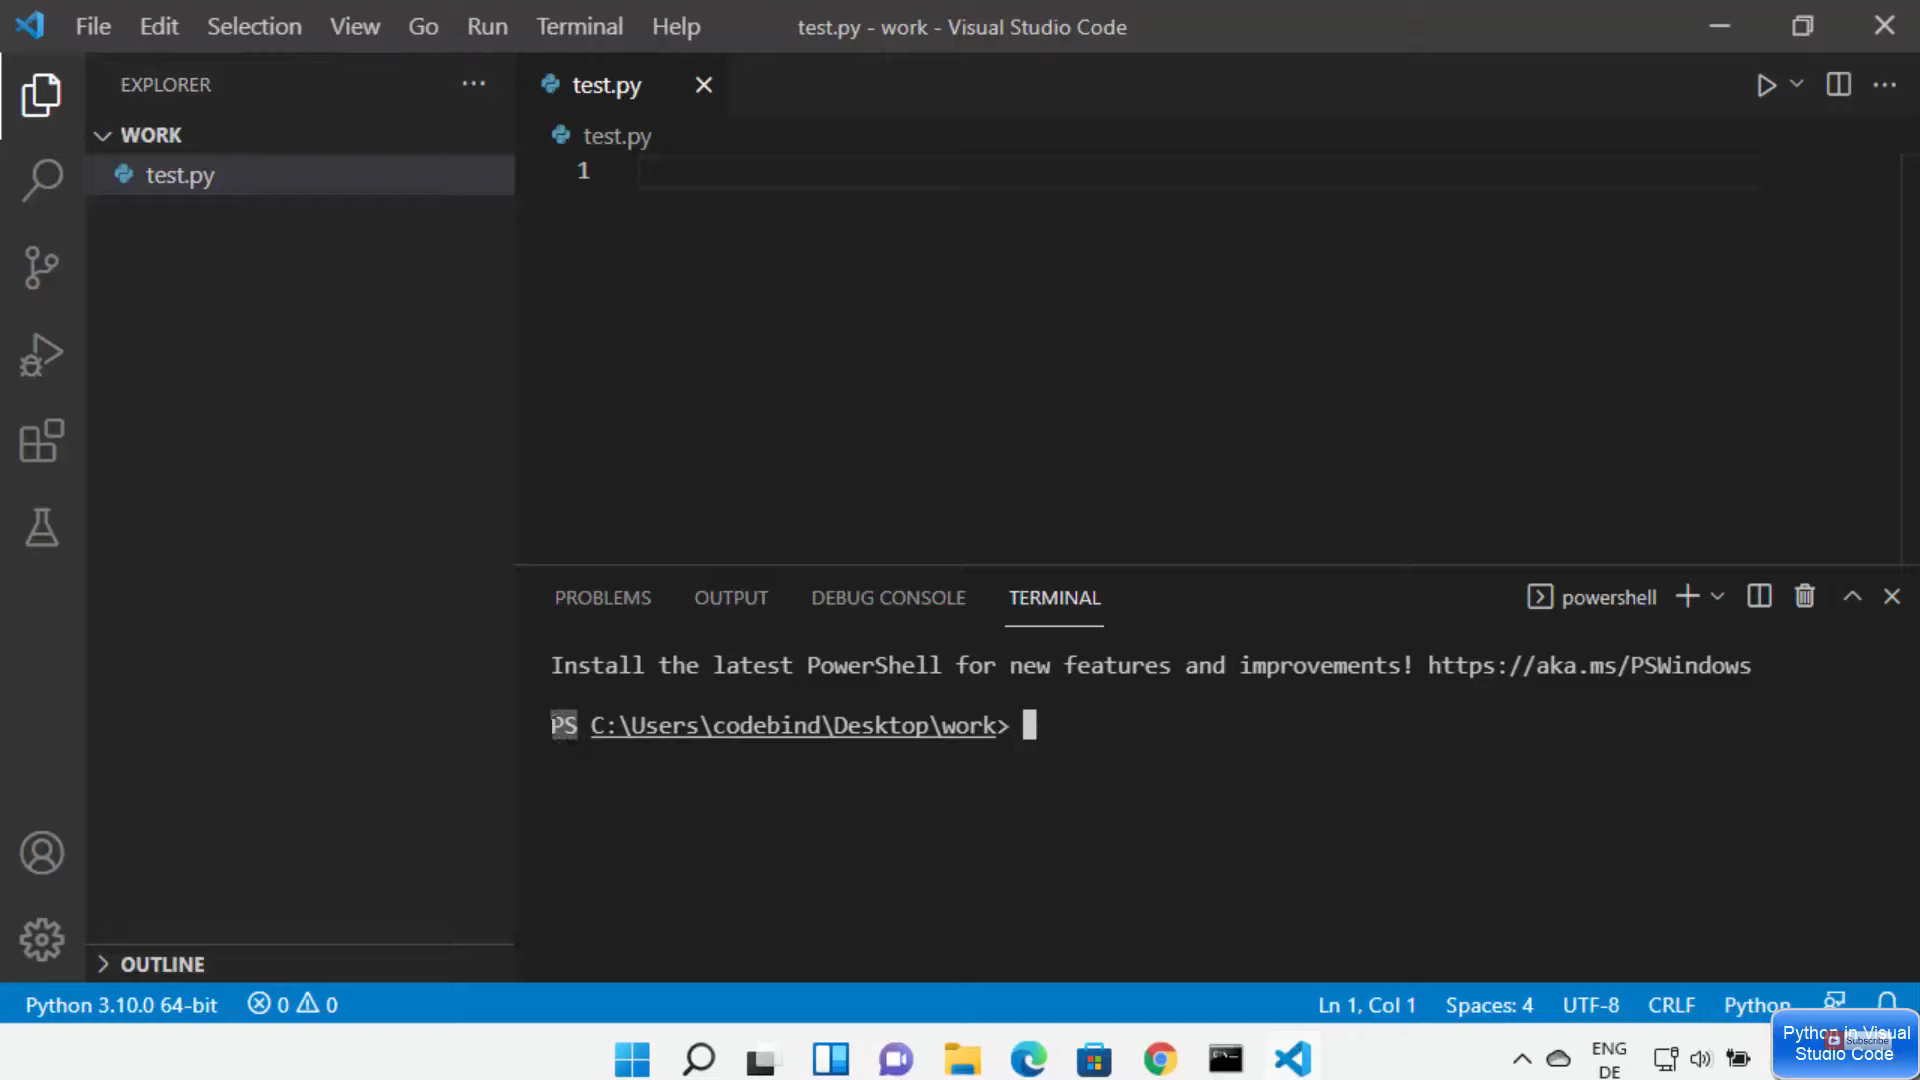
19. If you want the integrated terminal to run the script, you have to click on the terminal and click on the new terminal. It will open a terminal inside the visual studio code. By default, it will be Powershell, but you can change it to a command prompt.
20. Type the program which is provided in the image below and run it. It will display the output.
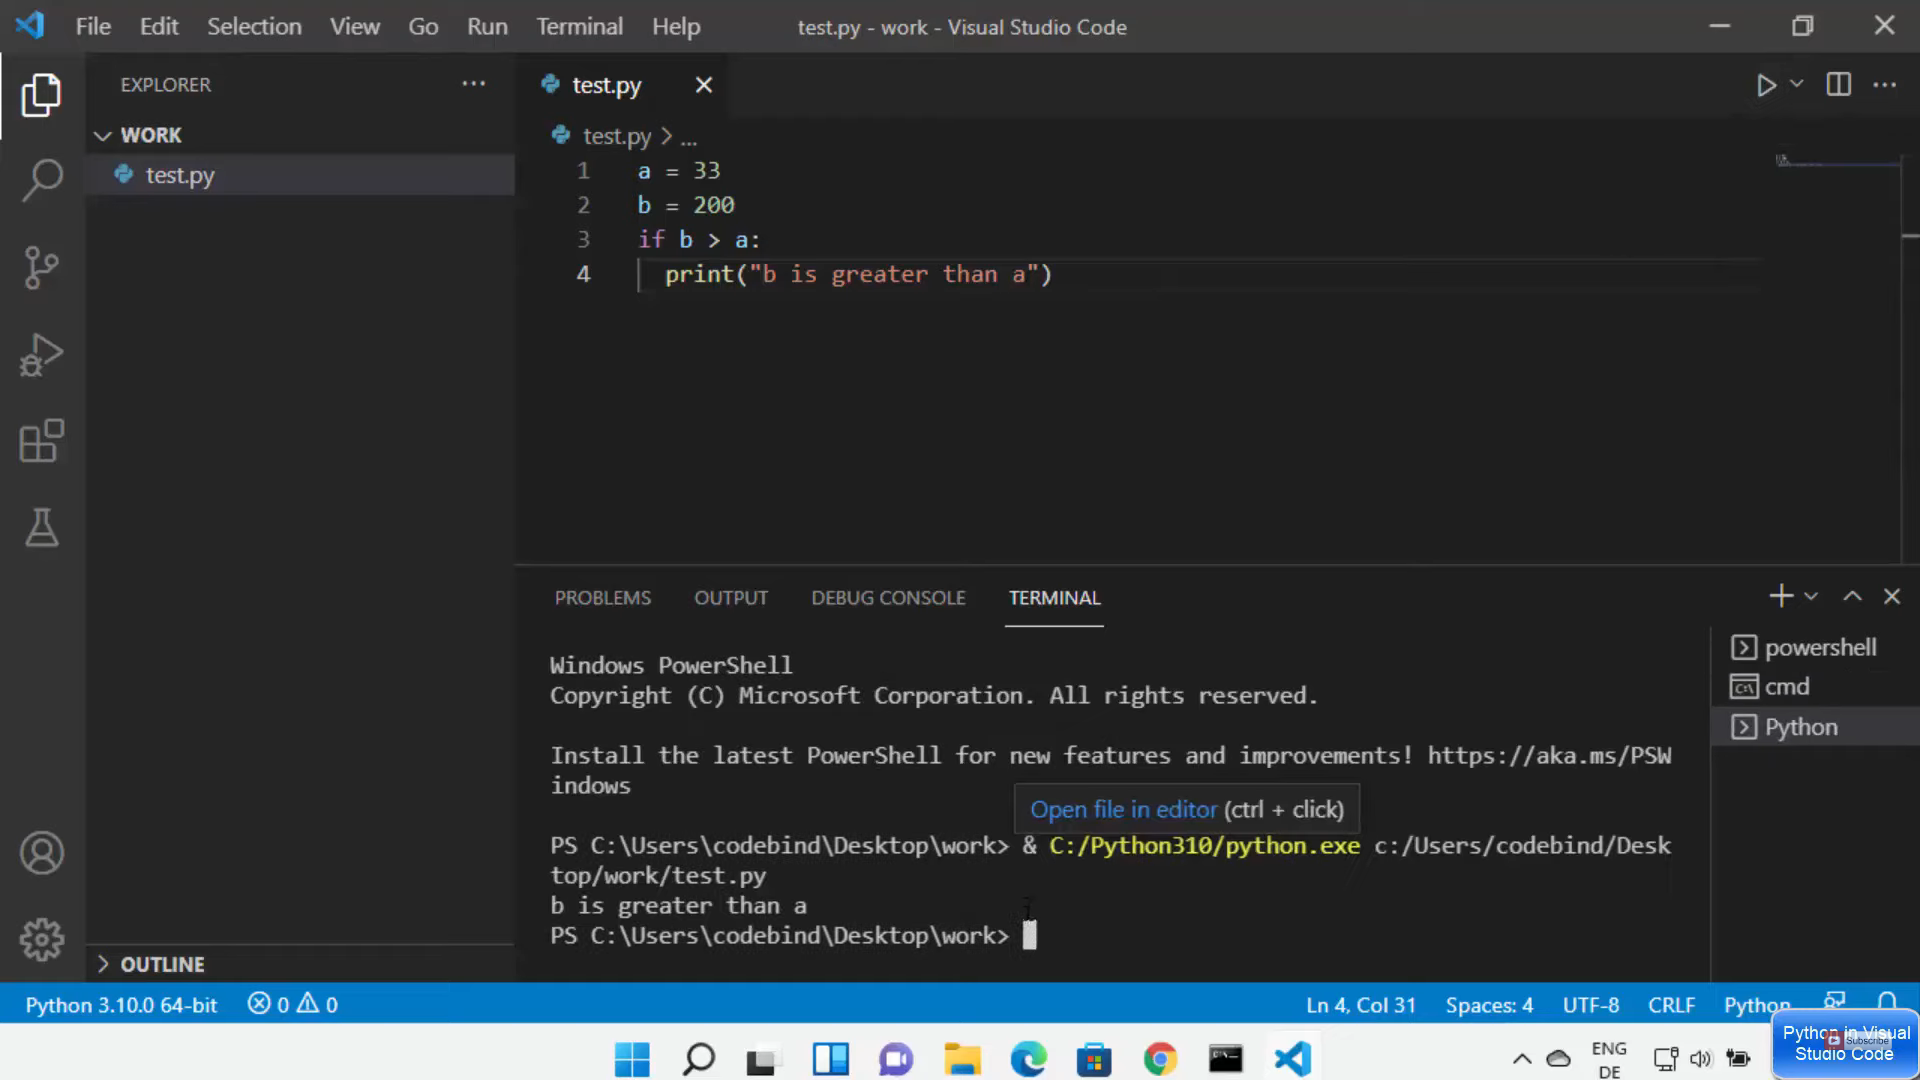
21. If you want to run this file in the terminal itself, you need to type python test.py and press enter. It will give you the output.

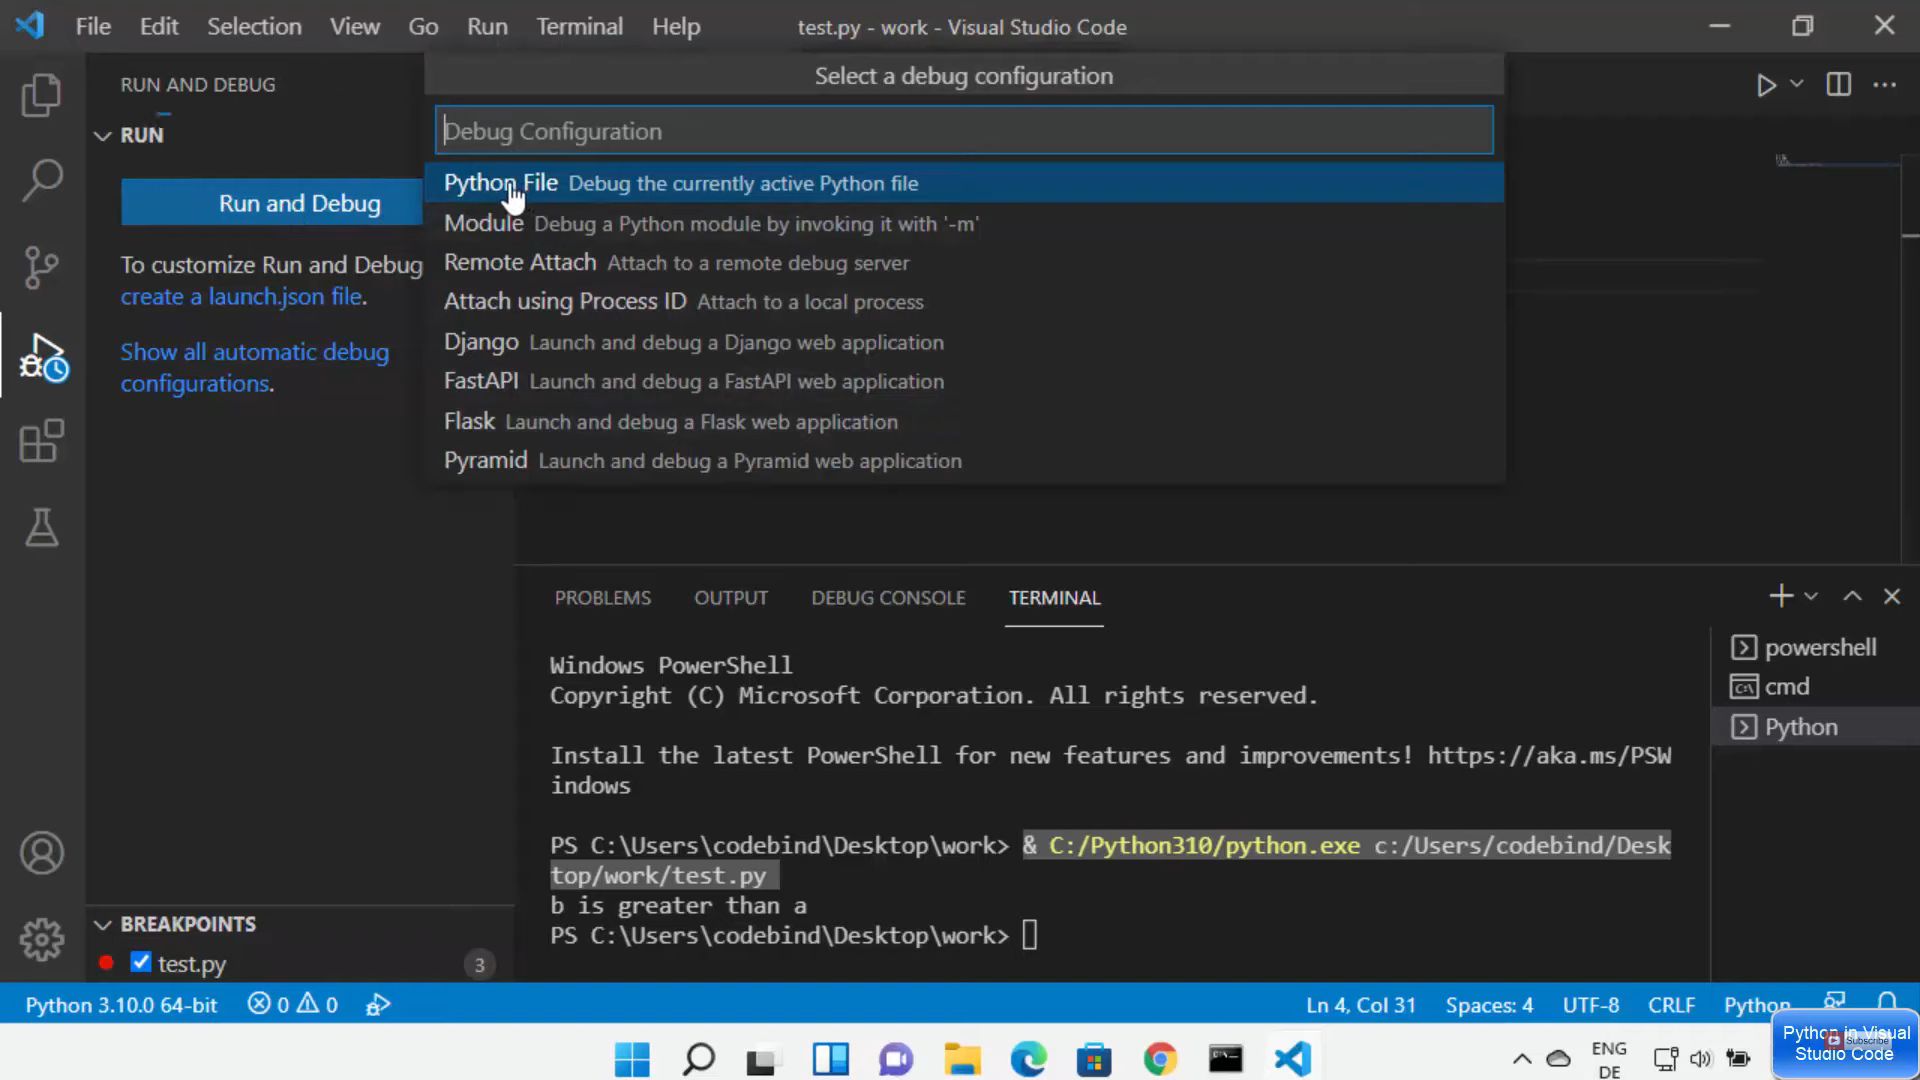
22. I am going to add a breakpoint to the code. Now, click on run and debug option. You can also disable the breakpoint option. Once you have disabled it, click on run and debug.
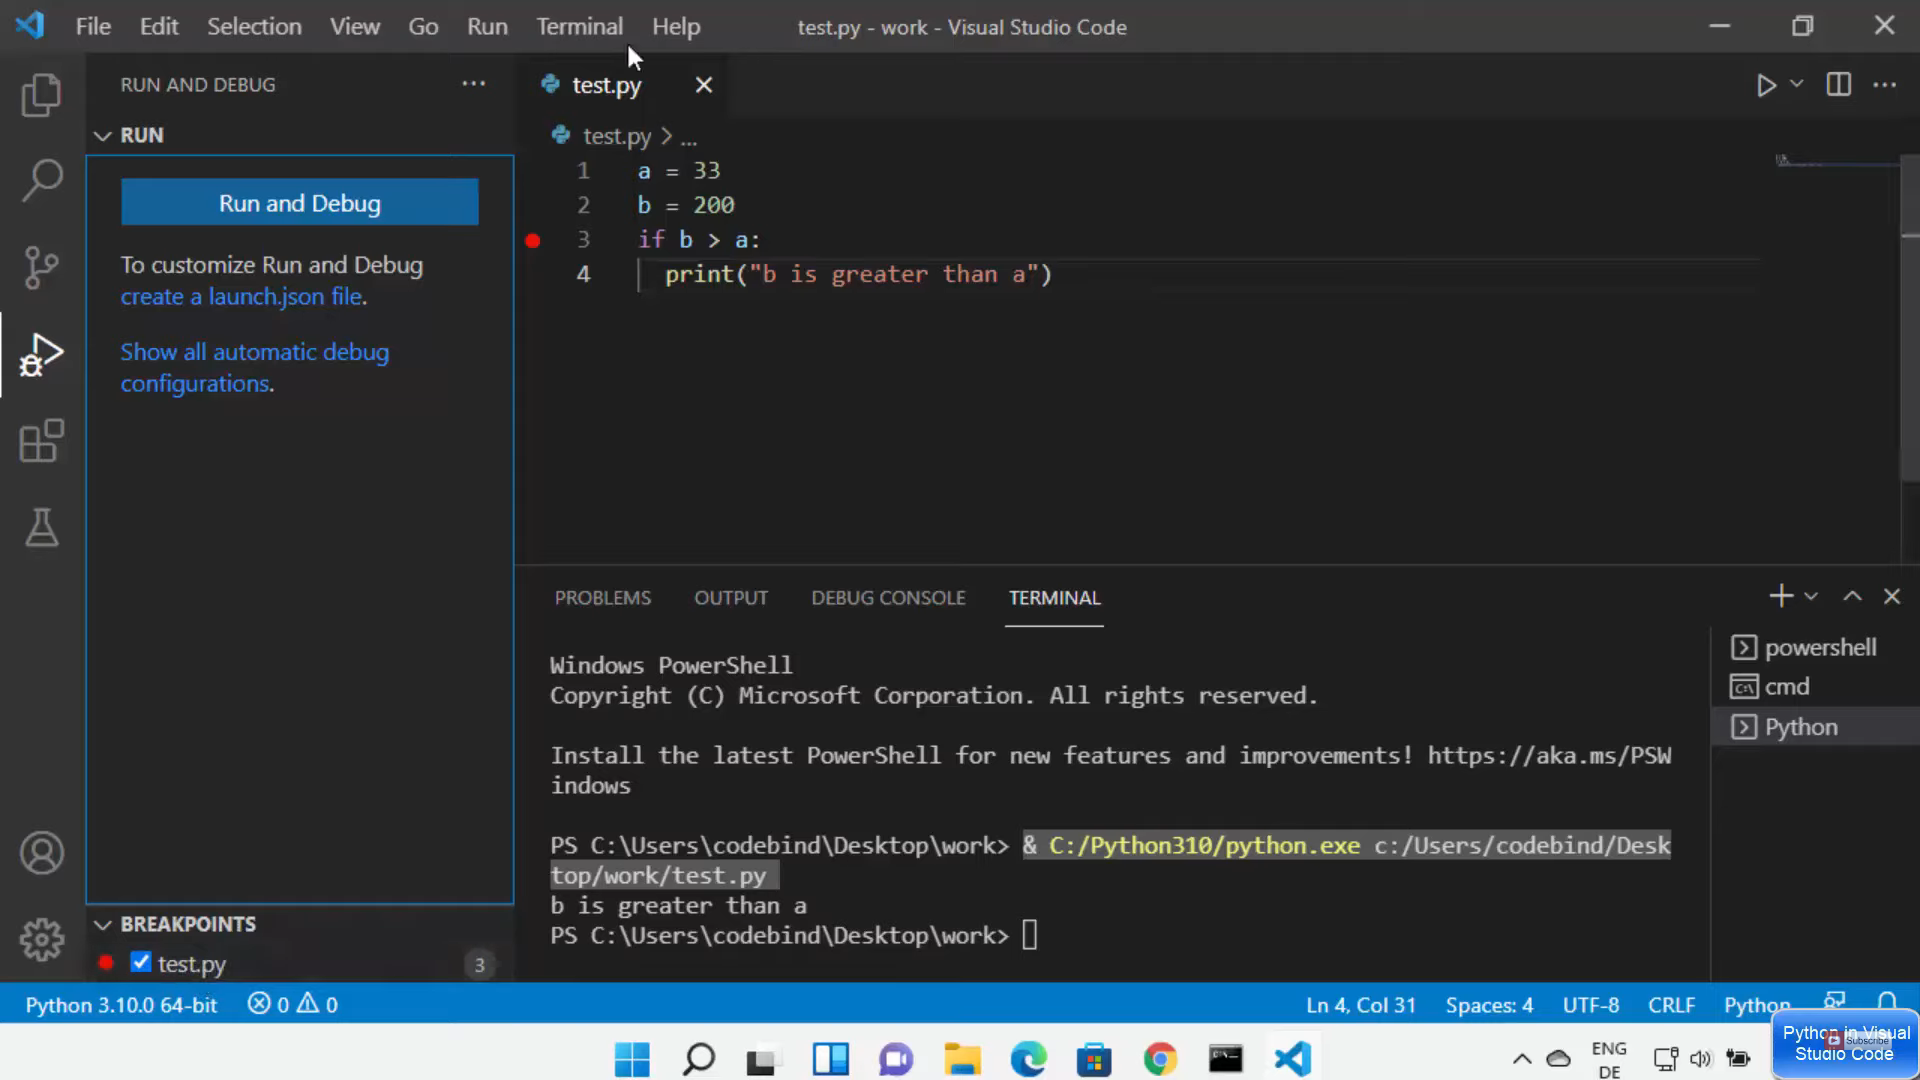
23. It will display a list of options. I am going to click the first option.
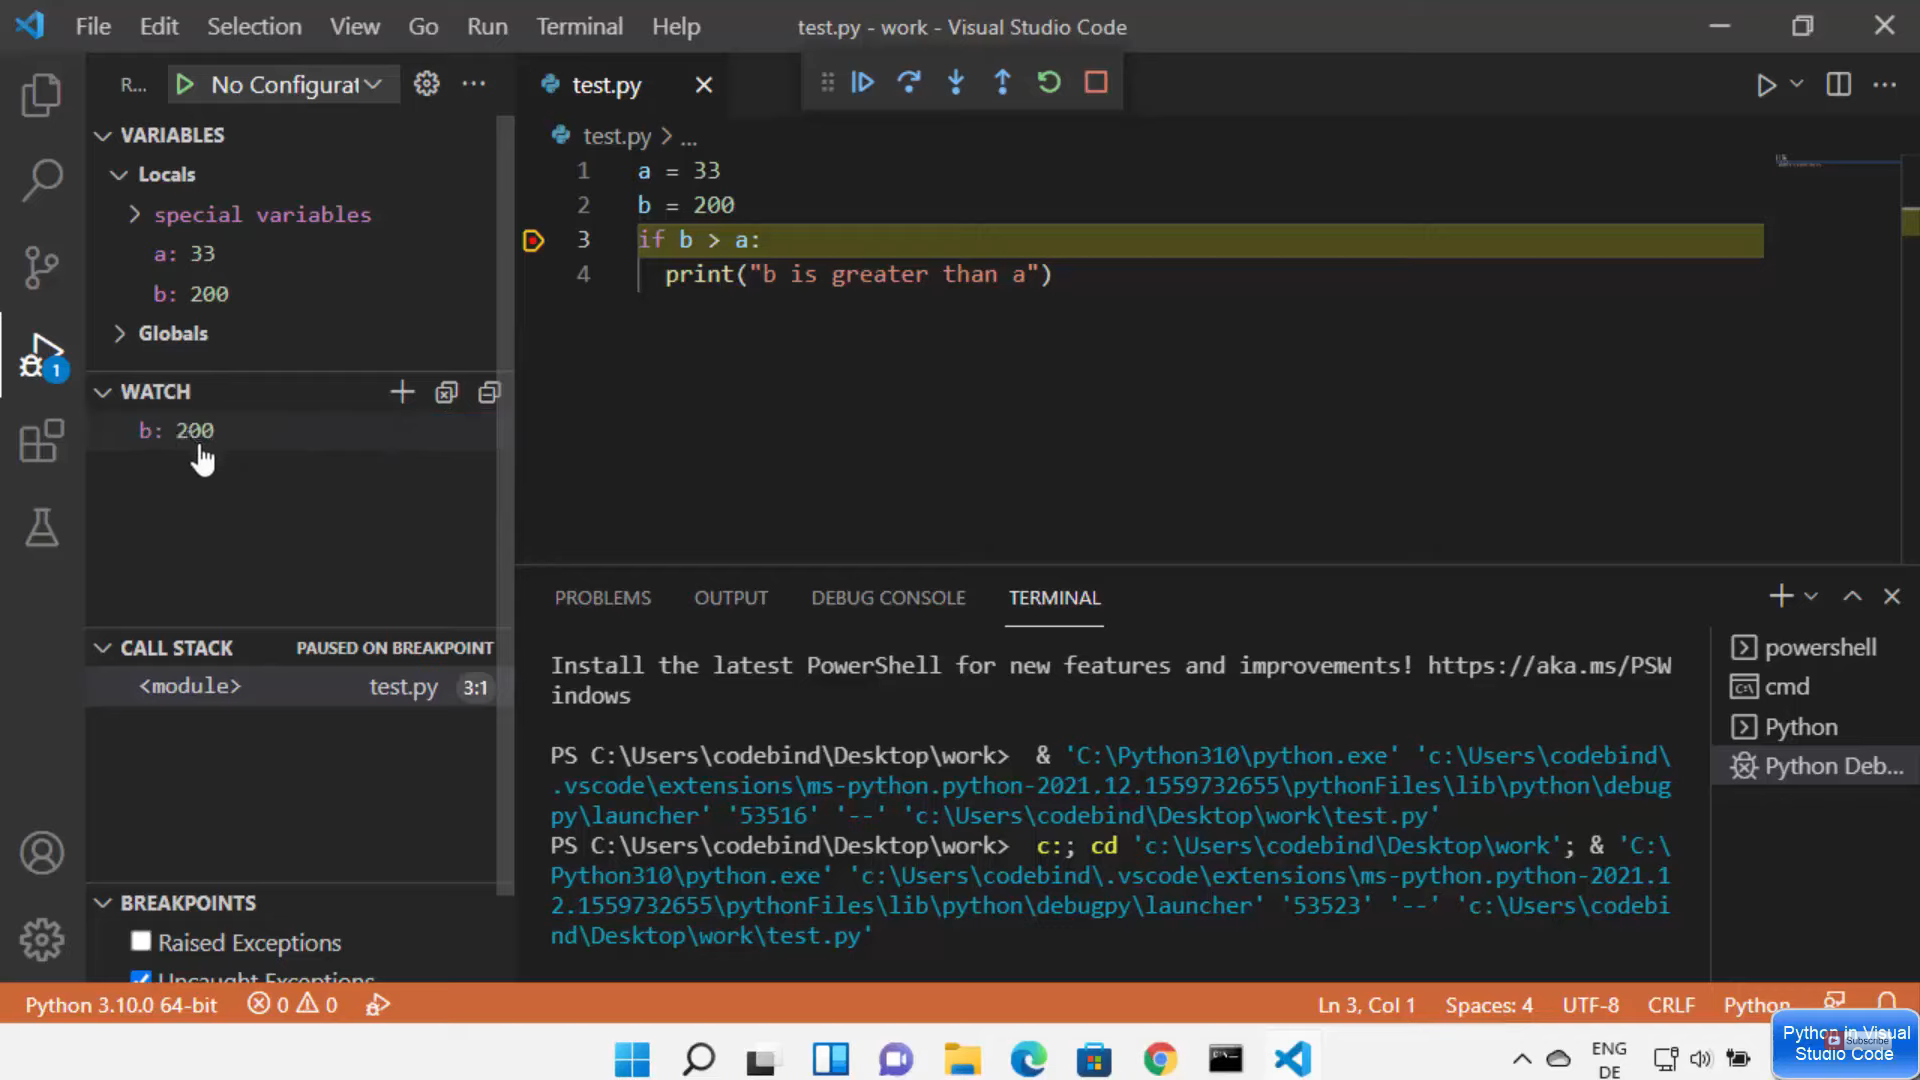
24. Once you click that, the debugger will start to run. It will display the output.
These are the steps for starting with python in visual studio code in your Windows 11 Operating System.
Leave a Reply