
In this blog post, I will give a detailed view of enabling or disabling Windows Defender on your Windows 11 Operating System.
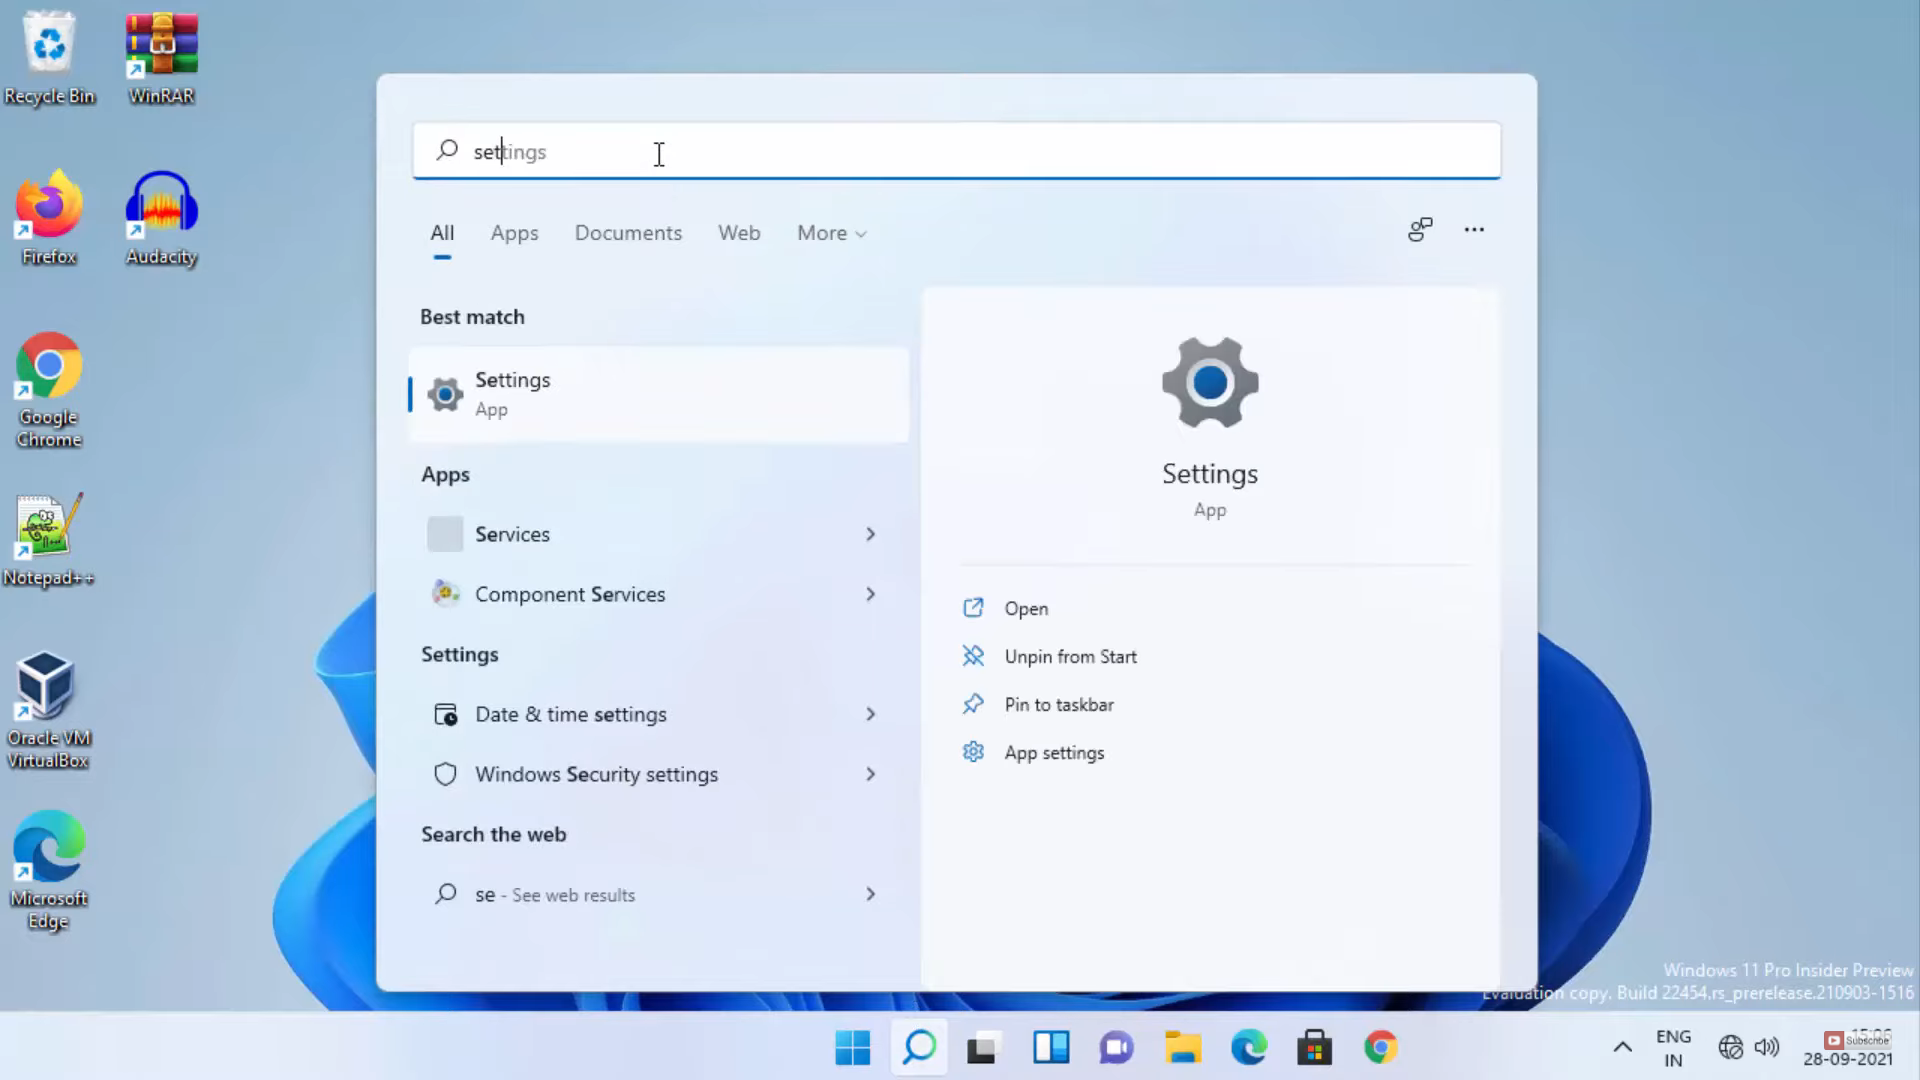
1. Open the Settings app by searching for settings in the search bar.
2. In the settings app, click on Privacy & Security option. Then click on the Windows security option.
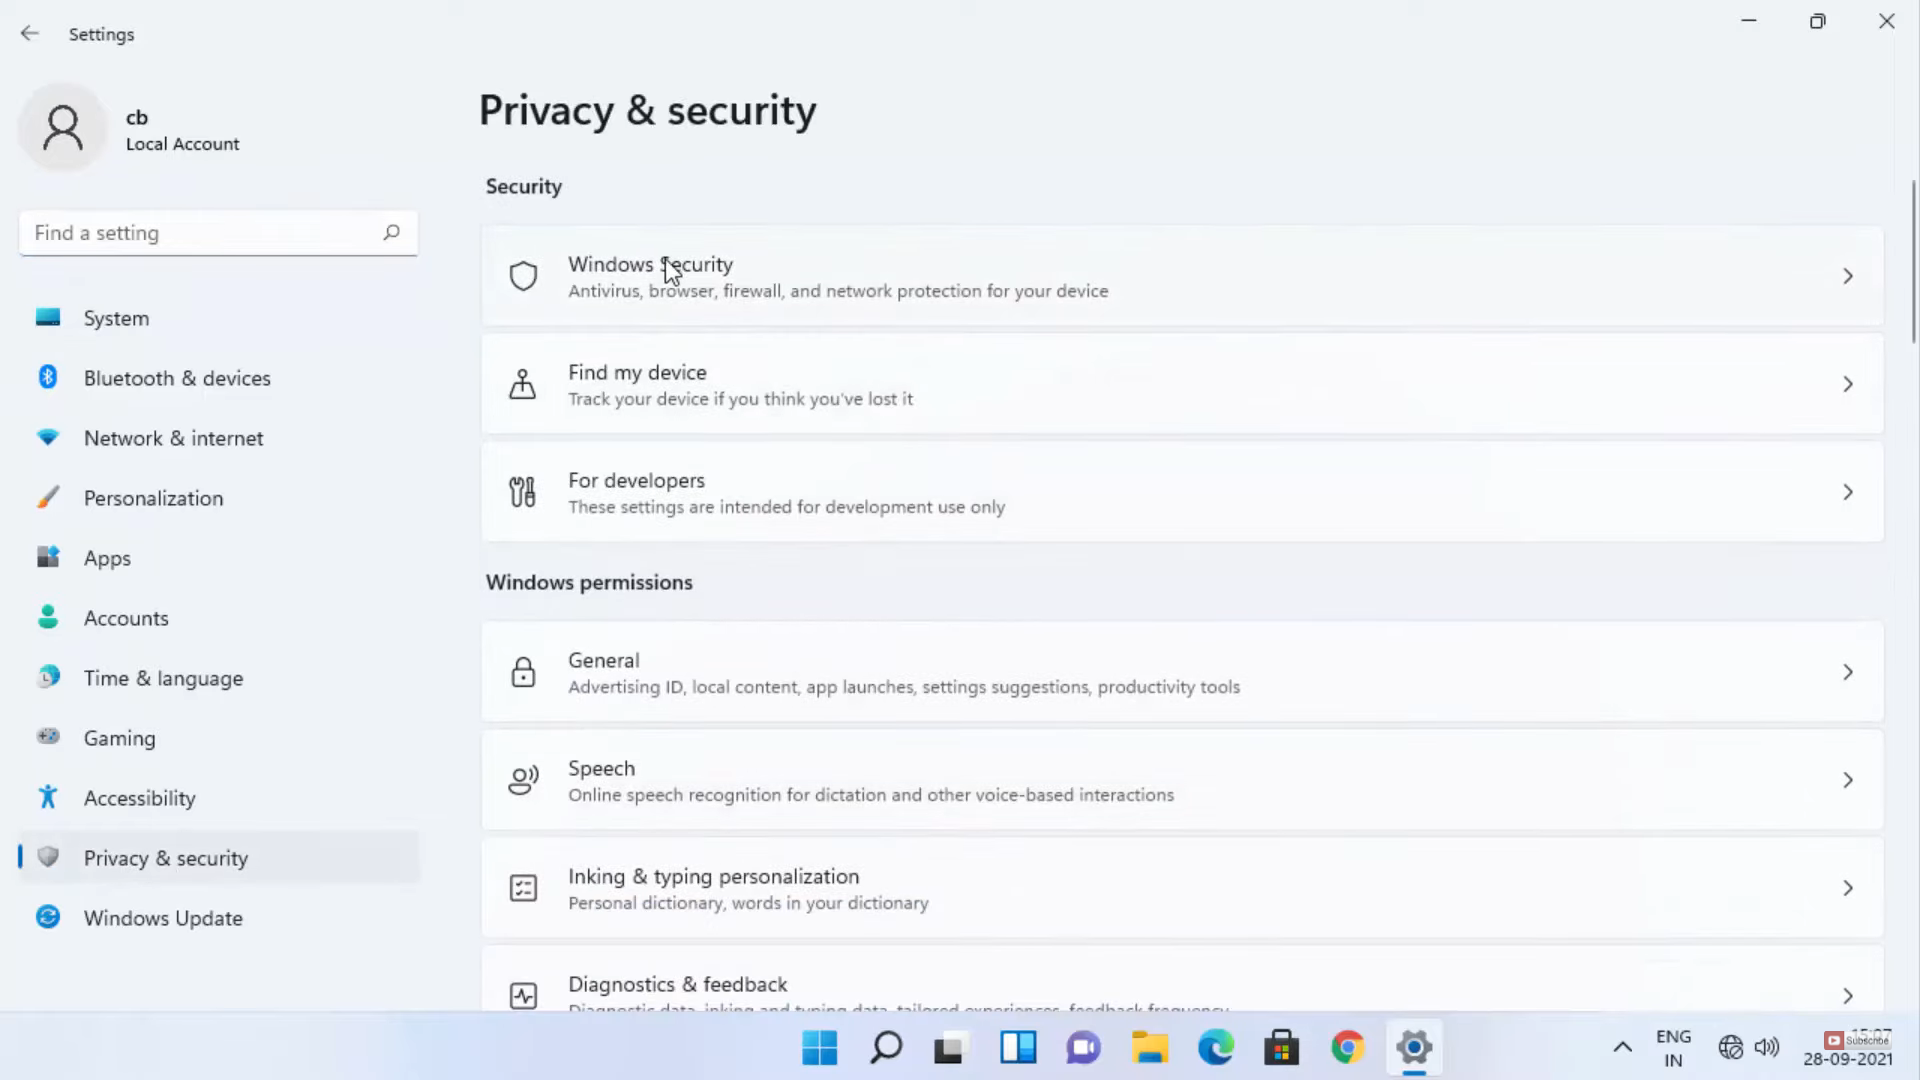
3. Once it opens, you will be able to see the first option called Virus & threat protection. Click on it. It will open another window.

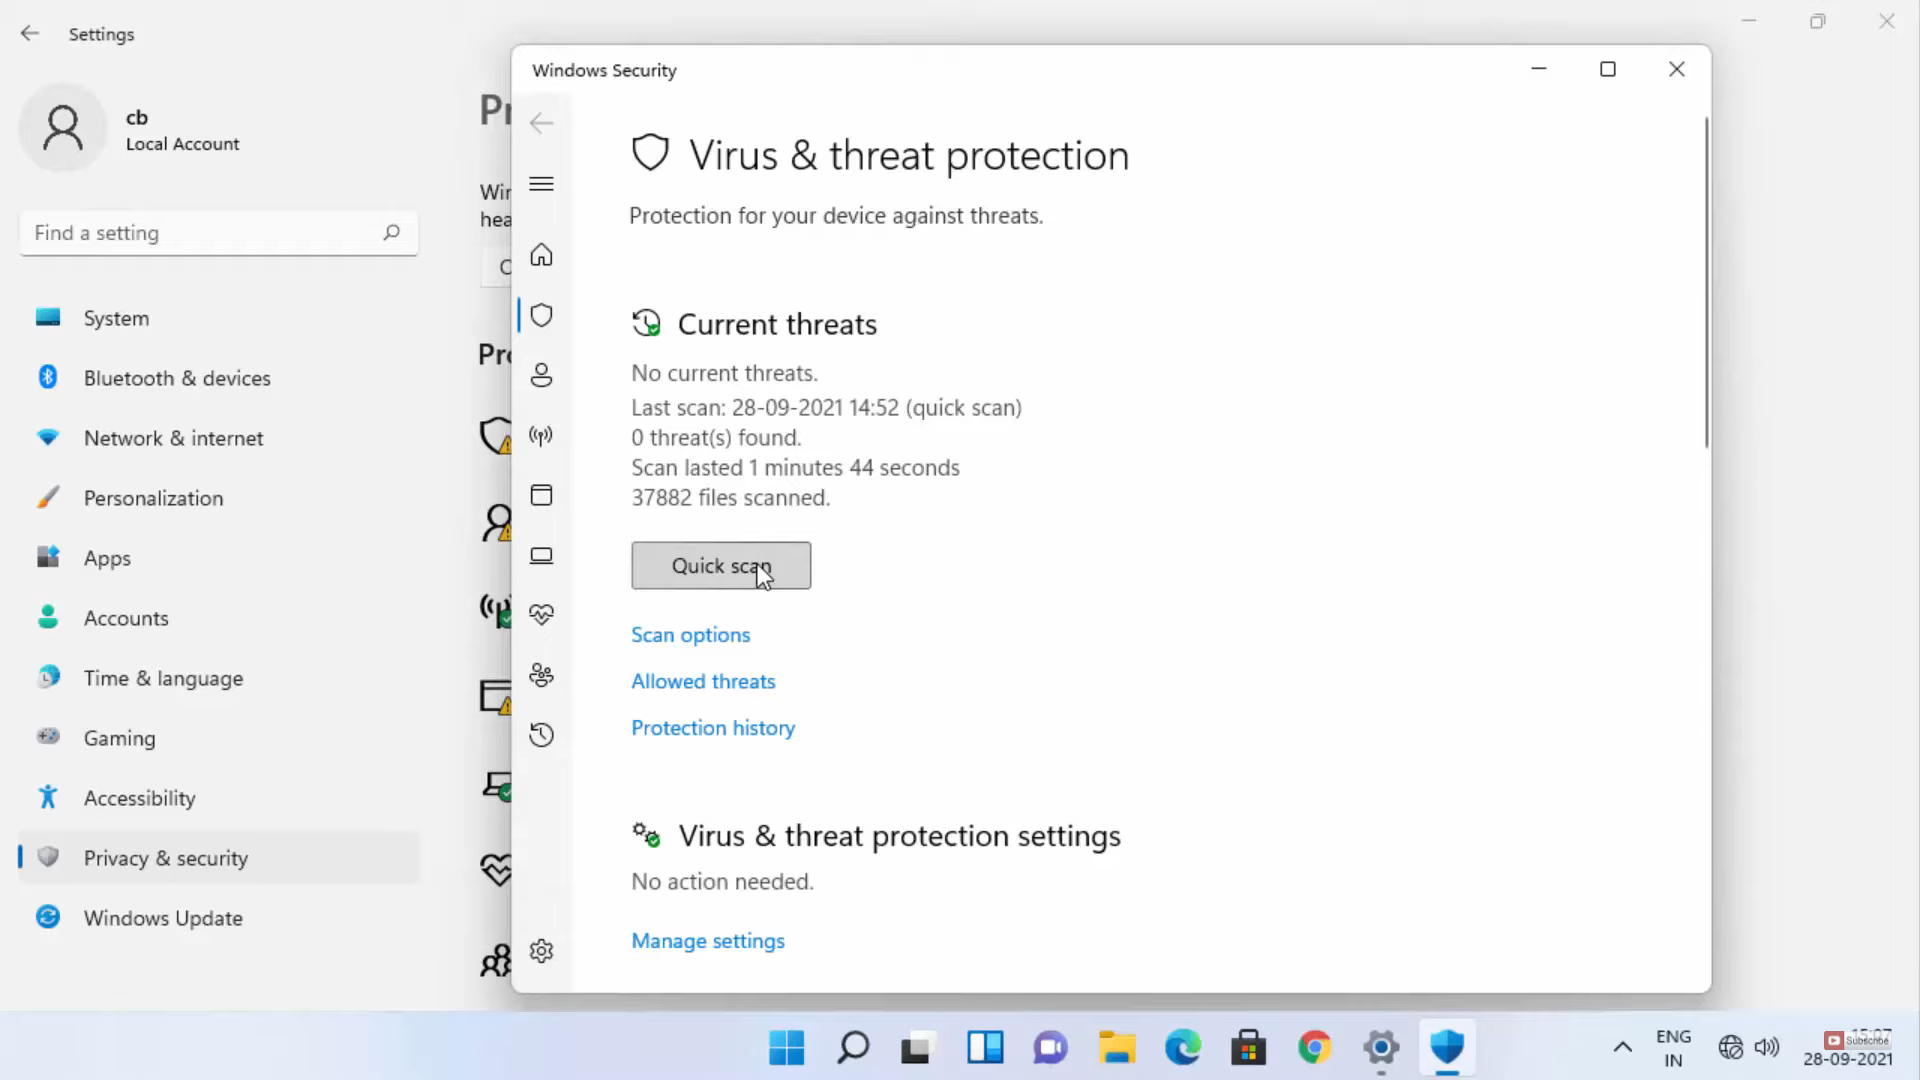
4. Click on the Quick scan option to scan for current threads in your computer. When you scroll down, you will be able to see an option called Manage settings. Click on that option.
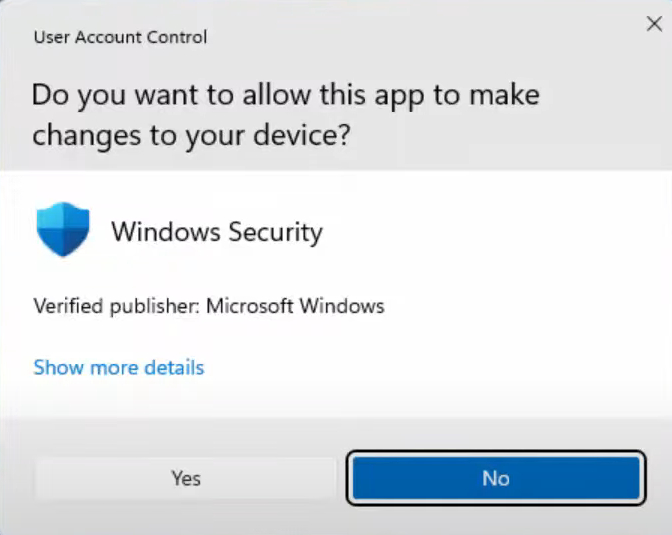
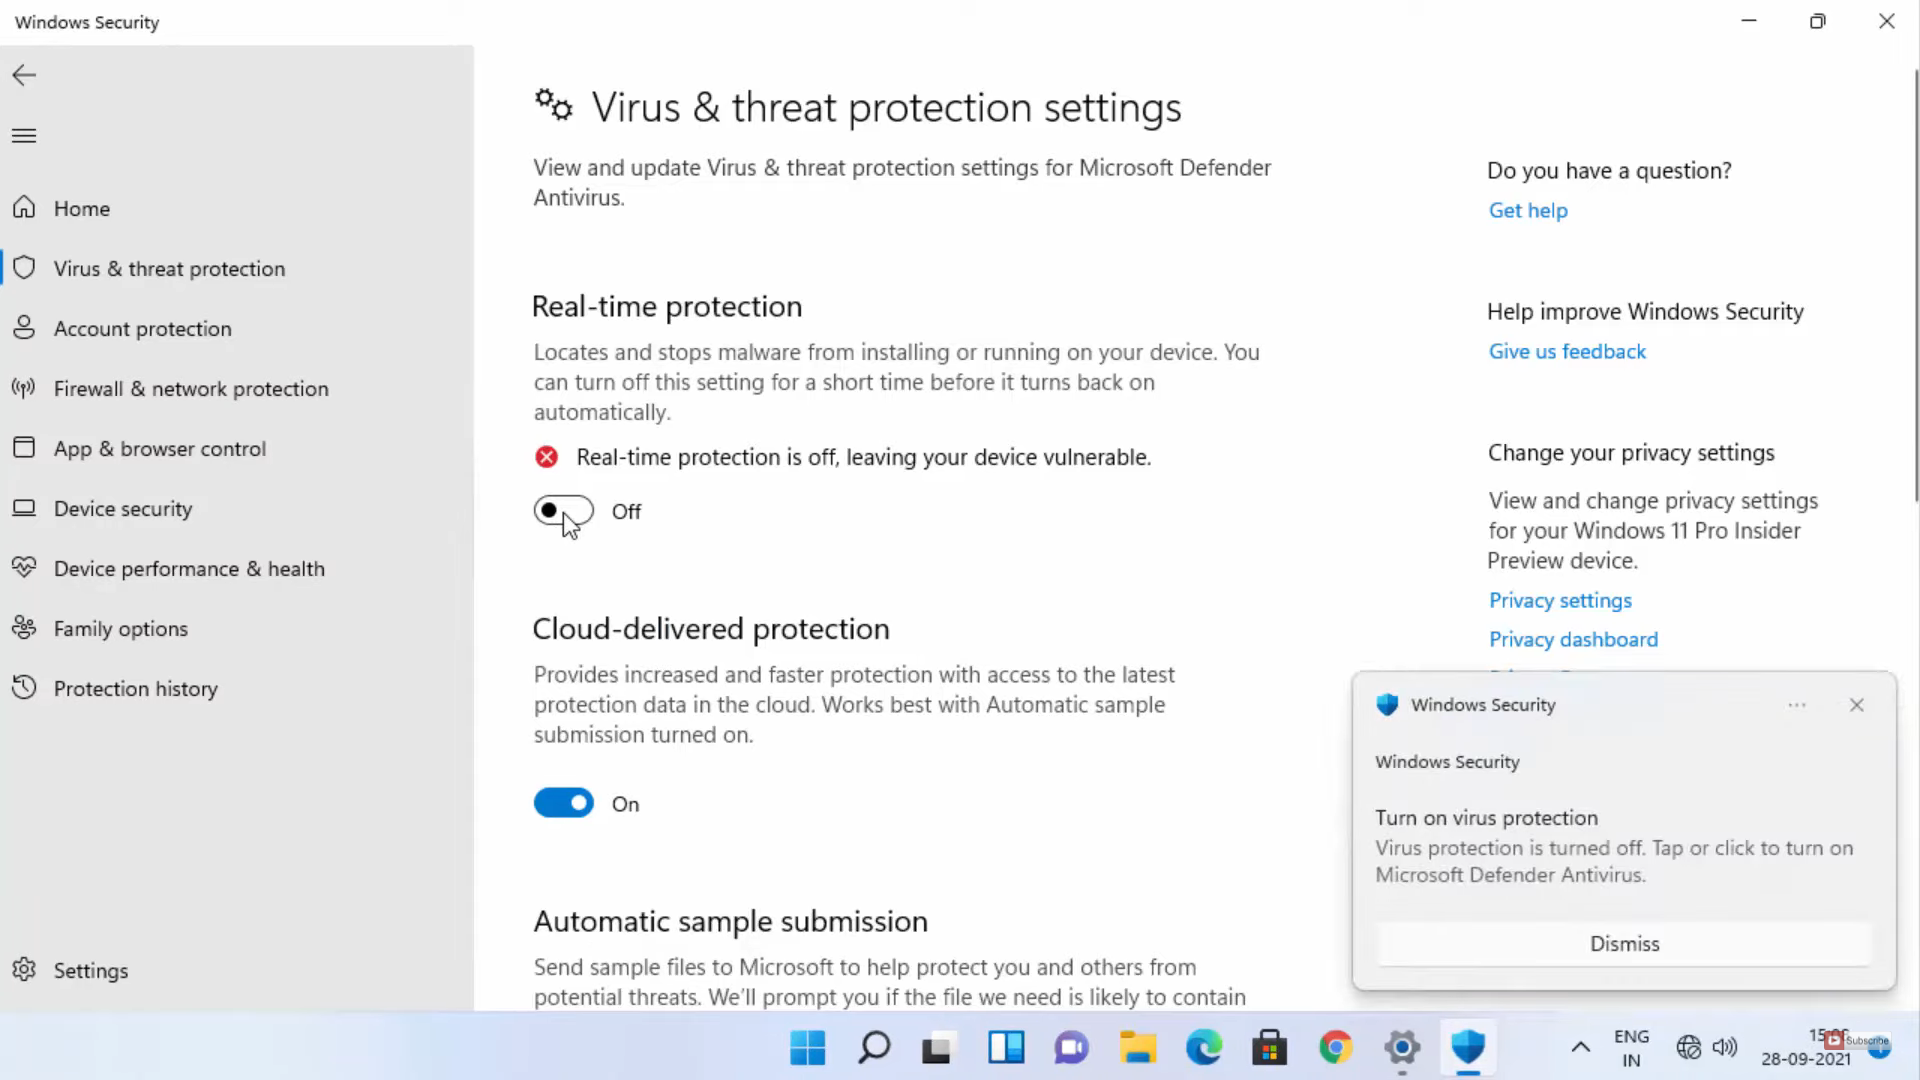
5. To disable the Microsoft defender, you need to click on that toggle button. It will show a warning message. Click on Yes.
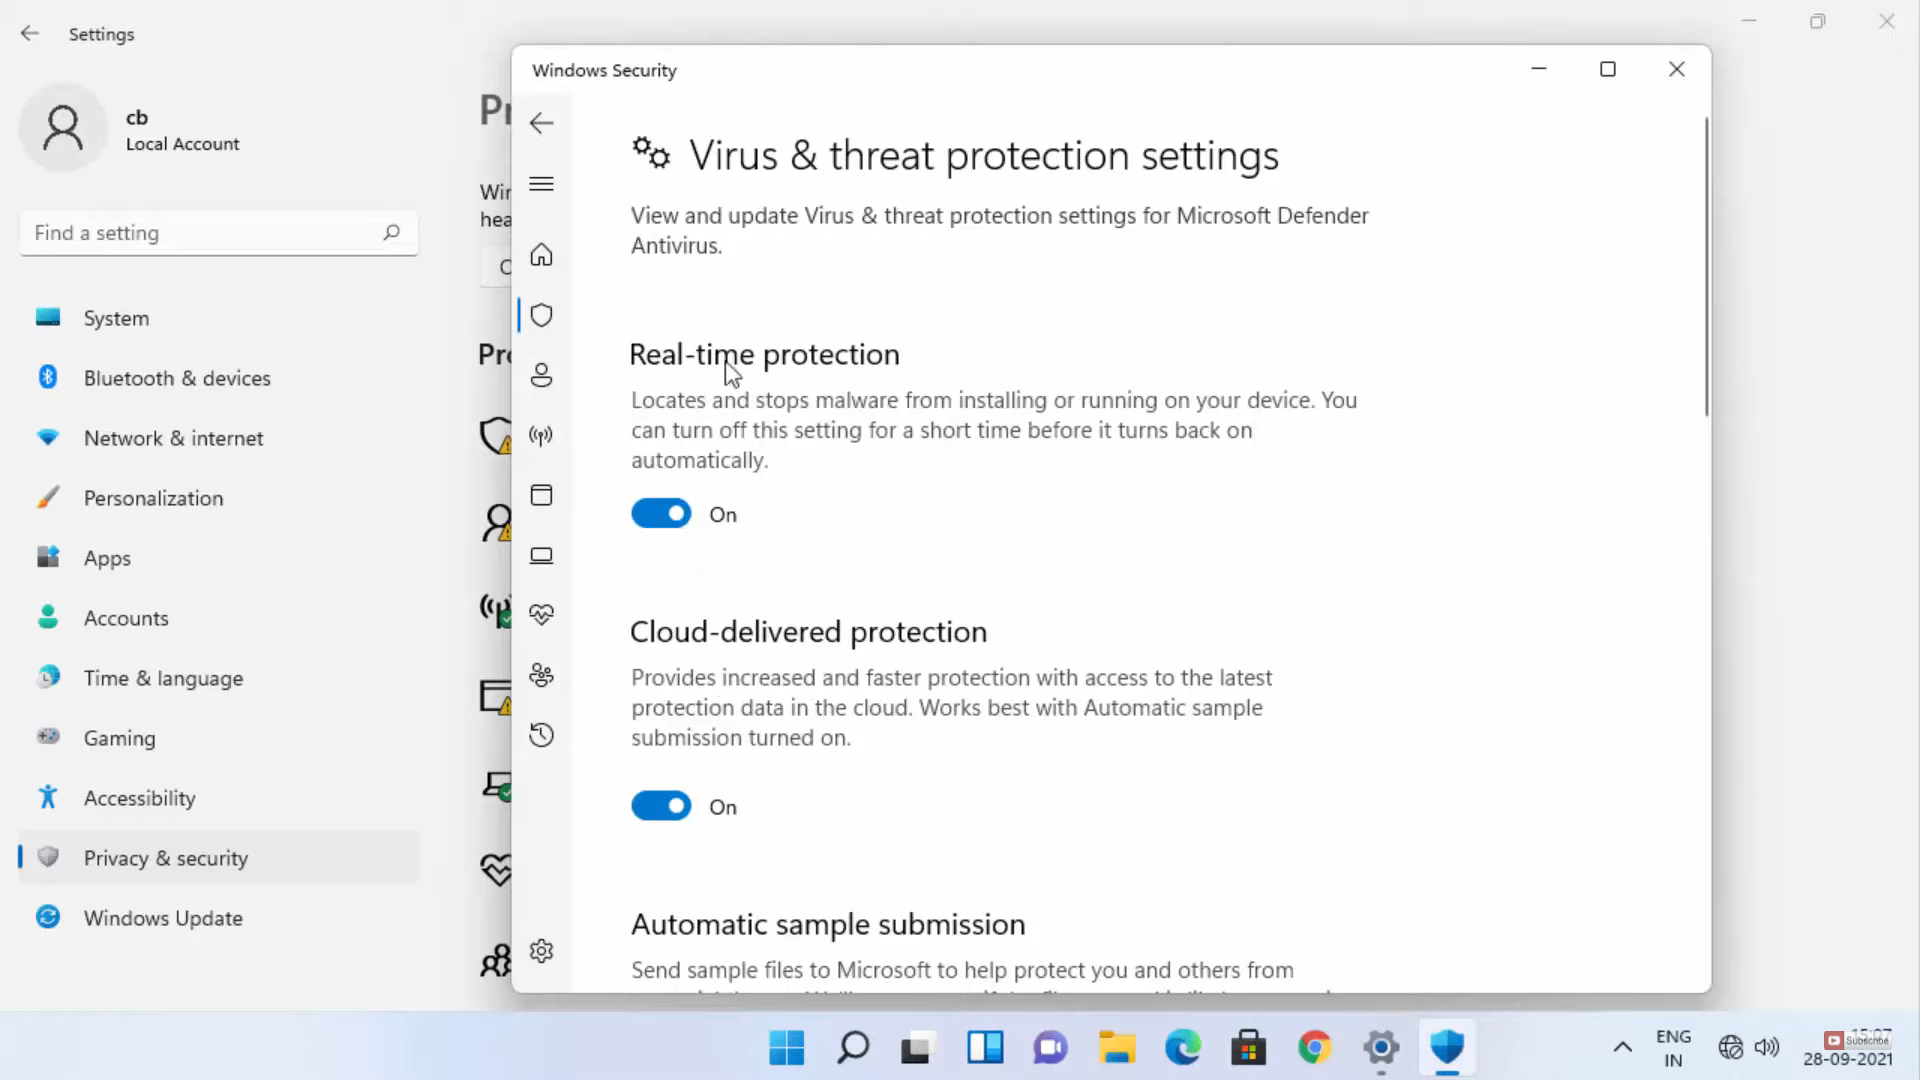
6. It will toggle your toggle button off which means you have disabled the windows defender. And you can see the notification as well. This option will be disabled until you restart your computer. When you restart your computer, it will enable it automatically. Earlier it had options to disable it permanently. But now you can only disable it temporarily.
These are the steps for enabling or disabling Windows Defender on your Windows 11 Operating System.
Leave a Reply