
In this blog post, I will give a detailed view of completely uninstalling BlueStacks from your Windows 11 Operating System.
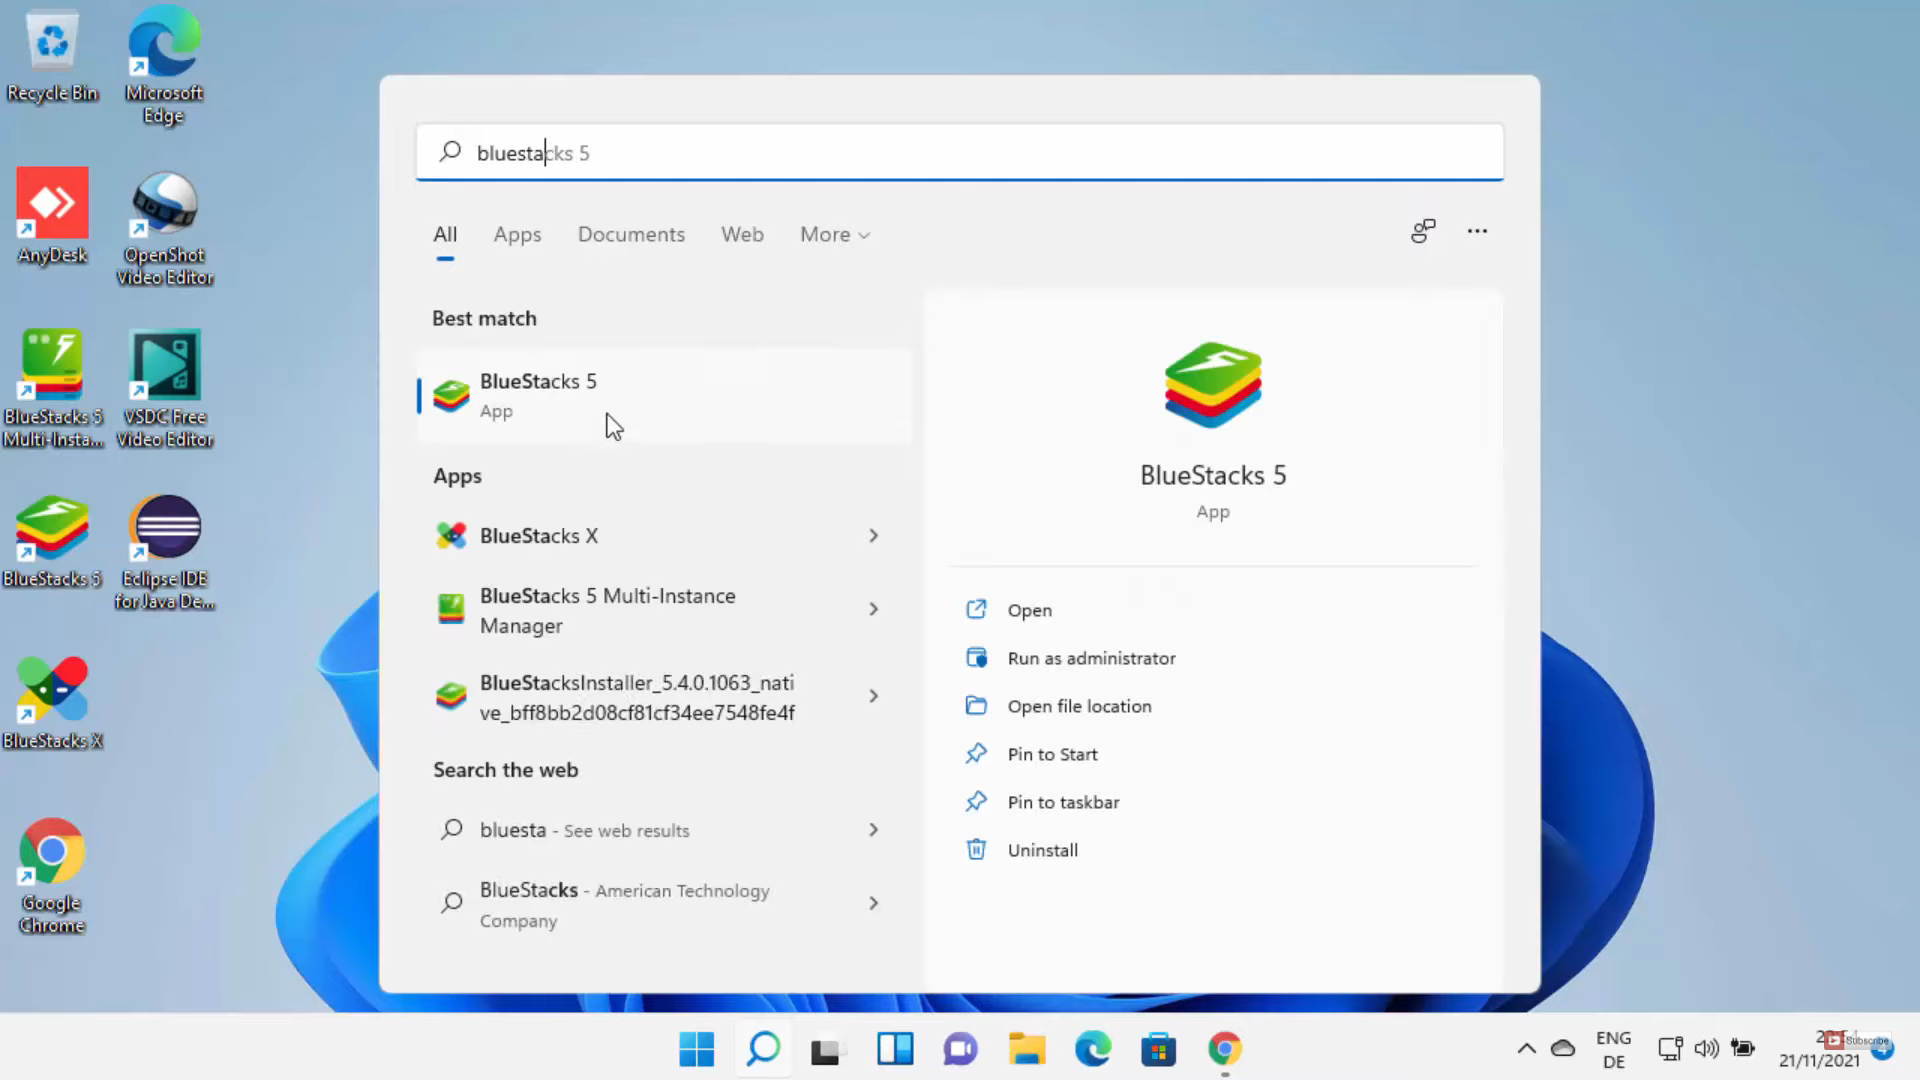
1. For the first method, click on the search icon and search for Bluestacks. It will show all the bluestacks related tools. You can select the tools one by one and click on Uninstall. But I don’t prefer this method.
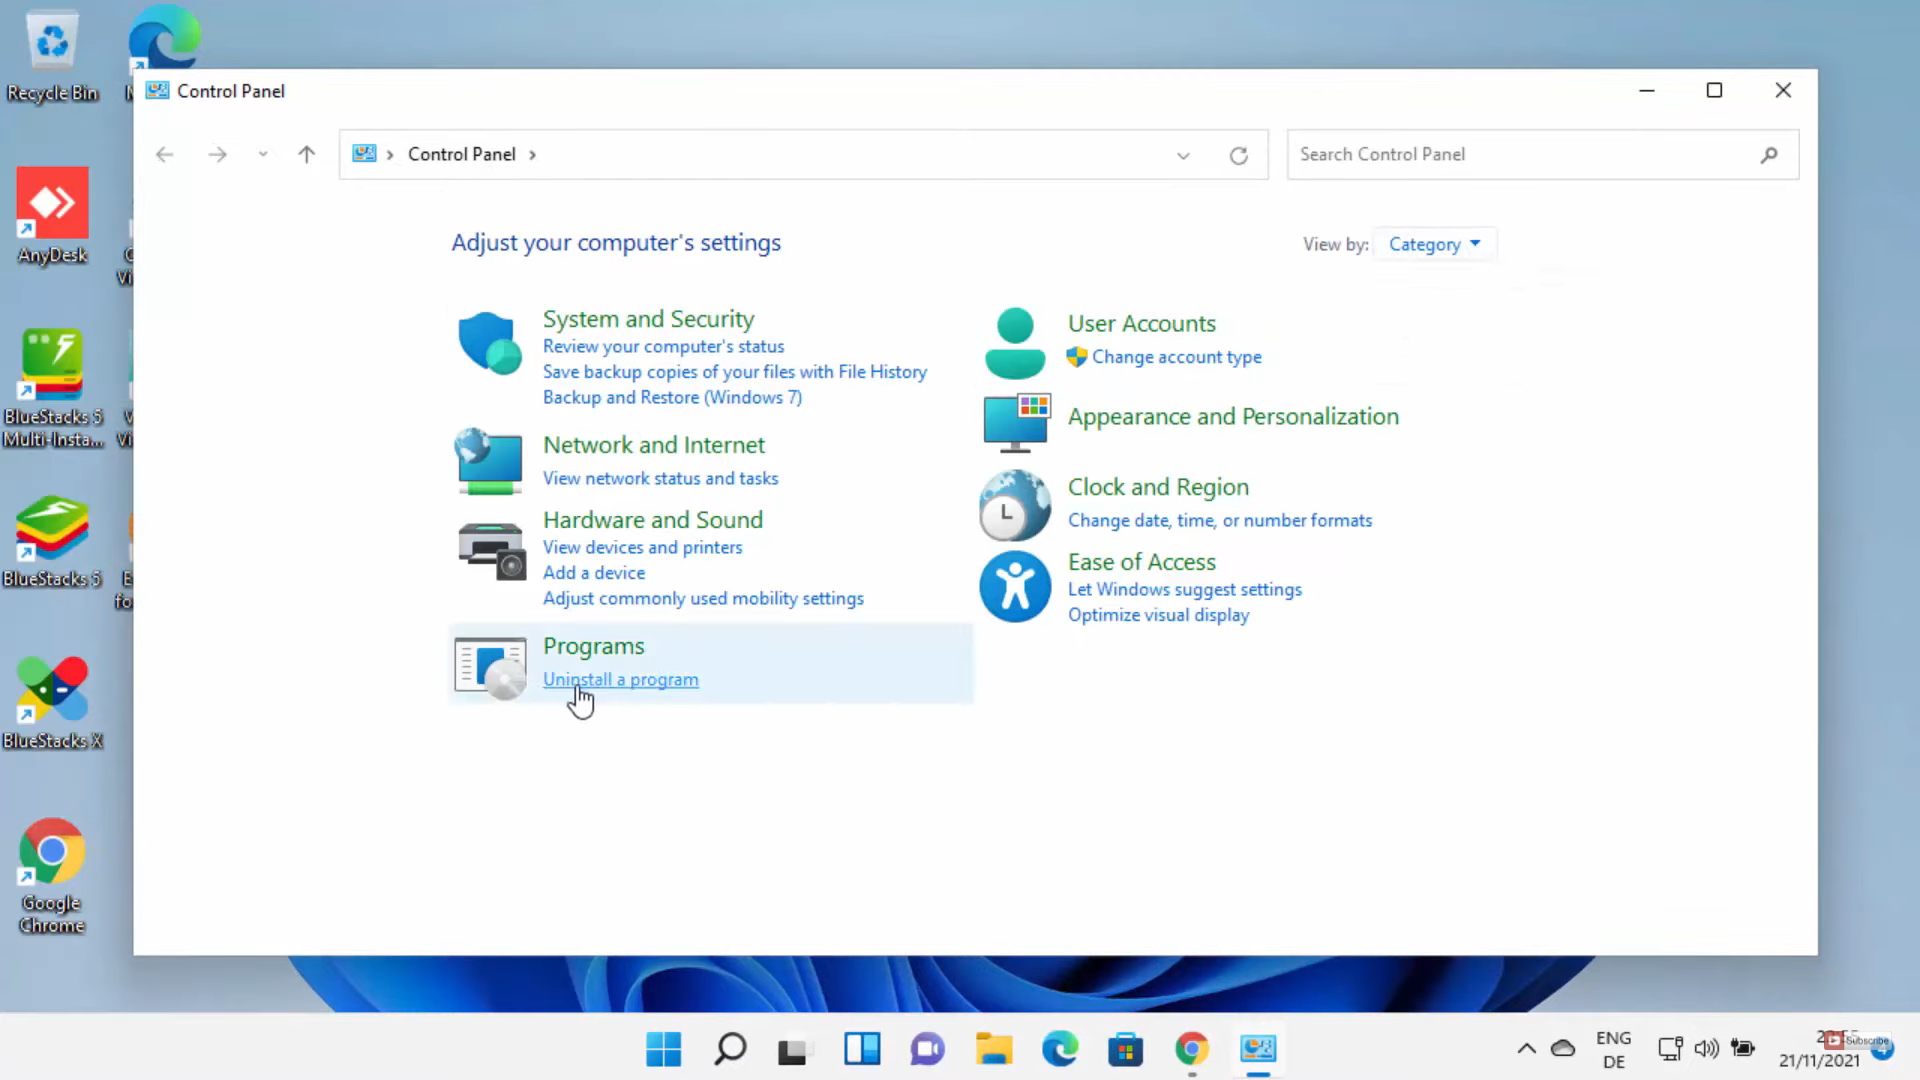
2. For the second method, search for the Control panel app in the search icon.

3. Once the control panel app opens, you need to view it by category. Click on Uninstall a program under Programs.
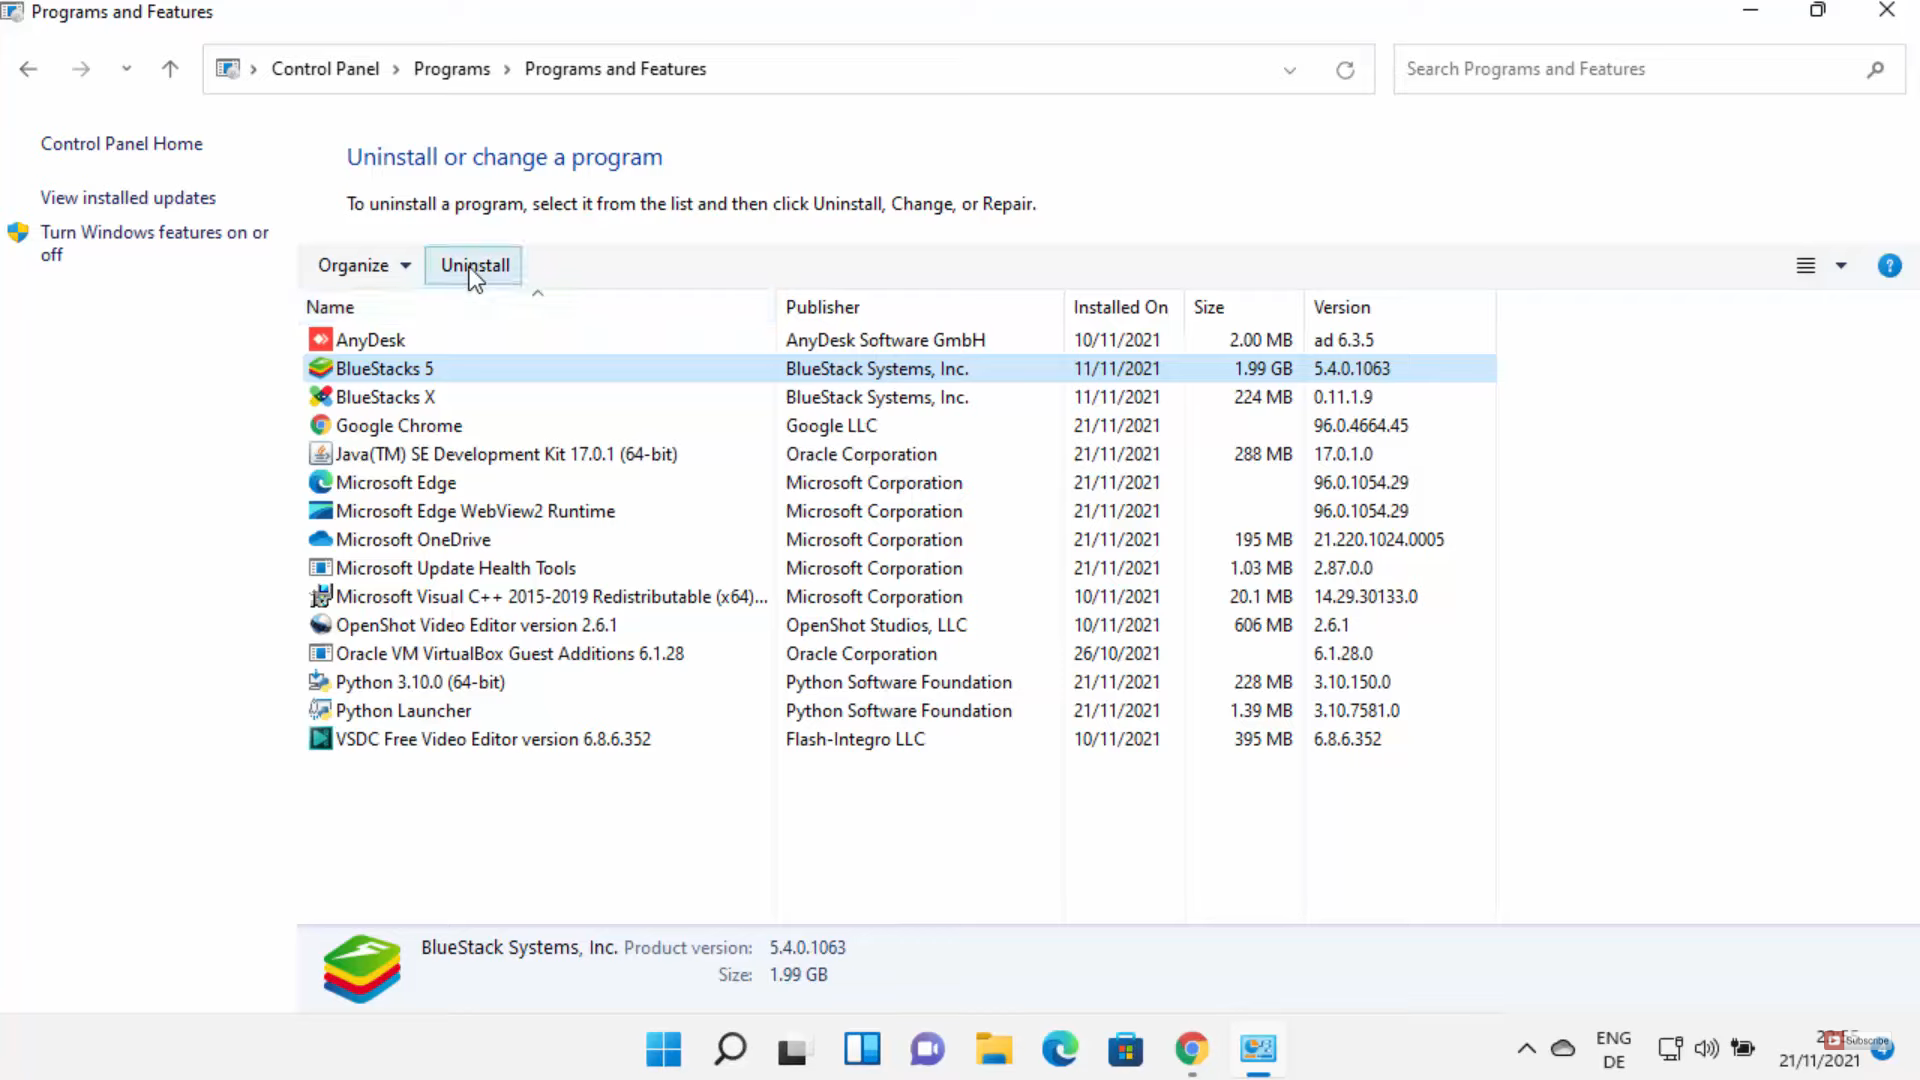
4. It will show all the apps in your Windows 11 Operating System. I am going to select BlueStacks 5 and click on Uninstall option.
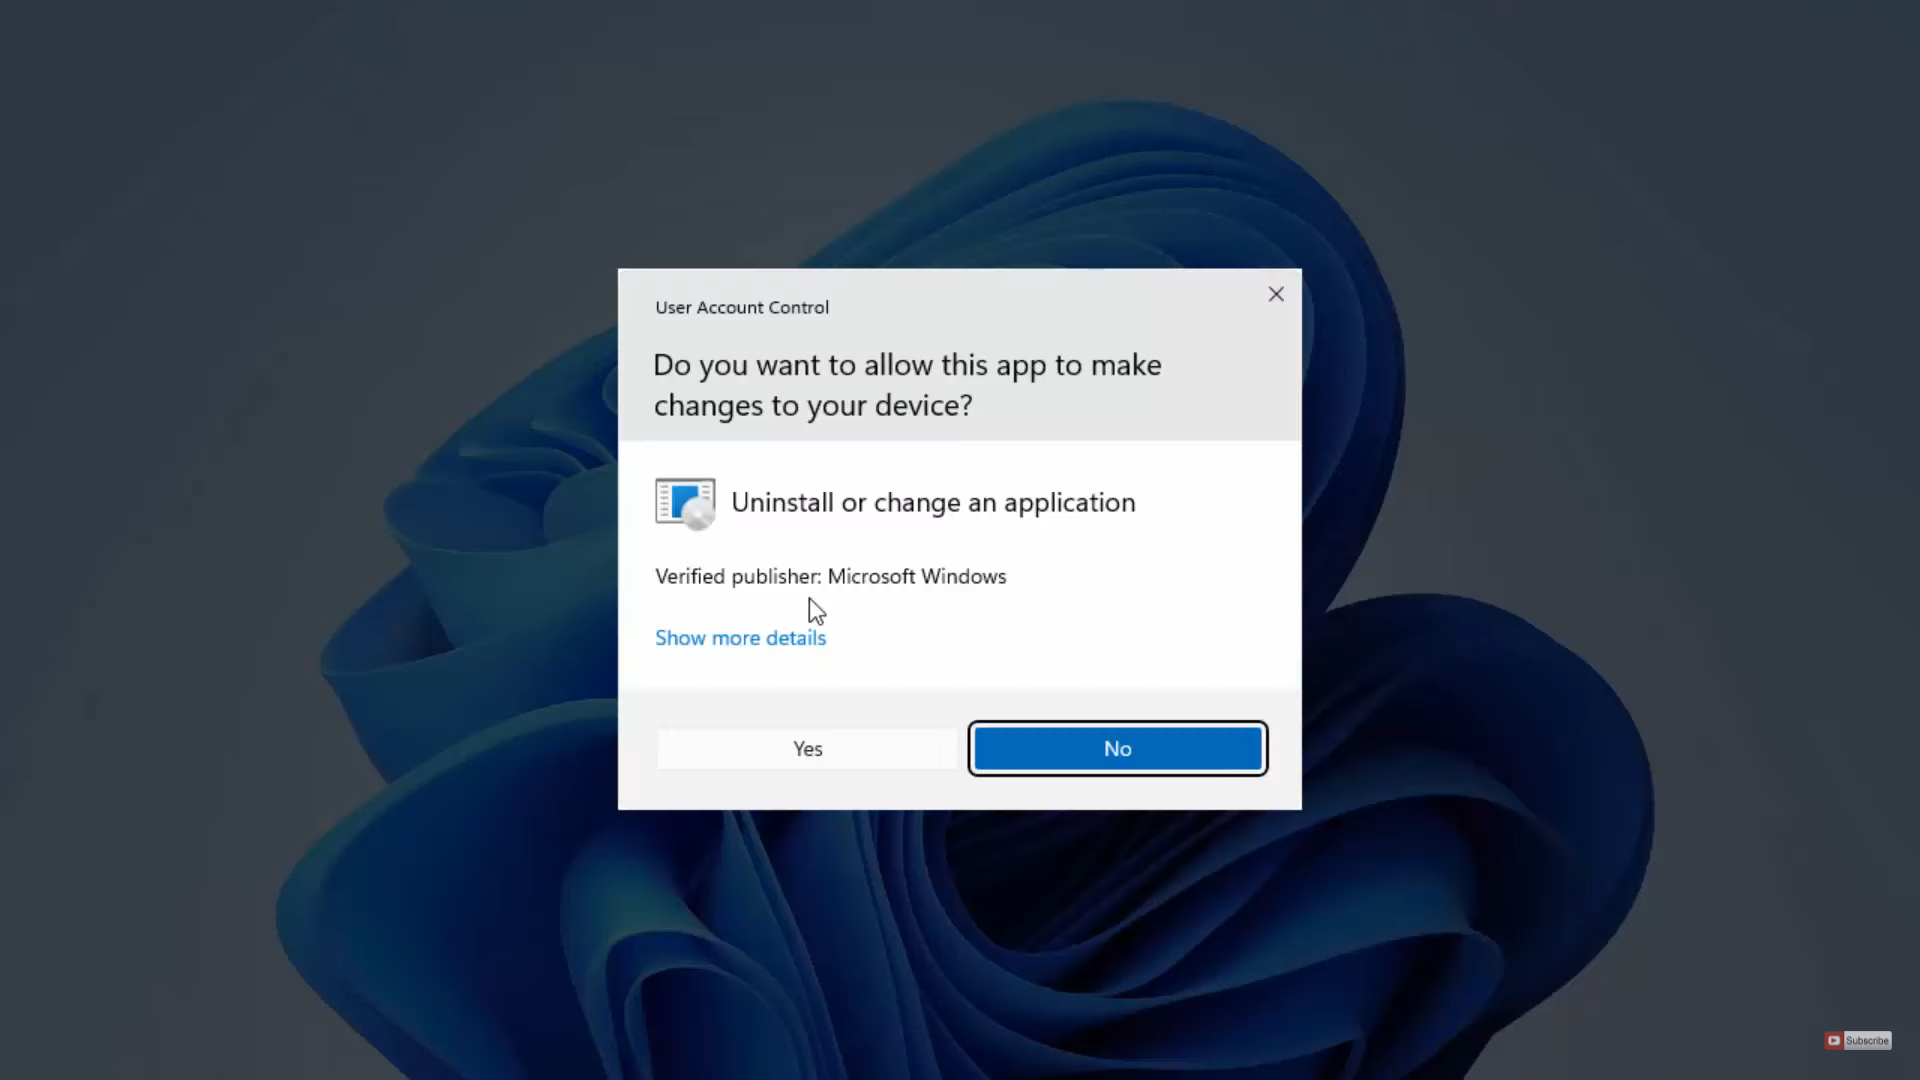
5. It will show a warning. Click on Yes.
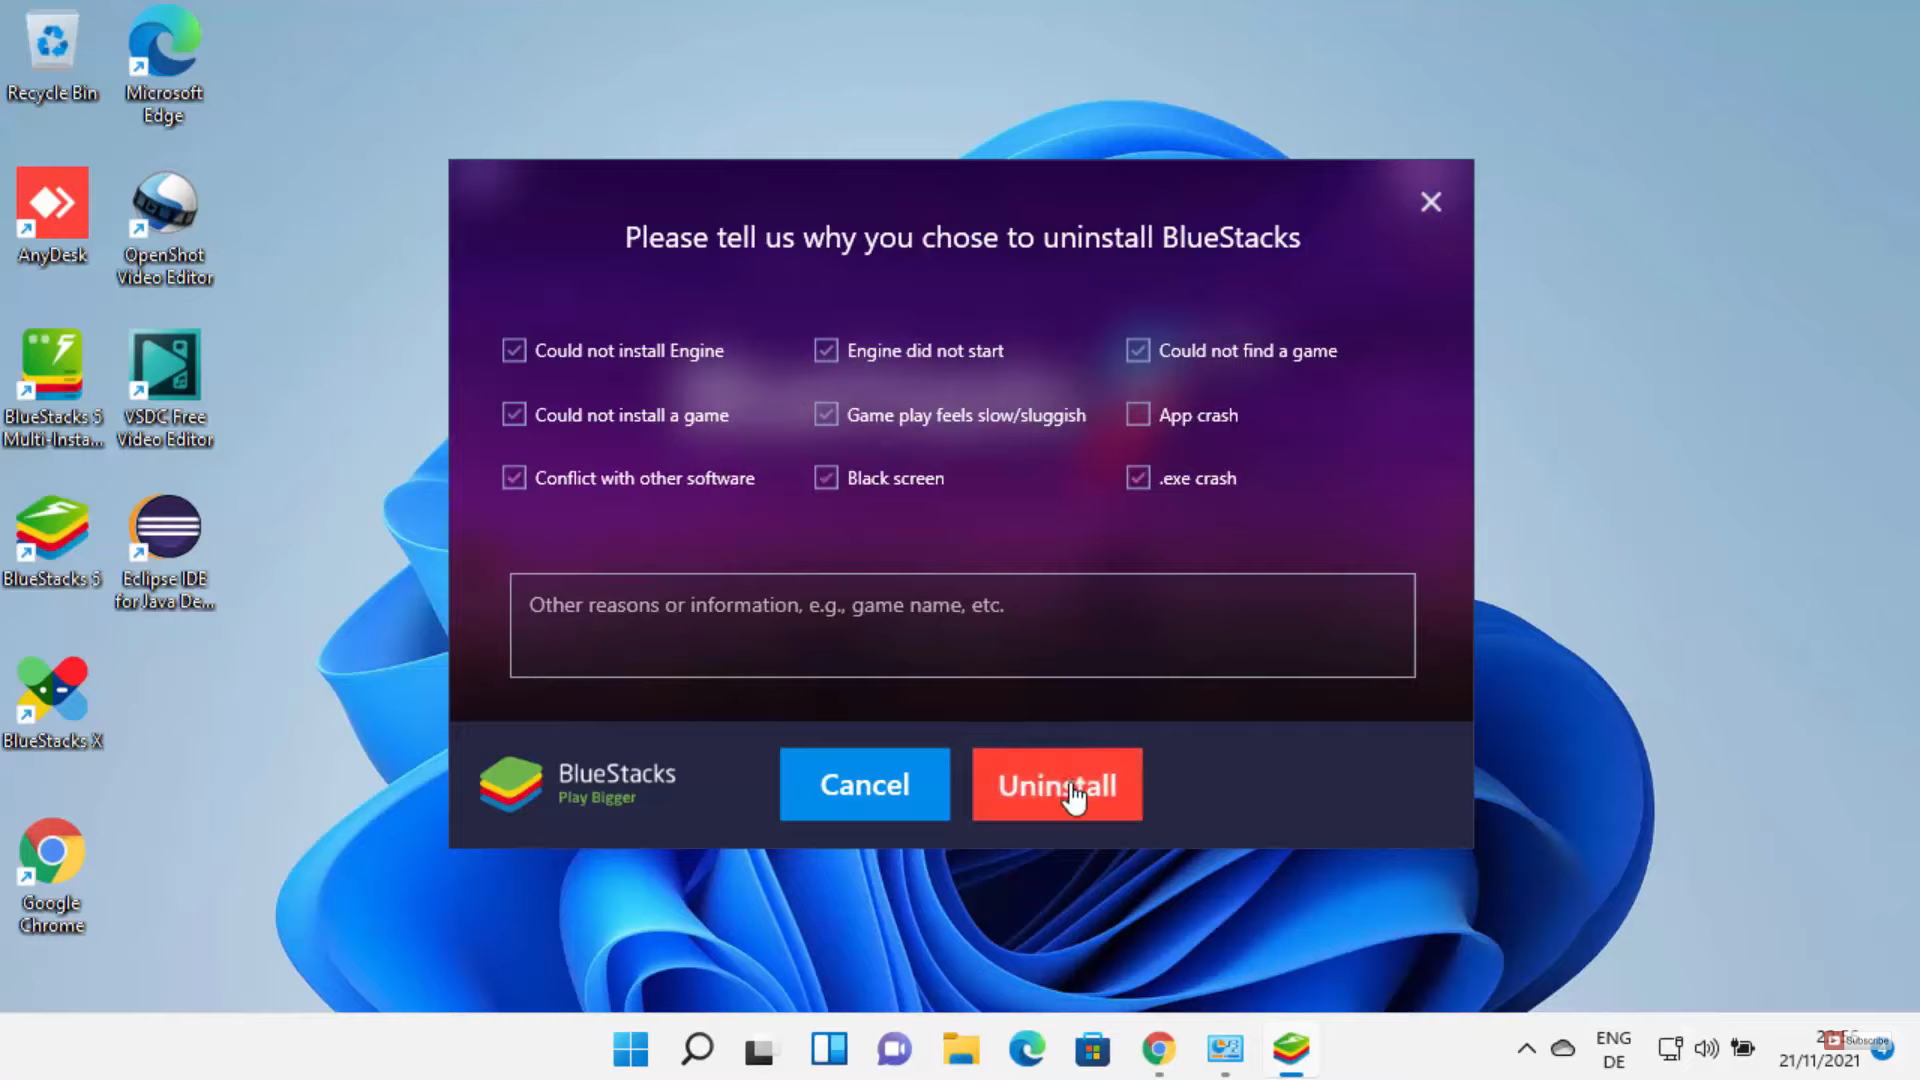
6. The uninstaller has been started. Here, you can choose the reason for uninstalling. After that, click on Uninstall. It will start the uninstall.
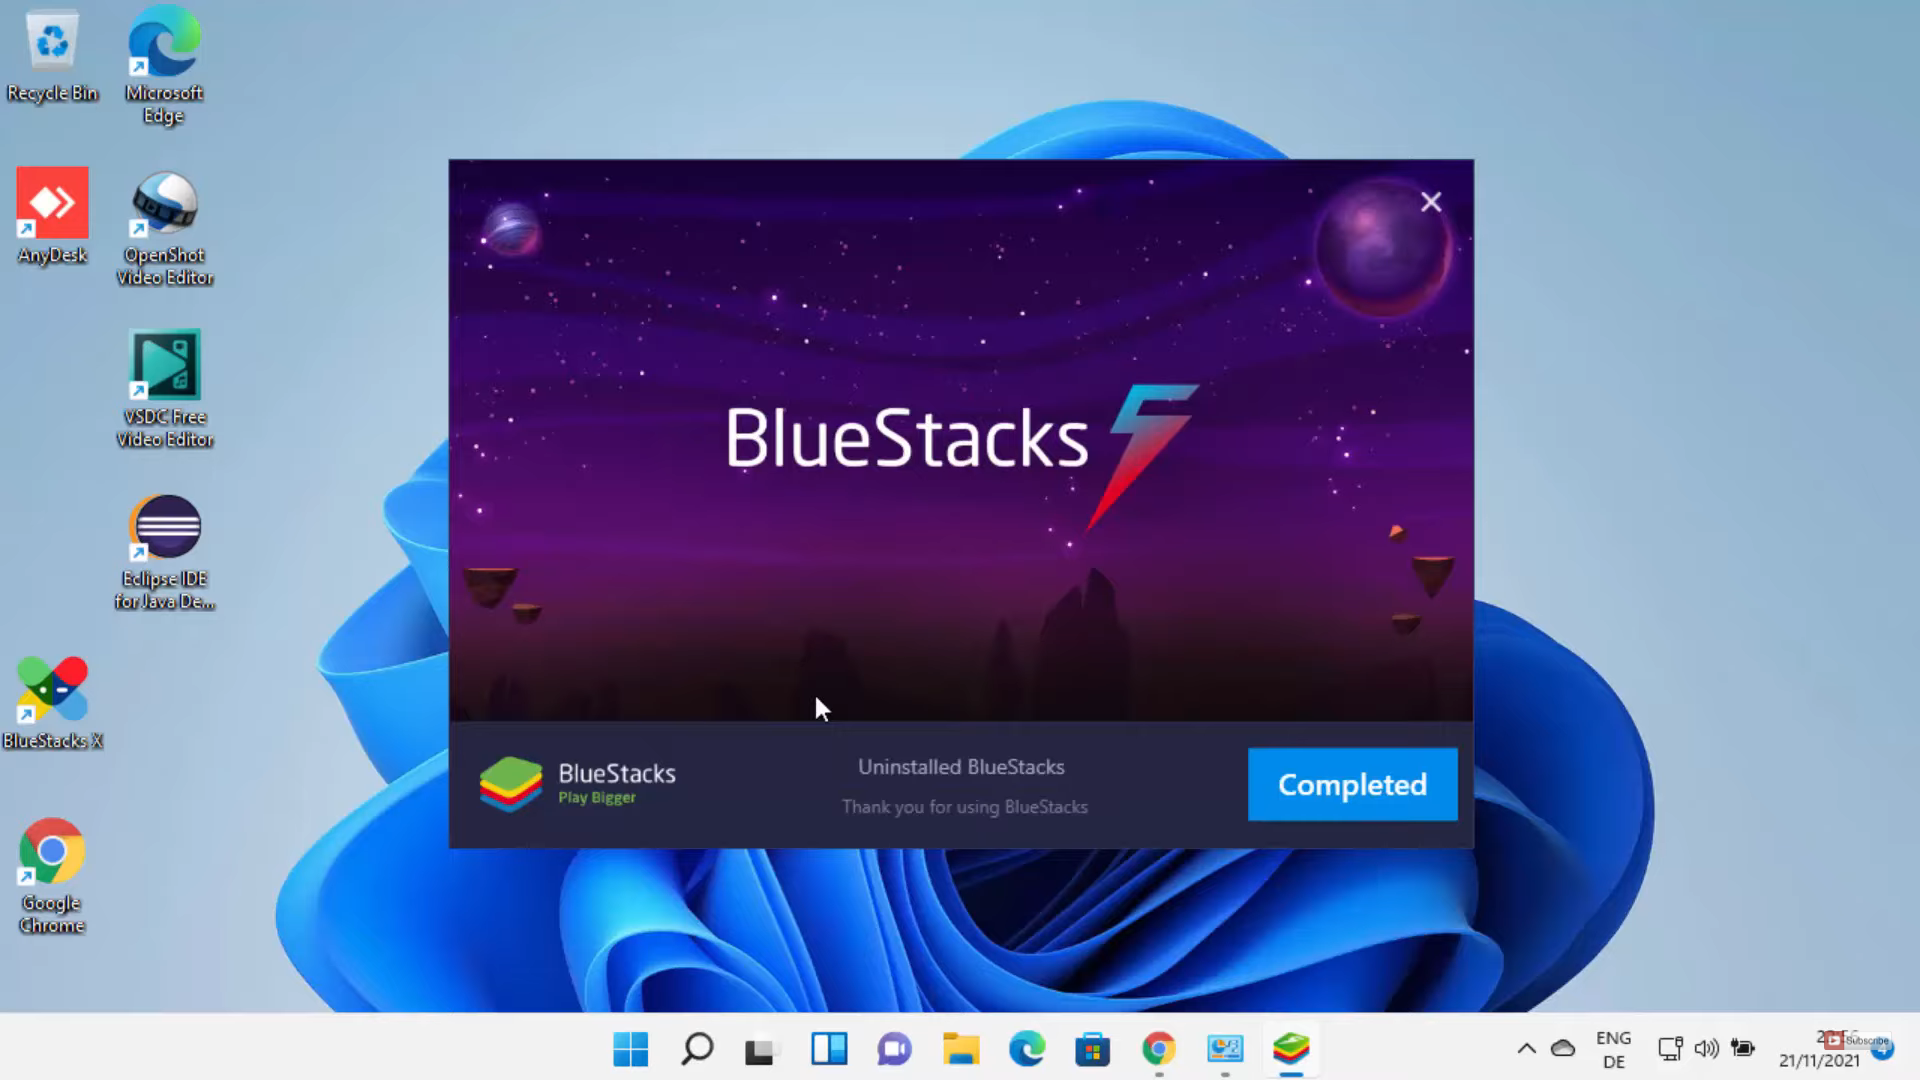
7. You need to wait for the process to complete. Once it has been uninstalled, you will be able to see the completed window. Also, the shortcut icons will be removed.
8. But BlueStacks X is still remaining. Go to the Control panel and follow the same process as what we did for BlueStacks 5.
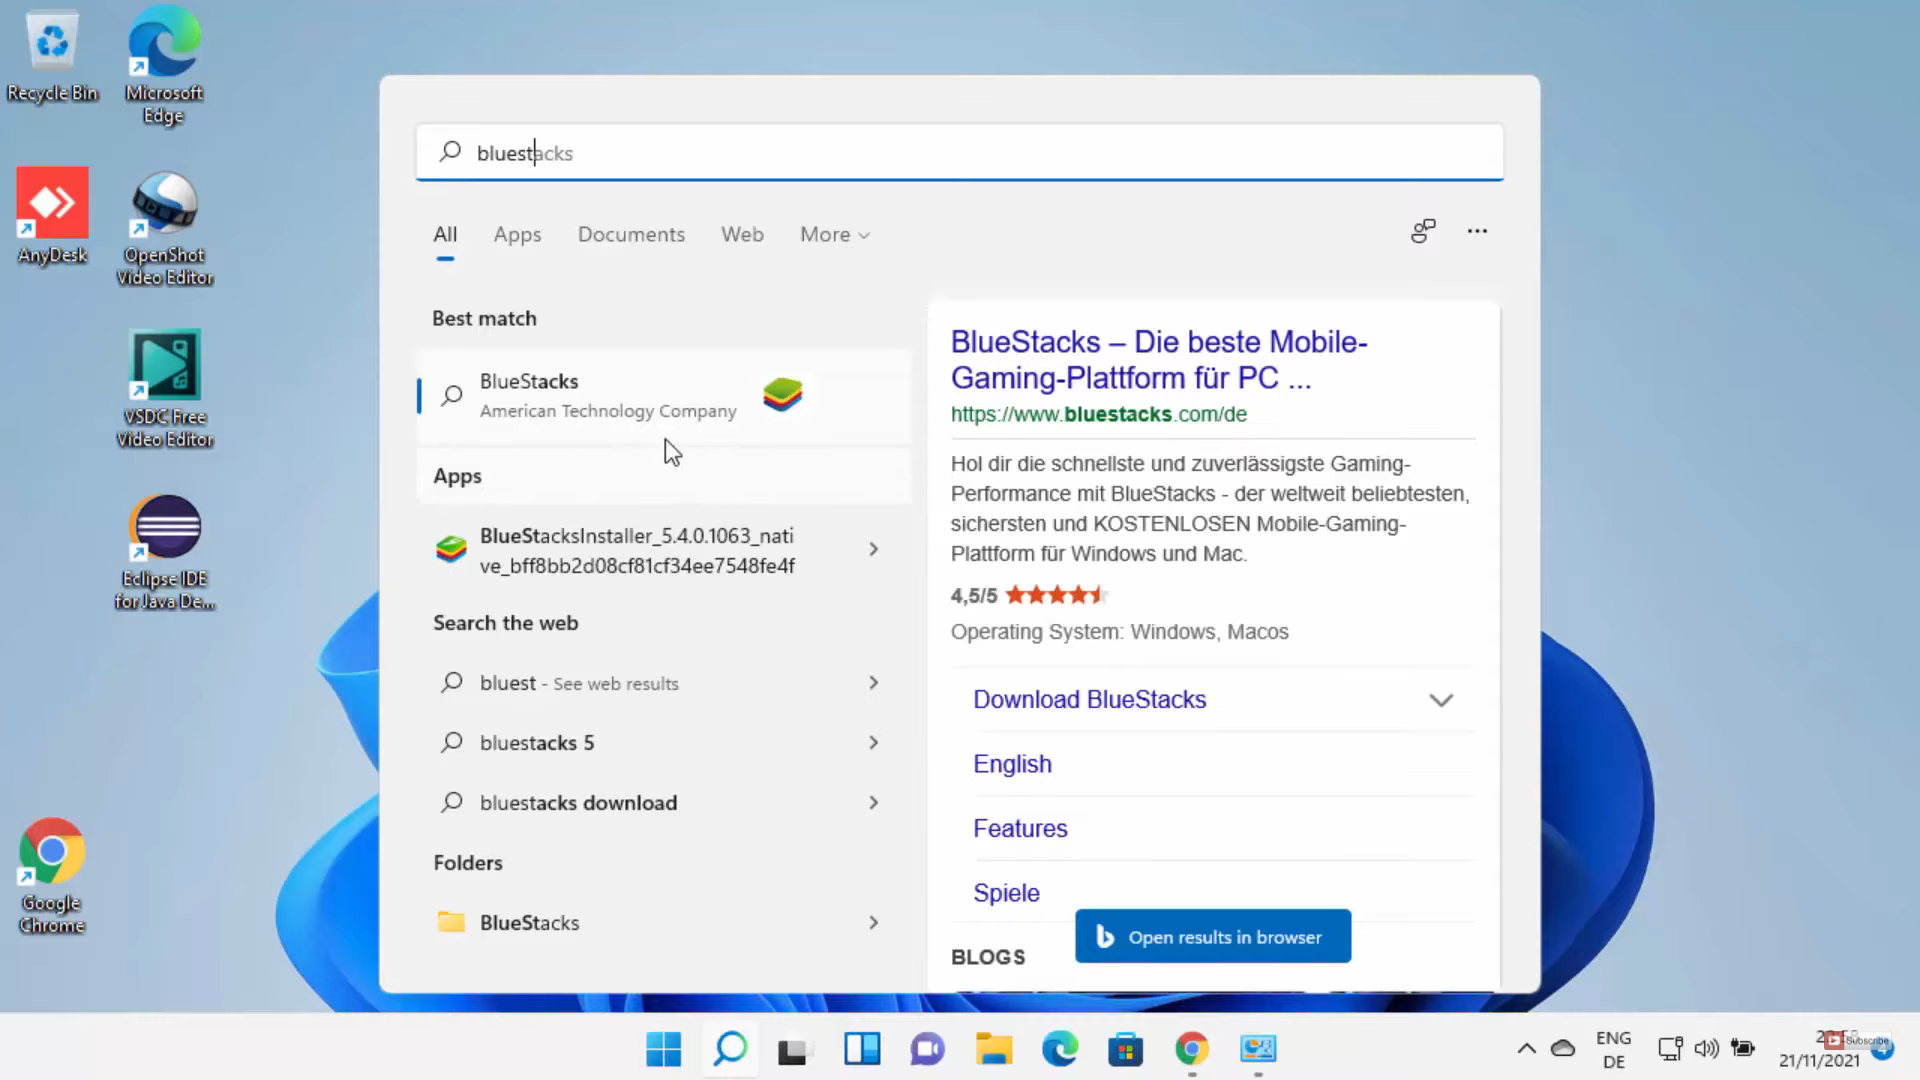
9. When I search for BlueStacks, I couldn’t see that app. But you can see the search result.
These are the steps for completely uninstalling BlueStacks from your Windows 11 Operating System.
Leave a Reply