
In this blog post, I will give a detailed view of changing your mouse DPI in the Windows 11 Operating System.
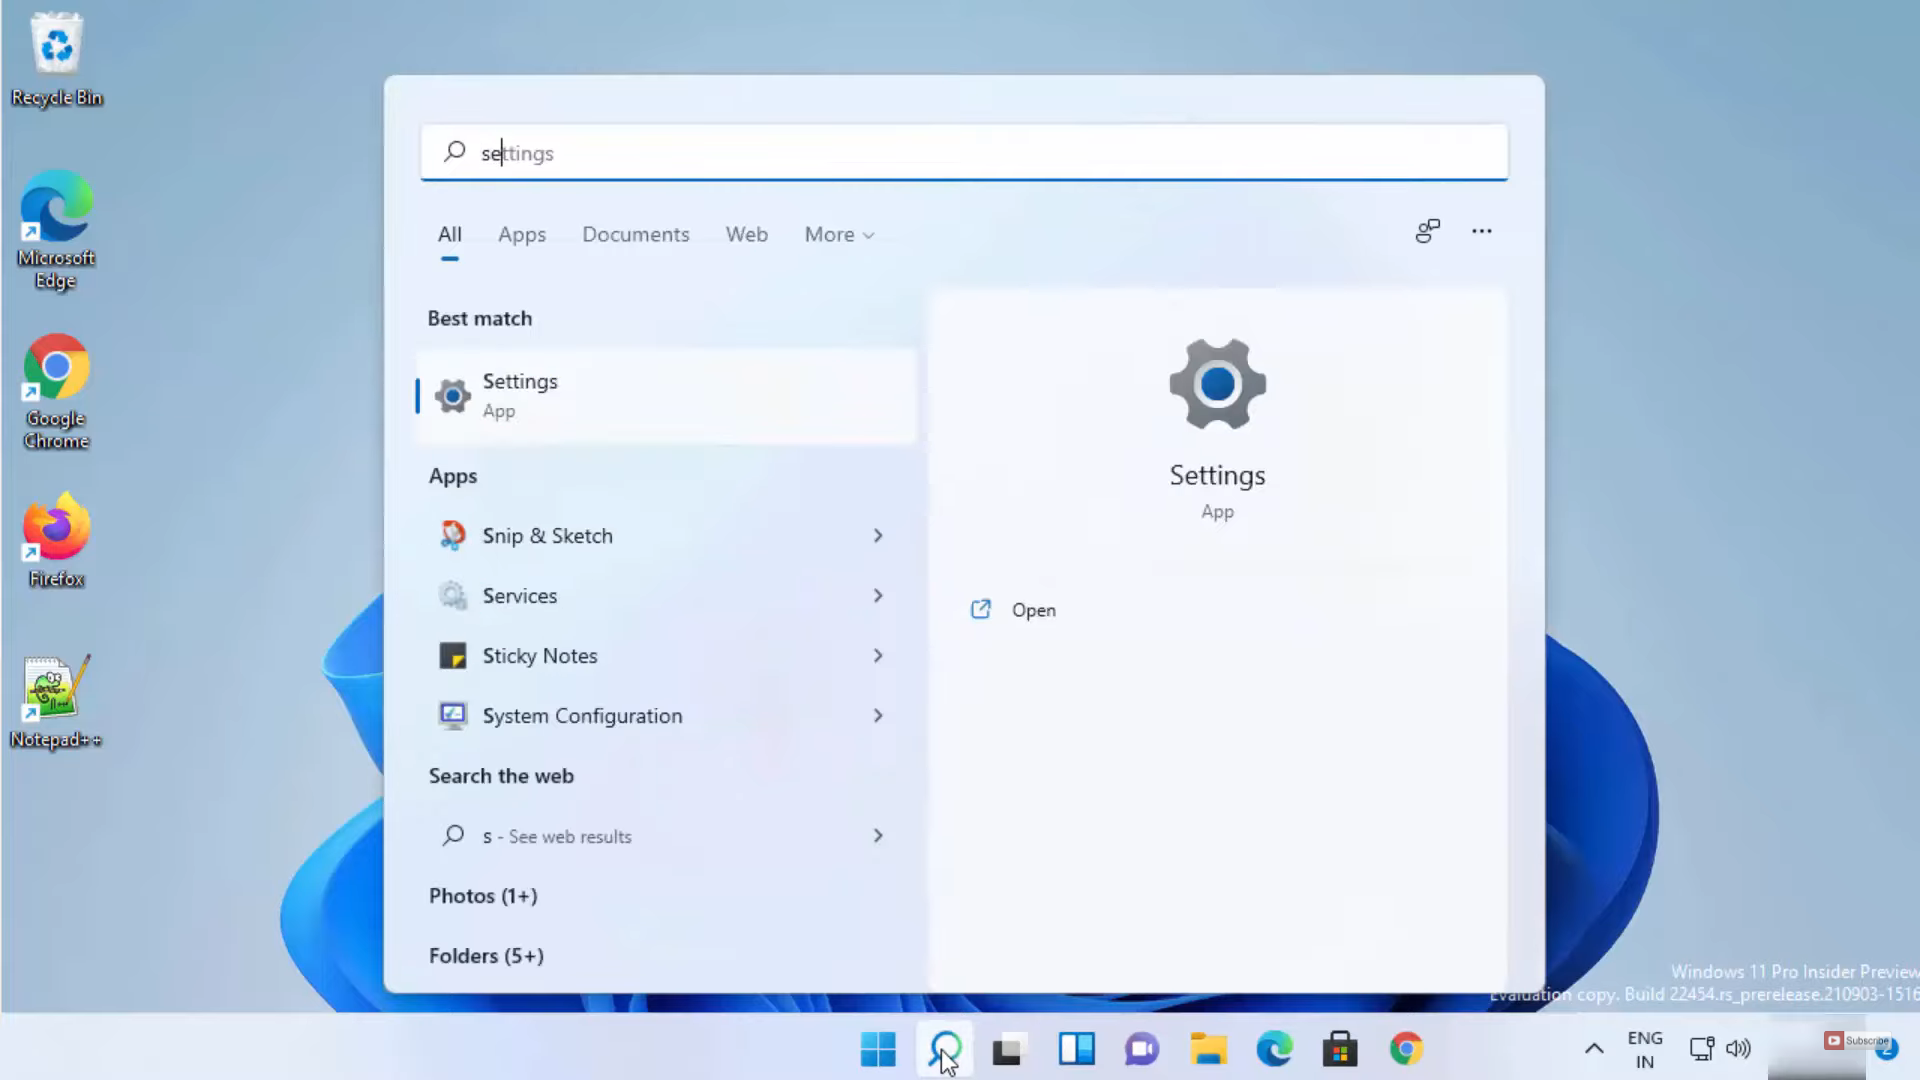
1. Click on the search icon and search for the Settings app.
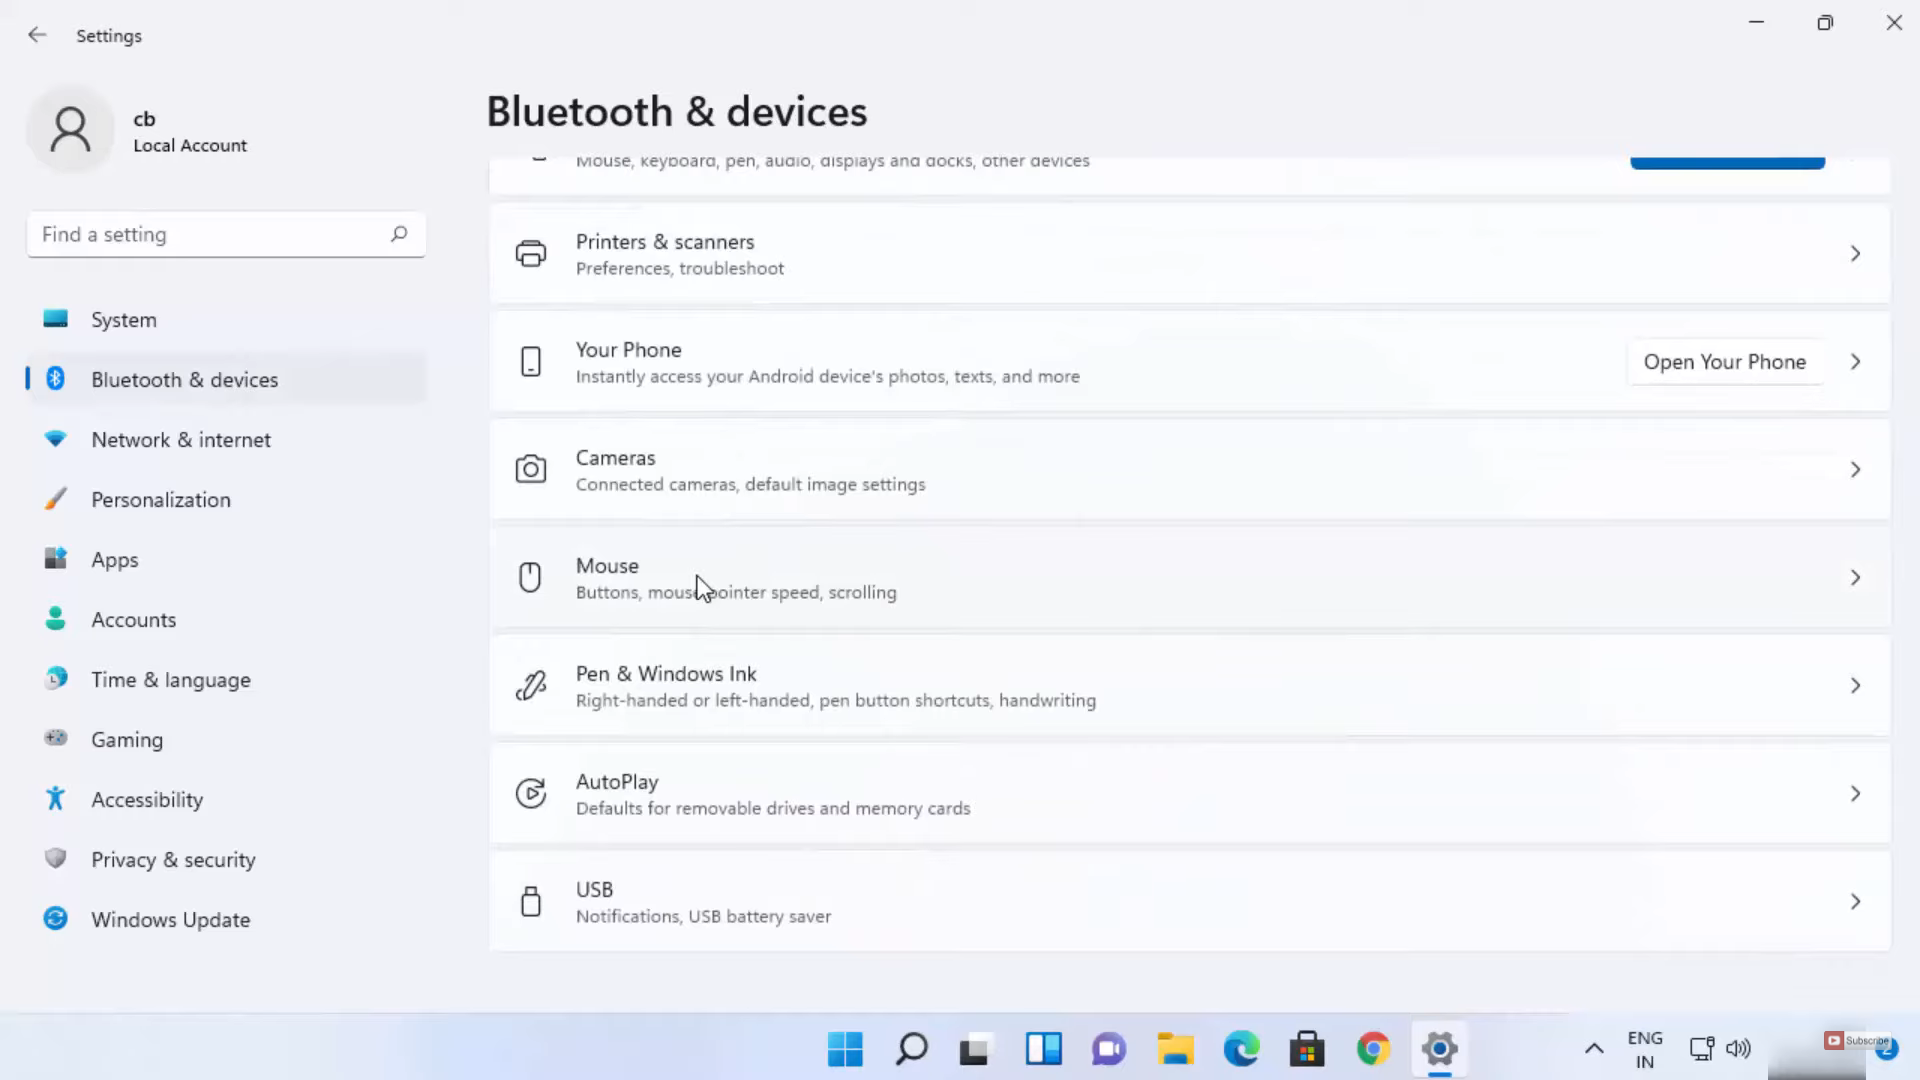
2. In the settings app, click on Bluetooth & devices. Scroll down and click on the Mouse option.
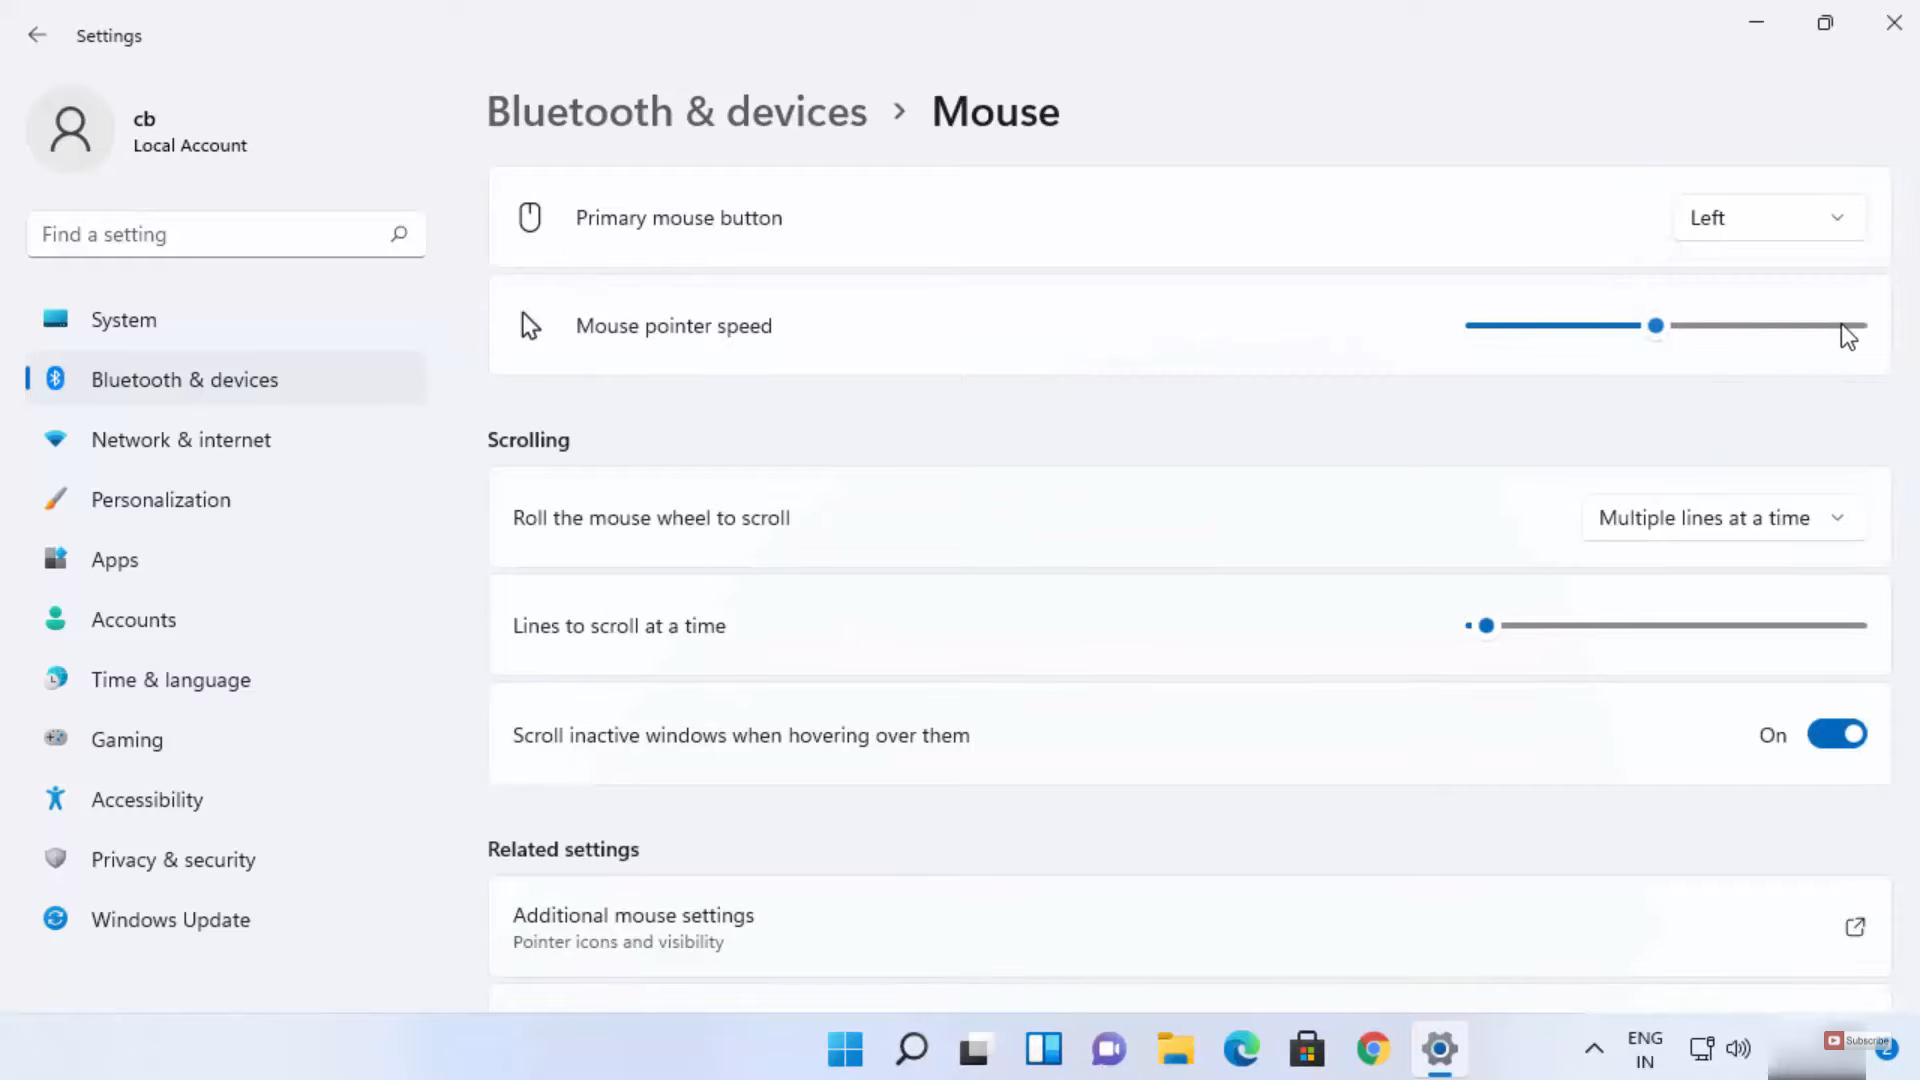
3. Here, you can see Mouse pointer speed. By default, it is on 10. If you want you can either increase or decrease it.
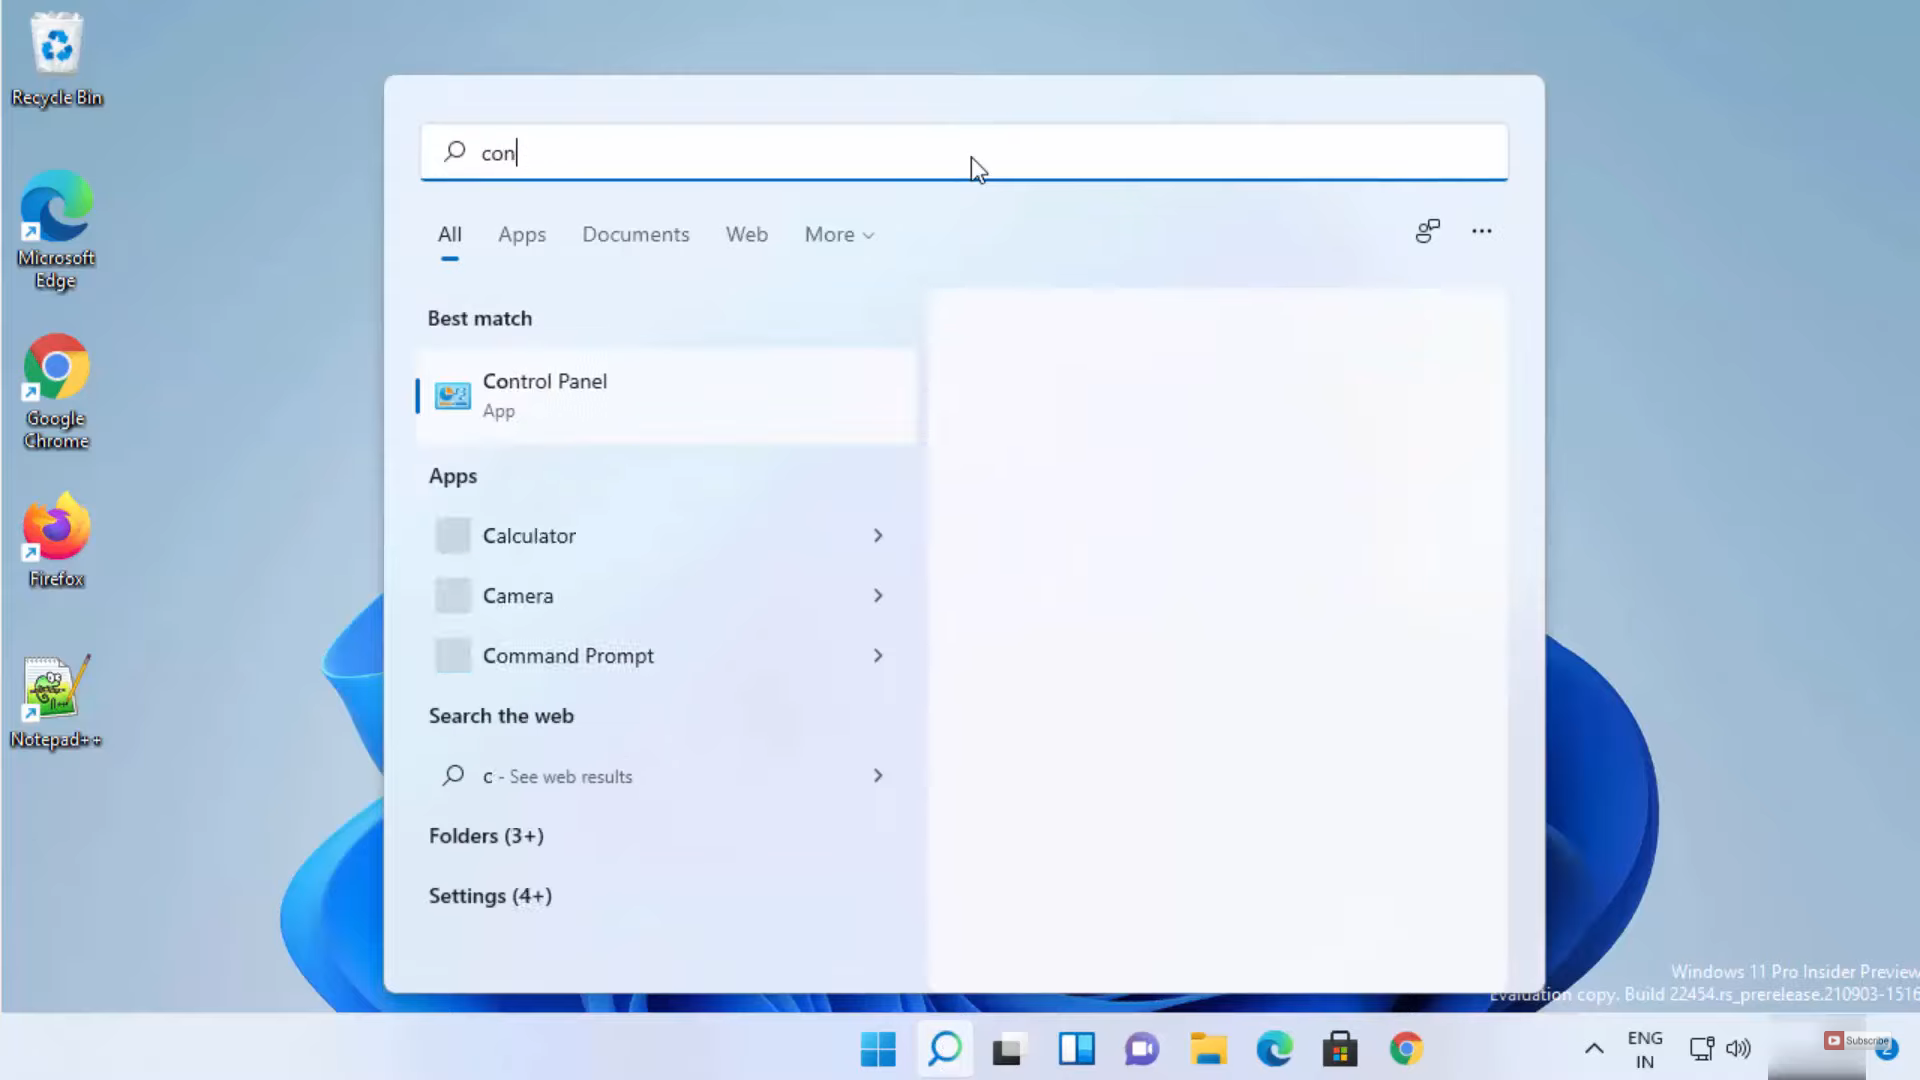
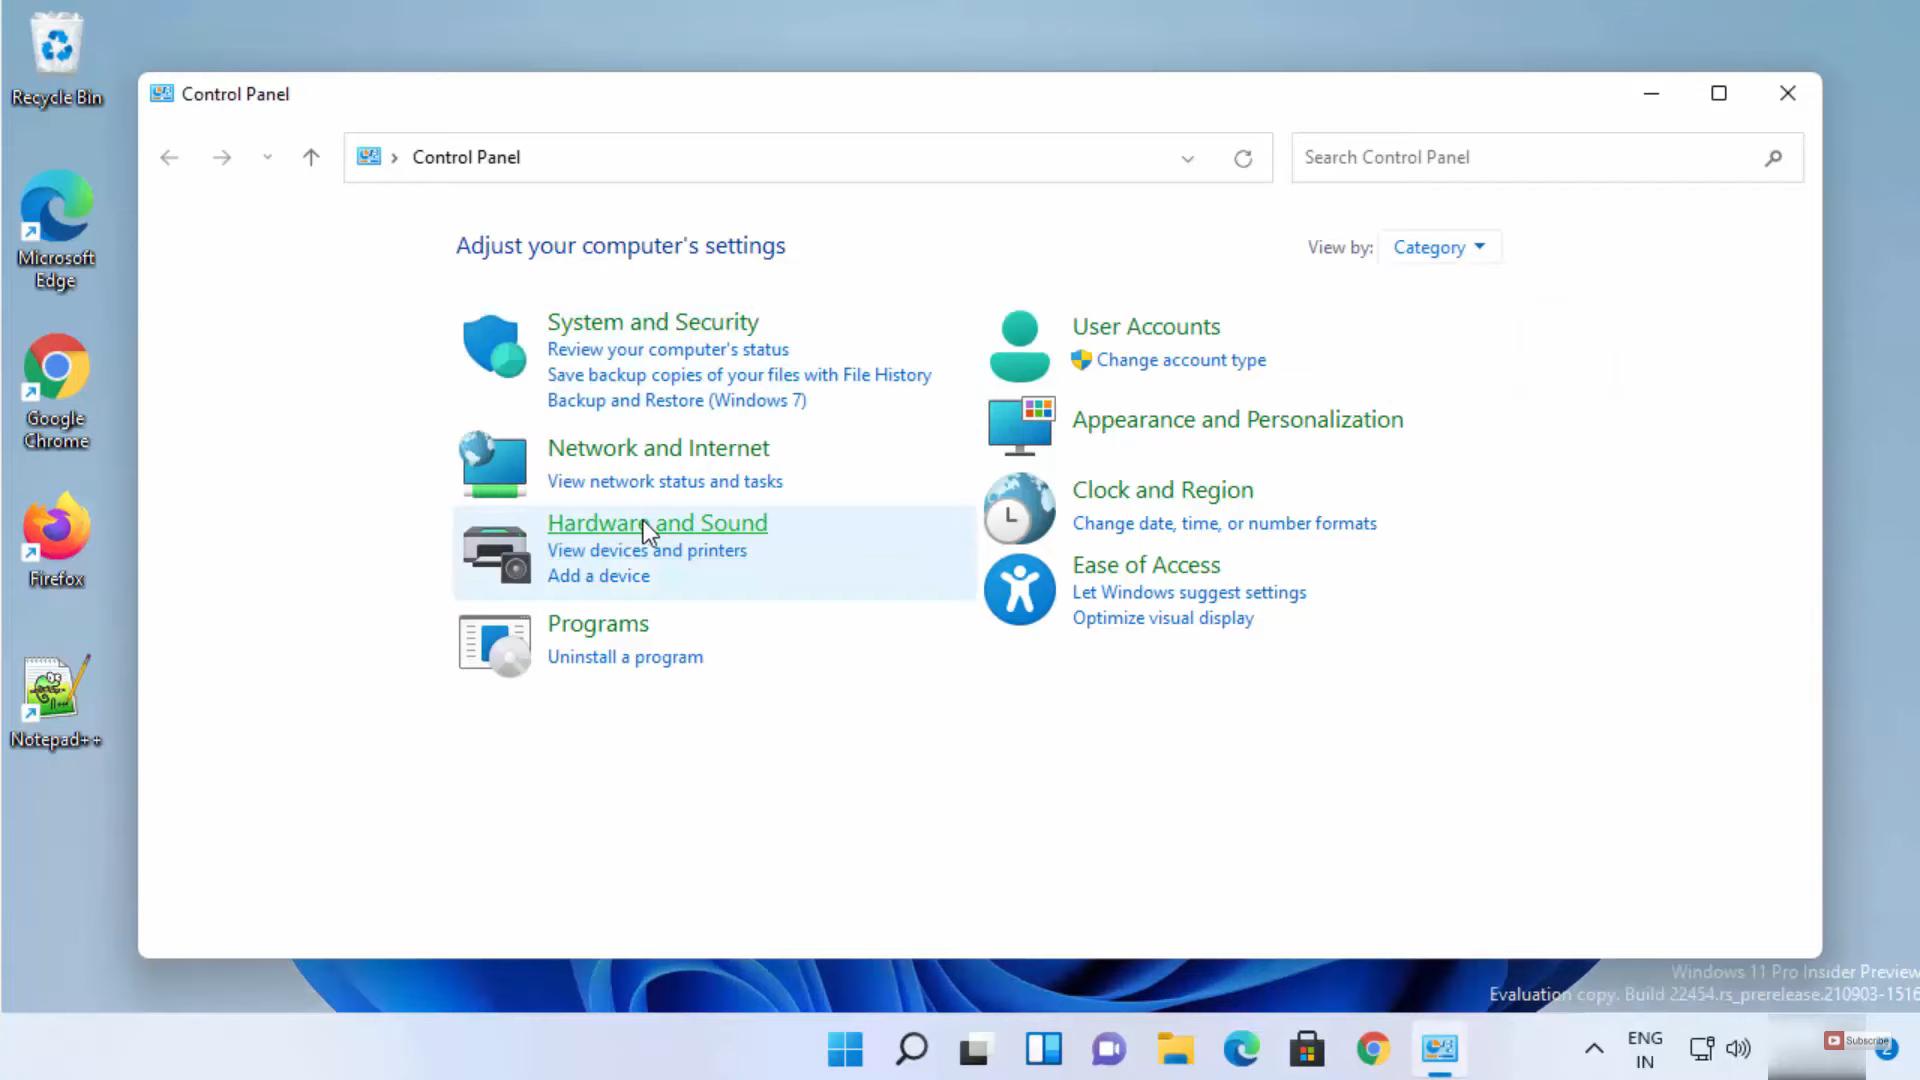
4. For the second method, click on the search icon and search for the Control panel app.
5. In the control panel app, you have to view by Category. Then, click on Hardware and sound option.
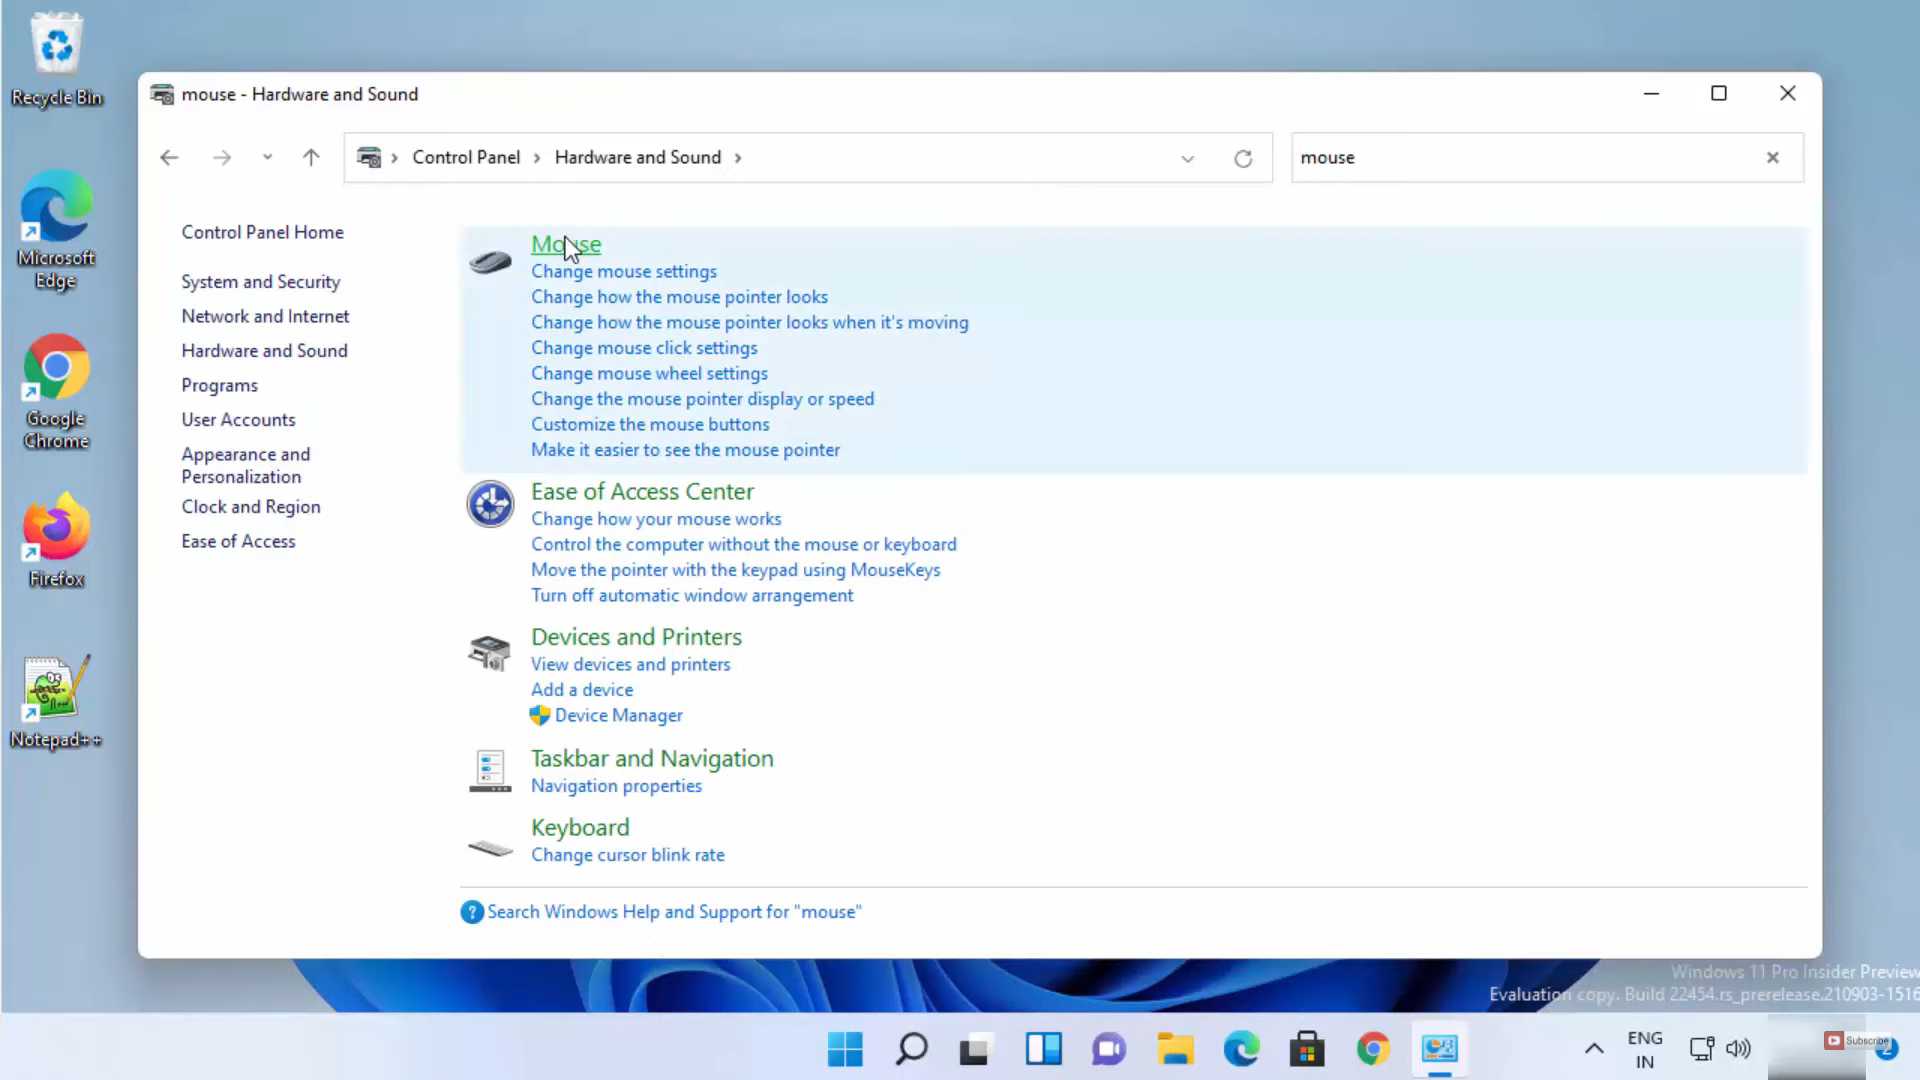
6. In that search icon, search for the Mouse option. Click on the Mouse option.
7. It will open the Mouse properties window. Click on the Mouse pointer option.
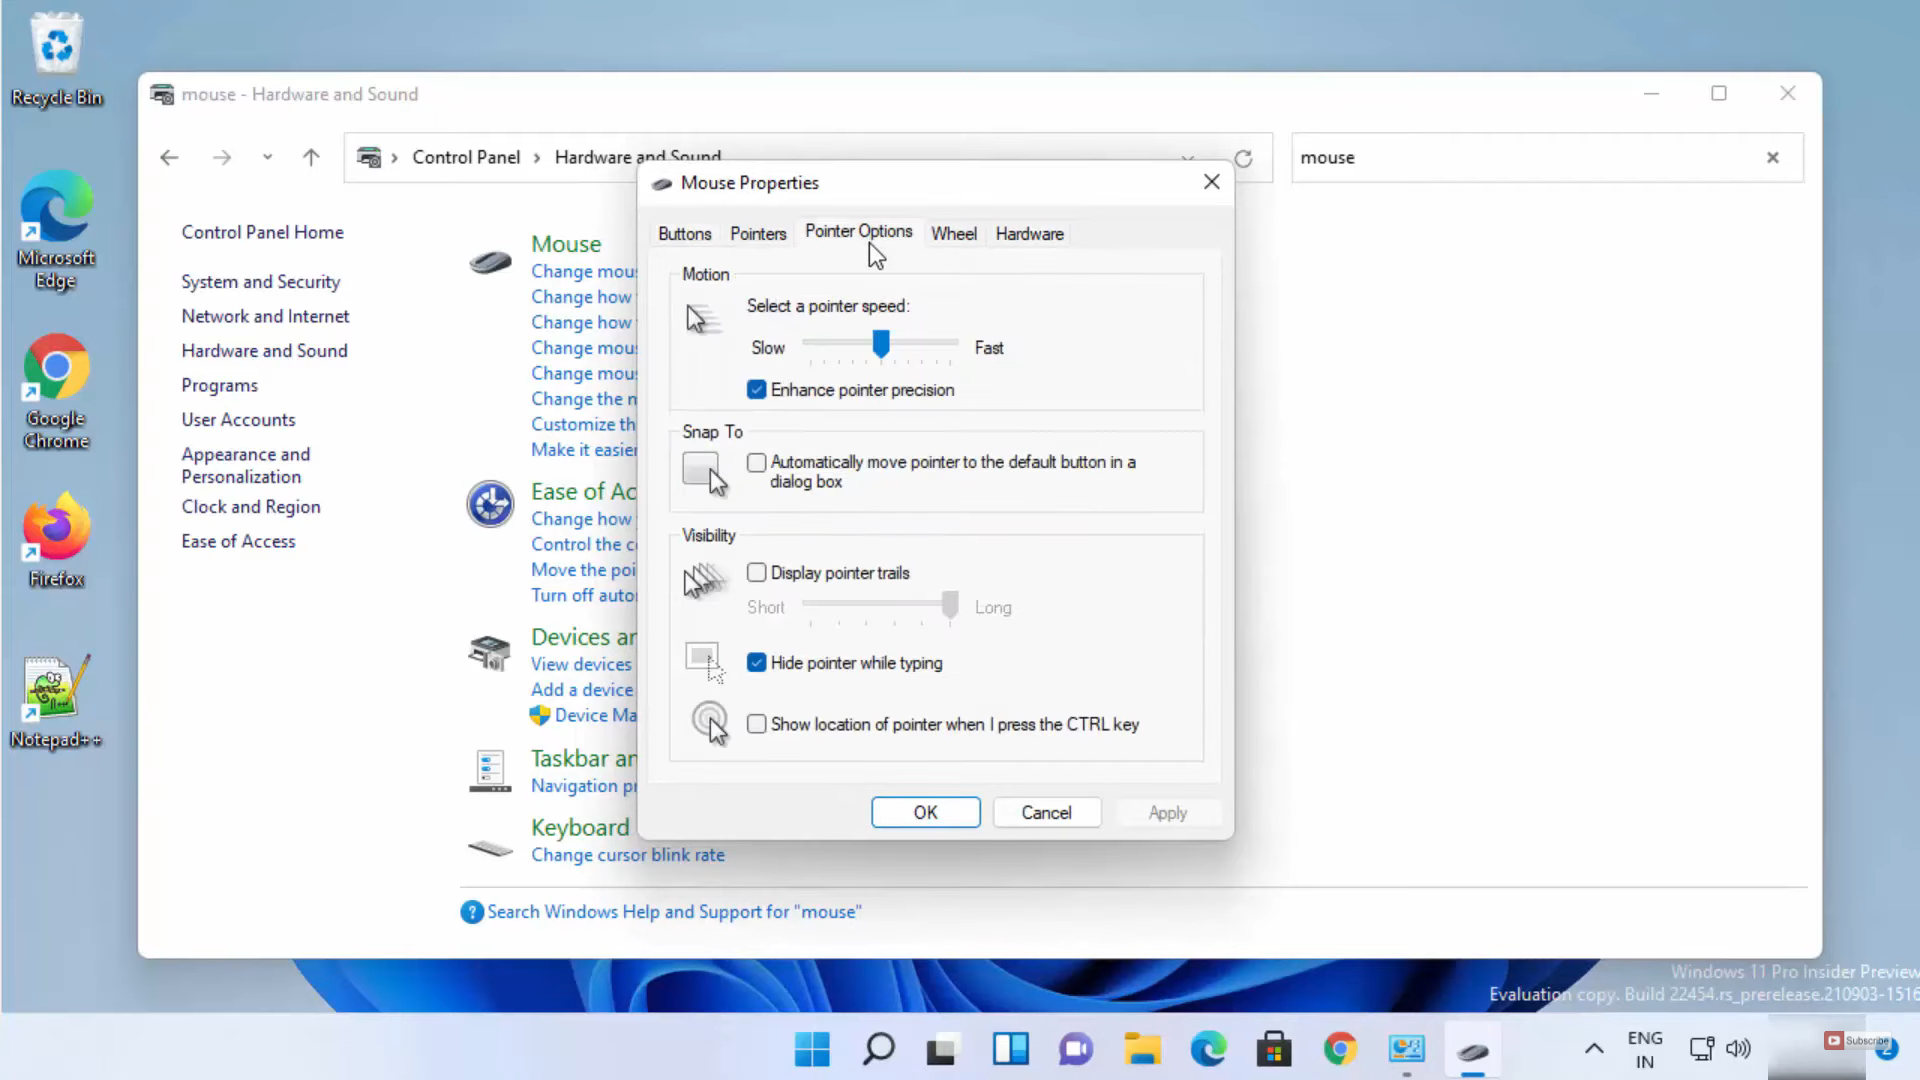
8. From here also, you can change the mouse pointer speed.
These are the steps for changing the mouse DPI in your Windows 11 Operating System.
Leave a Reply