
In this blog post, I will give a detailed view of changing the mouse pointer speed on your Windows 11 Operating System. I will explain a few different ways by which you can change the mouse pointer speed.
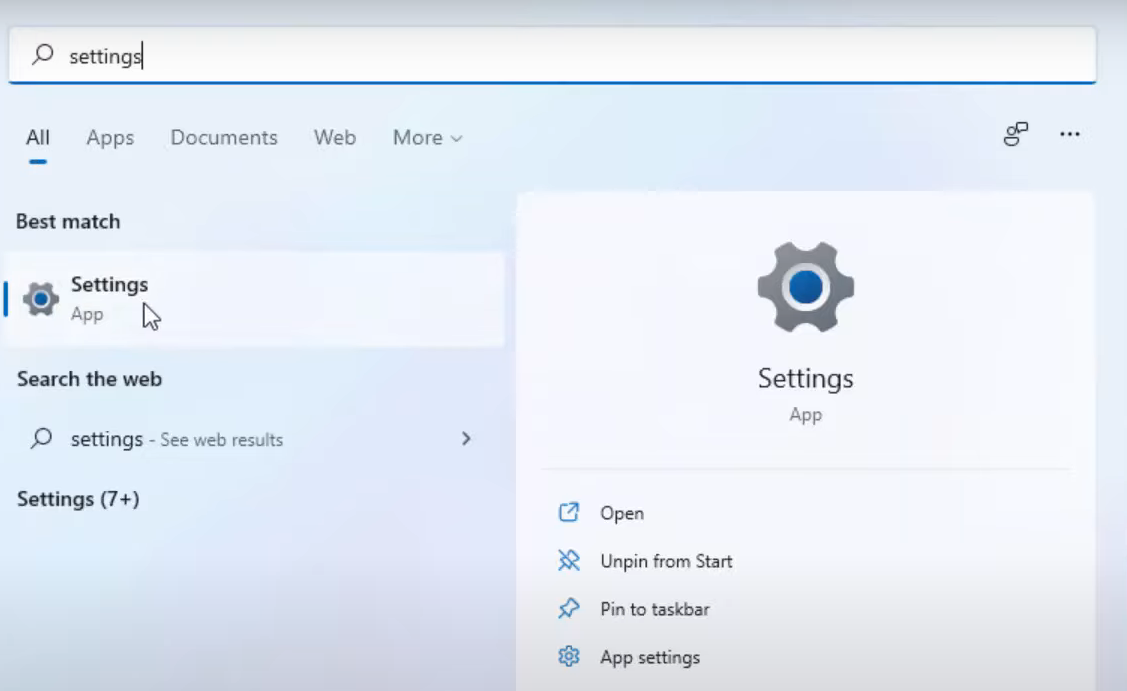
1. For the first method, click on the search icon and search for the Settings app.
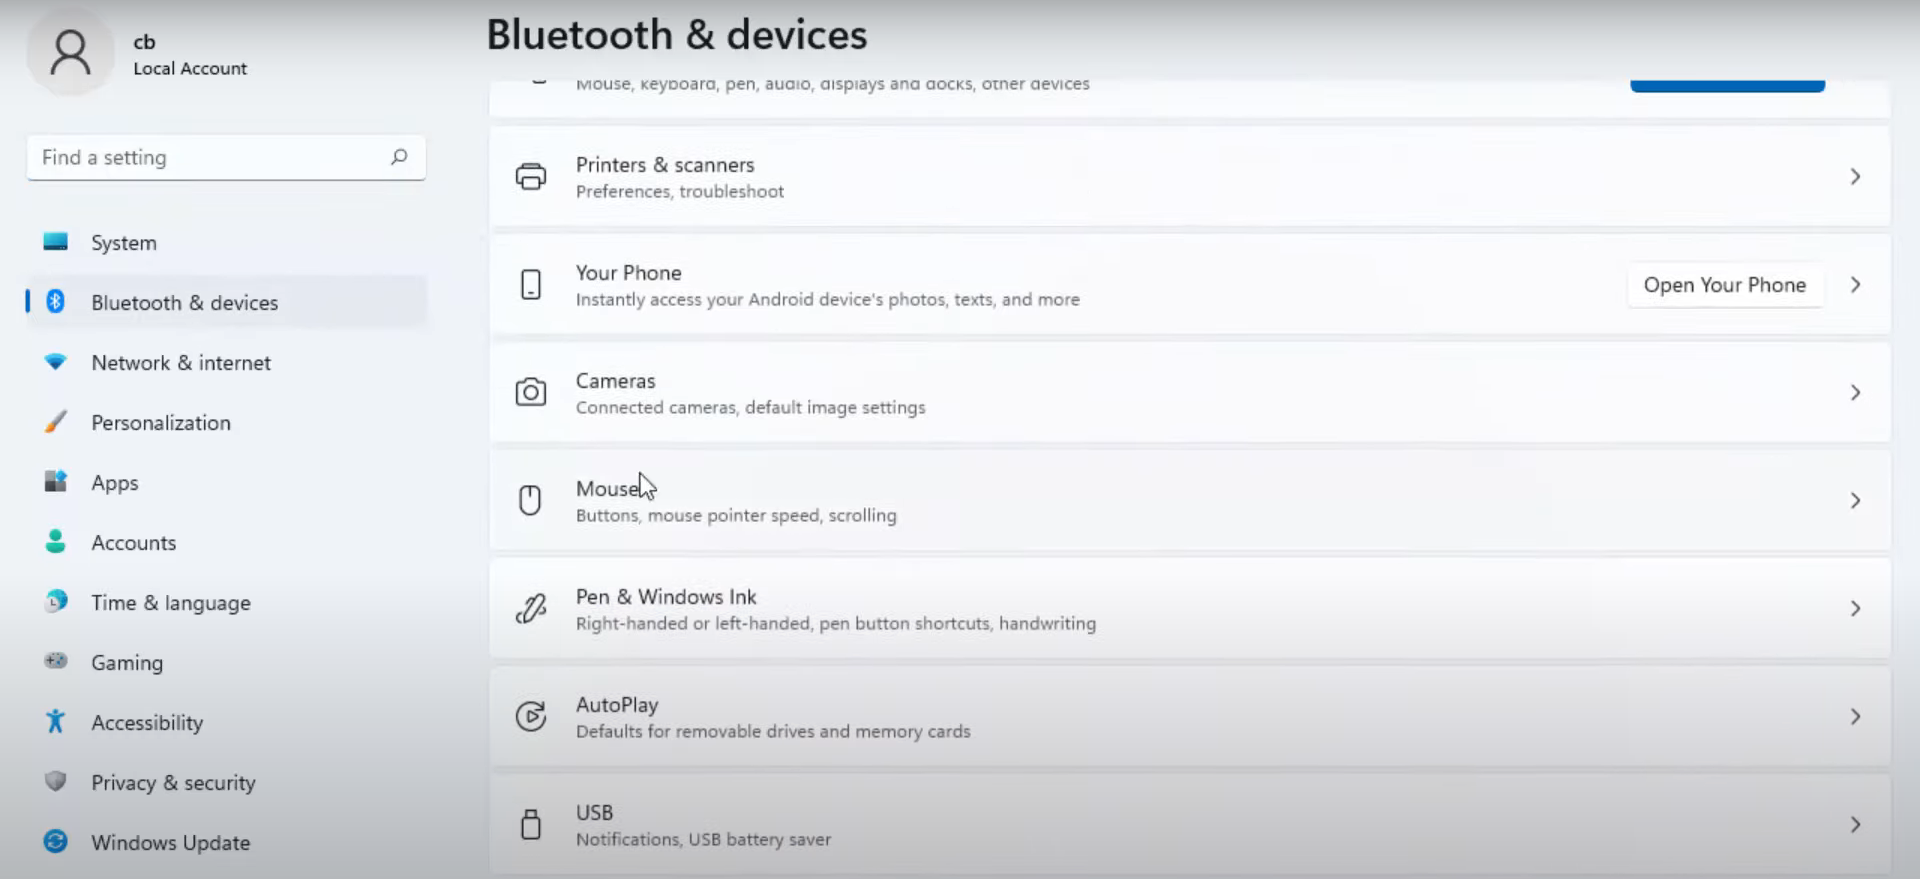
2. In the settings app, select Bluetooth & devices. Scroll down and you can see the Mouse option. Click on it.
3. Here, you can see this option called Mouse pointer speed. You can either increase or decrease the speed. By default, it is in 10.
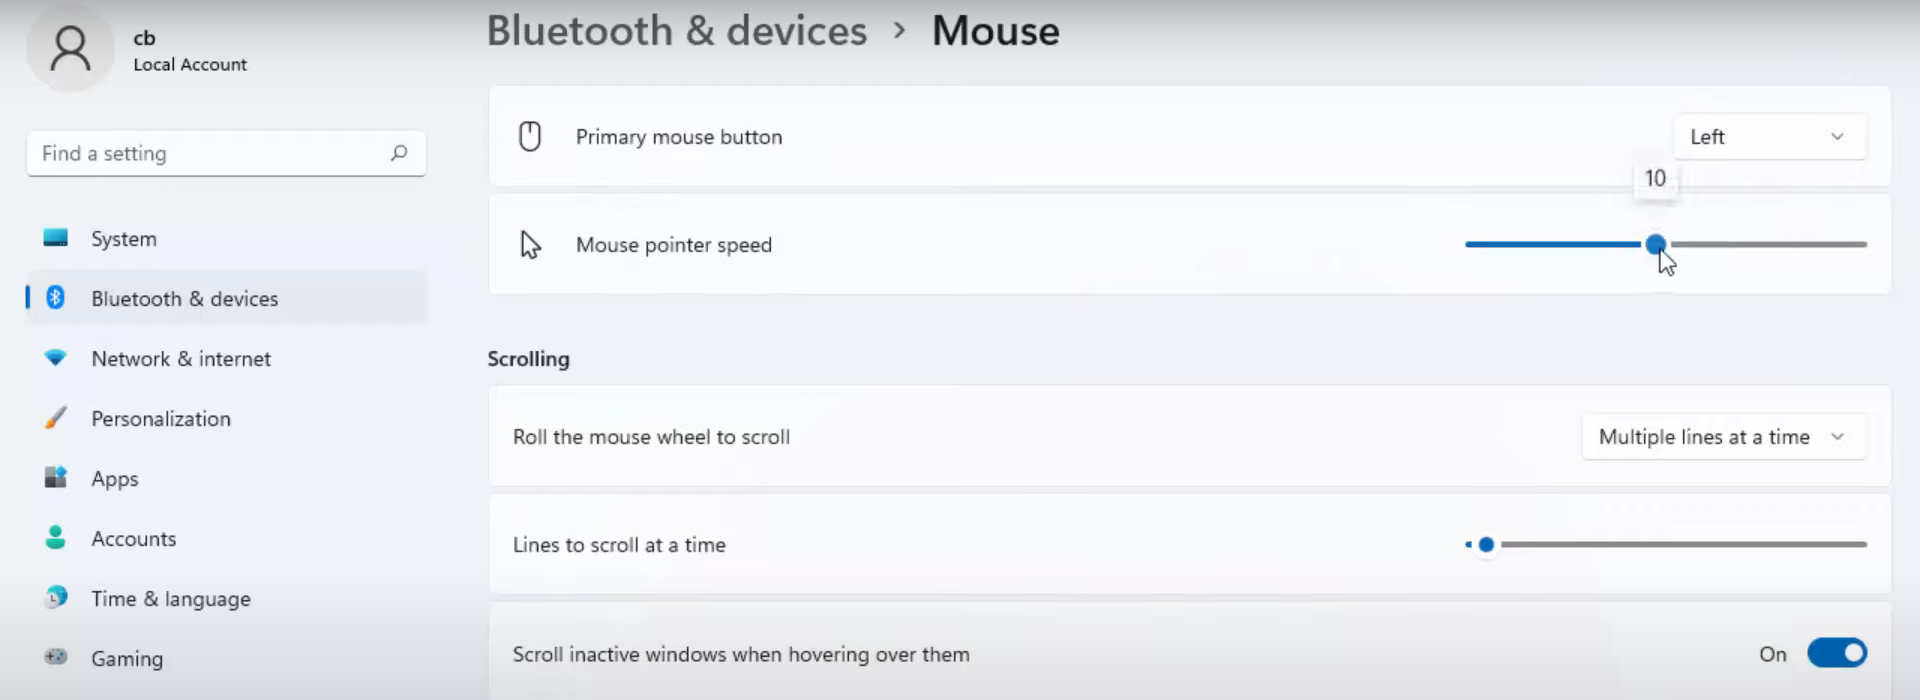
4. Ideally, it should be 10. But if you are experiencing any problem with the speed you can change it.
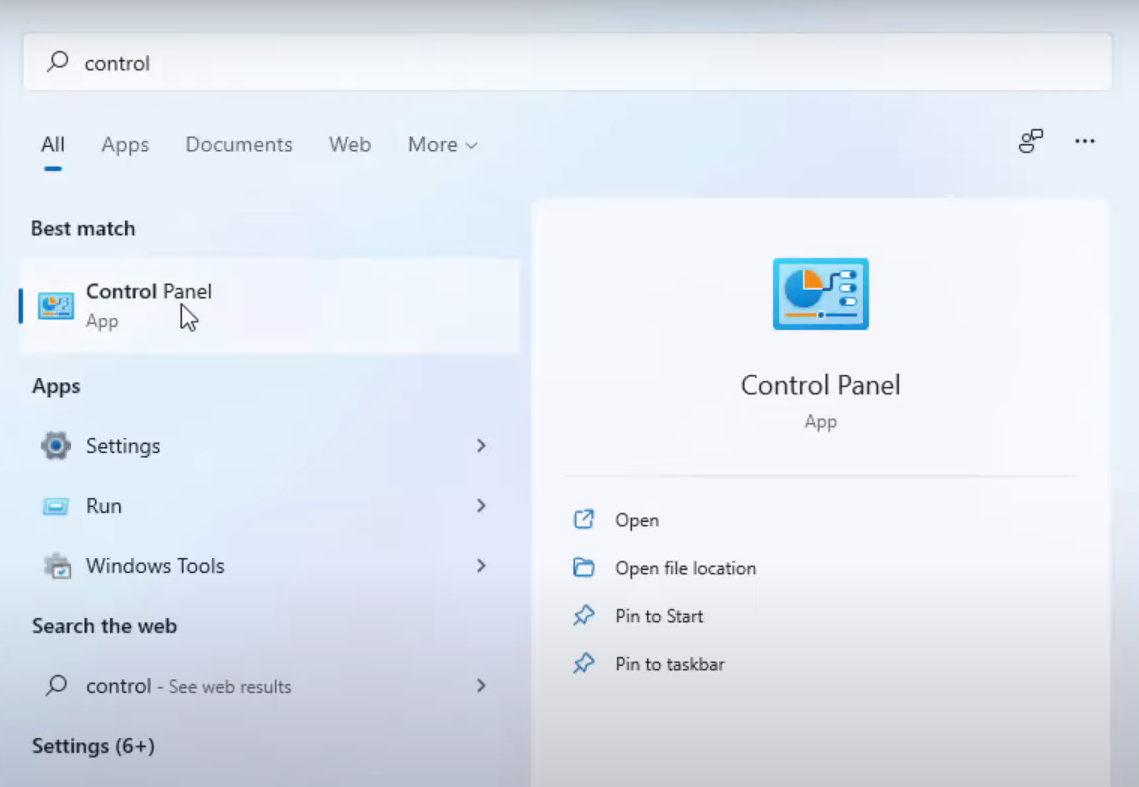
5. For the second method, click on the search icon and search for the Control panel app.
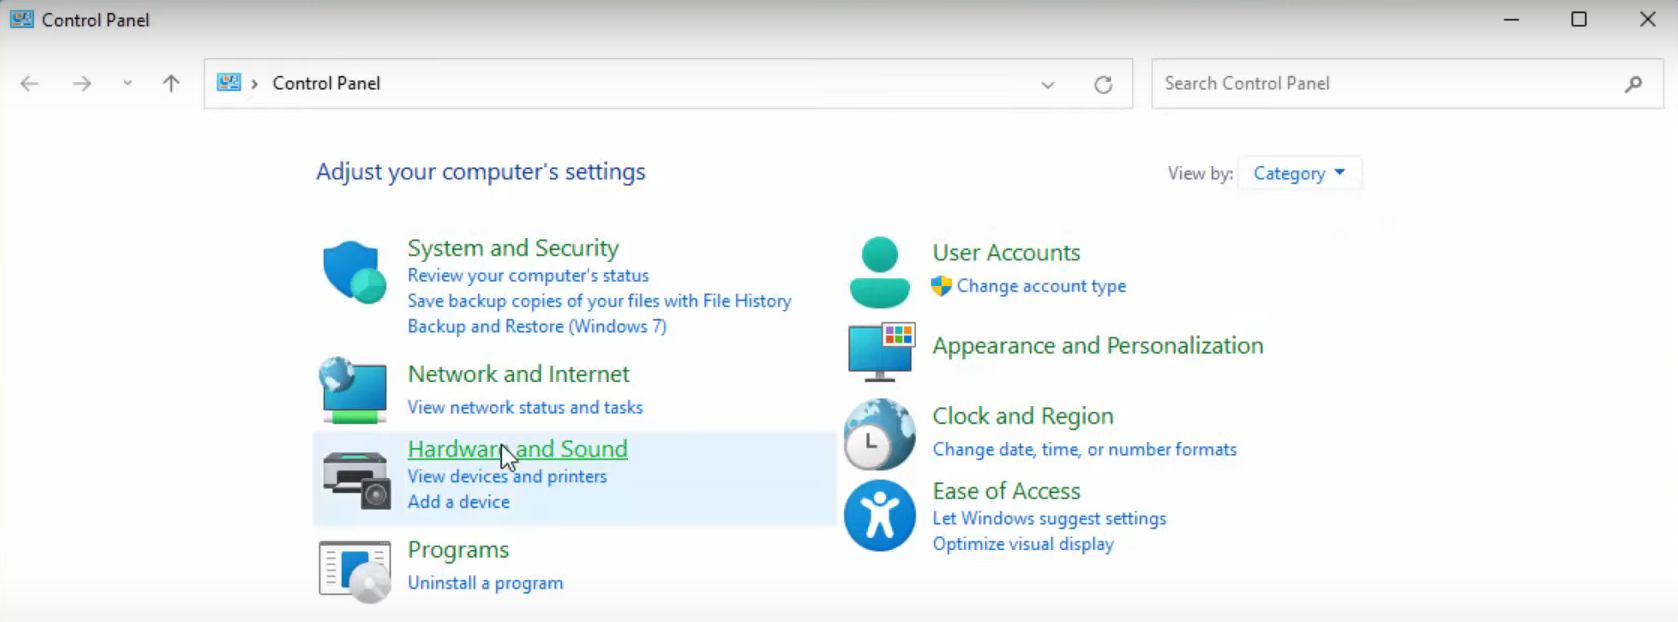
6. Here, you have to view it by Category. Click on Hardware and Sound.
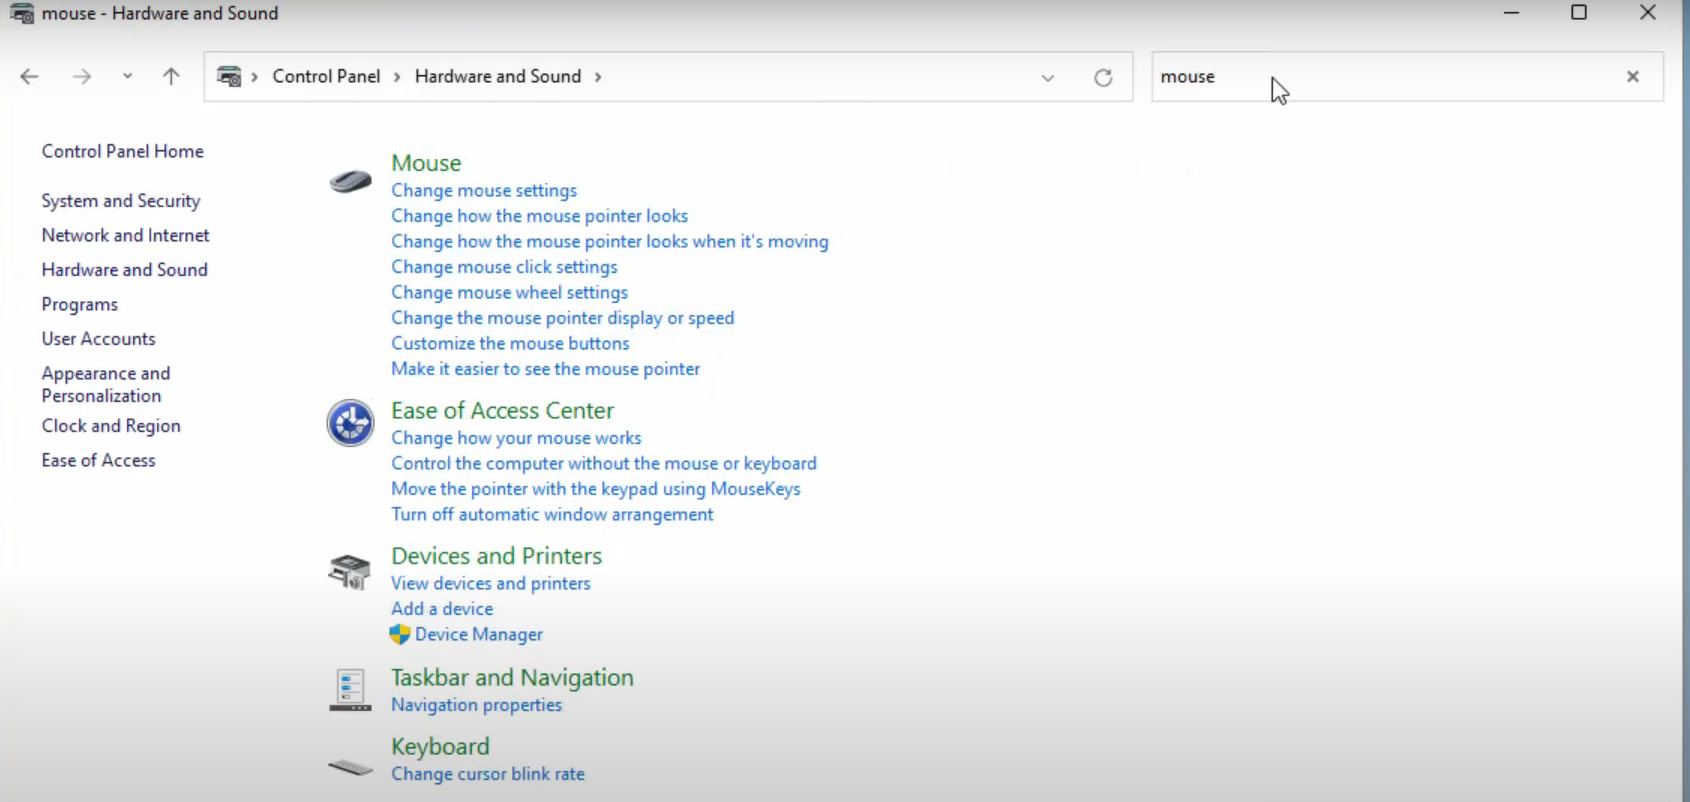
7. Here, you have to search for Mouse. And then click on the Mouse option.
8. Click on the Pointer Options. Here, you can either increase or decrease the speed. Once you have selected the speed, you need to click on Ok.

These are the two ways by which you can change the mouse pointer speed on your Windows 11 Operating System.
Leave a Reply