
In this post we will see how to install Nginx on Ubuntu 20.04.Here we will be looking at step by step process to install Nginx :
1.First open your terminal and update the repository using command : $ sudo apt update

After entering your password your update will be done .
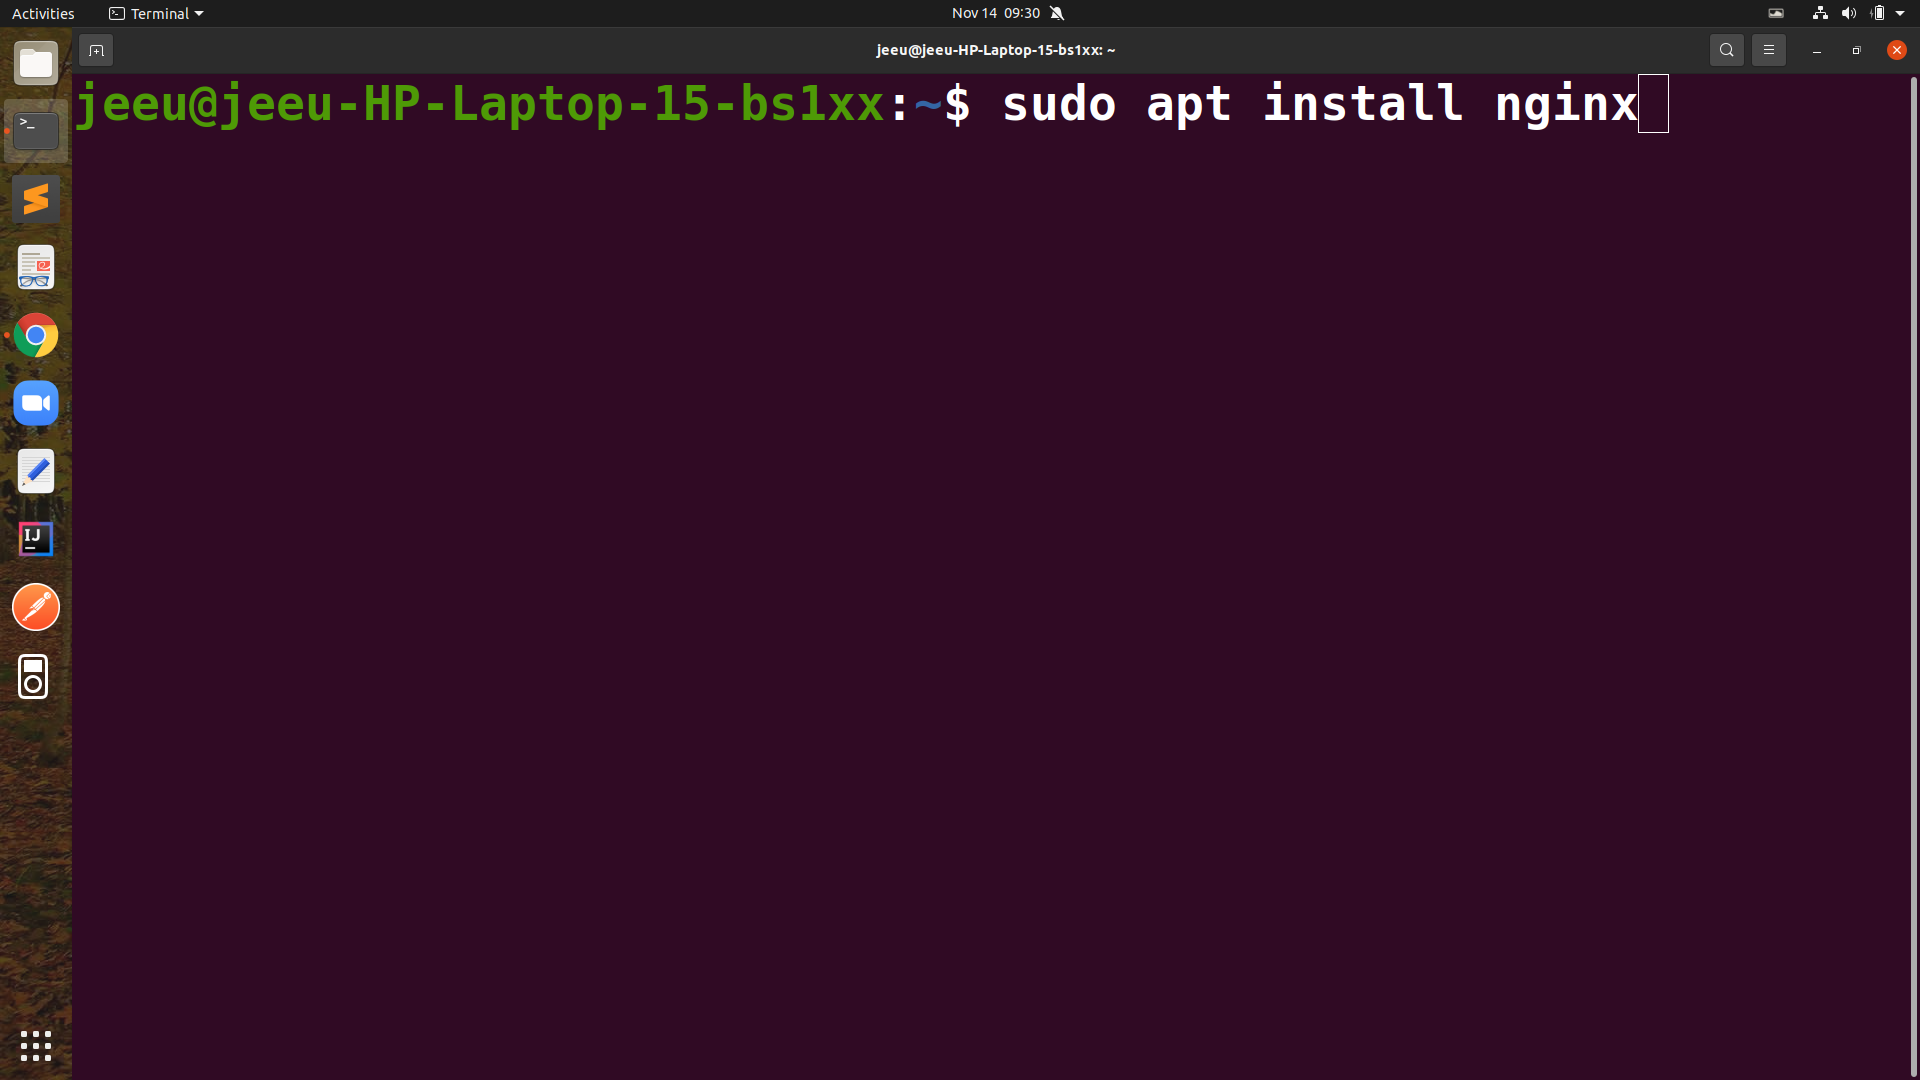
2.After you are done with update ,now you can run the command : $ sudo apt install nginx
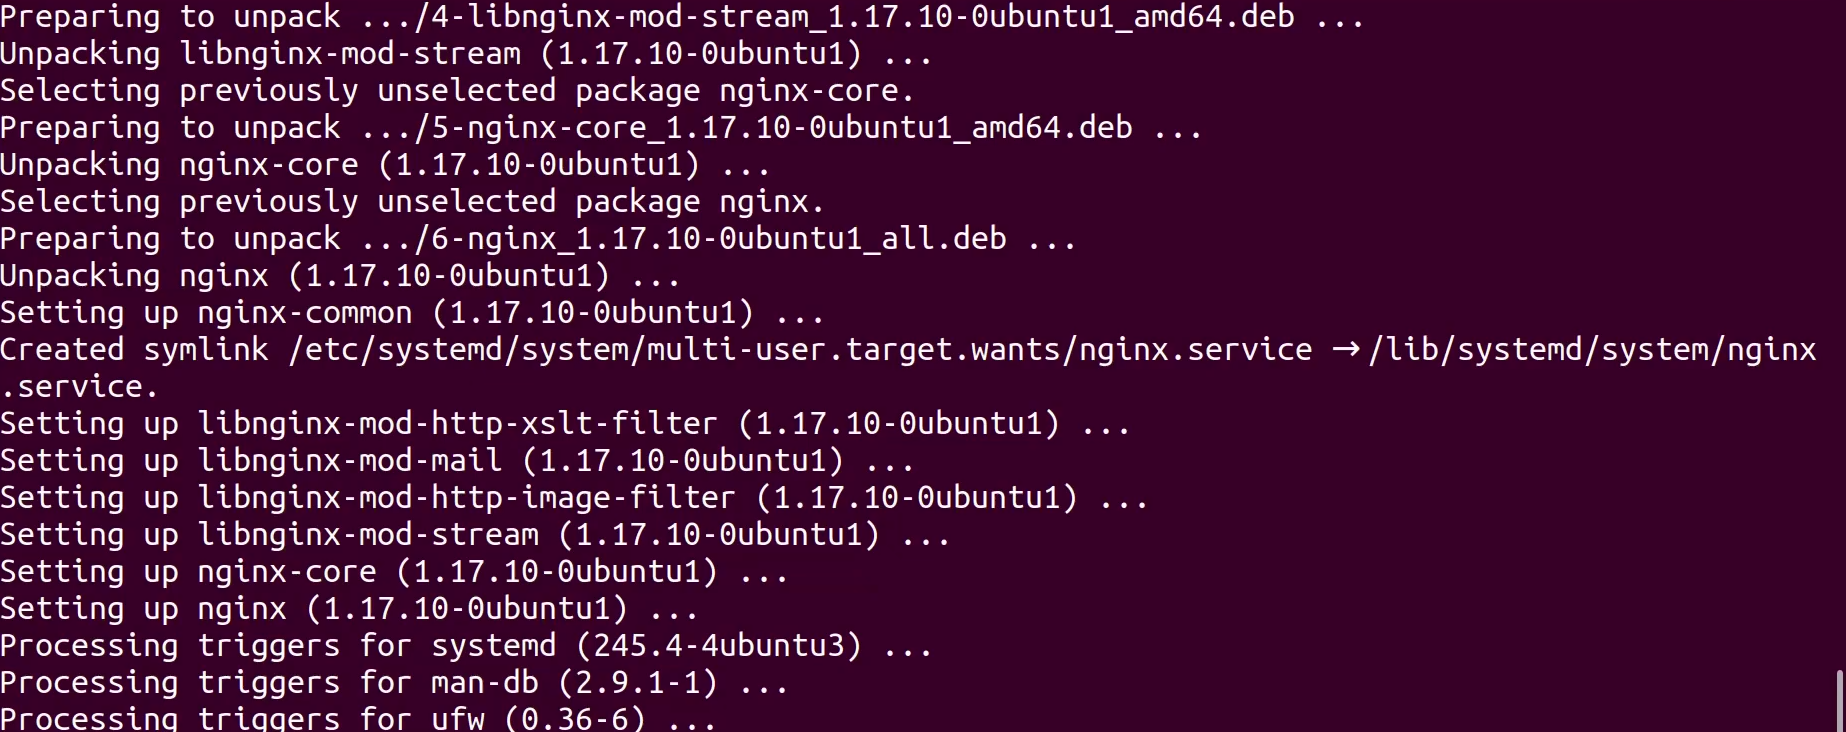
3.After complete of your installation you will see something like this :
4.So now we can check the status of nginx service using command : $ sudo systemctl status nginx .

5.Now you will be able to see something like this :
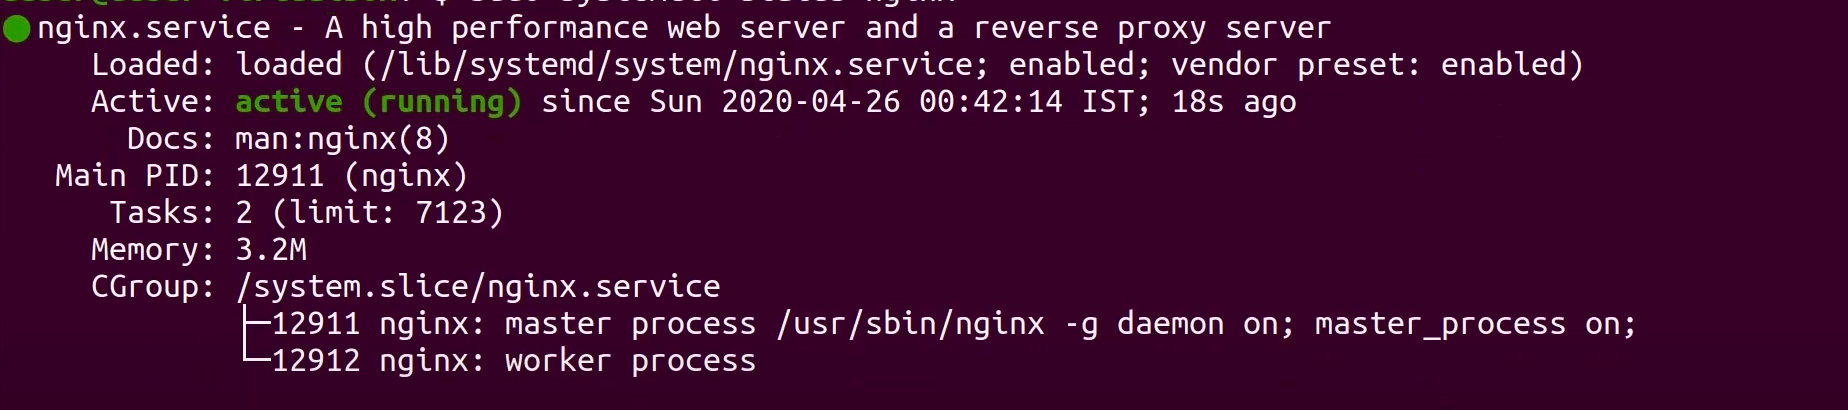
6.In the above command we can replace status with start and stop to start and stop the nginx service.
start Nginx : $ sudo systemctl start nginx
stop Nginx : $ sudo systemctl stop nginx
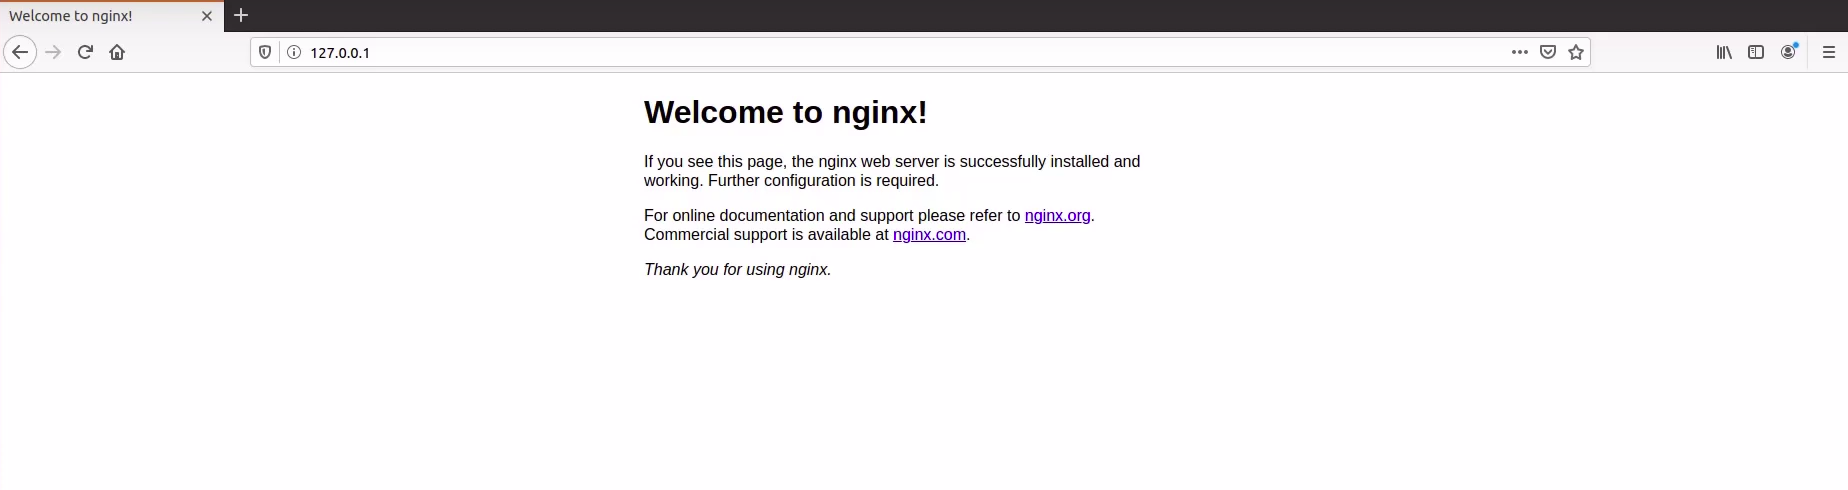
7.After you start your nginx , when the Active status is running as shown in the above pic ; you can go to localhost (127.0.0.1) in your favourite browser.Here you will be able to see :
In this way we can install and start nginx .
8.if you want to check the nginx configuration files , type command : $ cd /etc/nginx . After you go into /etc/nginx ; now you can see all files by typing command : $ ls
In this way , following these steps you will be able to install nginx and use it .
Leave a Reply