
In this post we will see how to install MySql on Ubuntu 20.04.Here we will be looking at step by step process to install MySql.
1.First open your terminal and update the repository using command
$ sudo apt update

After entering your password your update will be done .
2.Once your update is done now you can upgrade , here we will be replacing upgrade with update in previous command.
Command :
sudo apt upgrade 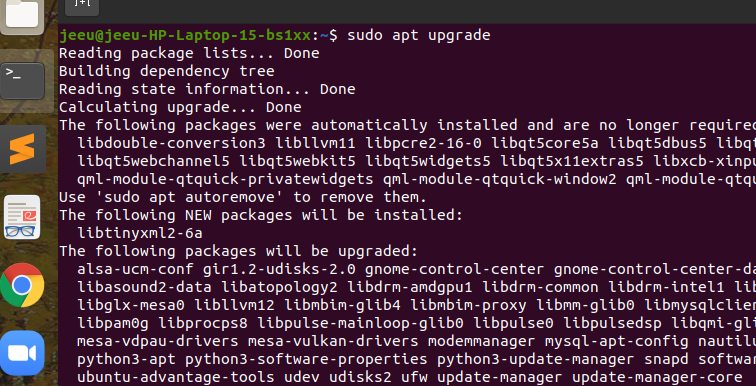
Your upgrade will be completed like this .During the process it will ask for one permission where you can type “y” ,as it can be seen in the above image.
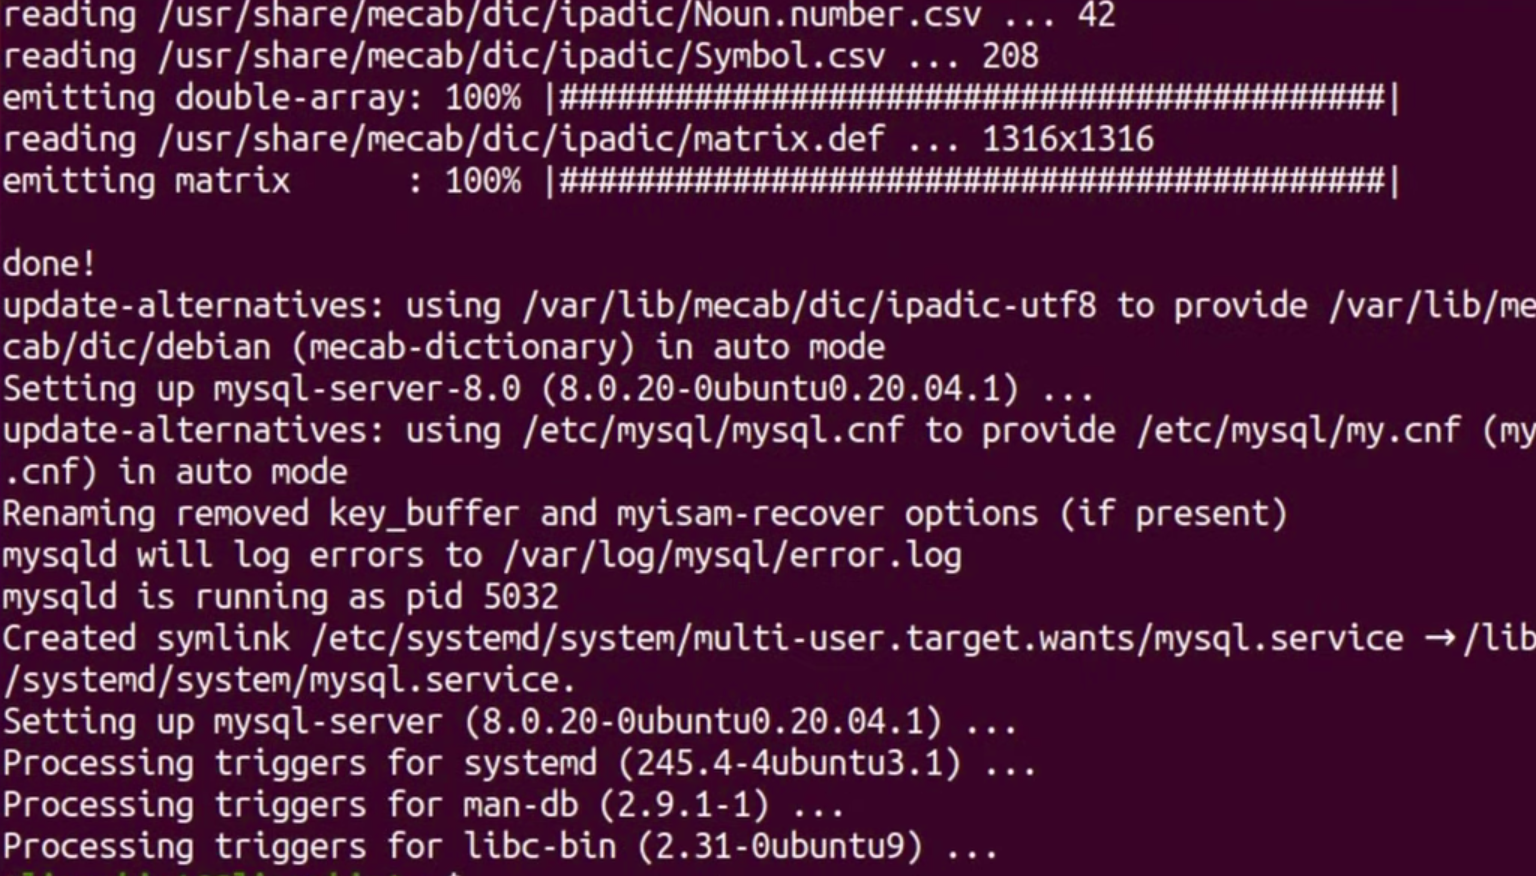
3.Now we are going to install MySQL.In order to install Mysql you have to type the command :
sudo apt install mysql-server
After entering the command it will ask for permission , where you have to type “y”.After some time you will be able to see that mysql got installed.
4.After mysql got installed ; you can check its version and if it is installed or not using the command :
mysql --version
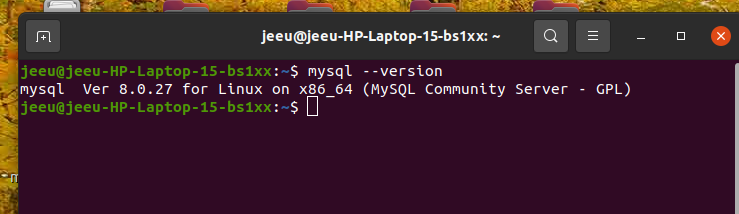
Here the version can be seen.
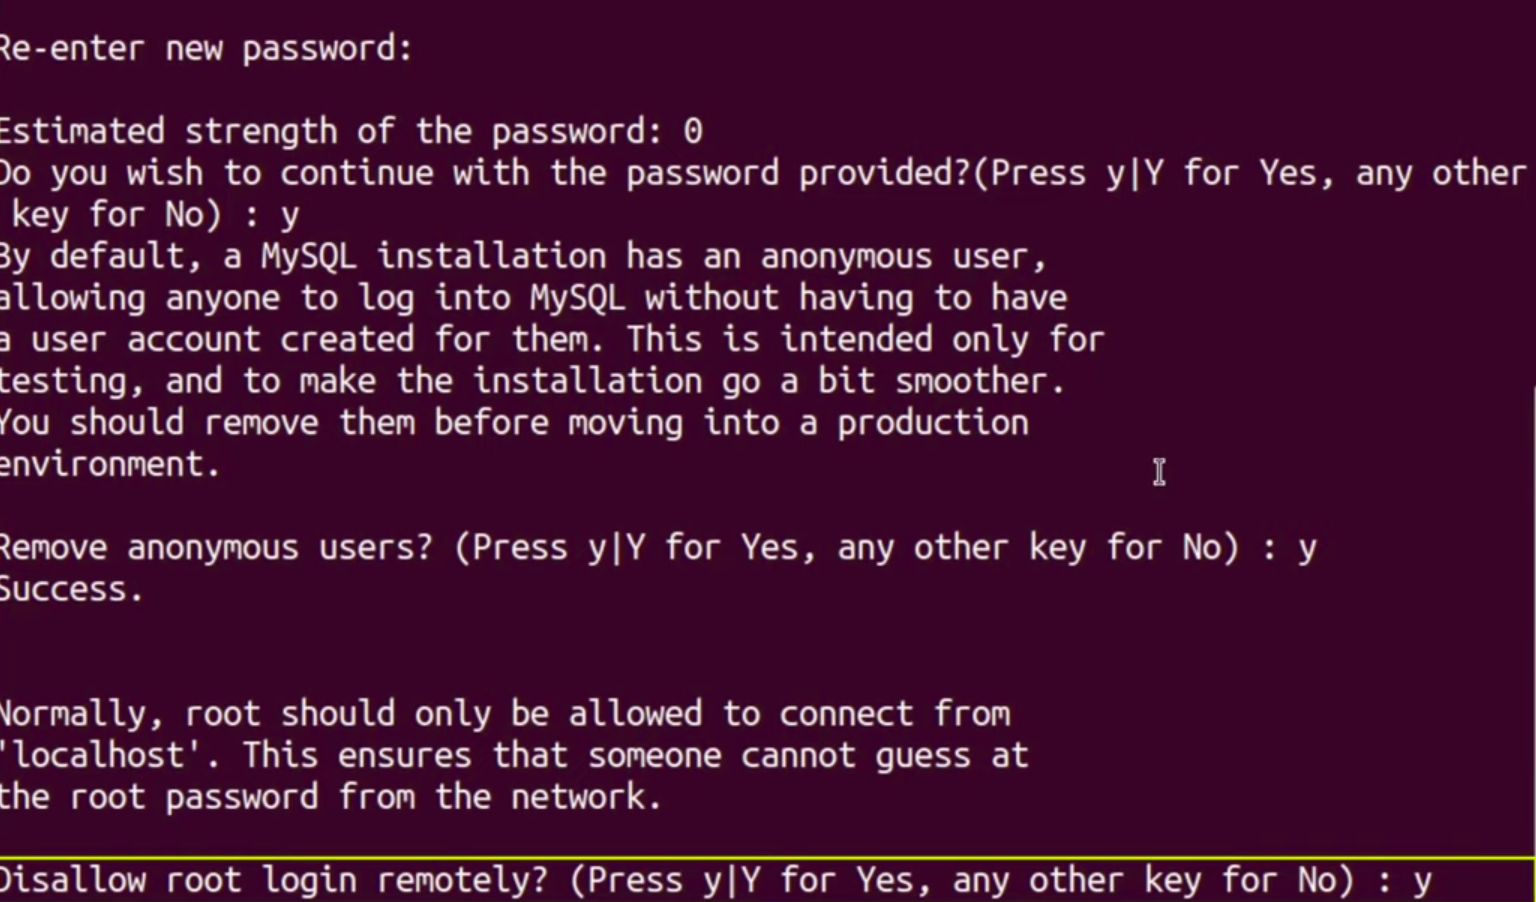
5.Now we gonna set the password.Type the following command to do this .
$ sudo mysql_secure_installation ; hit enter .
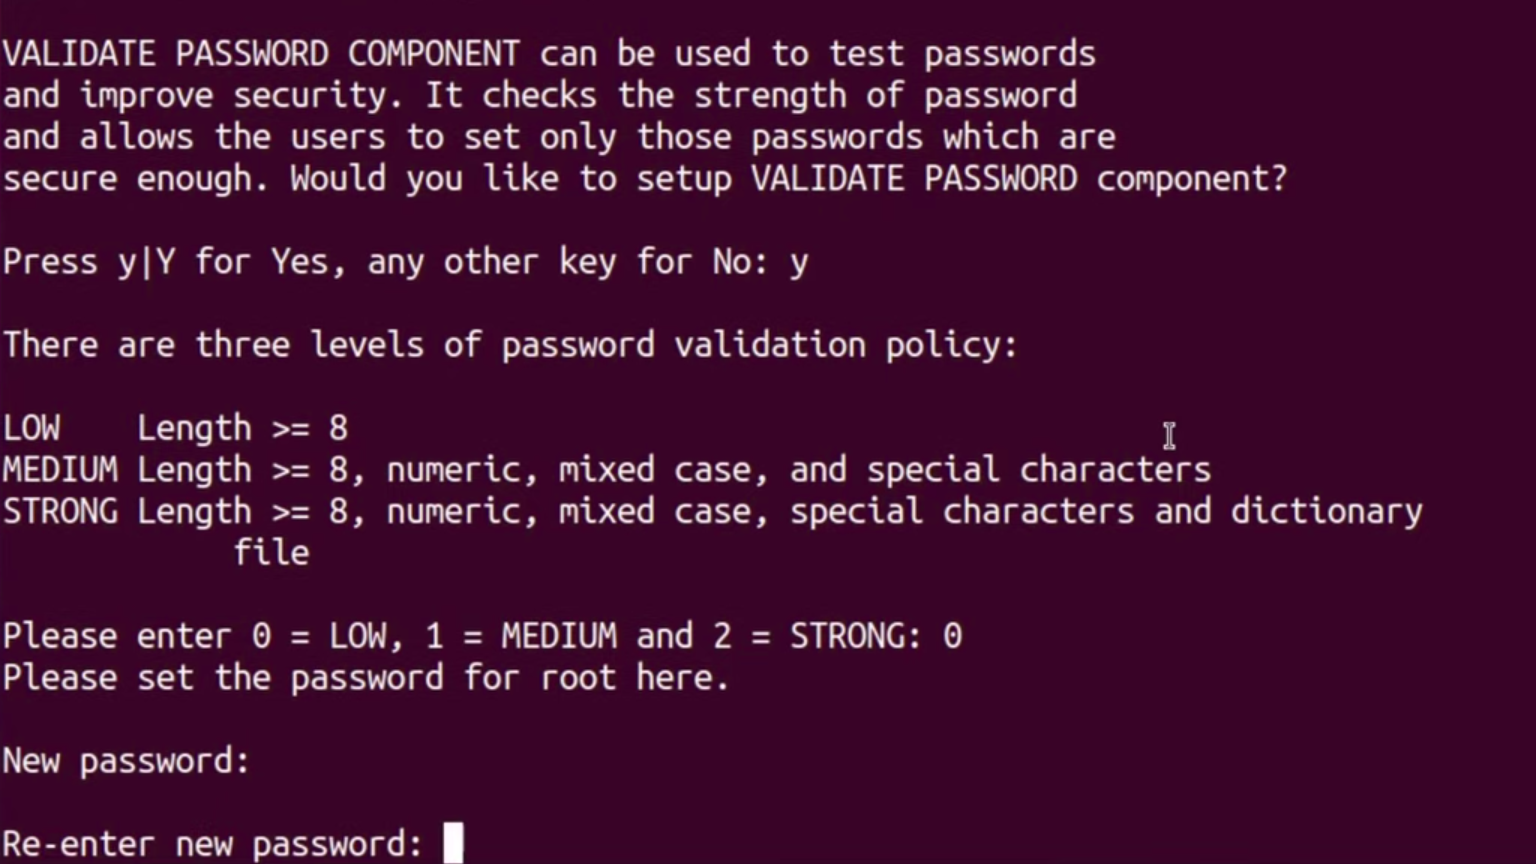
Here you can set your password by entering it and reentering it.Now you can press “y” for all options shown as per the following images :
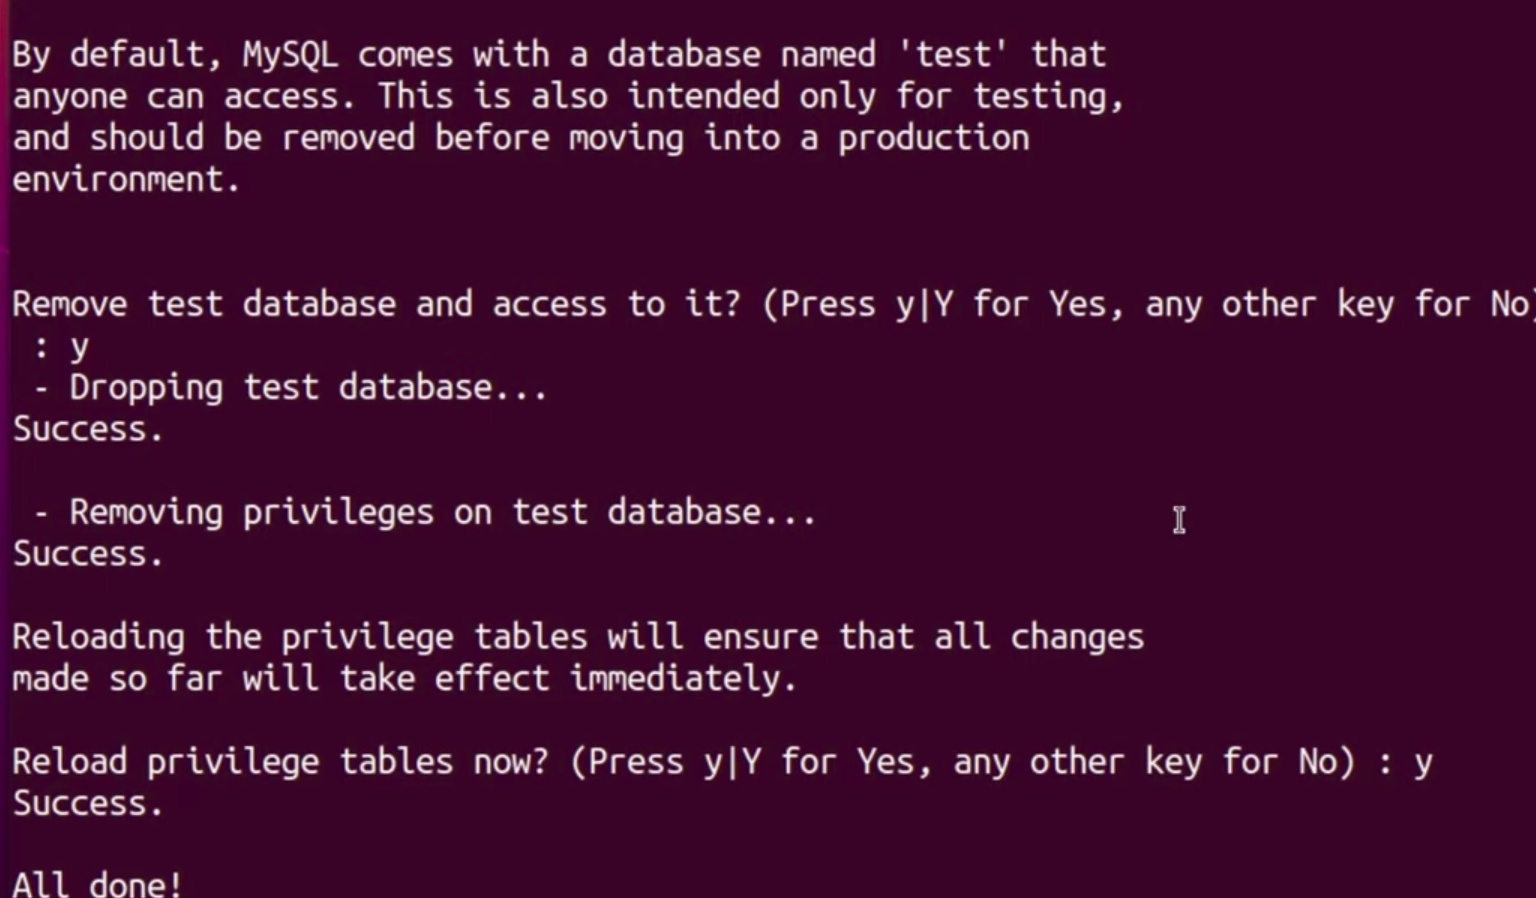
So your password is set now .
6.Now we can go to our mysql . Type command :
sudo mysql -u root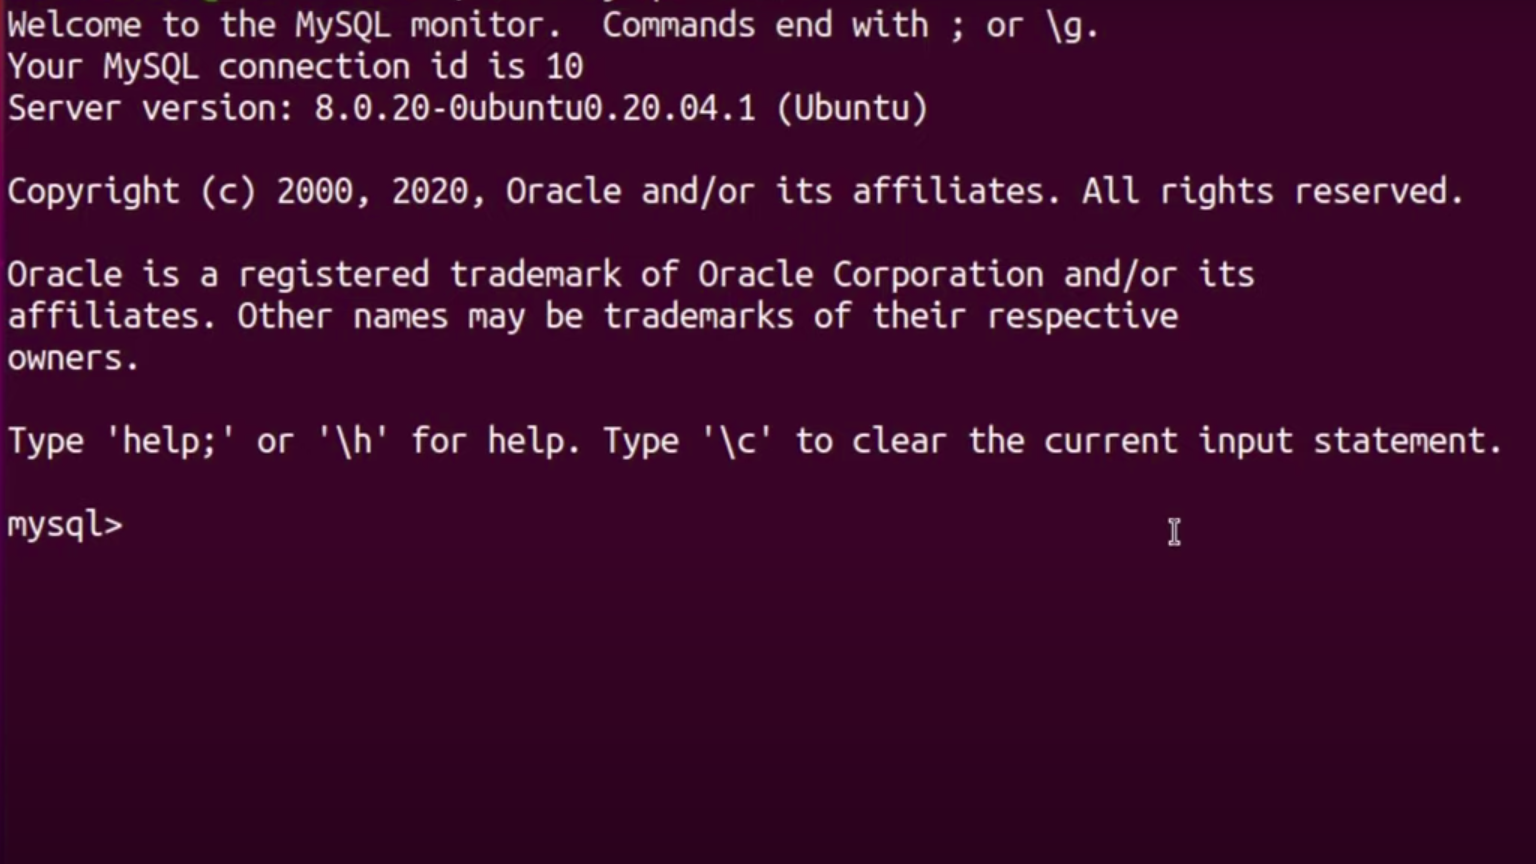
Here you will be able to see mysql.This is the mysql interface.Now you can type “show databases” to see the databases and then proceed to use an existing one or create a new one.

In this way , following these steps you will be able to install mysql database and use it .
Leave a Reply