
In this post we will see how to install PostgreSQL on Ubuntu.In order to install OpenGlL you need to type only few commands .Here we will be looking at step by step process to install PostgreSQL:
1.First open your terminal and update the repository using command : $ sudo apt update

After entering your password your update will be done .
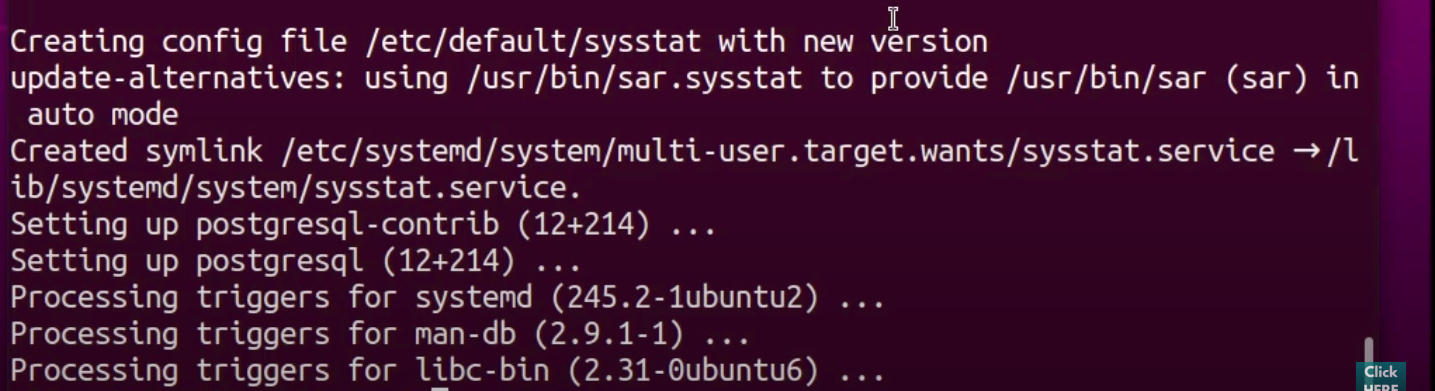
2.Now if you type the command : $sudo apt install postgresql and hit enter your postgresql will be installed.

You can something like the below picture after sometime .
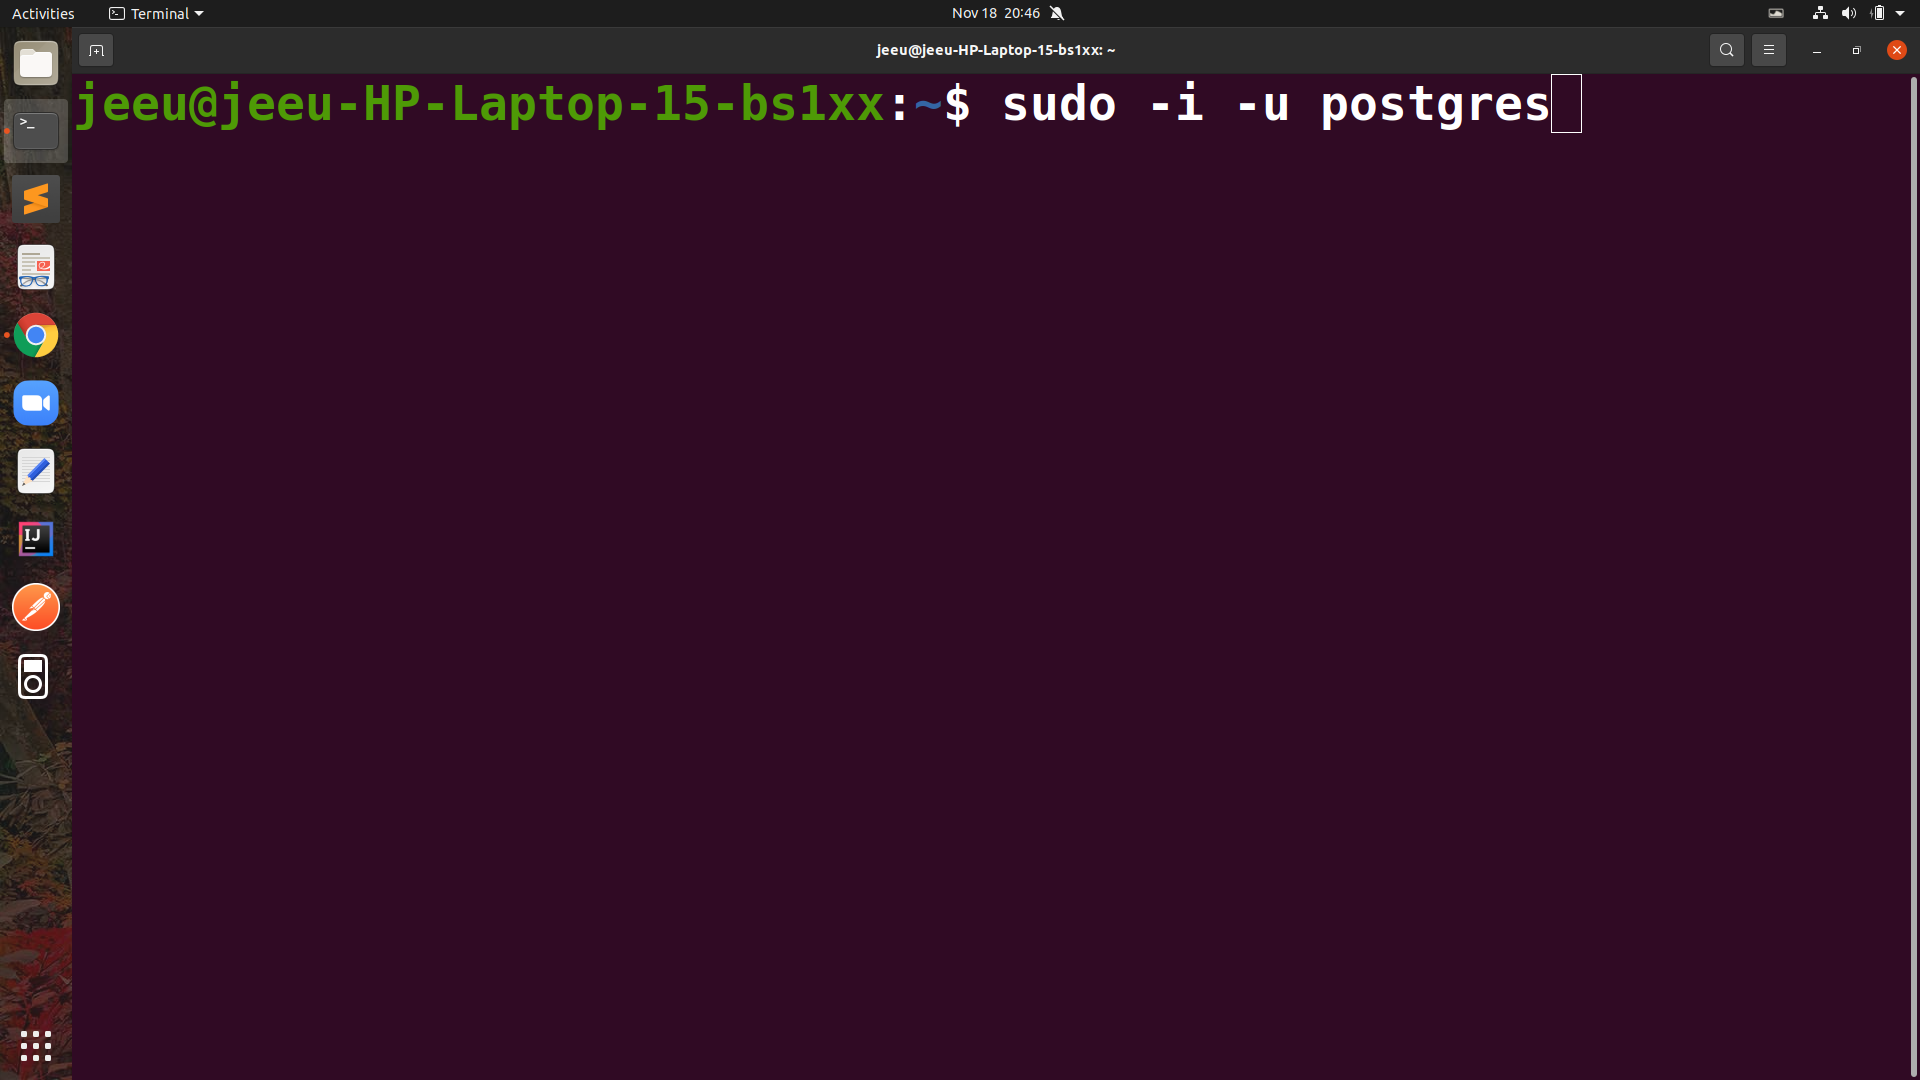
3.The installation procedure created a user account called postgres that is associated with the default postgres role.In order to use postgres you can log into that account .so there are two ways in which you can access the postgresql and here we will be looking at both :
a)Type command : $ sudo -i -u postgres
b)Type Command : $ sudo -u postgres psql
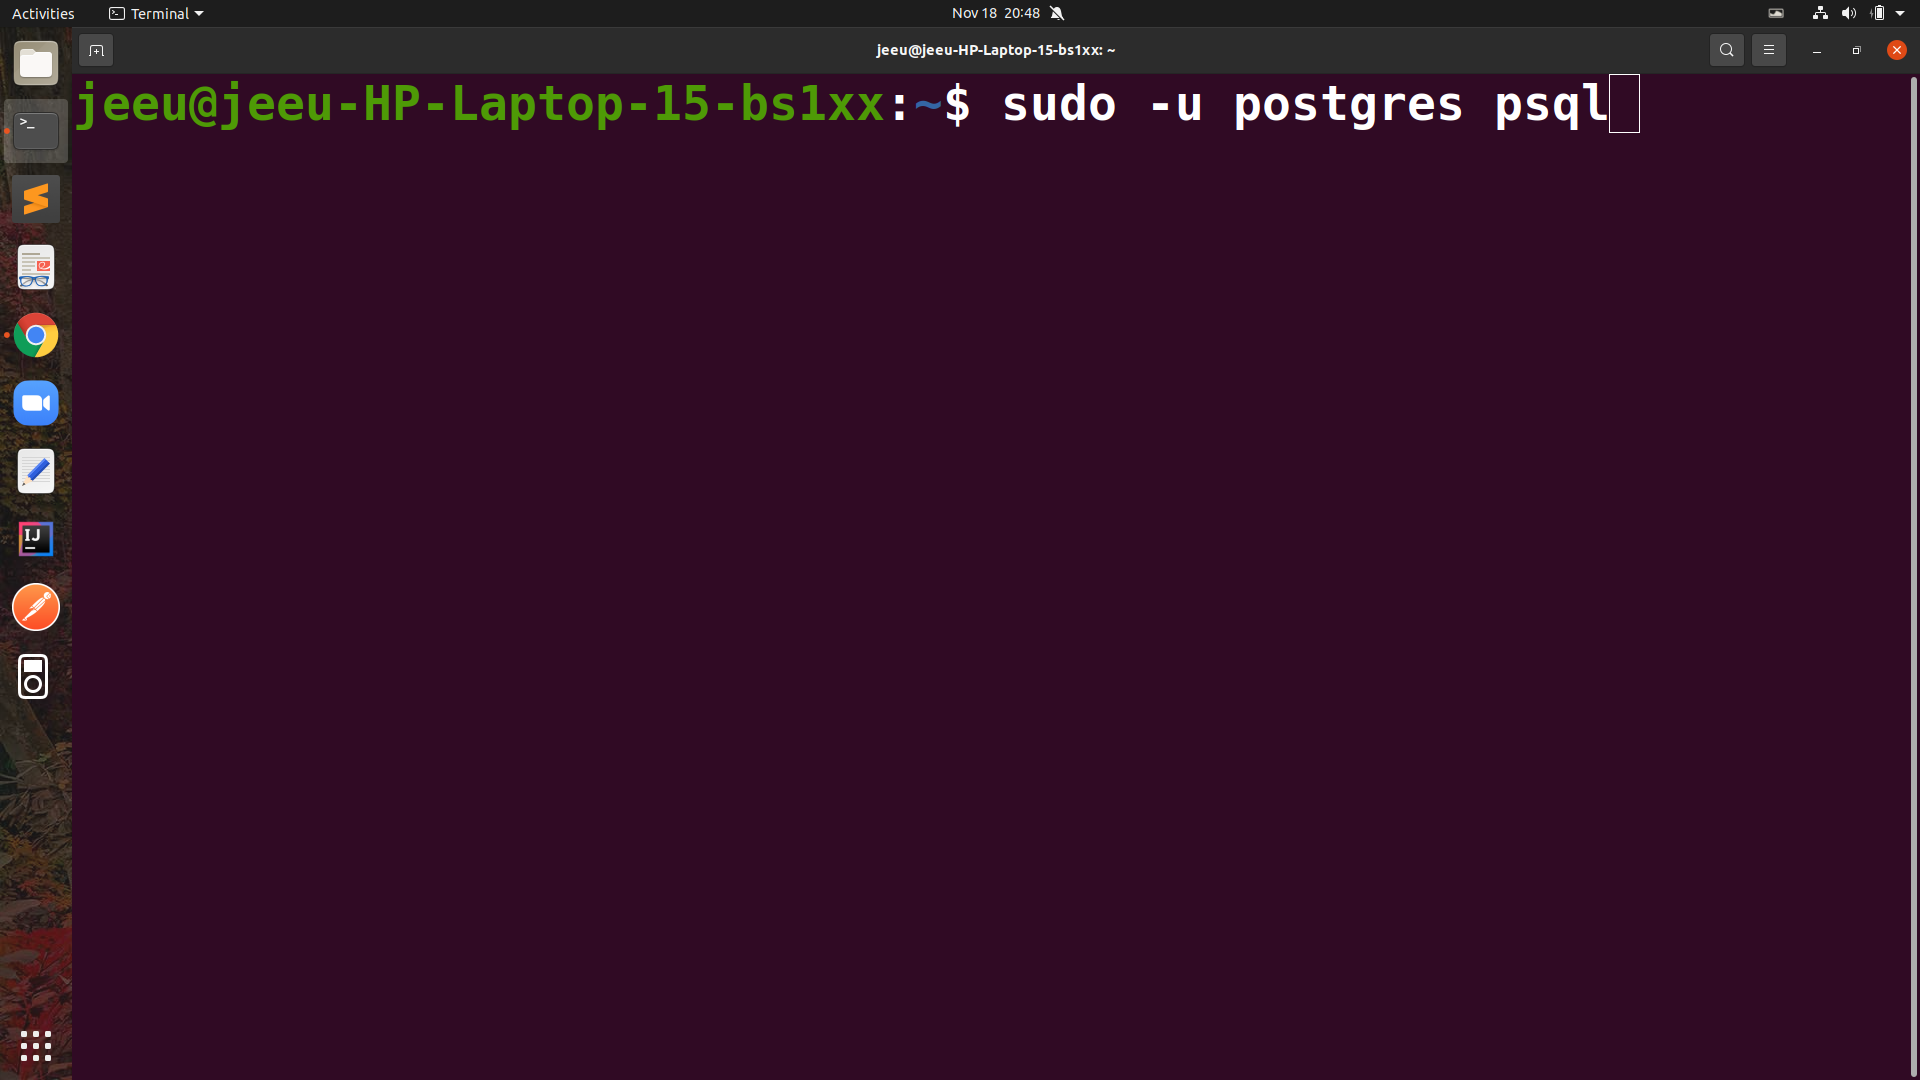
This will directly take you to this interface :

To check connection to database you can type this command in interface :$conninfo
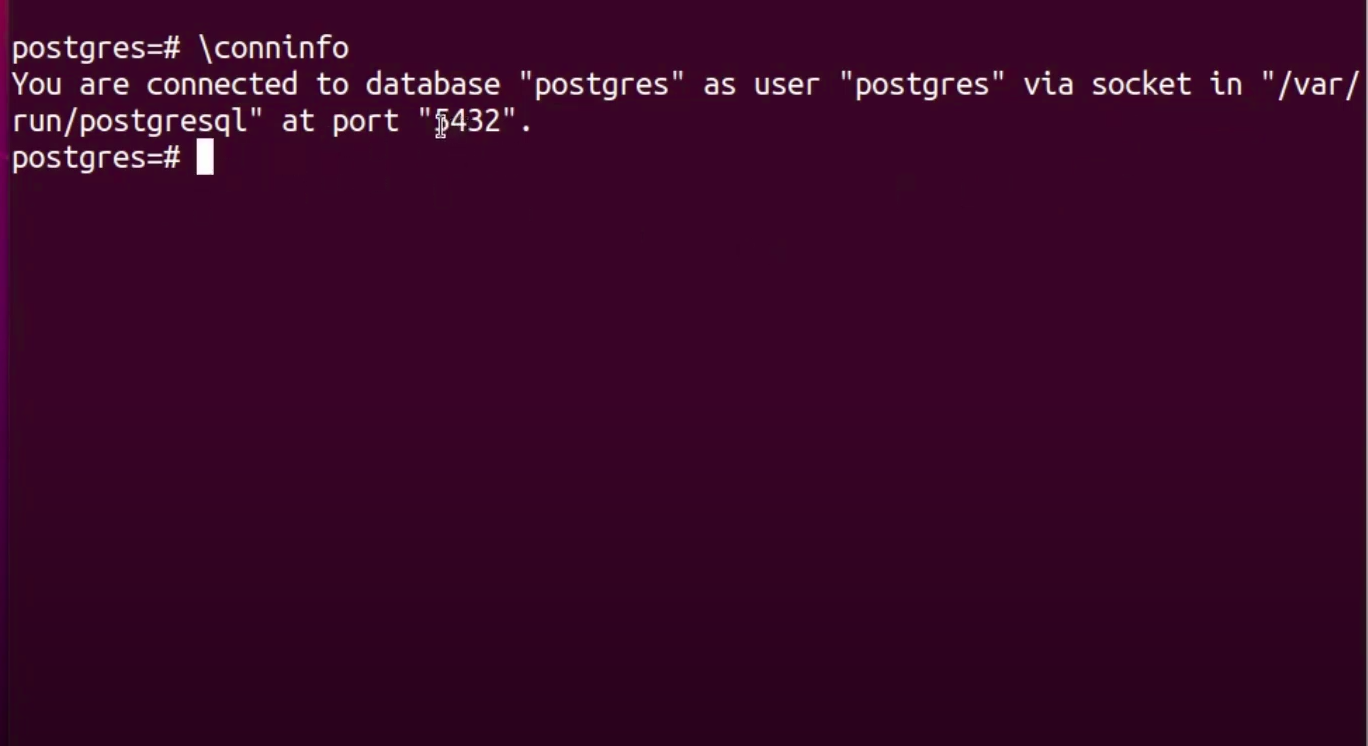
In order to exit you can type the following commad : $ \q
4.Another thing can be done is that we can create a user in postgres .
Type the command : $sudo -u postgress createuser --interactive
It will ask user name , give accoring to your choice.
Now you need to create one database also .Type the command : $ sudo -u createdb "name" .Now you can use this command to use postgres : $sudo -u "username" psql
In this way , following these steps you will be able to install PostgreSQL and use it.
Leave a Reply