

In this post on Arduino Tutorial For Beginners, this topic about Serial Port on Arduino and Serial Monitor on Arduino IDE.
- About Serial Port:
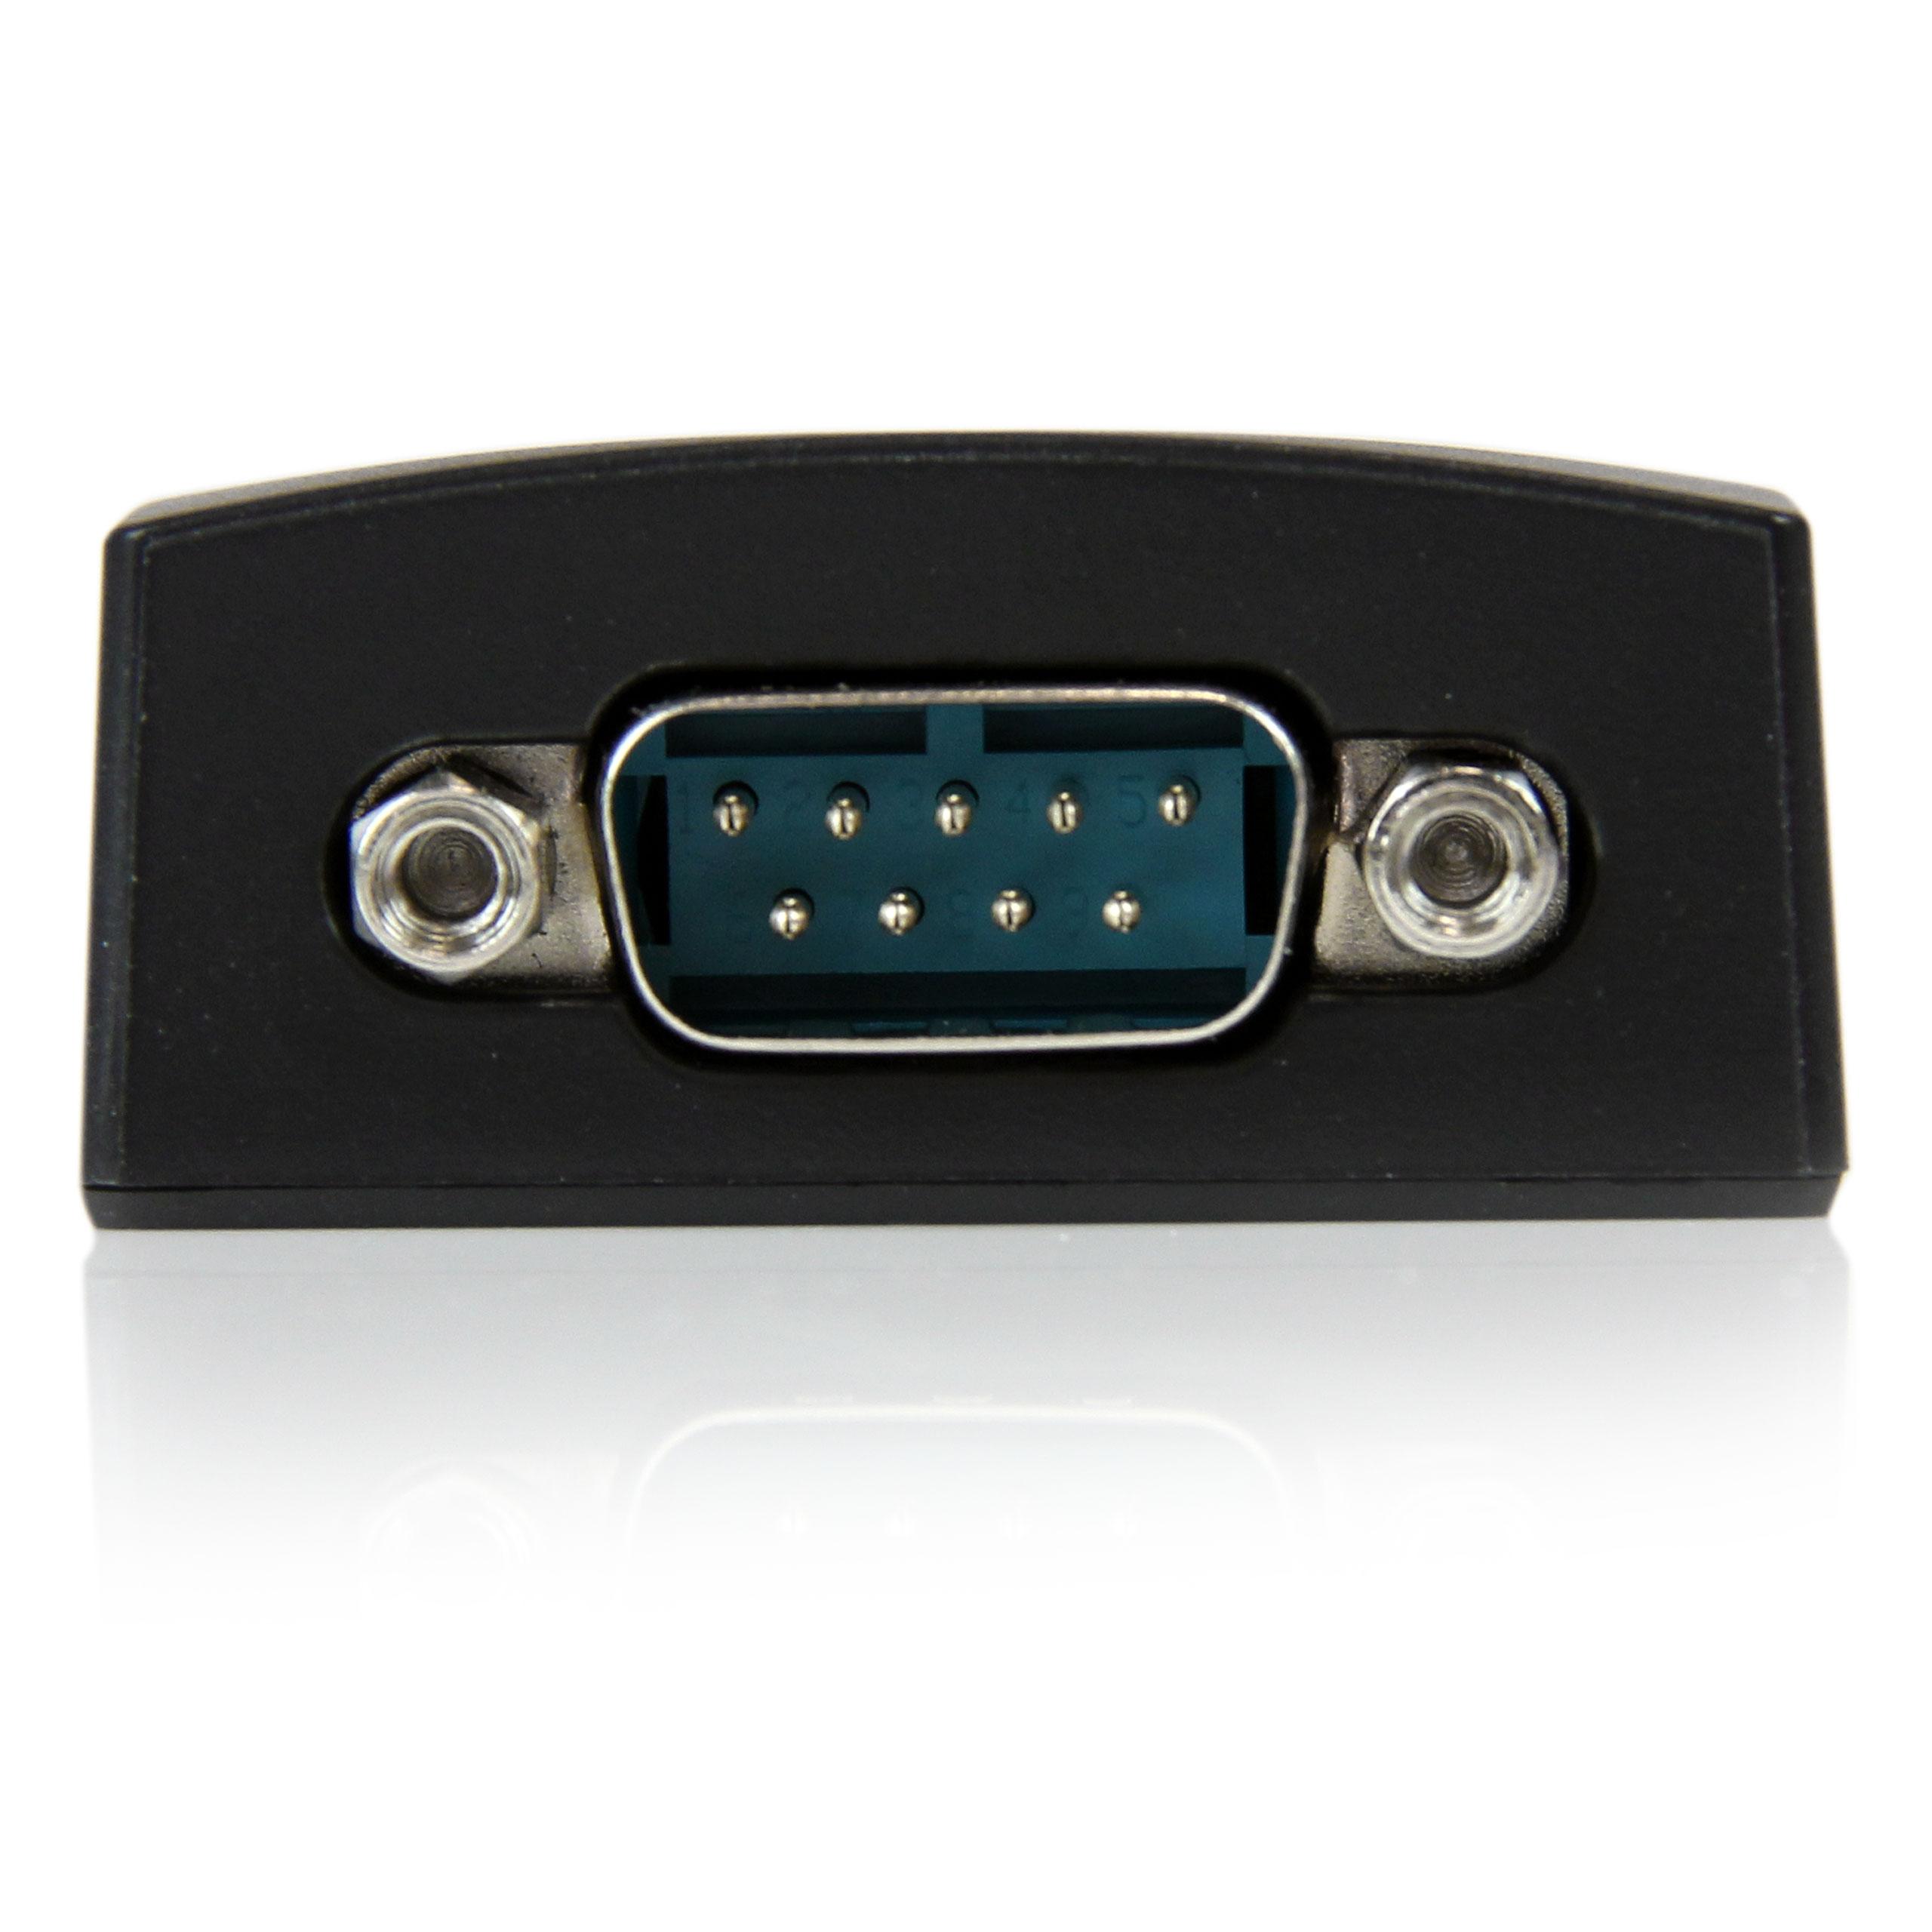
That is an asynchronous port on the computer transmit or receive data one bit at a time which is one of the oldest types of interfaces was commonly used to connect printers and external modems to a PC. The serial port standard is RS232 It’s quite slow, but nowadays almost devices use USB to transfer data because it’s faster than RS232. You can see the RS232 port below.
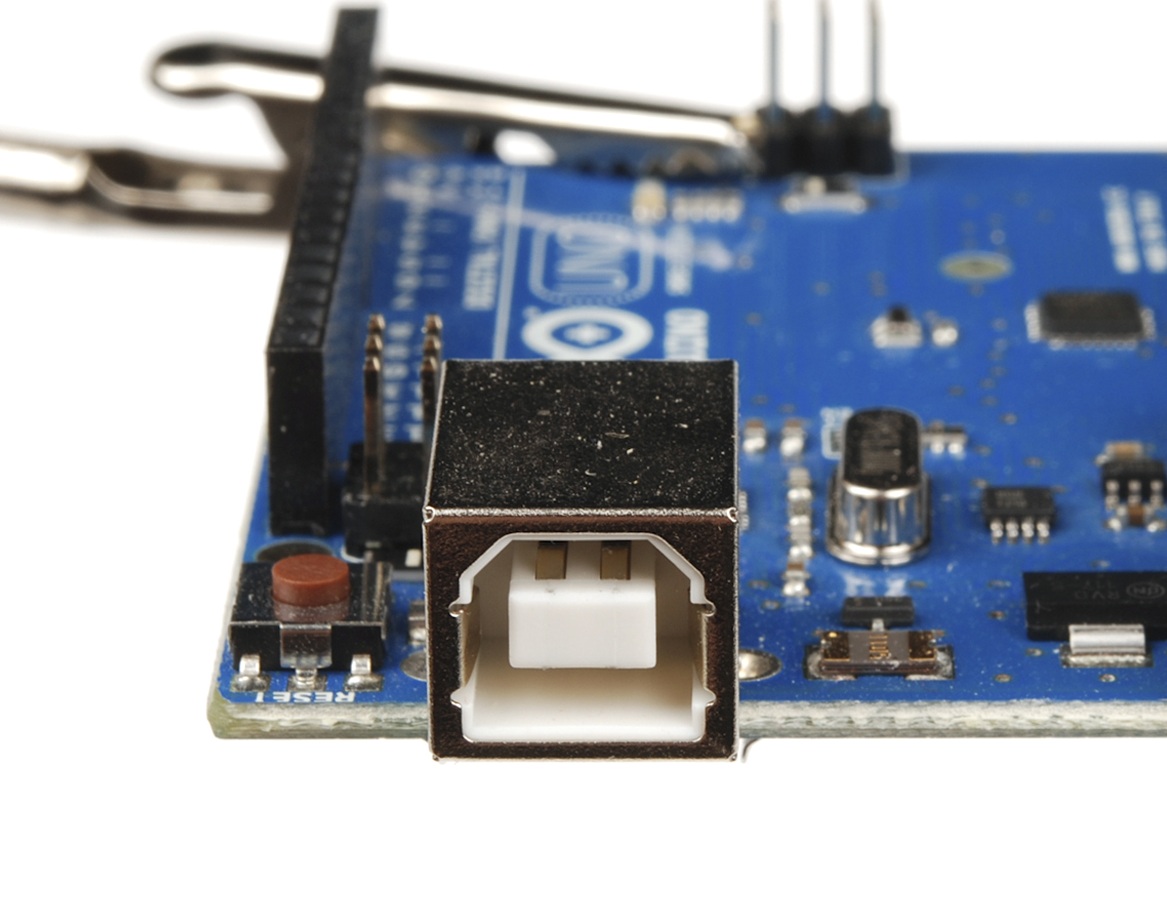
 Instead of using RS232, on Arduino board we have a USB B-Type to transfer data, not only transmit but also supplying voltage and uploading code to Arduino.
- About Serial Monitor:
On Arduino IDE, we have a button on the top right corner of Arduino IDE as the picture below, that is Serial Monitor (a.k.a terminal). The terminal is a separate pop-up window that acts as a separate terminal that communicates by receiving and sending Serial Data. Data can be sent concurrently in both directions because the terminal is using UART (Universal Asynchronous Receiver Transmitter) protocol that is a full duplex protocol.

The serial monitor is very useful, it’s not only display for fun but we also use to debug error. As you know, in embedded system or in Arduino IDE we can NOT use break-point to run step by step as the other software, or we can check our code by led (Ex: if you want to check your code whether run or not, you will put a turn on/off led function above the line which you want to check, and if your led is turned on/off after run, that mean your code is executed,…). Those are some ways to debug but in embedded system the best way to find error is print out some string/data to terminal. Below is the second way to open Serial Monitor.
### NOTICE: You had had to connect Arduino Board to computer before opened the Serial Monitor. If not, the Arduino IDE will be error.

About the menu on Serial Monitor above, we can see:
- Autoscroll box: The window will be auto scroll down when the data is full
- Sending method menu (next to baudrate speed box): this only use for sending data when input the data and click “Send” button above
- Sending data with Newline (‘
\n') - Sending data with Carriage Return is (‘
\r') - Sending data with Both NL & CR is (‘
\r\n')
- Sending data with Newline (‘
- Baudrate speed menu: Select the baudrate speed
Okay, now i will introduce you some function to communicate between Arduino board and computer via UART protocol:
- Serial.begin(9600)
- This function tells the arduino to turn the Serial Port on, DON’t forget to put this line if you want to use the Serial Port. The ‘9600’ tells the arduino to communicate at 9600 baud, this baud is the speed rate of UART protocol, there are some default values such as: 2400,4800,9600,115200,… etc.
- The higher rate the faster speed of data transmit. And the important thing is… you need to make sure your Arduino and your terminal(or devices) is set to the same baud. If not, you will transmit/receive wrong data.
- Serial.print(“Hello”)
- This function will send “Hello” to terminal, and then computer will print “Hello” on window terminal
- Serial.println(“Hello”)
- This function also send “Hello” to terminal, but the computer will print “Hello” with (‘\n’) character at last. This mean it will print the “Hello” and then print a new empty line.
Now, let’s coding and see what will happend with below code
void setup()

{

Serial.begin(9600); // Select baudrate 9600, remember select at the same baudrate with Serial Monitor

}

void loop()

{

//Use print function

Serial.print("Welcome ");

Serial.print("to ");

Serial.print("Programming Knowledge!");

delay(2000) // delay 2 seconds

//Use println function

Serial.println ("Welcome to Programming Knowledge!");

delay(2000) // delay 2 seconds

}
Another example, inform to user when led is blinking
void setup()

{

Serial.begin(9600); // Select baudrate 9600, remember select at the same baudrate with Serial Monitor

pinMode(13,OUTPUT);

}

void loop()

{

// The default led (pin 13) maybe reverse state

digitalWrite(13,HIGH); // Set output High level (5 voltage) at pin 13

Serial.println("Led is turned ON!!!");

delay(2000) // delay 2 seconds

digitalWrite(13,LOW); // Set output Low level (0 voltage) at pin 13

Serial.println("Led is turned OFF!!!");

delay(2000) // delay 2 seconds

}
Leave a Reply