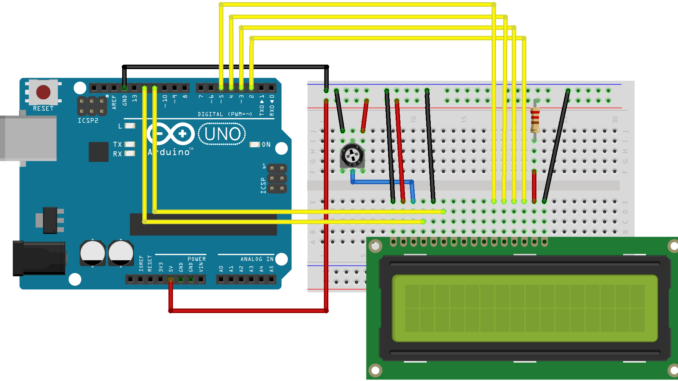
In this post on Arduino Tutorial For Beginners,how to build a simplest circuit and how to control it with Arduino, It is important for you to learn the basics before moving on, and one of the most important basics is how to use a breadboard which help you practice and test a circuit.
The picture above is breadboard which allows you to connect components together by plugging them into the holes.
Look at the yellow box, the number of columns are marked from 1 -> 30.
Look at the pink box, the letter of rows are marked from A -> J, and each rows are different from the others.
I will divide the board into two parts :
- Part X: Include row F to J
- Part Y: Include rows A to E
This two parts are independent together, there are NOT any holes are connected between two parts.
The holes in part X are not connected with Part Y, but both X and Y are pretty similar so i only explain part X. Just the holes in a column are connected together. But 5 holes of column 1 are independent with 5 holes of column 2 and the others.
About the green box, they usually call those holes are rails. All holes in a rows are connected together, but the column are not. As you can see, all blue holes are connected together, all red holes are connected together, but the blue holes are independent with the red holes. Normally,
- The red rows is usually used for VCC (Power)
- The blue one is used for GND (Ground).
- The rails on top is as same as the rails in the green box but they are independent.
Okay that is all thing about breadboard, now we will make a simple circuit and connect to Arduino. The picture below is the first circuit, we has a led, a resistor and a voltage supply are connected together.
In real life, if we want to operate DC device (DC mean direct current), we need to supply voltage as the picture, the positive of power will be connected to the ANODE of device, and the negative of power will be connected to the CATHODE of device. Assume we have another Power Supply, we need to connect all of GND (CATHODE) together. That is reason why i connect the positive and CATHODE of led to GND.
Connect as the circuit above, your led can be light. But please PAY ATTENTION, don’t connect in contrast like the picture below because your circuit maybe burn or explosive. It’s very dangerous when using a high voltage supply. So remember that!!!
Some power supply has a high current (high Ampe) so that can be also burn your led if you don’t reduce current flow. To avoid this we will use a resistor to do that.
The resistor will protect your device from burn when the current is higher than the device’s Amp, so we need to select a appropriate resistor value by Ohm law. The formula is , I = U/ R.
I will give you an example, now let’s connect led to 5V and GND of Arduino. The normal Ampe can operate led about ~15mA -> 20mA. So we need to calculate the resistor to reduce the current flow from Arduino because this current larger than 20mA, we should supply voltage around 20mA range is OK. According the OHM LAW
We will get ~15mA => 15 = 5V / R -> R ~ 330(R) . I will choose resistor 330R because this is a popular resistor, we can buy it easily
The 5V pin of Arduino is connected to resistor and then connect to Anode pin of led, the GND pin of Arduino is connected to Cathode pin of led. As the picture, the longer leg is Anode and the shorter leg is Cathode.
After you connected the circuit above and make the led light, try this example below to control led by Arduino (Blinking Project). We will connect the Anode pin of led to resistor, then connect to pin 8 of Arduino. Last, connect the Cathode pin of led to GND of Arduino as the picture below.
Now let’s start coding, Just copy and paste below code to your Arduino IDE, i will explain some syntax in the next articles.

Leave a Reply