
In this blog post, I will give a detailed view of uninstalling programs in the Windows 11 Operating System.
I am going to show 3 different ways by which you can remove an app from your Windows 11 Operating system.
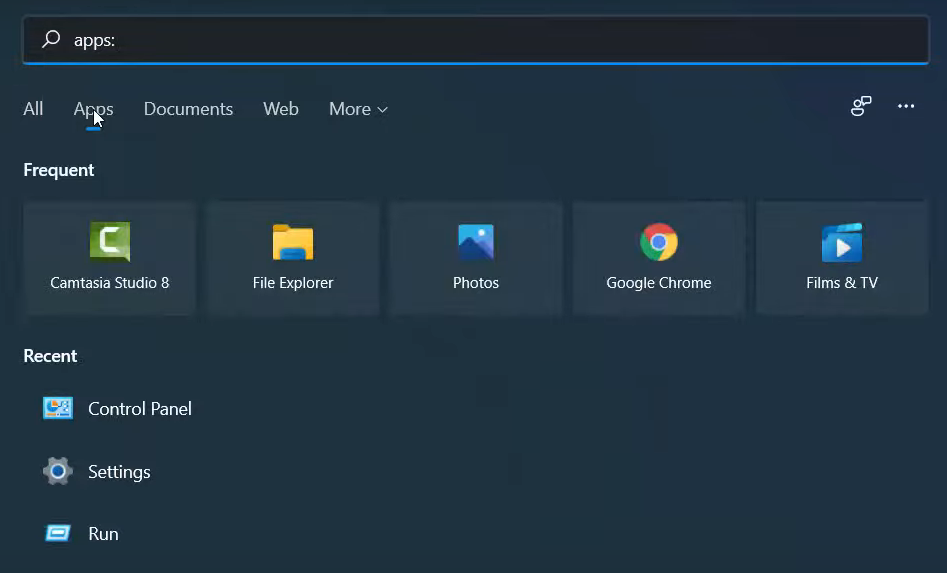
1. Let’s see the first way. Click on the Search icon. Then, select Apps.
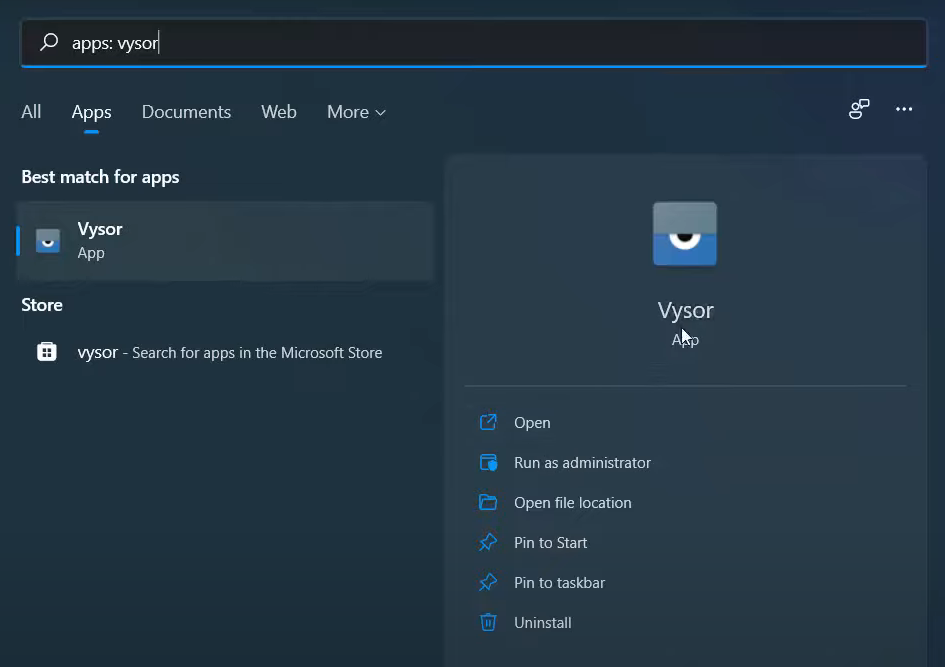
2. Now, you can search for apps. I am going to remove an app called Vysor. I am going to search for it. You can see the app on the search result. On the right-hand side, you can see some of the options listed. Click on Uninstall option.
3. It will open a new window. Here, it will show the list of all the apps. Choose the app that you want to uninstall and then click on Uninstall option which is available next to Organise. It will start to uninstall the app. Now, the app has been uninstalled from the Windows 11 Operating System.

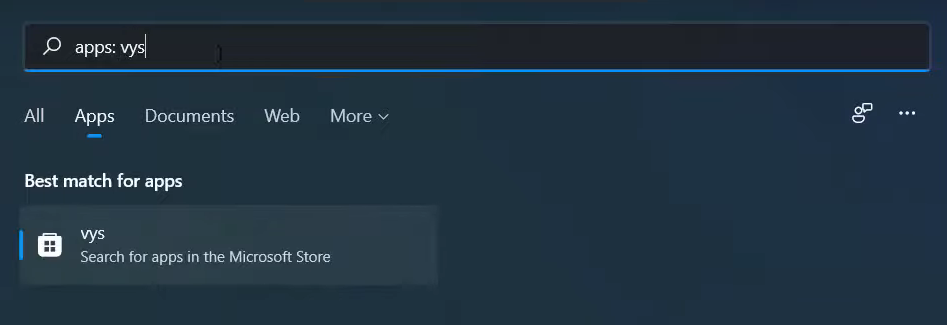
4. You can confirm it by searching it once again in the search bar. As you can see, the app does not appear now.
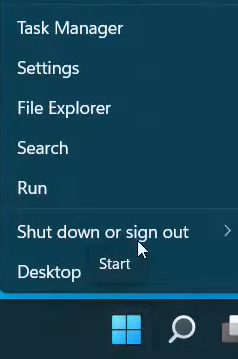
5. For the second way, right-click on the Windows icon. Right-click on it. Do not left-click. Click on the Settings option.
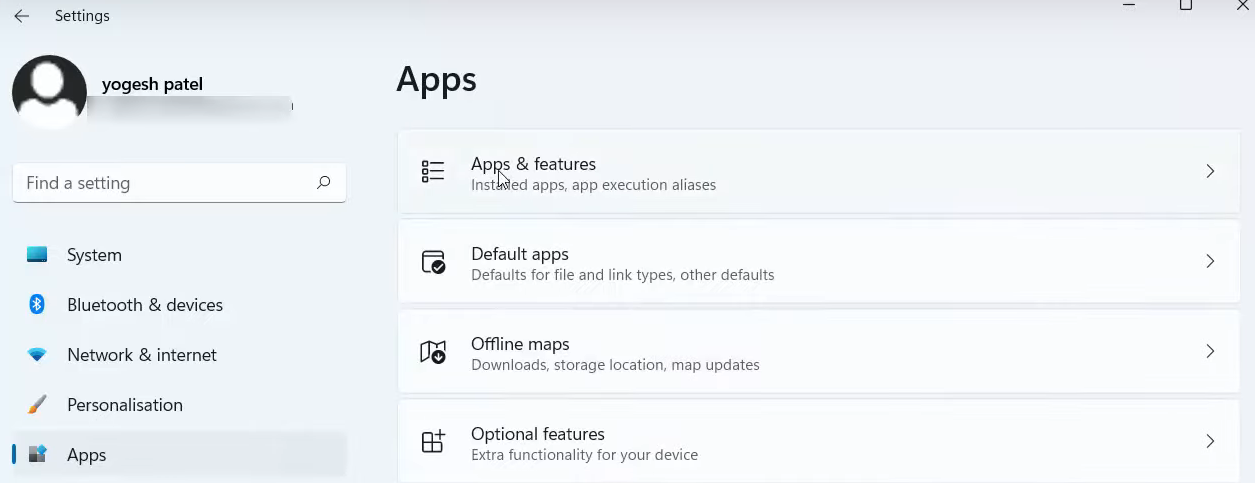
6. Click on Apps. Click on the first option Apps & features.
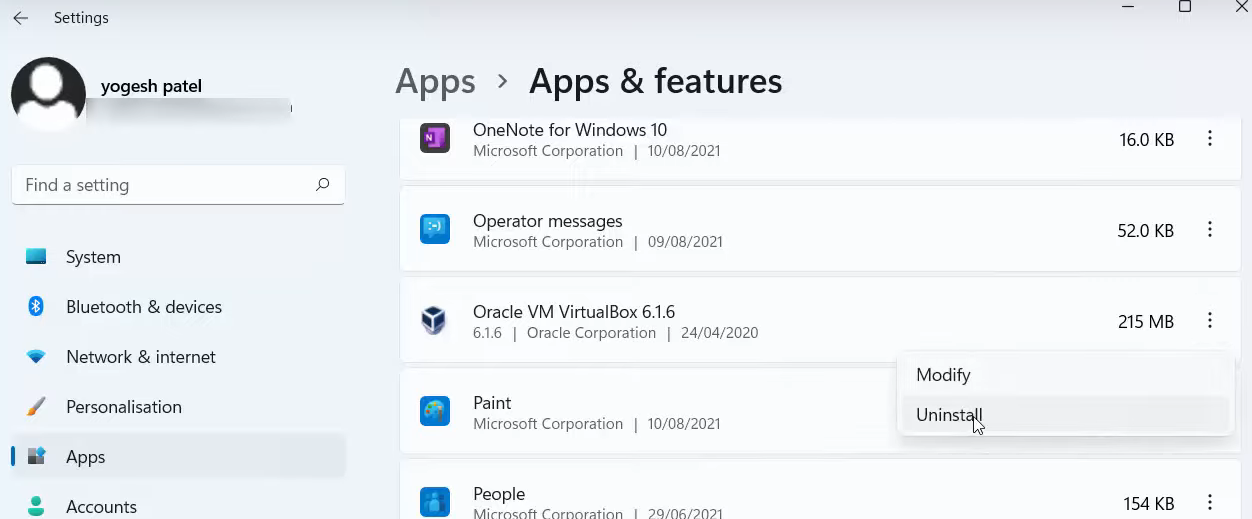
7. It will display all the apps. Now, I am going to uninstall the VirtualBox app. Click on the 3 dots. And then click on Uninstall.
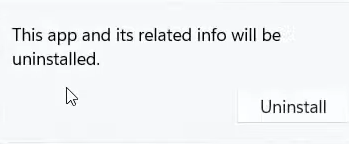
8. It will display a message. After reading that, click on Uninstall. Now the app has been uninstalled.
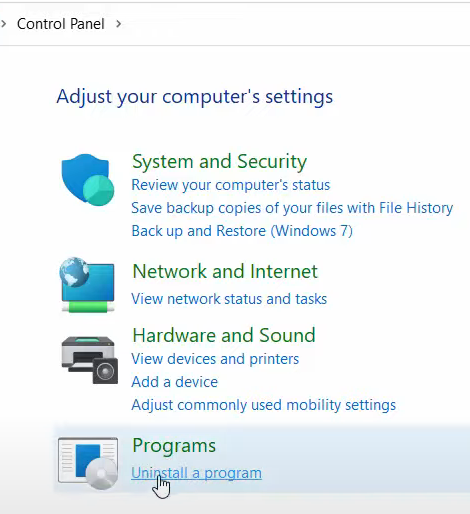
9. For the third way, in the search option, you need to search for the Control panel.
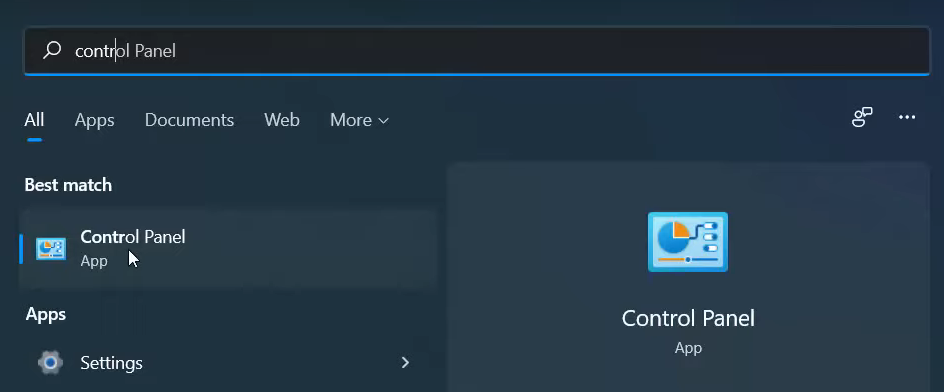
10. In the control panel app, click on Uninstall a program that is available under Programs. It will open the same window which we did for the first method. You can follow the same method mentioned above.
These are the steps for uninstalling an app from your Windows 11 Operating System. You can follow any of the mentioned steps above for uninstalling an app.
Leave a Reply