
In this blog post, I will give a detailed view of turning off sleep mode on your Windows 11 Operating System.
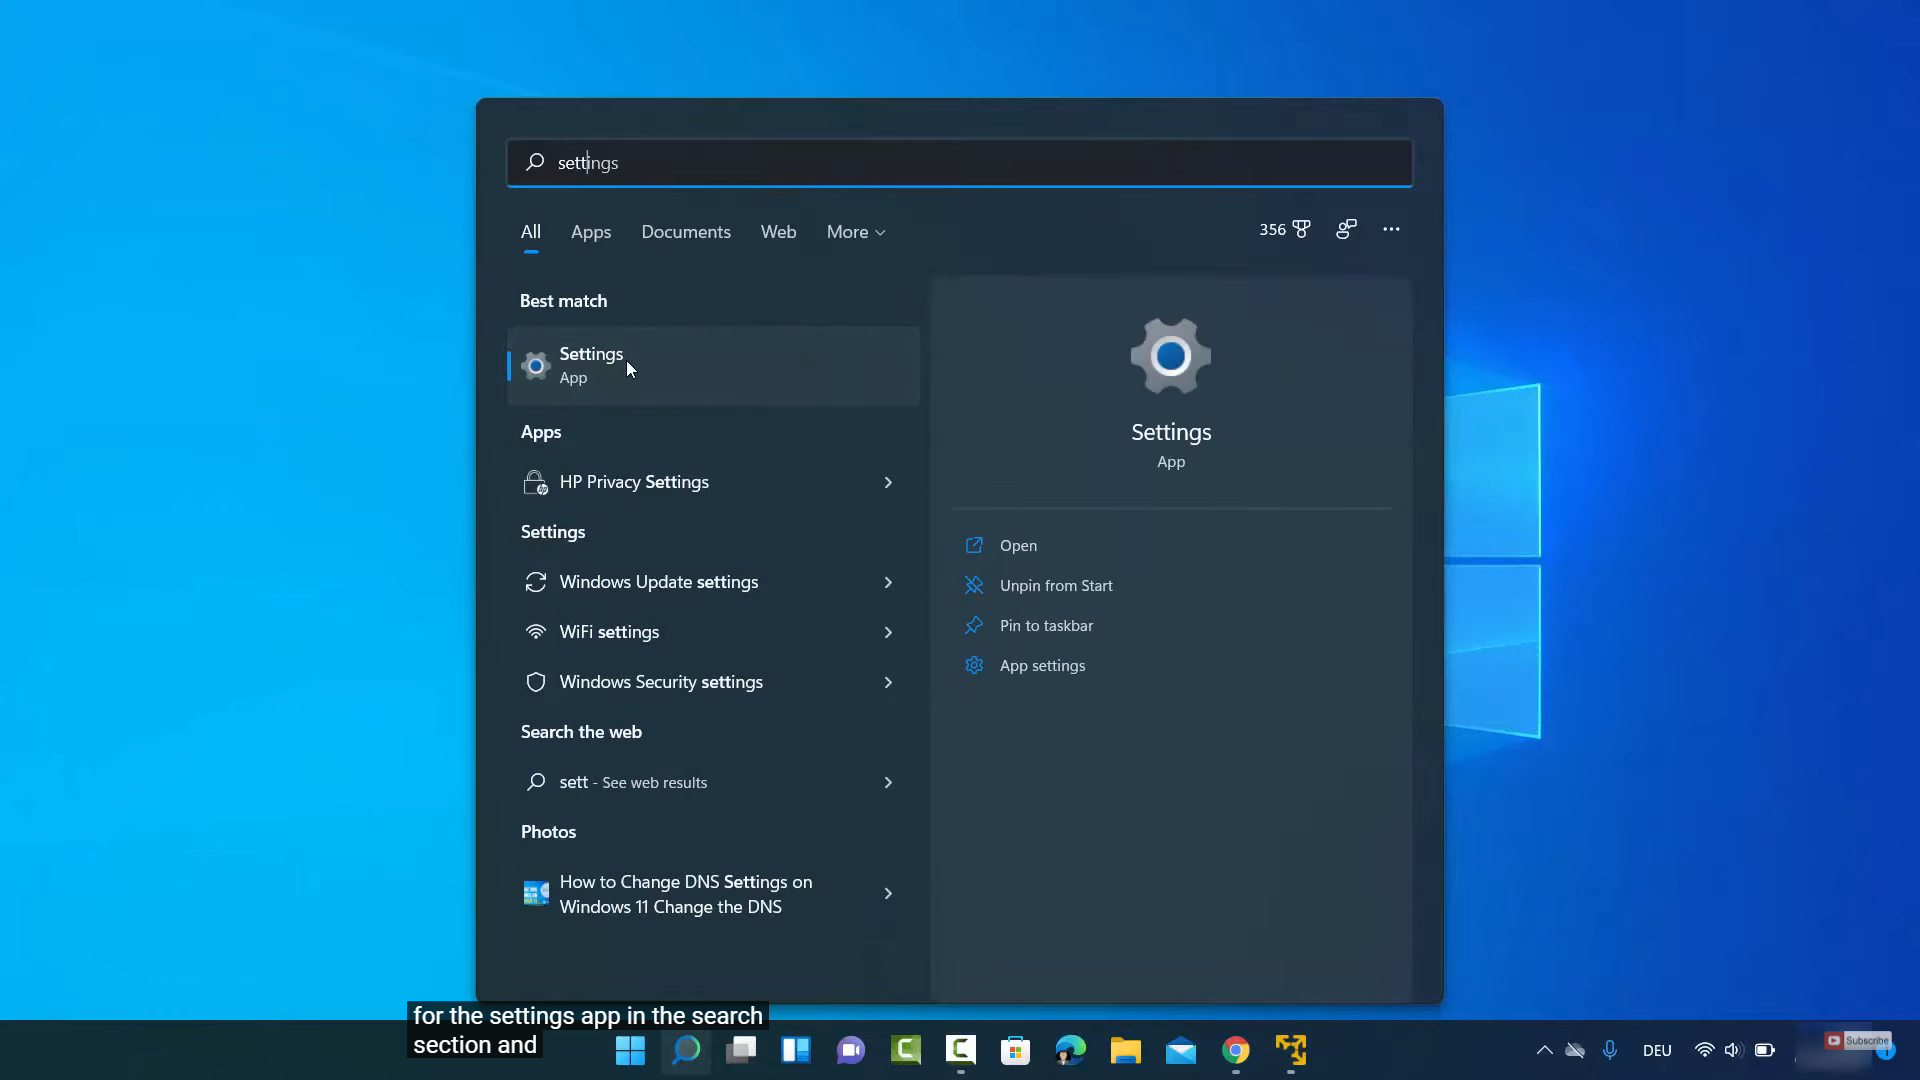
1. Click on the search icon and search for the Settings app.
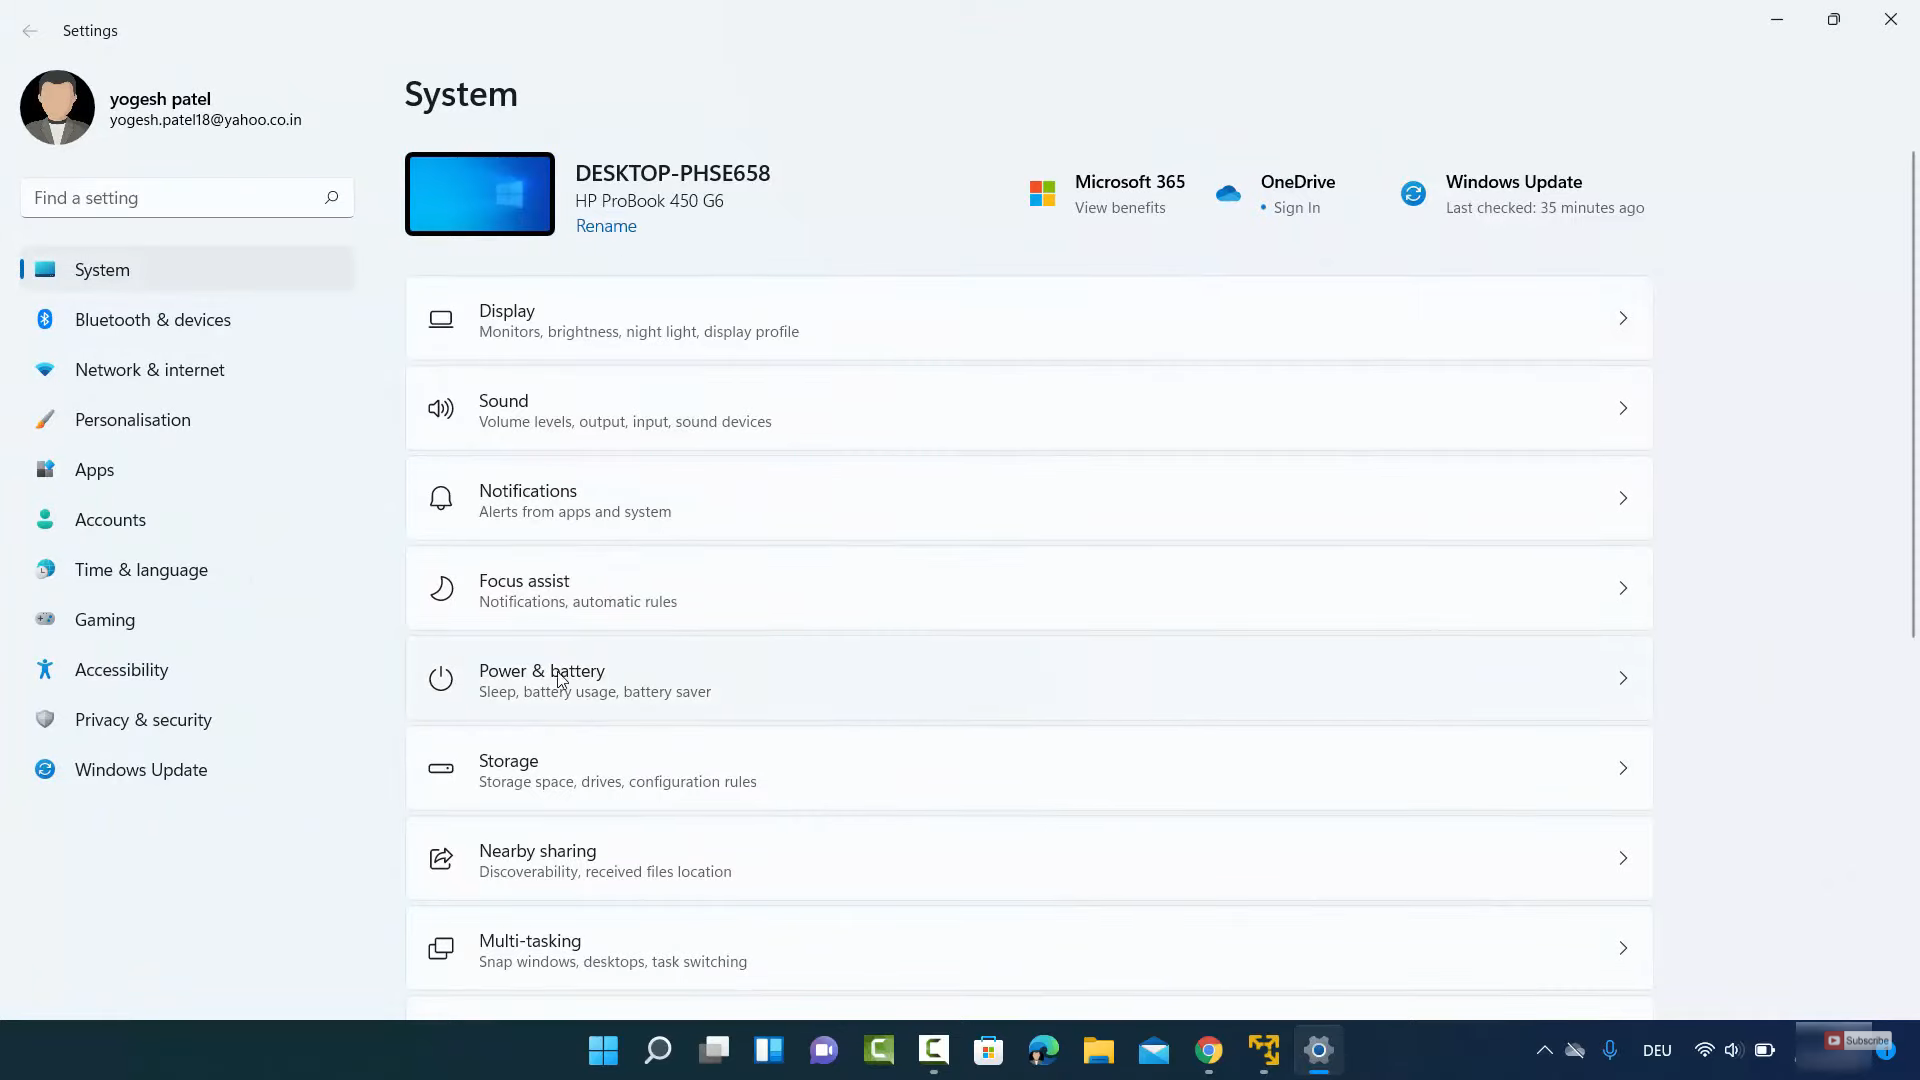
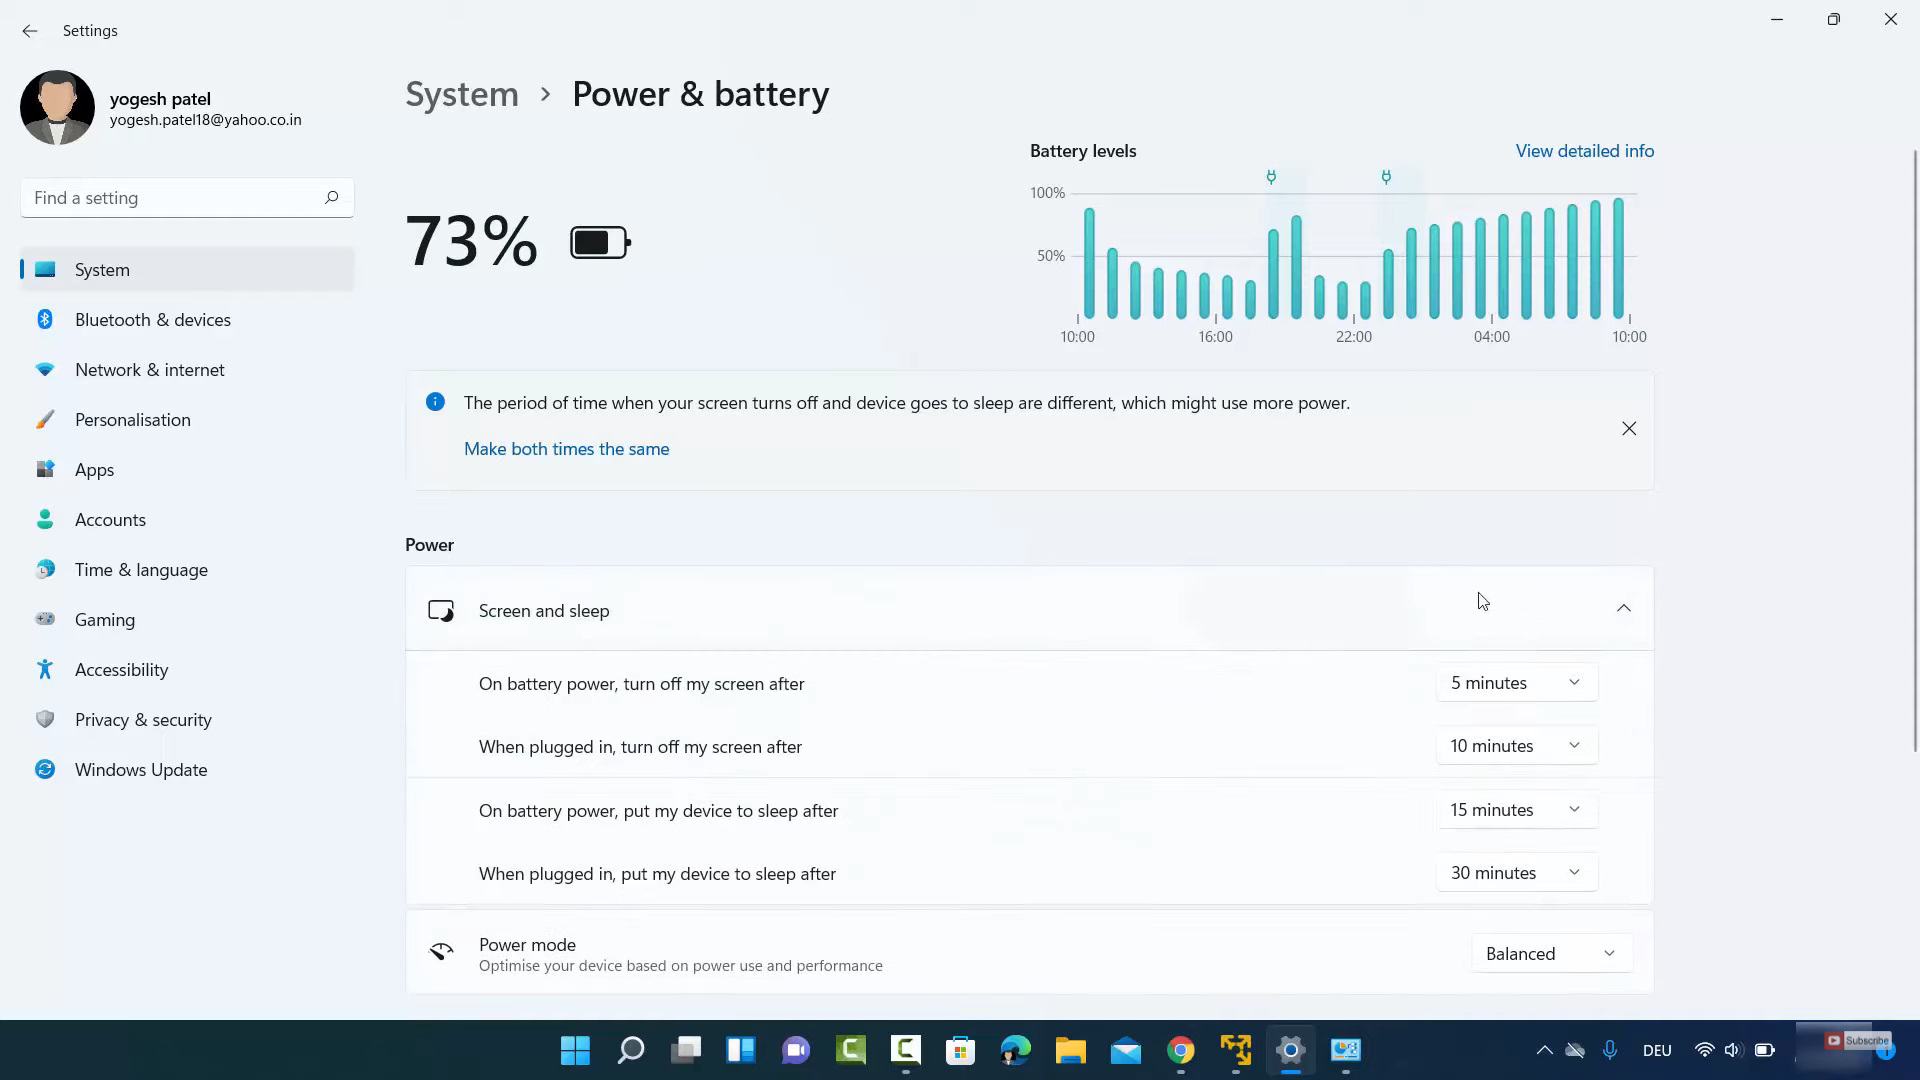
2. In the settings app, click on System on the left-hand side. On the right-hand side, you will be able to see an option called Power & battery. Click on that option.
3. Click on the Screen and sleep option and expand that. Here, you can change the minutes based on your choice.
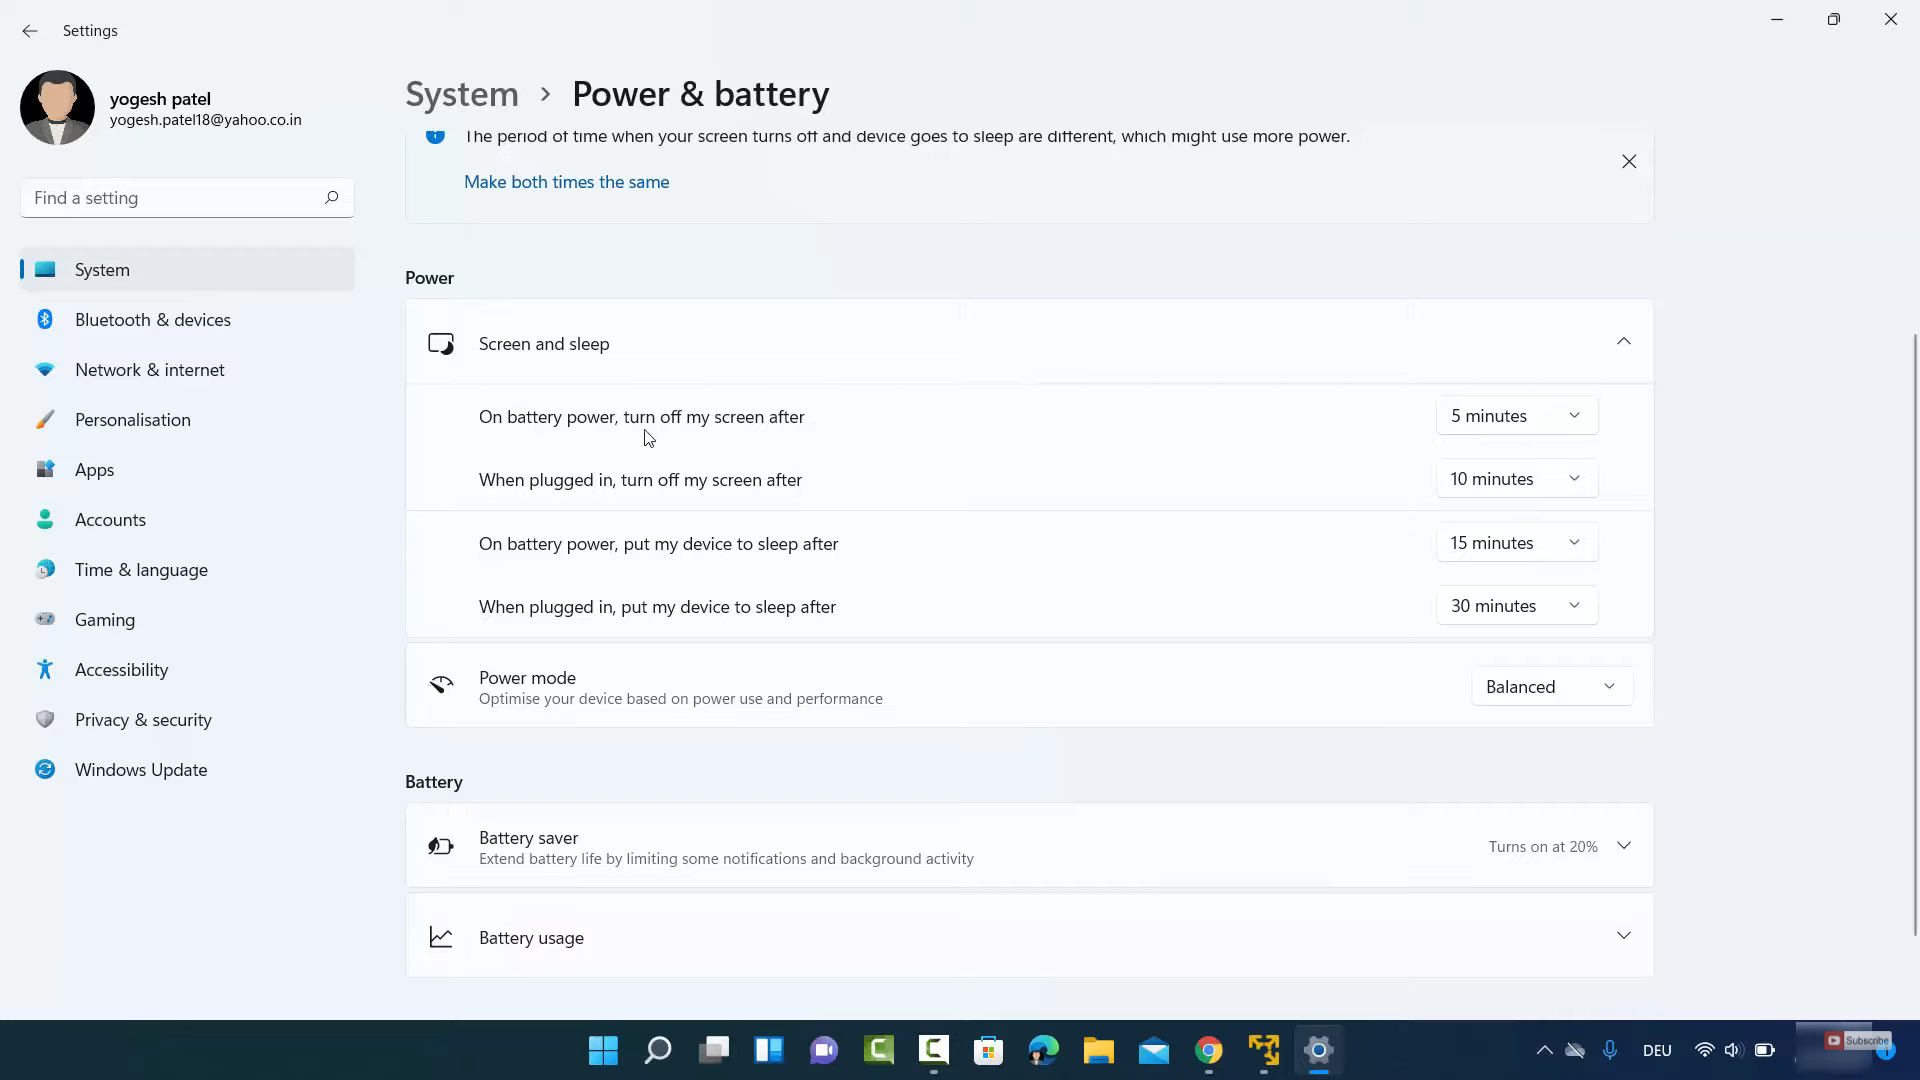
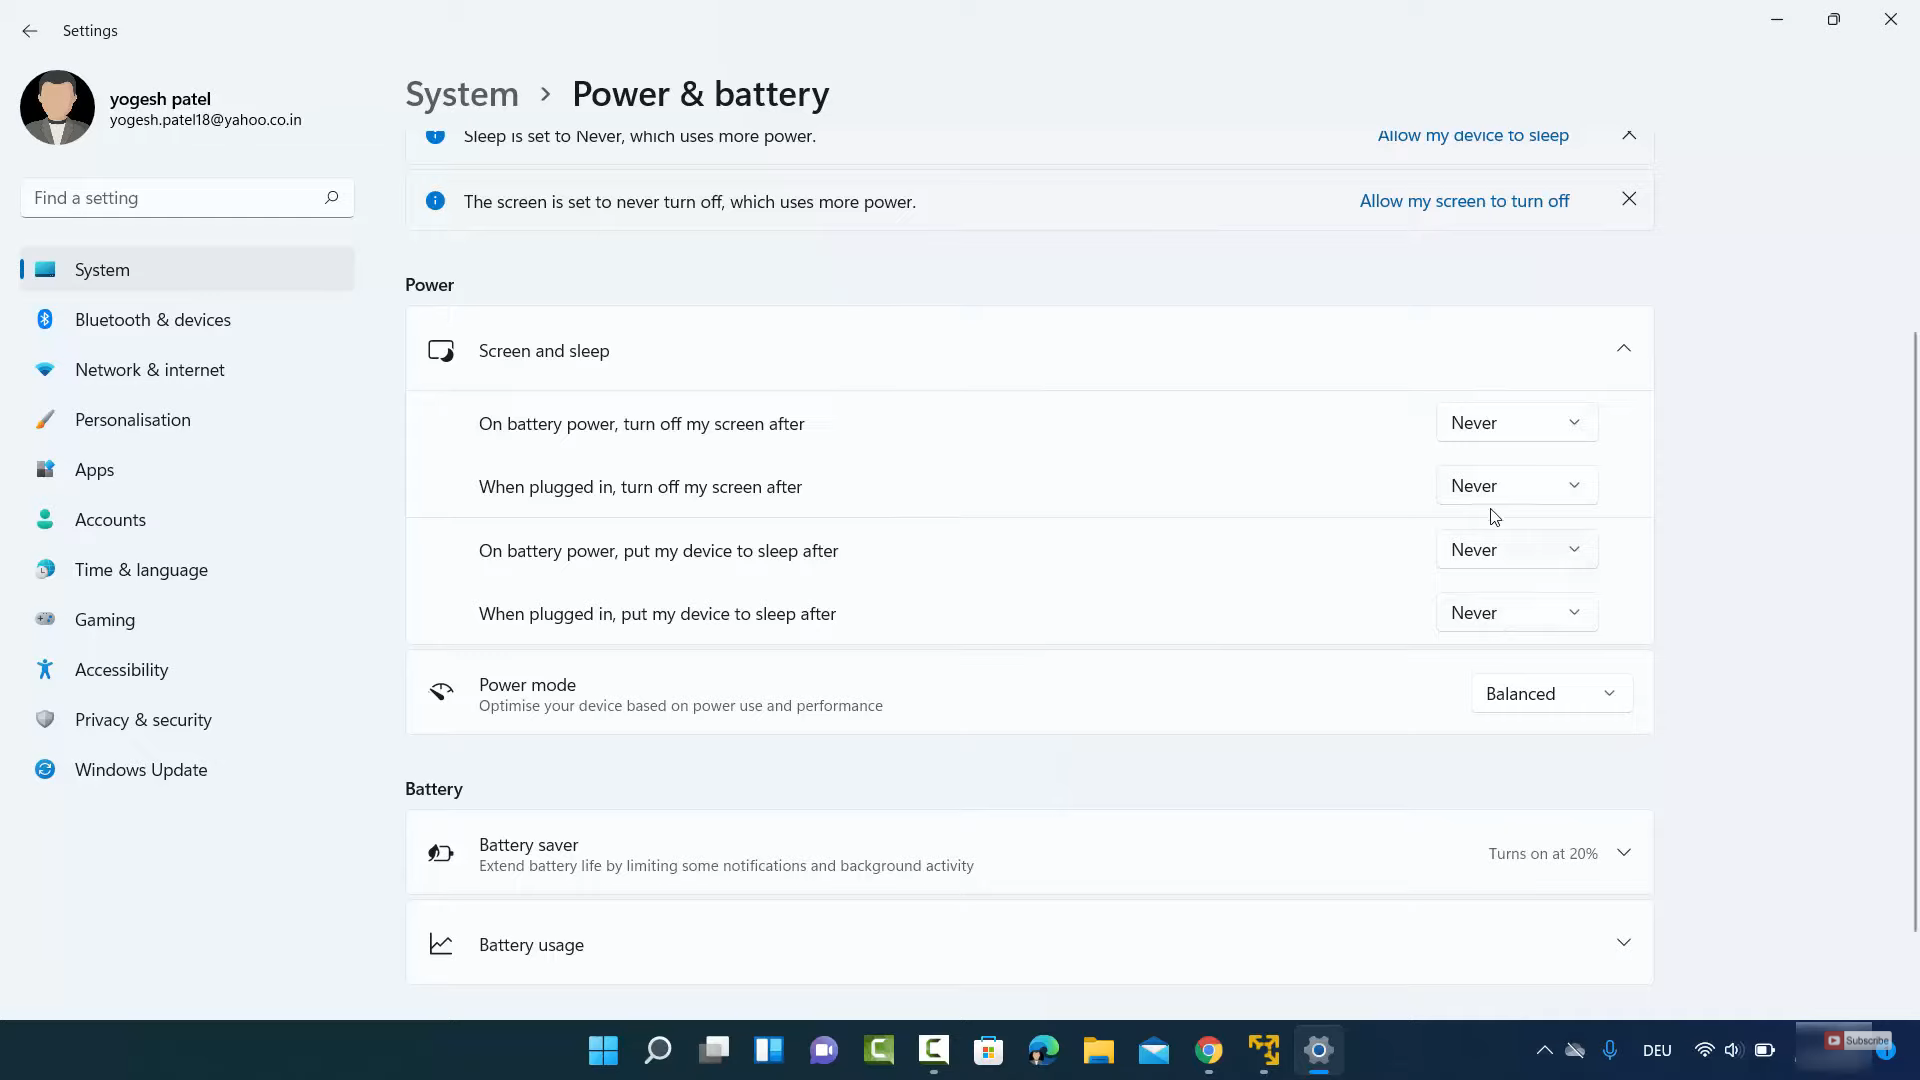
4. You can also choose the Never option as well. I have changed all these options to never. This means your system will not go to sleep or hibernation mode when you turn it off. It will be very useful when you are downloading some software for a long period.
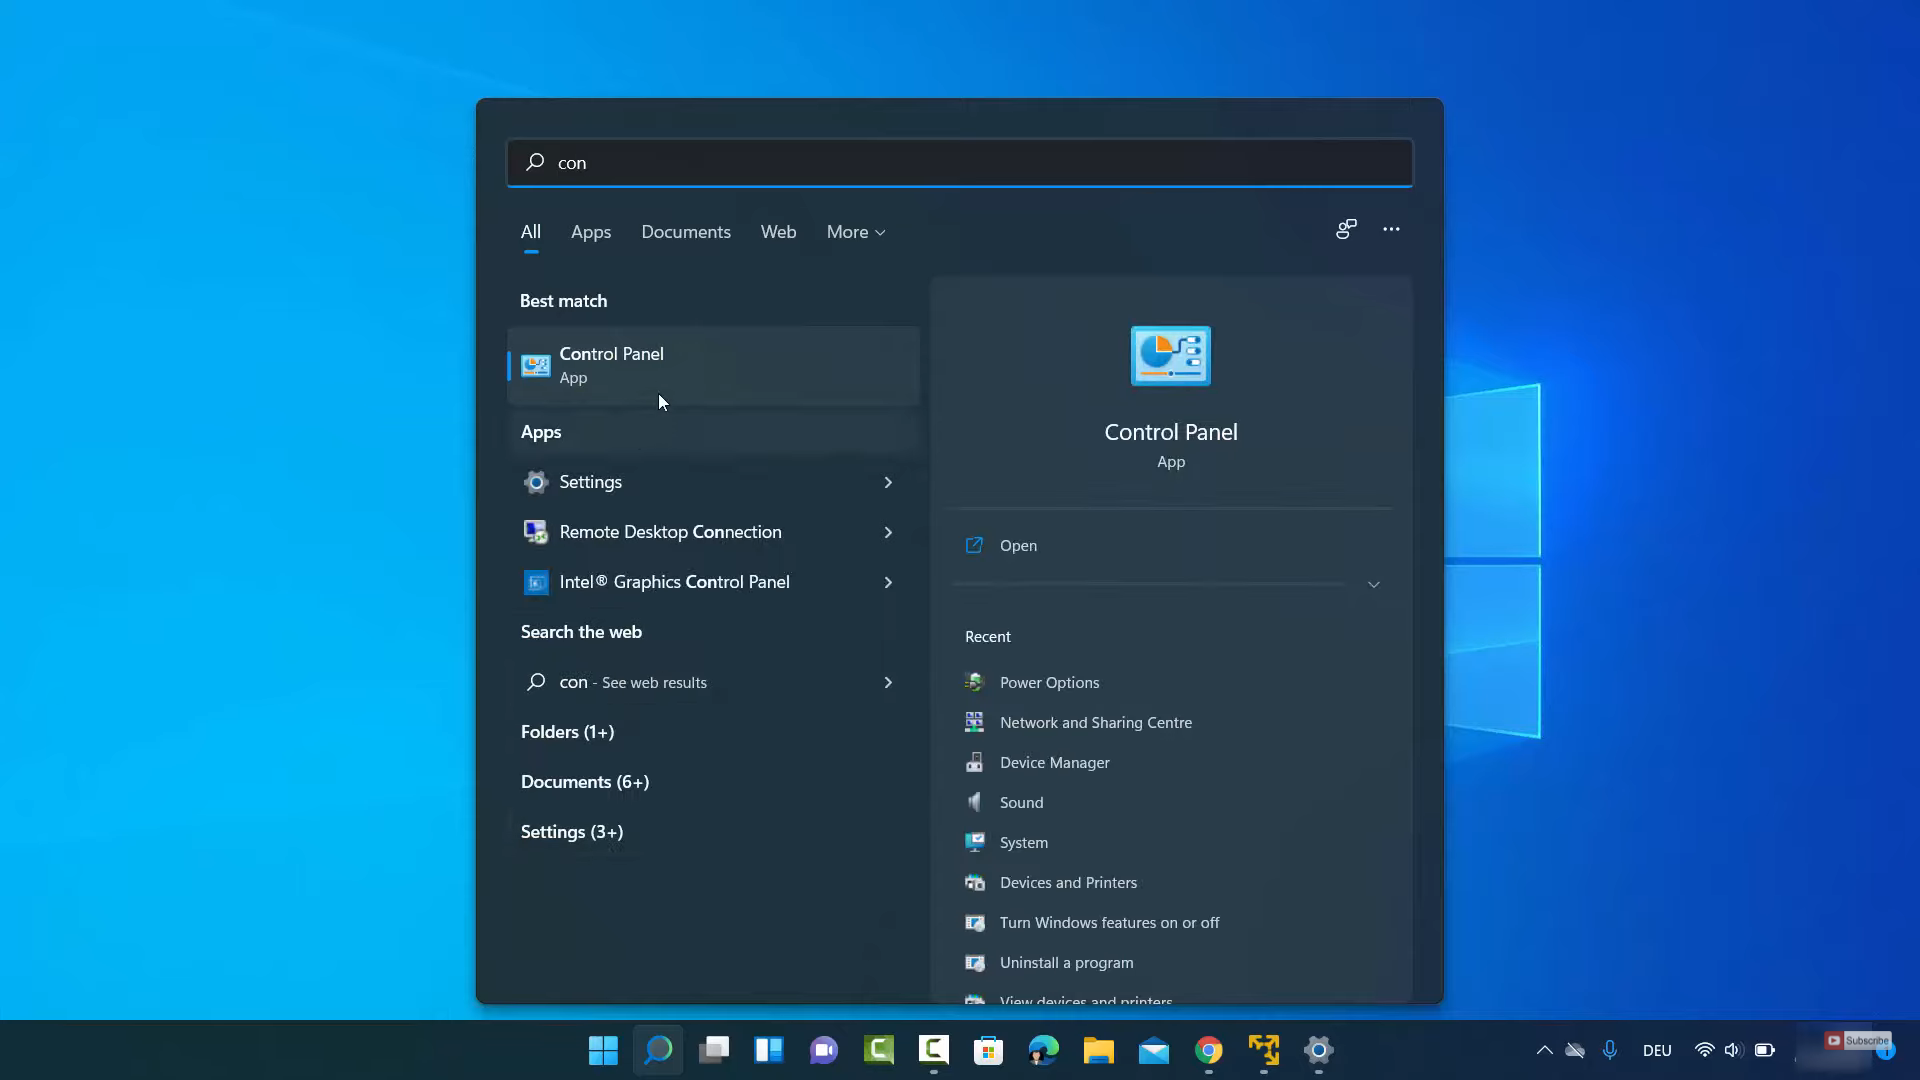
5. For the second method, click on the search icon and search for the Control panel app.
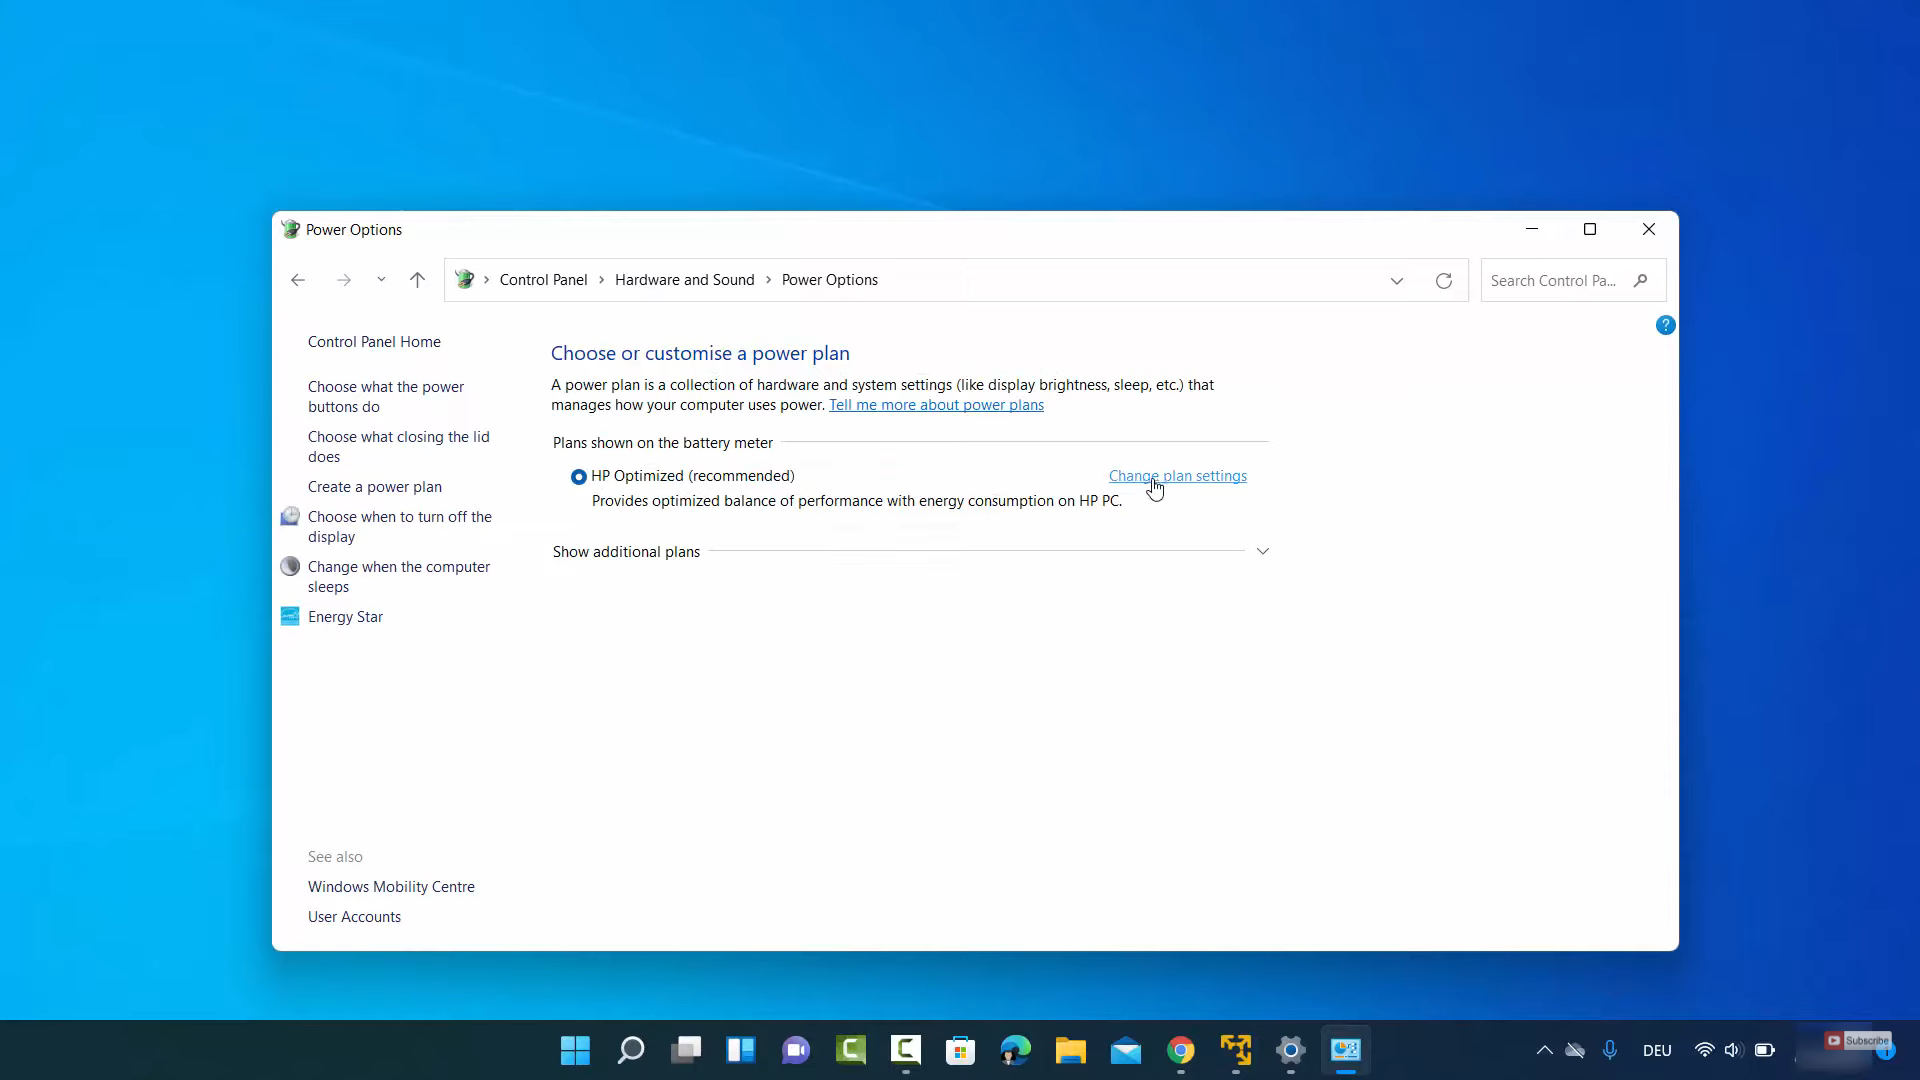
6. In the control panel app, you have to view it by Category. Click on Hardware and sound option.

7. Then, click on Power options.

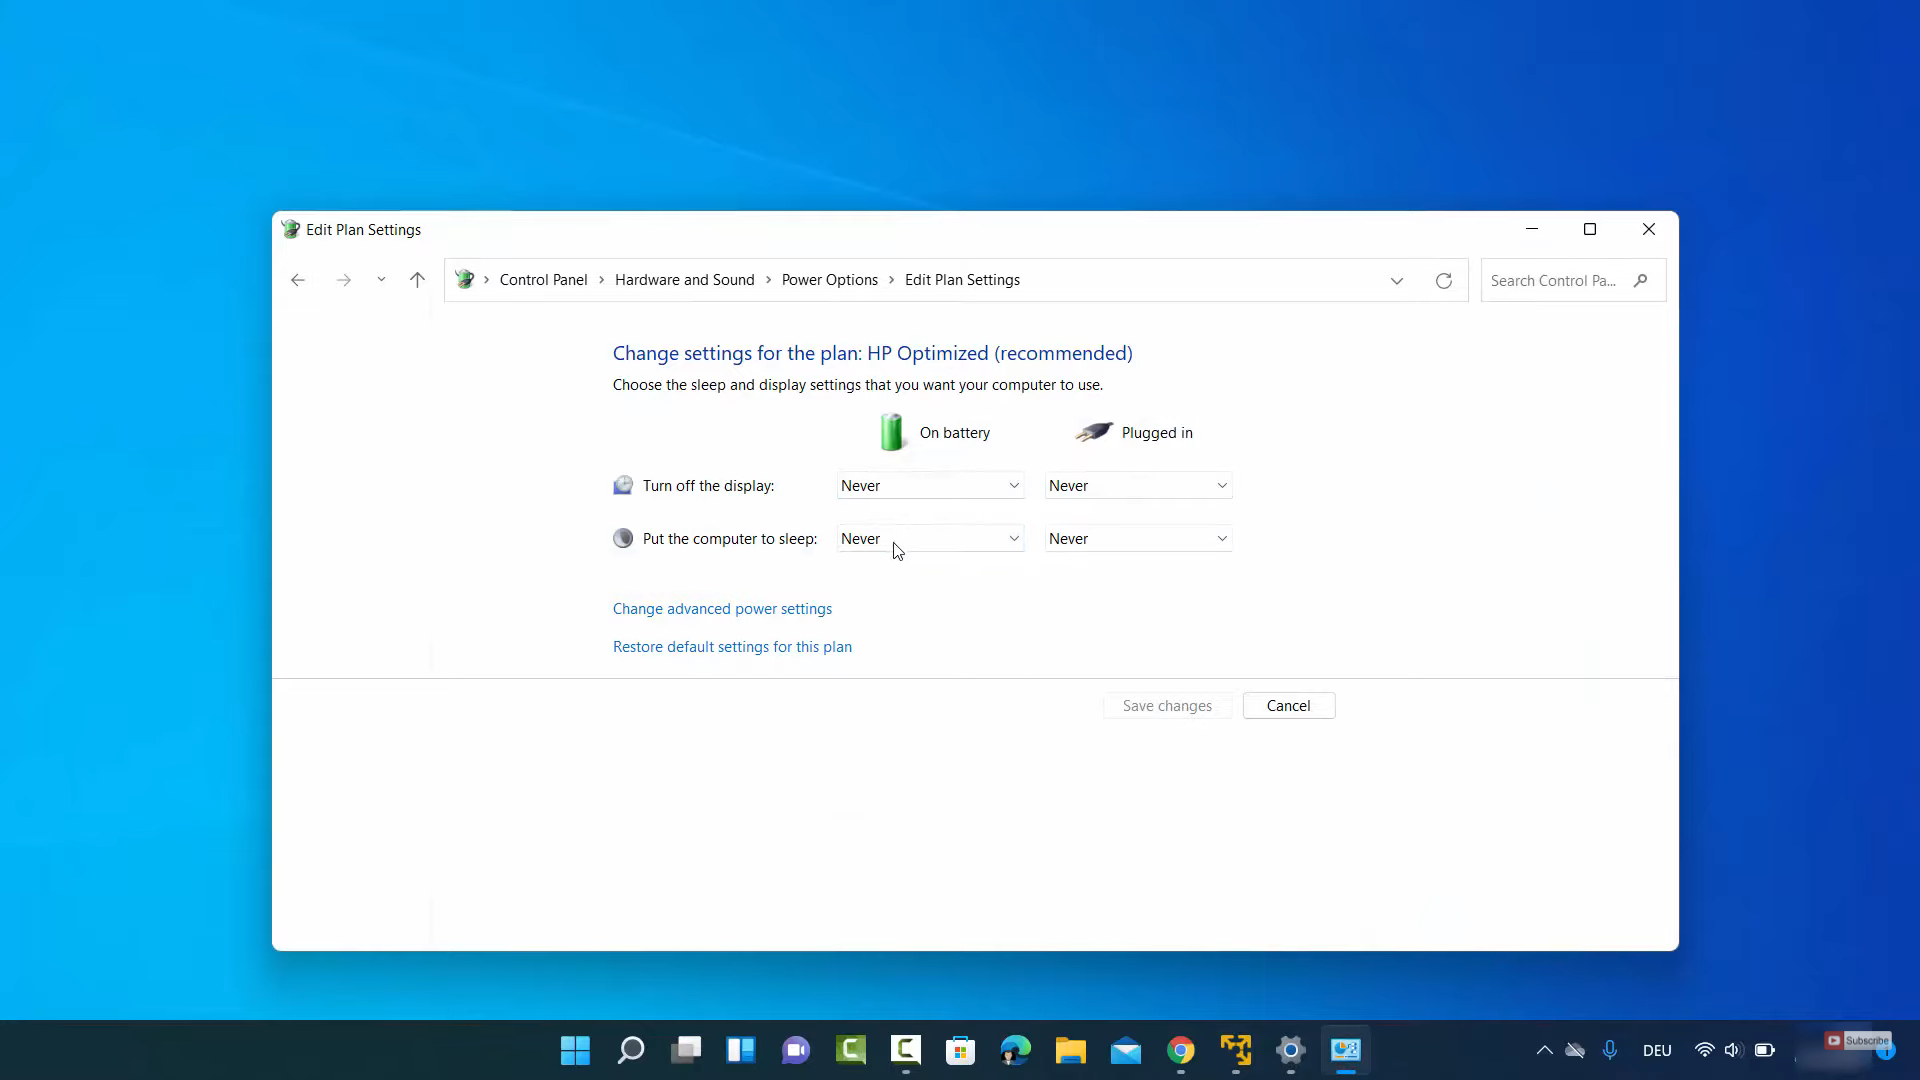
8. Click on the Change plan settings link.
9. Since we have already chosen Never in the settings app, all these options are turned into never. When you click on Restore default settings for this plan, it will restore them to default.
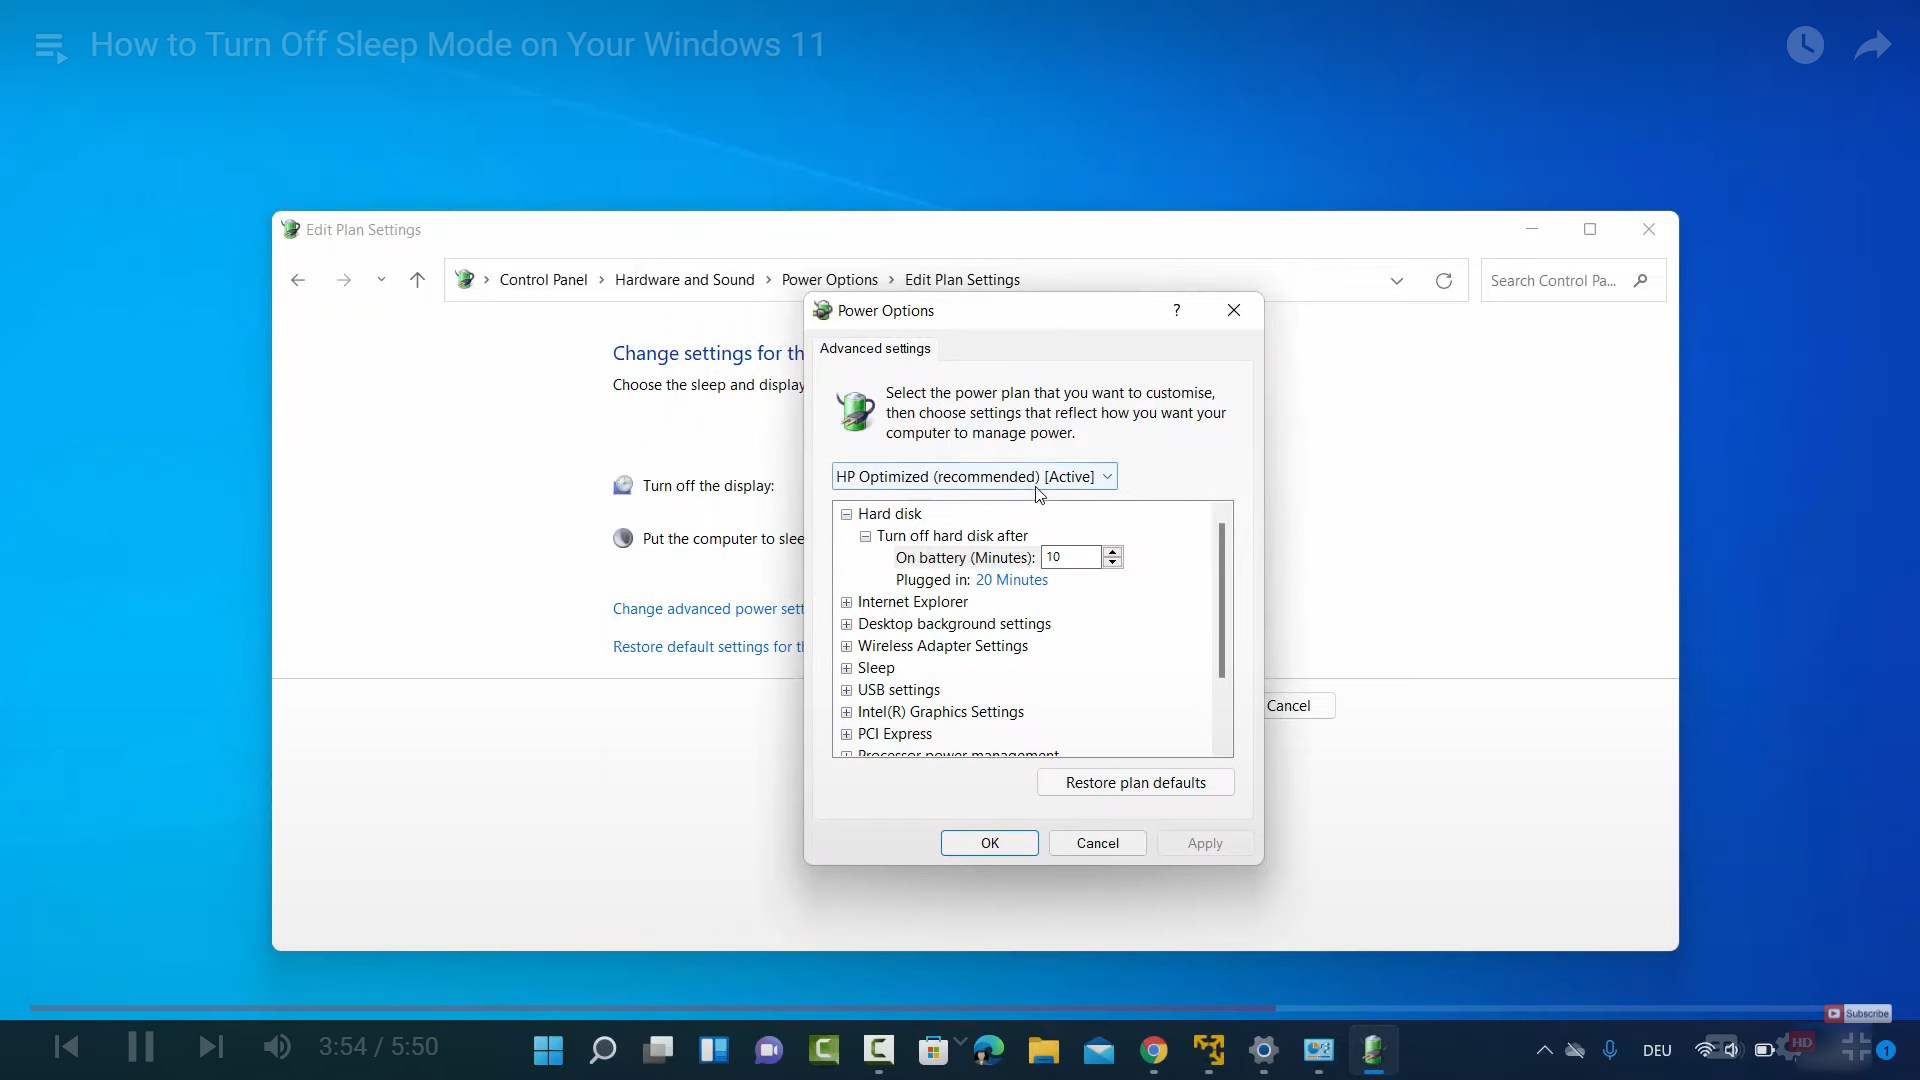
10. When you click on Change advanced power settings, it will open a window. From here, you can select different options for power.
11. Now I am going to click on Restore default settings for this plan. As you can see, it has restored it.

12. In the settings app also, it has restored it to the previous time.
These are the steps for turning off sleep mode on your Windows 11 Operating System.
Leave a Reply