
In this blog post, I will give a detailed view of installing MinGW on your Windows 11 Operating System.
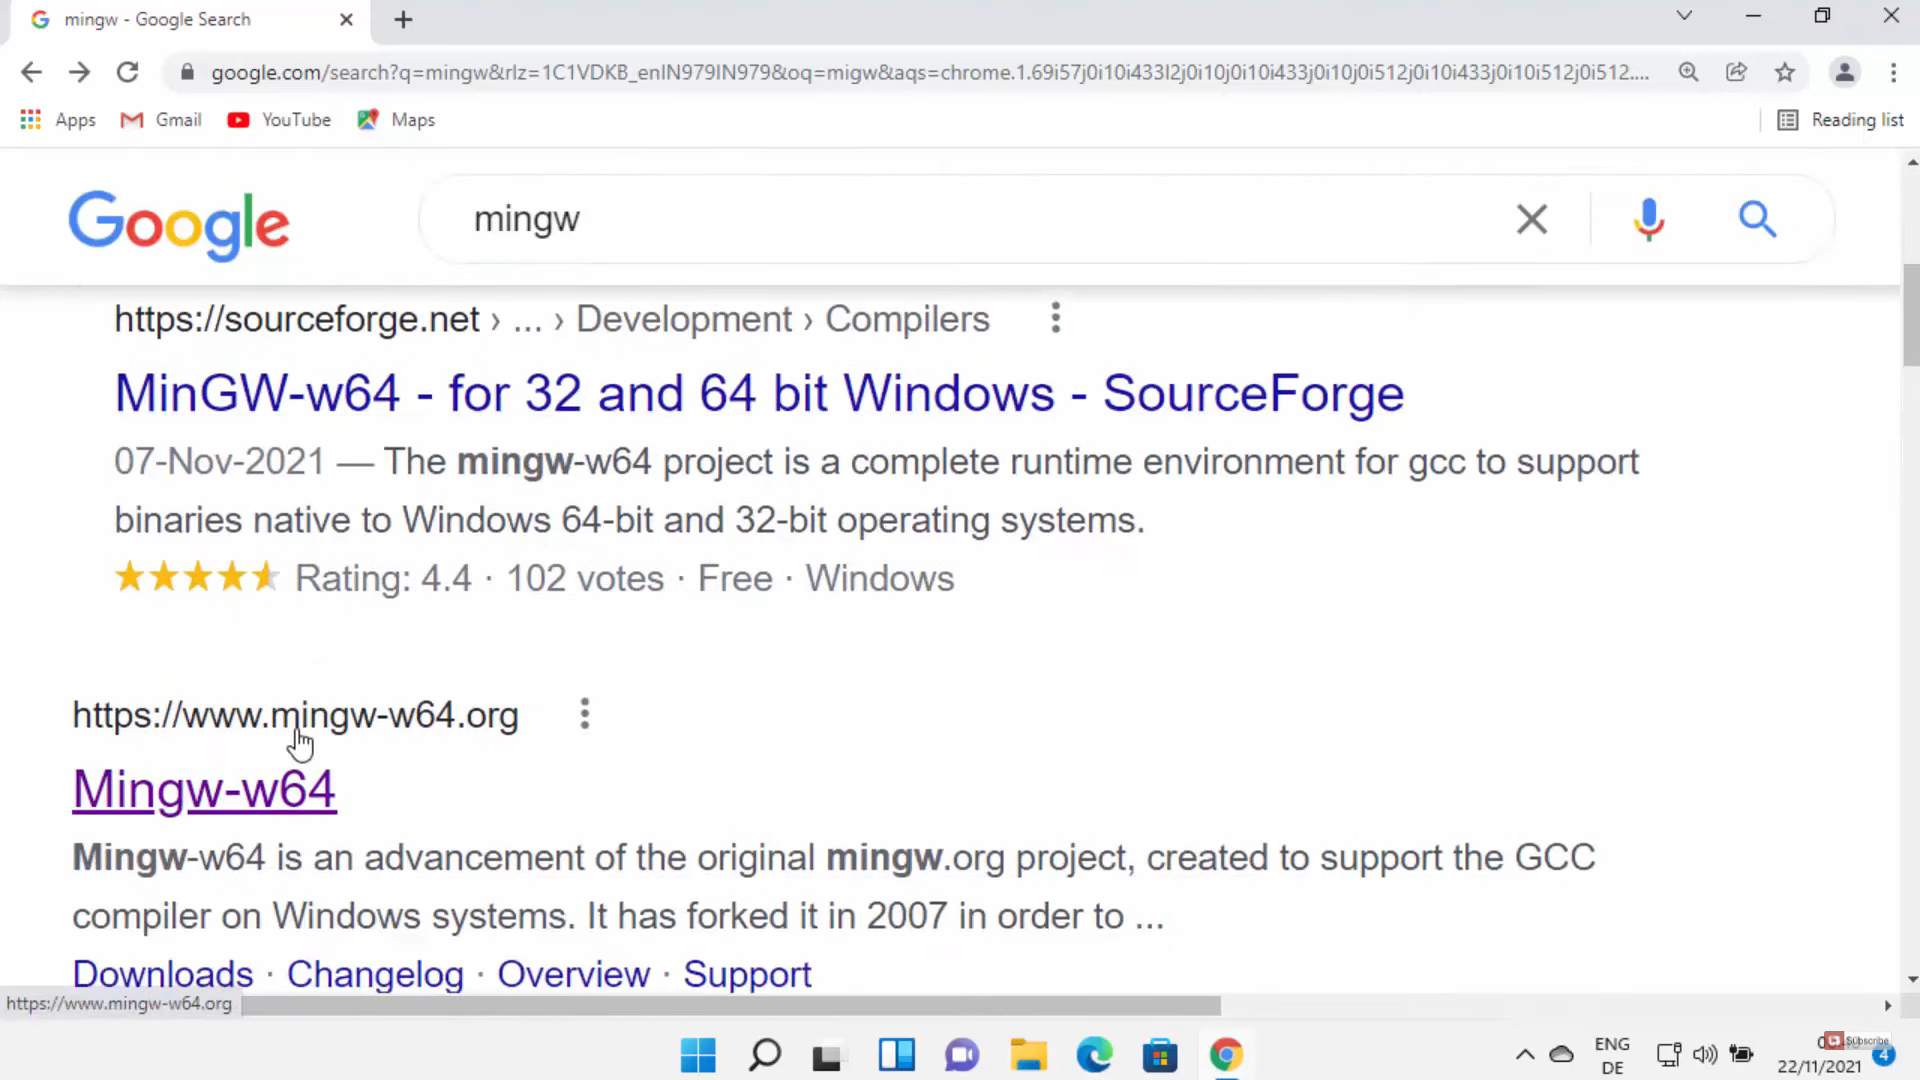
1. Open a web browser of your choice and search for MinGW. Click on the mingw-64.org website.
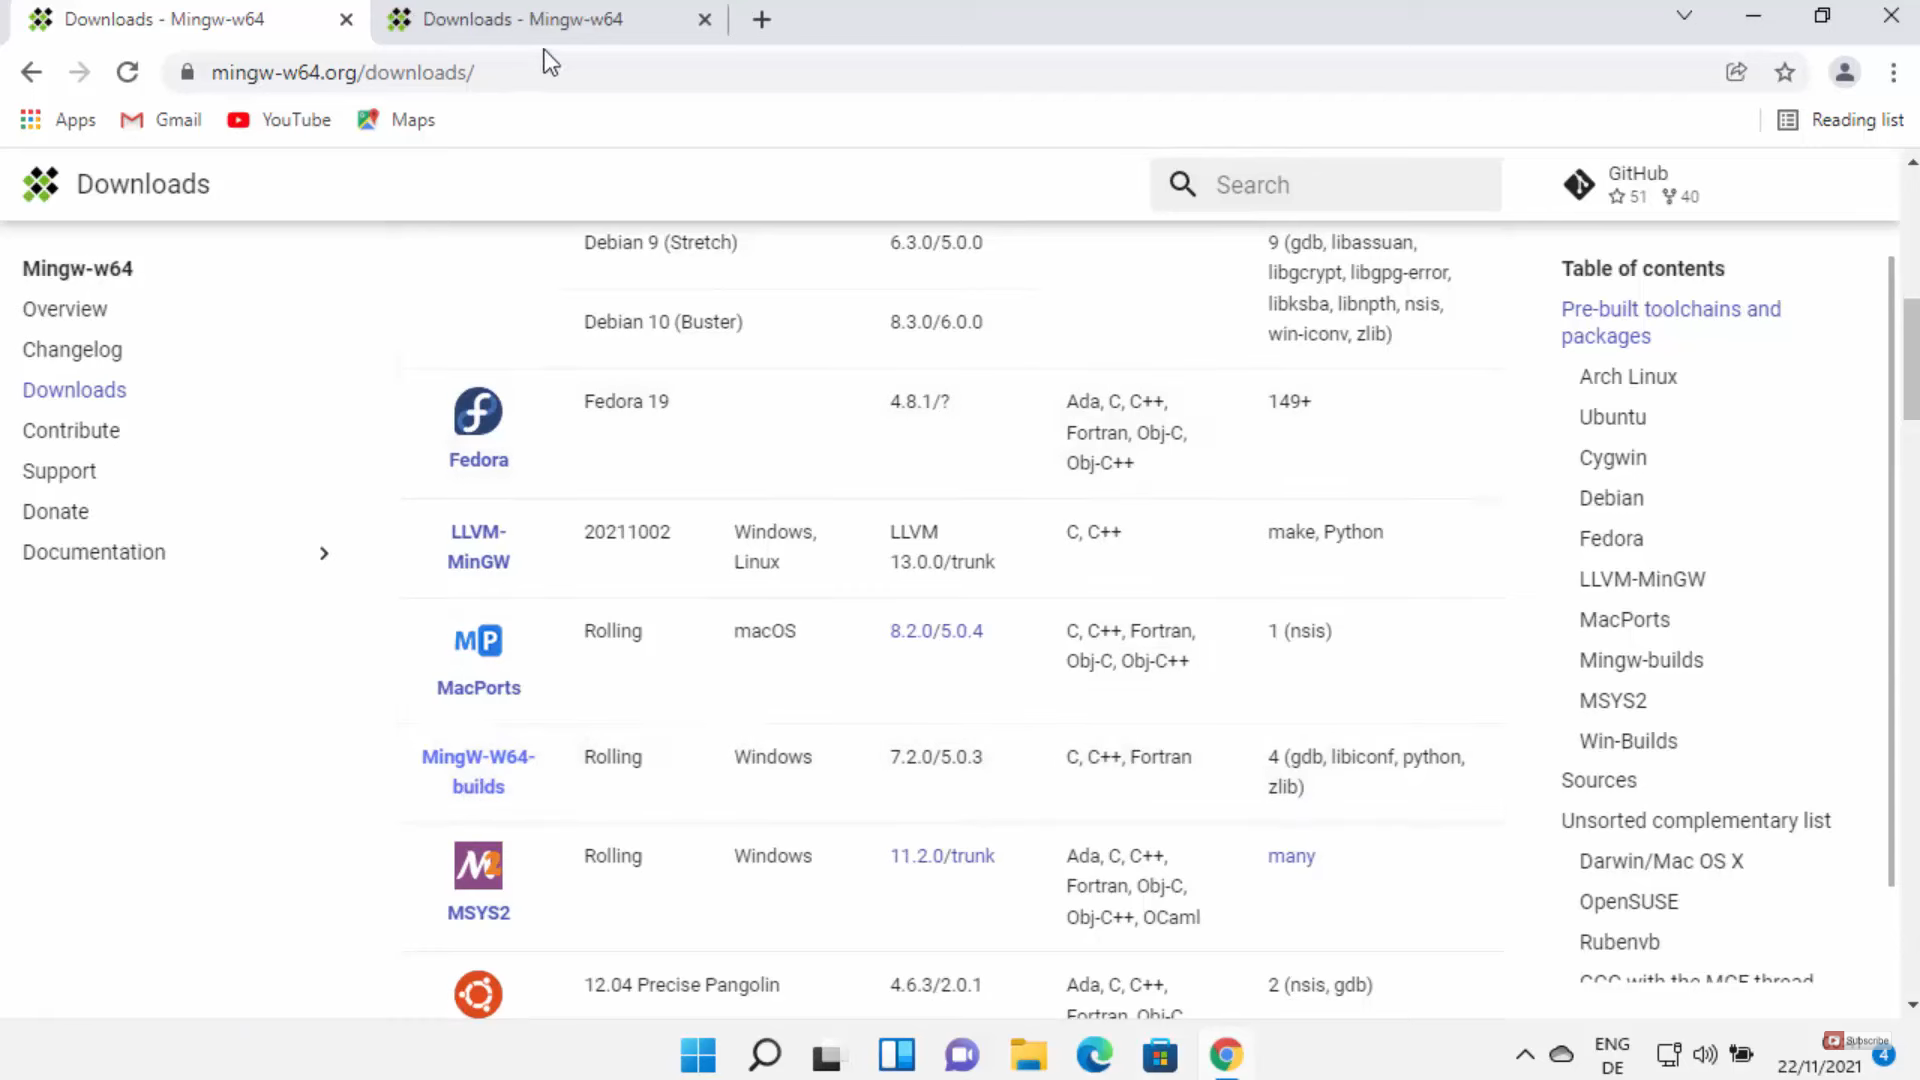
2. Once the website opens, click on the downloads option. Here, you will be able to see the options for different operating systems. The one that we are interested in is the Windows version. Scroll down and click on MingW-W64-builds.
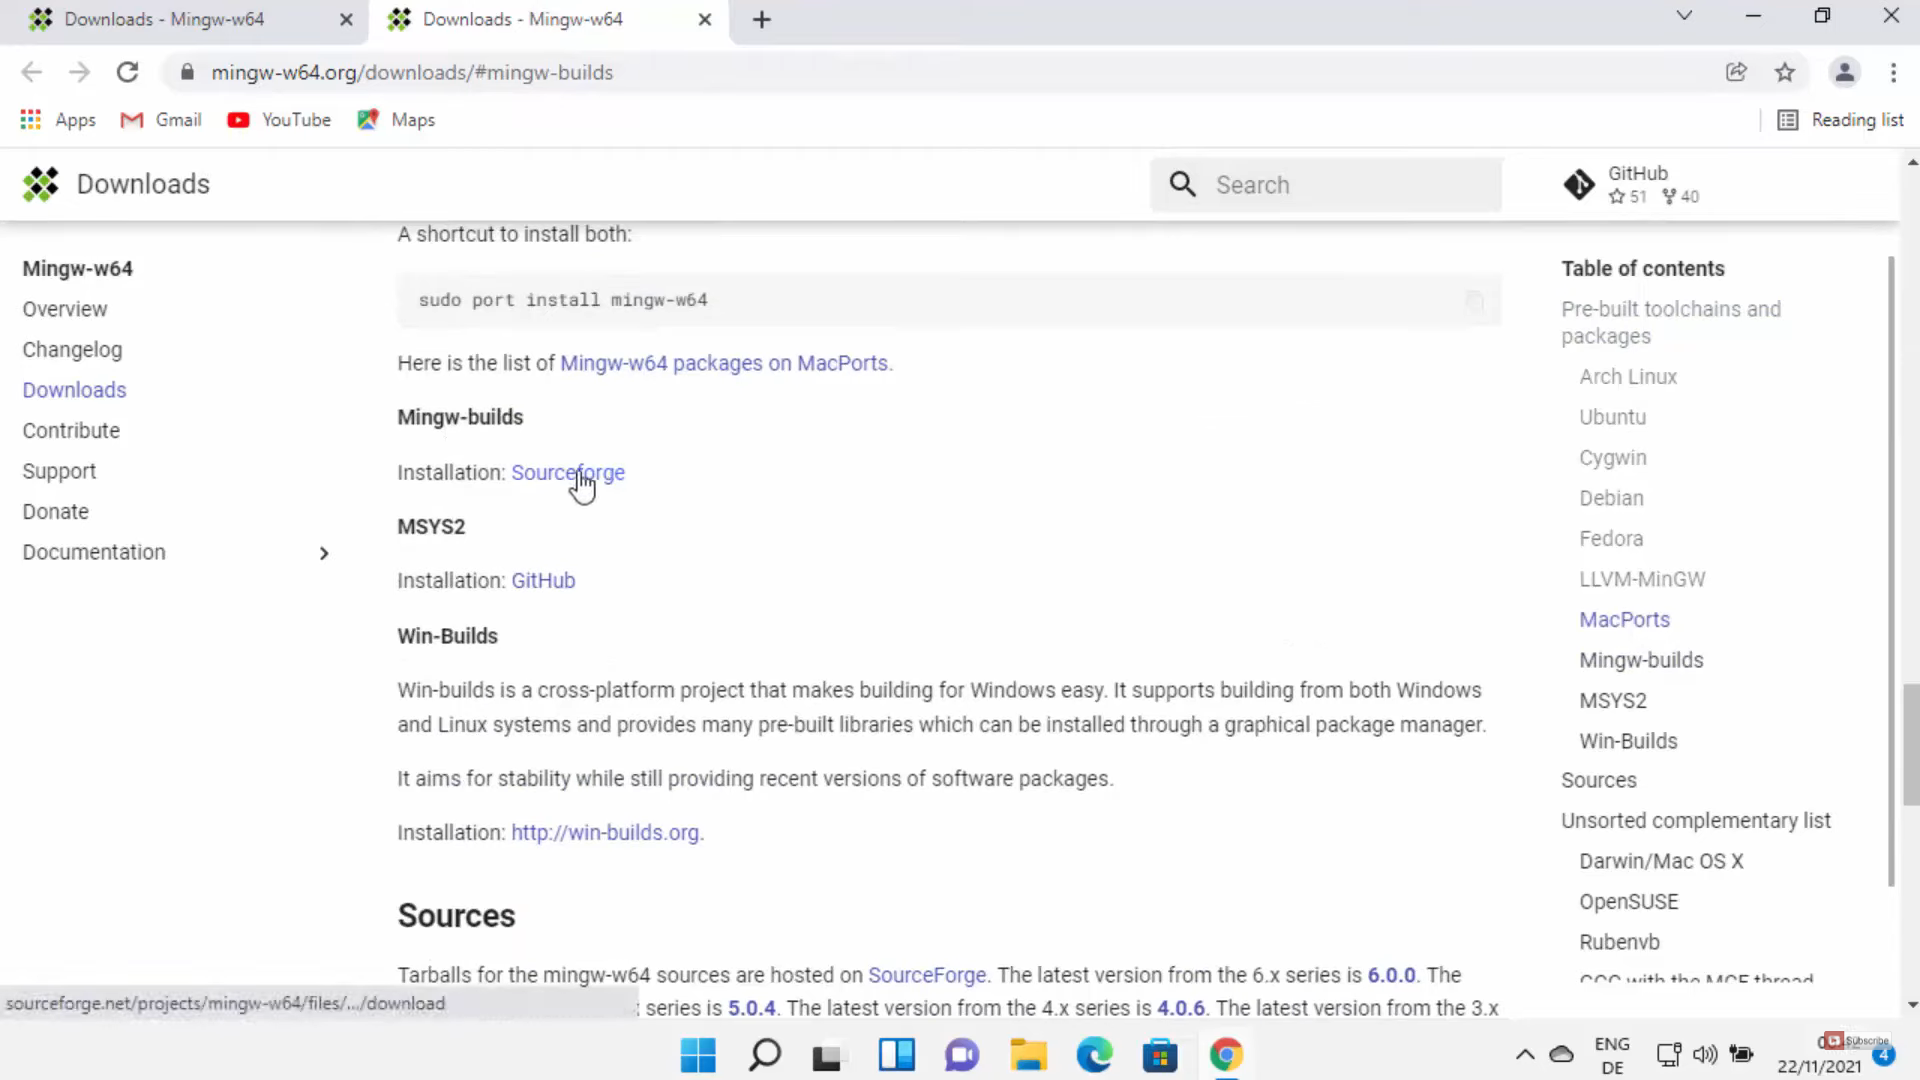
3. It will redirect you to another page. You need to click on Sourceforge. It will start to download.
4. Once the download is complete, click on the exe file and minimize the browser. It will show a warning. Click on yes.

5. In the installer window, click on Next.

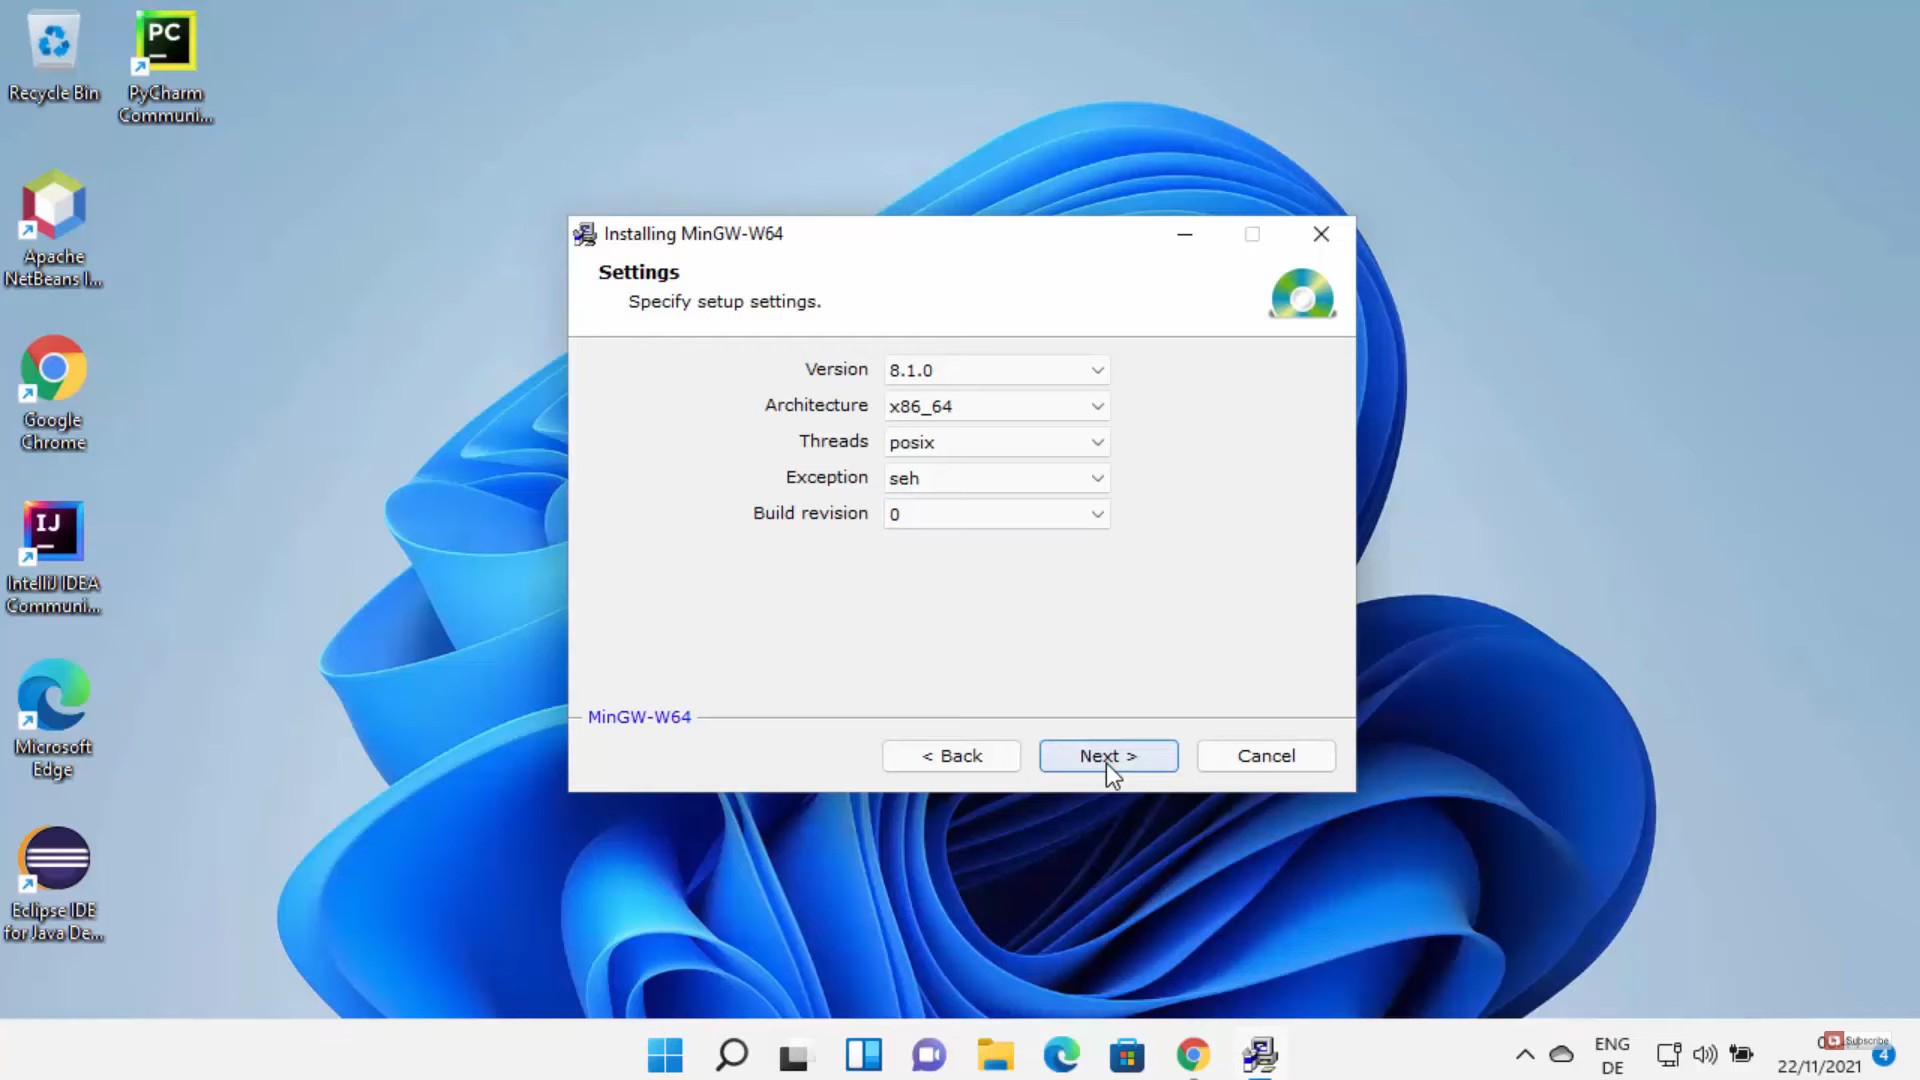
6. In the settings window, I am going to choose the highest version. For the architecture, I am going to choose 64. For threads, I am going to choose Posix. I am going to leave exceptions and build revision as default. Then, click on Next.
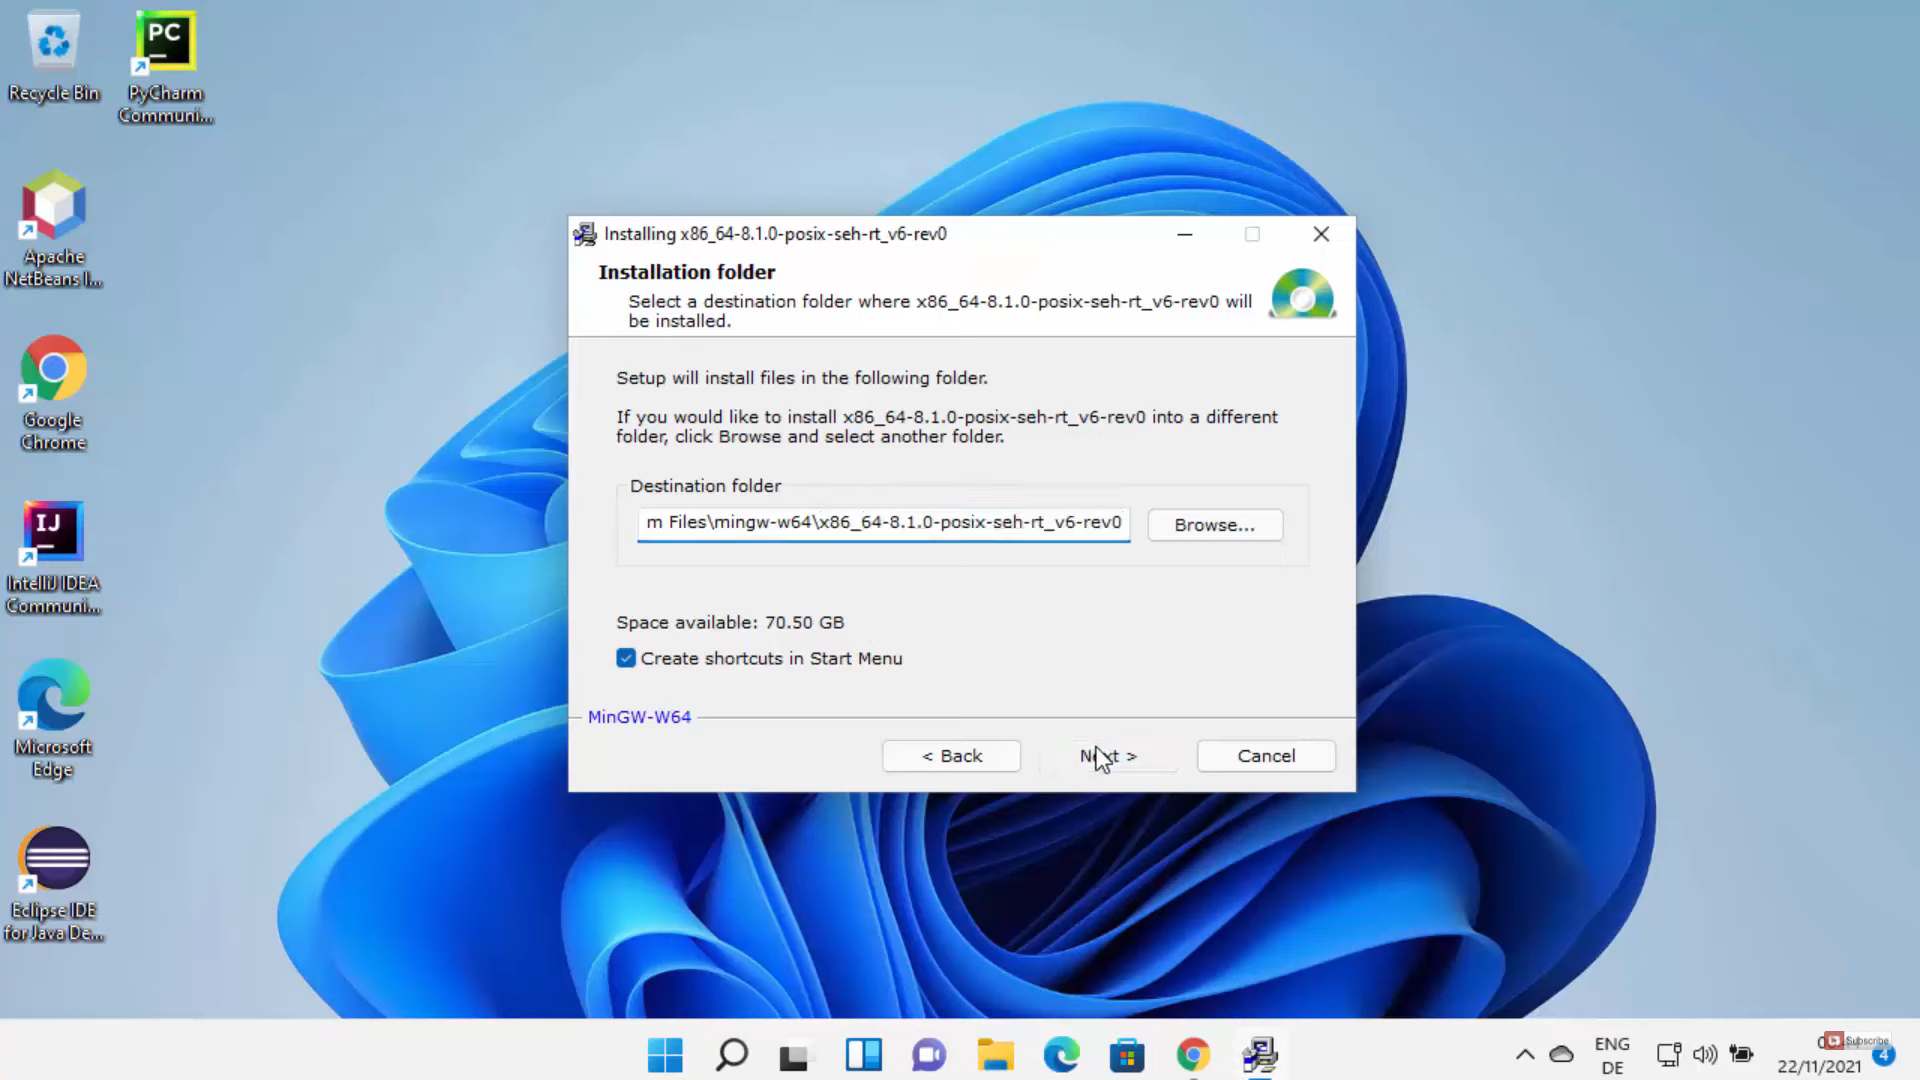
7. This will be the location where it will be installed. If you want, you can change the location you want by clicking on the Browse option. I am going to leave it as default and click on Next.
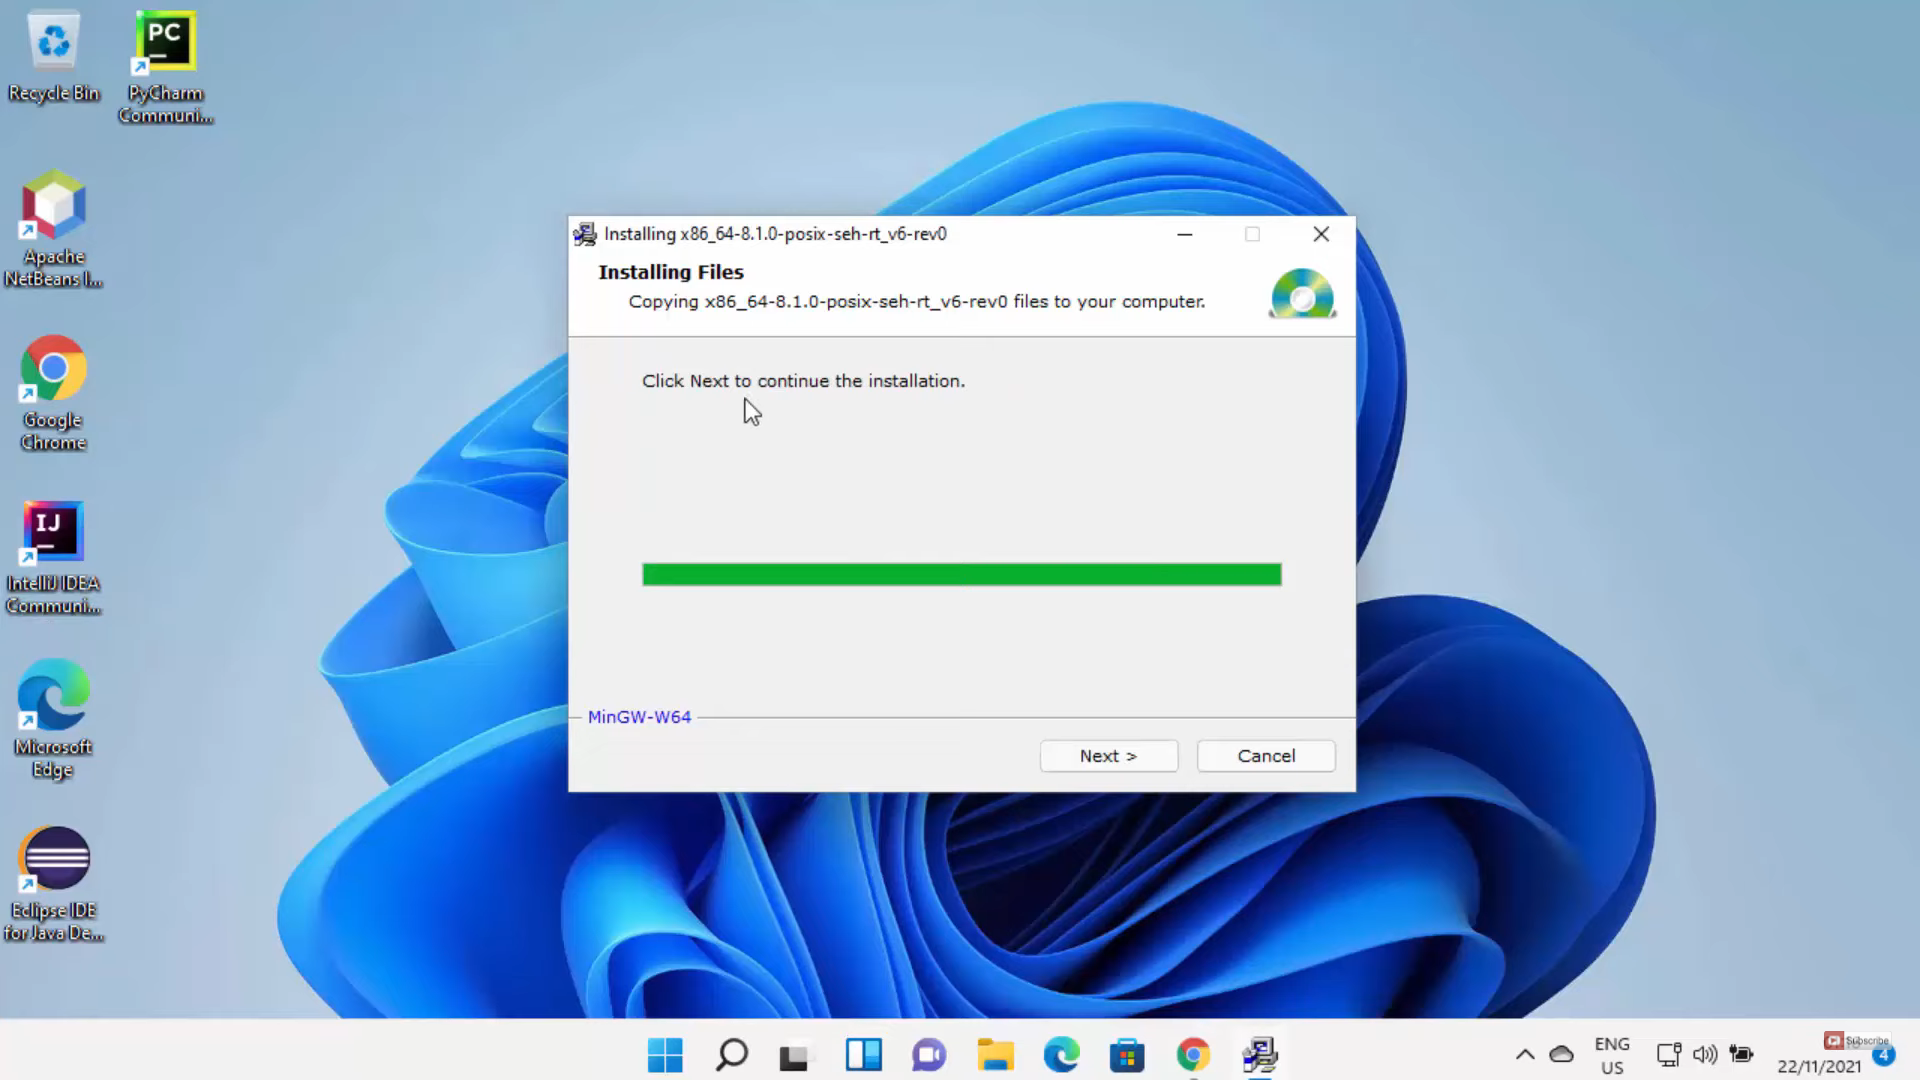
8. In this window, click on Next to continue the installation.
9. In the next window, click on Finish.

10. Go to the location where it has been installed. Under the bin folder, you will be able to see all the folders which will help you to compile the program. Go to the bin folder and copy the path.

11. To set the environment variable, go to the search icon and search for edit environment.

12. Once it opens, click on the path under system variables and click on edit.
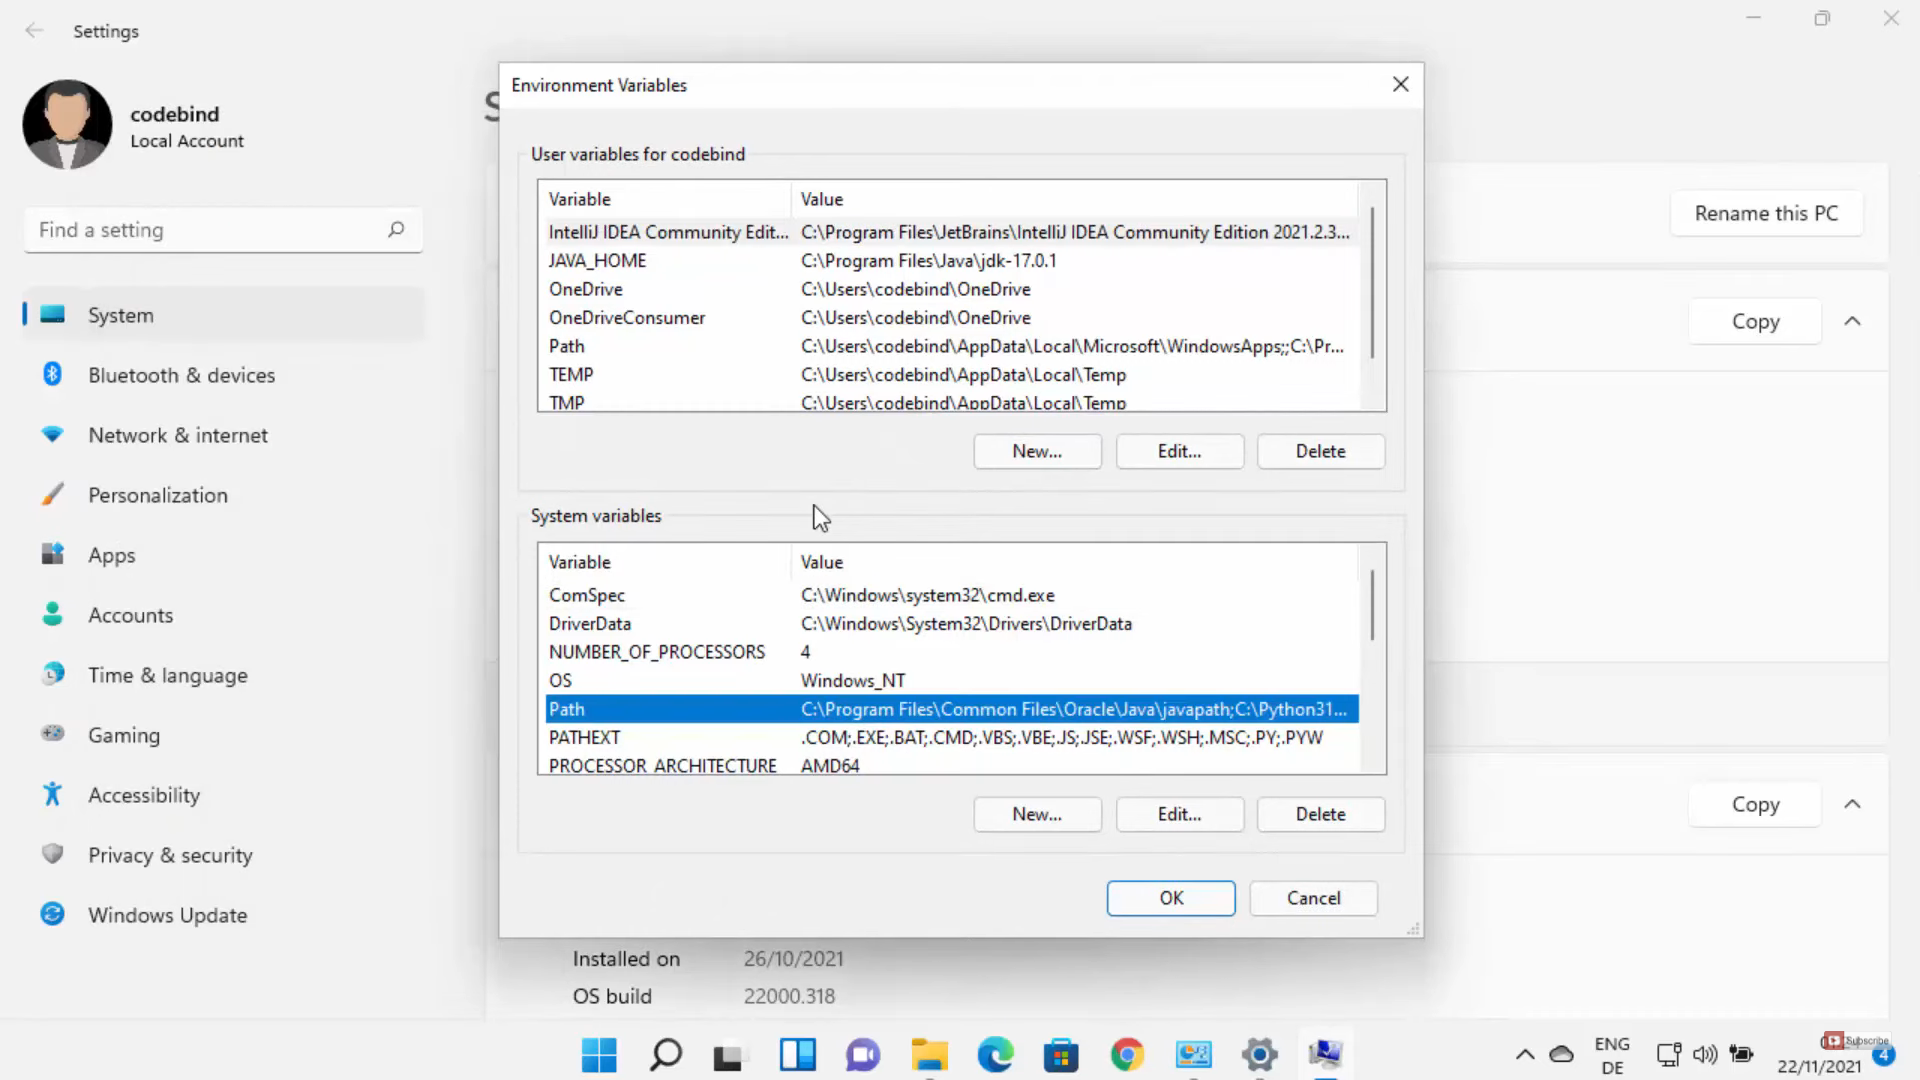
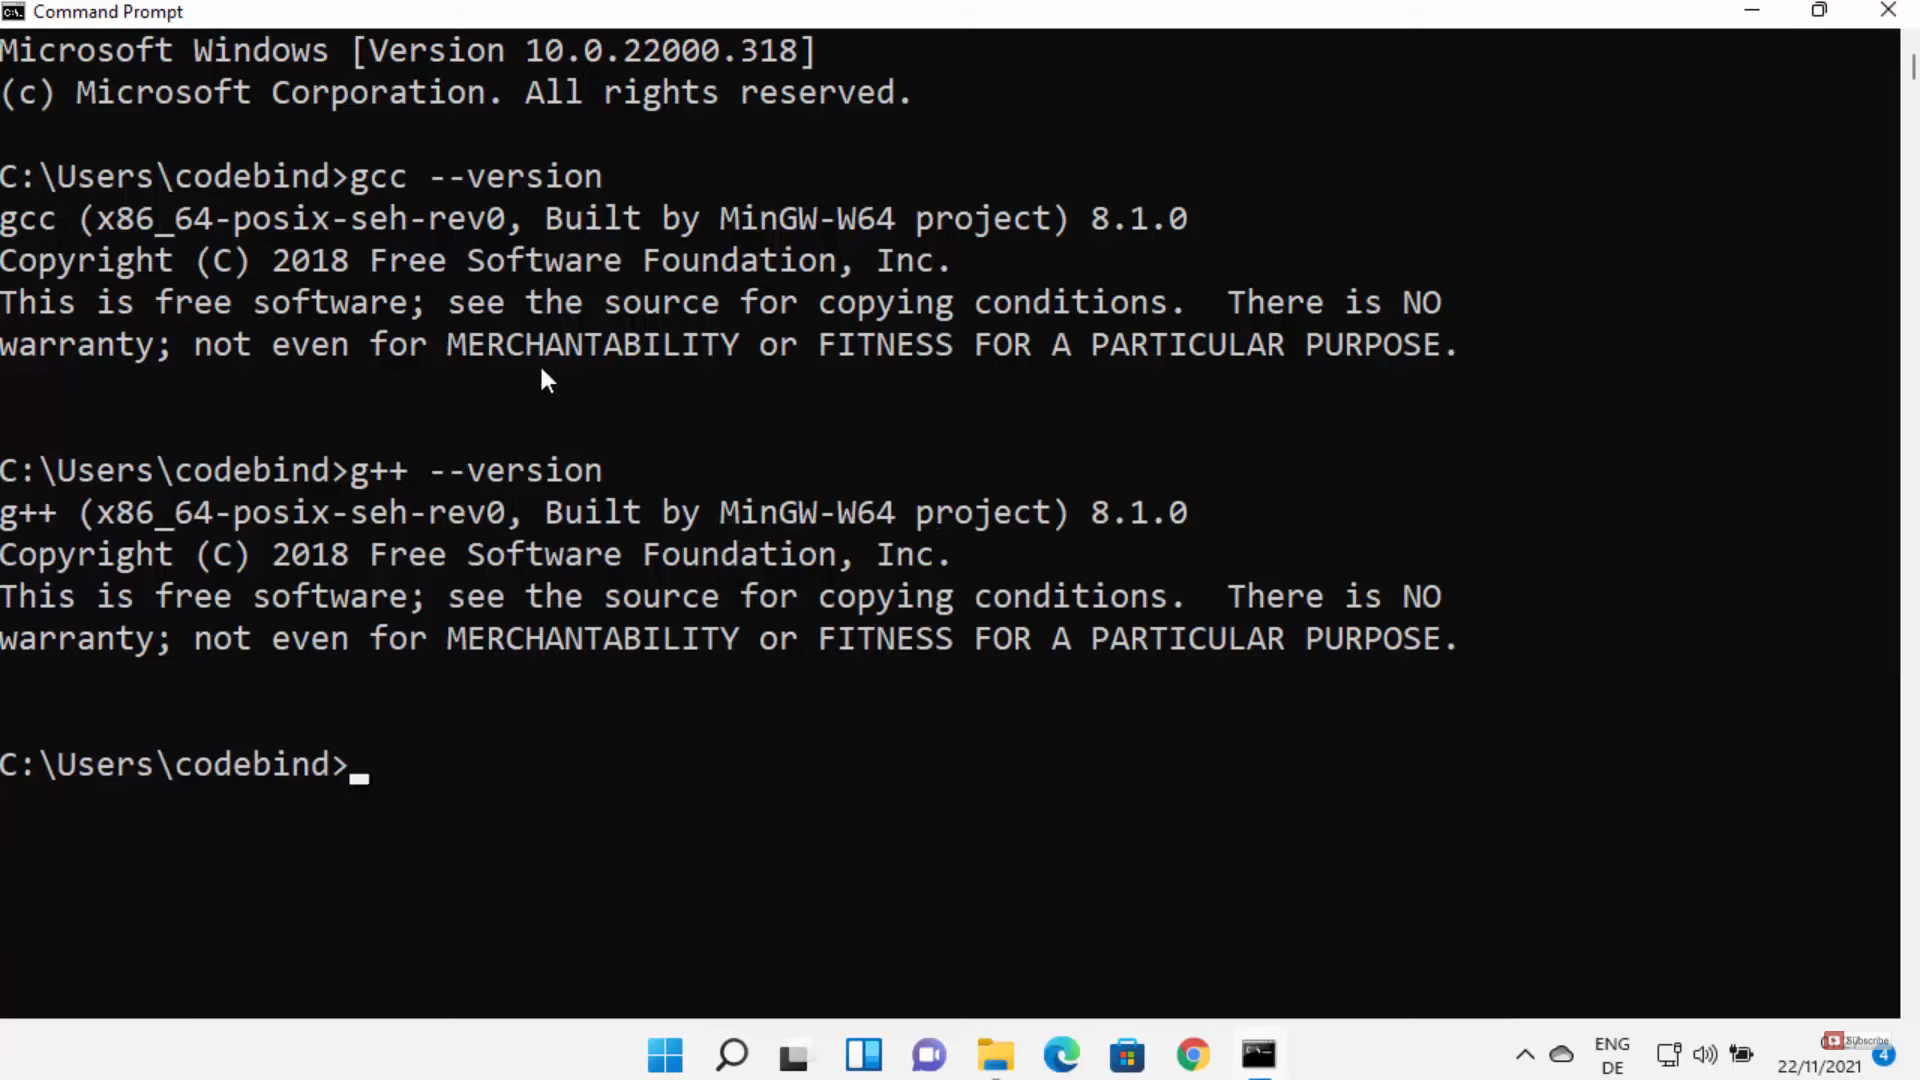
13. Click on new and paste the path here. Then, press enter. Click Ok on all the tabs. Now we can test the GCC and G++ versions. Click on the search icon and search for cmd and open the command prompt.

14. Once the command prompt window opens, type gcc –version and press enter. If you see the result which is displayed in the image below then the command works successfully. Similarly, type g++ –version and press enter. If it shows the kind of result which is displayed in the image below, then g++ also works successfully. Now, let’s see how to compile a very simple c program.
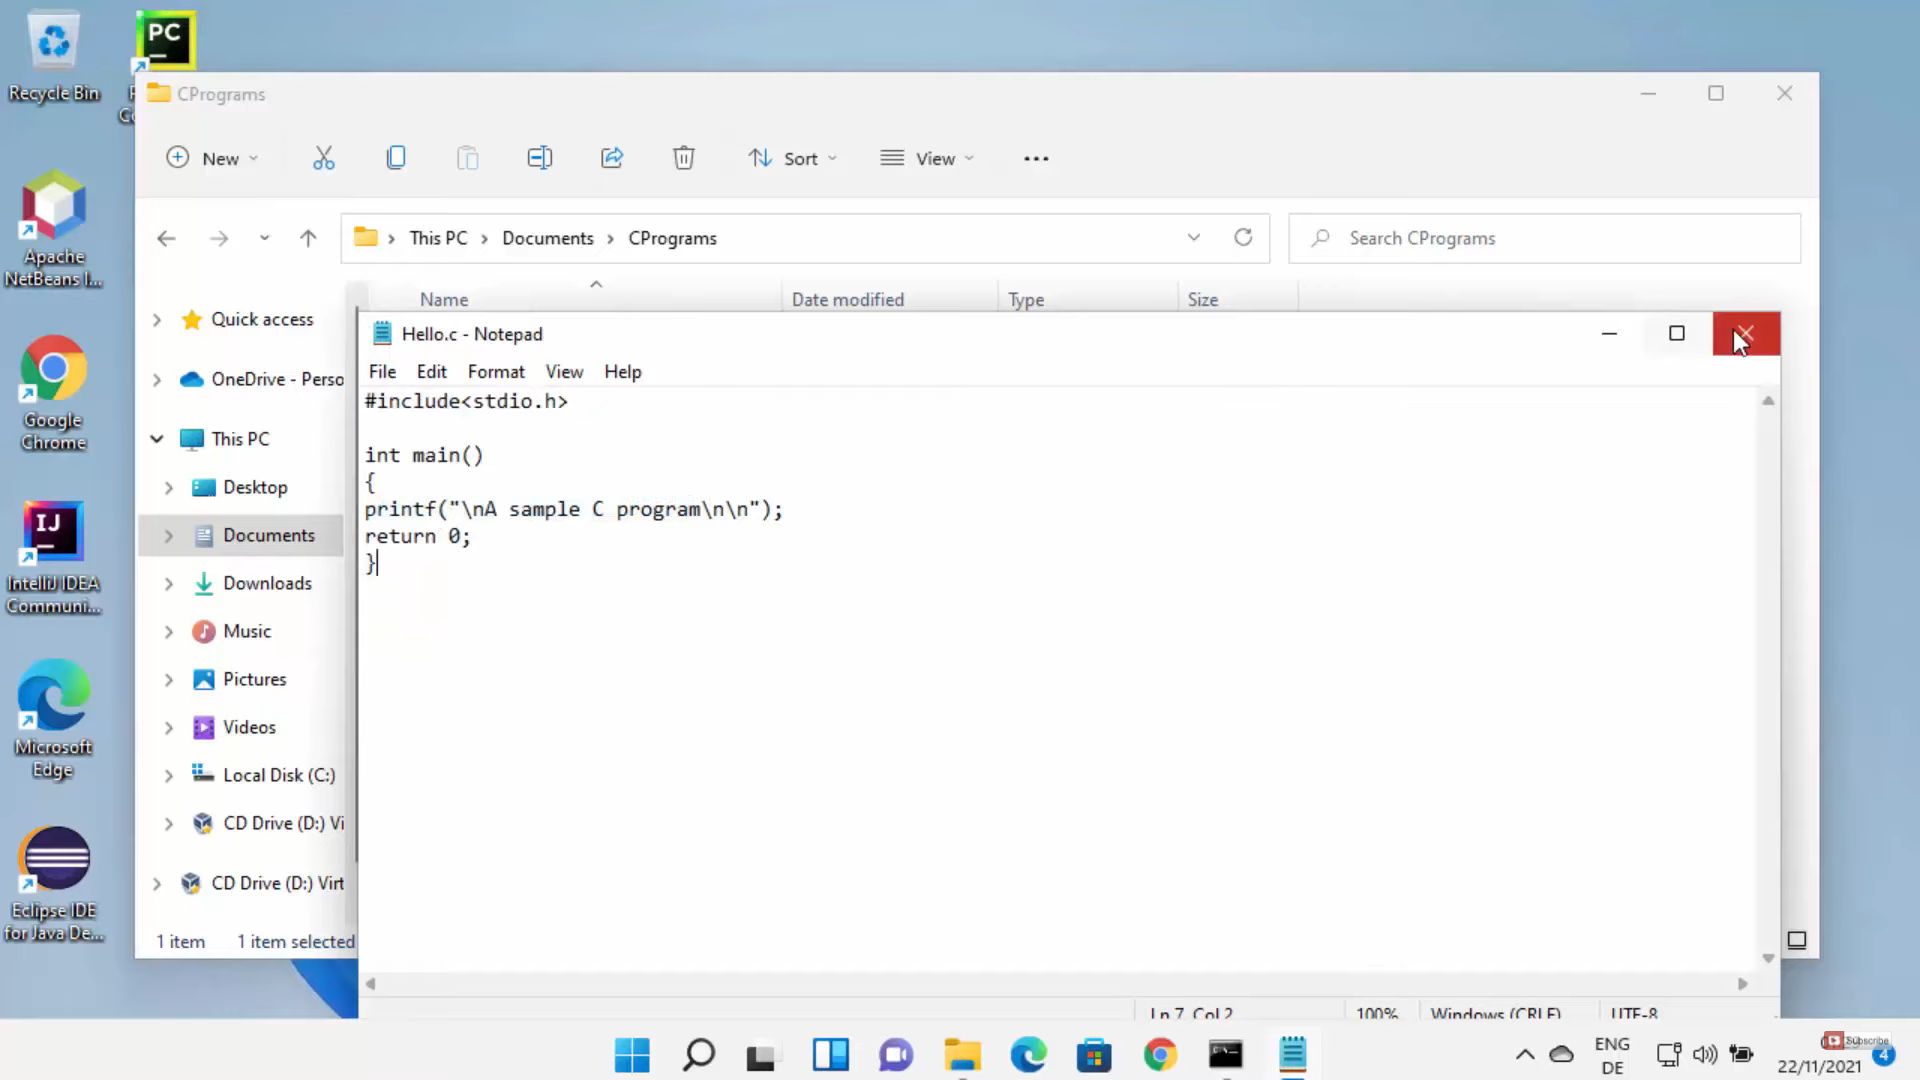
15. For this, open the file explorer and go to the location where you want to create a folder for saving your c programs. Right-click and click on New and Text Document. Since it is in text format, you should rename it and change it to Hello.c and press enter. Copy the path where the c file is saved.

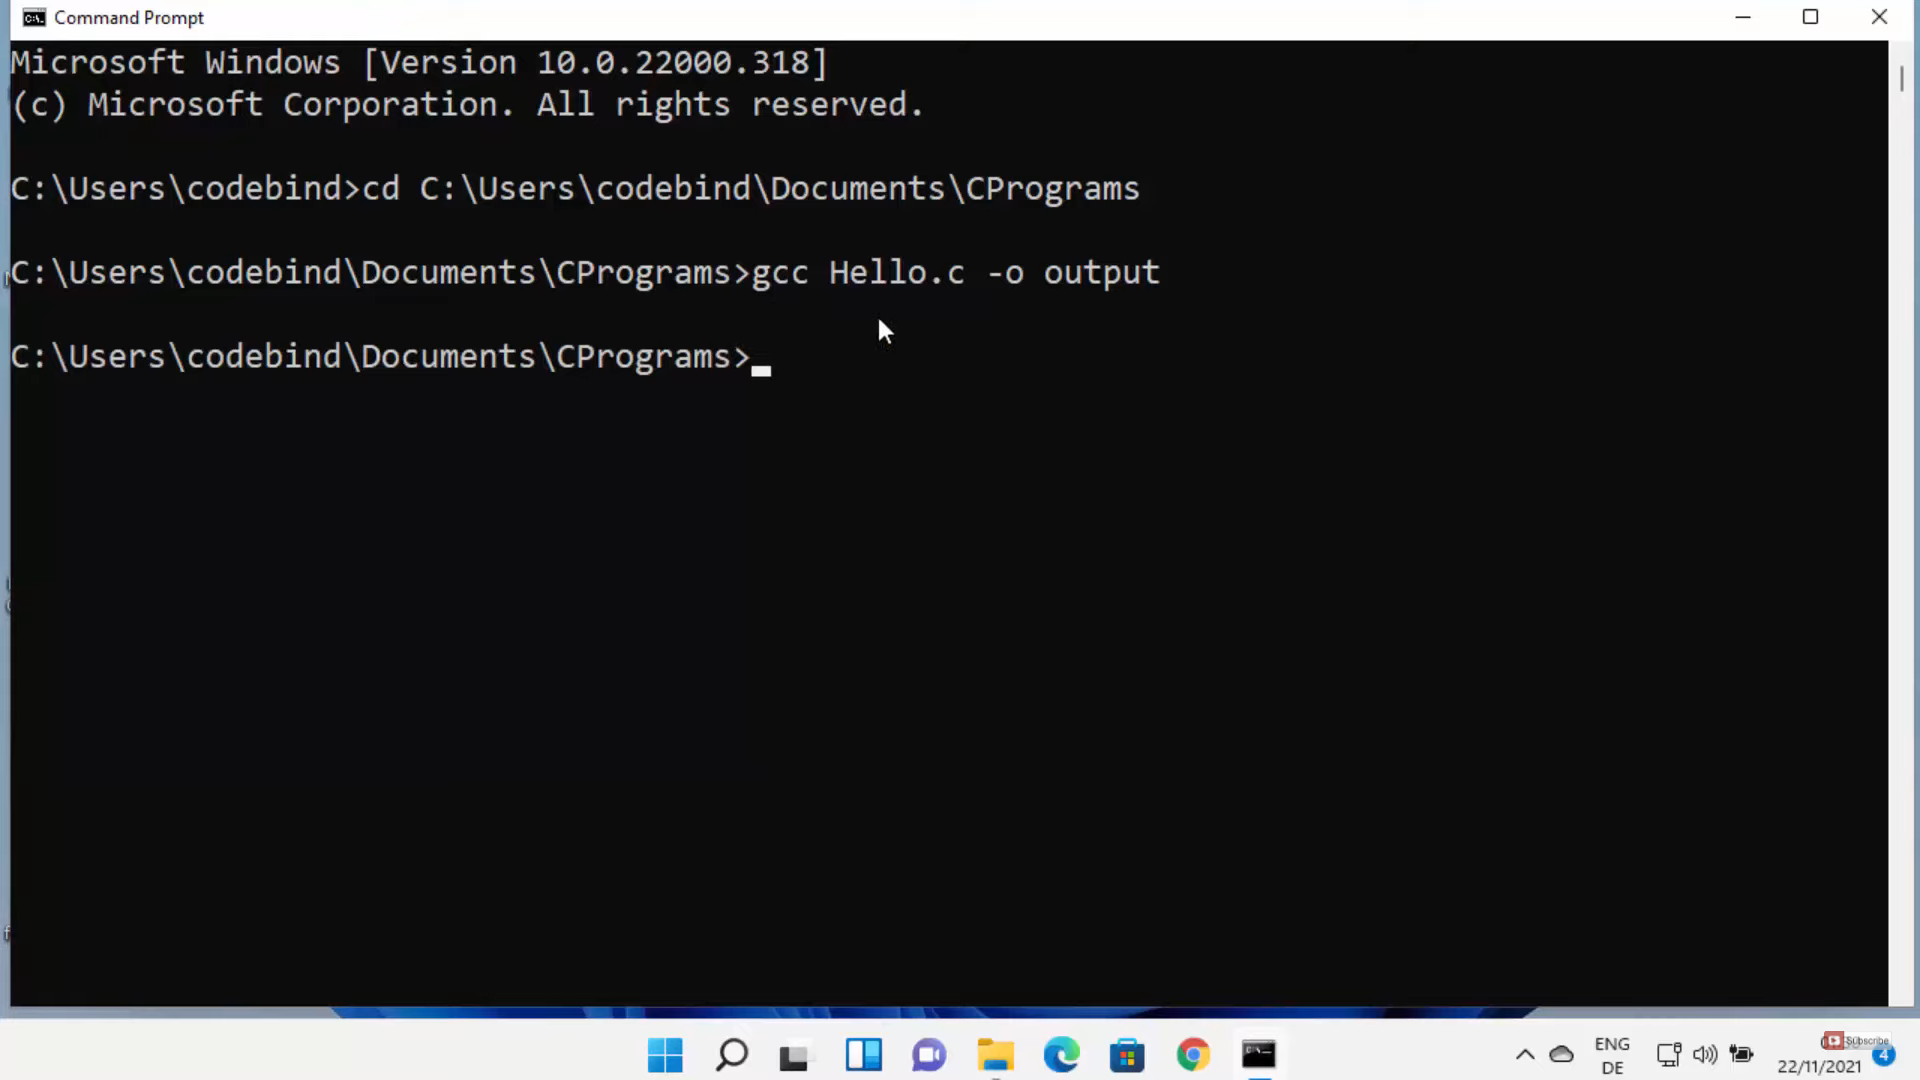
16. Once again open the command prompt, type cd, paste the path, and press enter. To compile you should write some code. Open the file using notepad. Type the simple c program provided in the image below and save it.
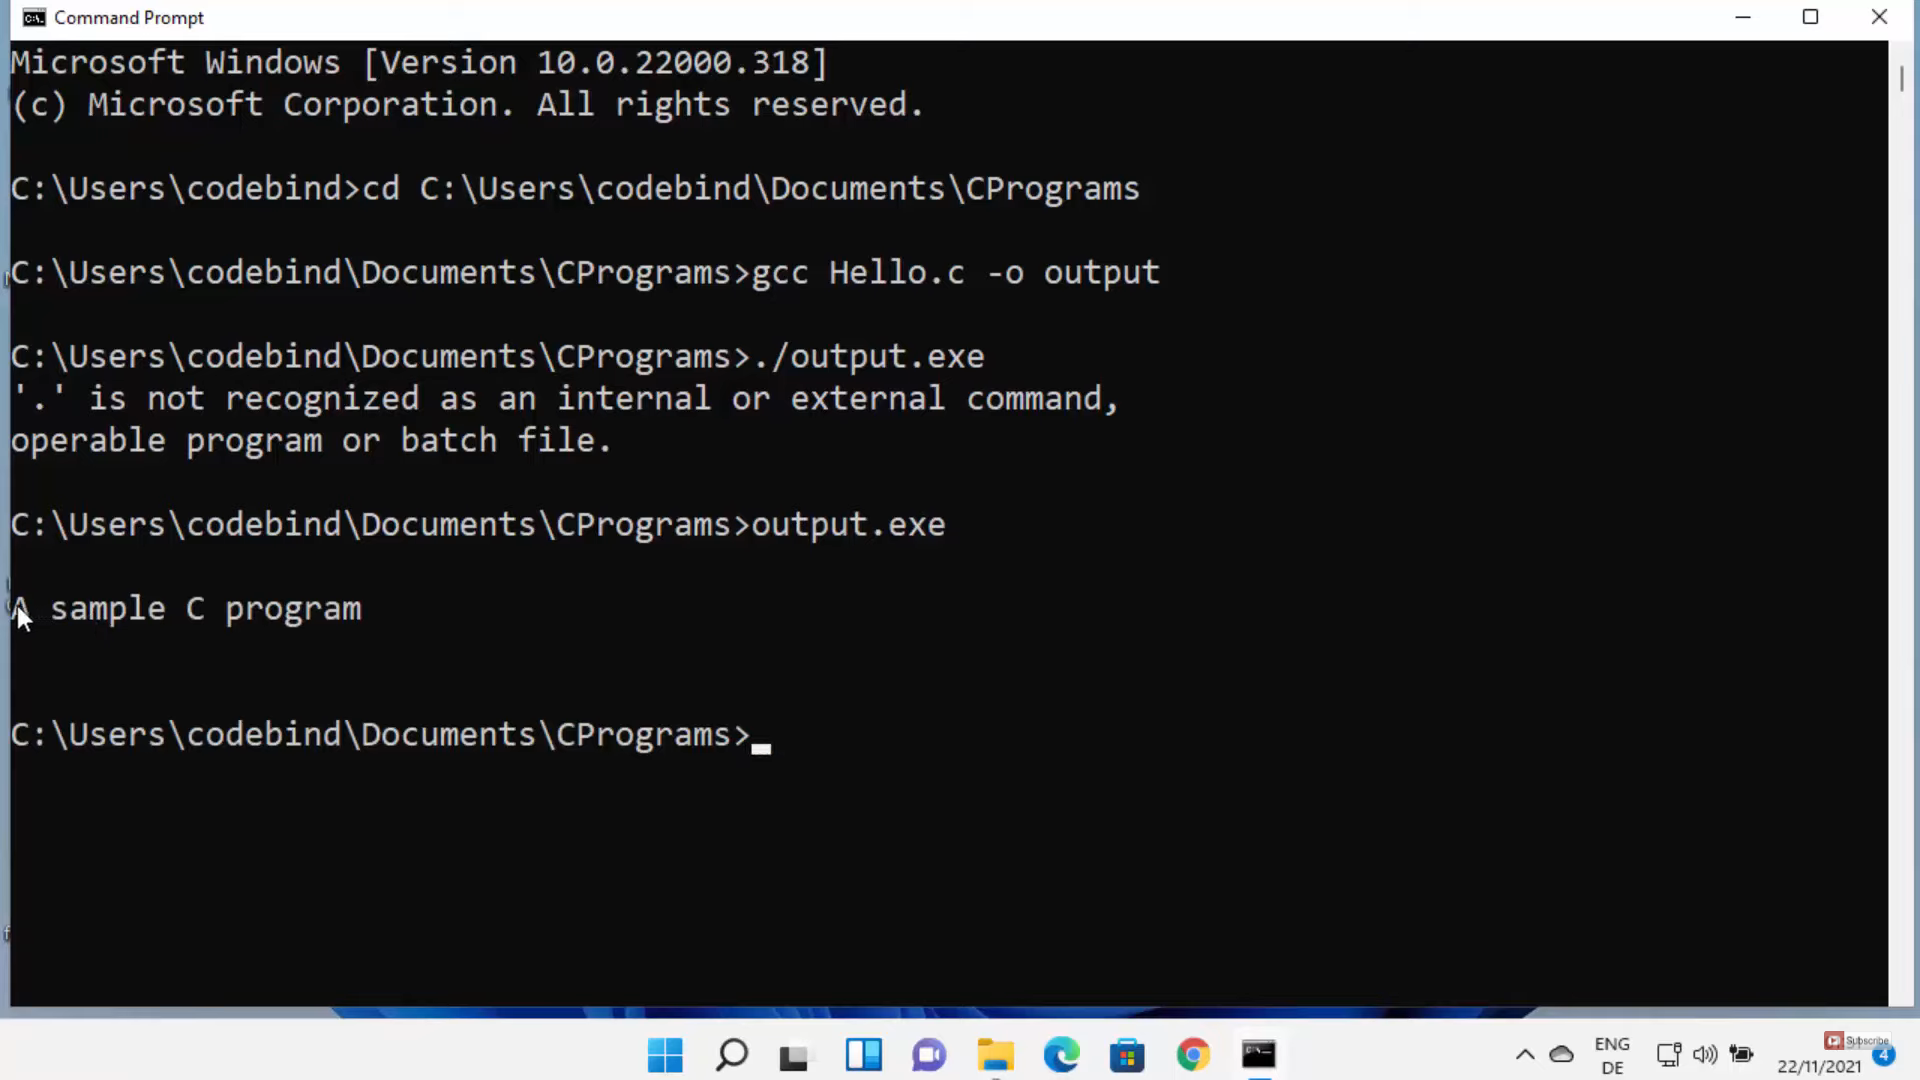
17. Once you have saved the c program, open the command prompt, type gcc Hello.c -o output, and press enter. If it doesn’t contain any error, it will create an exe file. Here, type output.exe and press enter. It will show you the output.
These are the steps for installing MinGW on your Windows 11 Operating System.
Leave a Reply