
In this blog post, I will give a detailed view of deleting a drive partition on your Windows 11 Operating System.
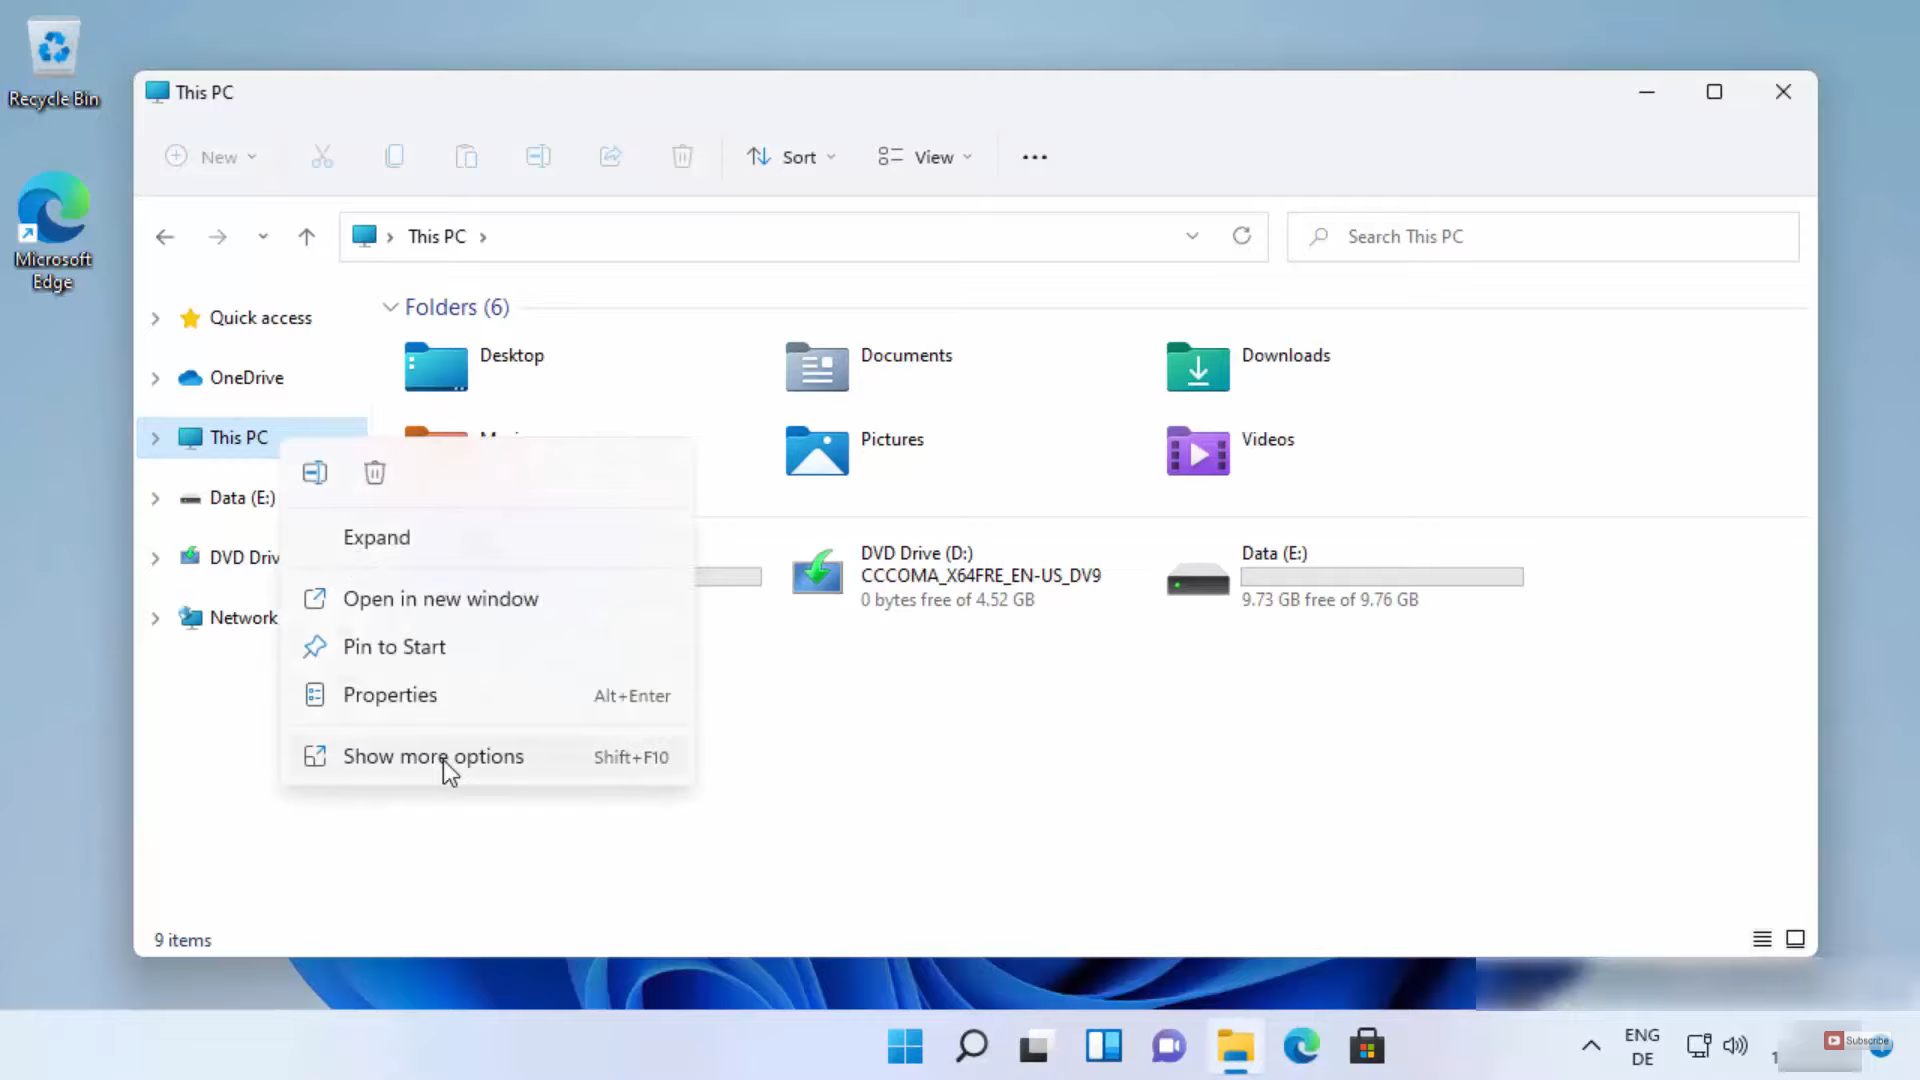
1. Open your Folder Explorer and click on This PC. Right-click on it and click on Show more options.
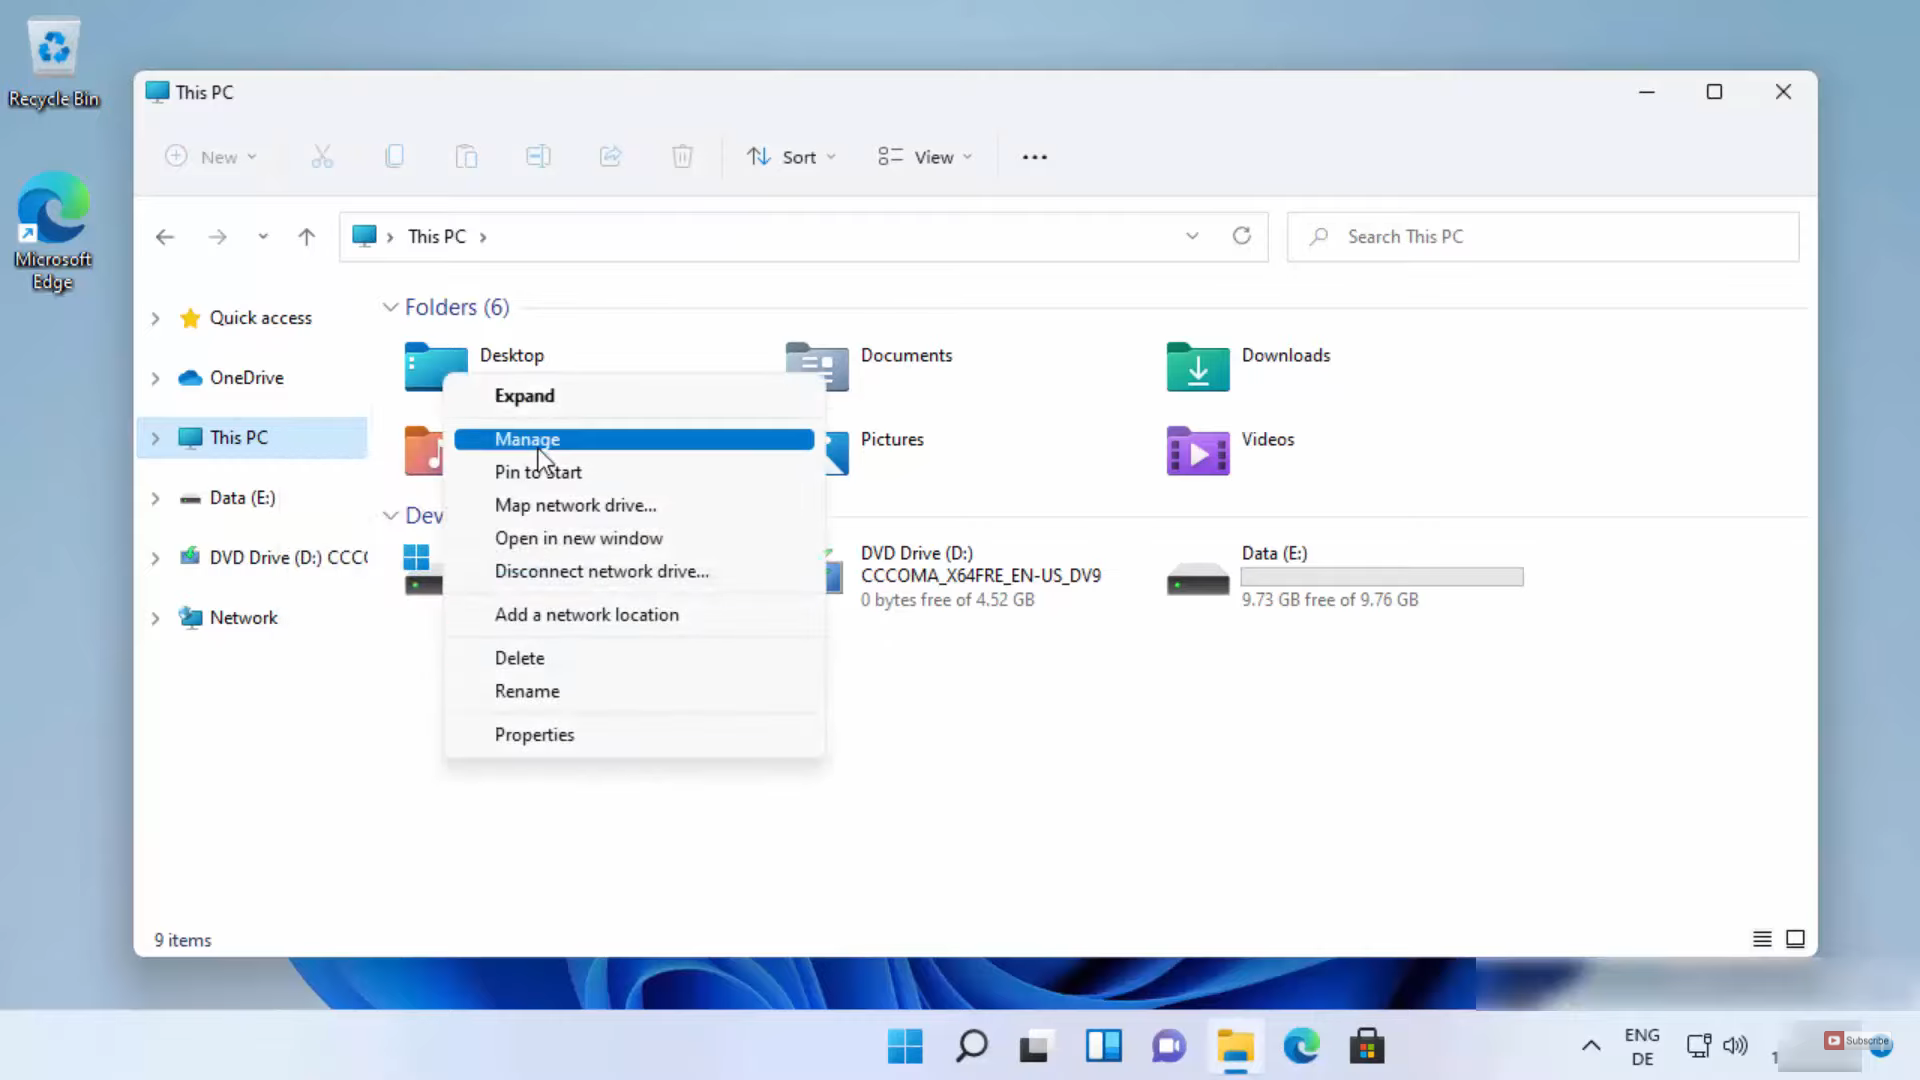
2. Click on Manage.
3. Once the Computer Management window opens, click on Disk Management.
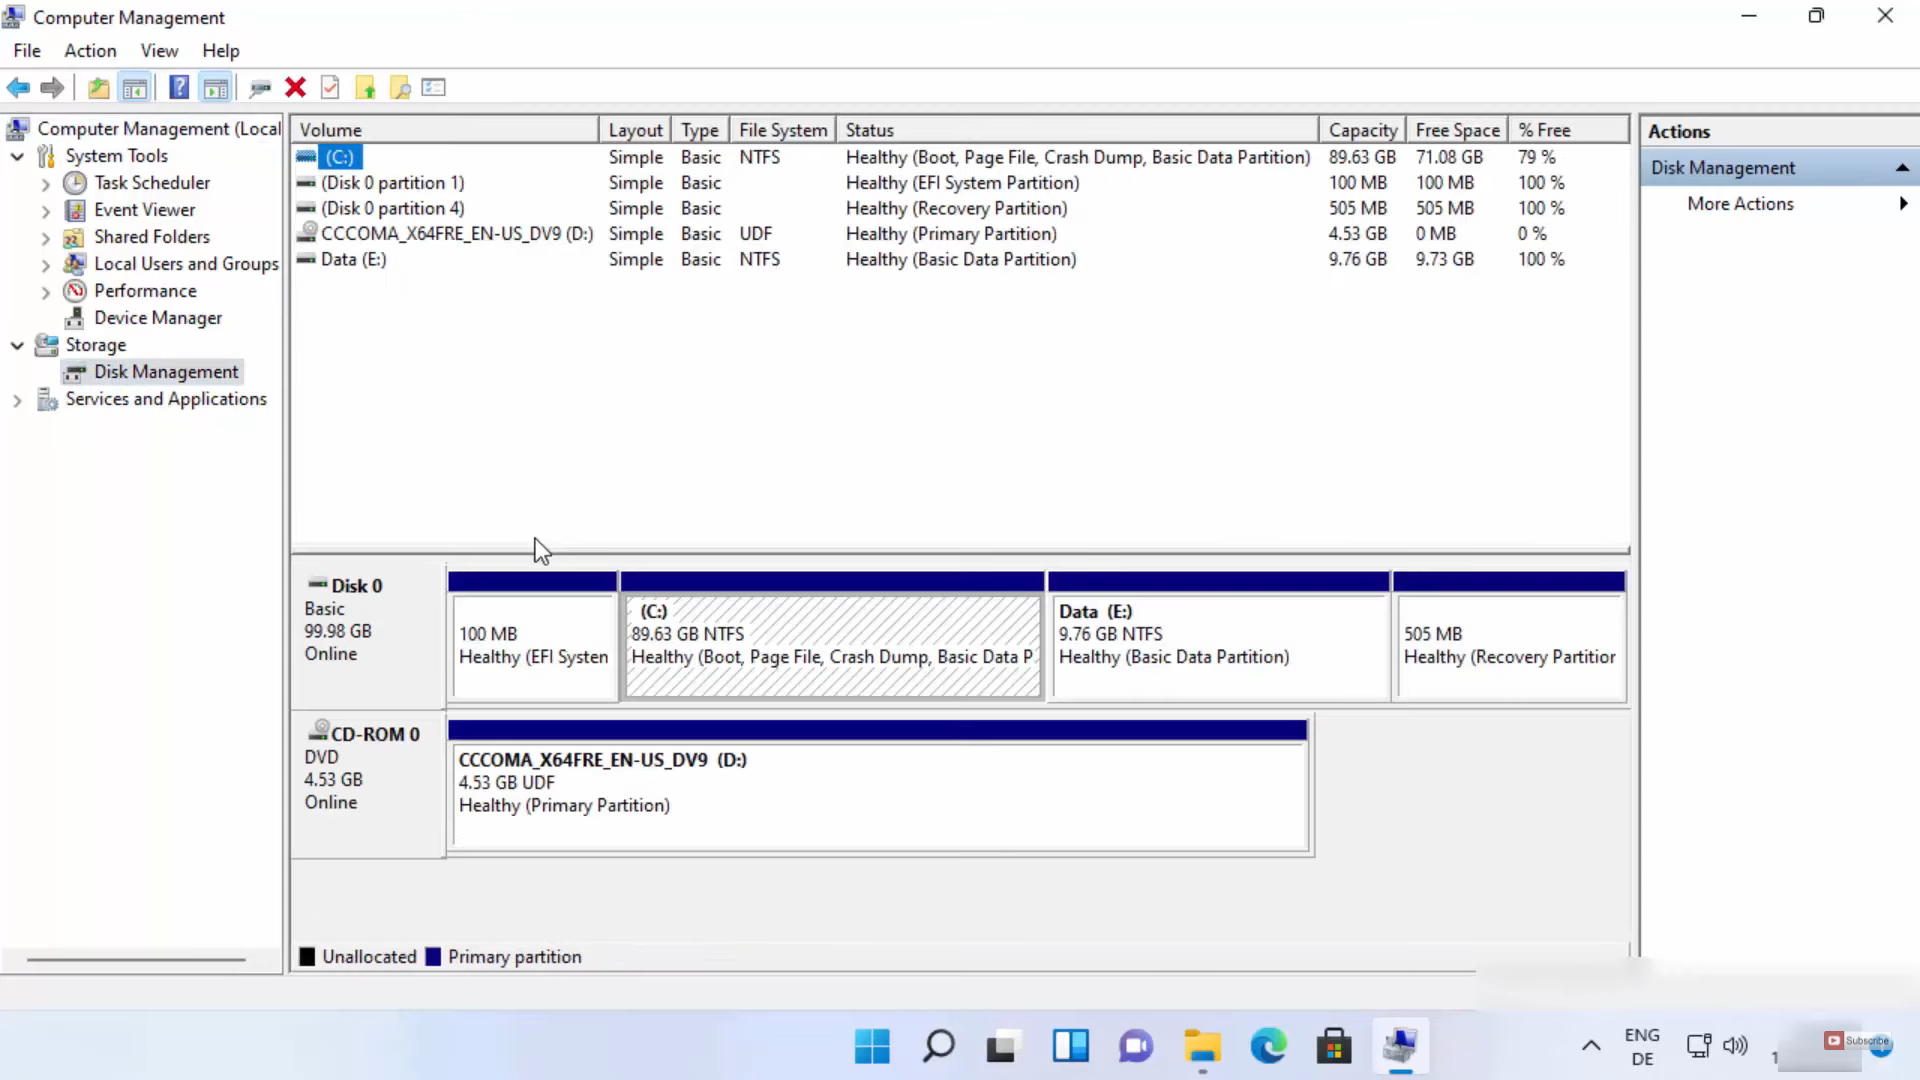
4. I am going to delete the partition Data (E:). Before deleting that partition, you need to have a backup of that data in your drive. Right-click on that drive. Click on Delete Volume.
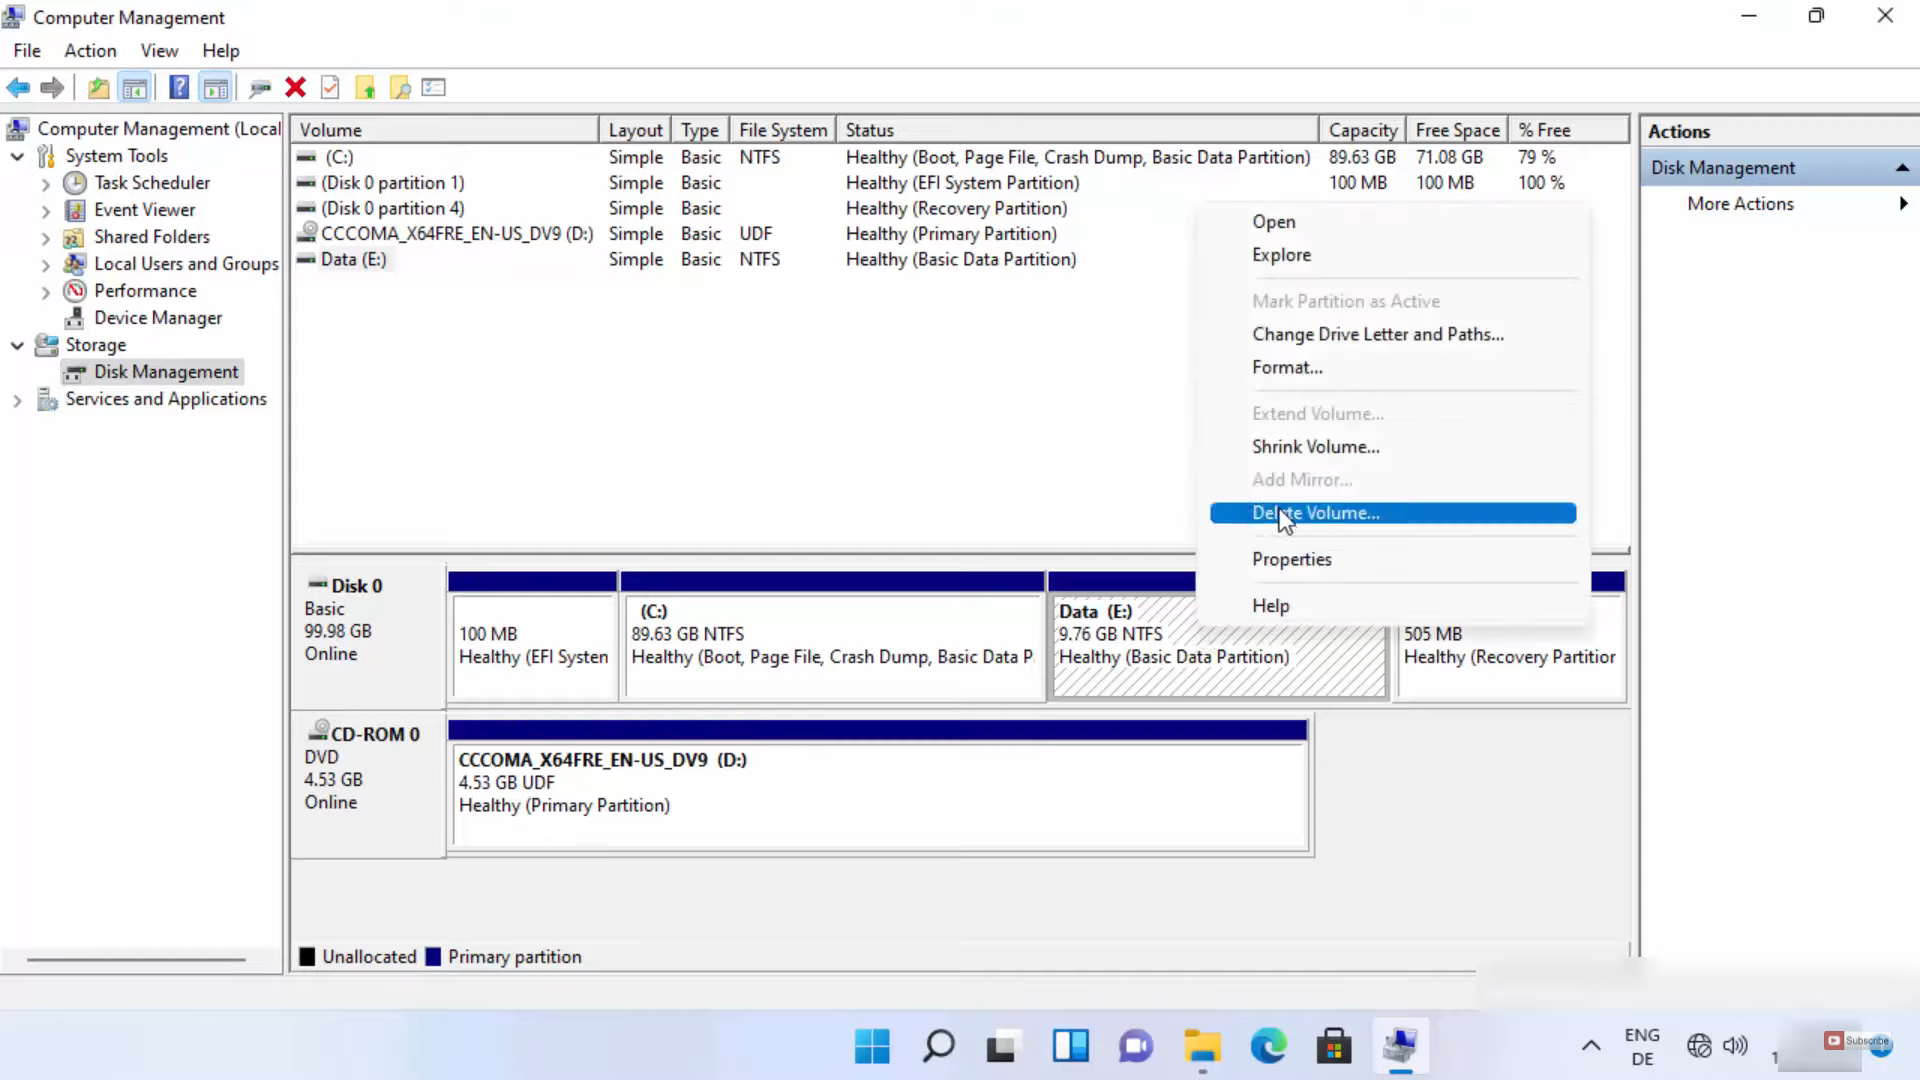
5. It will show a warning message. After reading that, click on Yes.

6. Once you click on Yes, the memory in your partition will be unallocated. We need to add this space to our main drive. In my case, it’s a C drive.
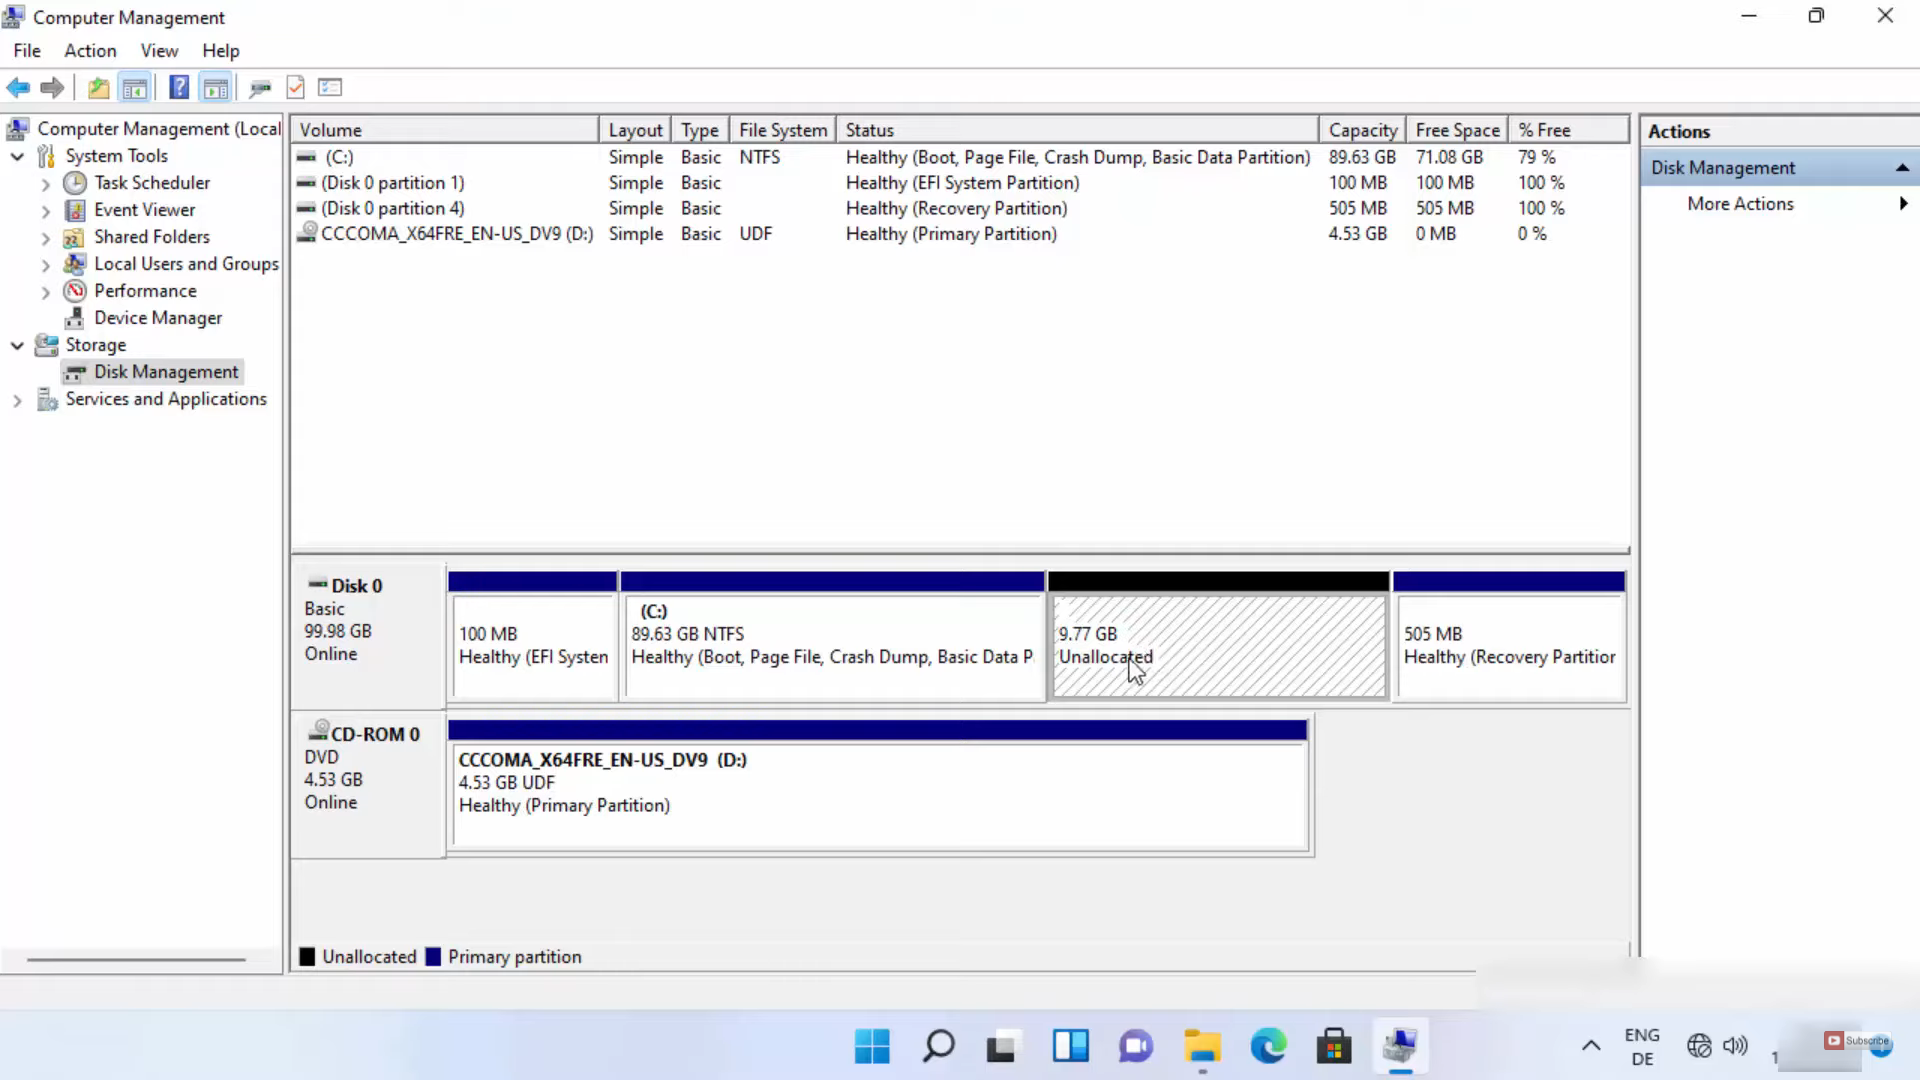
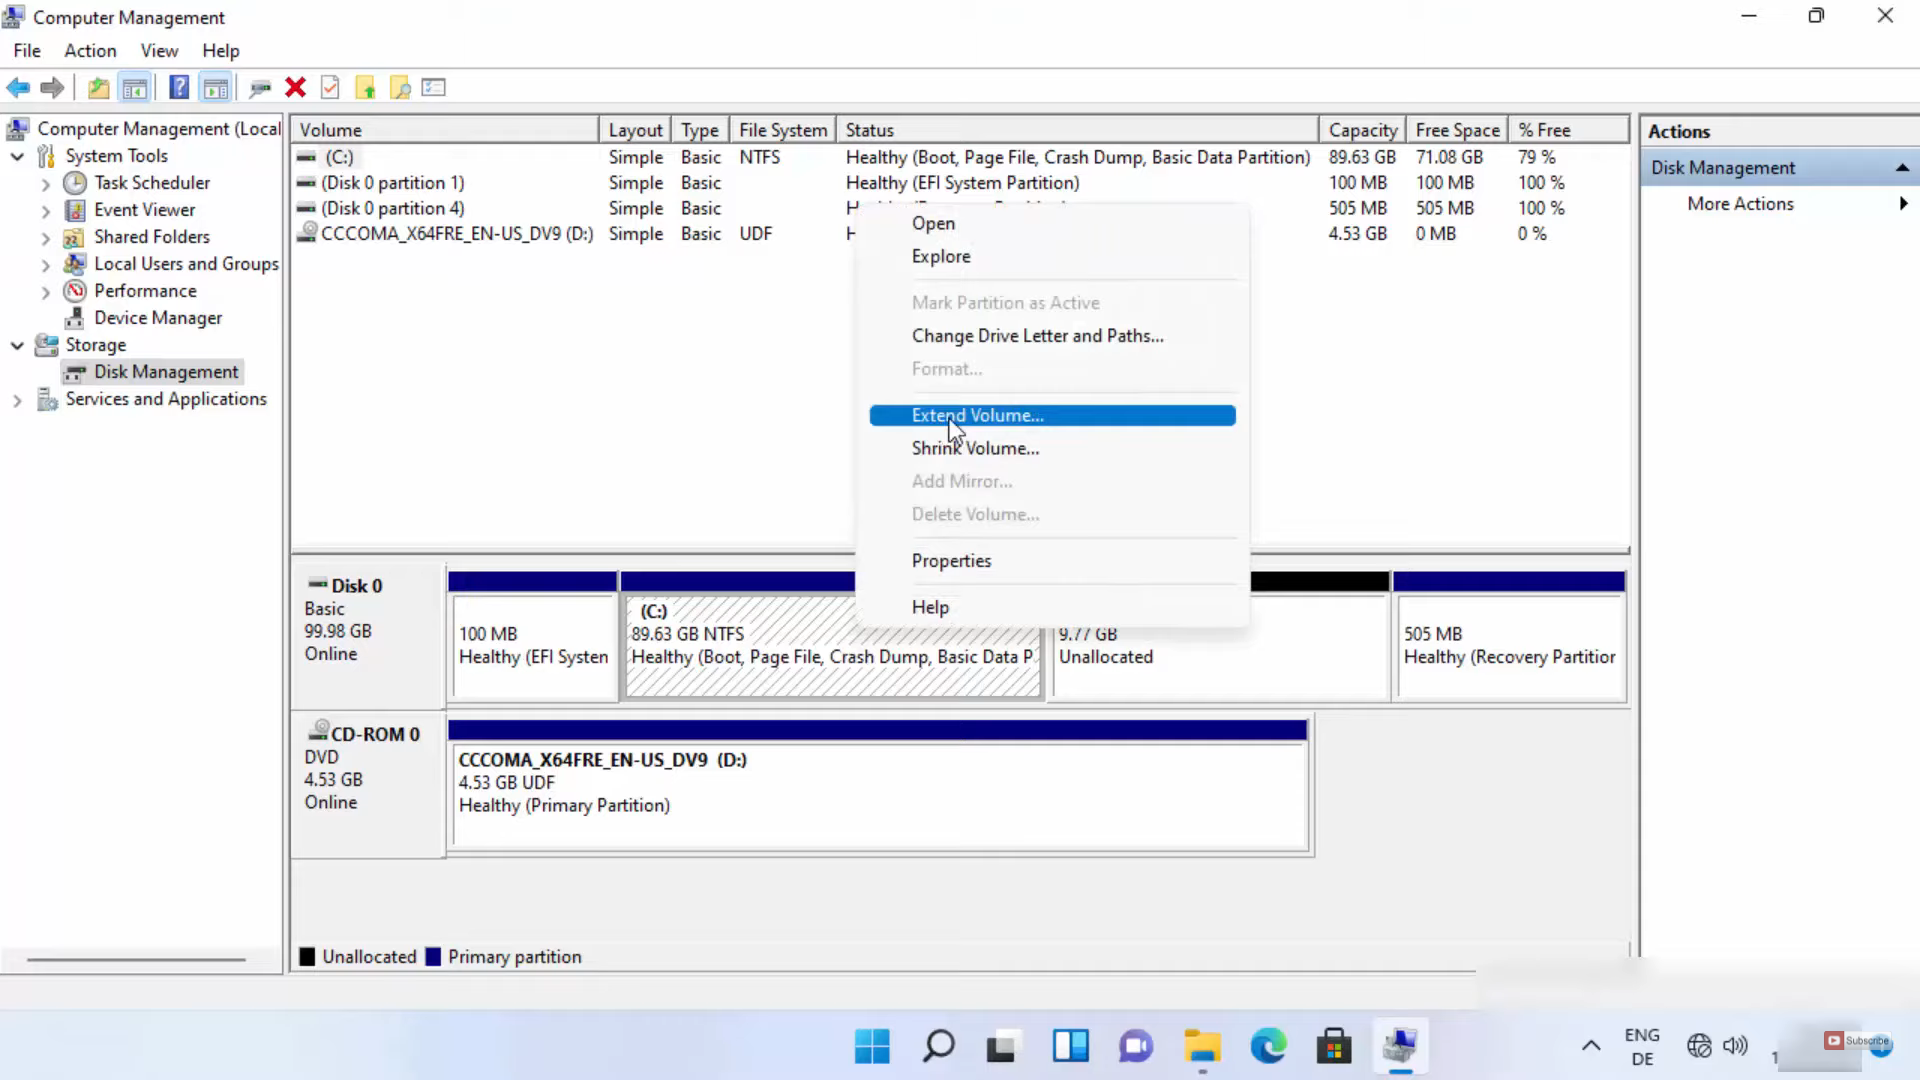
7. Right-click on the drive which you want to allocate. Click on Extend volume.
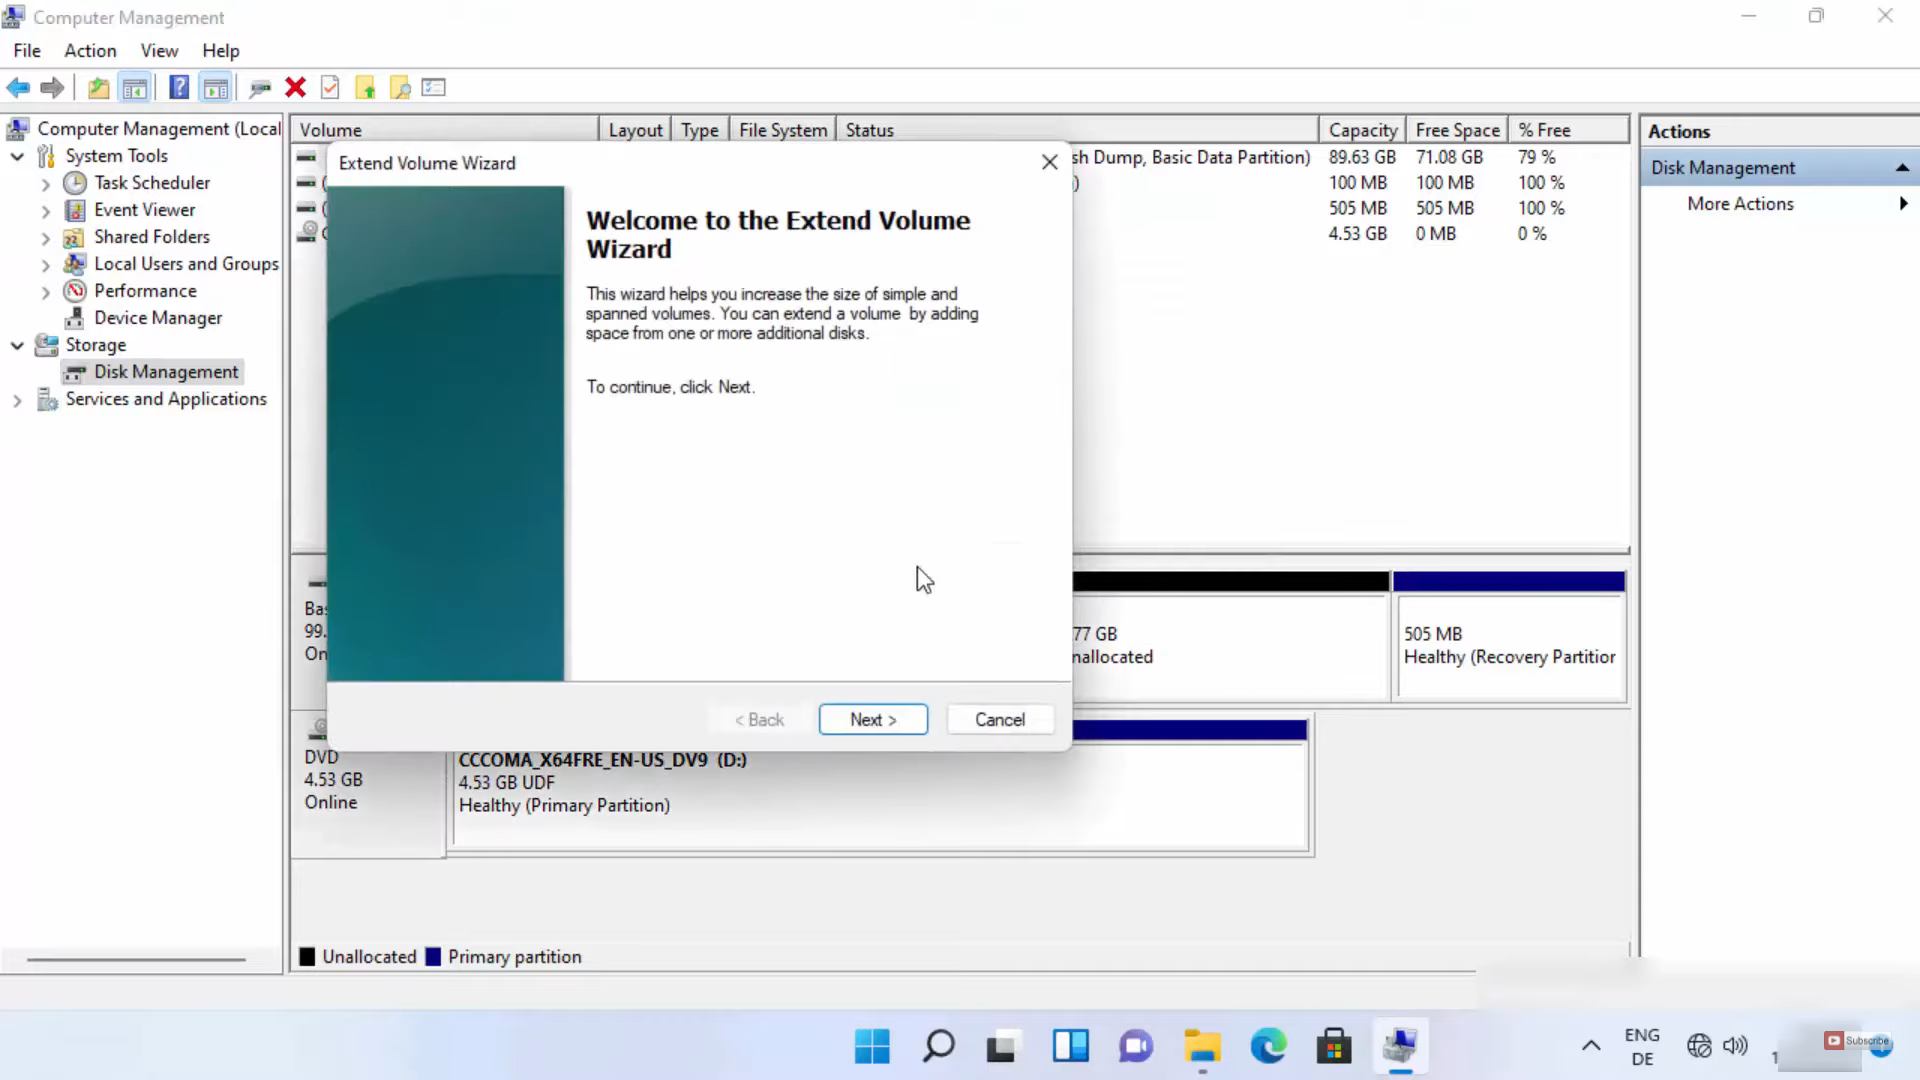
8. Click on Next.
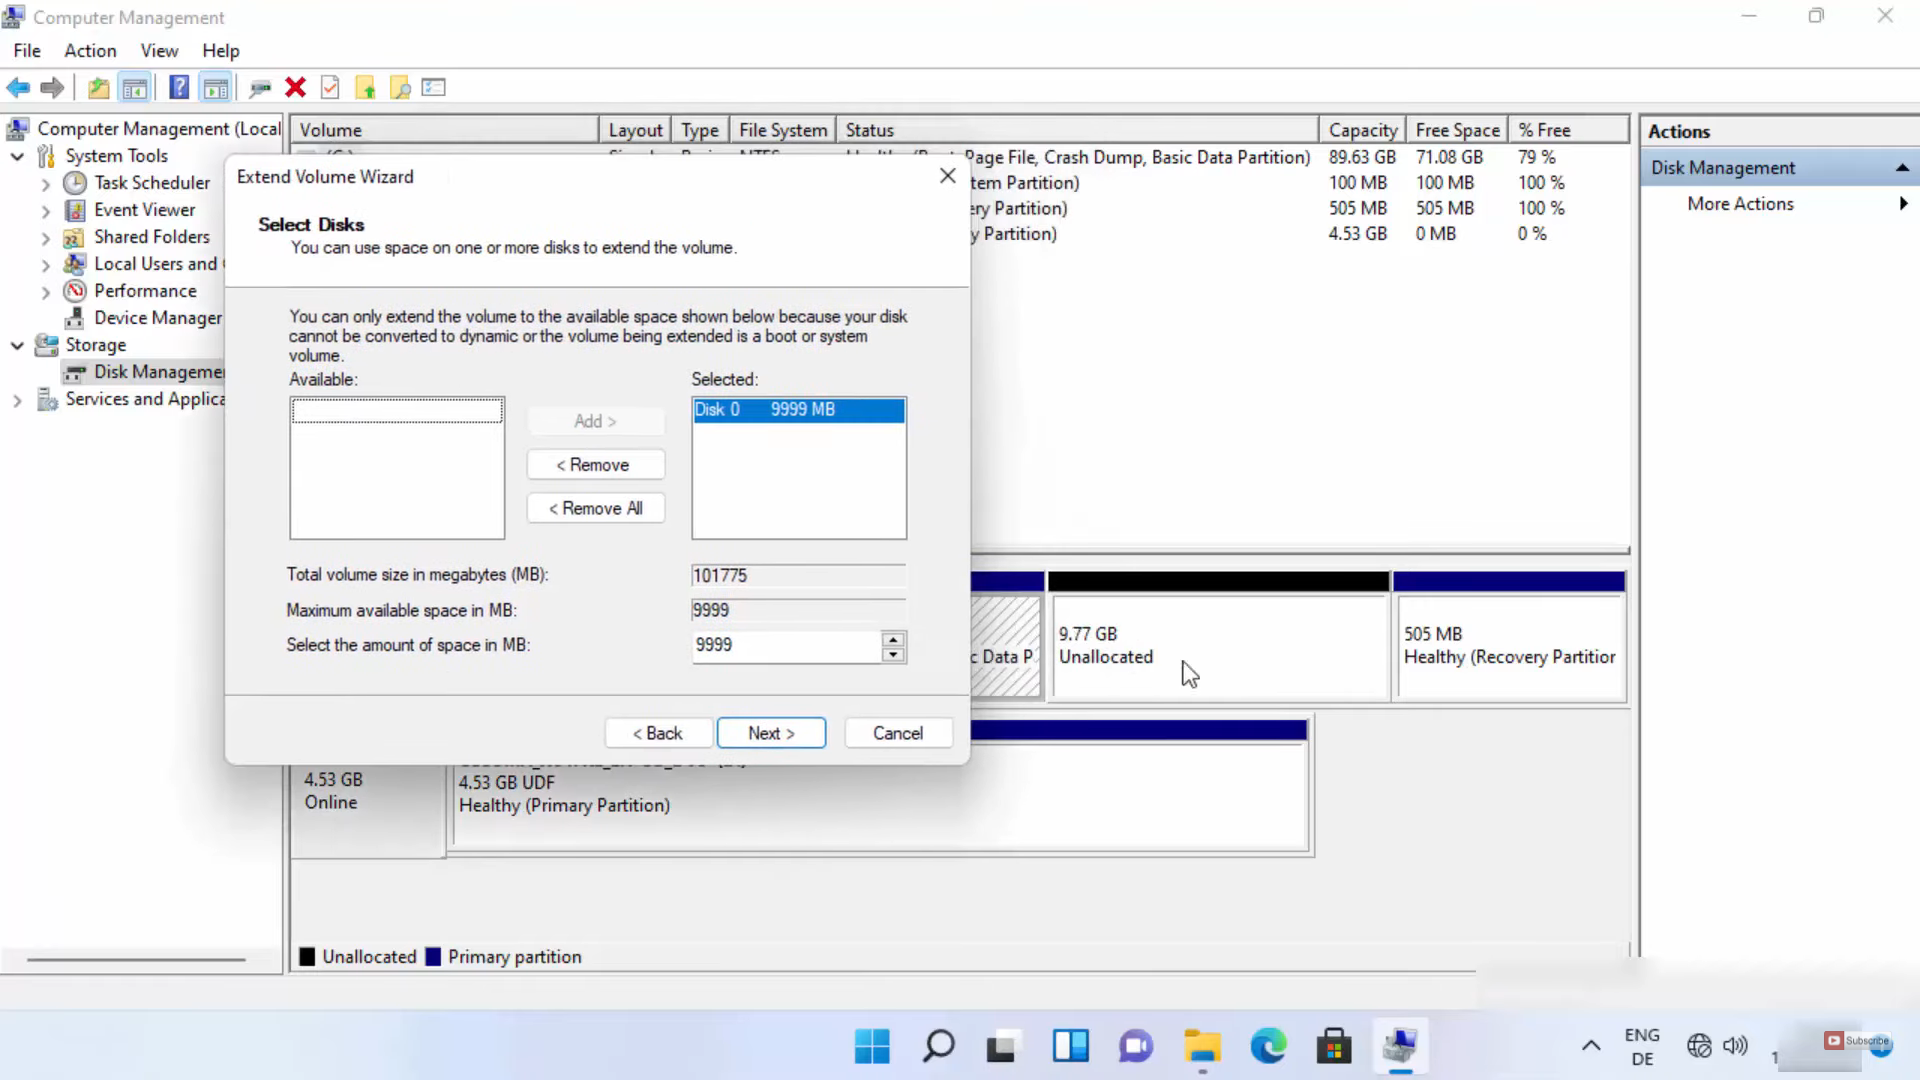
9. You will be able to see the option called 10 GB. Select that and click on Next.
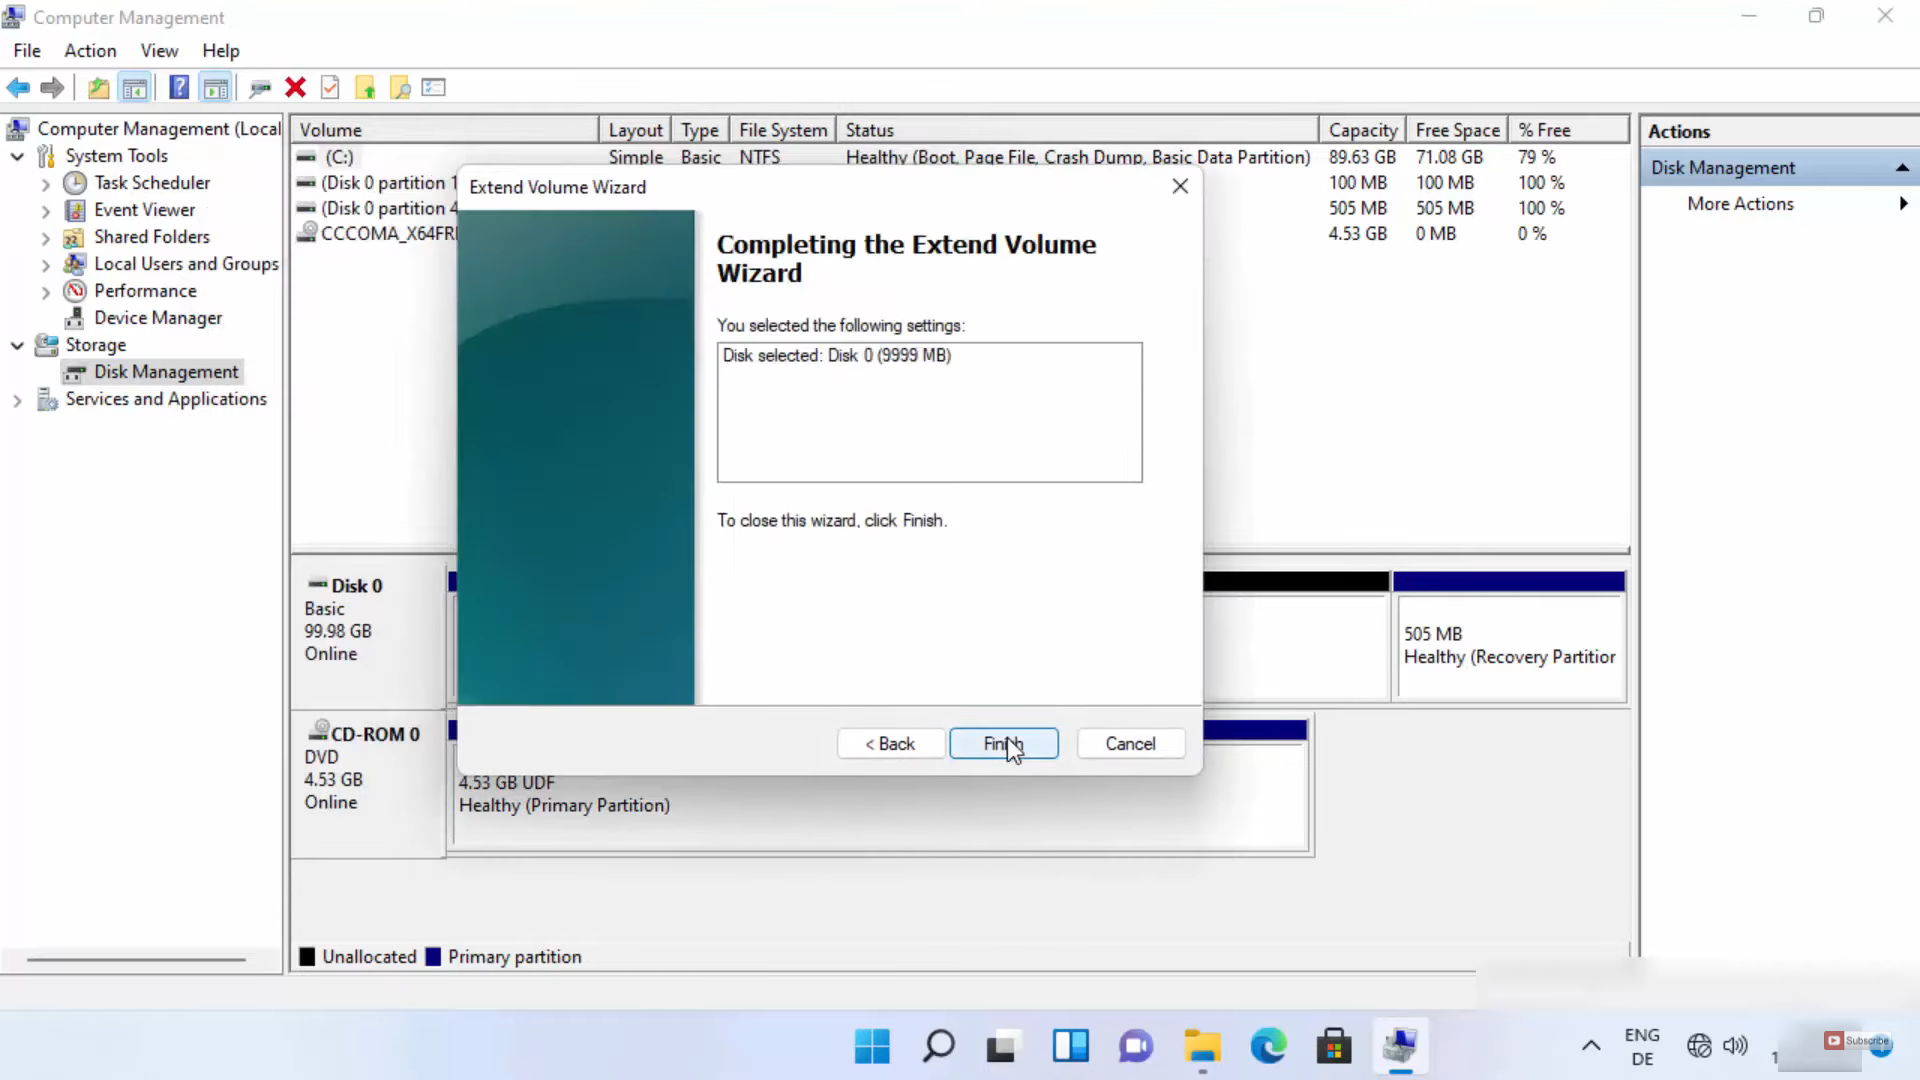
10. Then, click on Finish.
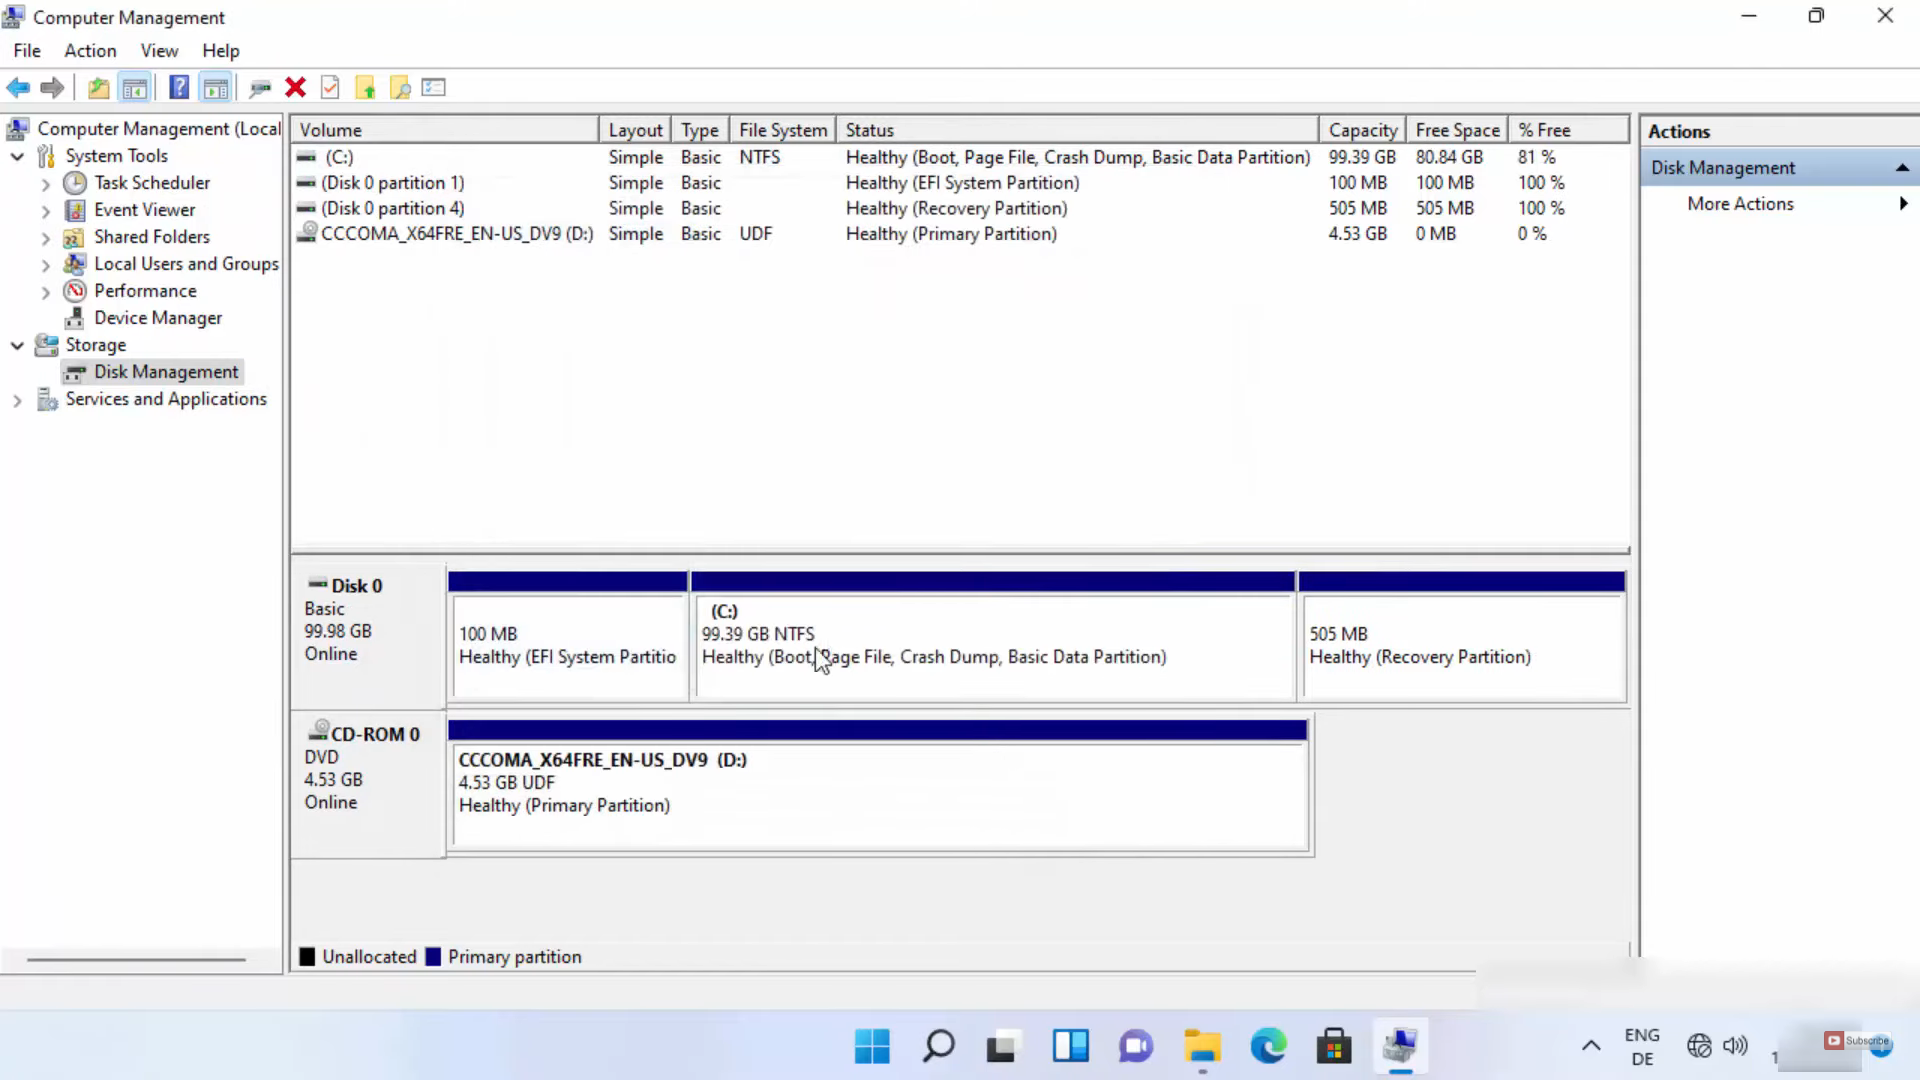
11. Once you complete the allocation, your C drive will be extended and the unallocated section will also be removed.
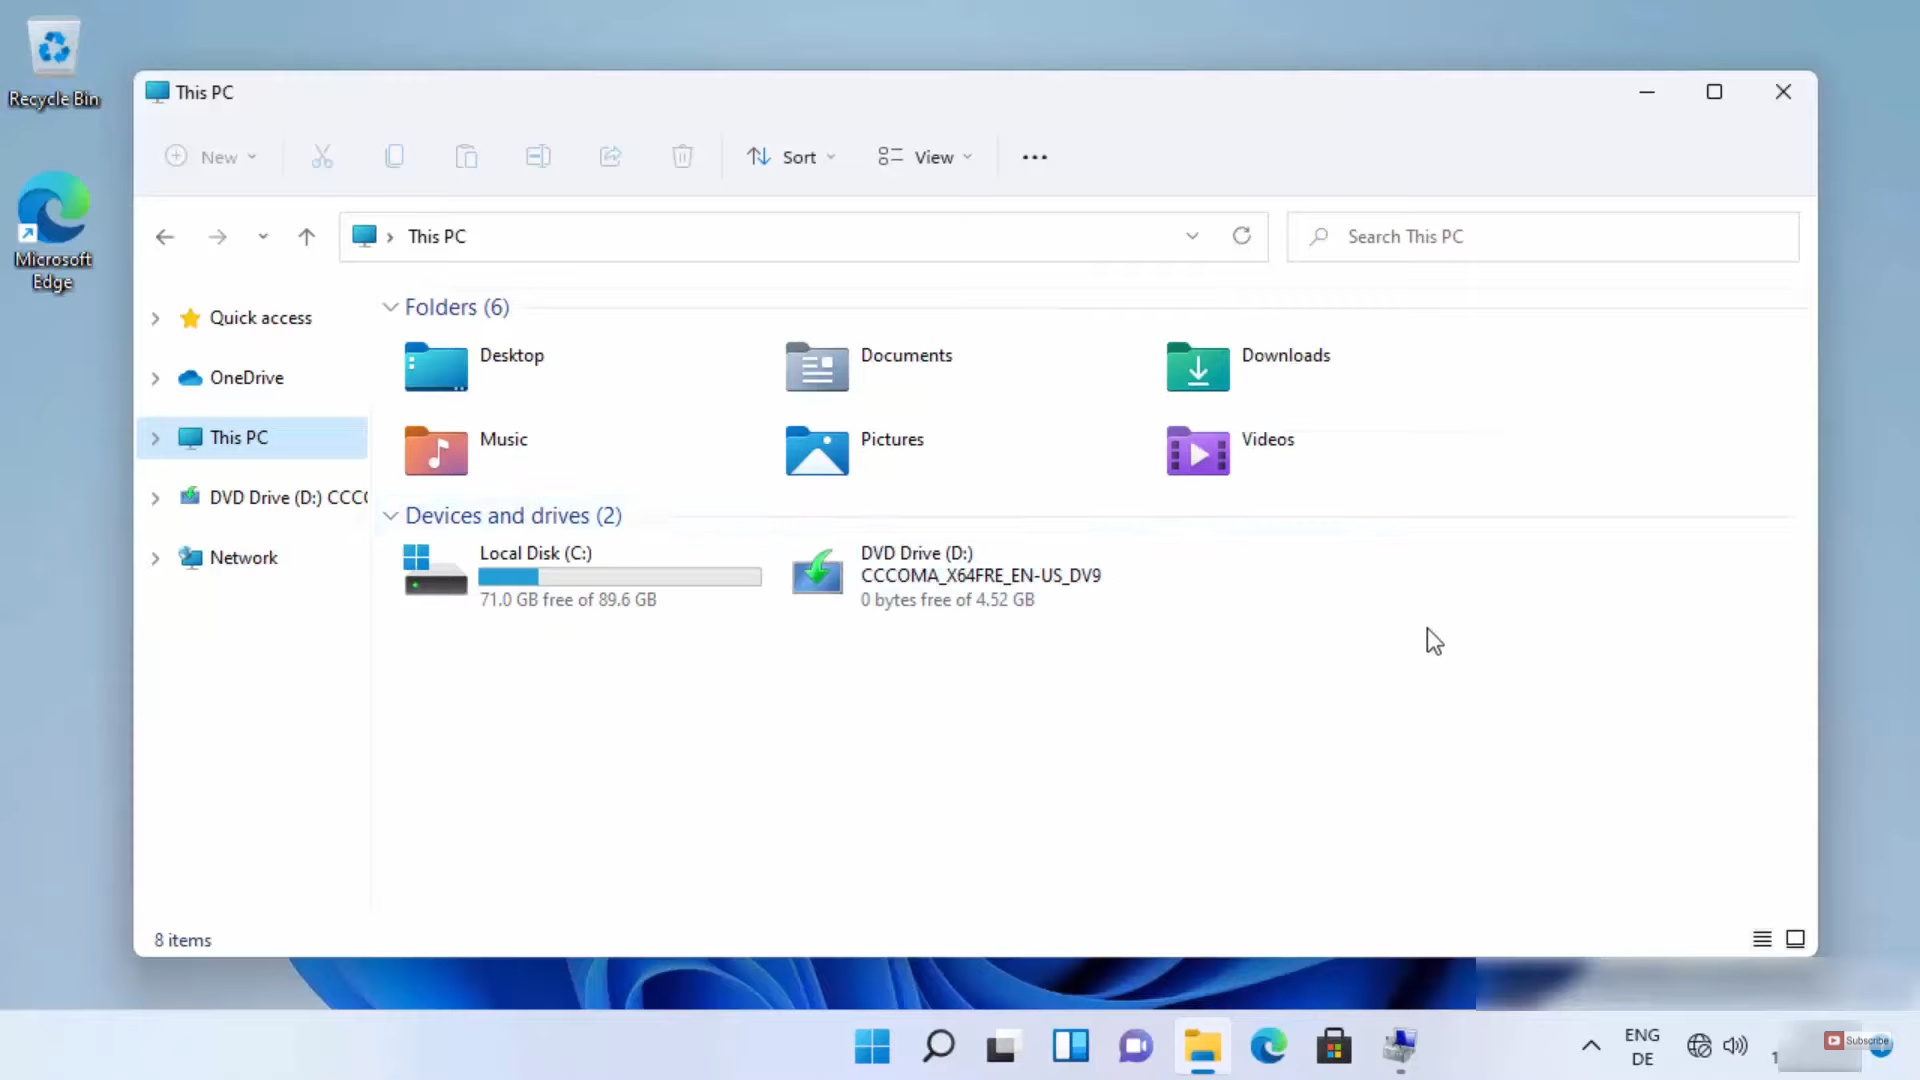
12. You can also check this in the Folder explorer. Now I don’t have that E drive here.
These are the steps for deleting a drive partition on your Windows 11 Operating System.
Leave a Reply