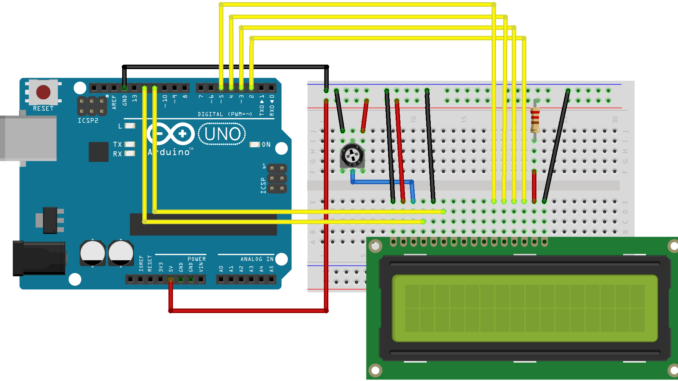
In this post on Arduino Tutorial For Beginners, this topic about analog signal and how to read it from peripheral devices by Arduino.
Analog signal is a continuous signal, we can understand that is value of voltage(not only 0 or 1), an analog signal graph is (sine, cosine, or any up and down curve), this graph represent for the analog signal in the physically.
Actually, the analog signal isn’t simple and smooth like the picture above, the signal always noise when we collect as the picture below. But don’t worry, we will compare the analog in a certain range to do what we want by digital number.
In this article, we will read analog signal from potentiometer and then compare to control Led.
On Arduino Uno , we have 6 pins to receive the analog signal from A0 -> A5.
And the Arduino’s analog system has 10bits. It’s mean it can be convert the analog signal to digital from 0 -> 1023 corresponding 0 -> 5V. When you input a voltage signal in this range, the Arduino will convert to a corresponding number from 0 -> 1023.
Okay, now we will try to calculate the analog value and then compare with the analog code on Arduino to check either hardware or our is correct. I will use the voltage divider to create a Voltage signal and then use the ADC Formular to get analog value. This is the diagram of voltage divider and the formula.
I assume: Z1 = Z2 = 1000 (Ohm), Vin = 5(V) , as the formula above we can get Vout = 2.5(V)
ADC: Analog to Digital Convert. According to the formula we have:
N = 10, Analog input = 2.5(V) , Reference = 5(V) => 512 (This is the digital value of analog signal) we can use this number to compare and control device. Okay now let’s check with the Arduino code, we have diagram like this.
After we’d connected as the diagram, we would copy below code and run to check the value on Serial Monitor:
void setup()

{

Serial.begin(9600); //Using baudrate 9600

}

void loop()

{

Serial.println(analogRead(A0)); //Print the analog value are read from pin A0 to Serial Monitor

delay(1000);

}
Did you try the example above? Does it match with the formular? It’s approximate,right. That’s always noise like that. Okay now we will use the potentiometer (1kOhm to see clearly) to control led (Default led – pin13).
Copy and paste the code to see what happen:
void setup()

{

Serial.begin(9600); //Using baudrate 9600

pinMode(13,OUTPUT); //Setup pin 13 output

}

void loop()

{

if(analogRead(A0) < 500)// Turn off led if the analog signal < 500

{

digitalWrite(13,LOW);

Serial.println(analogRead(A0)); // Print the value to Serial Monitor

Serial.print("OFF");

}

else if(analogRead(A0)) > 900)// Turn on led if the analog signal > 800

{

digitalWrite(13,HIGH);

Serial.println(analogRead(A0)); // Print the value to Serial Monitor

Serial.print("ON");

}

else // Blink led when the value 500 < value < 900

{

digitalWrite(13,HIGH);

delay(1000);

digitalWrite(13,LOW);

delay(1000);

}

}

Leave a Reply