
In this tutorial we will learn How to use ImageView in Android Using Android Studio.
So lets create a project.
Step 1 – Create new Android project.
Provide Activity name as ImageViewDemo
Step 2 – Add an imageView and a button to your activity as shown in the picture below.
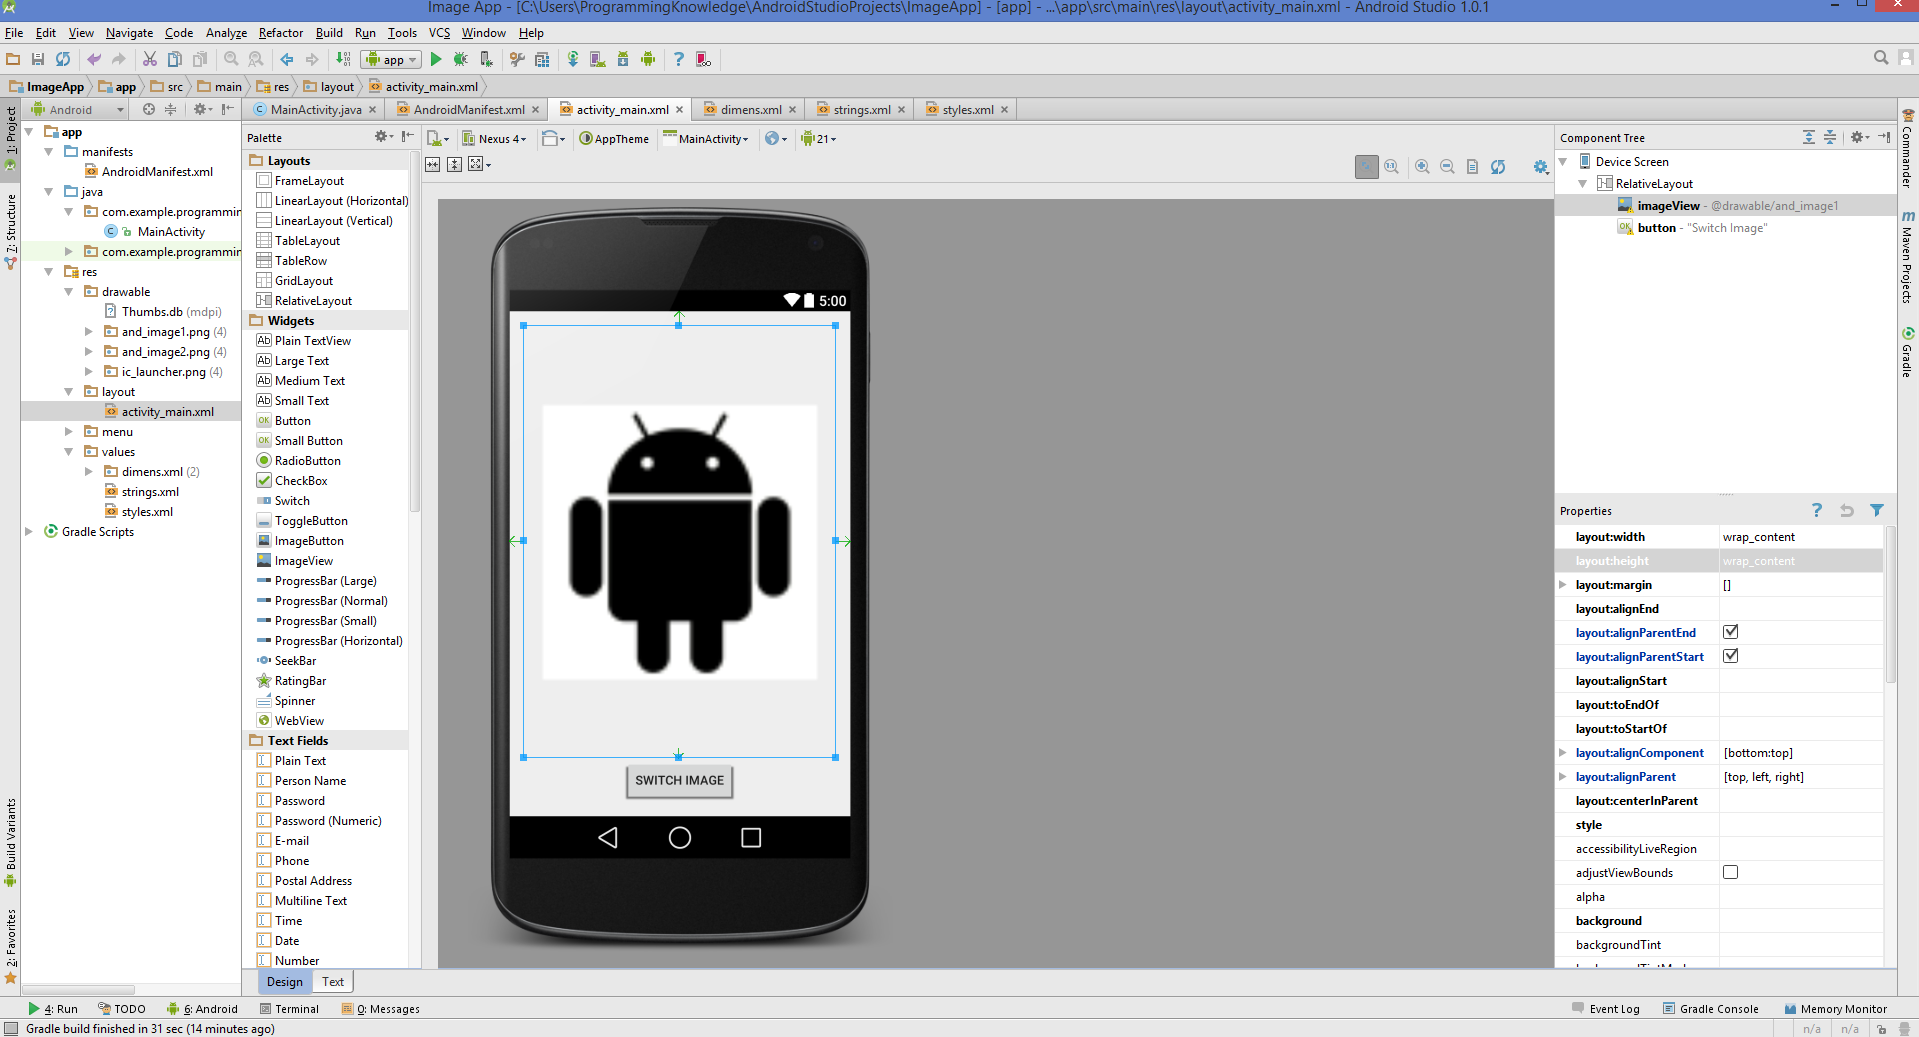
layout/activity_main.xml
<RelativeLayout xmlns:android="http://schemas.android.com/apk/res/android"
    xmlns:tools="http://schemas.android.com/tools" android:layout_width="match_parent"
    android:layout_height="match_parent" android:paddingLeft="@dimen/activity_horizontal_margin"
    android:paddingRight="@dimen/activity_horizontal_margin"
    android:paddingTop="@dimen/activity_vertical_margin"
    android:paddingBottom="@dimen/activity_vertical_margin" tools:context=".MainActivity">

    <ImageView
        android:layout_width="wrap_content"
        android:layout_height="wrap_content"
        android:id="@+id/imageView"
        android:src="@drawable/and_image1"
        android:layout_alignParentTop="true"
        android:layout_alignParentLeft="true"
        android:layout_alignParentStart="true"
        android:layout_alignParentRight="true"
        android:layout_alignParentEnd="true"
        android:scaleType="fitCenter"
        android:layout_above="@+id/button" />

    <Button
        android:layout_width="wrap_content"
        android:layout_height="wrap_content"
        android:text="Switch Image"
        android:id="@+id/button"
        android:layout_alignParentBottom="true"
        android:layout_centerHorizontal="true" />

</RelativeLayout>
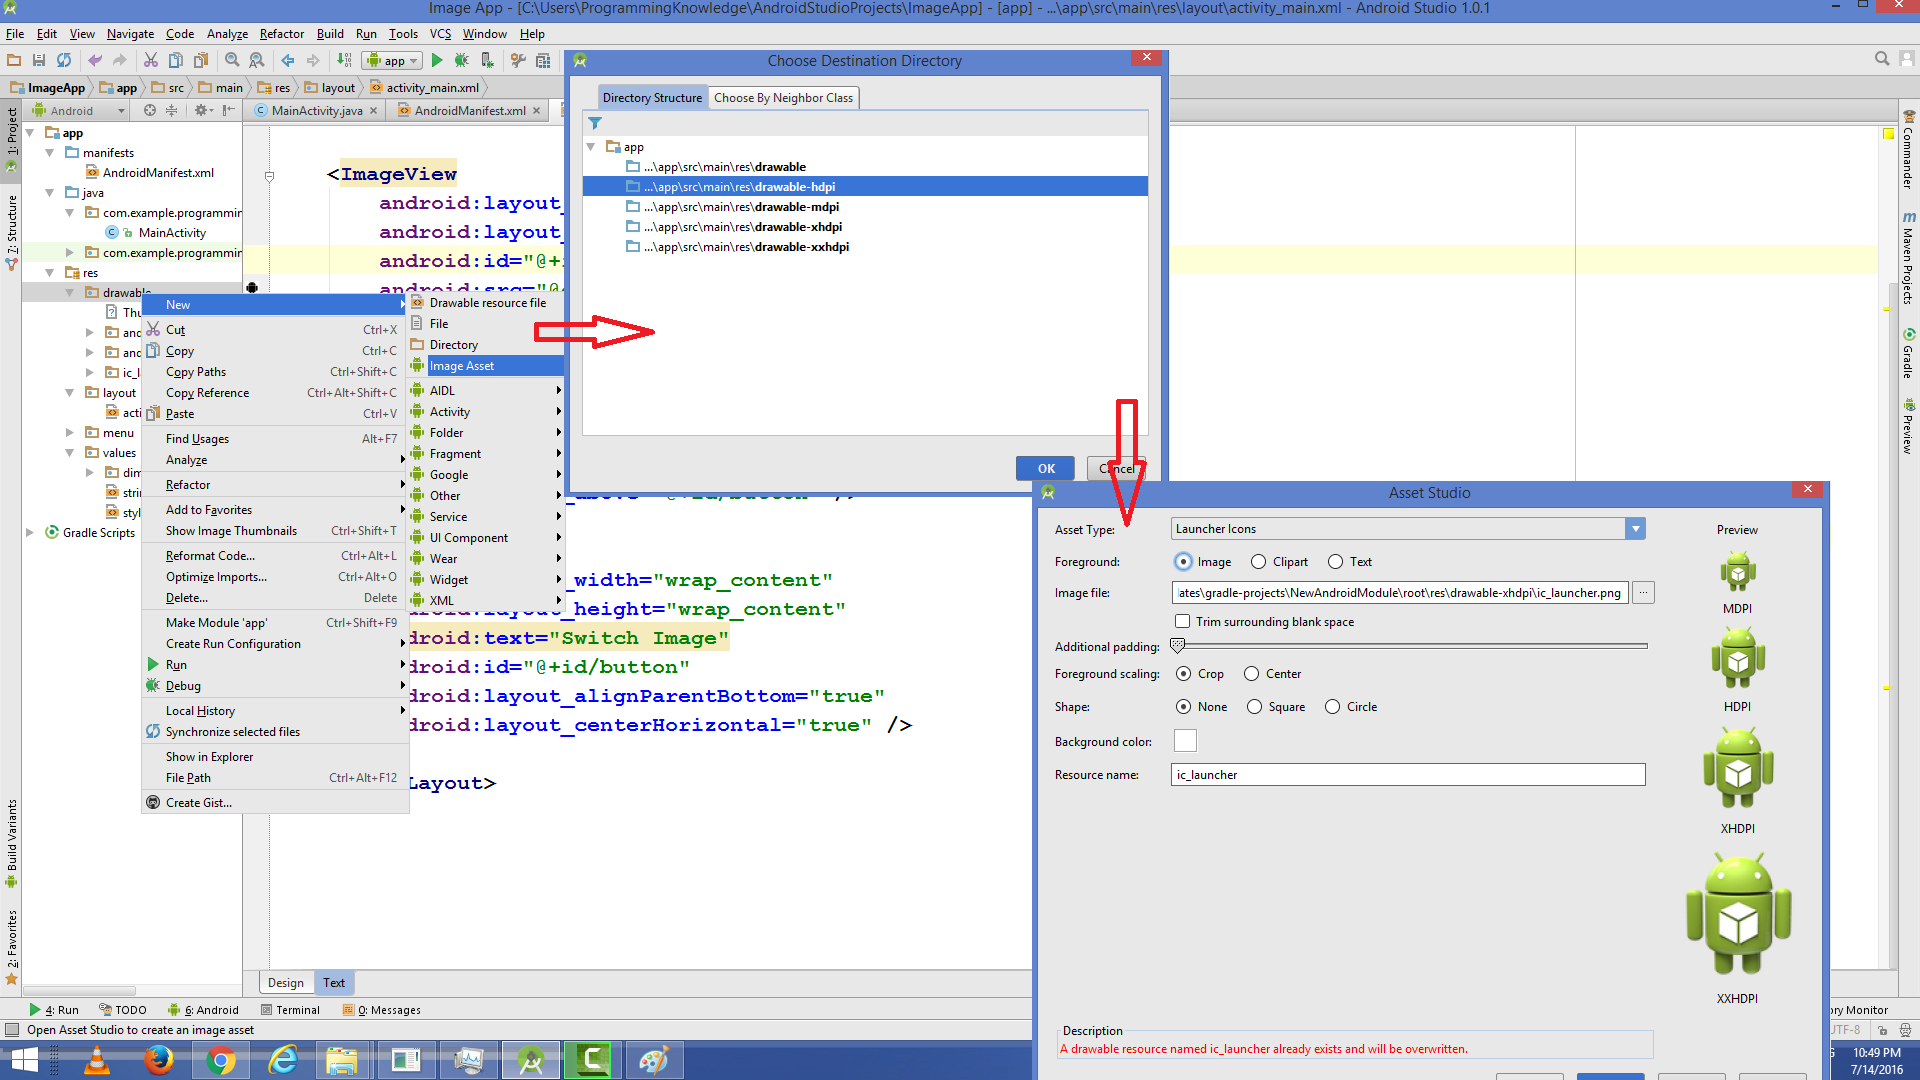
Step 3 – Download some images from internet which you can use in your app. Now add these images to your app using following method.
For Android Studio:
- Right click on res, new Image Asset
- On Asset type choose Action Bar and Tab Icons
- Choose the image path
- Give your image a name in Resource name
- Next->Finish
The image will be saved in the /res/drawable folder
Step 3 – Write the following code in MainActivity.java file
com/example/programmingknowledge/imageapp/MainActivity.java
package com.example.programmingknowledge.imageapp;

import android.support.v7.app.ActionBarActivity;
import android.os.Bundle;
import android.view.Menu;
import android.view.MenuItem;
import android.view.View;
import android.widget.Button;
import android.widget.ImageView;
import android.widget.SeekBar;
import android.widget.TextView;
import android.widget.Toast;


public class MainActivity extends ActionBarActivity {
    private static ImageView imgView;
    private static Button buttonSbm;

    private SeekBar seekBar;
    private TextView textView;
    private int current_image_index;
    int[] images = {R.drawable.and_image1,R.drawable.and_image2,R.drawable.ic_launcher};
    @Override
    protected void onCreate(Bundle savedInstanceState) {
        super.onCreate(savedInstanceState);
        setContentView(R.layout.activity_main);

        buttonClick();
    }

    public  void buttonClick() {
        imgView = (ImageView)findViewById(R.id.imageView);
        buttonSbm =(Button)findViewById(R.id.button);
        buttonSbm.setOnClickListener(
                new View.OnClickListener() {
                    @Override
                    public void onClick(View v) {
                        current_image_index++;
                        current_image_index = current_image_index % images.length;
                        imgView.setImageResource(images[current_image_index]);
                        //imgView.setImageResource(R.drawable.and_image2);
                    }
                }
        );
    }
    @Override
    public boolean onCreateOptionsMenu(Menu menu) {
        // Inflate the menu; this adds items to the action bar if it is present.
        getMenuInflater().inflate(R.menu.menu_main, menu);
        return true;
    }

    @Override
    public boolean onOptionsItemSelected(MenuItem item) {
        // Handle action bar item clicks here. The action bar will
        // automatically handle clicks on the Home/Up button, so long
        // as you specify a parent activity in AndroidManifest.xml.
        int id = item.getItemId();

        //noinspection SimplifiableIfStatement
        if (id == R.id.action_settings) {
            return true;
        }

        return super.onOptionsItemSelected(item);
    }
}
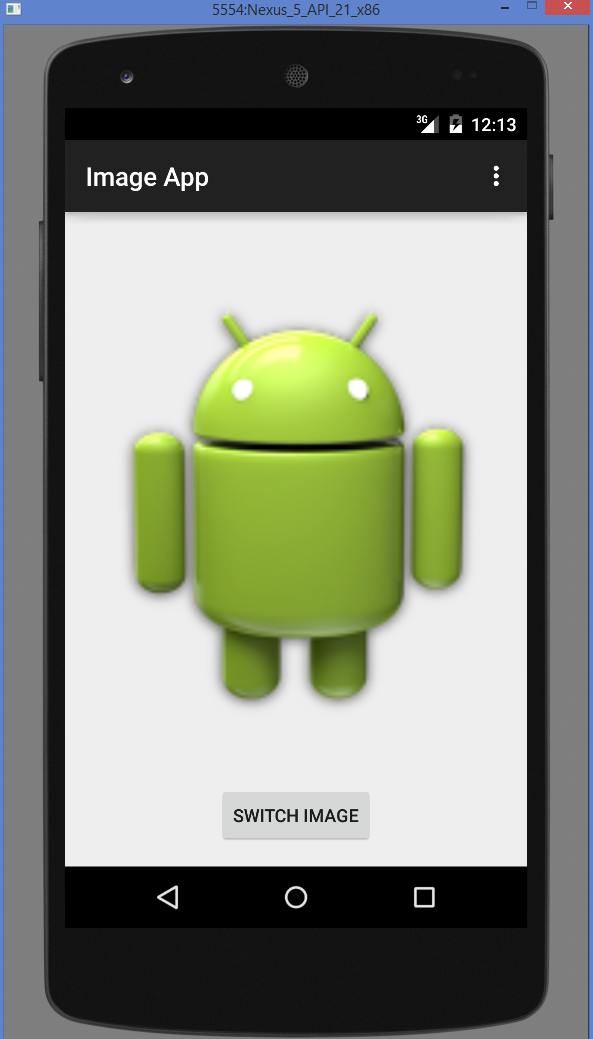
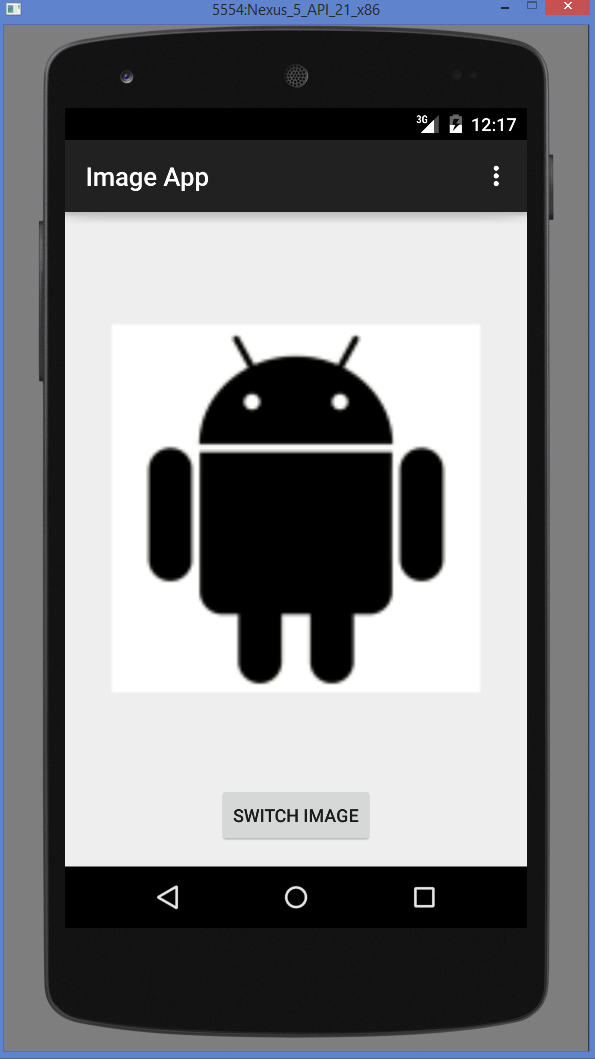
Now run you app
OUTPUT:

For more Details watch the video
Android Books To Learn Mobile Apps Programming
- Android Programming: The Big Nerd Ranch Guide
- Android Design Patterns: Interaction Design Solutions for Developers
- Android Application Development Cookbook – Second Edition
- Android User Interface Design: Turning Ideas and Sketches into Beautifully Designed Apps (Usability)
- Android Recipes: A Problem-Solution Approach for Android 5.0
- Hello, Android: Introducing Google’s Mobile Development Platform (Pragmatic Programmers)
- Beginning Android Games
Hi , please suggest i am getting error unfortunately app has been stopped after three images i clicked